

Last updated: October 2026
GitKraken CLI (gk) brings GitKraken to your terminal. You can write commits with AI, untangle messy changes into clean commits, resolve merge conflicts, and see your pull requests and issues without opening a browser. It also gives AI coding agents such as Claude Code, Cursor, and GitHub Copilot access to GitKraken tools.
If you use GitLens or GitKraken Desktop, you may already have gk on your machine. GitLens uses it to run the GitKraken MCP server, and GitKraken Desktop, GitLens, and Kepler ADE by GitKraken use it to show live AI agent sessions. To learn more, see How GitKraken CLI Works with GitLens and GitKraken Desktop.
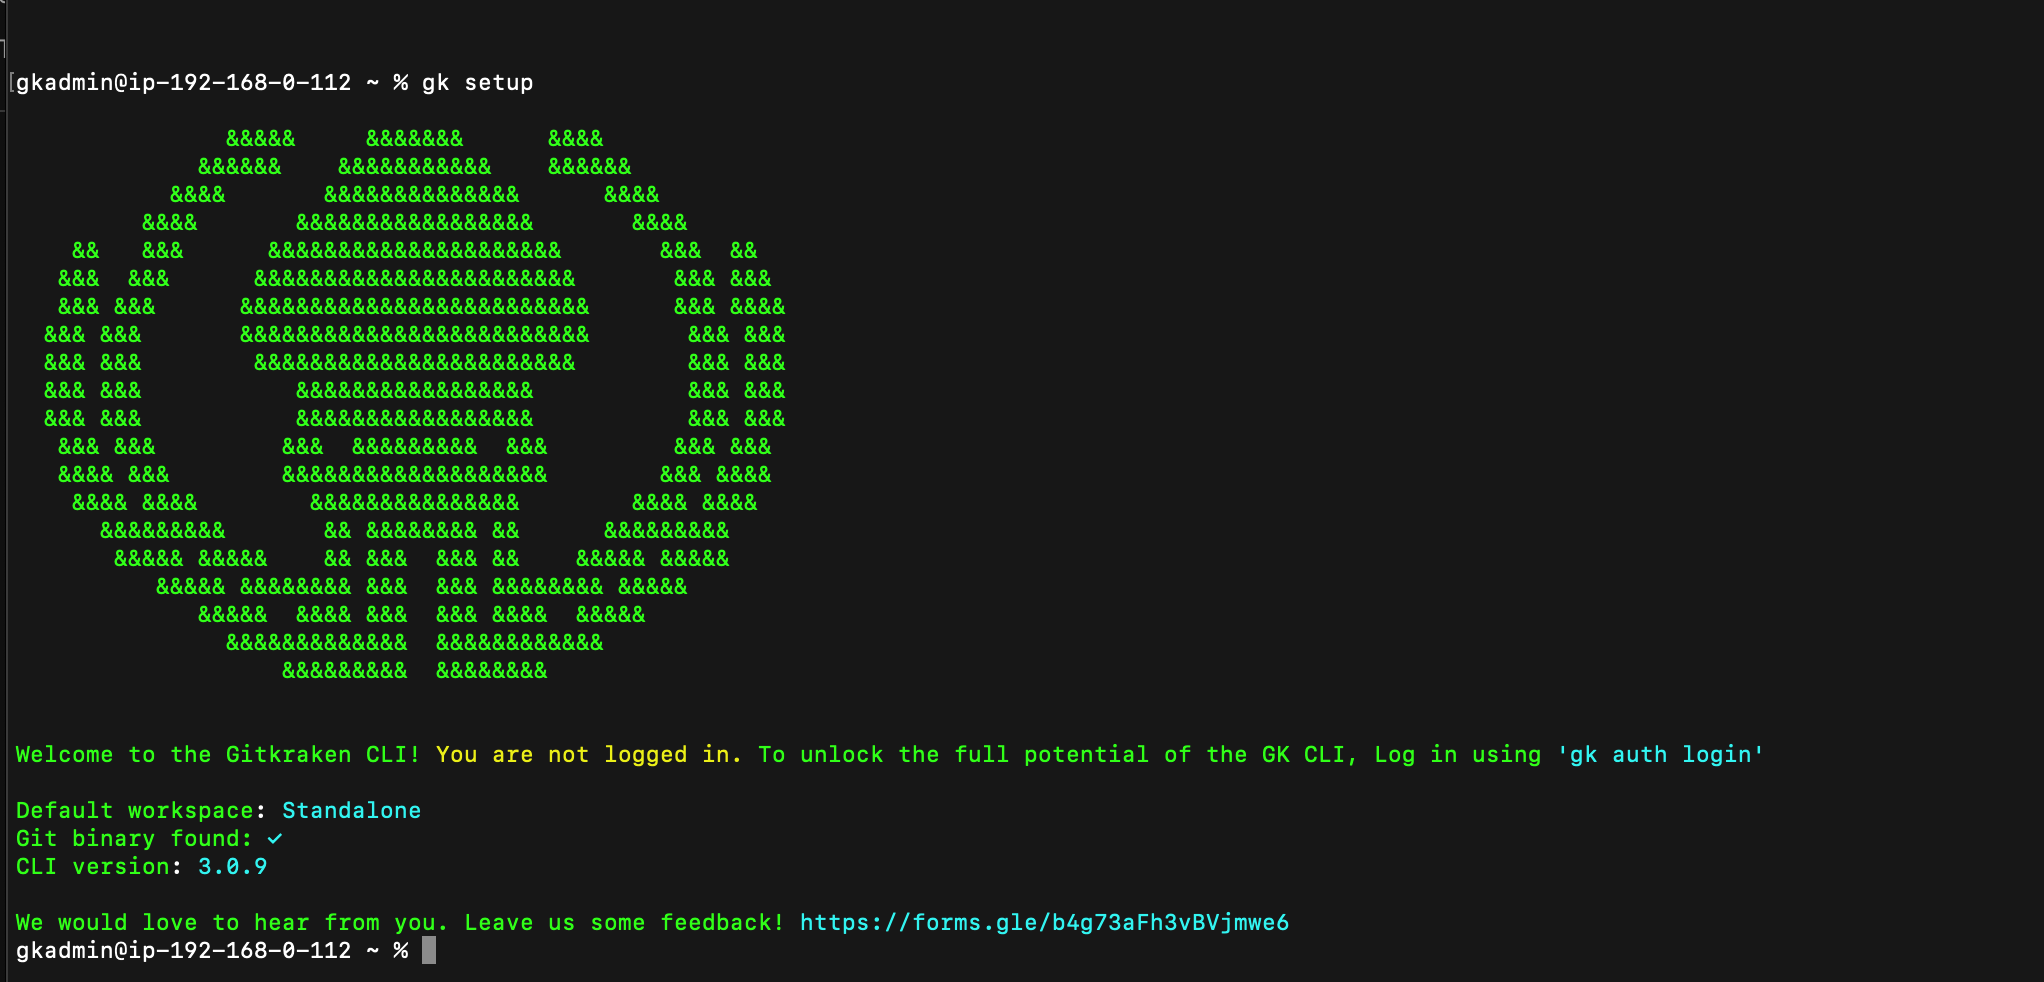
This page shows you how to install gk, sign in, and connect your accounts on macOS, Windows, or Linux.
Requirements
Before you start, check the following requirements:
- Operating system: macOS, Windows, Linux, or another Unix system.
- Plan: you can install and set up GitKraken CLI on any plan, including Community.
- Account: sign in with
gk auth loginto use GitKraken cloud features. - Organization: set an organization with
gk organization set <ORG_NAME>to use AI features. - AI features: AI-powered features require a paid plan such as Pro, Advanced, Business, or Enterprise.
- Integrations: connect GitHub, GitLab, Bitbucket, Azure DevOps, Jira, Linear, or Trello. To see the full list, go to How to Connect Providers in GitKraken CLI.
The following table compares the ways to install GitKraken CLI:
| Install method | OS | Command or action | Best for | Needs admin access |
|---|---|---|---|---|
| Homebrew | macOS | brew install gitkraken-cli |
Standard macOS setup | No |
| Winget | Windows | winget install gitkraken.cli |
Standard Windows setup | Usually no |
| Snap | Linux | sudo snap install gitkraken-cli |
Managed Linux installs | Yes |
| npm | macOS, Linux, Windows | npm install -g @gitkraken/gk |
Machines that already use Node.js | Depends on your npm setup |
| Binary download | macOS, Linux, Windows | Download from the releases page and add gk or gk.exe to your PATH |
Manual or portable installs | Depends on install location |
Quick Start
Follow these steps for the shortest path to a working setup. The sections later on this page explain each step in detail.
- Install
gkwith your package manager (Homebrew, Winget, Snap, or npm), or download a binary from the releases page. - Sign in to your GitKraken account:
gk auth login - Check your organizations and set the one you want to use. You need an organization for AI features:
gk organization list gk organization set <ORG_NAME> - Sync the Git providers and issue trackers you already connected to GitKraken:
gk provider list --sync - Confirm your setup:
gk whoami
To use AI-powered features, such as commit message generation and pull request creation, you need to be signed in, have an organization set, and have a paid plan.
Where to Find GitKraken CLI Documentation
This Help Center explains what you can do with GitKraken CLI and how to use it in real workflows. Start with the installation instructions and the setup steps on this page. For every command and flag, see the GitKraken CLI command reference.
How to Install GitKraken CLI
Use a package manager for the simplest install and automatic updates. Use the downloadable binary for a manual or portable install, or when you can’t use a package manager.
How to Install GitKraken CLI on macOS
Use Homebrew for the standard macOS install with package-managed updates:
brew install gitkraken-cliIf you can’t use Homebrew, download the binary from the releases page and move it into a folder on your PATH:
mv ~/Downloads/gk /usr/local/bin/gkHow to Install GitKraken CLI on Linux and Unix
You can install GitKraken CLI on Linux with Snap, a downloaded binary, or a .deb or .rpm package.
How to Install GitKraken CLI with Snap
Use Snap for a managed Linux install:
sudo snap install gitkraken-cliHow to Install GitKraken CLI from a Downloaded Binary
If Snap isn’t available, or you need a portable install, download the binary from the releases page and move it into a system folder:
mv ~/Downloads/gk /usr/local/bin/gkTo install gk without using a system folder, put it in a folder you own and add that folder to your PATH:
mkdir "$HOME/cli"
mv ~/Downloads/gk "$HOME/cli"
export PATH="$HOME/cli:$PATH"
If you downloaded a .deb or .rpm package from the releases page, install it with your system package manager. Replace the file name with the name of the file you downloaded:
sudo apt install ./gk.debor
sudo rpm -i ./gk.rpmHow to Install GitKraken CLI on Windows
Use Winget for the standard Windows install with package management:
winget install gitkraken.cliTo install manually, download the binary from the releases page, move gk.exe to a folder of your choice, and add that folder to your system PATH:
- In the Windows search box, search for Environment Variables.
- Click Edit the system environment variables.
- Click Environment Variables….
- In System Variables, find or create the PATH variable.
- Add the folder that contains
gk.exe.
How to Install GitKraken CLI with npm
If you already use Node.js, you can install GitKraken CLI on any platform with npm:
npm install -g @gitkraken/gkHow to Troubleshoot GitKraken CLI Installation
Use the following fixes for common installation problems.
How to Fix the Oh-My-Zsh gk Alias Conflict
Oh-My-Zsh defines gk as an alias for gitk, so typing gk may open gitk instead of GitKraken CLI. To remove the alias from your current terminal session, run:
unalias gkHow to Sign In on a Machine Without a Browser
On a remote server or another machine without a browser, run gk auth login and open the URL it prints in a browser on any device. If the GitKraken login page shows you a single-use code, pass it to the CLI:
gk auth login --auth-code <CODE>How to Start Using GitKraken CLI After Installation
You can use GitKraken CLI without signing in for local Git work. To use the following features, sign in with your GitKraken account:
- AI-generated commits and pull requests
- The GitKraken MCP server for AI coding agents
- Pull request and issue lists from your connected providers
To sign in, run:
gk auth loginThis command opens your default browser so you can finish signing in.
If you don’t have a default browser set, the CLI prints a URL in your terminal. Open that URL in any browser, then enter the code from gitkraken.dev to finish signing in.
To check who you’re signed in as, which organization is active, and which providers you’ve connected, run:
gk whoamiTo sign out, run gk auth logout. To sign out of every session, add --all.
How to Set Your GitKraken Organization
AI features run under your active GitKraken organization. To see your organizations, run:
gk organization listTo set the organization you want to use, run:
gk organization set <ORG_NAME>
gk organization list to confirm and set your GitKraken organization.How to Sync Your Git Provider and Jira Integrations
If you already connected GitHub, GitLab, Bitbucket, Jira, or other integrations in GitKraken Desktop, GitLens, or gitkraken.dev, sync them to the CLI. After you sign in and set your organization, run:
gk provider list --syncTo add a provider manually, run gk provider add with the provider name, such as github or jira:
gk provider add <PROVIDER>To see the available options, run gk provider add --help. To connect a self-hosted instance or more than one account, see How to Connect Providers in GitKraken CLI.
How to Load Repositories Into a GitKraken Workspace
Note: As of GitKraken CLI 3.1.76, the
gk workspacecommands are deprecated and will be removed in a future release. They still work, but each command prints a deprecation warning.
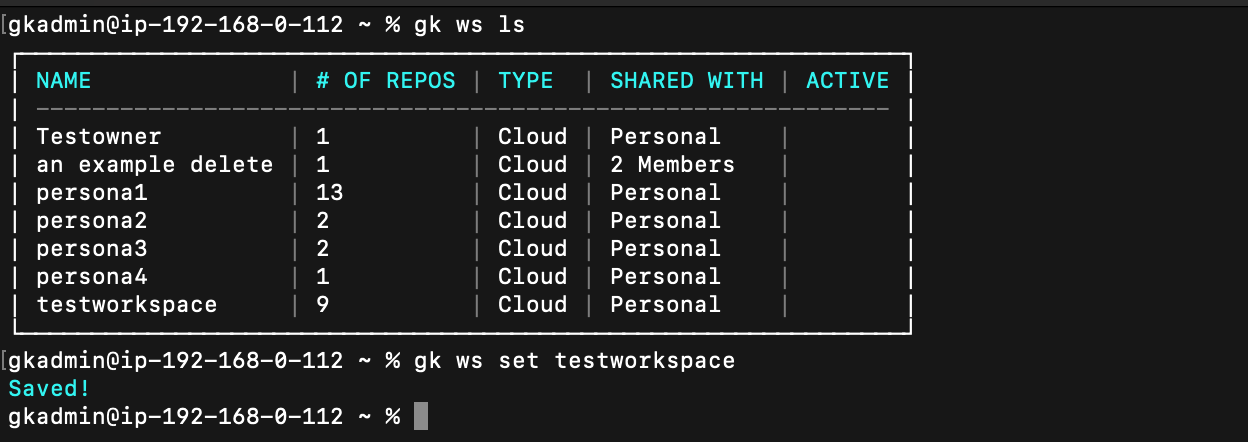
To work with an existing GitKraken workspace from the CLI:
- List your workspaces:
gk workspace list - Set the workspace you want to use:
gk workspace set <NAME> - Clone the workspace repositories into a local folder (
gk wsis short forgk workspace):gk ws clone <name> <root-path>
What to Do Next
After setup, try the following:
- Use AI features to write commits, compose clean commits, and resolve merge conflicts.
- Track pull requests and issues across your providers.
- Connect AI coding agents to the GitKraken MCP server.
How to Uninstall GitKraken CLI AI Hooks
GitKraken Desktop, GitLens, and Kepler can show live status for your AI coding agent sessions. To do this, GitKraken CLI registers hooks on the agent’s lifecycle events, such as session start and end, tool use, prompt submission, and permission requests. Each hook sends the event to the local gk process, which saves the session on your computer and passes it to GitKraken apps running on the same computer.
Hook data stays on your computer. Depending on the event, it can include your prompt, the tool the agent is using and its arguments, and the files the agent changed. To learn more, see How GitKraken CLI Works with GitLens and GitKraken Desktop.
To stop sending agent events to GitKraken apps, uninstall the hooks for that agent.
Uninstall GitKraken CLI AI Hooks for Claude Code
gk ai hook uninstall claude-codeUninstall GitKraken CLI AI Hooks for OpenCode
gk ai hook uninstall opencodeTo see which agents have hooks installed, run gk agents list. Hooks are also available for Cursor, Codex, GitHub Copilot CLI, Antigravity, Pi, Augment, and Grok Build.
