# GitKraken Desktop Help Center — Full Content
> Current GitKraken Help Center corpus for AI systems, generated from validated front matter.
> Generated on 2026-04-16. Includes only pages marked `llms_include: true`.
> Document count: 79
> Source root: https://help.gitkraken.com/gitkraken-desktop/
---
## Getting Started
---
# GitKraken Desktop Command Palette | Fast Actions & Navigation
URL: https://help.gitkraken.com/gitkraken-desktop/command-palette/
Description: Discover how to use the Command Palette in GitKraken Desktop to quickly run commands, open files, switch repos, and customize settings with shortcuts.
Product: GitKraken Desktop
Feature: Command Palette
Content type: how-to
Audience: developer
Plan required: all
Status: GA
Last verified: 2026-03
Last updated: April 2026
Use this page to run GitKraken Desktop actions from the Command Palette when you want a keyboard-first workflow for commands, files, repositories, worktrees, and settings. It explains how to open the palette, what command categories are available, and when it is faster than navigating the UI directly.
**Requirements and limits**
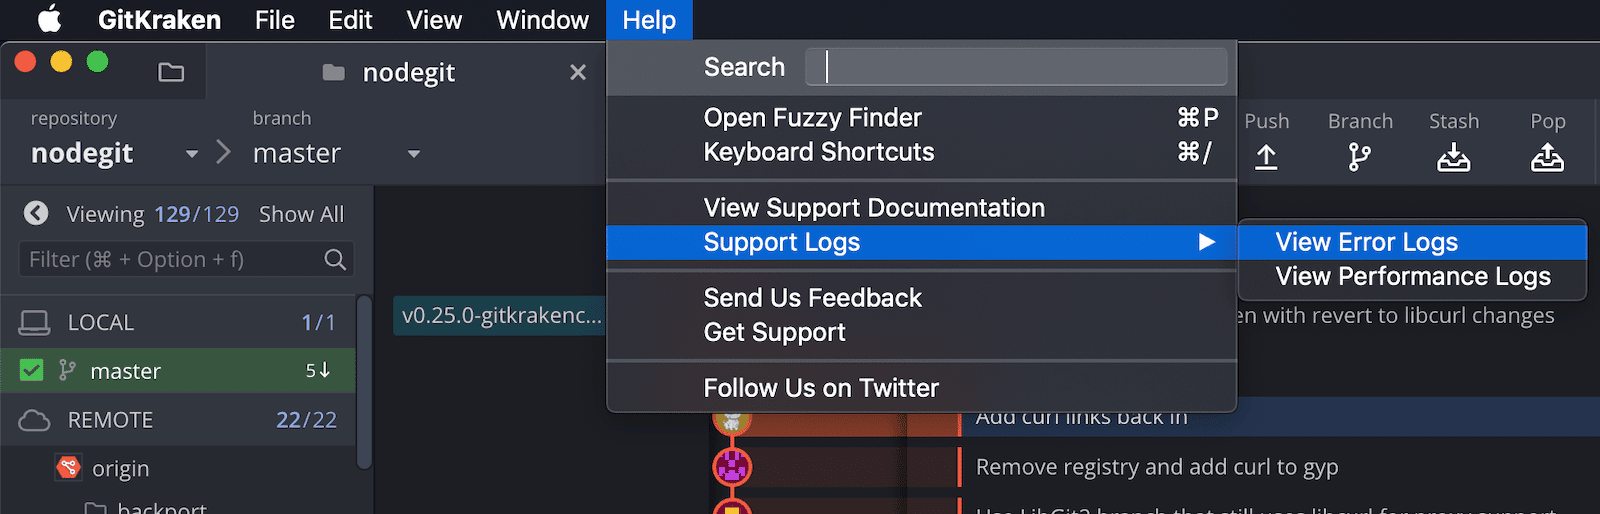
- Access methods: Cmd/Ctrl + P, the wand icon, or the Help menu
- Scope: Commands, files, repositories, branches, stashes, worktree-related navigation, settings, logs, and patches
- Search behavior: Results filter live as you type
- Execution model: Press Enter to run the selected item
- Command availability depends on the current repository state, open repo context, and configured integrations
Watch how to use the Command Palette for faster workflows.
***
## Quick Start
- Open with Cmd + P (macOS) or Ctrl + P (Windows/Linux), or click the wand icon in the top-right toolbar.
- Start typing to filter available commands. Results update as you type.
- Press Enter to run the selected command.
Common actions available through the Command Palette:
- **File management**: Create File, Delete File, Open File, Stage all changes, Discard all changes
- **Branch operations**: Create Branch, Rename Branch, Checkout, Push, Pull, Fetch All
- **Repository**: Open Repo, Clone, Init, Perform Repo Maintenance
- **Stash**: Create, Apply, Pop
- **View and settings**: Toggle Theme, Toggle Left Panel, Keyboard Shortcuts, Switch to Profile
- **Terminal and workflow**: Open in terminal for command-line tasks and manual coding agent workflows
The Command Palette is available at any time regardless of which panel or view is currently active in GitKraken Desktop.
***
## How to open the Command Palette
You can launch the Command Palette in three ways:
- Use the keyboard shortcut:
- Cmd + P on macOS
- Ctrl + P on Windows/Linux
- Click the icon in the top-right toolbar
- Go to the Help menu → Open Command PaletteStart typing to filter commands, files, repos, and more.
***
## What command categories are available
Below is a list of supported commands grouped by category.
### Repo
- `Close Tab`
- `Open Repo`
- `Open in file manager`
- `Open in External Editor`
- `Open in External Diff/Merge Tool`
- `Open in terminal`
- `Repo Management: Clone`
- `Repo Management: Init`
- `Repo Management: Open`
- `Perform Repo Maintenance`
`Open in terminal` is especially useful when you want to start a command-line workflow in the current repository or worktree, including a manual coding agent workflow. For more information, see [GitKraken Terminal Guide](/gitkraken-desktop/terminal/) and [Coding Agents in GitKraken Desktop](/gitkraken-desktop/agents/).
### Settings
- `Configure Git Flow`
- `Configure LFS`
- `Configure GPG Signing`
- `Initialize LFS on this repo`
- `Join the Light side` / `Join the Dark side`
- `Manage Account`
- `Settings`
- `Switch to Profile` + `profile name`
### View
- `Decrease Zoom`
- `Increase Zoom`
- `Keyboard Shortcuts`
- `Reset Zoom`
- `Toggle Left Panel`
- `Toggle Commit Detail Panel`
- `Toggle Syntax Highlighting`
- `Toggle Theme`
### History
- `Blame` + `filename`
- `History` + `filename`
- `Search Commits` + `message` / `sha` / `author`
### Core
- `Redo`
- `Undo`
### File
- `Create File` + `filename`
- `Delete File` + `filename`
- `Open File` + `filename`
- `View File` + `filename`
- `Edit File` + `filename`
- `Discard all changes`
- `Stage all changes`
- `Unstage all changes`
### Stash
- `Stash: Apply`
- `Stash: Create`
- `Stash: Pop`
### Branch
- `Create Branch`
- `Create Tag`
- `Create Annotated Tag`
- `Fetch All`
- `Pull`
- `Push`
- `Rename Branch`
- `Start Pull Request`
- `View Working Directory Changes`
### Checkout
- `Checkout` + `{branch name}`
### Patch
- `Create patch from all working directory changes`
- `Apply patch`
### Logs
- `Activity logs`
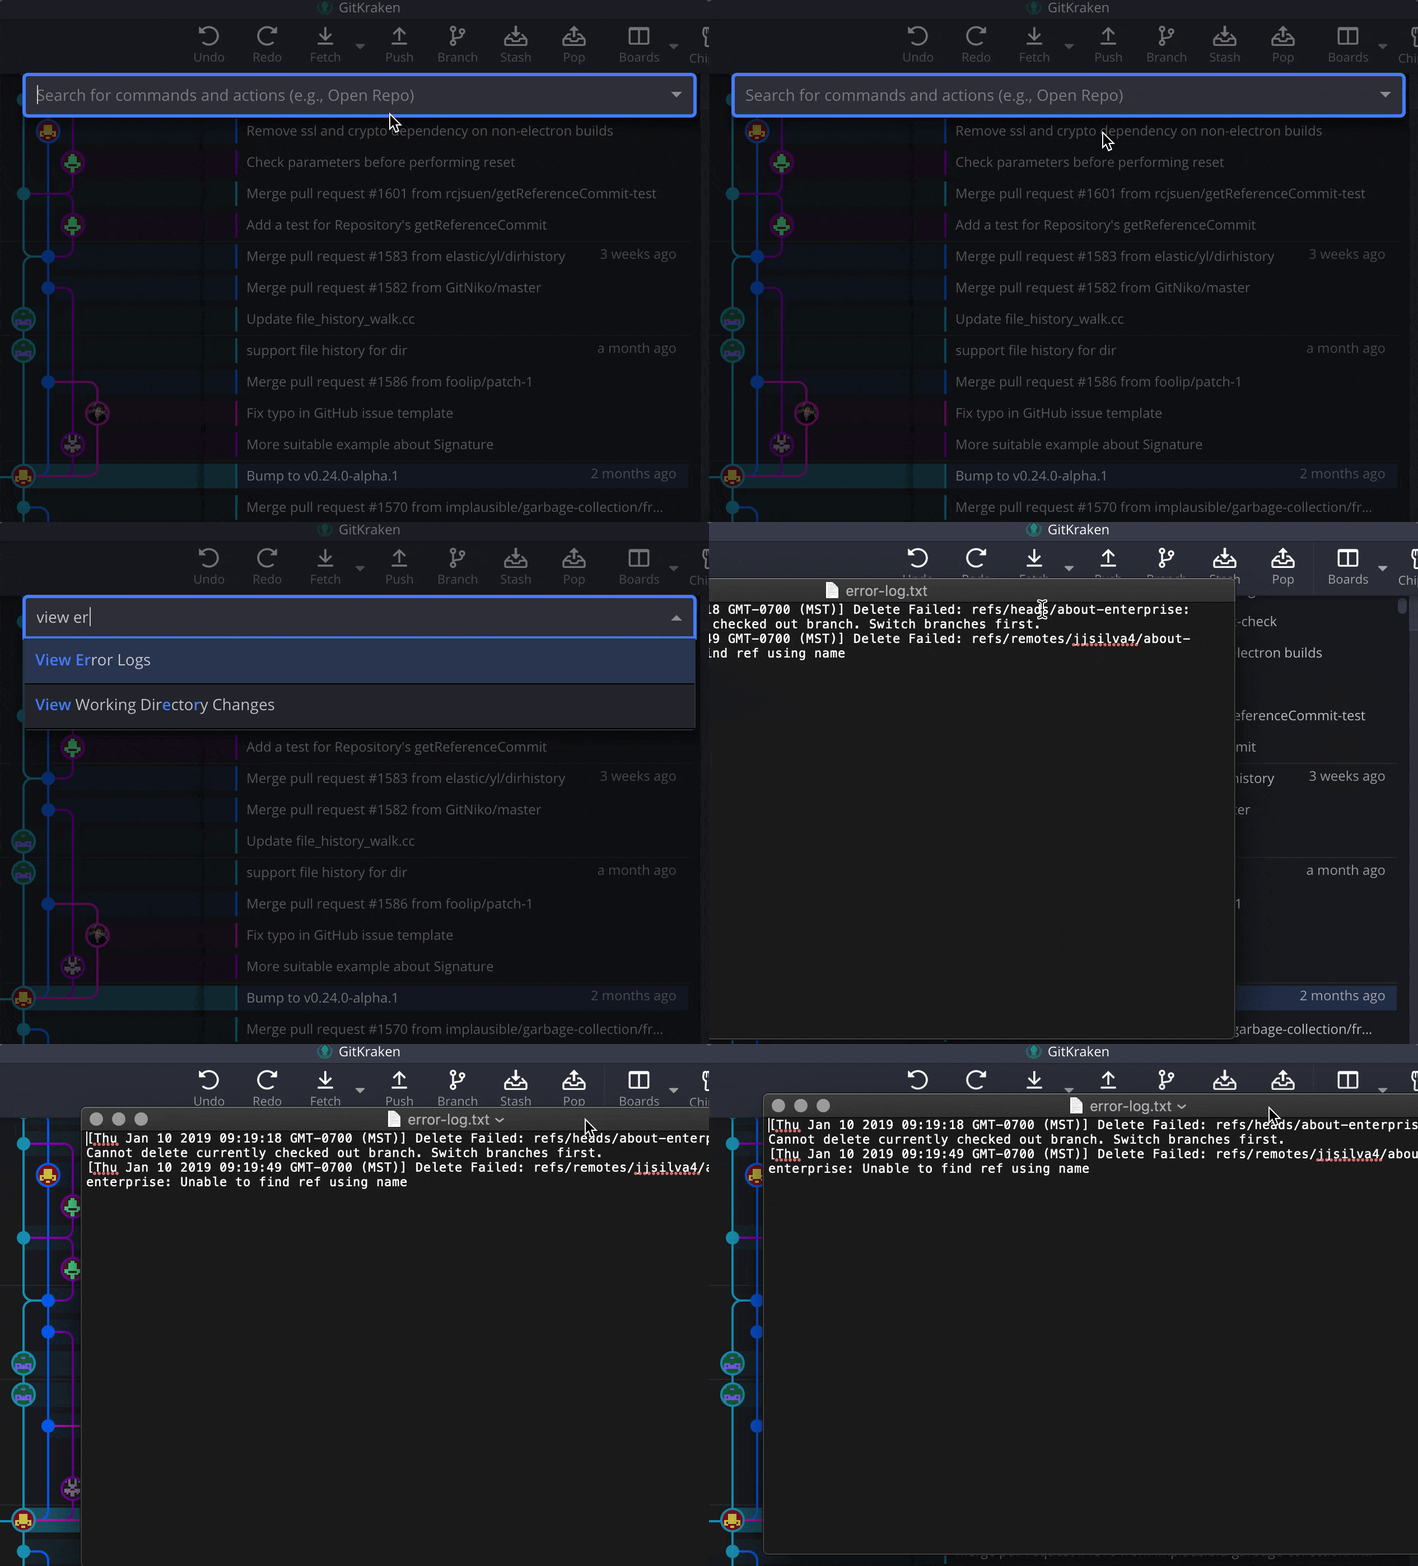
- `View Error Logs`
- `View Performance Logs`
- `View Release Notes`
---
# GitKraken Desktop Documentation & Support | Master Git with GitKraken
URL: https://help.gitkraken.com/gitkraken-desktop/gitkraken-desktop-home/
Description: Learn Git with GitKraken Desktop. Explore tutorials, installation guides, Git basics, integrations, release notes, FAQs, and more from the GitKraken Help Center.
Product: GitKraken Desktop
Feature: Help Center Home
Content type: home
Audience: all
Plan required: all
Status: GA
Last verified: 2026-03
Last updated: April 2026
Use this page as the GitKraken Desktop Help Center entry point when you need to find installation guidance, interface walkthroughs, coding agent workflows, worktrees, terminal usage, integrations, release notes, or support resources. It is the best cold-start page for agents and users who need a routing layer into the rest of the documentation set.
**Requirements and limits**
- This page is a routing guide to the GitKraken Desktop Help Center, not a single-feature reference page.
- Use the linked docs for plan requirements, OS support, version constraints, and step-by-step workflows.
- Installation, integrations, and release notes each maintain their own constraints and compatibility details.
- Coding agent, worktree, terminal, and on-premises workflows each have dedicated pages with deeper setup and behavior details.
- The overview video is optional; the navigation links are the primary path for finding current documentation.
Watch the overview video or use the navigation menu to dive straight into what you need.
## GitKraken Desktop tutorial
---
## How to get started
Use these pages to get started with the part of GitKraken Desktop you need:
- [How to Install](/gitkraken-desktop/how-to-install/) - Install GitKraken Desktop on Windows, macOS, or Linux.
- [Interface Basics](/gitkraken-desktop/interface/) - Learn how the toolbar, Left Panel, Commit Graph, and Commit Panel fit together.
- [Coding Agents in GitKraken Desktop](/gitkraken-desktop/agents/) - Use Agent Sessions View to create, monitor, and manage coding agent sessions.
- [Manage Git Worktrees in GitKraken Desktop](/gitkraken-desktop/worktrees/) - Create, switch, lock, and remove worktrees.
- [GitKraken Terminal Guide](/gitkraken-desktop/terminal/) - Use the embedded terminal for Git commands and manual coding agent workflows.
- [Integrations](/gitkraken-desktop/integrations/) - Connect repositories, issue trackers, and related services.
- [New to Git](/gitkraken-desktop/guide/) - Learn core Git concepts and common workflows.
- [Release Notes](/gitkraken-desktop/current/) - Review the latest changes in GitKraken Desktop.
- [FAQ](/gitkraken-desktop/faq/) - Find answers to common questions.
- [Cheat Sheet](https://www.gitkraken.com/pdfs/gitkraken-git-gui-cheat-sheet?product=gitkraken&source=help_center) - Keep common actions and shortcuts nearby.
## On-premises deployment
Use these pages if your organization runs GitKraken Desktop in an on-premises environment:
- [Set Up GitKraken Self-Hosted Server (On-Premise)](/gitkraken-desktop/self-hosted/) - Learn how Self-Hosted Server works and which Desktop features are supported.
- [GitKraken On-Premise Serverless (Stand-Alone) Setup](/gitkraken-desktop/serverless/) - Install and license Serverless in offline or tightly controlled environments.
---
## Additional resources
Use these resources if you want support or want to share product feedback:
- [Make a Feature Request](https://feedback.gitkraken.com/?product=gitkraken&source=help_center) - Share product ideas and feedback.
- [Join GitKraken Slack](https://www.gitkraken.com/join-slack-community?product=gitkraken&source=help_center) - Connect with other GitKraken users.
- [Contact Support](https://help.gitkraken.com/gitkraken-desktop/contact-support?product=gitkraken&source=help_center) - Get help with GitKraken Desktop issues.
---
# GitKraken Desktop Interface Guide | Toolbar, Panels, and Graph
URL: https://help.gitkraken.com/gitkraken-desktop/interface/
Description: Learn how to navigate the GitKraken Desktop interface. Explore the toolbar, Left Panel, Commit Panel, and Commit Graph with visual guides and tips.
Product: GitKraken Desktop
Feature: Interface
Content type: overview
Audience: developer
Plan required: all
Status: GA
Last verified: 2026-04
Last updated: April 2026
Use this page to understand the main areas of the GitKraken Desktop interface so you can navigate repository actions, history, staging, coding agent workflows, and collaboration features more efficiently. It covers the toolbar, Left Panel, Commit Panel, Commit Graph, and tabs, with links to deeper task-specific guides when you need more than a UI overview.
**Requirements and limits**
- Scope: Interface overview, not full task-specific workflows
- Main areas covered: Toolbar, Left Panel, Commit Graph, Commit Panel, and tabs
- Repository context: Most controls described here appear only when a repository is open
- Left Panel modes: The Left Panel can show either List view or Agent Sessions View, depending on the selected mode
- Left Panel behavior: Sections can be toggled, resized, collapsed, or expanded from the UI
- Toolbar behavior: Some buttons appear only when the relevant feature or repo state is available, such as LFS
- Deeper actions: Use linked feature pages for task-specific limits and workflows beyond this interface overview
***
## Quick Start
- **Left Panel**: Shows repository references, worktrees, and integrations. In `List | Agents`, click **List** for the traditional reference-based view or **Agents** for Agent Sessions View, which organizes worktrees around coding agent sessions.
- **Commit Graph**: Displays the visual commit history of the current repository. Click any commit to view its details in the Commit Panel. Click the WIP node at the top to view and stage pending changes.
- **Commit Panel**: Shows file changes for the selected commit or WIP. Displays diffs, staged/unstaged files, and co-author information. Use it to stage files and write commit messages.
- **Toolbar**: Located at the top of the window. Provides one-click access to Undo, Redo, Pull, Push, Branch, Stash, and Pop. Use the adjacent dropdowns to customize pull behavior or branch options.
To open the Command Palette at any time, press Cmd/Ctrl + P. To toggle the Left Panel, use Cmd/Ctrl + K or the toggle in the toolbar. Preferences and integrations are accessible from the gear icon in the upper-right corner.
***
From left to right, GitKraken Desktop displays the Left Panel, Commit Graph, and Commit Panel when working with a repository. The Left Panel can show either List view or Agent Sessions View.
GitKraken Desktop UI includes Left Panel, Commit Graph, and Commit Panel.
## How the toolbar works
The main toolbar provides quick access to common repository actions, including Undo, Redo, Pull, Push, Branching, and more.
### History actions
| Icon | Button | What it does |
| --- | --- | --- |
| | **Undo** | If an action can be undone, the Undo button is activated. Click to reverse the last undoable action. |
| | **Redo** | Click Redo to reverse the last undo command. |
### Sync actions
| Icon | Button | What it does |
| --- | --- | --- |
| | **Pull** | Click to pull changes from the remote repository. Use the adjacent dropdown to choose pull behavior: |
| | **Push** | Push changes to the upstream remote repository. |
* Fetch All
* Pull (fast-forward if possible)
* Pull (fast-forward only): same as `git fetch && git merge --ff-only`
* Pull (rebase): same as `git fetch && git rebase`
Tip: Click the next to a pull type to make it the default. The selected default displays a .
### Branch actions
| Icon | Button | What it does |
| --- | --- | --- |
| | **Branch** | Create a new branch from your current HEAD. |
### Work-in-progress actions
| Icon | Button | What it does |
| --- | --- | --- |
| | **Stash** | Temporarily save your changes without committing using a stash. |
| | **Pop Stash** | Restore changes from the most recent stash. |
### Conditional actions
| Icon | Button | What it does |
| --- | --- | --- |
| | **LFS** | This button appears if LFS is enabled for your repository. |
Note: To toggle toolbar labels, go to Preferences > UI Preferences and enable Show toolbar icon labels.
***
## How the Left Panel works
The Left Panel provides access to repository references, such as local branches, remotes, and tags. You can:
* Collapse or expand sections
* Resize the panel and sections
* Toggle visibility via the context menu
* Maximize a section by double-clicking the header
* Switch the Left Panel mode with the `List | Agents` segmented control at the top
* Use **List** for the traditional reference-based view described below
* Use **Agents** to open **Agent Sessions View**, which organizes the same underlying worktrees around coding agent sessions, status, and quick actions
* See [Coding Agents in GitKraken Desktop](/gitkraken-desktop/agents/) for agent session setup and workflows
* See [Manage Git Worktrees in GitKraken Desktop](/gitkraken-desktop/worktrees/) for general worktree management
* The segmented control can be hidden from Preferences > UI Customization
List view and Agent Sessions View use the same underlying worktrees. Use List view for general branch and worktree management. Use Agent Sessions View for coding agent sessions, agent status, and related quick actions.
For in-app terminal behavior, worktree-specific terminal sessions, and manual coding agent workflows, see [GitKraken Terminal Guide](/gitkraken-desktop/terminal/).
Resize, collapse, or expand any section of the Left Panel.
| Icon | Section | What it does |
| --- | --- | --- |
| | **Local** |
References to local branches that point to specific commits.
The Commit Panel is where files and changes from your working directory are staged and committed.
The Commit Panel displays file changes and commit metadata.
The three sections in order of operations are:
1. _Unstaged Files_ - Modified files not yet added to the index.
2. _Staged Files_ - Files staged for the next commit.
3. _Commit Message_ - A two-part message interface:
* **Summary**: A brief, informative message shown in the graph.
* **Description**: Additional details to support the summary.
Color indicators help distinguish file changes (e.g., renamed, deleted).
To explore more about staging and committing, visit [committing work](/working-with-commits/commits).
***
## How the Commit Graph works
Resize the Commit Graph by dragging column dividers.
The Commit Graph is a visual representation of your repo’s Directed Acyclic Graph (DAG), showing each commit and its relationships.
Each row is a commit, with the most recent at the top. Columns represent branches; lines indicate merges and relationships.
Legend for interpreting commit history and branching paths.
You can trace branch history from bottom to top and right to left.
### How ghost branches work
Hover over or select a commit to see its nearest containing branch ("ghost" branch). Double-click to check out its head.
Ghost branches help locate a commit’s closest reference.
### How commit highlighting works
Hovering over a branch highlights all related commits.
Unrelated commits fade when a branch is hovered.
Toggle this behavior from Preferences > UI Customization.
***
## How tabs work
Switch between multiple repositories using tabs.
Rearrange tabs via drag-and-drop.
Use shortcuts cmd/ctrl+1-9 to switch tabs. Open new tabs with + or cmd/ctrl+T, and close tabs with middle-click or cmd/ctrl+W.
Tabs persist per [profile](/start-here/profiles/).
Tabs adjust automatically when switching profiles.Dropdown icon displays all open repositories.Hover to view file paths associated with open tabs.
### Tab alias and name
Right-click a tab and select Alias repository to assign a custom name.
Assign aliases to distinguish repositories in tabs.
***
## Columns
GitKraken Desktop displays these default columns: Branch/Tag, Graph, Commit Message. Columns are rearrangeable.
Drag column headers to reorder.
Right-click headers to toggle columns like Author, Date/Time, or Sha. You can also use the gear icon.
Enable/disable columns using header context menu.Customize columns using the gear icon menu.
Filter commits by author via the in the AUTHOR column.
Search and filter by commit author or team.
GitKraken Desktop saves column selections, widths, and order per repo. Columns are also configurable from Preferences > UI Customization.
For more advanced views, see [Hiding and Soloing](/working-with-repositories/hiding-and-soloing).
---
# GitKraken Desktop Keyboard Shortcuts | Speed Up Your Git Workflow
URL: https://help.gitkraken.com/gitkraken-desktop/keyboard-shortcuts/
Description: Master GitKraken Desktop with this complete list of keyboard shortcuts for staging, navigating, committing, and managing tabs.
Product: GitKraken Desktop
Feature: Keyboard Shortcuts
Content type: reference
Audience: developer
Plan required: all
Status: GA
Last verified: 2026-03
Last updated: April 2026
This keyboard shortcut reference helps you work faster in GitKraken Desktop on macOS, Windows, and Linux. Use it to find shortcuts for staging, committing, navigating the Commit Graph, opening the Command Palette, managing tabs, toggling interface panels, and opening the terminal without leaving the keyboard.
**Requirements and limits**
- Shortcut values differ between macOS and Windows/Linux, so check the correct platform column before using a shortcut.
- The ⌘ symbol refers to the Command key on macOS.
- This page is a reference for built-in GitKraken Desktop shortcuts; availability depends on the relevant view or repository context being open.
- Shortcuts are grouped by task area, including repo actions, navigation, the Command Palette, interface controls, and tabs.
Note: The ⌘ symbol refers to the Command key on macOS.
***
## How to open the keyboard shortcuts list
Action
Mac
Windows/Linux
Open keyboard shortcuts
⌘/
Ctrl/
## Keyboard shortcuts for repo actions
Mac
Windows/Linux
Create branch
⌘B
CtrlB
Fetch all
⌘L
CtrlL
Stage the current file
S
S
Stage all files
⌘ShiftS
CtrlShiftS
Unstage the current file
U
U
Unstage all files
⌘ShiftU
CtrlShiftU
Commit staged files with current message
⌘Enter
CtrlEnter
Stage all files and commit with current message
⌘ShiftEnter
CtrlShiftEnter
Focus commit message box
⌘ShiftM
CtrlShiftM
### Keyboard shortcuts for navigation
Mac
Windows/Linux
Select previous item
J or ↓
J or ↓
Select next item
K or ↑
K or ↑
Select the item to the right
L or →
L or →
Select the item to the left
H or ←
H or ←
Select next item in branch
Shift↓ ShiftJ
Shift↓ ShiftJ
Select previous item in branch
Shift↑ ShiftK
Shift↑ ShiftK
Select first commit in graph
⌘↑
CtrlHOME
Select last commit in graph
⌘↓
CtrlEND
Undo
⌘Z
CtrlZ
Redo
⌘Y ⌘ShiftZ
CtrlY CtrlShiftZ
### Keyboard shortcuts for the Command Palette
Mac
Windows/Linux
Toggle Command Palette
⌘P
CtrlP
Search commits
⌘F
CtrlF
Open repo via Command Palette
⌘ShiftO
CtrlShiftO
Search file to view history and blame
⌘ShiftH
CtrlShiftH
Focus the Left Panel filter bar
⌘OptionF
CtrlAltF
Open current repo in terminal
OptionT
AltT
Open current repo in File Manager
AltO
AltO
Open diff or merge tool
⌘D
CtrlD
Close current repo
⌘W
CtrlW
Search within file (if file content has focus)
⌘F
CtrlF
Use **Open current repo in terminal** when you want to jump into the embedded terminal for command-line tasks or manual coding agent workflows in the current repository or worktree. For more information, see [GitKraken Terminal Guide](/gitkraken-desktop/terminal/).
### Keyboard shortcuts for the interface
Mac
Windows/Linux
Toggle Fullscreen Mode
Control⌘F
F11
Increase Zoom
⌘= ⌘+
Ctrl= Ctrl+
Decrease Zoom
⌘−
Ctrl−
Reset zoom
⌘0
Ctrl0
Toggle the Left Panel
⌘J
CtrlJ
Toggle the Commit Detail panel
⌘K
CtrlK
Focus the search bar
⌘F
CtrlF
Focus the Left Panel filter bar
⌘OptionF
CtrlAltF
Close the current panel (if one is open)
Esc
Esc
### Keyboard shortcuts for tabs
Mac
Windows/Linux
New Tab
CmdT
CtrlT
Close Tab
CmdW
CtrlW
Swap to Tab #1-9
⌘#1-9
Ctrl#1-9
Jump to next open tab
⌘Tab
CtrlTab
Jump to previous open tab
⌘ShiftTab
CtrlShiftTab
---
# GitKraken Desktop Preferences | Customize Settings & Workflow
URL: https://help.gitkraken.com/gitkraken-desktop/preferences/
Description: Explore GitKraken Desktop’s Preferences to control themes, integrations, profiles, commit signing, notifications, terminal settings, and more.
Product: GitKraken Desktop
Feature: Preferences
Content type: reference
Audience: developer
Plan required: all
Status: GA
Last verified: 2026-04
Last updated: April 2026
Use this page to understand what each major Preferences section controls in GitKraken Desktop, including profiles, integrations, AI settings, external tools, commit signing, terminal behavior, Agent Sessions View settings, and repository-specific options. Start here when you need to know where a setting lives before changing your workflow or environment.
**Requirements and limits**
- Scope: Preferences overview for app-wide, profile-specific, and repository-specific settings
- Access point: Gear icon in the top-right corner of GitKraken Desktop
- Profile behavior: Preferences are stored per profile, so switching profiles changes integrations and UI configuration
- Repo-specific settings: Some settings apply only to the currently open repository
- Plan-gated sections: Organization settings, GitKraken AI, and some notification controls depend on plan level
- Use this page for setting location and scope; follow linked feature pages for detailed workflow constraints
***
## Quick Start
- **General**: Set auto-fetch intervals, conflict detection behavior, commit graph limits, and tab retention.
- **Profiles**: Create and switch between profiles to separate Git identities, integrations, and tab sets.
- **SSH and Integrations**: Connect to GitHub, GitLab, Bitbucket, Azure DevOps, Jira, Trello, and more.
- **GitKraken AI**: Enable AI-assisted commit messages and PR descriptions (Pro plan and above).
- **External Tools**: Set your preferred editor, diff tool, merge tool, default terminal, and custom coding agent commands.
- **UI Customization**: Change themes, date formats, avatar display, and commit graph metadata.
- **Commit Signing**: Enable GPG signing for verified commits.
- **Experimental**: Try preview features such as the Git binary executor.
- **Repo-Specific Preferences**: Configure encoding, Gitflow, hooks, LFS, issues, Team View, and agent setup commands per repository.
Preferences are stored per profile, so switching profiles resets integrations and UI options to that profile's configuration.
Access Preferences from the gear icon in the top right corner
***
## How organization settings work
This section is labeled with your organization's name. It shows members and teams, and allows Owners and Admins to:
- Manage member roles
- Invite users and assign licenses
- Create and manage teams
Note: Organization settings are available on the Pro plan and above.
***
## How General preferences work
Configure app-wide behavior like auto-fetch, conflict detection, and commit graph settings.
| Setting | What it controls |
| --- | --- |
| **Auto-Fetch** | Set an interval (0–60 minutes); 0 disables auto-fetch. |
| **Auto-Prune** | Removes stale remote-tracking references. |
| **Automatic Conflict Detection** | GitKraken monitors for base branch conflicts. |
| **Keep Submodules Up to Date** | Auto-update submodules after Git actions. |
| **Default Branch Name** | Used when initializing new repos (default is `main`). |
| **Delete ".orig" Files** | Control cleanup of merge backup files. |
| **Show All Commits in Graph** | May affect performance on large repos. |
| **Initial Commits in Graph** | Define max visible commits (minimum: 500). |
| **Lazy Load Commits** | Loads more commits only as needed. |
| **Remember Tabs** | Saves open tabs and profile context between sessions. |
| **Longpaths / AutoCRLF** | Windows-only settings tied to global `.gitconfig`. |
| **Extended Logging** | Toggle detailed activity logs from Help > Support Logs. |
| **Forget All Credentials** | Clears stored usernames and passwords. |
| **Share Work-in-Progress** | Enables visibility for teammates via the [Team View](/gitkraken-desktop/team-view/). |
***
## How profile preferences work
Store unique settings, tabs, and integrations per context. Useful for multi-account workflows.
[Learn more about Profiles](/start-here/profiles)
***
## How SSH and integration preferences work
Control access and connections to remote repositories:
- [SSH settings](/gitkraken-desktop/authentication/#ssh)
- Git hosting integrations for GitHub, GitLab, Bitbucket, Azure DevOps, etc.
- Issue tracker integrations like Jira and Trello
***
## How GitKraken AI preferences work
This feature is available for Pro plans or higher.
Let [GitKraken AI](/gitkraken-desktop/gkd-gitkraken-ai) automate repetitive Git tasks to improve your efficiency.
***
## How external tool preferences work
Configure your preferred editors, terminals, coding agent commands, and diff/merge tools.
- **External Merge Tool**: [View supported tools](/working-with-repositories/branching-and-merging/#external-merge-tools)
- **External Diff Tool**: [View supported tools](/working-with-commits/diff/#external-diff-tools)
- **External Editor**: Choose from VS Code, Atom, Sublime, IntelliJ, or custom path
- **Default Terminal**: Launch from File > Open Terminal or Alt/Option + T
- **Use Custom Terminal Command**: Example for PowerShell: `start "" "C:\Program Files\PowerShell\7\pwsh.exe" -noexit -command "cd %d"`
- **Coding Agent**: Configure custom commands or arguments used when GitKraken Desktop starts a coding agent session. Supported coding agent CLIs such as Claude Code, Codex CLI, Copilot CLI, Gemini CLI, and OpenCode can be auto-detected based on what is installed on your machine. You can choose the coding agent for a session in the New Agent Session form. See [Coding Agents in GitKraken Desktop](/gitkraken-desktop/agents/).
macOS Note: Use the executable file, not the .app, when selecting a custom editor.
***
## How notification preferences work
Control product and marketing messages:
- Enable Desktop Notifications
- Receive Marketing and Help Notifications
Note: Marketing notifications can be disabled only by Pro, Advanced, Business, and Enterprise users.
***
## How UI customization preferences work
Visual preferences for theming and commit graph display:
- [Themes](/start-here/themes)
- Notification location
- Date/time locale and formatting
- Author initials vs. avatars
- Graph metadata: branches, tags, author, commit message, SHA, etc.
- Hide Launchpad from the status bar
- Show Agents view in left panel. See [Coding Agents in GitKraken Desktop](/gitkraken-desktop/agents/).
If you want to switch between the standard Left Panel and Agent Sessions View, go to Preferences > UI Customization and enable **Show Agents view in left panel**.
Enable Show Agents view in left panel to display the List | Agents toggle
***
## How commit signing preferences work
Enable and configure [GPG signing](/git-workflows-and-extensions/commit-signing-with-gpg/#configure-gpg-in-gitkraken) for commit verification.
***
## How editor preferences work
Customize code and diff viewer:
- Font, size, tab spacing
- EOL characters
- Syntax highlighting
- Line numbers and word wrap
***
## How in-app terminal preferences work
Adjust the appearance and behavior of GitKraken’s terminal:
- Font, size, line height, cursor
- Autocomplete behavior
- Default terminal for Windows
For worktree-specific terminal sessions and manual coding agent workflows, see [GitKraken Terminal Guide](/gitkraken-desktop/terminal/).
***
## How experimental preferences work
Preview [Experimental Features](/gitkraken-desktop/experimental-features):
- Switch from NodeGit to Git binary (limited support)
- AI commit message generation
***
## How repo-specific preferences work
These apply only to the open repository:
- [Encoding](/gitkraken-desktop/editing-files/#encoding)
- [Gitflow](/gitkraken-desktop/git-flow/)
- [Git Hooks](/gitkraken-desktop/githooks/)
- [LFS](/gitkraken-desktop/git-lfs/)
- [Commit settings](/working-with-commits/commits/)
- [Issues](/gitkraken-desktop/jira/)
- [Team View](/gitkraken-desktop/team-view/)
- [Submodules](/gitkraken-desktop/submodules/#keep-submodules-up-to-date)
- [Agents](/gitkraken-desktop/agents/#how-to-configure-setup-commands) - Setup commands such as install scripts or build steps that run when a new agent session starts in a worktree
You can configure these uniquely per repository.
---
# GitKraken Desktop Tips | Productivity Shortcuts & Power Features
URL: https://help.gitkraken.com/gitkraken-desktop/tips/
Description: Discover top GitKraken Desktop tips to speed up your workflow—Profiles, Command Palette, integrations, cherry pick, and more advanced features.
Product: GitKraken Desktop
Feature: Tips and Power Features
Content type: overview
Audience: developer
Plan required: all
Status: GA
Last verified: 2026-03
Last updated: April 2026
This page highlights GitKraken Desktop features that help developers move faster across everyday Git work. Use these tips to set up profiles, navigate with the Command Palette and shortcuts, connect integrations, manage coding agent and worktree workflows, and customize the Commit Graph when you want a more efficient workflow.
**Requirements and limits**
- This page is a curated overview that links to feature-specific documentation; use the linked pages for full steps and edge cases.
- Some tips reference paid features, including multiple Profiles and certain integrations.
- Integration capabilities vary by Git provider and plan, especially for Azure DevOps and self-hosted services.
- Shortcut, Command Palette, and UI behavior may differ by operating system or repository context.
***
## How to set up profiles
Separate work and personal repositories—or manage multiple accounts with [Profiles](/start-here/profiles).
Each profile can save a unique integration connection.
Each profile retains its own Git config, preferences, and open tabs.
***
## How to use the Command Palette
The [Command Palette](/start-here/command-palette) helps you navigate GitKraken quickly with keyboard-driven actions.
Use the Command Palette to launch repositories, open editors, and more.
Common actions:
**Core**
- `Undo`, `Redo`
**File**
- `Create File`, `Delete File`, `Open File`, `Edit File`, `View File`
- `Discard all changes`, `Stage all changes`, `Unstage all changes`
***
## How to use keyboard shortcuts
Speed through tasks with [keyboard shortcuts](/start-here/keyboard-shortcuts).
Action
Mac
Windows/Linux
Open keyboard shortcuts
⌘/
Ctrl/
***
## How to use Agent Sessions View for parallel work
Use [Coding Agents in GitKraken Desktop](/gitkraken-desktop/agents/) when you want to start and monitor coding agent sessions in parallel. In the Left Panel, use the `List | Agents` toggle to switch between the traditional List view and Agent Sessions View.
Agent Sessions View uses the same underlying worktrees as List view, but organizes them around coding agent sessions, status, and quick actions. For general worktree management, see [Manage Git Worktrees in GitKraken Desktop](/gitkraken-desktop/worktrees/).
***
## How to cherry pick multiple commits
Select multiple commits using Cmd/Ctrl or Shift, then right-click and select Cherry pick X commits.
Select multiple commits from the graph to cherry pick them together.
You can reorder, squash, drop, or rename commits before completing. Learn more in [Interactive Cherry Pick](/gitkraken-desktop/cherrypick/).
***
## How to integrate with Git services
Connect GitKraken Desktop with [GitHub, GitLab, Bitbucket, and Azure DevOps](/gitkraken-desktop/integrations/) to streamline cloning, remotes, and PR workflows.
Connect your Git provider to speed up repository access.
**Plan notes:**
- Community users are limited to public repositories on GitHub/GitLab/Bitbucket.
- Azure DevOps integration requires a GitKraken subscription.
- Self-Hosted services require a paid plan that supports self-hosted integrations.
**Benefits:**
- Create repos and configure `.gitignore` or license files
- Clone via remote repo list
- Manage remotes and pull requests
***
## How to hide and solo branches
Control the Commit Graph display with [Hide and Solo](/gitkraken-desktop/hiding-and-soloing/) options.
Hide
Click the eye next to a branch or right-click to hide it. Hidden branches show a gray icon.
Solo
Right-click a branch and select `Solo` to show only that branch. Repeat to solo/unsolo other branches using the orange icon.
***
## How to view file history and blame
[View file history and blame](/gitkraken-desktop/diff/#file-blame-and-history) by clicking a commit and right-clicking a file.
Right-click a file to view its history or blame.Switch between commit diff and file view with blame.
***
## How to open the GitKraken Desktop terminal
Run Git commands with the [GitKraken Terminal](/gitkraken-desktop/terminal/). Click in the toolbar or use Alt/Opt + T.
You can also use the embedded terminal for manual coding agent workflows in a repository or worktree, including agents that GitKraken Desktop does not explicitly integrate with.
Set a default terminal from Preferences > External Tools. For terminal sessions that follow your active worktree, see [GitKraken Terminal Guide](/gitkraken-desktop/terminal/).
***
## How to resize the Commit Graph
Hover over the graph’s colored lines and drag to resize.
Adjust the graph view to focus on the information you need.
---
# Install GitKraken Desktop on Windows, macOS & Linux | Setup Guide
URL: https://help.gitkraken.com/gitkraken-desktop/how-to-install/
Description: Step-by-step installation guide for GitKraken Desktop on Windows, macOS, and Linux. Includes system requirements, video tutorials, and tips for WSL users.
Product: GitKraken Desktop
Feature: Installation
Content type: how-to
Audience: developer
Plan required: all
Status: GA
Last verified: 2026-03
Last updated: April 2026
This installation guide explains how to install GitKraken Desktop on Windows, macOS, and Linux, including platform-specific download methods, system requirements, and data locations. Use it when setting up GitKraken Desktop for the first time or when verifying the correct installer and OS support for your environment.
**Requirements and platform support**
- Windows: Windows 10+
- macOS: macOS 12+ on Intel and Apple Silicon
- Linux `.deb`: Ubuntu 18.04+ LTS or Debian 10+
- Linux `.rpm`: RHEL 8+ or Fedora 39+
- Linux support note: Other distributions may work but are not officially supported
- Advanced features note: Git command-line tools are optional for basic use, but recommended for features such as the terminal, experimental tools, or Git LFS
- Coding agent note: Coding agent CLIs such as Claude Code, Codex CLI, Copilot CLI, Gemini CLI, and OpenCode are installed separately from GitKraken Desktop
***
## Quick Start
1. [Download GitKraken Desktop](https://gitkraken.com/download?product=gitkraken&source=help_center) for your platform.
2. Run the installer:
- **Windows**: Double-click the `.exe` file. GitKraken Desktop installs and launches automatically.
- **macOS**: Open the `.dmg` file and drag the GitKraken icon into your Applications folder.
- **Linux (.deb)**: Run `wget https://release.gitkraken.com/linux/gitkraken-amd64.deb && sudo apt install ./gitkraken-amd64.deb`.
- **Linux (.rpm)**: Run `wget https://release.gitkraken.com/linux/gitkraken-amd64.rpm && sudo dnf install ./gitkraken-amd64.rpm`.
3. Launch GitKraken Desktop:
- **Windows/macOS**: Use the shortcut or Applications folder.
- **Linux**: Run `gitkraken` in a terminal.
No Git command-line tools are required for basic use. For advanced features like the terminal, Git LFS, or experimental tools, [install Git from git-scm.com](https://git-scm.com/). If you want to use coding agents in GitKraken Desktop, install the coding agent CLI separately. For more information, see [Coding Agents in GitKraken Desktop](/gitkraken-desktop/agents/).
***
## How to install GitKraken Desktop on each platform
There are three simple steps to get started with GitKraken Desktop:
1. [Download GitKraken Desktop](https://gitkraken.com/download?product=gitkraken&source=help_center)
2. Install GitKraken Desktop
3. Launch and start using GitKraken Desktop
No Git command-line tools are required. Once you run the installer, you can open the app and start working with your repositories.
If you want to use advanced features such as the terminal, experimental tools, or Git LFS, we recommend you [download Git from git-scm.com](https://git-scm.com/). If you want to use coding agents, install the coding agent CLI separately from GitKraken Desktop.
Below are platform-specific installation instructions and system requirements.
Looking for GitKraken On-Premise Self-Hosted installation instructions? Please begin with our On-Premise System Requirements page.
---
## How to install GitKraken Desktop on Windows
**System requirements:** Windows 10+
- [Download GitKraken Desktop for Windows (64-bit)](https://gitkraken.com/download/windows64)
### How to run the Windows installer
Double-click the downloaded executable file. A splash screen will appear while GitKraken Desktop is installed. The application will automatically start when installation completes.
### Where GitKraken Desktop stores data on Windows
GitKraken Desktop data is stored in your user profile directory at:
```
C:\\Users\\{user}\\AppData\\Roaming\\.gitkraken
```
---
## How to install GitKraken Desktop on macOS
**System requirements:**
- Intel: macOS 12+
- Apple Silicon: macOS 12+
- [Download GitKraken Desktop for macOS](https://gitkraken.com/download/mac?product=gitkraken&source=help_center)
### How to run the macOS installer
Double-click the downloaded DMG file. When prompted, drag and drop the GitKraken icon into your Applications folder.
Drag and drop the GitKraken icon to the Applications folder.
### Where GitKraken Desktop stores data on macOS
GitKraken Desktop data is stored in:
```
/Users/{user}/.gitkraken
```
or using the shorthand:
```
~/.gitkraken
```
---
## How to install GitKraken Desktop on Linux
**System requirements:**
- **.deb**: Ubuntu 18.04+ LTS or Debian 10+
- **.rpm**: RHEL 8+ or Fedora 39+
Note 📝 - GitKraken Desktop officially supports Ubuntu 18.04+ LTS, RHEL 8+, and Fedora 39+. While it may run on other distributions, compatibility is not guaranteed.
### How to install the .deb package
In your terminal, run:
```bash
wget https://release.gitkraken.com/linux/gitkraken-amd64.deb
sudo apt install ./gitkraken-amd64.deb
```
Or [download the .deb installation package](https://gitkraken.com/download/linux-deb?product=gitkraken&source=help_center).
### How to install the .rpm package
```bash
wget https://release.gitkraken.com/linux/gitkraken-amd64.rpm
sudo dnf install ./gitkraken-amd64.rpm
```
Or [download the .rpm installation package](https://gitkraken.com/download/linux-rpm?product=gitkraken&source=help_center).
> For older distributions without `dnf`, use `yum` instead.
### How to install the .tar.gz archive
```bash
wget https://release.gitkraken.com/linux/gitkraken-amd64.tar.gz
sudo tar -xvzf gitkraken-amd64.tar.gz
```
Or [download the .tar.gz archive](https://gitkraken.com/download/linux-gzip?product=gitkraken&source=help_center).
### How to install from Snap
Install GitKraken from [Snapcraft.io](https://snapcraft.io/gitkraken?product=gitkraken&source=help_center).
### Where GitKraken Desktop stores data on Linux
GitKraken Desktop data is stored in:
```
/home/{user}/.gitkraken
```
or
```
~/.gitkraken
```
### How to use GitKraken Desktop with WSL
To use GitKraken Desktop with Windows Subsystem for Linux (WSL), refer to [our WSL setup guide](https://help.gitkraken.com/gitkraken-desktop/windows-subsystem-for-linux/).
---
## How to launch GitKraken Desktop after installation
Once installed, launch GitKraken Desktop as follows:
- **Windows:** Use the Start Menu shortcut or search for GitKraken.
- **macOS:** Open the Applications folder and double-click GitKraken.
- **Linux:** Open a terminal and run:
```bash
gitkraken
```
You’re now ready to start using GitKraken! For help getting started with repositories, branches, and remotes, check out the [Getting Started Guide](https://help.gitkraken.com/gitkraken-client/introduction-to-gitkraken-client/).
---
# Learn Git with GitKraken Desktop | Beginner Guide & Workflow
URL: https://help.gitkraken.com/gitkraken-desktop/guide/
Description: New to Git? Get started with GitKraken Desktop using this beginner-friendly guide. Learn cloning, branching, staging, committing, and merging with tutorials and videos.
Product: GitKraken Desktop
Feature: Beginner Guide
Content type: how-to
Audience: developer
Plan required: all
Status: GA
Last verified: 2026-03
Last updated: April 2026
Use this getting started guide to learn a basic GitKraken Desktop workflow: clone a repository, create a branch, make and stage changes, commit them, push the branch, and merge the work back. It is aimed at new Git users who need a practical first path through the product rather than a reference page.
**Requirements and limits**
- This page is a beginner workflow guide, not a full reference for every GitKraken Desktop option or edge case.
- You need access to a Git repository you can clone, change, commit to, and push from GitKraken Desktop.
- Merging and pushing steps depend on your remote permissions and repository policy.
- If merge conflicts occur, you may need separate merge-conflict guidance beyond this introductory walkthrough.
***
## Quick Start
1. **Clone a repository**: Go to File > Clone Repo, paste a repository URL or browse your connected Git hosting service, and click **Clone the repo**.
2. **Create a branch**: Right-click any commit in the graph and select **Create branch here**. Name it and press Enter.
3. **Make changes**: Edit files in your working directory. Saved changes appear under the WIP node in the Commit Graph.
4. **Stage changes**: Click the WIP node to open the Commit Panel. Click files to stage them, or press Cmd/Ctrl + Shift + S to stage all.
5. **Commit**: Enter a commit message and press Cmd/Enter (macOS) or Ctrl/Enter (Windows/Linux).
6. **Push**: Click **Push** in the toolbar to upload your branch to the remote.
7. **Merge**: When your work is ready, check out the target branch and right-click your feature branch to select **Merge**.
If merge conflicts occur, GitKraken Desktop opens the Merge Tool, where you can select lines from each side and commit the resolution.
***
## How to learn Git with GitKraken
In this series, you'll learn Git concepts and how to apply them using GitKraken Desktop.
Watch our Git tutorial series for beginners.
Explore how version control fits into a DevOps workflow by reading our [DevOps Tools Report](https://www.gitkraken.com/resources/devops-report-2020).
***
## GitKraken tutorials
Need help getting started with the product interface? Watch these video tutorials.
Video tutorials for using GitKraken Desktop.
***
## How local repositories work
Most Git actions in GitKraken Desktop occur in the local repository, meaning changes are made on your machine.
Local branches are indicated in the graph with the icon.
Git is fast because all changes occur locally, not over a network. Even if a remote server fails, your team retains full copies of the project.
### What the `.git` folder does
This folder contains all the metadata and commit history. If deleted, Git operations like switching branches or pulling remotes won’t work.
### What the working directory does
This is your active file state. When switching branches or pulling updates, Git modifies your working directory to match the current branch.
Learn more about [Git repositories](https://www.gitkraken.com/learn/git/tutorials/what-is-a-git-repository).
***
## How the example workflow works
Follow this workflow to make your first commit in GitKraken Desktop.
### How to create a branch
Right-click `main` in the Commit Graph and choose Create branch here. Name it `develop`—a branch for ongoing development.
Right-click main to create a new branch.
### How to modify a file
Edit `README.md` to reflect your project. You can open this file directly from the Commit Graph.
Click a filename to access the Edit button.
### How to stage and commit changes
After editing, select the //WIP node to view unstaged changes. Stage all with the green button.
Click the WIP node to view and stage changes.
Then enter a commit message and click .
Learn more about [staging](/working-with-commits/staging) and [committing](/working-with-commits/commits).
### How to merge back to main
When `develop` is ahead of `main`, you can merge:
Develop is ahead by 1 commit.
To merge, drag `develop` onto `main` in the graph and choose Merge.
Drag develop onto main to merge branches.
Learn more in [Branching and Merging](/working-with-repositories/branching-and-merging).
***
## Getting started summary
This basic workflow sets the foundation for more advanced topics like [pushing and pulling](/working-with-repositories/pushing-and-pulling) and [GitFlow](/git-workflows-and-extensions/git-flow).
When you are ready to go further, continue with:
- [GitKraken Desktop Interface Guide](/gitkraken-desktop/interface/) to learn how the Left Panel, Commit Graph, and Commit Panel fit together
- [Manage Git Worktrees in GitKraken Desktop](/gitkraken-desktop/worktrees/) to work on multiple branches in parallel
- [GitKraken Terminal Guide](/gitkraken-desktop/terminal/) to use the embedded terminal
- [Coding Agents in GitKraken Desktop](/gitkraken-desktop/agents/) to use Agent Sessions View and coding agent workflows
Watch how a commit is made using GitKraken Desktop:
Walkthrough of creating a commit in GitKraken Desktop.
---
# Open, Clone, or Initialize a Git Repository in GitKraken Desktop
URL: https://help.gitkraken.com/gitkraken-desktop/open-clone-init/
Description: Learn how to open, clone, or initialize repositories in GitKraken Desktop. Get started with repository management and project setup.
Product: GitKraken Desktop
Feature: Repository Management
Content type: how-to
Audience: developer
Plan required: all
Status: GA
Last verified: 2026-03
Last updated: March 2026
Use this page to open an existing local repository, clone a remote repository, or initialize a new repository in GitKraken Desktop. It also covers shallow clone, sparse checkout, and the Repository Management tab so you can choose the right setup path for a new or existing project.
**Requirements and limits**
- Entry points: Repository Management tab, New Tab, or File > Clone / Init / Open
- Open workflow: Requires an existing local Git repository
- Clone workflow: Requires a remote repository URL or a connected integration
- Shallow clone: Supports branch, depth, since-date, and custom clone flags
- Sparse checkout: Root-level files are always checked out even when path rules are applied
- Initialize workflow: Creates a `.git` directory and can optionally add a `README.md`, `.gitignore`, and `LICENSE`
***
## Quick Start
**To open an existing local repository:**
1. Click the folder icon in the top-left corner or press Alt + O (Windows/Linux) or Cmd + O (Mac).
2. Click **Browse** and select your repository folder.
**To clone a remote repository:**
1. Open the Repository Management tab and click **Clone**.
2. Enter the repository URL or select a repository from your connected integration.
3. Click **Clone the repo** to download it locally.
**To initialize a new repository:**
1. Click **Init** in the Repository Management tab.
2. Fill in the repository path and optional settings (`.gitignore`, license).
3. Click **Create Repository** to create the repo and open it.
Shallow clone is supported when cloning. Enable the **Shallow Clone** option in the Clone dialog to limit commit history by depth or date. Access all three options from the Repository Management tab, the New Tab, or File > Clone / Init / Open.
***
## How to complete the initial setup
Complete these setup steps before managing repositories:
1. [Install GitKraken Desktop](/gitkraken-desktop/how-to-install)
2. Create an account and configure your [profile](/gitkraken-desktop/profiles)
***
## How Repository Management works
The **Repository Management** tab provides an overview of active repositories, Workspaces, and favorites. Open this tab by clicking the folder icon in the top-left or using:
- Alt + O (Windows/Linux)
- Cmd + O (Mac)
Repository Management tab in GitKraken Desktop
From here, you can:
- **Browse**: Open a local Git repository.
- **Clone**: Copy a remote Git repository to your machine.
- **Init**: Initialize a new Git repository or reinitialize an existing one.
This tab also includes Workspaces and repository actions:
- Open in VS Code
- View repository details (README.md panel)
- Open/Close repo tab
***
### How to open an existing project
To open an existing repo:
1. From Repository Management, select
2. Use the file explorer to locate your repo
Select an existing repository to open
You can also access this via the New Tab by clicking the + icon.
#### How to open shallow-cloned repositories
GitKraken Desktop supports opening shallow cloned repositories.
No special setup is required. Just navigate to the shallow clone’s location and open it as you would any other repository (see above).
***
### How to clone a project
To clone a remote repo:
1. In Repository Management, select
Clone from Repository Management tab
2. You can also access clone options via File > Clone or the New Tab.
Enter the clone URL to start
#### How shallow clone works
GitKraken Desktop supports **shallow cloning** when cloning a repository. Shallow clones let you limit the commit history that is downloaded, which can significantly reduce clone time and disk usage for large repositories.
To perform a shallow clone:
1. Open the **Clone** dialog from **Repository Management**, the **New Tab**, or File > Clone.
2. Select the repository you want to clone.
3. Enable the **Shallow Clone** option.
Shallow Clone option in the Clone dialog
When **Shallow Clone** is selected, additional options become available:
- **Branch to clone**: Specify the branch to clone. By default, GitKraken Desktop uses the repository’s default branch.
- **Depth**: Set how many commits deep to clone from the selected branch.
- **Since date**: Limit the clone to commits newer than a specific date.
- **Custom flags**: Provide any additional flags you typically pass to the `git clone` command. Enter these exactly as you would in the command-line interface.
4. Click to complete the shallow clone.
After cloning, the repository opens automatically in GitKraken Desktop.
#### How sparse checkout works
Sparse checkout lets you check out only a subset of files from a repository, keeping your working directory smaller and improving performance on large repositories such as monorepos.
To perform a sparse checkout when cloning:
1. Open the **Clone** dialog from **Repository Management**, the **New Tab**, or File > Clone.
2. Select the repository you want to clone.
3. Enable the **Sparse Checkout** option.
4. In the **Paths to include** field, enter one path per line (for example, `src/`, `docs/`, `README.md`). If no paths are provided, only root-level files will be checked out.
Enable Sparse Checkout in the Clone dialog and specify which paths to include.
5. Click to complete the clone.
Note: Files at the root of the repository are always checked out regardless of the paths you specify.
**Configuring sparse checkout on an existing repository**
To enable or update sparse checkout rules on a repository you have already opened, go to Preferences > Sparse Checkout for that repository.
Configure sparse checkout paths and actions under Repo-Specific Preferences.
From this panel you can:
- **Enable sparse checkout** — activates sparse checkout using the paths you have entered.
- **Disable sparse checkout** — turns off sparse checkout and restores the full working directory.
- **Reapply sparse checkout** — re-applies the current path rules, useful after pulling in new files or resolving inconsistencies.
When a repository has sparse checkout active, a **Sparse** button appears in the toolbar. Click it to quickly edit your sparse checkout paths, disable sparse checkout, or reapply the current rules without opening Preferences.
The Sparse toolbar button provides quick access to sparse checkout commands on active repos.
***
### How to initialize a new project
To start a new repo:
1. Select in Repository Management.
Repository initialization options
2. Fill in:
- Repository path
- `.gitignore` template (optional)
- License (optional)
3. Click
Also accessible via File > Init or New Tab.
**Initialization result:**
- `.git` directory created
- Repo opens in GitKraken Desktop
- Includes `README.md`, and optionally `.gitignore` and `LICENSE`
You can also initialize a repository directly to GitHub, Bitbucket, or other remote providers.
***
### How to customize Repository Management
- Drag and drop group headers to reorder
- Change colors via Change color in the repo group menu
- Set default colors in Preferences > UI CustomizationCustomize repo group layout and colors
---
## Core Git Workflows
---
# Add, Delete, and Filter Files in GitKraken Desktop
URL: https://help.gitkraken.com/gitkraken-desktop/adding-and-removing/
Description: Learn how to create, delete, and manage files and folders in GitKraken Desktop using the Command Palette, context menu, and file filter. This page covers file and folder operations only — for adding or removing remotes, see the Remotes documentation.
Product: GitKraken Desktop
Feature: File Management
Content type: how-to
Audience: developer
Plan required: all
Status: GA
Last verified: 2026-03
Last updated: March 2026
Note: This page covers creating, deleting, and filtering files inside a repository. To add or remove a remote repository, see Remote Repositories and Pushing/Pulling.
Use this page to create files, create folders, delete files, and filter repository contents from inside GitKraken Desktop. It covers both Command Palette and context-menu workflows, plus the `View all files` mode you need when you want to delete or locate files outside the current staged or changed set.
**Requirements and limits**
- Workflow scope: File and folder creation, deletion, and filtering inside an existing repository
- Create-file access: Command Palette or Commit Panel context menu
- Folder creation behavior: Include `/` in the new filename to create a folder and file at the same time
- Delete-file limitation: To delete arbitrary repository files, enable `View all files` first
- Filter behavior: The `Filter Files` bar appears only when `View all files` is enabled
***
## Quick Start
**To create a file:**
1. Press Ctrl/Cmd + P to open the Command Palette.
2. Type `Create File` and press Enter.
3. Enter a filename and press Enter. To create a folder at the same time, include a `/` in the name (e.g., `src/utils.js`).
**To create a file using the context menu:**
1. Right-click the empty space in the Commit Panel.
2. Select `Create File`.
**To delete a file:**
1. Right-click the file in the Commit Panel.
2. Select `Delete file`.
To delete any file in the repository (not just staged files), first enable `View all files` in the Commit Panel. Once enabled, right-click any file and select `Delete file`. A **Filter Files** bar also appears when `View all files` is on, letting you type a filename or extension to locate files quickly.
***
## How to add a file using the Command Palette
1. Press Ctrl/Cmd + P to open the Command Palette.
2. Type `Create File` and press Enter.
Create a new file from the Command Palette.
3. Type the desired filename and press Enter.
Watch how to name and create a file.
To create a folder and a file at once, include a forward slash (/) in the file name:
This creates a folder called "folder-name" that contains "file-name.txt."
***
## How to add a file using the context menu
You can also add files via the Commit Panel:
1. Right-click the empty space in the Commit Panel.
2. Select `Create File` from the context menu.
***
## How to delete a file from the Commit Panel
1. In the Commit Panel, right-click the file you want to delete.
2. Select `Delete file` from the context menu.
Use the context menu to delete a file from the Commit Panel.
***
## How to delete any file in the repository
1. Enable the `View all files` option.
2. Right-click the file you want to remove.
3. Select `Delete file` from the context menu.
Check the 'View all files' option to find a file, and then delete it from the context menu.
***
## How to filter files
When `View all files` is enabled, a Filter Files bar appears.
- Type a filename or extension to quickly find and jump to specific files.
Type a file name or extension to filter the list of files in your repository.
---
# Branch, Merge, and Rebase in GitKraken Desktop
URL: https://help.gitkraken.com/gitkraken-desktop/branching-and-merging/
Description: Learn how to create branches, merge code, and rebase commits using GitKraken Desktop. Includes merge conflict resolution and external tool setup.
Product: GitKraken Desktop
Feature: Branching and Merging
Content type: how-to
Audience: developer
Plan required: all
Status: GA
Last verified: 2026-03
Last updated: March 2026
Use this page to create, rename, delete, merge, and rebase branches in GitKraken Desktop. It also covers merge conflict resolution, external merge tools, and the difference between merge-based and rebase-based workflows so you can choose the right history strategy for your branch.
**Key constraints**
- Merge strategy: Use merge to preserve branch history; use rebase to move commits onto a new base and keep history more linear
- Merge conflict editor: The in-app merge conflict output editor requires a paid GitKraken license
- Squash merge behavior: With **Squash** enabled, GitKraken Desktop stages the merge result but does not create the final commit automatically
- Branch deletion: Deleting a branch is permanent
- External merge tools: Review the supported and unsupported tool lists before relying on a third-party merge tool
| Action | Use when | Preserves branch history | Rewrites history | Notes |
|--------|----------|--------------------------|------------------|-------|
| Branch | You need isolated work for a feature, fix, or experiment | Yes | No | Can be renamed or deleted later |
| Merge | You want to combine branches and keep the branch structure visible | Yes | No | May create a merge commit |
| Rebase | You want a more linear history before sharing or merging | No | Yes | Replays commits onto a new base |
| Squash merge | You want one final commit from a branch's combined changes | Partial | Yes | Stages the result but does not create the final commit automatically |
Looking for a quick summary? See [how GitKraken solves merge conflicts](https://www.gitkraken.com/developer-problems/merge-conflicts?product=gitkraken&source=help_center).
***
## Quick Start
**To create and check out a branch:**
1. Right-click any commit in the graph and select **Create branch here**.
2. Enter a branch name and press Enter.
3. Double-click the branch label in the graph or Left Panel to check it out.
**To merge a branch:**
1. Check out the branch you want to merge into.
2. Right-click the source branch in the Left Panel and select **Merge**, or drag and drop it onto the target branch.
3. If conflicts occur, click a conflicted file in the Commit Panel to open the Merge Tool. Select lines from each side, save the output, and commit.
**To rebase:**
1. Drag the source branch onto the target branch and select **Rebase**.
2. Resolve any conflicts if prompted, then confirm.
To delete a branch, first check out a different branch, then right-click the target branch and select **Delete**. Use Shift or Cmd/Ctrl in the Left Panel to select and delete multiple branches at once.
***
## How to create and manage branches
Create a new branch when working on a feature or fix. Right-click any commit to open the context menu and create a branch.
Use branches when: you want to isolate a feature, fix, or experiment from the main line of development. Don't keep branches around when: the work is complete and the branch can be merged or deleted to reduce graph clutter.
Create a branch by right-clicking on a commit
A branch is a pointer to a specific commit, allowing you to isolate changes from the main codebase. Consider adopting [GitFlow](/git-workflows-and-extensions/git-flow) for structured branching strategies.
### How to check out a branch
Branch checkout updates files in the working directory to reflect the version defined by that branch.
To update your working directory:
- Double-click a branch label from the Commit Graph or the Left Panel
- Right-click a branch from the Commit Graph or the Left Panel and select **Checkout**
Creating and checking out a new branch
If you’re on the wrong branch, [stash](/gitkraken-desktop/stashing) your changes, switch branches, and pop the stash.
If you only need a subset of files checked out, see [Sparse Checkout](/gitkraken-desktop/open-clone-init/#sparse-checkout).
### How to rename a branch
Right-click the branch label or use the Left Panel to rename the current branch.
Rename a branch from the graph or Left Panel
You can also rename using the Command Palette (Cmd+P / Ctrl+P):
Search for "Rename Branch" in Command Palette
### How to delete a branch
To delete a branch:
1. Switch to another branch
2. Right-click the branch you wish to delete
Use multi-select in the Left Panel to delete several branches at once:
- Shift to select a range
- ⌘ / Ctrl to select specific branches
Select and delete multiple branches
Caution: Deleting a branch is permanent.
### How to pin a branch to the left
Pinning a branch fixes it to the left side of the Commit Graph so that its direct commit history always appears on the left. This is particularly useful for long-lived branches like `main` or a production branch, where you want a stable reference point to see how other branches merge into it.
To pin a branch:
1. Right-click a branch label in the Commit Graph or the Left Panel.
2. Select **Pin to left**.
Select "Pin to Left" from the branch context menu
To unpin a branch, right-click the branch label again and select **Unpin from left**.
### When to use Smart Branch Visibility
Smart Branch Visibility reduces visual noise in the Commit Graph by displaying only the branches most relevant to your current work. When enabled, the graph shows only your checked-out branch, its target branch, and their respective upstream branches — hiding all others.
This is especially useful in repositories with a large number of branches where the full graph can be difficult to navigate.
To enable Smart Branch Visibility:
1. Click the gear icon in the top-right corner of the Commit Graph header.
2. Select **Smart Branch Visibility**.
Enable Smart Branch Visibility from the Commit Graph column settings
Smart Branch Visibility activates on your currently checked-out branch. To disable it, follow the same steps and deselect **Smart Branch Visibility**.
***
## How to merge branches
Merging combines changes from one branch into another. To merge:
- Drag and drop one branch onto your target branch
- Or right-click the source branch and choose **Merge**
Use merge when: you want to preserve the full branch history. Use rebase when: you want to move commits onto a new base and keep the history more linear before sharing or merging.
Don't use merge when: your team expects a rebased, linear branch before review or integration. Don't use rebase when: collaborators are already building on the commits you plan to rewrite.
Merge via drag-and-drop or right-click
If no conflicts exist, changes will be merged automatically.
The in-app merge conflict output editor is available with a Paid license.
### When to use squash merges
When you enable the **Squash** setting, GitKraken Desktop stages all changes from the source branch locally without creating a merge commit automatically. You then commit the squashed result manually, which produces a single, clean commit on the target branch.
Use squash merges when: you want one clean commit on the target branch and do not need to preserve each feature-branch commit. Don't use squash when: the individual commits matter for auditing, review context, or future debugging.
This is useful when you want to maintain a linear history on your main branch without preserving the individual commits from a feature branch.
To enable squash merges:
1. Go to **Preferences** > **Commit**.
2. Enable the **Squash** toggle.
Enable the Squash toggle under Preferences > Commit > Merge Behavior
After merging with squash enabled, review the staged changes in the Commit Panel and commit them manually.
Note: With squash enabled, GitKraken Desktop stages all changes but does not create the merge commit for you. You must commit manually to complete the merge.
### How to resolve conflicts in the Merge Conflict Editor
When conflicts occur, the Commit Panel shows the conflicted files. Click a file to open the Merge Tool.
Conflicted files shown in Commit Panel
The Merge Tool shows:
- Current branch on the left
- Target branch on the right
- Output at the bottom
Review and resolve conflicts in the Merge Tool
Use checkboxes or click to select lines. Use arrow keys to navigate conflicts.
Select specific lines or edit output directly
After resolving, save and commit the output.
Tip: Use Cmd/Ctrl + F to search inside the Merge Tool.
Animated merge resolution process
### How to use an external merge tool
Set your preferred merge tool under Preferences > General.
Use the built-in merge tool when: you want to stay inside GitKraken Desktop and the supported editor meets your needs. Use an external merge tool when: your team already relies on a supported third-party tool or you need a workflow GitKraken does not provide directly.
Supported tools:
- Beyond Compare
- FileMerge
- Kaleidoscope
- KDiff
- Araxis
- P4Merge
Select a merge tool in Preferences
If not appearing, ensure command line tools are installed:
Sample view of configured merge tool
Unsupported tools include:
- Meld
- SemanticMerge
- TortoiseMerge
- WinMerge
For compatibility details, visit [Git Config merge tools](https://git-scm.com/book/en/v2/Customizing-Git-Git-Configuration#_external_merge_tools).
### How to resolve conflicts with Take Current or Take Incoming
Right-click a conflicted file and select:
- `Take current (branch)` – Use your current branch’s changes
- `Take incoming (branch)` – Use changes from the incoming branch
Quick resolve using current or incoming options
***
## How Conflict Prevention works
GitKraken Desktop’s **Conflict Prevention** helps identify potential issues before a merge.
[Learn more →](/gitkraken-desktop/conflict-prevention/)
Available to users on the Advanced tier or higher.
***
## How to rebase commits
Rebasing moves commits from one branch onto another for a cleaner history.
To rebase:
- Drag and drop the source branch onto the target branch
- Select Rebase from the menu
Rebase one branch onto anotherSidebar shows rebase confirmation
Rebasing rewrites history but results in a more linear and readable commit tree.
### How to rebase a range of commits onto another branch
You can rebase a specific range of commits onto another branch without performing a full interactive rebase. This is useful when you want to move only a subset of commits from your current branch onto a target branch.
GitKraken Desktop provides two ways to do this:
**Option 1: Multi-select a range of commits**
1. Check out the target branch.
2. In the Commit Graph, hold Shift and click to select a range of commits on the source branch.
3. Right-click the base branch and select **Rebase X commits onto [branch]**.
Right-click the target branch after selecting a commit range to rebase
**Option 2: Select a single pivot commit**
1. Select one commit in the middle of your current branch. No merge commits should exist between the selected commit and the head of the branch.
2. Right-click the target branch.
3. Select **Rebase N commits onto [branch]**.
GitKraken Desktop rebases the selected commit and all subsequent commits up to the branch head onto the target branch.
---
# Committing Changes
URL: https://help.gitkraken.com/gitkraken-desktop/commits/
Description: Learn how to commit changes in GitKraken Desktop, including staging files, co-authoring, templates, amending commits, and resetting or reverting history.
Product: GitKraken Desktop
Feature: Commits
Content type: how-to
Audience: developer
Plan required: all
Status: GA
Last verified: 2026-03
Last updated: March 2026
Use this page to create commits, stage files, add co-authors, work with commit templates, amend recent history, and undo or revert changes in GitKraken Desktop. Basic local commit workflows are available in the app, while actions that rewrite pushed history require extra care because they may require a force push.
**Key constraints**
- Commit scope: This page covers local commit workflows in GitKraken Desktop
- History rewrite warning: Amending a commit that has already been pushed requires a force push to update the remote branch
- Hook behavior: Selecting **Skip Git hooks** bypasses all configured Git hooks for that commit
- Commit templates: Repository-local commit templates take precedence over global templates
- Undo vs. revert: Use Undo for local history changes you have not shared yet; use Revert when you need to preserve published history with a new reversing commit
| Action | Use when | Rewrites history | Safe after push | Notes |
|--------|----------|------------------|-----------------|-------|
| Commit | You want to record staged changes as a new commit | No | Yes | Basic local commit workflow |
| Amend | You need to change the most recent commit or its message | Yes | Not usually | Requires a force push if the commit was already pushed |
| Undo | You want to remove a local commit that has not been shared yet | Yes | No | Best for local history cleanup |
| Revert | You need to preserve published history while reversing changes | No | Yes | Creates a new reversing commit |
***
## Quick Start
1. Save changes to your files. The **WIP** (Work in Progress) node appears at the top of the Commit Graph.
2. Click the WIP node to open the Commit Panel and view changed files.
3. Click a file to review its diff, then click the checkbox or the file name to stage it. To stage all files, press Cmd/Ctrl + Shift + S.
4. Enter a commit message in the message field.
5. Click **Commit**, or press Cmd/Enter (macOS) or Ctrl/Enter (Windows/Linux).
To commit and push in one step, enable the **Push after committing** option before clicking **Commit**.
To amend the most recent commit, stage any additional changes, then check **Amend the previous commit** in the Commit Panel. To update only the message, click the most recent commit in the graph and edit the message field directly, then click **Update Message**.
To undo a commit, press Cmd/Ctrl + Z or click the **Undo** button in the toolbar.
***
## How to create a commit
To create a commit, select your _Work in Progress_ (WIP) node to view file changes in the Commit Panel.
Use this workflow when: you are recording a logical set of local changes that belong together in one commit. Don't use it when: your changes should be split into multiple commits first, or when you need to preserve published history without rewriting it.
The WIP node appears at the top of the Commit Graph when you save file changes.
Select files to stage by clicking them individually or reviewing diffs. To stage all files:
- **Mac:** ⌘ShiftS
- **Windows/Linux:** CtrlShiftS
Type your commit message, then click **Commit**, or use the shortcut:
- **Mac:** ⌘ + Enter
- **Windows/Linux:** Ctrl + Enter
### How to commit and push in one step
To commit and immediately push changes, stage files and enter a message. Then select the **Commit and Push** option.
Enable this option to commit and push changes in one step.
The graph updates with your commit. If needed, undo it with:
- **Mac:** ⌘ + Z
- **Windows/Linux:** Ctrl + Z
### How to add co-authors to a commit
To credit co-authors in a commit, add lines to the commit message using the following format:
```
Co-authored-by: Name One
Co-authored-by: Name Two
```
Use this syntax to attribute co-authors in a commit.
Co-authors appear in the Commit Panel history:
Co-authors are listed with the primary author in the commit history.
### How to bypass Git hooks for one commit
To skip Git hooks for a specific commit, enable the **Skip Git hooks** checkbox in the Commit Panel.
Warning: Skipping this will bypass all configured Git hooks for the commit action.
Enable this option to bypass Git commit hooks.
***
## How commit templates work
### How GitKraken Desktop chooses a commit template
When you open a repository, GitKraken Desktop checks for a commit template in this order:
1. The repository’s local `.git/config` file
2. Your global `.gitconfig`
3. If neither contains a `commit.template` setting, GitKraken Desktop does not load a template
### How to create or update a commit template
To create or update a commit template, navigate to Preferences Commit.
Set an initial commit message in Preferences > Commit.
If a template is loaded from your local config, GitKraken Desktop saves changes to that file. If no template exists, your changes are saved to a new `gkcommittemplate.txt` file in your repo’s `.git/` directory. GitKraken Desktop also updates the `commit.template` path in the local config.
This setup lets you maintain a local template without altering your global Git configuration.
#### Commit Template Options
- **Apply this template to commit messages**: Automatically inserts the template in the message editor.
- **Remove comments from commit messages**: Omits lines starting with `#` when applying the template.
### How to configure commit templates
There are three ways to configure commit templates:
* **Create in GitKraken Desktop** — Saves to `.git/gkcommittemplate.txt`
* **Set a repo-specific template** — Use:
```bash
git config commit.template
```
* **Set a global template** — Use:
```bash
git config --global commit.template
```
Note: Editing a global template within GitKraken Desktop causes it to create `gkcommittemplate.txt` locally and point your repository’s config to that file.
***
## How to amend the most recent commit
GitKraken Desktop lets you modify the last commit by updating the message, adding new changes, or both.
Use amend when: you need to fix the most recent commit before others depend on it. Don't use amend when: the commit is already shared and you want to avoid rewriting remote history for collaborators.
Warning: If you have already pushed the commit, amending it changes history and requires a force push to update the remote branch.
To include new changes:
1. Modify files in your working directory.
2. Stage the changes.
3. Select **Amend the previous commit** in the Commit Panel.
Select this option to append changes to the most recent commit.
To update only the message:
1. Select the most recent commit in the graph.
2. Click into the message box and revise the text.
Edit your previous commit message directly in the message field.
To resize the commit message field, drag the bottom edge of the editor.
Resize the commit message box as needed.
Use the **Update Message** button to save changes, or **Cancel Amend** to discard them.
Note: If you’ve already pushed a commit, amending it will require a force push to update the remote history.
***
## How to reset commits
Git uses a pointer called HEAD to track your current commit. Resetting updates HEAD to point to a specific commit in your history. GitKraken Desktop offers three reset types:
Use reset when: you need to move local history to another commit and you understand whether you want to keep staged or working directory changes. Don't use reset when: you need a safe, shareable reversal of changes that are already published to a remote branch.
- **Soft** — Moves HEAD to the selected commit and retains staged and working directory changes.
- **Mixed** — Moves HEAD, unstages files, but retains working directory changes.
- **Hard** — Moves HEAD, unstages files, and discards all changes in your working directory.
Right-click a commit or branch to access reset options.
You can also drag and drop a branch onto another to initiate a reset, or use the left panel for local repository actions.
***
## How to undo local changes before pushing
GitKraken Desktop provides an **Undo** button to reverse recent actions that haven’t been pushed.
Use Undo when: you want to reverse a recent local action that has not been pushed yet. Use Revert Commit when: the commit is already part of shared history and you need a new commit that reverses it safely.
Click Undo to revert local actions before they are pushed.
You can also use the Undo shortcut:
- **Mac:** ⌘ + Z
- **Windows/Linux:** Ctrl + Z
### How to revert a commit that is already in history
If Undo is not available, you can still reverse changes by creating a **revert commit**.
Right-click any commit node in the graph and choose **Revert Commit**. GitKraken Desktop will create a new commit that undoes the changes from the selected commit.
Use the revert option to create a new commit that undoes a previous one.
## How to restore files from a commit
GitKraken Desktop lets you restore any file to its state at a specific commit and place it directly into your working directory (WIP). This is useful when you want to retrieve an older version of a file, resurrect a deleted file, or selectively reverse changes without affecting the rest of your working directory.
To restore a file from a commit:
1. Select a commit in the Commit Graph to open it in the Commit Panel.
2. Right-click any file listed in the Commit Panel.
3. Select **Restore file from this commit**.
The file is placed into your working directory as a staged change, ready to include in your next commit.
Right-click a file in the Commit Panel to restore it to your working directory.
To restore multiple files at once, hold Shift or Cmd/Ctrl to multi-select files in the Commit Panel, then right-click and select **Restore selected files from this commit**.
---
# Edit and Save Files in GitKraken Desktop
URL: https://help.gitkraken.com/gitkraken-desktop/editing-files/
Description: Learn how to open, edit, save, discard, and stage file changes using GitKraken Desktop’s built-in code editor. Includes shortcuts and encoding options.
Product: GitKraken Desktop
Feature: File Editing
Content type: how-to
Audience: developer
Plan required: all
Status: GA
Last verified: 2026-03
Last updated: March 2026
Use this page to open, edit, save, discard, stage, and preview files in GitKraken Desktop’s built-in editor. It covers the different ways to enter edit mode, what the editor indicators mean, how save-and-stage behaves, and how to review or override file encoding when UTF-8 is not enough.
**Requirements and limits**
- Workflow scope: Built-in file editing inside GitKraken Desktop
- Entry points: Context menu, Command Palette, or the file diff view
- Unsaved-change indicator: A blue dot marks unsaved edits in the editor
- Stage behavior: Choose between **Save and stage** or **Stage saved changes only**
- Branch-context limitation: `Edit in working directory` opens the version from your current branch, not the branch currently being inspected
- Encoding limitation: GitKraken Desktop can read and label encodings, but it does not convert file encodings on save
- Markdown preview: Available for `.md` files only
***
## Quick Start
**To open a file for editing:**
- Right-click any file in the Commit Panel or via **View all files** and select **Edit file**.
- Or open the Command Palette (Ctrl/Cmd + P), type `Edit File`, and enter the filename.
- Or click the **Edit this file** button from any file diff view.
**To save changes:**
- Press Ctrl/Cmd + S. A blue dot in the editor indicates unsaved changes.
**To discard unsaved changes:**
- Hover over the blue dot in the editor tab and click the **X**, then confirm with **Don’t Save**.
**To stage your edits:**
- Click **Stage File** in the Commit Panel. Choose **Save and stage** to save and stage together, or **Stage saved changes only** to stage only what was already saved.
For `.md` files, click **Preview** in the editor toolbar to toggle a rendered Markdown preview alongside the editor. GitKraken Desktop expects UTF-8 encoding by default; adjust the encoding setting from the dropdown in the editor or under Preferences > Encoding.
***
## How edit mode starts automatically for new files
If you [create a new file](/working-with-files/adding-and-removing#adding-a-file), GitKraken Desktop opens the file immediately in edit mode so you can begin editing right away.
***
## How to edit an existing file
### How to edit a file from the context menu
Right-click a file (from a previous commit or via **View all files**) and select Edit file.
Right-click any file and select Edit file.
### How to edit a file from the Command Palette
1. Press Ctrl/Cmd + P
2. Type `Edit File` and press Enter
3. Type the filename and press EnterFind and open files using the Command Palette.
### How to edit a file from Diff or File View
Click the button from a file diff.
Click Edit this file from the Diff/File view panel.
Note: If viewing a file on a different branch, the button will read Edit in working directory. It opens the file version from your current branch.
***
## What the file edit indicators mean
The upper-left corner of the file editor shows:
- editable tag: Indicates the file can be modified
- blue dot: Indicates unsaved changes
The file editor shows editable state.Unsaved changes are indicated with a blue dot.
***
## How to save or discard changes
- Press Ctrl/Cmd + S to save
- To discard unsaved changes:
1. Hover over the blue dot
2. Click the X
3. Select Don't SavePrompt to discard unsaved changes.
***
## How to stage file edits
After editing, click to commit your changes. Options include:
- Save and stage
- Stage saved changes onlySave and stage or stage only saved changes.
***
## How file encoding works
GitKraken Desktop expects most files to use `UTF-8` encoding. To review or adjust encoding:
- Use the dropdown at the top of the editor
- Visit Preferences > Encoding
- Or select Guess Encoding to let GitKraken match it automatically
Encoding dropdown available from file editor.
Note: GitKraken Desktop does not change a file’s encoding upon save. Use an external editor like VS Code if you need to convert encodings.
Choose your default encoding from preferences.
## How Markdown preview works
GitKraken Desktop includes a built-in markdown preview for `.md` files. To access the option, first click to edit a file in the upper left of the file diff.
Click Edit this file from the Diff/File view panel.
From here, toggle the preview pane by clicking the button in the top of the editor.
Toggle the markdown preview when editing a file.
You can switch between editing and previewing the markdown content.
---
# How to Search Git Commits in GitKraken Desktop
URL: https://help.gitkraken.com/gitkraken-desktop/search/
Description: Discover how to find commits by message, SHA, or author in GitKraken Desktop. Learn how to configure graph limits and use the search bar or Command Palette.
Product: GitKraken Desktop
Feature: Commit Search
Content type: reference
Audience: developer
Plan required: all
Status: GA
Last verified: 2026-03
Last updated: March 2026
Use this page to search commit history in GitKraken Desktop by message, SHA, or author and to control how much history is loaded into the Commit Graph. It is useful when search results seem incomplete because the graph depth is limited or when you want to jump into commit search from anywhere in the app.
**Requirements and limits**
- Search scope: Commit message, SHA, and author
- Default graph depth: GitKraken Desktop initially displays up to 2000 commits in the Commit Graph
- Search limitation: If the graph is not loading enough history, search results can appear incomplete
- Graph setting: Adjust Initial Commits in Graph or enable Show All Commits in Graph in Preferences
- Global access: You can jump into commit search from anywhere by opening the Command Palette
***
## How the initial number of displayed commits works
By default, GitKraken Desktop displays up to 2000 commits on the Commit Graph. To view a deeper history of your repo, set the initial number of commits to display on the graph to your preference.
Increase graph depth when: search results look incomplete because GitKraken Desktop has not loaded enough history. Don't raise the limit unnecessarily when: the missing result is likely due to the query itself rather than the current graph depth.
Navigate to Preferences from the gear menu in the upper right corner, and find Initial Commits in Graph under General. There is no limit to how many commits can be displayed.
Set the number of commits to display in the Commit Graph from Preferences.
Above this setting, you'll also find an option to Show All Commits in Graph for large repositories.
## How the search bar works
The search bar in the upper right of the application defaults to commit search.
Use commit search when: you know part of a message, SHA, or author and want to jump directly to matching commits. Use the Command Palette when: you need to start a search workflow from anywhere in the app instead of from the current repo view.
Use the search bar to find commits by message, SHA, or author.
Search commits by message, SHA, or author. GitKraken Desktop updates the results live and highlights the commit in the Commit Graph.
To search from anywhere in the app, open the Command Palette:
Mac
Windows/Linux
Toggle Command Palette
⌘P
CtrlP
---
# How to Stash Changes in GitKraken Desktop
URL: https://help.gitkraken.com/gitkraken-desktop/stashing/
Description: Save and manage your uncommitted changes with stashing in GitKraken Desktop. Learn to stash, pop, name, edit, and apply partial stashes using the GUI.
Product: GitKraken Desktop
Feature: Stashing
Content type: how-to
Audience: developer
Plan required: all
Status: GA
Last verified: 2026-03
Last updated: March 2026
Use this page to stash, apply, pop, rename, and partially restore uncommitted changes in GitKraken Desktop when you need to switch context without creating a commit. It covers both full stashes and partial file-based stashes, along with the graph and Left Panel workflows for managing them.
**Requirements and limits**
- Workflow scope: Uncommitted local changes only
- Apply vs. pop: **Apply Stash** keeps the stash; **Pop Stash** applies it and removes it
- Partial stash behavior: Applying a single file from a partial stash does not remove the stash
- Naming option: Name the stash before creating it by editing the `// WIP` field or stash summary field
- GitKraken AI note: AI-generated stash messages require GitKraken AI to be enabled
- Stash visibility: Stashes can be hidden from the graph without being deleted
| Action | What it does | Keeps stash entry | Notes |
|--------|--------------|-------------------|-------|
| Stash | Saves current uncommitted changes | Yes | Creates a new stash entry |
| Apply Stash | Restores stashed changes | Yes | Keeps the stash for reuse |
| Pop Stash | Restores stashed changes | No | Applies and removes the stash |
| Partial stash | Saves selected files only | Yes | Managed from staged files in the Commit Panel |
| Apply partial stash file | Restores one file from a partial stash | Yes | Does not remove the stash |
| Hide stash | Removes stash from graph view only | Yes | Does not delete the stash |
***
## Quick Start
**To stash all changes:** Click the **Stash** icon in the top toolbar. Your stash appears in the Commit Graph.
**To manage a stash:** Right-click the stash node in the graph to apply, pop, delete, or hide it. Right-click a stash in the Left Panel for the same options.
**To pop the latest stash:** Click the **Pop Stash** button in the toolbar to apply changes and delete the stash in one step.
**To name a stash:** Type a name into the `// WIP` field at the top of the graph before clicking Stash.
**To stash specific files (partial stash):** Stage your files in the Commit Panel, then right-click a file in the Staged Files section and select **Stash file**.
**To apply a partial stash file by file:** Select the stash in the graph, then right-click a file in the Commit Panel and choose to apply it. Applying a single file does not remove the stash.
***
## How to stash changes from the top toolbar
Click the **Stash** icon in the top toolbar to create a new stash.
Create a stash from the top toolbar.
Your stash will appear in the Commit Graph. Right-click on the stash node to see available options:
* **Apply Stash**: Apply changes to your working directory and keep the stash.
* **Pop Stash**: Apply changes and remove the stash.
* **Delete Stash**: Permanently remove the stash.
* **Hide**: Hide the stash from the graph.
* **Hide all stashes**: Hide all stashes from the graph.
* **Show all stashes**: Display all hidden stashes.
Right-click a stash to manage it.
To quickly pop the latest stash, use the **Pop Stash** button:
Use the Pop Stash button for one-click restore and delete.
## How to stash changes from the Commit Panel
You can stash changes from the Commit Panel. Stage your files and click the Stash icon (instead of Commit).
Stage files and click the Stash icon to save changes.
If you use [GitKraken AI](/gitkraken-desktop/gkd-gitkraken-ai/), click the sparkle icon to auto-generate a stash message based on your staged changes.
Use GitKraken AI to generate a stash description.
## How to view and manage stashes from the Left Panel
All your stashes are listed in the Left Panel. Right-click to Apply, Pop, Delete, Hide, or Show them.
Review and manage your stashes from the Left Panel.
## How to name a stash
To give a stash a name, type into the `// WIP` field at the top of the graph before stashing.
Enter a custom stash name before saving.
Named stashes are easier to recognize in the Left Panel and commit graph.
Named stash in the Left Panel.Named stash in the graph view.
## How to edit a stash message
To update a stash description, right-click the stash in the graph or the Left Panel, then select **Edit stash message**.
Edit a stash message from the context menu.
## How to create and apply a partial stash
Stash specific files by right-clicking them in the **Staged Files** panel and selecting **Stash file**. This clears their changes and saves them to a partial stash.
Select individual files to stash partially.
You can also apply changes from a partial stash one file at a time. Right-click a file in the Commit Panel while a stash is selected.
Apply part of a stash by selecting specific files.
### Tips for partial stashes
* Name a partial stash via the `// WIP` node or summary field before stashing.
* Hold **Shift** or **Ctrl** to select multiple files.
* Applying a file from a stash doesn’t remove it from the stash.
---
# How to Undo and Redo Git Actions in GitKraken Desktop
URL: https://help.gitkraken.com/gitkraken-desktop/undo-and-redo/
Description: Learn how to quickly undo or redo Git actions like commits, discards, and checkouts in GitKraken Desktop using buttons, shortcuts, or the Command Palette.
Product: GitKraken Desktop
Feature: Undo and Redo
Content type: how-to
Audience: developer
Plan required: all
Status: GA
Last verified: 2026-03
Last updated: March 2026
Have you ever made a Git change and immediately wished you could take it back? Whether it’s an accidental commit, a discarded change, or a deleted branch, GitKraken Desktop lets you undo many actions quickly and safely.
You can undo many common actions with a single click of the **Undo** button. If you undo something by mistake, you can also **redo** it just as easily.
**Requirements and limits**
- Undo scope: The most recent supported action only
- Redo scope: Only actions that were just undone
- Supported actions include checkout, commit, discard, delete branch, remove remote, reset branch, and several rebase-related operations
- Access methods: Toolbar buttons or keyboard shortcuts
- Availability depends on whether the last action is one GitKraken Desktop can safely track and reverse
***
## Quick Start
**To undo an action:** Click the **Undo** button in the toolbar, or press Cmd + Z (Mac) or Ctrl + Z (Windows/Linux).
**To redo an undone action:** Press Cmd + Y or Cmd + Shift + Z (Mac), or Ctrl + Y or Ctrl + Shift + Z (Windows/Linux).
**Supported undo actions include:** Checkout, Commit, Discard, Delete branch, Remove remote, Reset branch to a commit, and rebase operations including Interactive Rebase, Multi-Commit Cherry Pick, dropping and rewording commits, and AI Commit Compose.
Undo is available for the most recent supported action. Redo is available for any action that was just undone.
Click the Undo button to revert supported Git actions.
## Supported undo actions
You can undo the following actions in GitKraken Desktop:
+ Checkout
+ Commit
+ Discard
+ Delete branch
+ Remove remote
+ Reset branch to a commit
+ Rebase operations, including Interactive Rebase, Multi-Commit Cherry Pick, dropping and rewording commits, and AI Commit Compose (Recompose with AI).
These undo actions can help you recover from common missteps without going to the command line.
## How redo works
If you undo something accidentally, use the **Redo** function to restore it. Redo is available for any action you've just undone.
## Keyboard shortcuts
Action
Mac
Windows/Linux
Undo
⌘Z
CtrlZ
Redo
⌘Y ⌘ShiftZ
CtrlY CtrlShiftZ
Use these shortcuts to move faster and stay in your flow while working in GitKraken Desktop.
---
# Pull Requests in GitKraken Desktop
URL: https://help.gitkraken.com/gitkraken-desktop/pull-requests/
Description: Create, manage, and review pull requests in GitKraken Desktop. Supports GitHub, GitLab, Bitbucket, Azure DevOps, and includes templates, comments, and suggestions.
Product: GitKraken Desktop
Feature: Pull Requests
Content type: how-to
Audience: developer
Plan required: all
Status: GA
Last verified: 2026-03
Last updated: March 2026
Use this page to create, review, filter, comment on, and merge pull requests in GitKraken Desktop across supported providers such as GitHub, GitLab, Bitbucket, and Azure DevOps. It also covers GitHub-specific review features such as code suggestions, pull request view, and merge options inside the app.
**Requirements and limits**
- Supported providers on this page: GitHub, GitLab, Bitbucket, and Azure DevOps
- Precondition: Push your branch to the remote before creating a pull request
- GitHub-specific features: Pull Request View, code suggestions, and in-app merge options
- Template support: Pull request templates are supported for GitHub, GitLab, and Azure DevOps
- Azure DevOps note: If the PR form does not populate, verify the remote URL and integration domain on the Azure DevOps integration page
- Feature scope varies by provider, so some actions described here are GitHub-only
| Provider | Create PR or MR | View PR or MR | Merge in app | Notes |
|----------|------------------|---------------|--------------|-------|
| GitHub | Yes | Yes | Yes | Review and suggestion features are strongest here |
| GitLab | Yes | Yes | Yes | Uses merge request terminology |
| Bitbucket | Yes | Yes | Yes | Some reviewer workflows depend on permissions |
| Azure DevOps | Yes | Yes | Yes | Verify remote URL and integration domain if the form does not populate |
***
## Quick Start
**To create a pull request:**
- Drag one branch onto another in the commit graph and select **Start a pull request**.
- Or right-click the target branch and choose the same option.
- Or click the **+** icon in the PULL REQUESTS section of the Left Panel.
**To review a pull request (GitHub integration):**
1. Select a PR in the Left Panel or click the PR icon in the Launchpad.
2. Click **Review Code and Suggest Changes** to open the diff view.
3. Write suggestions directly in the editor. Suggestions are posted as comments on the GitHub PR.
**To merge a pull request:** Click **Merge pull request** in the GitHub PR view and select a merge strategy (merge commit, squash, or rebase).
**To filter pull requests:** Use predefined filters like "My pull requests" or create custom filters in the Left Panel. PR icons indicate CI status and review state.
Push your branch to the remote before creating a pull request.
***
## How to create a pull request
To create a pull request:
- Drag one branch onto another and select Start a pull request
- Or right-click the target branch and choose the same option
- Or click the icon in the Left Panel PULL REQUESTS section
Use GitKraken Desktop PR creation when: your branch is already pushed and you want to open or manage the PR without leaving the app. Don't start the PR yet when: the branch is not pushed, the target branch is still unclear, or you need provider-specific options not exposed in GitKraken Desktop.
Start a pull request by dragging a branchCreate a pull request from the Left Panel
***
## How pull request templates work
GitKraken Desktop supports PR templates on GitHub, GitLab, and Azure DevOps. When committed to the remote, the template appears during PR creation.
Pull request template field shown during creation
Tips:
- Follow your provider's documentation for file location
- Ensure the template is on the currently checked out branch
Resources:
- [GitHub PR templates](https://help.github.com/articles/creating-a-pull-request-template-for-your-repository/)
- [GitLab merge request templates](https://docs.gitlab.com/ee/user/project/description_templates.html)
- [Azure DevOps PR templates](https://docs.microsoft.com/en-us/azure/devops/repos/git/pull-request-templates?view=azure-devops)
***
## How assignees, labels, and reviewers work
Some integrations allow adding:
- Assignees
- Reviewers
- Labels
Assign reviewers and labels during PR creation
Conflict warnings appear if your source and target branches differ:
Merge conflict warning in PR modal
Reminder: Push your branch before creating a pull request.
***
## How draft pull requests work on GitHub
With the GitHub integration, select the draft checkbox to mark the pull request as a draft.
Use a draft pull request when: you want early visibility or feedback before the branch is ready to merge. Don't mark it ready too early when: the implementation still needs major changes and you are not ready for formal review.
Enable draft pull request in GitHub
***
## How GitHub Pull Request View works
Enable the GitHub integration to access GitHub PR view:
- Select a PR in the Left Panel
- Or click the PR icon in the Launchpad
Use GitHub Pull Request View when: you want to update PR metadata, inspect changes, or suggest edits inside GitKraken Desktop. Don't rely on it for every review workflow when: your team depends on deeper provider-native review features outside the app.
GitHub pull request view in the repo tabAccess PRs from the Launchpad
From this view, GitHub users can edit:
- Title
- Description
- Reviewers
- Assignees
- Milestones
- Labels
Click to review changes.
***
## How to suggest changes
When you click to , this will allow you to write the code suggestion directly in GitKraken Desktop's editor or [gitkraken.dev](https://gitkraken.dev?source=help_center&product=gitkraken).
Use code suggestions when: you want to propose concrete edits for the PR author to review or apply. Don't use suggestions when: you only need a high-level comment or architectural discussion without an exact code change.
Suggest code changes inside a pull request
All code suggestions are posted a comments in the GitHub pull request conversation with a link to review the code suggestion inside of gitkraken.dev or GitKraken Desktop.
***
## How to accept or reject suggestions
Code suggestions display in the PR view under the “Code Suggestions” label:
Label for PRs containing code suggestions
You can apply or reject each suggestion in the Commit Panel:
Review and apply suggestions
***
## How commenting and quoting work
Comment on pull requests, refresh the comments feed, or quote replies:
Refresh and quote commentsReply with quotes
***
## How branch actions and build status work
Double-click a branch in the PR view to check it out. Click build status to open in browser.
Check out branches and monitor CI
If the remote isn’t added yet, GitKraken will prompt you to add it.
***
## How to merge in GitHub PR View
Click to merge.
Merge using GitHub PR view options
Choose:
- Create a merge commit
- Squash and merge
- Rebase and merge
If data appears out of sync, refresh GitKraken Desktop.
***
## How the active pull requests panel works
Active PRs appear with this icon and are listed in the PULL REQUESTS section of the Left Panel.
Pull request panel and filters
Use predefined filters like *My pull requests* or All pull requests, or [create custom filters](/working-with-repositories/pull-requests-filter-syntax/).
Tooltips show branch, author, status, and more:
General tooltip detailsGitLab tooltip with an assigneeGitHub tooltip with reviewers and build status
Pull request icons:
- = CI passed and approved
- = CI passed/pending or reviews pending
- = Failing CI or changes requested
---
# Push, Pull, and Fetch in GitKraken Desktop
URL: https://help.gitkraken.com/gitkraken-desktop/pushing-and-pulling/
Description: Learn how to push, pull, and fetch changes with GitKraken Desktop. Understand upstream branches, default pull behavior, and drag-and-drop actions.
Product: GitKraken Desktop
Feature: Push Pull Fetch
Content type: how-to
Audience: developer
Plan required: all
Status: GA
Last verified: 2026-03
Last updated: March 2026
Use this page to push, pull, fetch, add remotes, and set upstream branches in GitKraken Desktop when you need to synchronize local branches with a remote. It also explains the available pull behaviors, drag-and-drop shortcuts, and when GitKraken prompts you for remote creation or force-push decisions.
**Requirements and limits**
- Workflow scope: Remote synchronization for existing Git repositories in GitKraken Desktop
- Add remote limitation: Integration dropdowns show forks only; use the URL option for non-fork remotes
- Push behavior: GitKraken prompts to create a remote branch if one does not exist
- Force-push warning: GitKraken may offer **Force Push** when fast-forwarding fails
- Fetch behavior: Fetch updates remote state without modifying your working directory
- Pull options: Fast-forward if possible, fast-forward only, and rebase behave differently and should be chosen intentionally per repo workflow
***
## Quick Start
**To push local commits:** Click **Push** in the toolbar, or right-click a branch and select **Push**. If the remote branch does not exist yet, GitKraken Desktop prompts you to create it. You can also drag a branch onto a remote branch to push.
**To fetch updates:** Click the pull dropdown and select **Fetch All** to retrieve remote changes without modifying your working directory. Fetching runs automatically each minute by default.
**To pull changes:** Click **Pull** in the toolbar. Use the dropdown to choose your preferred pull method:
- **Fast-forward if possible**: Merges only if fast-forward fails.
- **Fast-forward only**: Takes no action if fast-forward is not possible.
- **Rebase**: Replays your commits on top of the updated remote branch.
**To add a remote:** Hover over **Remote** in the Left Panel, click the **+** icon, and enter the URL or select from integration-based dropdowns.
**To set an upstream branch:** Right-click a branch and select the upstream option. You can also drag and drop a branch onto a remote branch to push without setting the upstream explicitly.
***
## How to add a remote
To add a remote:
1. Hover over Remote in the Left Panel.
2. Click the icon.
3. Enter the remote URL or choose from integration-based dropdowns (GitHub, GitLab, Bitbucket).
Add a remote from the Left Panel
Note: Integration dropdowns show forks only. For non-fork remotes, use the URL option.
Remote icons in the Commit Graph:
- GitHub
- Bitbucket
- GitLab
- Azure DevOps
- Other
***
## How to push changes
To push local commits to a remote branch:
- Click Push in the main toolbar
- Or right-click a branch and select PushPush a local branch to its upstream
If a remote branch doesn’t exist yet, GitKraken will prompt you to name and create it.
Caution: If fast-forwarding fails, GitKraken may offer a Force Push option. Use with care.
### How drag-and-drop push works
Drag a branch onto a remote branch (in the graph or Left Panel) to trigger a push.
Drag to push a branch to a remote
***
## How fetch works
Fetching retrieves updates from remotes but doesn’t change your working directory.
Fetch from the pull dropdown menu
### What Fetch All does
Shows how far ahead/behind your branches are compared to the remote.
Ahead/behind indicators in the Left Panel
Fetching runs automatically every minute. Adjust the interval in Preferences > General.
***
## How pull options work
Pulling performs a fetch and then updates your local branch.
### How pull with fast-forward if possible works
Fast-forwards your branch if there are no conflicting commits; otherwise, merges.
Example: Merge fallback when fast-forward not possible
### How pull with fast-forward only works
Attempts to fast-forward. If not possible, no action is taken.
### How pull with rebase works
Temporarily stashes your commits, pulls from remote, and replays your changes on top.
Rebase keeps commit history linear
### How to set the default pull behavior
Select a default pull method via the dropdown menu.
Choose a default pull behavior
***
## How to set an upstream branch
The upstream defines the remote branch a local branch tracks.
- Right-click a branch to set its upstream
- Or click the button
Set the upstream branch
You can also drag and drop to push instead of explicitly setting the upstream:
Push without setting upstream via drag-and-drop
---
# Stage, Unstage, and Ignore Files in GitKraken Desktop
URL: https://help.gitkraken.com/gitkraken-desktop/staging/
Description: Learn how to stage, unstage, discard changes, and manage .gitignore rules when committing in GitKraken Desktop. Includes line-by-line diff staging.
Product: GitKraken Desktop
Feature: Staging
Content type: how-to
Audience: developer
Plan required: all
Status: GA
Last verified: 2026-03
Last updated: March 2026
Use this page to stage, unstage, discard, and ignore files in GitKraken Desktop from the Commit Panel and diff view. It covers full-file staging, line-level staging, discard actions, and the difference between ignoring a file and ignoring it while also removing it from Git tracking.
**Requirements and limits**
- Workflow scope: Working directory and staged file management from the Commit Panel and diff view
- Starting point: Select the `//WIP` node to work with current uncommitted changes
- Line-level actions: Stage, unstage, and discard support is available from the diff view for selected lines or hunks
- Ignore behavior: GitKraken Desktop writes ignore rules to the root-level `.gitignore`
- Ignore limitation: Nested `.gitignore` files are not parsed by GitKraken Desktop
- Tracked-file behavior: **Ignore and Stop Tracking** removes the file from the Git index in addition to adding the ignore rule
| Action | Scope | Where to do it | Notes |
|--------|-------|----------------|-------|
| Stage file | Whole file | Commit Panel | Moves the file into Staged Files |
| Unstage file | Whole file | Commit Panel | Returns the file to the working directory |
| Stage selected lines | Partial file | Diff view | Supports line or hunk-level staging |
| Discard changes | Whole file or selected hunk | Commit Panel or diff view | Permanently removes uncommitted changes |
| Ignore | File, extension, or directory | Context menu on unstaged files | Writes to the root-level `.gitignore` |
| Ignore and Stop Tracking | Already tracked file | Context menu on tracked files | Adds ignore rule and removes the file from the Git index |
***
## Quick Start
**To stage files:**
1. Select the **//WIP** node in the Commit Graph to open the Commit Panel.
2. Hover over a file and click **Stage File**, or click **Stage all changes** to stage everything at once.
3. To stage specific lines, click a file to open its diff, highlight the lines, right-click, and select **Stage selected lines**.
**To unstage files:** Select a file under Staged Files and click **Unstage File**. Use **Unstage all changes** to move all staged files back to the working directory.
**To discard changes:** Select the **//WIP** node and click the trash icon to discard all changes or selected files. Right-click a file to discard individual hunks from the diff view.
**To ignore a file:** Right-click any unstaged file and select **Ignore**. Choose to ignore by file name, extension, or directory. GitKraken Desktop adds the rule to the root-level `.gitignore`. For already-tracked files, select **Ignore and Stop Tracking** to also remove the file from the Git index.
***
## How to stage files and changes
Staging prepares your file changes for commit. To begin:
1. Select the //WIP node in the Commit Graph to open the Commit Panel.
Select the //WIP node to view your working changes.
2. Hover over a file and click to stage it.
Click Stage File on hover.
You can also:
- Click to stage all at once
- Click a file to view its diff and selectively stage lines:
- Highlight lines
- Right-click and select Stage selected linesRight-click to stage specific lines or hunks.
***
## How to unstage files or lines
To unstage a file:
1. Select the file under the Staged Files section
2. Click
Click Unstage File to move it back to working changes.
To unstage lines or hunks, click a file to view its diff and right-click the content to unstage.
Unstage specific hunks directly from the diff view.
To unstage all:
- Click
***
## How to discard changes
To discard changes across your working directory:
1. Select the //WIP node
2. Click the trash icon to discard all or selected files
Discard changes for all or multiple selected files.
You can also:
- Multi-select files and right-click to Discard selected
- Discard lines/hunks from the file diff
- Right-click within the staging panel and choose Discard ChangesDiscard selected hunks of code.
***
## How to ignore files
To prevent Git from tracking certain files, add them to a `.gitignore` file.
Right-click a file and select Ignore:
Choose ignore rules based on file, extension, or folder.
You can choose to:
- Ignore the selected file only
- Ignore all files with that extension
- Ignore all files in the directory
GitKraken Desktop will add the rule to a `.gitignore` file at the root of your repo. Nested `.gitignore` files are not parsed.
Note: GitKraken Desktop only uses the root-level .gitignore file.
### How to ignore previously tracked files
If a file is already tracked, you’ll see two options:
Prompt showing options to ignore a file already tracked by Git.
Selecting Ignore will add the corresponding entry to the `.gitignore` file, but Git will continue tracking the file.
Ignore file but keep it tracked by Git.
Selecting Ignore and Stop Tracking will add the entry and remove the file from the Git index, so Git stops tracking it.
Ignore file and remove it from Git tracking.
---
# View Diffs, File History, and Blame in GitKraken Desktop
URL: https://help.gitkraken.com/gitkraken-desktop/diff/
Description: Learn how to use GitKraken Desktop to compare changes with diffs, view file history and blame, configure external diff tools, and manage Git patches.
Product: GitKraken Desktop
Feature: Diff Viewer
Content type: how-to
Audience: developer
Plan required: all
Status: GA
Last verified: 2026-03
Last updated: March 2026
Use this page to compare uncommitted changes, inspect commit diffs, switch between diff views, review file history or blame, and create or apply patches in GitKraken Desktop. It also covers external diff tools and key limits such as patch support being a preliminary feature that does not generate binary-file patches.
**Key constraints**
- Diff coverage: Use this page for built-in diff viewing, file history, blame, and patch workflows in GitKraken Desktop
- Patch support: Patch creation and application are preliminary features
- Binary files: GitKraken Desktop does not currently generate patches from binary files
- External diff tools: Beyond Compare, FileMerge, Kaleidoscope, KDiff, Araxis, and P4Merge are supported directly
- Other tools: Use Git Config Default and your global `.gitconfig` if your preferred diff tool is not listed in Preferences
***
## Quick Start
**To view a diff:**
- Click a file in the staging area (WIP node) to see your uncommitted changes.
- Click a commit in the graph, then click any file in the Commit Panel to view that commit's changes.
- Select two commits using Shift + Click to compare them directly.
**To switch diff view modes**, use the **Hunk**, **Inline**, or **Split** toggles in the diff viewer. To revert a specific block of changes, use the **Revert** button in Hunk view.
**To view file history or blame:**
- Open the diff for any file and click the **History** or **Blame** button in the upper-right corner.
- Or right-click a file after selecting a commit in the graph.
**To create or apply a patch:**
- Right-click a commit and select **Create patch from commit**.
- To apply a patch, open the Command Palette (Cmd/Ctrl + P), type `Apply Patch`, and select your `.patch` file.
To use an external diff tool, go to Preferences > External Tools and select your preferred application.
***
## What Is a Diff in GitKraken Desktop?
A diff displays lines added and removed from a file:
- Red indicates removed lines.
- Green indicates added lines.
Use the built-in diff when: you want to inspect changes, compare commits, or review file history directly in GitKraken Desktop. Use an external diff tool when: you need a specialized comparison workflow that is not covered well by the built-in viewer.
Full-screen diff view with color-coded changes.
GitKraken Desktop’s built-in diff viewer includes:
- Word diffing
- Syntax highlighting
- File mini-map
- Toggleable views: Hunk, Inline, Split
- Word wrap toggle
- Arrows to navigate between change sets
Use the button to directly edit the file. Learn more in the [Editing Files](/working-with-files/editing-files) section.
***
## Where Can I Access the Diff?
You can view diffs from:
- **Staging area**: Click a file to open its diff
- **Commit node**: Select a commit and click any file
Selecting two commits shows the differences between them.
Diff view comparing two selected commits.
You can also select multiple commit rows using Shift + Click to show a combined diff:
Combined diff across multiple selected commits.
### When to use Hunk View
Displays only the changed blocks of a file.
Use Hunk View when: you want to focus only on changed blocks or revert a specific hunk quickly. Don't use it when: you need full-file context around the changes.
Hunk view highlights change blocks without full context.
#### How to revert a hunk
GitKraken offers a convenient option in the diff view: **Revert Hunks**.
In **Hunk View**, you can roll back a specific block of changes. Click the **Revert** button next to any hunk to apply an equal and opposite change to your working directory.
Click the Revert button to undo a specific hunk directly from the diff view.
This lets you revert only what you need—no reset or manual edits required.
### When to use Inline View
Displays changes within the full context of the file.
Use Inline View when: you want to read edits in the flow of the full file. Don't use it when: side-by-side comparison is easier for the change you are reviewing.
Inline view shows changes inline with full file content.
### When to use Split View
Displays changes side-by-side, with the original file on the left and the updated version on the right.
Use Split View when: you want to compare old and new content line-by-line. Don't use it when: you want a more compact, single-column review for small changes.
Split view compares before (left) and after (right) file states.
### How to use Word Wrap in the diff view
The Word Wrap toggle wraps long lines in the diff view so that the full content of each line is visible without horizontal scrolling. This is particularly useful when reviewing files with long lines, such as Markdown documents, minified JavaScript, or LaTeX files.
To toggle word wrap, click the **Word Wrap** button in the toolbar of the diff view, file view, file history, or merge conflict resolution panel.
Click the Word Wrap button in the toolbar to toggle line wrapping.
***
## How to use external diff tools
Configure an external diff tool in Preferences External Tools:
Use an external diff tool when: you already rely on a supported third-party app or need its advanced comparison features. Don't use an external tool when: GitKraken Desktop's built-in diff already gives you the context and controls you need.
Configure your preferred diff tool from Preferences.
Supported tools include:
- Beyond Compare
- FileMerge
- Kaleidoscope
- KDiff
- Araxis
- P4Merge
If a supported tool does not appear in the dropdown, verify that its command line tools are installed.
Example setup with Beyond Compare.
To use a different diff tool, go to Preferences General and set the Diff Tool to _Git Config Default_. Then add the appropriate configuration in your global `.gitconfig`:
#### macOS
```
[diff]
tool = meld
[difftool "meld"]
cmd = open -a Meld --args "$LOCAL" "$REMOTE"
```
#### Linux
```
[diff]
tool = meld
[difftool "meld"]
cmd = meld "$LOCAL" "$REMOTE"
```
#### Windows
```
[diff]
tool = meld
[difftool]
prompt = false
[difftool "meld"]
cmd = meld "$LOCAL" "$REMOTE"
```
***
## How to compare a WIP against another commit or branch
To compare your Work in Progress (WIP) with another commit or branch:
- Use Ctrl/Cmd + click to select the WIP and another commit
- Or, right-click a commit or branch and select Compare commit against working directoryCompare WIP with a commit or branch from the graph.
***
## How to view file blame and history
Access _File History_ and _File Blame_ from the file diff view. Options appear in the upper-right corner.
Use buttons in the top-right to view file history or blame.
Alternatively, right-click a file after selecting a commit in the graph.
Access history or blame from the commit graph.
_File Blame_ color-codes each line or hunk by author.
Blame view showing per-line author contributions.
Use the toggle in the top-right to switch between Diff View (showing changes) and File View (showing the full file with blame).
***
## How patch files work in GitKraken Desktop
Use patches when: you need to share changes without pushing them to a remote. Do not rely on patches for binary files: GitKraken Desktop does not currently generate patches from binary files.
A patch (or patch file) records the differences between files. Patches allow users to share changes without pushing them to a remote repository.
### How to create a patch from files or commits
To create a patch:
- Right-click a **commit** and choose Create patch from commit
- Right-click a **file** and choose Create patch from file changes
You will be prompted to name the patch file.
Create a patch from a commit.Create a patch from file changes.
You can also multi-select files or commits using Shift or Cmd/Ctrl + click, then right-click to create a patch.
Create a patch from multiple files or commits.
### How to create a patch from the Command Palette
Launch the Command Palette from the toolbar or with Cmd/Ctrl + Shift + P, then search for “Create Patch.”
Create a patch using the Command Palette.
### How to apply a patch from the Command Palette
To apply a patch:
1. Open the Command Palette (Cmd/Ctrl + Shift + P)
2. Type “Apply Patch” and select the command
3. Choose your `.patch` file in the file explorer
Apply a patch from the file system.
Note: GitKraken Desktop does not currently support generating patches from binary files. This is a preliminary release. For feedback, contact our support team.
---
## Advanced Git & Repo Management
---
# Cherry Pick Commits in GitKraken Desktop
URL: https://help.gitkraken.com/gitkraken-desktop/cherrypick/
Description: Learn how to cherry pick single or multiple commits across branches in GitKraken Desktop, including using the interactive cherry-pick tool.
Product: GitKraken Desktop
Feature: Cherry Pick
Content type: how-to
Audience: developer
Plan required: all
Status: GA
Last verified: 2026-03
Last updated: March 2026
Use this page to cherry pick one or more commits onto your current branch in GitKraken Desktop when you need selected changes without merging an entire branch. It covers single-commit cherry picks, multi-commit interactive cherry pick, and the reorder, squash, reword, and drop actions available before applying changes.
***
## Quick Start
**To cherry pick a single commit:**
1. Check out the branch where you want to apply the commit.
2. Right-click the commit in the Commit Graph.
3. Select **Cherry pick commit**.
**To cherry pick multiple commits:**
1. Hold Cmd (Mac) or Ctrl (Windows/Linux), or use Shift, to select multiple commits in the graph.
2. Right-click one of the selected commits.
3. Select **Cherry pick X commits**.
The interactive cherry-pick tool opens, where you can reorder commits by dragging, squash child commits into parents, reword commit messages, or drop commits before applying. Use keyboard shortcuts in the interactive view: P to pick, S to squash, R to reword, and D to drop. Click **Reset** to abandon the session without applying changes.
***
## How to cherry pick a single commit
1. Check out the branch where you want to apply the commit.
2. Right-click the commit in the graph.
3. Select **Cherry pick commit**.
Check out the target branch, then right-click a commit to cherry pick it.
You can also cherry pick the HEAD commit of a branch by right-clicking a branch name under the **Local** section of the Left Panel.
Right-click a branch in the Left Panel to cherry pick its HEAD commit.
***
## How to cherry pick multiple commits
1. Hold Cmd (Mac) or Ctrl (Windows/Linux) or Shift and click multiple commits.
2. Right-click one of the selected commits.
3. Choose **Cherry pick X commits**.
Select a range of commits with Shift or Cmd/Ctrl and right-click to cherry pick.
This opens the interactive cherry pick tool where you can:
- **Reorder** commits with drag-and-drop
- **Squash** commits
- **Reword** commit messages
- **Drop** a commit
Use the interactive tool to modify selected commits before applying them.
***
## What the interactive cherry-pick actions do
- **Pick**: Apply the commit as-is to the target branch.
- **Reword**: Edit the commit summary and description.
- **Squash**: Combine a child commit into its parent (requires a parent-child relationship).
- **Drop**: Remove a commit from the list.
Use keyboard shortcuts to manage commits in the interactive view:
P = Pick S = Squash R = Reword D = Drop
To abandon the cherry-pick session, click:
***
## Learn more about cherry pick
---
# Coding Agents in GitKraken Desktop
URL: https://help.gitkraken.com/gitkraken-desktop/agents/
Description: Use Agent Sessions View in GitKraken Desktop to configure coding agent CLIs, create agent sessions, monitor progress, and manage parallel worktrees.
Product: GitKraken Desktop
Feature: Agents
Content type: how-to
Audience: developer
Plan required: all
Status: GA
Last verified: 2026-04
Last updated: April 2026
Use this page to learn how coding agents work in GitKraken Desktop and how to use **Agent Sessions View** to create, monitor, and manage coding agent sessions. Read this page if you want to use external coding agent CLIs such as Claude Code, Codex CLI, Copilot CLI, Gemini CLI, or OpenCode from inside GitKraken Desktop.
A **coding agent** is an external CLI that can work on code in a terminal session. In GitKraken Desktop, each **agent session** runs that CLI in its own [**worktree**](/gitkraken-desktop/worktrees/). **Agent Sessions View** shows those worktrees as agent-focused cards so you can start parallel work, monitor progress, and switch back when an agent needs attention.
GitKraken Desktop explicitly integrates with a set of supported coding agent CLIs. You can also run other coding agents manually in the embedded terminal, even if they do not appear in the coding agent configuration.
This page also helps answer common questions such as:
- How do I use Claude Code with GitKraken Desktop?
- How do I run Copilot CLI as a coding agent in GitKraken?
- How do I use Codex CLI, Gemini CLI, or OpenCode in GitKraken Desktop?
- Can I run multiple coding agent sessions at the same time?
**Requirements and limits**
- Product: GitKraken Desktop with Agent Sessions View enabled
- Coding agent CLI: Install and configure a supported coding agent CLI in Preferences > External Tools > Coding Agent
- Session model: Each agent session runs in its own Git worktree and working directory
- Repository setup: Setup commands are configured per repository in Preferences > Repo-Specific Preferences > Agents
- Status support: Agent status indicators are available for Claude Code as of version 12.0.0
- Other agents: You can still run other coding agents manually in the embedded terminal, even if GitKraken does not explicitly integrate with or detect them
| What you want to do | Supported | Where in GitKraken Desktop | Notes |
|---------------------|-----------|-----------------------------|-------|
| Start a coding agent session | Yes | Agent Sessions View | Creates a worktree, runs setup commands, and launches the coding agent CLI |
| Start multiple coding agent sessions at the same time | Yes | Agent Sessions View | Each session runs in a separate worktree |
| Choose a different base branch for a new session | Yes | New Agent Session form | Default base branch is `HEAD` |
| Choose a coding agent CLI for a session | Yes | New Agent Session form | Falls back to the coding agent set in Preferences |
| Monitor agent progress | Yes | Agent Sessions View card | Cards show WIP changes, ahead/behind, and agent status |
| Respond when an agent is waiting for input | Yes | Agent Sessions View and embedded terminal | Claude Code can show a **Waiting for input** status in the card |
| Configure coding agent CLIs | Yes | Preferences > External Tools > Coding Agent | GitKraken auto-detects installed CLIs |
| Configure setup commands for a repository | Yes | Preferences > Repo-Specific Preferences > Agents | Commands run before the agent launches |
***
## Quick start for coding agents in GitKraken Desktop
**To open Agent Sessions View:**
Click **Agents** in the `List | Agents` segmented control at the top of the Left Panel.
**To start a coding agent session:**
1. Click **+ New Agent Session** at the top of Agent Sessions View.
2. Enter a branch name.
3. Optional: choose a base branch, choose a coding agent CLI, or click **Configure setup commands**.
4. Click **Start**.
**To monitor an agent session:**
Review the card for branch name, WIP changes, ahead/behind counts, and agent status.
**To respond when an agent is waiting for input:**
Open that worktree or switch to its terminal session and respond there.
**To configure coding agent CLIs:**
Go to Preferences > External Tools > Coding Agent.
**To configure setup commands for the current repository:**
Go to Preferences > Repo-Specific Preferences > Agents.
***
## What coding agents, agent sessions, and Agent Sessions View mean
Use these terms consistently when working with Agent Sessions View:
| Term | What it means |
|------|---------------|
| **Coding agent** | An external coding agent CLI such as Claude Code, Codex CLI, Copilot CLI, Gemini CLI, or OpenCode |
| **Coding agent session** | A running session of a coding agent CLI started from GitKraken Desktop |
| **Worktree** | A separate Git working directory used for that agent session |
| **Agent Sessions View** | The Left Panel view that shows worktrees as agent session cards |
| **List view** | The standard Left Panel view for worktrees and branches |
Agent Sessions View and List view use the same underlying worktrees. The difference is how GitKraken Desktop presents them:
- Use **List view** when you want a branch-focused view.
- Use **Agent Sessions View** when you want an agent-focused view with status and quick actions.
Why use Agent Sessions View instead of only List view? Agent Sessions View shows the same worktrees you already use in GitKraken Desktop, but it organizes them around agent activity such as progress, status, and actions. You can switch between List and Agents at any time without losing work.
Missing the toggle? If the List | Agents switch is not visible in the Left Panel, open Preferences > UI Customization and enable Show Agents view in left panel.
***
## How to toggle agents view
To show or hide the `List | Agents` toggle at the top of the Left Panel, go to Preferences > UI Customization and toggle **Show Agents view in left panel**.
Enable Show Agents view in left panel to display the List | Agents toggle
***
## When to use coding agents in GitKraken Desktop
Use coding agents when you want to:
- Work on multiple tasks in parallel without leaving GitKraken Desktop
- Start a task on a new branch and let a coding agent work in a separate worktree
- Monitor agent progress while you continue working in another worktree
- Review and act on agent-generated changes when the session finishes
Coding agents are usually not the best choice when you:
- Need to make a small manual change in your current worktree
- Do not want to create another worktree
- Need behavior that depends on a CLI that is not installed or configured
***
## How to configure coding agent CLIs (Claude Code, Copilot CLI, Codex CLI, Gemini CLI, OpenCode)
Go to Preferences > External Tools > Coding Agent to choose which coding agent CLI GitKraken Desktop launches for new sessions.
GitKraken Desktop explicitly integrates with these supported coding agent CLIs:
- [Claude Code](https://code.claude.com/docs/en/quickstart)
- [Codex CLI](https://developers.openai.com/codex/quickstart)
- [Copilot CLI](https://github.com/features/copilot/cli)
- [Gemini CLI](https://geminicli.com/docs/)
- [OpenCode](https://opencode.ai/download)
GitKraken auto-detects installed CLIs. You can also add custom CLI arguments that GitKraken passes when it starts a coding agent session.
If you use a different coding agent, you can still open a session worktree and run that agent manually in the embedded terminal. The agent does not need to appear in the coding agent configuration for you to use that terminal workflow.
If you are asking:
- "How do I use Claude Code with GitKraken Desktop?"
- "How do I run Copilot CLI as a coding agent in GitKraken?"
- "How do I use Codex CLI, Gemini CLI, or OpenCode in GitKraken Desktop?"
The setup path is the same: install the CLI on your system, then configure it in Preferences > External Tools > Coding Agent.
***
## How to configure setup commands for coding agent sessions
Setup commands run in sequence in the new worktree before the coding agent launches. Use setup commands to prepare the repository for the session, for example:
- `npm install`
- `pnpm install`
- `pnpm build`
Put each command on its own line.
Go to Preferences > Repo-Specific Preferences > Agents to define setup commands for the current repository.
Because these settings are under Repo-Specific Preferences, setup commands apply only to the repository you configure them in.
***
## How to create a new coding agent session
1. Open **Agent Sessions View** by clicking **Agents** in the Left Panel.
2. Click **+ New Agent Session**.
3. Enter a branch name.
4. Optional: review the session options.
| Option | Use it to | Default |
|--------|-----------|---------|
| **Base branch** | Create the new worktree from a different branch | `HEAD` |
| **Coding agent** | Launch a specific coding agent CLI for this session | Coding agent set in Preferences |
To update repository setup, click **Configure setup commands** to open Preferences > Repo-Specific Preferences > Agents.
5. Click **Start**.
GitKraken Desktop creates a new worktree from the selected base branch, runs any configured setup commands, and launches the selected coding agent in the embedded terminal.
***
## How to monitor coding agent progress and session status
Each card in Agent Sessions View represents one worktree and one coding agent session.
| Card element | What it shows |
|--------------|---------------|
| **Branch name** | The branch checked out in that worktree |
| **WIP change summary** | The count of uncommitted file changes |
| **Ahead / behind** | Commit counts relative to the remote |
| **Agent status** | Whether the agent is running, waiting for input, or done |
The status bar at the bottom of each card shows the current session state. Status indicators are available for Claude Code as of version 12.0.0.
When an agent needs attention, the card can show a bell icon and a **Waiting for input** label. This lets you see that the session needs a response without switching to the terminal first.
You can keep working in another worktree while monitoring these cards. When a session finishes, switch to that worktree to review the results.
***
## How to monitor and respond to coding agent prompts
Use this workflow when a coding agent pauses and waits for input.
1. Watch the card in **Agent Sessions View** for a bell icon or a **Waiting for input** status.
2. Open that worktree from the card.
3. Switch to the embedded terminal for that agent session.
4. Review the prompt from the coding agent CLI.
5. Respond in the terminal to continue the session.
This workflow is especially useful when you run multiple coding agent sessions at the same time and need to see which session needs attention first.
***
## How to open, review, and manage a coding agent worktree
For general worktree tasks outside coding agents, see [Manage Git Worktrees in GitKraken Desktop](/gitkraken-desktop/worktrees/).
Right-click any card in Agent Sessions View to manage that worktree:
| What you want to do | Action in the card menu | Result |
|---------------------|-------------------------|--------|
| Open the session worktree | **Open this worktree** | Switches to that worktree |
| Open the session in another tab | **Open worktree in a new tab** | Opens the worktree in a new GitKraken tab |
| Prevent the worktree from being pruned, moved, or deleted | **Lock this worktree** | Locks the worktree |
| Re-enable normal worktree management | **Unlock this worktree** | Unlocks the worktree |
| Remove the session worktree | **Remove this worktree** | Deletes the worktree and its working directory |
Use these actions after the agent finishes so you can review changes, push the branch, create a pull request, or clean up the worktree.
***
## Typical workflow for coding agents and worktrees
1. You are working on a feature in your current worktree.
2. A second task comes in, such as a bug fix or a small refactor.
3. You open **Agent Sessions View** and start a new coding agent session on a new branch such as `fix/login-crash`.
4. GitKraken Desktop creates a worktree, runs setup commands, and launches the coding agent CLI.
5. You continue working in your original worktree while monitoring the new agent session card.
6. If the card shows **Waiting for input**, you switch to that session and respond in the terminal.
7. When the agent finishes, you open the worktree, review the diff, and push or open a pull request.
8. After the work is merged or no longer needed, you remove the worktree.
***
## Common questions about coding agents in GitKraken Desktop
### Can I run multiple coding agent sessions at the same time?
Yes. Each coding agent session runs in its own worktree and working directory, so you can run parallel sessions in the same repository.
### What happens when I start a coding agent session?
GitKraken Desktop creates a worktree, checks out the new branch, runs any configured setup commands, and then launches the selected coding agent CLI in the embedded terminal.
### Do Agent Sessions View and List view show different worktrees?
No. They show the same underlying worktrees. The difference is the presentation: List view is branch-focused, and Agent Sessions View is agent-focused.
### Where do I choose Claude Code, Copilot CLI, Codex CLI, Gemini CLI, or OpenCode?
Go to Preferences > External Tools > Coding Agent. You can also choose a different coding agent in the New Agent Session form for a single session.
### Can I use a coding agent that GitKraken Desktop does not explicitly integrate with?
Yes. GitKraken Desktop explicitly integrates with supported coding agent CLIs such as Claude Code, Codex CLI, Copilot CLI, Gemini CLI, and OpenCode, but you can still run other coding agents manually in the embedded terminal. The agent does not need to appear in the coding agent configuration for you to use that terminal workflow.
### Where do I configure repository setup before the agent starts?
Go to Preferences > Repo-Specific Preferences > Agents. Setup commands run in sequence in the new worktree before the coding agent launches.
---
# Deep Linking in GitKraken Desktop
URL: https://help.gitkraken.com/gitkraken-desktop/linking/
Description: Learn how to share and open deep links to specific branches, commits, tags, and repositories in GitKraken Desktop for faster collaboration.
Product: GitKraken Desktop
Feature: Deep Linking
Content type: reference
Audience: developer
Plan required: all
Status: GA
Last verified: 2026-03
Last updated: March 2026
Use deep links in GitKraken Desktop to share or open specific remote repositories, commits, branches, or tags. This allows your team to quickly access relevant project context with a single click.
**Requirements and limits**
- Scope: Deep links to repositories, commits, branches, and tags
- Integration requirement: The repository must be hosted through a supported GitKraken integration
- Local access behavior: If the repository is already open, GitKraken navigates directly to the referenced item
- Clone fallback: If the repository is not cloned locally, GitKraken opens a clone dialog with the URL pre-filled
- Multiple-copy behavior: If more than one local copy exists, GitKraken prompts the user to choose which one to use
- Setup note: No extra configuration is required beyond having access to the repository locally or through cloning
***
## Quick Start
**To copy a deep link:**
- Right-click a branch, commit, tag, or repository in the Commit Graph or Left Panel and select the copy link option.
- Paste the copied link into tools like Jira, GitHub, Slack, or Microsoft Teams.
**When a teammate clicks your link:**
- If the repository is already open, GitKraken Desktop navigates directly to the referenced item.
- If the repository is not open, GitKraken Desktop attempts to open it automatically.
- If the repository is not cloned, a clone dialog appears with the URL pre-filled.
- If multiple local copies exist, you will be prompted to select which copy to use.
Deep links are available for any hosted remote repository that is connected through a GitKraken integration. No additional configuration is required beyond having the repository accessible locally.
***
## How to copy a link from GitKraken Desktop
Right-click on a branch, commit, tag, or repository to copy a deep link.
Copy link from context menu options
These links can be pasted into tools like Jira, GitHub, Slack, or Microsoft Teams.
***
## How to open a deep link
If someone sends you a GitKraken Desktop link:
- Click the link
- GitKraken Desktop will open and navigate to the specified item
Opening a GitKraken deep link from Slack
***
## What happens when a deep link opens
GitKraken Desktop handles links dynamically depending on your local setup:
- **Repository is not open**: The app will try to open it automatically.
- **Repository is not cloned**: You'll be prompted to clone and the modal will be pre-filled.
- **Multiple copies of the repo**: You'll be prompted to choose which local copy to use.
Deep links streamline collaboration by ensuring you and your teammates view the same Git objects instantly, even across different environments.
---
# Fork GitHub Repositories from GitKraken Desktop
URL: https://help.gitkraken.com/gitkraken-desktop/fork/
Description: Learn how to fork public or private GitHub repositories directly from GitKraken Desktop and manage them as remotes.
Product: GitKraken Desktop
Feature: Fork
Content type: how-to
Audience: developer
Plan required: all
Status: GA
Last verified: 2026-03
Last updated: March 2026
Use this page to fork GitHub or GitHub Enterprise Server repositories from GitKraken Desktop and add the fork as a remote without leaving the app. Forking is useful when you need your own copy of a repository to contribute changes, open pull requests, or maintain a separate version of a project.
With the [GitHub integration](/gitkraken-desktop/github-gitkraken-desktop/) or [GitHub Enterprise Server integration](/integrations/github-enterprise/), you can fork repositories directly from GitKraken Desktop.
**Requirements and limits**
- Supported hosts on this page: GitHub.com and GitHub Enterprise Server
- Requirement: The repository must already be open in GitKraken Desktop
- Integration requirement: Use the GitHub or GitHub Enterprise Server integration tab in the Add Remote flow
- Existing fork behavior: GitKraken Desktop can detect an existing fork and offer to add it as a remote
- Manual fallback: If needed, add the fork manually with an HTTPS or SSH remote URL
***
## Quick Start
**To fork a repository and add it as a remote:**
1. Open the repository you want to fork in GitKraken Desktop.
2. In the Left Panel, hover over **Remote** and click the **+** icon.
3. Select the **GitHub.com** or **GitHub Enterprise Server** tab.
4. If no fork is linked, GitKraken Desktop offers to fork the repo. Click **Fork and Add Remote**.
**To add an existing fork as a remote:**
1. Click the **+** icon next to **Remote** in the Left Panel.
2. Select the **GitHub.com** or **GitHub Enterprise Server** tab.
3. GitKraken Desktop detects the existing fork and offers to add it. Click **Add this Remote**.
The fork appears in the Left Panel under **Remote** and is ready to use for pushing branches and creating pull requests. If you need to add a remote manually, use an HTTPS or SSH URL from the same panel.
***
## How to fork a repository
1. [Open the repository](/working-with/open-clone-init/#opening-an-existing-project) you want to fork.
2. In the Left Panel, hover over Remote and click the icon.
3. Select the GitHub.com or GitHub Enterprise Server tab.
Add a remote using the + icon in the Left Panel
If no fork is currently linked, GitKraken Desktop offers to fork the repo and add it as a remote.
GitKraken detects the repo is not yet forked
Click to fork the repository and link it.
Fork is added as a remote in the Left Panel
***
## How to add an existing fork
If you've already forked the repo on GitHub:
1. Click the icon next to Remote
2. Select the GitHub.com or GitHub Enterprise Server tab
GitKraken Desktop will detect the existing fork and offer to add it.
Add an existing fork as a remote
Click to link your fork.
You can also [add any remote](/working-with/pushing-and-pulling/#adding-remotes) manually using an HTTPS or SSH URL.
---
# Gitflow in GitKraken Desktop
URL: https://help.gitkraken.com/gitkraken-desktop/git-flow/
Description: Learn how to use Gitflow in GitKraken Desktop to manage features, releases, and hotfixes with organized branching workflows.
Product: GitKraken Desktop
Feature: Gitflow
Content type: how-to
Audience: developer
Plan required: all
Status: GA
Last verified: 2026-03
Last updated: March 2026
Use this page to configure and run Gitflow in GitKraken Desktop when your team organizes work into feature, release, and hotfix branches. It covers the initial Gitflow setup, how the Gitflow panel works, and what happens when each Gitflow branch type is finished.
**Requirements and limits**
- Workflow scope: Gitflow-style branching with feature, release, and hotfix branches
- Setup location: Preferences > Gitflow
- Initialization behavior: GitKraken Desktop creates `main` and `develop` locally if they do not exist
- Panel behavior: Only branches with Gitflow prefixes appear in the Gitflow panel
- Finish behavior: Features merge into `develop`; releases merge into `main` and `develop` and create a tag; hotfixes merge into `main` and `develop`
- Publishing behavior: Publishing a Gitflow branch works the same as pushing any other Git branch
***
## Quick Start
1. Go to Preferences > Gitflow and initialize Gitflow for the repository. Optionally adjust default branch names.
2. GitKraken Desktop creates `main` and `develop` branches if they do not exist.
3. A **Gitflow** panel appears in the Left Panel. Click the green button to start a branch, or create a branch manually using a Gitflow prefix (e.g., `feature/my-feature`, `release/1.0.0`).
**To finish a branch type:**
- **Feature**: Merges into `develop` and deletes the branch locally.
- **Release**: Merges into both `main` and `develop`, and creates a tag.
- **Hotfix**: Merges into both `main` and `develop`.
Right-click a Gitflow branch in the Left Panel and select **Finish** to complete it. To set a tag prefix (e.g., `v`), configure it under Preferences > Gitflow. Publishing a Gitflow branch to a remote works the same as pushing any other branch.
***
## How Gitflow configuration works
To configure Gitflow in GitKraken Desktop:
1. Navigate to Preferences > Gitflow.
2. Optionally, change the default branch names.
Once initialized, two branches will always be present:
- main: the version in production.
- develop: the current development version for the next release.
If these branches don't exist locally, GitKraken Desktop will create them when Gitflow is initialized.
***
## How to use Gitflow
After initializing Gitflow, a Gitflow panel appears in the left sidebar. Use it to start or finish Gitflow branches.
To create a Gitflow branch:
- Click the green button in the Gitflow panel.
- Or name a branch with a Gitflow prefix (e.g., release/branch-name).
Branches with a Gitflow prefix appear in the Gitflow panel. Others appear in the local repository section only.
Note: Gitflow organizes features, hotfixes, and releases into separate folders.
Publishing a Gitflow branch (i.e., pushing it to a remote) works the same as with regular Git branches.
### How feature branches work
Feature branches are for new features or bug fixes. They're typically local and not shared.
When you finish a feature branch:
- It's merged into develop.
- It's deleted from the local repository.
Optionally, rebase the feature branch onto develop before finishing.
### How release branches work
Release branches represent versions shared with collaborators.
When you finish a release branch:
- It's merged into both main and develop.
- A tag is created with the release name.
### How hotfix branches work
Hotfix branches are similar to releases but created from main. Use them for urgent production fixes.
Examples include bug fixes or typos that must go live immediately.
When you finish a hotfix:
- It's merged into both main and develop.
### How Gitflow tags work
Tags mark specific points in your repository's history, such as releases.
Create tags from the Gitflow panel or the command line. When tagging from the Gitflow panel:
- The tag name matches the branch name (e.g., release/1.0.0 → 1.0.0).
- You can add a message to the tag.
In Preferences > Gitflow, set a tag prefix (e.g., v). This prefix is added to tags (e.g., v1.0.0).
---
# GitKraken Desktop Profiles | Manage Git Configs & Accounts
URL: https://help.gitkraken.com/gitkraken-desktop/profiles/
Description: Learn how to use GitKraken Desktop profiles to manage Git settings, integrations, avatars, and multiple accounts across different projects. Manage different gitconfig settings, repositories, and more!
Product: GitKraken Desktop
Feature: Profiles
Content type: reference
Audience: developer
Plan required: Pro
Status: GA
Last verified: 2026-03
Last updated: March 2026
***
Use profiles in GitKraken Desktop to keep separate Git identities, integrations, app preferences, and tab sets for different projects or environments. This page explains how to create and switch profiles, what a profile stores, how avatar behavior works, and when a paid GitKraken subscription is required for multiple profiles.
**Requirements and limits**
- Purpose: Separate Git identities, integrations, preferences, and tab sets by work context
- Multiple profiles: Require a paid GitKraken subscription
- Profile data: General, Integrations, and UI Preferences are stored per profile
- Tab behavior: Open tabs are profile-specific; new profiles duplicate tabs from the active profile when created
- Git config option: You can sync profile name and email into the global `.gitconfig`
- Avatar behavior: Connected integrations use provider avatars; otherwise GitKraken Desktop uses the Gravatar tied to the profile email
| Profile data | Stored per profile? | Notes |
|--------------|---------------------|-------|
| General preferences | Yes | Saved separately for each profile |
| Integrations | Yes | Keeps different service accounts isolated |
| UI Preferences | Yes | Theme and other UI settings are profile-specific |
| Open tabs | Yes | New profiles duplicate tabs from the active profile when created |
| Global `.gitconfig` sync | Optional | Can keep profile name and email in sync with Git |
| Avatar | Yes | Uses provider avatar when connected, otherwise Gravatar from the profile email |
***
## Quick Start
**To create a profile:**
1. Click the profile icon in the top-right corner.
2. Select **Manage Profiles**, then click the option to add a new profile.
3. Enter a profile name, author name, and email address.
**To switch profiles:**
- Click the profile icon and select the profile you want to use.
**What each profile stores:**
- Preferences from General, Integrations, and UI Preferences
- Open tabs (duplicated from the active profile when a new profile is created)
- Integration connections (for example, connect one profile to a personal GitHub account and another to a work account)
**To sync your profile email with Git's global config:** Enable the option "Keep my .gitconfig updated with my profile info" in Preferences > Profiles.
Multiple profiles require a paid GitKraken subscription. Profiles are accessible from Preferences > Profiles.
Set your email address to view your Gravatar preview.
Use profiles when: you need clean separation between work and personal Git identities, integrations, and tabs. Don't use multiple profiles when: one identity and one integration set already cover your workflow.
Access profiles from Preferences > Profiles.
Enable Keep my .gitconfig updated with my profile info to sync your name and email with Git’s global `.gitconfig`.
### What a profile stores
Each profile retains settings under:
- Preferences > General
- Preferences > Integrations
- Preferences > UI Preferences
[Tabs](/start-here/interface/#tabs) are also profile-specific. When you create a new profile, GitKraken Desktop will duplicate the tabs open in your current one.
Each profile maintains its own set of tabs.
Profiles support unique integration connections. For example, use separate profiles to connect different GitHub accounts.
Use separate profiles when: you want integrations, UI settings, and open tabs isolated by context. Don't expect profiles to be lightweight if: constantly duplicating and switching tabs would slow down your workflow more than it helps.
Profiles can connect to different remote hosting accounts.
### How to change profile avatars
If connected to [GitHub](/gitkraken-desktop/github-gitkraken-desktop/), [GitHub Enterprise Server](/gitkraken-desktop/github-enterprise/),[GitLab](/gitkraken-desktop/gitlab-gitkraken-desktop/), [GitLab Self-Managed](/gitkraken-desktop/gitlab-self-hosted/), [Azure DevOps](/gitkraken-desktop/azure-devops/), or [Bitbucket](/gitkraken-desktop/bitbucket/) your avatar will match your GitHub profile. Otherwise, GitKraken Desktop uses the [Gravatar](https://gravatar.com) linked to your profile’s email address.
Use provider avatars when: the profile is connected to a supported integration and you want that service's identity reflected in GitKraken Desktop. Use separate Gravatar-backed emails when: you need profiles to display different non-provider avatars.
To change your profile avatar:
1. Click the profile icon in the top-right corner.
2. Select Manage Profiles Start from the profile image menu.Edit your profile details here.
Choose an icon or change the email address to use a different Gravatar image.
Set a different author email to change the profile Gravatar.
### How to show author initials in the graph
Instead of avatars, display commit author initials in the commit graph:
Display author initials instead of profile avatars.
To enable, go to Preferences > UI Preferences > Display author initials and generic remote icons instead of avatars.
#### Which initials GitKraken Desktop uses
GitKraken Desktop uses initials based on the commit’s author name:
- Commits made in GitKraken use profile name initials.
- Commits from the CLI use initials from `.git/config` or `.gitconfig`.
### Can profiles use different avatars?
Yes it can, if each profile has a unique email address linked to a different Gravatar. GitKraken currently does not support custom image uploads.
---
# Hide and Solo Branches in GitKraken Desktop
URL: https://help.gitkraken.com/gitkraken-desktop/hiding-and-soloing/
Description: Learn how to reduce visual clutter in GitKraken Desktop by hiding or soloing branches, tags, remotes, and stashes from the Left Panel.
Product: GitKraken Desktop
Feature: Hide and Solo
Content type: how-to
Audience: developer
Plan required: all
Status: GA
Last verified: 2026-03
Last updated: March 2026
Hide and Solo help you reduce Commit Graph clutter in GitKraken Desktop without changing your repository. Use Hide to temporarily remove branches, tags, remotes, or stashes from view, and use Solo to focus only on the references you want to inspect when reviewing history or navigating a busy graph.
**Requirements and limits**
- Hide and Solo only change what is visible in the Commit Graph; they do not modify your repository data.
- You can hide or solo branches, tags, remotes, and stashes from the Left Panel.
- Solo mode keeps only the references you explicitly solo visible until you unsolo them.
- Bulk hide and show actions are available from the Left Panel section headers for Remotes, Tags, Branches, and Stashes.
***
Animation demonstrating hiding and soloing branches from the Left Panel.
## How to hide references in the Left Panel
Hide
Hiding a branch removes it from the Commit Graph view without affecting your repository.
To hide a branch, hover over it in the Left Panel and click the icon that appears. Or right-click the branch and select Hide from the context menu.
Hidden branches are marked with a gray icon. Click the icon to show the branch again.
## How to solo branches and remotes
Solo
Soloing a branch hides all others that haven’t been explicitly soloed. This narrows your focus to selected references.
Right-click a branch and select Solo to enter Solo Mode. Soloed branches display with an orange icon.
To solo or unsolo additional branches, click the semi-opaque icon beside each name.
You can also hide or solo entire remotes to isolate just the few branches you need.
## How to hide or show all references
You can hide or show all **Remotes**, **Tags**, **Branches**, or **Stashes** from the Left Panel. Right-click the corresponding header to access bulk options.
Right-click section headers to hide or show all references.
---
# Interactive Rebase in GitKraken Desktop
URL: https://help.gitkraken.com/gitkraken-desktop/interactive-rebase/
Description: Step-by-step guide to using interactive rebase in GitKraken Desktop to clean up your Git commit history by picking, squashing, rewording, or dropping commits.
Product: GitKraken Desktop
Feature: Interactive Rebase
Content type: how-to
Audience: developer
Plan required: all
Status: GA
Last verified: 2026-03
Last updated: March 2026
Use this page to run interactive rebase in GitKraken Desktop when you need to reorder, combine, rename, or drop commits before sharing or merging a branch. It explains how to start the rebase, what the available actions do, and which branch and history conditions must be met before the workflow is available.
**Requirements and limits**
- Workflow scope: Rewrite local branch history before sharing or merging
- Required branch condition: Branches must share a common ancestor
- Rebase limitation: Interactive rebase is not available for merge commits
- Source-branch limitation: No merge commits may exist on the source branch
- Initial-commit limitation: Neither branch may include the repository’s initial commit for this workflow
- Tooling limitation: If you start the rebase in GitKraken Desktop, you must complete it there
***
## Quick Start
**To start interactive rebase:**
- Drag and drop a branch onto a target branch and select **Interactive Rebase**.
- Or right-click a target branch in the Left Panel and choose **Interactive Rebase**.
- Or right-click any parent commit in the graph and select the option.
**Available commit actions:**
- **Pick**: Keep the commit as-is.
- **Reword**: Edit the commit message.
- **Squash**: Combine the commit into its parent commit.
- **Drop**: Remove the commit from history entirely.
Keyboard shortcuts in the rebase view: P = Pick, S = Squash, R = Reword, D = Drop.
To undo all changes before confirming, click **Reset**. Interactive rebase requires that branches share a common ancestor and that no merge commits exist on the source branch. If you start the rebase in GitKraken Desktop, you must complete it there.
***
## How to start an interactive rebase
To begin:
- Drag and drop one branch onto another
- Or right-click a target branch and select Interactive Rebase
Start interactive rebase via drag-and-drop or right-click
You can also right-click any parent commit to access the option. Note: Interactive rebase is not available for merge commits.
### Interactive rebase requirements
Interactive rebase is available only if:
- The branches share a common ancestor
- No merge commits exist on the source branch
- Neither branch includes the repo’s initial commit
- You’re not trying to rebase a parent onto a child (e.g., `main` onto `feature`)
Note: If you start the rebase in GitKraken Desktop, you must complete it there.
***
## What the interactive rebase actions do
### How Pick works
Moves the commit onto the target branch as-is.
Pick applies the commit without modifications
### How Reword works
Opens a modal to edit the commit summary and description.
Reword lets you update the commit message
### How Squash works
Combines the selected commit into its parent.
Squash merges the commit into the one above
### How Drop works
Removes the commit entirely and rewrites the graph.
Drop deletes the commit from history
***
## How shortcuts and Reset work
Use these keyboard shortcuts during rebase:
- P: Pick
- S: Squash
- R: Reword
- D: Drop
To undo all changes during setup, click .
Use Reset to cancel changes and start over
---
# Manage Favorite Repositories in GitKraken Desktop
URL: https://help.gitkraken.com/gitkraken-desktop/favorites/
Description: Learn how to favorite repositories in GitKraken Desktop for quick access via the Repo Management tab, dropdown menu, or shortcut keys.
Product: GitKraken Desktop
Feature: Favorites
Content type: how-to
Audience: developer
Plan required: all
Status: GA
Last verified: 2026-03
Last updated: March 2026
Favorites let you pin frequently used repositories in GitKraken Desktop so you can reopen them faster from Repo Management, dropdown menus, and keyboard shortcuts. Use favorites when you switch between a small set of active repos and want quick access without searching your full repository list each time.
**Requirements and limits**
- Favorites are managed from the Repo Management tab in GitKraken Desktop.
- Keyboard shortcuts are available for up to 9 favorite repositories.
- Favorites change how quickly you reopen repositories; they do not change the repository itself.
- Favorited repositories appear in the Favorites section of Repo Management for faster access.
***
## How to add a repository to Favorites
To favorite a repository:
1. Open the Repo Management tab via File > Open or by clicking the folder icon in the top-left corner.
2. Click the star icon next to the repository name.
Click the star icon to favorite a repository
Favorited repositories appear in the **Favorites** section of the Repo Management tab.
Favorites listed in the Repo Management view
***
## How to open favorite repositories with keyboard shortcuts
You can switch to your favorite repositories using keyboard shortcuts. GitKraken Desktop supports shortcuts for up to 9 favorite repositories.
Action
Mac
Windows/Linux
Swap to Favorite Repo #1-9
⌘Control#1–9
CtrlAlt#1–9
---
# Manage Git Submodules in GitKraken Desktop
URL: https://help.gitkraken.com/gitkraken-desktop/submodules/
Description: Learn how to add, update, and manage Git submodules in GitKraken Desktop, including how to track commits and enable automatic updates.
Product: GitKraken Desktop
Feature: Submodules
Content type: how-to
Audience: developer
Plan required: all
Status: GA
Last verified: 2026-03
Last updated: March 2026
Use this page to add, update, initialize, and manage Git submodules in GitKraken Desktop when one repository needs to reference another repository at a fixed commit. It covers how the Submodules pane works, how pointer commits are updated, and where to configure automatic submodule updates.
**Requirements and limits**
- Workflow scope: Git submodules, not Git subtree workflows
- Pane access: Enable the Submodules pane from the Left Panel header menu
- Add workflow: Requires an HTTPS or SSH repository URL and a target path
- Clone behavior: GitKraken Desktop prompts you to initialize submodules when cloning a parent repository that includes them
- Pointer behavior: Updating the tracked commit changes the parent repo’s submodule pointer and `.gitmodules` reference state
- Auto-update settings: Configure globally in Preferences > General or per repository in Preferences > Submodules
- Limitation: GitKraken Desktop does not support subtree workflows in-app
| Workflow | Supported in app | Notes |
|----------|------------------|-------|
| Show Submodules pane | Yes | Enable it from the Left Panel header menu |
| Add submodule | Yes | Requires repository URL and target path |
| Initialize submodules after clone | Yes | GitKraken Desktop prompts you when needed |
| Update submodule | Yes | Updates the tracked commit reference |
| Configure auto-update | Yes | Available globally or per repository |
| Git subtree workflow | No | Not supported in-app |
***
## Quick Start
**To show the Submodules pane:** Right-click any Left Panel header and check **Submodules**.
**To add a submodule:**
1. Hover over **Submodules** in the Left Panel and click the **+** icon.
2. Paste the HTTPS or SSH repository URL and enter the desired path.
3. GitKraken Desktop updates `.gitmodules` and references the submodule commit.
**To update a submodule:** Open the Submodules pane, right-click the submodule, and select **Update** to fetch its latest commit.
**To change the tracked commit:** Open the submodule in GitKraken Desktop, check out a new commit or branch, then exit the submodule. GitKraken Desktop will prompt you to save the updated pointer.
**To enable automatic updates:** Go to Preferences > General to update all repos globally, or Preferences > Submodules for per-repository settings.
When cloning a parent repository that includes submodules, GitKraken Desktop will prompt you to initialize them.
***
## How to enable the Submodules pane
To toggle the Submodules pane:
1. Right-click any pane header in the Left Panel.
2. Check or uncheck “Submodules” to show or hide the pane.
Toggle the Submodules pane from the Left Panel
***
## How to add a submodule
To add a submodule:
1. Hover over Submodules in the Left Panel.
2. Click the icon.
3. Paste the HTTPS or SSH repository URL.
4. Enter the desired path.
Add a submodule using HTTPS or SSH URL
Adding a submodule updates the `.gitmodules` file and references the submodule commit.
When cloning the parent repository, you’ll be prompted to initialize the submodule to fetch and checkout its commit.
***
## How to update a submodule
To update a submodule:
1. Open the Submodules pane.
2. Right-click the submodule.
3. Select Update to fetch the latest commit.
Update a submodule from the Left Panel
When cloning a repository that includes submodules, GitKraken prompts you to initialize them.
***
## How to change the pointer commit
To update the tracked commit:
1. Open the submodule in GitKraken Desktop.
2. Check out a new commit or branch.
3. Exit the submodule to return to the parent repo.
GitKraken Desktop will prompt you to save the updated pointer commit.
Update the pointer commit for a submodule
***
## What submodule statuses mean
Possible submodule states and how to resolve them:
- **Out of sync**: The pointer commit changed. Stash, commit, or discard changes.
- **Added but not initialized**: Right-click and select Initialize.
- **Added and initialized but not committed**: Commit the submodule folder and update `.gitmodules`.
***
## How to keep submodules up to date
Enable automatic submodule updates:
- Globally: Preferences > General
- Per repository: Preferences > Submodules
***
## Subtree support
GitKraken Desktop does **not** support subtree workflows in-app.
---
# Manage Git Tags in GitKraken Desktop
URL: https://help.gitkraken.com/gitkraken-desktop/tags/
Description: Learn how to create, annotate, move, and share Git tags in GitKraken Desktop to mark releases and key commits.
Product: GitKraken Desktop
Feature: Tags
Content type: how-to
Audience: developer
Plan required: all
Status: GA
Last verified: 2026-03
Last updated: March 2026
Use this page to create, annotate, push, move, delete, and filter Git tags in GitKraken Desktop. Tags are useful when you want to mark releases, deployment points, or other important commits and then share or inspect those references from the commit graph or Left Panel.
**Requirements and limits**
- Scope: Local and remote Git tag management in GitKraken Desktop
- Creation points: Commit Graph or Left Panel tag actions
- Checkout limitation: Tags cannot be checked out directly as branches
- Rename limitation: Tags cannot be renamed directly; delete and recreate them instead
- Move limitation: Moving a tag works only when fast-forwarding is possible; otherwise delete and recreate it
- Deletion warning: Deleting a tag locally or remotely is permanent
- Visibility control: The Tags pane can be filtered, shown, or hidden from the Left Panel
***
## Quick Start
**To create a tag:** Right-click a commit in the graph and select **Create tag here**. Enter the tag name and press Enter.
**To create an annotated tag:** Right-click a commit and select **Create annotated tag here**. Annotation messages appear as tooltips in the graph and Left Panel.
**To push a tag to a remote:** Right-click the tag in the Left Panel or graph and select **Push tag**.
**To create a branch from a tag:** Right-click the tag and select **Create branch here**.
**To delete a tag:** Right-click the tag and choose to delete it locally, from the remote, or both. Deletion is permanent.
**To rename a tag:** Tags cannot be renamed directly. Delete the existing tag locally and from the remote, then recreate it with the desired name on the same commit.
**To filter tags:** Use the filter bar at the top of the Tags section in the Left Panel. Toggle the Tags pane by right-clicking any Left Panel header.
***
## How to add a tag
To create a new tag:
1. Right-click a commit.
2. Select Create tag here.
Create a tag from a commit's context menu
To share a tag with collaborators, right-click it and choose Push tag.
Push a local tag to a remote
Double-click a tag in the Left Panel to jump to that commit in the graph. You can also hide or solo tags via the context menu.
Access tag options from the Left Panel
***
## How to create a branch from a tag
While you can't check out a tag directly, you can branch from it:
1. Right-click the tag.
2. Select Create branch here.
Create a branch from a tag
Alternatively, use the [detached HEAD state](/working-with-commits/detached-head-state/) to inspect a tagged commit.
***
## How to move a tag
To move a tag to a new commit:
1. Check out the new branch.
2. Right-click the tag.
3. Choose Fast-forward.
If fast-forwarding is not possible, delete the tag locally and remotely, then recreate it on the new commit.
***
## How to annotate a tag
To add a message to a tag:
- Right-click a commit and choose Create annotated tag here.
- Or right-click an existing tag and select Annotate tag.
Annotated messages appear in the graph and Left Panel on hover.
Hover to preview an annotated tag
***
## How to delete a tag
To delete a tag locally:
1. Right-click the tag in the Left Panel or Commit Graph.
2. Select Delete [tag name] locally.
3. Confirm by clicking Delete.
To delete a tag from the remote:
1. Right-click the tag in the Left Panel or Commit Graph.
2. Select Delete [tag name] from [remote].
3. Confirm by clicking Delete
> Deleting a tag is permanent and cannot be undone.
Right-click a tag to delete it locally or from a remote.
***
## How to rename a tag
GitKraken Desktop does not support renaming tags directly. To rename a tag, delete the existing one and create a new tag with the desired name.
1. Right-click the tag in the Left Panel or Commit Graph.
2. Select Delete [tag name] locally.
3. If the tag also exists on a remote, right-click it again and select Delete [tag name] from [remote].
4. Right-click the commit where you want to place the tag.
5. Select Create tag here and enter the new name.
> This workaround reflects Git’s limitations—Git tags are immutable once created.
***
## How to search or filter tags
Use the filter bar in the Left Panel to search for tags.
Search for tags from the Left Panel
***
## How to show or hide the Tags panel
To toggle visibility of the Tags section:
- Right-click any header in the Left Panel.
- Check or uncheck Tags.
Show or hide the Tags pane in the Left Panel
---
# Manage Git Worktrees in GitKraken Desktop
URL: https://help.gitkraken.com/gitkraken-desktop/worktrees/
Description: Learn how to create, switch, and manage Git worktrees in GitKraken Desktop to work on multiple branches in parallel.
Product: GitKraken Desktop
Feature: Worktrees
Content type: how-to
Audience: developer
Plan required: all
Status: GA
Last verified: 2026-04
Last updated: April 2026
Use this page to create, switch, lock, and remove Git worktrees in GitKraken Desktop when you need multiple branches checked out at the same time. Worktrees keep separate working directories while sharing the same repository history, which makes them useful for parallel feature work, testing, review workflows, and coding agent sessions.
If you use coding agents in GitKraken Desktop, Agent Sessions View builds on the same underlying worktree model. See [Coding Agents in GitKraken Desktop](/gitkraken-desktop/agents/) for agent-specific setup, session management, and status details.
**Requirements and limits**
- GitKraken Desktop version: Worktrees are supported in version 10.5.0 and later
- Worktree model: Each worktree has its own working directory and index but shares repository history with the main repo
- Change visibility: Once committed, changes made in one worktree become visible in other worktrees
- Lock behavior: Locking a worktree prevents accidental changes while you work elsewhere
- Removal behavior: Removing a worktree detaches that working directory from the repo via the Left Panel workflow
- Best fit: Use worktrees when you need multiple branches checked out simultaneously instead of repeatedly switching one working directory
| Action | What it does | Affects shared history | Notes |
|--------|--------------|------------------------|-------|
| Create worktree | Creates another working directory for a branch | No | Requires GitKraken Desktop 10.5.0 or later |
| Open worktree | Switches you into that working directory | No | Available from the Left Panel |
| Lock worktree | Prevents accidental changes to that worktree | No | Useful when working elsewhere temporarily |
| Remove worktree | Detaches that working directory from the repository | No | Removes the worktree entry, not shared history |
| View worktrees through Agent Sessions View | Shows the same worktrees in an agent-focused interface | No | Adds coding agent session context and quick actions |
| Commit in a worktree | Records history from that worktree | Yes | Committed changes become visible across all worktrees |
***
## Quick Start
**To create a worktree:**
1. Right-click a branch in the Repository View.
2. Select **Create worktree**.
**To switch between worktrees:** Right-click a worktree in the Left Panel and choose **Open this worktree**, or check out the corresponding branch from the Repository View. To open the worktree in a separate GitKraken tab instead, choose **Open worktree in a new tab**.
**To remove a worktree:** Right-click it in the Left Panel and select **Remove this worktree**.
**To lock or unlock a worktree:** Right-click the worktree and choose **Lock this worktree** or **Unlock this worktree**. Locking prevents accidental changes while you work in another worktree.
Worktrees share Git history with the main repository. Changes committed in one worktree are visible in others. Hover over a worktree in the Left Panel to see its full file path. Worktrees are supported in GitKraken Desktop 10.5.0 and later.
***
## What Git worktrees are
A Git worktree is a linked working copy of your repository. Each worktree:
- Has its own working directory and index
- Shares Git history with the main repository
- Lets you keep different branches checked out simultaneously
Worktrees are useful when you want to:
- Work on multiple features or fixes without switching branches
- Build or test alternate versions of your code
- Experiment safely while keeping your main branch clean
- Review pull requests without halting other work
Once committed, changes in one worktree become visible in others.
Using coding agents? Agent Sessions View in GitKraken Desktop uses Git worktrees behind the scenes. If you want to run Claude Code, Codex CLI, Copilot CLI, Gemini CLI, or OpenCode in GitKraken Desktop, see Coding Agents in GitKraken Desktop.
***
## How to use worktrees in GitKraken Desktop
GitKraken Desktop has supported worktrees since version **10.5.0**. In the Left Panel, you can work with those worktrees in two ways:
- **List view** for general branch and worktree management
- **Agent Sessions View** for coding agent sessions that run in worktrees
Both views use the same underlying worktrees. The difference is the presentation:
- Use **List view** when you want to create, switch, lock, or remove worktrees directly
- Use **Agent Sessions View** when you want to create, monitor, and manage coding agent sessions in worktrees
From the Left Panel, you can:
- Create and switch between worktrees
- Remove or lock/unlock worktrees
- Hover over a worktree to see its full file path
See [Coding Agents in GitKraken Desktop](/gitkraken-desktop/agents/) if you want to:
- install and use a supported coding agent CLI
- start a coding agent session in a new worktree
- monitor agent status such as **Waiting for input**
- manage agent sessions from Agent Sessions View
### How to create a worktree
To create a worktree:
1. Right-click a branch in the Repository View
2. Select Create worktree
Create a new worktree from any branch
### How to switch worktrees
To switch to another worktree:
- Right-click the desired worktree in the Left Panel and choose Open this worktree
- Right-click the desired worktree in the Left Panel and choose Open worktree in a new tab to open it in a separate GitKraken tab instead of replacing the current one
- Or check out the corresponding branch from the Repository View
Switch between worktrees from the Left Panel
### How to remove a worktree
To remove a worktree:
1. Right-click it in the Left Panel
2. Select Remove this worktree
### How to lock or unlock a worktree
To change lock status:
- Right-click the worktree and choose Lock this worktree or Unlock this worktree
Locking a worktree prevents accidental changes while you work elsewhere.
---
# Squash Git Commits in GitKraken Desktop
URL: https://help.gitkraken.com/gitkraken-desktop/squash/
Description: Learn how to squash commits to combine multiple changes into one using GitKraken Desktop. Clean up Git history before pushing or finalizing branches.
Product: GitKraken Desktop
Feature: Squash Commits
Content type: how-to
Audience: developer
Plan required: all
Status: GA
Last verified: 2026-03
Last updated: March 2026
Use this page to squash multiple commits into one in GitKraken Desktop when you want a cleaner branch history before sharing or merging work. It covers the selection requirements for squash, what happens to the resulting commit message, and why force push may be required if the original commits were already pushed.
**Requirements and limits**
- Workflow scope: Combine multiple local commits into one commit
- Selection requirement: Select two or more commits in a consecutive straight ancestor-descendant line
- Oldest-commit requirement: The oldest selected commit must have a parent
- Limitation: Squash is not available for merge commits
- Post-squash behavior: Edit the resulting commit message in the Commit Panel
- Remote-history warning: If the original commits were already pushed, updating the remote with the squashed history usually requires a force push
***
## Quick Start
1. In the Commit Graph, hold Shift or Cmd/Ctrl and click to select two or more commits. The selected commits must be consecutive, in a straight ancestor-descendant line, and the oldest must have a parent commit.
2. Right-click the selection and choose **Squash [N] commits**.
3. The squashed commit appears in the Commit Panel. Click the commit message to edit and consolidate the messages from the original commits.
**If you need to push a squashed commit that was already pushed:** GitKraken Desktop will warn that your local branch is behind the remote. Click **Force Push** to overwrite the remote branch with the squashed history. Force pushing is destructive and rewrites remote history, so use it only on branches where teammates are not actively working.
Squashing is not available for merge commits or commits that do not meet the consecutive ancestor-descendant requirement.
***
## Squash requirements
You can squash commits if they meet all the following conditions:
- More than one commit is selected
- Commits are in a straight line (ancestor-descendant)
- Commits are chronologically consecutive
- The oldest selected commit has a parent
To select multiple commits, hold Shift or Cmd/Ctrl and click the commits.
Select a commit range and right-click to squash.
After squashing, the new commit appears in the Commit Panel. You can click the commit message to amend and consolidate the messages from the squashed commits.
Click the commit message to edit after squashing.
***
## How to push a squashed commit
Avoid pushing commits to your remote that you intend to squash. If you've already pushed them, and then squash locally, your local and remote branches will differ.
After squashing, your local branch no longer matches the remote.
When you push, GitKraken shows a warning that your local branch is behind the remote. This is expected, because the squashed commit rewrites history.
A warning appears because your branch history changed.
To resolve this:
- Click to overwrite the remote branch with your squashed history
Use Force Push to push squashed commits and rewrite remote history.
Warning: Force pushing is a destructive action. It replaces remote history and can disrupt teammates working on the same branch. Use with caution.
---
# Using Git LFS in GitKraken Desktop
URL: https://help.gitkraken.com/gitkraken-desktop/git-lfs/
Description: Learn how to manage large files with Git LFS in GitKraken Desktop. Covers installation, initialization, configuration, and common troubleshooting.
Product: GitKraken Desktop
Feature: Git LFS
Content type: how-to
Audience: developer
Plan required: all
Status: GA
Last verified: 2026-03
Last updated: March 2026
***
Use this page to install, initialize, and manage Git LFS in GitKraken Desktop when your repository includes large binary files. It explains the Git, Git LFS, and GitKraken version requirements, how tracking patterns work, where LFS actions live in the UI, and common troubleshooting steps when LFS is missing or misconfigured.
**Requirements and limits**
- Git requirement: Git 2.39.3 or later
- Git LFS requirement: Git LFS 3.0.0 or later
- GitKraken Desktop requirement: Version 7.0.0 or later
- Setup limitation: Git must be installed for Git LFS workflows even though GitKraken Desktop does not usually require Git for basic use
- Tracking limitation: New tracking patterns apply only to new files unless existing files are removed and re-added
- Auto behavior: GitKraken Desktop runs an LFS pull automatically after clone or submodule initialization
- Destructive action warning: `git lfs prune` removes unreferenced LFS objects and should be used carefully
| Requirement | Needed? | Notes |
|-------------|---------|-------|
| Git 2.39.3 or later | Yes | Required for Git LFS workflows |
| Git LFS 3.0.0 or later | Yes | Required before tracking or pulling LFS-managed files |
| GitKraken Desktop 7.0.0 or later | Yes | Minimum supported GitKraken Desktop version for this workflow |
| LFS initialization in the repo | Yes | Initialize before tracking large files |
| `.gitattributes` tracking rules | Yes | Defines which file patterns Git LFS manages |
| Team members using Git LFS | Recommended | Prevents broken large-file workflows across contributors |
***
## Quick Start
**Prerequisites:** Install Git (version 2.39.3 or later) and Git LFS (version 3.0.0 or later), then verify with `git --version` and `git lfs version` in a terminal.
**To initialize Git LFS on an existing repository:**
1. Open the repository in GitKraken Desktop.
2. Go to Preferences > LFS and click **Initialize LFS**.
3. Commit the change to the `.gitattributes` file that GitKraken Desktop creates.
**To track a file or file type:**
- Go to Preferences > LFS and add a tracking pattern (e.g., `*.psd`).
- Or right-click a file under WIP in the Commit Panel and select **LFS > Track file pattern**.
**To initialize Git LFS on a new repository:**
- Select **Initialize with LFS** when creating the repository.
After tracking is configured, commit and push files as usual. LFS-tracked files show an **LFS** tag in the Commit Panel. Use the LFS menu in the toolbar to run additional commands such as pull and prune.
## What Git LFS is
Git Large File Storage (Git LFS) is a Git extension that helps you manage large binary files. Git LFS stores the actual binary content separately, while Git tracks metadata about these files.
> 💡 Fun fact: Git LFS jokingly stands for "Legendary Fabled Squid" in the GitKraken universe.
### How Git LFS works
- Git LFS tracks specific files or file types based on defined patterns.
- When viewing diffs for LFS-tracked files, you’ll see metadata: a URL, a SHA hash, and file size.
- The actual binary content is stored in `.git/lfs/objects` or hosted on GitHub, GitLab, Bitbucket, or a custom server.
- Git LFS uses Git hooks and filters to manage file commits and retrieval.
To learn more, visit the [Git LFS documentation](https://github.com/git-lfs/git-lfs).
***
## Git LFS requirements
Make sure the following are installed:
- Git version `2.39.3+`
- Git LFS version `3.0.0+`
- GitKraken Desktop version `7.0.0+`
Note: GitKraken Desktop usually does not require Git. However, to use Git LFS, Git must be installed.
### How to verify the installation
Run these commands in a terminal or CMD:
```bash
git --version
git lfs version
```
You should see output like:
```bash
git version 2.39.3
git-lfs/3.0.0 (GitHub; windows 386; go 1.8.1; git bd2c9987)
```
To verify paths:
- macOS/Linux:
```bash
which git
which git-lfs
```
- Windows:
```cmd
where git
where git-lfs
```
If versions are missing or outdated, visit:
- [git-scm.com](https://git-scm.com/)
- [git-lfs.github.com](https://git-lfs.github.com/)
### How to update PATH on Windows
1. Search `Env` in the Start Menu.
2. Open Environmental Variables.
3. Edit the **Path** variable.
4. Click `New` to add paths to Git and Git LFS.
***
## How to initialize Git LFS
### How to initialize Git LFS on an existing repository
1. Open the repo in GitKraken Desktop.
2. Go to Preferences > LFS and click **Initialize LFS**.
3. Commit the change to the `.gitattributes` file.
4. Untrack and re-add existing files to apply the LFS tracking.
### How to initialize Git LFS on a new repository
You can initialize Git LFS during repository creation by selecting _Initialize with LFS_.
***
## How to configure Git LFS
Add file tracking patterns to the `.gitattributes` file. You can do this via:
- Preferences > LFS
- Unstage pane in the Commit Panel
- Directly editing `.gitattributes`
To track a file:
1. Right-click it under WIP.
2. Select **LFS > Track file pattern**.
Note: GitKraken Desktop runs an LFS pull automatically after clone or submodule init.
Files tracked by LFS will show an LFS tag in the Commit Panel:
Clicking on the file shows the LFS reference information:
Use the LFS menu in the toolbar to run commands:
> ⚠️ Prune is destructive. Use with caution. See the [Git LFS prune docs](https://github.com/git-lfs/git-lfs/blob/main/docs/man/git-lfs-prune.adoc).
***
## Git LFS FAQs and troubleshooting
### LFS not showing in Preferences?
Check if your PATH includes Git and Git LFS. See [Verify Installation](#verify-installation).
### LFS button disappeared?
You may have switched to a repo without LFS. Use the menu: Hamburger > LFS > Initialize.
### Tracking pattern not working?
Only new files match new patterns. Remove and re-add existing files.
### LFS prompts for credentials?
Enter credentials for your LFS server or Git host.
### SSH issues with LFS?
SSH must be configured in both GitKraken and your CLI. [GitHub SSH Agent guide](https://help.github.com/articles/generating-a-new-ssh-key-and-adding-it-to-the-ssh-agent/)
### Homebrew on macOS not in path?
Run:
```bash
sudo launchctl config user path "/opt/homebrew/bin:$PATH"
```
More at [Homebrew FAQ](https://docs.brew.sh/FAQ#my-mac-apps-dont-find-usrlocalbin-utilities).
---
## Git LFS summary
To use Git LFS in GitKraken Desktop:
1. Install Git, Git LFS, and GitKraken Desktop.
2. Initialize LFS via Preferences or during repo creation.
3. Add file tracking patterns.
4. Commit and push as usual.
Need more? Visit the [Git LFS GitHub](https://github.com/git-lfs/git-lfs).
---
## Integrations & AI
---
# Azure DevOps Integration with GitKraken Desktop
URL: https://help.gitkraken.com/gitkraken-desktop/azure-devops/
Description: Connect GitKraken Desktop to Azure DevOps to manage repositories, SSH keys, and pull requests using OAuth or Personal Access Tokens.
Product: GitKraken Desktop
Feature: Azure DevOps Integration
Content type: how-to
Audience: developer
Plan required: Pro
Status: GA
Last verified: 2026-03
Last updated: March 2026
Use this page to connect GitKraken Desktop to Azure DevOps for repository access, pull request work, and SSH setup by using OAuth or a personal access token. The integration requires a Pro subscription or higher, and PAT authentication is the fallback when an Azure DevOps organization blocks third-party OAuth access.
**Requirements and limits**
- Integration covered here: Azure DevOps
- Plan: Pro subscription tier or higher
- Authentication options: OAuth or Personal Access Token (PAT)
- OAuth constraint: If the Azure DevOps organization disables third-party OAuth access, use a PAT instead
- Account limit: One Azure DevOps account per profile; multiple profiles require a paid Pro, Teams, or Enterprise plan
- SSH behavior: GitKraken uses the key in Preferences > SSH unless you configure a service-specific key or system SSH Agent
| Method | When to use | Requires | Limitation |
|--------|-------------|----------|------------|
| OAuth | Standard Azure DevOps browser-based connection | Pro subscription and third-party OAuth access | Not available if the organization blocks third-party OAuth |
| Personal Access Token | OAuth is blocked or policy requires token-based access | Pro subscription, host domain, PAT | Manual token generation and paste flow |
| SSH key setup | You want SSH-based Git operations after connecting | Existing integration connection and SSH key upload | Uses GitKraken SSH settings unless overridden |
***
## Quick Start
1. Go to Preferences > Integrations in GitKraken Desktop.
2. Select **Azure DevOps** and click **Connect to Azure DevOps**.
3. Log in with your Azure DevOps credentials in the browser window that opens.
4. Select **Open GitKraken** and choose your organization.
If OAuth is not available (e.g., your organization has disabled third-party access), use a Personal Access Token (PAT) instead:
1. In Preferences > Integrations, enter your host domain.
2. Click **Generate a token on Azure DevOps** to open the token creation page.
3. Copy the token and paste it into GitKraken, then click **Connect**.
After connecting, GitKraken Desktop can browse your Azure DevOps repositories when cloning, display fork options when adding remotes, and show pull request details. To use SSH, go to Preferences > Integrations, click **Generate SSH key and copy to clipboard**, and add it to your Azure DevOps SSH settings.
### What the Azure DevOps integration lets you do
- Create new repositories on your Azure DevOps account with optional .gitignore and license files.
- Automatically generate and copy an SSH key to Azure DevOps.
- Clone directly from your Azure DevOps repository list.
- Identify Azure DevOps repositories by remote avatars on the Commit Graph.
- Add remotes for Azure DevOps repositories.
- Create and view pull requests, including the ability to add reviewers.
Note: The Azure DevOps integration requires a Pro subscription tier or higher.
***
## How to authenticate with Azure DevOps
To authenticate with Azure DevOps:
Use OAuth when: your Azure DevOps organization allows third-party application access and you want the simplest browser-based setup. Use a PAT when: OAuth is blocked by policy or you need token-based access that matches your organization's security controls.
1. Open Preferences > Integrations in the top-right corner.
Accessing integrations via Preferences
2. Choose **Azure DevOps** and click .
Connecting to Azure DevOps from GitKraken
4. In the browser window that opens, log in with your Azure DevOps credentials. Once successful, select Open GitKraken and choose your organization.
Select your Azure DevOps organization
You can also connect using a Personal Access Token (PAT):
- Enter your host domain and click the button.
Generate a Personal Access Token (PAT)
- Log in to Azure DevOps and generate a token.
Define scopes for your PAT
- Copy the token (you’ll only see it once) and paste it into GitKraken, then click .
PAT added and connected in GitKraken
## How to generate an SSH key for Azure DevOps
GitKraken uses your default SSH configuration from Preferences > SSH unless you configure a specific key for Azure DevOps or enable your system SSH agent.
Once connected, you can generate a new SSH key:
Generate and copy your SSH key for Azure DevOps
- Click .
- Paste the key into your Azure DevOps SSH settings.
***
## What Azure DevOps OAuth enables in GitKraken Desktop
When authenticated, GitKraken enables:
Use the Azure DevOps integration when: you want repository discovery, remotes, and pull request workflows directly in GitKraken Desktop. Don't rely on it alone when: your Azure DevOps setup requires organization-specific workflows outside the features surfaced here.
- Browsing your Azure DevOps repositories while cloning:
Browse Azure DevOps repos during cloning
- Viewing fork options when adding remotes:
Fork options displayed when adding remotes
Manual URL entry is still available.
***
## How to connect multiple Azure DevOps accounts
GitKraken supports one Azure DevOps account per profile. With a paid Pro, Teams, or Enterprise plan, use multiple [profiles](/start-here/profiles) to switch between accounts.
Use multiple profiles when: you need to switch cleanly between separate Azure DevOps identities or organizations. Don't use multiple profiles when: one account already covers the repos you need and profile switching would only add overhead.
***
## How to enable Azure DevOps OAuth for GitKraken Desktop
To connect via OAuth, Azure DevOps must allow third-party applications:
OAuth access error message in GitKraken
- Navigate to Organization Settings > Policies in Azure DevOps.
- Enable Third-party application access via OAuth.
For details, refer to Microsoft documentation: [Change application connection & security policies for your organization](https://learn.microsoft.com/en-us/azure/devops/organizations/accounts/change-application-access-policies?view=azure-devops).
If this setting cannot be enabled, you can connect using a Personal Access Token (PAT) instead.
***
## Azure DevOps troubleshooting
### How to fix a missing Azure DevOps pull request form
If your Azure DevOps pull request does not appear in GitKraken:
1. In the Left Panel, right-click the remote (typically `origin`) and select Edit.
2. Make sure the URL matches the domain used for your integration:
- If using a PAT: should match the Host Domain URL from Preferences > Integrations.
- If using OAuth: should match the connected domain.
3. The correct format is: `dev.azure.com/[organization]`
4. Avoid using the deprecated VSTS format: `[organization].visualstudio.com`
5. Click Edit Remote to save changes.
---
# Bitbucket Data Center Integration with GitKraken Desktop
URL: https://help.gitkraken.com/gitkraken-desktop/bitbucket-data-center/
Description: Connect GitKraken Desktop to your Bitbucket Data Center server for repository access, SSH authentication, cloning, and pull request workflows.
Product: GitKraken Desktop
Feature: Bitbucket Data Center Integration
Content type: how-to
Audience: developer
Plan required: Advanced
Status: GA
Last verified: 2026-03
Last updated: March 2026
Use this page to connect GitKraken Desktop to Bitbucket Data Center in a self-hosted environment so you can authenticate with a personal access token, configure SSH, clone repositories, and work with pull requests. This integration requires an Advanced subscription tier or higher.
**Requirements and limits**
- Integration covered here: Bitbucket Data Center in a self-hosted environment
- Plan: Advanced subscription tier or higher for self-hosted integrations
- Authentication: Personal Access Token (PAT)
- Server support: Bitbucket Data Center versions released within the past year
- Account limit: One Bitbucket Data Center account per profile; multiple accounts require multiple profiles
- SSH behavior: GitKraken uses the key in Preferences > SSH unless you configure a Bitbucket-specific key or use your system SSH Agent
- Pull request reviewer visibility depends on token scopes and repository permissions
***
## Quick Start
1. Go to Preferences > Integrations in GitKraken Desktop.
2. Select **Bitbucket Data Center**, enter your host domain, and click **Generate a token on Bitbucket Data Center**.
3. Log in to your Bitbucket Data Center account in the browser and create a Personal Access Token with the appropriate permissions.
4. Copy the token, paste it into GitKraken Desktop, and click **Connect**.
To configure SSH access after connecting:
1. In Preferences > Integrations, click **Generate SSH key and copy to clipboard**.
2. Open your Bitbucket Data Center account settings and add the copied public key.
Once connected, you can clone repositories directly from your Bitbucket Data Center list, add remotes including forks, and create and view pull requests from within GitKraken Desktop. GitKraken Desktop supports one Bitbucket Data Center account per profile. Use multiple [profiles](/gitkraken-desktop/profiles/) to work with more than one account.
### What the Bitbucket Data Center integration lets you do
- Create repositories on Bitbucket Data Center with optional .gitignore and license files.
- Generate and copy an SSH key to use with Bitbucket Data Center.
- Save authentication in reusable [profiles](/gitkraken-desktop/profiles/).
- Clone from your Bitbucket Data Center repository list.
- Add remotes for Bitbucket Data Center repositories.
- Create and view pull requests.
Note: All self-hosted server integrations, including Bitbucket Data Center, require an Advanced subscription tier or higher.
***
## How to connect Bitbucket Data Center
Note: GitKraken Desktop supports Bitbucket Data Center versions released within the past year.
Use Bitbucket Data Center integration when: your repositories live on a self-hosted Bitbucket Data Center server. Don't use the Bitbucket.org integration when: your environment requires self-hosted server access, PAT authentication, or Data Center-specific permissions.
To authenticate:
1. Go to Preferences > Integrations.
Open Preferences to access Integrations
2. Choose **Bitbucket Data Center**. Enter your host domain and click . Ensure the token has appropriate permissions.
Start connection to Bitbucket Data Center
4. In the browser, log in to your Bitbucket Data Center account and create the token.
Create a Personal Access Token in Bitbucket Data Center
5. Paste the token into GitKraken and click .
***
## How to generate SSH keys for Bitbucket Data Center
Note: GitKraken uses the key in Preferences > SSH unless you configure a Bitbucket-specific SSH key or use your system SSH Agent.
1. Open Preferences > Integrations.
2. Click .
3. Follow the in-app toast or manual instructions to add the key.
Generate and copy your SSH key
4. In your Bitbucket Data Center account:
- Click .
Add the SSH key to Bitbucket Data Center
5. Paste your public key and click .
SSH key successfully added
***
## What Bitbucket Data Center authentication enables in GitKraken Desktop
GitKraken allows you to:
Use this integration when: you want cloning, remotes, and pull request workflows against your self-hosted Bitbucket Data Center instance inside GitKraken Desktop. Don't use it when: your repositories are on Bitbucket.org rather than a self-hosted server.
- Search your repositories when cloning:
Clone repositories from Bitbucket Data Center
- View forks when adding remotes:
Remotes list includes repository forks
Manual entry of repository URLs is also supported.
***
## How to connect multiple Bitbucket Data Center accounts
GitKraken supports one Bitbucket Data Center account per profile. Use multiple [profiles](/start-here/profiles) with GitKraken Pro to switch between accounts.
Use multiple profiles when: you need to switch between separate Data Center accounts or host domains. Don't use multiple profiles when: one profile already covers the single self-hosted account you use.
## How Bitbucket Data Center pull request reviewers work
If your token includes Project Admin and Repository Admin scopes, and you have the correct permissions, GitKraken will display reviewer details for pull requests.
---
# Bitbucket Integration with GitKraken Desktop
URL: https://help.gitkraken.com/gitkraken-desktop/bitbucket/
Description: Connect GitKraken Desktop with Bitbucket to clone repositories, manage pull requests, and configure SSH authentication with OAuth or token-based access.
Product: GitKraken Desktop
Feature: Bitbucket Integration
Content type: how-to
Audience: developer
Plan required: Pro
Status: GA
Last verified: 2026-03
Last updated: March 2026
Use this page to connect GitKraken Desktop to Bitbucket.org for repository discovery, SSH setup, clone and remote workflows, and pull request activity. It also covers multi-account usage through profiles and the reviewer visibility requirement for Bitbucket pull requests.
**Requirements and limits**
- Integration covered here: Bitbucket.org
- Authentication options: Browser-based Bitbucket connection or manual OAuth token entry
- Account limit: One Bitbucket account per profile; multiple accounts require multiple profiles and a GitKraken Pro subscription
- SSH behavior: GitKraken uses the key in Preferences > SSH unless you configure a Bitbucket-specific key or use your system SSH Agent
- Pull request reviewer visibility depends on having Project Admin permissions on the repository
| Workflow | Supported | Notes |
|----------|-----------|-------|
| Connect Bitbucket account | Yes | Browser-based connection or manual OAuth token entry |
| Clone and browse repositories | Yes | Uses the integrated repository list |
| SSH key generation and upload | Yes | Uses GitKraken SSH settings unless overridden |
| Create and view pull requests | Yes | Supported directly in GitKraken Desktop |
| Add reviewers to pull requests | Partial | Reviewer visibility depends on Project Admin permissions |
| Multiple Bitbucket accounts | Yes | Requires separate profiles and a Pro subscription |
***
## Quick Start
1. Go to Preferences > Integrations in GitKraken Desktop.
2. Select **Bitbucket.org** and click **Connect to Bitbucket**.
3. Log in to your Bitbucket account in the browser window that opens.
4. Select **Open GitKraken** to complete the connection.
To configure SSH access after connecting:
1. In Preferences > Integrations, click **Generate SSH key and copy to clipboard**.
2. Paste the key into your Bitbucket account SSH settings.
Once connected, GitKraken Desktop displays your Bitbucket repositories when cloning, lists forks when adding remotes, and supports creating and viewing pull requests within the application. If you need to manage more than one Bitbucket account, use multiple [profiles](/gitkraken-desktop/profiles/) with a GitKraken Pro plan.
### What the Bitbucket integration lets you do
- Create new repositories on your Bitbucket account with .gitignore and license templates.
- Easily generate and copy an SSH key pair for Bitbucket.
- Save authentication in reusable [profiles](/gitkraken-desktop/profiles/).
- Clone from a personalized Bitbucket repository list.
- Add and manage remotes from Bitbucket.
- Create and view pull requests within GitKraken.
***
## How to connect Bitbucket
To authenticate with Bitbucket:
Use the browser-based Bitbucket connection when: standard OAuth access is available and you want the simplest setup. Use a manual OAuth token when: your environment requires token entry or you want to control the credential you paste into GitKraken Desktop.
1. Navigate to Preferences > Integrations in the upper-right corner.
Open Preferences to configure integrations
2. Select Bitbucket.org and click .
Click to authenticate via Bitbucket
4. A browser window opens prompting you to log in. Upon success, confirm by selecting Open GitKraken.
Login success prompt from Bitbucket
Alternatively, you may authenticate manually using an OAuth token:
Manual OAuth token entry for Bitbucket
***
## How to generate SSH keys for Bitbucket
Note: GitKraken uses your SSH key from Preferences > SSH unless a Bitbucket-specific key is configured or your system SSH Agent is enabled.
After connecting Bitbucket:
1. Go to Preferences > Integrations.
2. Click .
3. Paste the key into your Bitbucket account settings.
Copy and add your new SSH key to Bitbucket
***
## What Bitbucket OAuth enables in GitKraken Desktop
GitKraken enhances your workflow with:
Use the Bitbucket integration when: you want repo discovery, remotes, and pull request workflows tied to Bitbucket.org inside GitKraken Desktop. Don't use this page when: you need self-hosted Bitbucket guidance, which belongs on the Bitbucket Data Center page.
- A searchable list of Bitbucket repositories when cloning:
Cloning from your Bitbucket repositories
- A list of forks when adding remotes:
Forks available for remote setup
Manual repo URLs are still supported.
***
## How to connect multiple Bitbucket accounts
GitKraken supports one Bitbucket account per profile. With GitKraken Pro, use multiple [profiles](/start-here/profiles) to manage several Bitbucket identities.
Use multiple profiles when: you need separate Bitbucket identities or workspaces in the same GitKraken Desktop install. Don't use multiple profiles when: one Bitbucket account already covers the repositories you work with.
## How Bitbucket pull request reviewers work
Bitbucket supports pull request reviewers. GitKraken will show reviewer details if you have Project Admin permissions on the repository.
---
# Create and Manage GitHub Actions Workflows in GitKraken Desktop
URL: https://help.gitkraken.com/gitkraken-desktop/github-actions/
Description: Learn how to automate tasks with GitHub Actions in GitKraken Desktop. Covers creating, editing, and deleting workflow files directly in your repository.
Product: GitKraken Desktop
Feature: GitHub Actions
Content type: how-to
Audience: developer
Plan required: all
Status: GA
Last verified: 2026-03
Last updated: March 2026
GitHub Actions workflows in GitKraken Desktop are managed by editing the YAML files stored in your repository's `.github/workflows` directory. As of GitKraken Desktop 11.10, workflow management is no longer available from the Left Panel, so use this page when you need the current file-based workflow for creating, editing, or deleting Actions definitions.
**Requirements and limits**
- GitKraken Desktop 11.10 and later manages workflows by editing files in your repository instead of using a Left Panel Actions view.
- Store workflow definitions in the repository's `.github/workflows` directory.
- Creating, editing, and deleting workflows requires staging and committing the YAML file changes.
- Existing GitHub Actions workflows continue to run after the Left Panel deprecation; only the management workflow changed.
***
Deprecation notice 🧟 — GitKraken Desktop 11.10: GitHub Actions has been removed from the Left Panel to simplify navigation. Existing workflows will continue to run normally. To update workflow files, edit and commit them directly within your repository.
## Quick Start
**To create a workflow:**
1. In your repository, create a `.github/workflows` directory if one does not already exist.
2. Add a new YAML workflow file to that directory.
3. Stage and commit the file. GitHub Actions detects and registers the workflow automatically.
**To edit an existing workflow:**
1. Open the workflow file from your repository's `.github/workflows` directory.
2. Make your changes, then stage and commit them.
**To delete a workflow:**
1. Delete the workflow YAML file from your repository's `.github/workflows` directory.
2. Stage and commit the deletion. GitHub Actions stops running the deleted workflow.
For workflow syntax, triggers, and advanced configuration options, refer to the [GitHub Actions Documentation](https://docs.github.com/en/actions).
---
## How to manage GitHub Actions workflows in GitKraken Desktop
As of version 11.10, GitHub Actions workflow management is handled by editing YAML files directly in your repository’s `.github/workflows` directory.
### How to create a workflow
1. Navigate to your repository’s `.github/workflows` directory. Create it if it does not already exist.
2. Add a new YAML file for your workflow.
3. Stage and commit the file. GitHub Actions automatically detects and registers the new workflow.
### How to edit a workflow
1. Open the workflow file from your repository’s `.github/workflows` directory.
2. Make your changes.
3. Stage and commit the updated file.
### How to delete a workflow
1. Delete the workflow YAML file from your repository’s `.github/workflows` directory.
2. Stage and commit the deletion. GitHub Actions stops running the deleted workflow.
---
## Where to learn more about GitHub Actions syntax
For workflow syntax, best practices, and advanced automation examples, visit the [GitHub Actions Documentation](https://docs.github.com/en/actions).
---
# GitHub Enterprise Integration with GitKraken Desktop
URL: https://help.gitkraken.com/gitkraken-desktop/github-enterprise/
Description: Connect GitKraken Desktop with your GitHub Enterprise Server to manage repos, pull requests, SSH keys, and profiles using OAuth or access tokens.
Product: GitKraken Desktop
Feature: GitHub Enterprise Server Integration
Content type: how-to
Audience: developer
Plan required: [Advanced, Business, Enterprise]
Status: GA
Last verified: 2026-03
Last updated: March 2026
This page explains how to connect GitKraken Desktop to GitHub Enterprise Server so you can authenticate, browse repositories, manage remotes, upload SSH keys, and work with pull requests from one interface. Use it when setting up a self-hosted GitHub Enterprise Server connection or switching between enterprise accounts with profiles.
Note: GitHub Enterprise Server integration is available on Advanced, Business, and Enterprise plans.
**Requirements and limits**
- Integration covered here: GitHub Enterprise Server
- Plan: Advanced, Business, or Enterprise
- Supported server versions: GitHub Enterprise Server releases from the past year
- Authentication: Personal access token required to connect
- Account limit: One GitHub Enterprise Server account per profile
- SSH behavior: GitKraken uses the key set in Preferences > SSH unless a GitHub-specific key or system SSH Agent is configured
| Requirement | Value |
|-------------|-------|
| Plan | Advanced, Business, or Enterprise |
| Supported server versions | GitHub Enterprise Server releases from the past year |
| Authentication | Personal access token |
| Account limit | One GitHub Enterprise Server account per profile |
| SSH behavior | Uses Preferences > SSH unless overridden by a GitHub-specific key or system SSH Agent |
| Hosted variant | Self-hosted GitHub Enterprise Server only |
***
## Quick Start
1. Go to Preferences > Integrations in GitKraken Desktop.
2. Enter your GitHub Enterprise Server host domain and click the link to generate an access token.
3. Log in to your GitHub Enterprise Server, generate the token, and copy it.
4. Paste the token into GitKraken Desktop and click **Connect**.
To configure SSH access after connecting:
- In Preferences > Integrations, click **Generate SSH key and add to GitHub Enterprise Server** to generate and upload a new key automatically.
- Or click **Add key to GitHub Enterprise Server** to upload your existing SSH default.
Once connected, you can browse repositories when cloning, add remotes, and create and view pull requests from within GitKraken Desktop. GitKraken Desktop supports one GitHub Enterprise Server account per profile. Use multiple [profiles](/start-here/profiles) to work with more than one account.
### What you can do after connecting
- Create new repositories on GitHub Enterprise Server with options to add a .gitignore and license file.
- Automatically generate and upload an SSH key to GitHub Enterprise Server.
- [Fork repositories](/working-with-repositories/fork/) directly from GitKraken.
- Save GitHub Enterprise Server authentication into [profiles](/gitkraken-desktop/profiles/).
- Clone repositories using the integrated repo list.
- Add remotes from GitHub Enterprise Server.
- Create and view pull requests within GitKraken.
***
## How to connect GitHub Enterprise Server
Note: GitKraken supports any GitHub Enterprise Server version released within the past year.
Use GitHub Enterprise Server integration when: your repositories live on a self-hosted GitHub Enterprise Server instance and require token-based access. Don't use the GitHub.com integration when: your environment depends on enterprise host domains, self-hosted server compatibility, or enterprise-specific credentials.
To authenticate with GitHub Enterprise Server:
1. Go to Preferences > Integrations in the upper-right corner.
Accessing Preferences and Integrations
2. Enter your GitHub Enterprise Server host domain and follow the link to generate an access token.
Enter host and generate access token
4. Log in using your GitHub Enterprise Server credentials and copy the token. Paste it into GitKraken and click .
Generate and copy your GitHub Enterprise access tokenPaste token into GitKraken and connect
## How to generate or upload an SSH key for GitHub Enterprise Server
Note: GitKraken uses the SSH key set in Preferences > SSH unless you configure a GitHub-specific key or enable your system’s SSH Agent.
After connecting your GitHub Enterprise Server account, you can generate a new SSH key and upload it directly:
Generate SSH key and upload to GitHub Enterprise
You can:
- Click .
- Use to upload your SSH default.
- Use _Add existing SSH key_ if you have a saved key pair.
***
## How to use multiple GitHub Enterprise Server accounts
GitKraken supports one GitHub Enterprise Server account per profile. Use [multiple profiles](/start-here/profiles) to switch between accounts.
Use multiple profiles when: you need to switch between separate enterprise servers or distinct enterprise identities. Don't use multiple profiles when: one enterprise account already covers the repositories you work with.
---
# GitHub Integration with GitKraken Desktop
URL: https://help.gitkraken.com/gitkraken-desktop/github-gitkraken-desktop/
Description: Learn how to connect GitKraken Desktop with GitHub to sign in, clone repos, create pull requests, manage SSH keys, and use OAuth features.
Product: GitKraken Desktop
Feature: GitHub Integration
Content type: how-to
Audience: developer
Plan required: all
Status: GA
Last verified: 2026-03
Last updated: March 2026
Use this page to connect GitKraken Desktop to GitHub for sign-in, repository access, SSH setup, pull request work, and account management. It covers GitHub.com workflows inside GitKraken Desktop, highlights plan-related limits such as multiple profiles and Community plan restrictions, and points to troubleshooting steps when authentication or repo discovery fails.
**Requirements and limits**
- Integration covered here: GitHub.com
- Community plan: Public repositories only
- Multiple GitHub accounts: Use separate profiles in GitKraken Desktop; Pro plan required
- SSH behavior: GitKraken uses the key set in Preferences > SSH unless a GitHub-specific key or local SSH Agent is configured
- Pull request review limit: GitKraken Desktop can view pull requests and suggest changes, but full in-app code review and commenting are not available
| Workflow | GitHub.com support | Community limits | Notes |
|----------|--------------------|------------------|-------|
| Sign in and connect account | Yes | None | Browser-based GitHub connection |
| Clone and browse repositories | Yes | Public repositories only | Private repo access requires a paid plan |
| SSH key generation and upload | Yes | Public repositories only | Uses GitKraken SSH settings unless overridden |
| Create and view pull requests | Yes | Public repositories only | Supported directly in GitKraken Desktop |
| Review code and suggest changes | Partial | Public repositories only | Suggestions are supported, but full in-app review and commenting are not |
| Multiple GitHub accounts | Yes | Not included | Requires separate profiles and a Pro plan |
***
## Quick Start
**To sign in with GitHub:**
1. Open GitKraken Desktop and click **Sign in with GitHub**.
2. Log in with your GitHub credentials in the browser. The connection completes automatically.
**To connect manually or add SSH:**
1. Go to Preferences > Integrations and select **GitHub**.
2. Click **Connect to GitHub** and log in in the browser.
3. To add an SSH key, click **Generate SSH key and add to GitHub** in the same panel.
**To create a pull request:**
1. Push your branch to GitHub.
2. Select the branch in the Left Panel, then click **Start a pull request** or use the Command Palette.
3. Fill in the title, description, reviewers, and labels, then submit.
**To review a pull request:**
1. Select a pull request from the Left Panel.
2. Click **Review Code and Suggest Changes** to edit files and propose modifications.
3. Click **Suggest X file change to PR** to submit your suggestions.
To use multiple GitHub accounts, create separate [profiles](/start-here/profiles) in GitKraken Desktop (Pro plan required).
**Benefits**
* Login to GitKraken using your GitHub account
* Create repositories on GitHub with `.gitignore` and license options
* Automatically generate an SSH key pair and add it to GitHub
* [Fork repositories](/working-with-repositories/fork/) from GitKraken
* Save authentication into profiles
* Clone from GitHub repo list
* Add remotes for GitHub repos
* Create and work with [Pull Requests](/working-with-repositories/pull-requests/#assignee-labels-and-reviewers)
***
## How to sign in with GitHub
To sign in to GitKraken using your GitHub account:
Use GitHub sign-in when: you want GitHub to be your primary GitKraken Desktop identity and login path. Don't use sign-in as your only setup step when: you also need repository-level integration settings such as SSH key management or multiple profiles.
1. Open GitKraken.
2. Click Sign in with GitHub.
3. Log in using your GitHub credentials.
This connects your GitHub account to GitKraken automatically.
GitKraken login interface with GitHub option
***
## How to connect GitKraken Desktop to GitHub
To connect your GitHub account manually:
Use the browser-based GitHub connection when: standard OAuth access is available and you want the simplest setup. Use a manual token when: your environment requires token-based access or you need tighter control over the credentials you provide.
1. Navigate to PreferencesIntegrations in the upper right corner.
Preferences menu in GitKraken
2. From the Integrations window, select **GitHub**.
4. Click Connect to GitHub. This will open your browser to authenticate GitKraken with GitHub.
GitHub integration screen
5. Log in with your GitHub credentials. A confirmation message will appear. Select `Open GitKraken` to finish.
Successful GitHub authentication confirmation
Alternatively, you can connect by manually pasting an OAuth token:
Manual OAuth token entry
### How to generate an SSH key for GitHub
Note 📝 GitKraken uses your SSH key defined in Preferences SSH unless a GitHub-specific SSH key or your local SSH Agent is configured.
To generate and add an SSH key to your GitHub account:
1. Go to Preferences Integrations.
2. Click Generate SSH key and add to GitHub to complete the process automatically.
You may also:
- Use Add key to GitHub from _SSH Defaults_.
- Add an existing key via _Add existing SSH key_.
Options for adding SSH key in GitKraken
***
## What GitHub OAuth enables in GitKraken Desktop
GitKraken's OAuth integration enhances how you interact with your repositories:
Use the GitHub integration when: you want repository discovery, PR creation, and GitHub-aware workflows directly inside GitKraken Desktop. Don't rely on it alone when: you need full GitHub code review and commenting capabilities that still require GitHub's native review experience.
- View a list of your GitHub repositories to simplify cloning.
GitHub repositories available for cloning
- View a list of repository forks when adding remotes.
Fork list when adding a GitHub remote
### How to create pull requests from GitKraken Desktop
Create and manage [Pull Requests](/working-with-repositories/pull-requests/#assignee-labels-and-reviewers) directly in GitKraken. You can:
- Add reviewers
- Assign teammates
- Apply labels
Creating a pull request in GitKraken
### How to use GitHub Pull Request View
Overview of GitHub Pull Request View
GitHub.com users can use the **Pull Request View** feature in GitKraken Desktop to review and edit pull requests.
Use Pull Request View when: you want to inspect files, edit PR metadata, and suggest changes without leaving GitKraken Desktop. Don't use it as a full replacement for GitHub review when: you need the full in-browser code review and commenting feature set.
To access this view:
1. Ensure the [GitHub integration](/gitkraken-desktop/github-gitkraken-desktop/) is connected.
2. Open a GitHub repository in GitKraken Desktop.
3. Select a pull request from the Left Panel, or check out the source branch to reveal a PR icon with the pull request number.
Accessing Pull Request View via the Left Panel
Alternatively, launch the view from the **Launchpad** by clicking the pull request icon on the right.
Opening Pull Request View from the Launchpad
Within the Pull Request View, you can edit the following:
- Title
- Description
- Reviewers
- Assignees
- Milestones
- Labels
To review the files affected by a pull request, click the Review Code and Suggest Changes button in the top-right corner.
Reviewing files within a pull request
Note: While you can view and suggest changes, full code review and commenting features are not yet available within GitKraken Desktop.
### How to review code and suggest changes
In GitKraken Desktop, the **Review Code and Suggest Changes** feature lets you propose modifications across the entire project—not just to lines that were changed. This is useful when reviewing a Pull Request:
1. Open the Pull Request.
2. Click Edit to Suggest Changes to PR #XX.
3. Make your edits and save.
4. Click Suggest X file change to PR #XX.
Suggesting code changes in a pull request
### How to accept or reject code suggestions
In the Pull Request panel, suggestions from teammates are labeled with Code Suggestions.
Label showing code suggestions
Clicking a suggestion opens the diff view, where you can choose to apply or reject the change.
Applying code suggestions
### How to check out branches, review build status, and add remotes
- **Double-click a branch name** in the PR view to check it out and view its graph.
- **Click the build status** to open the related URL in your browser.
Build status with link to CI/CD pipeline
If the remote is not already added, GitKraken prompts you to add it for local review.
### How to merge pull requests
To merge a pull request:
1. Click Merge pull request.
2. Choose a merge method:
- Create a merge commit (default)
- Squash and merge
- Rebase and mergeMerge options in GitKraken
Not seeing updates in the pull request view? Try refreshing GitKraken Desktop.
### How to fix missing repositories or remotes
If remotes or repositories are missing in the Add Remote or Clone menus:
1. Check if GitKraken has access via your [GitHub Applications](https://github.com/settings/connections/applications/a7557949433b7d282a76).
2. Ask your organization to allow [Organization Approval](https://help.github.com/articles/requesting-organization-approval-for-your-authorized-applications/).
3. If the repo is owned by another individual, they must also [install GitKraken](/gitkraken-client/how-to-install/) and authorize it.
4. Learn more in [Third-party apps list](https://help.github.com/articles/about-third-party-application-restrictions/).
## How to connect multiple GitHub accounts
GitKraken connects to one GitHub account at a time. However, if you're using the Pro version of GitKraken, you can take advantage of multiple profiles.
Each profile can be associated with a different GitHub account, allowing you to switch between accounts without needing to disconnect and reconnect each time.
---
# GitKraken AI Features Overview
URL: https://help.gitkraken.com/gitkraken-desktop/gkd-gitkraken-ai/
Description: Use GitKraken AI to generate commit messages, PR descriptions, and explanations of code changes. Customize your AI provider and prompts to fit your workflow.
Product: GitKraken AI
Feature: GitKraken AI
Content type: overview
Audience: developer
Plan required: Pro
Status: preview
Last verified: 2026-04
Last updated: April 2026
GitKraken AI in GitKraken Desktop helps developers generate commit messages, explain commits and branches, draft pull request text, resolve merge conflicts, and customize AI providers and prompts. Use this page to understand which AI workflows are available, when to use them, and which features require a paid GitKraken subscription.
**Requirements and limits**
- Product: GitKraken Desktop with GitKraken AI enabled
- Plan: Paid GitKraken subscription required
- Setup location: Preferences > AI for provider, model, and prompt settings
- Preview feature on this page: AI Commit Composer
- Feature availability varies by workflow; review each section for feature-specific status and behavior
| Feature | What it generates or does | Status | Plan | Setup location |
|---------|----------------------------|--------|------|----------------|
| AI Commit Message | Commit message suggestions from staged changes | GA | Paid subscription | Commit Panel |
| AI Commit Composer | Compose or recompose commits into a cleaner history | Preview | Paid subscription | Commit Details Panel |
| AI Explain | Natural-language explanations of commits and branches | GA | Paid subscription | Commit Graph and context menus |
| AI Pull Request Description | Draft pull request summaries and descriptions | GA | Paid subscription | Pull request description field |
| AI provider and prompt settings | Model, provider, and prompt customization | GA | Paid subscription | Preferences > AI |
***
GitKraken On-Premise users: The default GitKraken-hosted AI provider is not available in Serverless or Self-Hosted Server deployments. To use GitKraken AI in an on-premises environment, you must configure a Custom URL that points to a private or internal AI service. See How to use a custom API endpoint for setup steps.
## Quick Start
**To generate a commit message:**
1. Stage your changes in the Commit Panel.
2. Click the AI icon (sparkle) next to the commit message field.
3. Review the suggested message and adjust as needed before committing.
**To compose commits with AI from staged changes:**
1. Stage your changes, then click **Compose Commit with AI** in the Commit Details Panel.
2. GitKraken AI proposes a set of commits. Reorder, squash, or edit messages in the resulting window.
3. Click **Create commits** to apply, or **Cancel** to discard.
**To recompose existing commits:**
1. Select a contiguous range of commits in the graph using Shift or Cmd/Ctrl.
2. Right-click and choose **Recompose Commits with AI**, or click the button in the Commit Details Panel.
3. Adjust the proposed structure and click **Create commits**.
**To generate a pull request description:**
- When creating a pull request, click the AI icon in the description field to generate a summary of your changes.
To use a custom AI provider or customize the prompts, go to Preferences > AI.
***
## How to compose and recompose commits with AI (Preview)
Use AI to help organize your Git commits into clear, logical stories.
Use AI Commit Composer when: your staged changes or recent commits need to be reorganized into a clearer narrative before you share them. Don't use it when: your commits are already atomic and you only need a quick manual message update.
### What AI Commit Composer does
The AI-powered Commit Composer can:
- Break up unstaged changes into meaningful commits.
- Recompose selected previous commits into a new structure.
- Reorder, squash, or edit commit messages before pushing.
AI Commit Composer button in the Commit Details Panel
### How to use AI Commit Composer
To generate commits with AI:
- **For uncommitted changes**:
1. Stage your changes.
2. In the Commit Details Panel, click **Compose Commit with AI**.
3. GitKraken AI will take a moment to compose the new commits. A new window will appear with the results of the composition.
- You can reorder, squash, or edit the commit messages.
- The branch will not be updated until you click **Create commits**.
- To cancel the process, click **Cancel**.
- To undo any changes made during composition (such as reordering or squashing), click **Reset**.
Compose commits from your WIP.Made adjustments, and confirm to create commits.
- **For existing committed changes**:
1. In the Commit Graph, select a contiguous range of commits using Shift or Cmd/Ctrl.
2. Do one of the following:
- Right-click the selection and choose **Recompose Commits with AI** from the context menu.
- Click **Recompose Commits with AI** in the Commit Details Panel.
3. GitKraken AI will take a moment to compose the new commits. A new window will appear with the results of the composition.
- You can reorder, squash, or edit the commit messages.
- The branch will not be updated until you click **Create commits**.
- To cancel the process, click **Cancel**.
- To undo any changes made during composition (such as reordering or squashing), click **Reset**.
Recompose an existing range of commits.Made adjustments, and confirm to create commits.
### Commit selection rules for AI composition
- If composing from the WIP node, ensure it's selected and use the WIP panel (top right).
- If composing from existing commits:
- Selected commits must be contiguous and part of the current branch.
- There must be no merge commits between (and including) the branch head commit and the parent of the oldest selected commit.
> **Tip**: Need to reverse the composed commits? Use the **Undo** button in the toolbar to undo any AI Commit Compose or Recompose commits with AI action.
***
## How to explain commits with AI
GitKraken can generate natural language explanations of your commits directly from the UI.
Use AI Explain when: you need a fast summary of what changed in one or more commits. Don't use it when: you need authoritative implementation details that should come directly from reading the diff yourself.
### How to use AI Commit Explain
1. Open GitKraken Desktop and select one or more commits (Use Shift or Ctrl/Cmd).
Select one or more commits from the commit graph
2. Click the **Explain** button in the top-right corner of the Commit Panel.
Use the Explain button to trigger AI-generated summaries
3. GitKraken provides an AI-generated summary of what changed in that commit.
AI-generated explanation appears in the Commit Panel
***
## How to generate commit messages with AI
Generate clear, consistent commit messages based on your staged changes.
Use AI commit messages when: you want a strong starting point for summarizing staged changes. Don't use them when: the exact wording carries team-specific meaning and you already know the final message you need to write.
### How to generate an AI commit message
1. Stage your changes.
Stage your changes in the Commit Panel
2. Click the **AI** button near the commit message input.
Click the AI button to generate a commit message
3. GitKraken suggests a summary and description, which you can review and edit.
Review and edit the suggested commit message
***
### How to amend commit messages with AI
To amend the most recent commit message:
1. Select the commit in the graph.
2. Click into its message box in the Commit Panel.
Select and edit the latest commit message
You can then use the AI button again to generate a revised commit message.
Use AI to regenerate an updated commit message
***
## How to explain branch changes with AI
Right-click any branch or `HEAD` commit and select **Explain Branch Changes** to generate a summary of all changes introduced on that branch.
Use Explain Branch Changes when: you want a high-level summary before review, handoff, or pull request writing. Don't use it when: you need to inspect exact file-level behavior instead of a summarized narrative.
Right-click a branch or HEAD commit to explain changes.
GitKraken AI selects all commits on the branch and compares the base commit to the `HEAD` commit. It uses this diff to generate change and impact summaries.
GitKraken AI summarizes the diff between the base and HEAD commits.
To customize how **Explain Branch Changes** works, go to **Preferences > GitKraken AI > Explain Changes**.
***
## How to resolve merge conflicts with AI
Resolve merge conflicts faster with GitKraken AI.
Use AI conflict resolution when: you want a suggested starting point for resolving a conflict and plan to review the result carefully. Don't use it when: the conflict involves sensitive logic or policy decisions that require a fully manual resolution.
When you encounter a merge conflict, click into the conflicted file as usual. You’ll now see a new **Auto-resolve with AI** button that offers a context-aware resolution.
Click 'Auto-resolve with AI' to generate a suggested resolution
GitKraken AI analyzes the conflicting code and proposes a solution, complete with:
- A detailed explanation of the proposed resolution
- A confidence level for each conflicted hunk
You stay in control—review the AI output, make edits, or choose to accept or discard the changes. Use the confidence levels to decide which hunks might need more manual review.
### How to customize conflict resolution prompts
Want to fine-tune how AI handles your merge conflicts? You can add your own instructions for conflict resolution behavior.
Go to: Preferences > GitKraken AI > Conflict ResolutionSet custom AI instructions for merge conflict resolution
### Preview status for AI conflict resolution
This feature is currently in **Preview**. It's live and functional, but still evolving.
If GitKraken AI nails the merge, great! If it misses the mark, please share your experience or suggestions at [feedback.gitkraken.com](https://feedback.gitkraken.com).
***
## How to generate stash messages with AI
Similar to commit messages, you can generate stash messages based on staged changes.
### How to generate an AI stash message
1. Stage your changes.
Stage your changes for stashing
2. Click the stash icon next to the "Commit" tab and then click the **AI** button.
Use the AI button to generate a stash message
3. GitKraken AI generates a stash message, which you can review and edit.
Review and edit the AI-generated stash message
***
## How to generate pull request titles and descriptions with AI
When connected to [GitHub, GitLab, Bitbucket, or Azure DevOps](/gitkraken-desktop/integrations/), you can use GitKraken AI to create a pull request with a generated title and description based on the incoming changes.
### How to generate an AI pull request title and description
1. Create a pull request from the Left Panel or by drag-and-dropping a branch onto another.
Start creating a pull request from the Left Panel or graph
2. Click **Generate title and description**. If using [pull request templates](/gitkraken-desktop/pull-requests/#pull-request-templates), select the template first—GitKraken AI will apply it.
Click the AI button to generate a pull request title and description
3. GitKraken provides a suggested title and description for your PR.
Review and edit the AI-generated title and description
***
## How to use your own AI provider key
By default, GitKraken AI uses **Google Gemini Models** to power commit explanations and message generation. No API key is needed and usage is included with your GitKraken subscription.
What's new in 11.10: The default model lineup has been updated to Google Gemini Models. Deprecated Gemini 1.5 and 2.0 models have been removed.
If you prefer using your own API key with **OpenAI**, **Azure**, **Anthropic**, **Google Gemini**, or a **Custom URL**, you can configure this in:
Preferences > GitKraken AIConfigure GitKraken AI providers in Preferences
### How to use a custom API endpoint
For users with advanced security requirements, you may use a **Custom URL** to direct AI requests to a private or internal service.
GitKraken On-Premise users: If you are running GitKraken On-Premise Serverless or Self-Hosted Server, the default hosted provider is not reachable from your network. Custom URL is the only supported AI configuration in those environments.
This endpoint can handle:
- Commit explanations
- Commit and stash message generation
- Pull request title and description generation
- Conflict Resolution
- Commit Composer
Example of configuring a custom AI endpoint
The Custom URL option is ideal for developers connecting to local AI models or private endpoints. For example, you might connect to models hosted with Ollama, Hugging Face, OpenRouter, or an OpenAI-compatible service like LM Studio.
However, GitKraken does not validate or debug third-party implementations. If the connection works, great, but if it doesn’t, we’re unable to troubleshoot issues with custom endpoints.
### How to customize AI prompts
Guide how GitKraken AI responds for specific scenarios like:
- Global instructions
- Commit Message Generation
- Explain Changes
- Stash Message Generation
- Pull Request Title/Description
- Conflict Resolution
- Commit Composer
Add custom AI instructions for personalized responses
#### Commit Prompt Examples
Need help crafting instructions? Try these examples:
**Prompt for brevity**
```
Keep the summary short, but informative
```
**Prompt to add conventional commit prefix**
```
Format the summary as:
:
Where is one of:
feat, fix, docs, style, refactor, perf, test, chore
should be a short, 72-character max imperative phrase.
Only return the final commit message—no extra formatting.
```
***
## How to manage GitKraken AI for an organization
To disable GitKraken AI, restrict which AI models are available, or set up organization-wide API keys and custom URLs, see the [GitKraken Dev Security Controls](https://help.gitkraken.com/gk-dev/gk-dev-security-controls/).
You can disable Gitkraken AI locally via Preferences > GitKraken AI. Keep in mind this setting is not enforced at the organization level and can be re-enabled by individual users.
***
## What’s Next?
Additional AI-powered features are in development to further streamline your workflow. GitKraken AI is built to reduce friction while keeping you in control.
Have more questions about GitKraken AI? Visit our GitKraken AI FAQ page for details.
---
# GitKraken Desktop & Jira Data Center Issues Integration
URL: https://help.gitkraken.com/gitkraken-desktop/jira-data-center/
Description: Learn how to connect Jira Data Center with GitKraken Desktop. Use Personal Access Tokens to manage, preview, create, and sync Jira issues from within your Git workflow.
Product: GitKraken Desktop
Feature: Jira Data Center Integration
Content type: how-to
Audience: developer
Plan required: Advanced
Status: GA
Last verified: 2026-03
Last updated: March 2026
Use this page to connect GitKraken Desktop to Jira Data Center so you can preview, create, and manage Jira issues from the Left Panel. This integration requires an Advanced subscription tier or higher, supports Jira Data Center 8.4 or newer, and uses a Personal Access Token instead of the Jira Cloud authorization flow.
**Requirements and limits**
- Integration covered here: Jira Data Center
- Plan: Advanced subscription tier or higher
- Server version: Jira Data Center 8.4 or newer
- Authentication: Personal Access Token
- SSO note: Some single sign-on configurations are not supported
- Feature scope: Uses the same issue workflows documented for the Jira Cloud integration once connected
| Requirement | Value |
|-------------|-------|
| Plan | Advanced subscription tier or higher |
| Server version | Jira Data Center 8.4 or newer |
| Authentication | Personal Access Token |
| Single sign-on | Some SSO configurations are not supported |
| Feature scope | Uses the same issue workflows documented for the Jira Cloud integration once connected |
The Jira Data Center integration requires Jira version 8.4 or newer. Some SSO (single sign-on) configurations are not supported.
---
## Quick Start
1. Go to Preferences > Integrations or open the **ISSUES** section in the Left Panel.
2. Enter your Jira Data Center host domain and a Personal Access Token from your Jira instance.
3. Once connected, preview issues, open issue details, create issues, and create issue-based branches using the same workflows documented for Jira.
---
## How to connect Jira Data Center
Set up the integration from the ISSUES section in the Left Panel or from Preferences > Integrations. If you don't see the ISSUES section, right-click any header in the Left Panel and enable it from the context menu.
Use Jira Data Center integration when: your organization runs self-hosted Jira Data Center and requires PAT-based setup. Don't use the Jira Cloud flow when: your environment depends on self-hosted server versions, PAT authentication, or Data Center-specific compatibility.
Enter your Host Domain URL and a Personal Access Token generated in your Jira Data Center instance.
Once connected, GitKraken Desktop will confirm the integration.
---
## What the Jira Data Center integration supports
The Jira Data Center integration includes the same functionality as the Jira Cloud integration:
Use the in-app Jira workflow when: you want issue preview, issue creation, and issue-based branching inside GitKraken Desktop. Don't rely on it alone when: you need Jira administration or broader project workflows outside the integration scope.
- [Preview Jira Issues](/integrations/jira/#preview-jira-issues)
- [View Jira Issue Details](/integrations/jira/#view-jira-issue-details)
- [Create New Jira Issue](/integrations/jira/#create-new-jira-issue)
- [Create Filters](/integrations/jira/#create-filters)
- [Create Branch from Issue](/integrations/jira/#create-branches-from-issue)
- [Copy Issue link or View in Jira](/integrations/jira/#copy-issue-link-or-view-in-jira)
For more information on each feature, refer to the [Jira Cloud integration guide](/integrations/jira).
---
# GitKraken Desktop & Jira Issues Integration
URL: https://help.gitkraken.com/gitkraken-desktop/jira/
Description: Learn how to connect and manage Jira Issues in GitKraken Desktop. Preview, edit, and create issues, filter with JQL, and sync changes with Jira Cloud or Data Center.
Product: GitKraken Desktop
Feature: Jira Issues Integration
Content type: how-to
Audience: developer
Plan required: all
Status: GA
Last verified: 2026-03
Last updated: March 2026
Use this page to connect GitKraken Desktop to Jira Cloud or Jira Data Center so you can preview, create, edit, filter, and branch from Jira issues alongside your repository work. Jira is view-only for Community users, while paid GitKraken subscriptions unlock the full issue management workflow.
**Requirements and limits**
- Integrations covered here: Jira Cloud and Jira Data Center
- Community plan: View-only access
- Full issue workflows: Paid GitKraken subscription required for create, edit, and branch workflows
- Filter syntax: Uses JQL for custom Jira issue filters
- Data Center note: Jira Data Center uses a Personal Access Token flow instead of the Jira Cloud authorization flow
| Variant | Auth flow | Community access | Full edit support | Filter syntax |
|---------|-----------|------------------|-------------------|---------------|
| Jira Cloud | Atlassian browser authorization flow | View-only | Paid GitKraken subscription required | JQL |
| Jira Data Center | Personal Access Token | View-only | Paid GitKraken subscription required | JQL |
The Jira integration is view-only for Community users. To unlock full functionality, consider upgrading to a paid GitKraken subscription.
***
## Quick Start
1. Go to Preferences > Integrations or click the ISSUES section in the Left Panel. If the ISSUES section is not visible, right-click any Left Panel header and enable it.
2. Select **Jira Cloud** or **Jira Data Center** and click to authorize. Complete the authorization in the Atlassian browser page that opens.
3. Once connected, your Jira issues appear in the Left Panel under the _My Issues_ filter by default.
**To view and edit issue details:** Click any issue to open its detail view. You can edit the title, description, status, and assignee. Changes sync with your Jira board.
**To create a new issue:** Click the **+** icon in the Left Panel, fill in the required fields, and submit. The issue syncs to Jira automatically.
**To create a branch from an issue:** Open the issue detail view and click **Create a branch for this issue**. The branch name is pre-filled from the issue title.
**To use JQL filters:** Use the filter syntax in the Left Panel to narrow issues by project, label, sprint, or status.
---
## How to connect the Jira integration
Set up the integration from the ISSUES section in the Left Panel or from Preferences > Integrations. If you do not see the ISSUES section, right-click on any Left Panel header and enable it from the context menu.
Use Jira Cloud on this page when: your organization uses Atlassian's hosted Jira authorization flow. Use Jira Data Center instead when: your team runs self-hosted Jira and needs PAT-based setup with Data Center-specific compatibility.
You will be redirected to an Atlassian page to authorize the connection. Click Accept to proceed.
Alternatively, you may copy the token from the _Success_ page and paste it into the Jira Cloud integration screen in GitKraken Desktop.
---
## How to preview Jira issues
Once connected, your Jira issues will appear in the Left Panel. By default, the app displays issues assigned to you under the _My Issues_ filter.
Hover over any issue to preview key details including Title, Description, Status, Assignee, and Reporter.
---
## How to view Jira issue details
Click an issue to open its detail view.
You can:
- Edit Title and Description
- Change Status
- Assign or reassign
- Add comments
These changes will sync with your Jira board.
---
## How to create a new Jira issue
From the Left Panel, click the + icon to add a new Jira issue.
The issue will sync directly with your connected Jira project.
---
## How to create Jira filters
You can create filters to show specific issues. The integration supports Atlassian’s JQL (Jira Query Language) and provides auto-complete for filter fields.
Use JQL filters when: you need focused issue queues by project, sprint, assignee, or status. Don't rely only on the default My Issues view when: your workflow depends on a more specific slice of Jira work.
For advanced filtering tips, see Atlassian’s [JQL guide](https://www.atlassian.com/software/jira/guides/expand-jira/jql#visualize-results).
---
## How to create branches from Jira issues
You can create branches tied to Jira issues directly from the issue detail view.
Use issue-based branch creation when: one branch should map directly to one Jira issue. Don't use it when: the branch spans several tickets or the auto-filled issue-based name is not the branch structure you need.
The branch name is prefilled based on the issue title. After creation, branches linked to Jira issues display the Jira icon.
---
## How to copy an issue link or open it in Jira
Click the icon on an issue card to copy the issue link or open it directly in Jira.
---
## More Jira integration options
For more powerful features between GitKraken and Jira, check out Git Integration for Jira.
---
# GitKraken Desktop + Git Integration for Jira
URL: https://help.gitkraken.com/gitkraken-desktop/git-integration-for-jira/
Description: Connect GitKraken Desktop with Git Integration for Jira to navigate commits and diffs directly from Jira issues, and open GitKraken from Jira for deeper Git context.
Product: Git Integration for Jira
Feature: GitKraken Desktop Integration
Content type: how-to
Audience: developer
Plan required: all
Status: GA
Last verified: 2026-03
Last updated: March 2026
This page explains how GitKraken Desktop works with the Git Integration for Jira app so you can jump between Jira issues, commits, and file diffs. Use it when your team works in Jira Cloud and you want direct navigation between issue context and Git history.
**Requirements and limits**
- Scope: Navigation between GitKraken Desktop and Jira via Git Integration for Jira
- Jira requirement: Jira Cloud integration must already be connected in GitKraken Desktop
- Repository requirement: Set Preferences > Issue Tracker to Jira Cloud for the relevant repository
- Project requirement: A Jira project must be selected in the Left Panel
- App dependency: The Git Integration for Jira app must be installed on the same Jira Cloud instance
- Workflow scope: This page covers navigation between Jira, commits, and file diffs rather than general Jira issue management
---
## What this integration requires
Before using this integration, ensure the following:
1. Connect the [Jira Cloud Integration](/integrations/jira) in GitKraken Desktop.
2. Set Preferences > Issue Tracker to use Jira Cloud for the relevant repository.
3. Select a Jira Project in the Left Panel.
4. The Git Integration for Jira app must be installed on the same Jira Cloud instance.
---
## How to open a file diff in Jira
Once connected, a Open in Jira button appears in the [file diff view](/gitkraken-desktop/diff/). Clicking this opens the specific file diff in your Jira instance.
---
## How to open Jira to a commit
Right-click any commit in the graph and choose Open in Jira. This launches Jira focused on the selected commit.
---
## How to open GitKraken Desktop from Jira
Within Jira, Git Integration for Jira adds buttons to open commits and diffs in GitKraken. Look for the GitKraken logo to launch GitKraken Desktop for a deeper view.
---
# GitKraken Desktop + GitHub Enterprise Issues Integration
URL: https://help.gitkraken.com/gitkraken-desktop/github-enterprise-issues/
Description: Connect GitKraken Desktop with GitHub Enterprise Server to preview, filter, and create issues directly from your Git workflow.
Product: GitKraken Desktop
Feature: GitHub Enterprise Server Issues Integration
Content type: how-to
Audience: developer
Plan required: [Advanced, Business, Enterprise]
Status: GA
Last verified: 2026-03
Last updated: March 2026
This page explains how GitKraken Desktop connects to GitHub Enterprise Server Issues so you can preview, filter, and create issues alongside your repository work. Use it when you already work with GitHub Enterprise Server and want issue access inside GitKraken Desktop instead of switching to the web interface.
The GitHub Enterprise Server Issues integration is view-only for Community users. To unlock full features, consider upgrading to a paid GitKraken license.
**Requirements and limits**
- Integration covered here: GitHub Enterprise Server Issues
- Server version: GitHub Enterprise Server 2.20.24 or newer
- Connection model: Shares the same connection as the GitHub Enterprise Server integration
- Plan: Advanced, Business, or Enterprise for the underlying GitHub Enterprise Server integration
- Community plan: View-only access
- Full issue workflows: Paid GitKraken license required for full feature access
---
## What this integration requires
This integration requires GitHub Enterprise Server version 2.20.24 or newer.
---
## How to connect GitHub Enterprise Server Issues
The GitHub Enterprise Server integration and GitHub Enterprise Server Issues integration share the same connection.
Use GitHub Enterprise Server Issues in GitKraken Desktop when: you want enterprise issue context beside your repository workflow after connecting the base integration. Don't use this page when: you still need to set up the underlying GitHub Enterprise Server authentication first.
You can set up the integration from the ISSUES section in the Left Panel or from Preferences > Integrations.
Follow these [GitHub Enterprise authentication steps](/integrations/github-enterprise/#github-enterprise-authentication) to connect your instance.
---
## What you can do with GitHub Enterprise Server Issues
Once connected, this integration offers the same features as the GitHub Issues integration:
Use the in-app issue workflow when: you want preview, filtering, and issue-based actions inside GitKraken Desktop. Don't rely on it alone when: you need broader enterprise issue-management features outside the workflow covered here.
- [Preview GitHub Issues](/integrations/github-issues/#preview-github-issues)
- [View and Edit GitHub Issue Details](/integrations/github-issues/#view-and-edit-github-issue-details)
- [Create GitHub Issues](/integrations/github-issues/#create-new-github-issue)
- [Create GitHub Filters](/integrations/github-issues/#create-filters)
- [Create Branch from Issue](/integrations/github-issues/#create-branches-from-issue)
- [Shortcuts to view Issues in GitHub](/integrations/github-issues/#copy-issue-link-or-view-in-github)
---
# GitKraken Desktop + GitHub Issues Integration
URL: https://help.gitkraken.com/gitkraken-desktop/github-issues/
Description: Learn how to connect GitKraken Desktop with GitHub Issues to manage, filter, preview, and create issues directly from your Git workflow.
Product: GitKraken Desktop
Feature: GitHub Issues Integration
Content type: how-to
Audience: developer
Plan required: all
Status: GA
Last verified: 2026-03
Last updated: March 2026
Use this page to connect GitKraken Desktop to GitHub Issues so you can preview, create, edit, filter, and branch from issues alongside your repository work. GitHub Issues uses the same GitHub integration connection, and Community users are limited to public repositories.
The GitHub Issues integration is limited to public repositories for Community users. To unlock full access, consider upgrading to a paid GitKraken license.
**Requirements and limits**
- Integration covered here: GitHub Issues for GitHub.com
- Connection model: Shares the same connection as the GitHub integration
- Community plan: Public repositories only
- Issue workflows: Preview, create, edit, filter, and branch from issues after connecting GitHub
- Filter syntax: Uses GitHub issue filtering syntax for custom filters
| Capability | Community | Paid plans | Notes |
|------------|-----------|------------|-------|
| Preview issues | Yes | Yes | Uses the shared GitHub integration connection |
| Create issues | Public repositories only | Yes | Requires the connected GitHub repository and account permissions |
| Edit issue details | Public repositories only | Yes | Requires the connected GitHub repository and account permissions |
| Create branches from issues | Public repositories only | Yes | Requires the connected GitHub repository and account permissions |
| Filter issues | Yes | Yes | Uses GitHub issue filtering syntax |
***
## Quick Start
1. Go to Preferences > Integrations and select **GitHub.com**, or click the ISSUES section in the Left Panel.
2. Click **Connect to GitHub** and complete authorization in the browser window that opens.
3. Once connected, your GitHub issues appear in the Left Panel under default filters such as _My Open Issues_ and _All Open Issues_.
**To view issue details:** Click any issue in the Left Panel to open its detail view. Changes made here sync with GitHub.
**To create a new issue:** Click the **+** icon in the Left Panel, fill in the required fields, and submit. The issue syncs directly to GitHub.
**To create a branch from an issue:** Open the issue detail view and click **Create a branch for this issue**. The branch name is pre-filled from the issue title.
**To create custom filters:** Use GitHub's issue filter syntax to build filters in the Left Panel and narrow your view to specific labels, statuses, or assignees.
To open an issue in GitHub or copy its link, use the ellipsis menu or the external link icon in the issue detail view.
---
## How to connect the GitHub Issues integration
The GitHub and GitHub Issues integrations share the same connection.
Use GitHub Issues in GitKraken Desktop when: you want issue triage and branch creation directly beside your Git workflow. Don't use the in-app view alone when: you need broader GitHub project or issue-management features outside the issue flows covered here.
You can set up the integration from the ISSUES section in the Left Panel or from Preferences > Integrations.
From the Integrations window, select GitHub.com and click Connect to GitHub.
A browser window will open to complete authorization. Log in with your GitHub credentials and click Continue authorization.
Once successful, GitKraken will show a confirmation message and enable the integration.
---
## How to preview GitHub issues
After connecting, your GitHub issues will appear in the Left Panel. Default filters include _My Open Issues_ and _All Open Issues_. You can customize or remove these as needed.
Hover over an issue to preview the title, description, status, labels, assignees, and reporter.
---
## How to view and edit GitHub issue details
Click an issue to open the details view.
Any changes made here will be synced with GitHub.
---
## How to create a new GitHub issue
To create a new issue, click the + icon from the Left Panel.
Required fields are marked with *. Your issue will sync directly to your GitHub repository.
---
## How to create GitHub issue filters
Create filters using GitHub's issue filter syntax. These help narrow your view to specific issue types, labels, or statuses.
Use custom filters when: you need to focus on a subset of issues such as bugs, assigned work, or open review blockers. Don't rely only on default filters when: they leave you with too much issue noise.
Refer to GitHub’s [issue filtering guide](https://docs.github.com/en/github/searching-for-information-on-github/searching-issues-and-pull-requests) for syntax examples.
---
## How to create branches from GitHub issues
From the issue details view, click Create a branch for this issue. You can also right-click an issue or use the menu.
Use issue-based branch creation when: you want a clear branch-to-issue link and an auto-filled branch name. Don't use it when: the branch should represent a larger initiative or combine work from multiple issues.
Branch names auto-fill based on the issue title. Created branches will display the GitHub icon to reflect their link.
---
## How to copy an issue link or open it in GitHub
To open the issue in GitHub or copy its link, use the menu or click the icon in the top right.
---
# GitKraken Desktop + GitLab Issues Integration
URL: https://help.gitkraken.com/gitkraken-desktop/gitlab-issues/
Description: Connect GitKraken with GitLab to view, filter, and manage issues directly from your local Git interface.
Product: GitKraken Desktop
Feature: GitLab Issues Integration
Content type: how-to
Audience: developer
Plan required: all
Status: GA
Last verified: 2026-03
Last updated: March 2026
Use this page to connect GitKraken Desktop to GitLab Issues so you can preview, create, edit, filter, and branch from issues without leaving your Git workflow. GitLab Issues uses the same GitLab integration connection, and Community users are limited to public repositories.
**Requirements and limits**
- Integration covered here: GitLab Issues through the shared GitLab.com connection
- Connection model: GitLab Issues uses the same authentication as the GitLab integration
- Community plan limit: Public repositories only
- Branch creation, editing, and issue management depend on the connected GitLab repository and account permissions
- Custom filters use GitLab issue filter syntax
| Capability | Community | Paid plans | Notes |
|------------|-----------|------------|-------|
| Preview issues | Yes | Yes | Uses the shared GitLab integration connection |
| Create issues | Public repos only | Yes | Depends on repository and account permissions |
| Edit issue details | Public repos only | Yes | Depends on repository and account permissions |
| Create branches from issues | Public repos only | Yes | Depends on repository and account permissions |
| Filter issues | Yes | Yes | Uses GitLab issue filter syntax |
The GitLab Issues integration is restricted to public repositories for Community users. To unlock all features, consider upgrading to a paid GitKraken license.
***
## Quick Start
1. Go to Preferences > Integrations and select **GitLab.com**, or click the ISSUES section in the Left Panel.
2. Click **Connect to GitLab** and authorize the connection in the browser.
3. Once connected, your GitLab issues appear in the Left Panel under default filters such as _My Issues_ and _All Issues_.
**To view issue details:** Click any issue to open its detail view. Changes sync with GitLab.
**To create a new issue:** Click the **+** icon in the Left Panel, fill in the required fields, and submit. The issue syncs directly to GitLab.
**To create a branch from an issue:** Open the issue detail view and click **Create a branch for this issue**. The branch name is pre-filled from the issue title.
**To create custom filters:** Use GitLab's issue filter syntax in the Left Panel to narrow your view by label, milestone, assignee, or status.
To open an issue in GitLab or copy its link, use the ellipsis menu or the external link icon in the issue detail view.
---
## How to connect the GitLab Issues integration
The GitLab and GitLab Issues integrations share the same connection. Set up the integration from the ISSUES section in the Left Panel or from Preferences > Integrations.
Use GitLab Issues in GitKraken Desktop when: you want issue context, issue editing, and branch creation close to your repository workflow. Don't use the in-app view alone when: you need broader GitLab project management outside the issue workflows covered here.
From the Integrations window, select GitLab.com and click Connect to GitLab.
A browser window will open to authorize the connection. Log in with your GitLab credentials and click Continue authorization.
Once authorized, GitKraken will display a success message.
---
## How to preview GitLab issues
After connecting, your GitLab issues will appear in the Left Panel. Default filters include _My Issues_ and _All Issues_.
Hover over an issue to preview the title, description, labels, milestones, and assignee.
---
## How to view and edit GitLab issue details
Click an issue to view its details.
Edits made here will sync with your GitLab issue tracker.
---
## How to create a new GitLab issue
Click the + icon from the Left Panel to add a new issue.
Required fields are marked with *. The issue will sync automatically to your GitLab repository.
---
## How to create GitLab issue filters
Use GitLab’s issue syntax to create filters and narrow your view.
Use custom filters when: you need focused issue queues by label, assignee, milestone, or status. Don't rely on only the default filters when: your team needs a narrower view of active work.
Refer to GitLab’s [issue filtering guide](https://docs.gitlab.com/ee/user/search/index.html#filtering-issue-and-merge-request-lists) for examples.
---
## How to create branches from GitLab issues
From the issue detail view, click Create a branch for this issue. You can also right-click the issue or use the menu.
Use issue-based branch creation when: you want the branch tied clearly to a specific GitLab issue. Don't use it when: the work spans multiple issues or the branch name needs a different structure than the issue title provides.
The branch name is auto-filled based on the issue title. These branches show the GitLab icon to indicate the connection.
---
## How to copy an issue link or open it in GitLab
Use the menu or icon to open the issue in GitLab or copy the link.
---
# GitKraken Desktop + GitLab Self-Managed Issues Integration
URL: https://help.gitkraken.com/gitkraken-desktop/gitlab-self-managed-issues/
Description: Connect GitKraken with GitLab Self-Managed to preview, manage, and filter issues directly from your Git workflow.
Product: GitKraken Desktop
Feature: GitLab Self-Managed Issues Integration
Content type: how-to
Audience: developer
Plan required: all
Status: GA
Last verified: 2026-03
Last updated: March 2026
Use this page to connect GitKraken Desktop to GitLab Self-Managed Issues so you can preview, manage, filter, and branch from issues alongside your repository work. This integration shares the GitLab Self-Managed connection, requires GitLab Self-Managed 13.1 or newer, and is view-only for Community users.
The GitLab Self-Managed Issues integration is view-only for Community users. To unlock all features, consider upgrading to a paid GitKraken license.
**Requirements and limits**
- Integration covered here: GitLab Self-Managed Issues
- Server version: GitLab Self-Managed 13.1 or newer
- Connection model: Shares the same connection as the GitLab Self-Managed integration
- Community plan: View-only access
- Full issue workflows: Paid GitKraken license required for editing, branching, and full issue management
| Capability | Community | Paid plans | Server/version note |
|------------|-----------|------------|---------------------|
| Preview issues | Yes | Yes | Requires GitLab Self-Managed 13.1 or newer |
| Create issues | No | Yes | Requires GitLab Self-Managed 13.1 or newer |
| Edit issue details | No | Yes | Requires GitLab Self-Managed 13.1 or newer |
| Create branches from issues | No | Yes | Requires GitLab Self-Managed 13.1 or newer |
| Filter issues | Yes | Yes | Uses the shared self-managed connection |
---
## Requirements
This integration requires GitLab Self-Managed version 13.1 or newer.
---
## Quick Start
1. Connect your GitLab Self-Managed instance from Preferences > Integrations by following the GitLab Self-Managed authentication flow.
2. Open the **ISSUES** section in the Left Panel to load issues from the connected instance.
3. Preview, filter, and open issue details directly in GitKraken Desktop.
To edit issues, create issue-based branches, or open issues in GitLab Self-Managed, use the same workflows documented for [GitLab Issues](/integrations/gitlab-issues/).
---
## How to connect the GitLab Self-Managed Issues integration
The GitLab Self-Managed and GitLab Self-Managed Issues integrations share the same connection.
Use GitLab Self-Managed Issues in GitKraken Desktop when: you already have the self-managed GitLab integration connected and want issue workflows next to your repository work. Don't use this page when: you still need to configure the underlying self-managed GitLab connection first.
Set up the integration from the ISSUES section in the Left Panel or from Preferences > Integrations.
Follow these [GitLab Self-Managed authentication steps](/integrations/gitlab-self-hosted/#gitlab-self-managed-authentication) to connect your instance.
---
## What the GitLab Self-Managed Issues integration supports
Once connected, the GitLab Self-Managed Issues integration provides the same functionality as the GitLab Issues integration:
Use the in-app issue workflow when: you want issue context, filtering, and branching without leaving GitKraken Desktop. Don't rely on it alone when: you need broader project-management features outside the issue workflows documented here.
- [Preview GitLab Issues](/integrations/gitlab-issues/#preview-gitlab-issues)
- [View and Edit GitLab Issue Details](/integrations/gitlab-issues/#view-and-edit-gitlab-issue-details)
- [Create GitLab Issues](/integrations/gitlab-issues/#create-new-gitlab-issue)
- [Create GitLab Filters](/integrations/gitlab-issues/#create-filters)
- [Create Branch from Issue](/integrations/gitlab-issues/#create-branches-from-issue)
- [Shortcuts to view Issues in GitLab](/integrations/gitlab-issues/#copy-issue-link-or-view-in-gitlab)
---
# GitKraken Desktop + Trello Integration
URL: https://help.gitkraken.com/gitkraken-desktop/trello/
Description: Connect GitKraken to Trello to preview, manage, and link cards with your branches and repositories.
Product: GitKraken Desktop
Feature: Trello Integration
Content type: how-to
Audience: developer
Plan required: all
Status: GA
Last verified: 2026-03
Last updated: March 2026
Use this page to connect GitKraken Desktop to Trello so you can preview, create, edit, filter, and branch from cards without leaving your Git workflow. Trello is view-only for Community users, while paid GitKraken subscriptions unlock the full card management workflow.
**Requirements and limits**
- Integration covered here: Trello
- Community plan limit: View-only access
- Paid subscription requirement: Creating, editing, and branching from cards requires a paid GitKraken subscription
- Connection scope: Trello cards appear in the ISSUES section after authorization
- Custom filters use Trello filter syntax
***
## Quick Start
1. Go to Preferences > Integrations or click the ISSUES section in the Left Panel.
2. Select **Trello** and click to authorize. Complete the authorization on the Trello page that opens and click **Allow**.
3. Once connected, your Trello cards appear in the Left Panel under the _All Cards_ filter by default.
**To view and edit a card:** Click any card to open its detail view. You can edit the title, description, list, assignees, and comments. Changes sync with your Trello board in real-time.
**To create a new card:** Click the **+** icon in the Left Panel, fill in the required fields, and submit. The card syncs to Trello automatically.
**To create a branch from a card:** Open the card detail view and click **Create branch**. The branch name is pre-filled from the card title and displays the Trello icon.
**To filter cards:** Use Trello's filter syntax in the Left Panel to narrow results by board, list, label, or member.
The Trello integration is view-only for Community users. To unlock all features, consider upgrading to a paid GitKraken subscription.
---
## How to connect the Trello integration
Set up the integration from the ISSUES section in the Left Panel or from Preferences > Integrations.
Use the Trello integration when: your team tracks work in Trello and you want cards visible beside your repository workflow. Don't use it as a full replacement for Trello when: you need broader board management features outside the card workflows covered here.
You’ll be redirected to a Trello page to authorize the connection. Scroll down and click Allow.
Alternatively, copy the token from the _Success_ page and paste it into GitKraken Desktop.
---
## How to preview Trello cards
Once connected, your Trello cards will appear in the Left Panel under a default _All Cards_ filter.
Hover over any card to preview its title, description, list, labels, and members.
---
## How to view and edit Trello card details
Click a card to open its detail view.
You can view and edit:
- Title and Description
- List
- Assignees
- Comments
Changes sync with your Trello board in real-time.
---
## How to create a new Trello card
Click the + icon in the Left Panel to add a new card.
Fields marked with * are required. Your card will sync automatically with Trello.
---
## How to create Trello card filters
You can use Trello’s filter syntax to create custom filters for your cards.
Use custom card filters when: you need to focus on a board, list, label, or member-specific queue. Don't rely on the default All Cards view when: it mixes too much unrelated work together.
See Trello’s [filtering guide](https://help.trello.com/article/808-searching-for-cards-all-boards) for syntax examples.
---
## How to create branches from Trello cards
You can create branches tied to cards directly from the card detail view. Use the Create branch button or right-click a card.
Use card-based branch creation when: the branch should map directly to one Trello card. Don't use it when: the branch covers several cards or needs a branch name that should not be derived from the card title.
Branch names are prefilled based on the card title. These branches display the Trello icon to indicate the connection.
---
## How to copy a card link or open it in Trello
Click the icon or the icon to copy the link or open the card in Trello.
---
# GitKraken Desktop Integrations | Connect Git & Issue Trackers
URL: https://help.gitkraken.com/gitkraken-desktop/integrations/
Description: Learn how to integrate GitKraken Desktop with GitHub, GitLab, Bitbucket, Jira, Trello, and other tools to streamline repo access and issue tracking.
Product: GitKraken Desktop
Feature: Integrations
Content type: overview
Audience: developer
Plan required: all
Status: GA
Last verified: 2026-03
Last updated: April 2026
Integrations connect GitKraken Desktop to Git hosting services and issue trackers so you can clone repositories, manage remotes, review pull requests, and work with issues from one interface. Use this page to find the right integration for GitHub, GitLab, Bitbucket, Azure DevOps, Jira, Trello, and self-hosted services.
This page covers Git hosting and issue tracker integrations. External coding agent CLIs such as Claude Code, Codex CLI, Copilot CLI, Gemini CLI, and OpenCode are documented separately in [Coding Agents in GitKraken Desktop](/gitkraken-desktop/agents/).
**Requirements and limits**
- Git hosting integrations: GitHub, GitHub Enterprise Server, GitLab, GitLab Self-Managed, Bitbucket, Bitbucket Data Center, and Azure DevOps
- Issue tracker integrations: Jira Cloud, Jira Data Center, Trello, GitLab Issues, GitLab Self-Managed Issues, GitHub Issues, and GitHub Enterprise Server Issues
- Community plan: Public GitHub and GitLab repositories only; some issue tracker integrations are view-only
- Self-hosted integrations: Require a paid plan; GitLab Self-Managed is available on Pro and up, while some other self-hosted integrations require higher tiers
- Multiple profiles with separate integrations: Pro plan or higher
- Coding agent CLIs: Managed separately from Git hosting and issue tracker integrations
Watch an overview of how to connect integrations in GitKraken Desktop.
***
## How to connect remote Git hosting integrations
GitKraken Desktop supports easy connection to popular remote Git services:
- [GitHub](/gitkraken-desktop/github-gitkraken-desktop/)
- [GitHub Enterprise Server](/gitkraken-desktop/github-enterprise/)
- [GitLab](/gitkraken-desktop/gitlab-gitkraken-desktop/)
- [GitLab Self-Managed](/gitkraken-desktop/gitlab-self-hosted/)
- [Bitbucket](/gitkraken-desktop/bitbucket)
- [Bitbucket Data Center](/gitkraken-desktop/bitbucket-data-center/)
- [Azure DevOps](/gitkraken-desktop/azure-devops/)
Note: Self-hosted server integrations require a paid plan. GitLab Self-Managed is available on Pro and up, while some other self-hosted integrations require higher tiers.
***
## How to connect issue tracker integrations
Track your development tasks by connecting GitKraken Desktop to your project management tools:
- [Jira Cloud](/gitkraken-desktop/jira/)
- [Jira Data Center](/gitkraken-desktop/jira-data-center/) (Advanced users and above)
- [Trello](/gitkraken-desktop/trello/)
- [GitLab Issues](/gitkraken-desktop/gitlab-issues/)
- [GitLab Self-Managed Issues](/gitkraken-desktop/gitlab-self-managed-issues/)
- [GitHub Issues](/gitkraken-desktop/github-issues/)
- [GitHub Enterprise Server Issues](/gitkraken-desktop/github-enterprise-issues/)
Community Plan Limitations: Access is limited to Public Repositories for GitHub and GitLab. View-only access is provided for Jira Cloud, GitHub Enterprise, GitLab Self-Managed, and Trello.
***
## What you can do with integrations
By connecting integrations, you can:
- Clone and open remote repositories easily
- View and update issues directly from within GitKraken
- Simplify access to remote branches and pull requests
- Sync commits and metadata with issue trackers
***
## How plan requirements vary by integration
| Feature Type | Integration | Minimum Plan |
|--------------|-------------|----------------|
| Self-Hosted Git Servers | GitLab Self-Managed | Pro |
| Self-Hosted Git Servers | GitHub Enterprise, Bitbucket Data Center | Advanced |
| Issue Trackers with Write Access | Jira Cloud, Trello, etc. | Pro or Advanced |
| Multiple Profiles with Separate Integrations | All | Pro + |
For more details, see the [GitKraken pricing plans](https://www.gitkraken.com/pricing).
---
# GitLab Integration with GitKraken Desktop
URL: https://help.gitkraken.com/gitkraken-desktop/gitlab-gitkraken-desktop/
Description: Connect GitKraken Desktop with GitLab to clone repositories, manage SSH keys, create pull requests, and streamline development with OAuth.
Product: GitKraken Desktop
Feature: GitLab Integration
Content type: how-to
Audience: developer
Plan required: all
Status: GA
Last verified: 2026-03
Last updated: March 2026
Use this page to connect GitKraken Desktop to GitLab.com for repository access, SSH setup, clone and remote workflows, and pull request activity. It also explains the public-repository limitation on the Community plan and how multiple GitLab accounts are handled through profiles.
**Requirements and limits**
- Integration covered here: GitLab.com
- Community plan limit: Public repositories only
- Authentication options: Browser-based GitLab connection or manual OAuth token entry
- Account limit: One GitLab account per profile; multiple accounts require multiple profiles and a GitKraken Pro subscription
- SSH behavior: GitKraken uses the key in Preferences > SSH unless you configure a GitLab-specific key or enable your local SSH Agent
| Workflow | Supported | Community limit | Notes |
|----------|-----------|-----------------|-------|
| Connect GitLab.com account | Yes | None | Browser-based connection or manual OAuth token entry |
| Clone and browse repositories | Yes | Public repositories only | Private repository access requires a paid plan |
| SSH key generation and upload | Yes | Public repositories only | Uses GitKraken SSH settings unless overridden |
| Create and manage pull requests | Yes | Public repositories only | Supported directly in GitKraken Desktop |
| Multiple GitLab accounts | Yes | Not included | Requires separate profiles and a Pro plan |
***
## Quick Start
1. Go to Preferences > Integrations in GitKraken Desktop.
2. Select **GitLab.com** and click **Connect to GitLab**.
3. Log in to GitLab in the browser window that opens, then click **Open GitKraken** to complete the connection.
To configure SSH access after connecting:
- In Preferences > Integrations, click **Generate SSH key and add to GitLab** to generate and upload a key automatically.
- Or click **Add key to GitLab** to upload your existing SSH default.
Once connected, GitKraken Desktop displays your GitLab repositories when cloning, shows forks when adding remotes, and supports creating and managing pull requests from within the application. To manage more than one GitLab account, use multiple [profiles](/start-here/profiles) with a GitKraken Pro plan.
### What the GitLab integration lets you do
- Create new repositories on your GitLab account with optional .gitignore and license templates.
- Automatically generate and upload an SSH key pair to GitLab.
- Clone repositories directly from your GitLab repo list.
- Easily identify GitLab repos via remote avatars on the graph.
- Add remotes to GitLab repositories.
- Create and manage pull requests from within GitKraken.
- Work with [GitLab Issues](/integrations/gitlab-issues/) alongside your code.
***
## How to connect the GitLab integration
To authenticate with GitLab:
Use the browser-based GitLab connection when: standard GitLab OAuth access is available and you want the simplest setup. Use a manual OAuth token when: your environment requires token-based access or you need to paste a token directly into GitKraken Desktop.
1. Open Preferences > Integrations from the upper-right corner.
Access GitLab integration from Preferences
2. In the integration window, select _GitLab.com_ and click .
Click to authenticate GitLab account
4. Log in via your default browser. After successful authentication, click Open GitKraken to complete the connection.
Sign in to GitLabAuthentication successful — return to GitKraken
You may also connect manually using an OAuth token.
Enter an OAuth token to connect manually
## How to generate an SSH key for GitLab
Note: GitKraken uses the SSH key listed in Preferences > SSH unless you configure a GitLab-specific key or enable your local SSH Agent.
Once GitLab is connected, you can generate a new SSH key or upload an existing one:
Options to add an SSH key to GitLab
- Click to automate the process.
- Use to use an existing SSH Default.
- Use _Add existing SSH key_ to upload your own key manually.
***
## What GitLab OAuth enables in GitKraken Desktop
With GitLab connected, GitKraken enhances your workflow with features such as:
Use the GitLab integration when: you want cloning, remotes, pull requests, and issue workflows tied directly to GitLab.com inside GitKraken Desktop. Don't use this page when: you need self-hosted GitLab guidance, which belongs on the self-managed GitLab integration pages.
- Browsing your GitLab repositories during cloning:
Browse GitLab repositories while cloning
- Viewing forks when adding remotes:
Forks shown when adding GitLab remotes
You can still manually enter repository URLs if preferred.
***
## How to connect multiple GitLab accounts
GitKraken supports one GitLab account per profile. With [profile support](/start-here/profiles) in GitKraken Pro, you can switch between multiple GitLab accounts easily.
Use multiple profiles when: you need to switch between separate GitLab identities or organizations cleanly. Don't use multiple profiles when: one GitLab account already covers the repositories you need and profile switching would add unnecessary overhead.
---
# GitLab Self-Managed Integration with GitKraken Desktop
URL: https://help.gitkraken.com/gitkraken-desktop/gitlab-self-hosted/
Description: Connect GitKraken Desktop with your GitLab Self-Managed server to manage repositories, SSH keys, and pull requests using personal access tokens.
Product: GitKraken Desktop
Feature: GitLab Self-Managed Integration
Content type: how-to
Audience: developer
Plan required: Pro
Status: GA
Last verified: 2026-03
Last updated: March 2026
Use this page to connect GitKraken Desktop to a GitLab Self-Managed server so you can authenticate with a personal access token, manage SSH keys, discover repositories, and work with pull requests in your self-hosted GitLab environment. This integration requires a Pro subscription tier or higher.
Note: GitLab Self-Managed integration requires a Pro subscription tier or higher.
**Requirements and limits**
- Integration covered here: GitLab Self-Managed
- Plan: Pro subscription tier or higher
- Supported server versions: GitLab Self-Managed releases from the past year
- Authentication: Personal access token with `api` and `read_user` scopes
- Token setup note: Leave token expiration blank when following this workflow
- Account limit: One GitLab Self-Managed account per profile; use Profiles for multiple accounts
- SSH behavior: GitKraken uses the key in Preferences > SSH unless you configure a GitLab-specific key or system SSH Agent
| Requirement | Value |
|-------------|-------|
| Plan | Pro subscription tier or higher |
| Supported server versions | GitLab Self-Managed releases from the past year |
| Authentication | Personal access token |
| Required token scopes | `api`, `read_user` |
| Token setup note | Leave expiration blank when following this workflow |
| Account limit | One GitLab Self-Managed account per profile |
| SSH behavior | Uses Preferences > SSH unless overridden by a GitLab-specific key or system SSH Agent |
***
## Quick Start
1. Go to Preferences > Integrations in GitKraken Desktop.
2. Select **GitLab Self-Managed**, enter your host domain, and click **Generate a token on GitLab**.
3. Log in to your GitLab instance, generate a Personal Access Token with the `api` and `read_user` scopes (leave expiration blank), and copy the token.
4. Paste the token into GitKraken Desktop and click **Connect**.
To configure SSH access after connecting:
- In Preferences > Integrations, click **Generate SSH key and add to GitLab** to generate and upload a key automatically.
- Or click **Add key to GitLab** to upload your existing SSH default.
Once connected, GitKraken Desktop lets you clone from your self-hosted repository list, add remotes, and create or view pull requests. To manage more than one GitLab Self-Managed account, use multiple [profiles](/start-here/profiles) with a GitKraken Pro plan.
### What the GitLab Self-Managed integration lets you do
- Create new repositories with optional .gitignore and license files.
- Automatically generate an SSH key and upload it to GitLab Self-Managed.
- Save authentication credentials using [profiles](/gitkraken-desktop/profiles/).
- Clone from your GitLab Self-Managed repository list.
- Add and manage remotes for GitLab Self-Managed.
- Create and view pull requests.
- Manage [GitLab Self-Managed Issues](/integrations/gitlab-self-managed-issues/).
***
## How to authenticate with GitLab Self-Managed
Note: GitKraken supports any version of GitLab Self-Managed released within the past year.
Use GitLab Self-Managed integration when: your repositories live on a self-hosted GitLab server and you need PAT-based access. Don't use the GitLab.com page when: your environment requires self-managed host domains, self-hosted auth, or server-version compatibility checks.
To authenticate:
1. Navigate to Preferences > Integrations in the upper-right corner.
Open Preferences to access Integrations
2. Choose **Gitlab Self-Managed**. Enter your GitLab Self-Managed host domain. Click and follow the link.
Connect to GitLab Self-Managed
4. In your browser, log in and generate a token. Required scopes: `api` and `read_user`. Leave expiration blank.
Create a personal access token for GitLab
5. Copy and paste the token into GitKraken, then click .
Token successfully connected in GitKraken
***
## How to generate an SSH key for GitLab Self-Managed
Note: GitKraken uses the SSH key from Preferences > SSH unless overridden with a GitLab-specific key or a system SSH Agent.
1. Open Preferences > Integrations.
2. Click .
Generate and upload SSH key to GitLab Self-Managed
You can also:
- Use for an existing SSH Default.
- Use _Add existing SSH key_ to upload a saved key manually.
***
## How to connect multiple GitLab Self-Managed accounts
GitKraken supports one GitLab Self-Managed account per profile. Use multiple [profiles](/start-here/profiles) with GitKraken Pro to manage separate accounts.
Use multiple profiles when: you need to switch between separate GitLab Self-Managed servers or identities. Don't use multiple profiles when: one self-hosted account already covers the repositories you need to manage.
---
## Collaboration & Team Features
---
# Conflict Prevention in GitKraken Desktop
URL: https://help.gitkraken.com/gitkraken-desktop/conflict-prevention/
Description: Discover how GitKraken Desktop prevents merge conflicts by alerting users to overlapping changes, target branch issues, and Org Member edits.
Product: GitKraken Desktop
Feature: Conflict Prevention
Content type: overview
Audience: developer
Plan required: Pro
Status: preview
Last verified: 2026-03
Last updated: April 2026
Use this page to detect likely merge conflicts in GitKraken Desktop before they reach the merge step. Conflict Prevention alerts you when your work overlaps with Org Members or a target branch, shows what changed, and provides early actions such as pushing, rebasing, merging, or sharing a Cloud Patch.
**Requirements and limits**
- Plan: Pro subscription tier or higher
- Scope: Early conflict detection against Org Members and the configured target branch
- Settings scope: Conflict Prevention preferences are saved per repository
- Branch configuration: Base branches can be included with `**` wildcards or excluded with `!` patterns
- Priority rule: Target-branch conflicts take priority over Org Member alerts
- Org-awareness benefit: Inviting collaborators into the GitKraken Org improves earlier overlap detection
- Action scope: Suggested responses include push, merge, rebase, copy summary, and Cloud Patch sharing
Conflict prevention interface in GitKraken Desktop
***
GitKraken On-Premise users: Target-branch conflict detection is available in Serverless and Self-Hosted Server deployments. The following features require cloud connectivity and are not available in those environments: Org Member conflict detection (requires a cloud GitKraken Org) and Cloud Patch sharing (requires gitkraken.dev).
## Quick Start
- When GitKraken Desktop detects overlapping changes with an Org Member’s commits, a conflict alert icon appears in the interface. Click the icon to view conflict details and take action.
- From the conflict details menu, you can share your edits as a Cloud Patch, push your changes to make them visible, or copy a summary of the overlapping edits.
- If no Org Members are involved, GitKraken still checks your current branch against the target branch and prompts you to merge or rebase proactively.
- To invite a contributor to your GitKraken Org so conflicts are detected earlier, use the **Invite** option from the conflict alert.
To configure which branches GitKraken monitors for conflicts, go to Preferences > Conflict Prevention. Use `**` as a wildcard or prefix a branch pattern with `!` to exclude it. Settings are saved per repository.
***
## How Conflict Prevention works
GitKraken detects potential conflicts from **Org Members** by identifying overlapping edits in committed changes that haven’t yet merged into the target branch.
### How to interpret the conflict alert icon
When you open GitKraken Desktop, an alert icon indicates potential conflicts.
Alert icon shows when conflicts are detected
### How to view conflict details
Clicking the icon opens a menu with options to investigate and address the conflict.
Conflict details with management options
Active conflicts with the target branch take priority over Org Member alerts.
### How to resolve conflicts early
From the conflict detection menu, you can:
- Share edits as a **Cloud Patch**
- Push changes to make them visible to others
- Copy summaries of overlapping edits for your team
Note: Cloud Patch sharing is not available in GitKraken On-Premise deployments. In those environments, pushing changes and copying the conflict summary are the available options.
***
## How conflict detection works without Org Members
Even if your repository has no Org Members, GitKraken still checks for conflicts with your **target branch**.
You’ll be prompted to merge or rebase proactively.
Conflict detection between your branch and its target
### What target branch status means when no conflicts are found
If no potential conflicts are detected:
- A status indicator confirms your branch is conflict-free
- You’ll see quick links to open a pull request or adjust preferences
No conflicts found with an option to create PR
***
## How to invite contributors to resolve conflicts earlier
Invite the authors of conflicting changes to your GitKraken Org directly from the conflict menu:
Send invites to potential collaborators from the alert
Once added, you’ll receive real-time updates when they’re working in the same areas.
***
## How to configure Conflict Prevention settings
Conflict Prevention settings are repository-specific. You can:
- Set which branches GitKraken should monitor
- Use `**` for wildcards or `!` to exclude branches
Navigate to Preferences > Conflict Prevention to configure these settings.
Conflict Prevention preferences panel
---
# GitKraken Desktop Teams | Manage Users, Roles & Collaboration
URL: https://help.gitkraken.com/gitkraken-desktop/teams/
Description: Learn how to use GitKraken Desktop Teams to organize users, manage roles, and collaborate with features like Team View, shared Workspaces, and Cloud Patches.
Product: GitKraken Desktop
Feature: Teams
Content type: how-to
Audience: team-lead
Plan required: Pro
Status: GA
Last verified: 2026-03
Last updated: March 2026
Use this page to manage organizations and teams in GitKraken Desktop so you can invite members, assign roles, organize users into teams, and enable collaboration features such as Team View, shared Workspaces, and Cloud Patches. Team availability depends on your GitKraken subscription tier.
**Requirements and limits**
- This page covers organization and team management in GitKraken Desktop.
- Pro accounts are limited to 1 team.
- Advanced and Business plans support multiple teams.
- Team-based collaboration features have different plan requirements: Team View requires Advanced or higher, while shared Workspaces require Pro or higher.
- Inviting members requires available licenses, and administrators may be prompted to purchase more when seats are exhausted.
Teams can be used for:
- The [Team View](/gitkraken-desktop/working-with-repositories/team-view/): View branches and files others are working on and detect potential conflicts. Advanced plan and above
- [Sharing a Workspace](/gitkraken-desktop/workspaces/#create-a-cloud-workspace): Manage and collaborate on a group of repositories. Pro plan and above
- [Sharing a Cloud Patch](/gitkraken-desktop/experimental-features): Securely send a patch file to other team members.
Note: Pro accounts are limited to 1 Team. Upgrade to an Advanced or Business plan to manage multiple Teams.
***
## Quick Start
**To manage your organization:**
1. Open Preferences and select your organization name in the sidebar.
2. Click **Invite members** to add users by name, username, or email.
3. Use the ellipsis menu on a member's entry to change their role or remove them.
**To create a team:**
1. In the Organization section, click the **+** icon next to Teams.
2. Name your team, then add members using **Add a member**.
**To rename or delete a team:** Double-click a team name to rename it. Use the ellipsis menu to delete it.
**To remove a team member:** Select the team, then use the ellipsis menu on the member's entry.
Teams are accessible under Preferences > Organization. Pro accounts support one team. Advanced and Business plans support multiple teams.
***
## How to manage your organization
To manage team members in your Organization:
1. Open Preferences
2. Select your Organization name from the sidebar
Access your organization from the Preferences sidebar.
You can:
- by name, username, or email
- Change roles or remove users via the menu
Admins and Owners can edit roles or remove users.
If no additional licenses are available, you’ll be prompted to purchase one when inviting a new member.
***
## How to manage teams
Create a new Team by clicking the icon.
Click the + icon to group users into a team.
You can:
- Delete a team via the menu
- Rename a team by double-clicking its name
Use the menu to delete a team.Double-click a team name to rename it.
### How to manage team members
To add users to a Team:
1. Select the Team
2. Click
Remove a user by selecting on their entry.
***
## How suggested members work
GitKraken Desktop can suggest users who contribute to the current repository but aren’t in your Organization. Invite them to collaborate.
Suggested users based on repository activity.
---
# GitKraken Launchpad Overview
URL: https://help.gitkraken.com/gitkraken-desktop/gitkraken-launchpad/
Description: Learn how to track pull requests, issues, and WIPs using GitKraken Launchpad, including Personal and Team Views, integrations, filters, and saved views.
Product: GitKraken Launchpad
Feature: Launchpad
Content type: overview
Audience: developer
Plan required: all
Status: GA
Last verified: 2026-03
Last updated: April 2026
Use GitKraken Launchpad to monitor pull requests, issues, and works in progress across a selected Workspace or team. This page explains how to open Launchpad, connect integrations, switch between Personal and Team Views, save filtered views, and understand feature differences between Cloud and On-Premise environments.
Launchpad displaying a list of unassigned reviewers, with a PR open for more details
The Launchpad is also available for GitKraken On-Premise customers with some feature variations.
***
GitKraken On-Premise users: Step 3 below requires a Cloud Workspace, which is not available in Serverless or Self-Hosted Server deployments. Skip step 3 and connect your on-premises integrations (GitHub Enterprise Server, GitLab Self-Managed, Bitbucket Server, Azure DevOps Server, or Jira Data Center) in Preferences > Integrations instead. For a full description of Launchpad feature differences in on-premises environments, see How On-Premise Launchpad differs from Cloud Launchpad.
## Quick Start
1. Click the **Launchpad** tab in the top-left corner of GitKraken Desktop.
2. Connect your integrations via Preferences > Integrations, or follow the in-app prompts.
3. Select a Cloud Workspace from the dropdown to filter activity to specific repositories.
4. Use the **Pull Requests**, **Issues**, **WIPs**, or **All** tabs to view relevant items.
5. Toggle between **Personal View** (items assigned to or created by you) and **Team View** (items from others) using the toggle in the top-right.
To prioritize items:
- Click the pin icon to keep a PR or issue at the top of the list.
- Click the snooze icon to hide an item temporarily. Snoozed items appear in the **Snoozed** tab.
To save a filtered view for reuse, click the **+** Save View icon in the Launchpad tab bar and name it. Saved views are tied to the mode (Personal or Team) in which they were created.
***
## How to get started with Launchpad
To open Launchpad:
1. Click the Launchpad tab in the top-left corner of GitKraken Desktop.
2. Connect your integrations via Preferences > Integrations, or follow the in-app prompts for specific providers.
Accessing the Launchpad tab
Connecting your integrations for PRs and Issues
### How to set up Workspaces and integrations
Launchpad works best when connected to at least one Workspace. To set this up:
1. [Create a Cloud Workspace](https://help.gitkraken.com/gitkraken-desktop/workspaces/#cloud-workspaces/)
2. Return to the Launchpad to view filtered WIPs, Issues, and PRs across selected repositories.
Selecting a Workspace to view associated activity
You can filter by:
- **Pull Requests**: Displays open PRs in selected Workspace repositories.
- **Issues**: Shows active issues.
- **WIPs**: Lists repositories with uncommitted changes.
- **All**: Displays a unified view of all three above.
Note: Cloud Workspaces are not available in GitKraken On-Premise. As a result, Launchpad will not show Cloud Workspace-related data in those environments. Learn more.
Pinned and snoozed items help prioritize what you see first:
- Click the icon to pin PRs or issues to the top.
- Click the icon to snooze a PR. Snoozed items are moved to the Snoozed tab.
Pin items to prioritize visibility
Manage snoozed pull requests and issues
***
## How Personal View works
Personal View displays items where you're directly involved:
- PRs/issues created by you
- Assigned to you
- You're listed as a reviewer
- You are mentioned
Toggle between Personal and Team View
If you select "None" in the Workspace dropdown, you'll still see items related to your user identity across all connected services.
Note: Team View is not available for GitKraken On-Premise due to its dependency on Cloud Workspaces. Team View is available for Advanced plans and above.
## How Team View works
Switch to Team View using the toggle in the top-right corner of Launchpad. Team View displays items not associated with your user account:
- Created by others
- Assigned to others
- Others are listed as reviewers or mentioned
Viewing team pull requests and issues
You can filter by user to focus on specific collaborators’ activity.
Filter by contributor in Team View
Team View provides a high-level look at your team's current efforts across all repositories in the selected Workspace.
***
## How to save and reuse Launchpad views
You can save customized views by clicking the Save View icon in the Launchpad tab bar.
Save frequently used filters as a custom view
To delete a saved view:
1. Select the view.
2. Navigate to View Settings > Delete this view.
Note that saved views are only visible when you’re in the same mode (Team or Personal) in which they were created.
Note: Saved Views are not available in GitKraken On-Premise clients.
***
## How to work with pull requests in Launchpad
From Launchpad, you can quickly take action on pull requests:
- Open PR in the browser
- View the repository
- Open Code Suggestions (if available)
- Review pull request (GitHub only)
- Checkout PR branch
- Close PR
- Checkout in new worktree
Use **Checkout in new worktree** when you want to review or continue pull request work in a separate working directory. For more information, see [Manage Git Worktrees in GitKraken Desktop](/gitkraken-desktop/worktrees/). If you want to use coding agents in those worktrees, see [Coding Agents in GitKraken Desktop](/gitkraken-desktop/agents/).
Quick actions available for pull requests in Launchpad
### What the pull request table columns mean
Column
Description
Last Updated
Timestamp of the most recent activity on the pull request.
Status
PR status (e.g., Open, Draft, At Risk), review state, and build status.
PR Title
Pull request title with a link to the host, line diffs, and code suggestion indicators.
Author(s)
PR creators.
Collaborators
Contributors working on the pull request.
Repository and Branch
Displays the repository and branch for the pull request.
Actions
Links to open the repo, view in browser, review PR, and more.
### How GitHub pull requests work in Launchpad
If your Workspace uses GitHub.com, you can view PRs directly in Launchpad’s GitHub pull request interface.
GitHub pull request details integrated in Launchpad
## How to work with issues in Launchpad
Launchpad supports multiple issue trackers including Jira, GitHub Issues, Azure DevOps, and Trello.
View and filter issues from connected services
To customize your view:
- Switch providers from the Issues section dropdown.
- Connect integrations under Preferences > Integrations.
- Filter issues by creator, assignee, mentions, and labels.
Use filters to target relevant issues
## How to view works in progress in Launchpad
The WIPs section shows uncommitted changes in the repositories of your selected Workspace.
To view a repository with changes:
- Click next to the listing.
## How the All tab works
The All tab combines Pull Requests, Issues, and WIPs for all repositories in the selected Workspace, giving a unified snapshot of ongoing work.
## How the Snoozed tab works
The Snoozed tab lists all pull requests and issues you've chosen to hide temporarily.
- Click the icon again to unsnooze an item.
## How to filter by milestones and sprints
Launchpad allows you to filter issues and pull requests by:
- Jira Fix Versions and Sprints
- GitHub and GitLab Milestones
Filter Launchpad by Jira or GitHub milestones
## Launchpad summary
Your most important pull requests are summarized in the status bar.
- Click the summary indicator to open Launchpad with the matching status group expanded.
- Results reflect current filters set in the Launchpad tab.
Launchpad status bar shows actionable pull requests
## How On-Premise Launchpad differs from Cloud Launchpad
GitKraken On-Premise respects network isolation, which limits certain cloud-based features.
| Feature | Cloud | On-Premise |
|--------|-------|------------|
| Cloud Workspaces | ✅ | ❌ |
| Snoozing/Pinning | ✅ | ❌ |
| Team Launchpad | ✅ | ❌ |
| Issue/PR Filtering | ✅ | ✅ |
| View Settings | ✅ | ✅ (unsaved only) |
Launchpad in On-Premise with limited cloud features
This local-only experience is ideal for teams requiring full network control.
***
## Launchpad changelog
Stay up to date with recent enhancements.
---
# Team View in GitKraken Desktop
URL: https://help.gitkraken.com/gitkraken-desktop/team-view/
Description: Learn how to use Team View in GitKraken Desktop to see branch activity, detect conflicts, and manage team visibility settings.
Product: GitKraken Desktop
Feature: Team View
Content type: how-to
Audience: team-lead
Plan required: Advanced
Status: GA
Last verified: 2026-03
Last updated: March 2026
Use this page to monitor what teammates are currently working on in GitKraken Desktop so you can spot overlapping edits and potential conflicts earlier. Team View shows each teammate’s checked-out branch, local file changes, and activity status, and it is available on Advanced subscription tiers or higher.
Note: Team View is only available for Advanced subscription tiers or higher. See the Teams page for more information on managing teams.
**Requirements and limits**
- Plan: Advanced subscription tier or higher
- Team requirement: You must belong to a team and select it in Preferences > Team
- Shared data: Checked-out branch, local file changes, and activity status
- Conflict signal: Team View highlights overlapping local changes with an orange warning icon
- Privacy control: Disable **Share work-in-progress status with my team** to opt out
- Status scope: Users can set themselves to Active or Away; this affects what teammates see
***
## Quick Start
**To enable Team View:**
1. Go to Preferences > Team and select a team from the dropdown.
2. Optionally check **Use this as the default for all repositories** to persist the selection.
**What Team View shows:**
- Each teammate's currently checked-out branch
- Files with local, uncommitted changes per team member
- Lines added by teammates appear in green; removed lines appear in red
- An orange warning icon appears on files where you and a teammate have overlapping local changes
**To set your status:** Click the circle icon in the top-right corner or use the Profile/Account menu to toggle between Active and Away.
**To stop sharing your work-in-progress:** Disable **Share work-in-progress status with my team** in Preferences > General.
Team View requires an Advanced plan or higher. Access it from the Team icon in the toolbar.
***
## How to select a team
Select any team you're a member of from the Team dropdown. You can also choose a team for the repository in Preferences > Team, and optionally check Use this as the default for all repositories.
Use Team View when: you want early visibility into teammate activity and overlapping local changes in the same repository. Don't use it as your only coordination mechanism when: the work requires broader planning or decisions that still need direct team communication.
For each team member, Team View displays their checked-out branch and any files with local, uncommitted changes.
See teammates' active branches and modified files
Lines added by a teammate appear in green, and removed lines in red. If you and a teammate have local changes in the same file, GitKraken displays an icon to signal a potential conflict.
Potential conflict warning icon on a file
Learn more about [how to create a team](/start-here/teams/).
***
## How status indicators work
The **status** icon appears on team member avatars to show who is currently active in GitKraken Desktop. This indicator is visible in both the Team View and the Organization section of Preferences.
Use status indicators when: you want a lightweight signal of who is active or away in GitKraken Desktop. Don't treat them as a full availability guarantee when: you need confirmation that someone is ready to respond or review work.
Status icons display user activity
Users can set their own status to “Active” or “Away” from the circle icon in the top-right corner or via the Profile/Account menu.
Manually set your status as Active or Away
***
## How to opt out of Team View
You can opt out of team sharing by disabling Share work-in-progress status with my team in Preferences > General.
Opt out when: you do not want to share work-in-progress status with your team from this machine or repository context. Don't opt out when: your team relies on Team View to spot conflicts early and coordinate overlapping work.
Disable sharing work-in-progress status
***
## More team features
Take advantage of these additional collaboration tools:
- [Group users](/gitkraken-desktop/teams/) – Create and manage teams in your GitKraken organization.
- [Share a Workspace](/workspaces/#create-a-cloud-workspace) – Manage and collaborate across repositories. Pro plan and above.
- [Share a Cloud Patch](experimental-features/#elementor-toc__heading-anchor-3) – Send a patch file to teammates securely.
---
# Workspaces in GitKraken Desktop
URL: https://help.gitkraken.com/gitkraken-desktop/workspaces/
Description: Learn how to create, manage, and share Cloud or Local Workspaces in GitKraken Desktop to organize and collaborate across repositories.
Product: GitKraken Desktop
Feature: Workspaces
Content type: how-to
Audience: developer
Plan required: all
Status: GA
Last verified: 2026-03
Last updated: March 2026
Use this page to create Local or Cloud Workspaces in GitKraken Desktop so you can organize repositories, run multi-repository actions, review pull requests across a group of repos, and share workspace context with a team. Cloud Workspaces require connected integrations, while Local Workspaces stay on your machine until you convert them.
**Requirements and limits**
- Workspace types: Local Workspace or Cloud Workspace
- Cloud Workspace requirement: The relevant hosting service integration must be connected in Preferences > Integrations
- Local Workspace scope: Stored on your machine until you convert it
- Cloud Workspace scope: Accessible across machines and shareable with teams or users
- Multi-repository actions: Clone, Fetch, Pull, Open, Locate, and Remove are available from the Workspace toolbar
- Conversion path: Local Workspaces can be converted to Cloud Workspaces after connecting a supported integration
| Workspace type | Stored where | Shareable | Requires integration | Cross-device access |
|----------------|-------------|-----------|----------------------|---------------------|
| Local Workspace | On your machine | No | No | No |
| Cloud Workspace | In your GitKraken account and connected service context | Yes | Yes | Yes |
***
GitKraken On-Premise users: Cloud Workspaces are not available in Serverless or Self-Hosted Server deployments. Use Local Workspaces to organize repositories in those environments. Features that depend on Cloud Workspaces, including Workspace Insights and Team Launchpad, are also not available.
## Quick Start
**To open the Workspaces view:** Click the folder icon in the top-left or press Alt + O (Windows/Linux) or Cmd + O (Mac).
**To create a Cloud Workspace:**
1. Click **+ New Workspace** and select **Cloud Workspace**.
2. Name the Workspace, select a hosting service, and choose repositories.
3. Optionally share with teams or users and add an icon and description.
**To create a Local Workspace:** Click **New Workspace**, select **Local Workspace**, name it, and browse to select repositories or a directory.
**To act across multiple repositories:** Select the checkboxes next to repositories, then use the toolbar to Fetch, Pull, Clone, Open, or Remove them in bulk.
**To view pull requests for all repos:** Open a Cloud Workspace and click the Insights or Launchpad icon to see PRs across the entire Workspace.
**To convert a Local Workspace to Cloud:** Open the Workspace and click **Create cloud workspace**. Requires a connected integration under Preferences > Integrations.
Workspaces are accessible from the Repository Management tab.
Group your repos into a Workspace
***
## How to access your Workspaces
To access the Repo Management tab:
1. Click on the folder icon at the top left.
2. Or use the keyboard shortcut Alt + O (Windows/Linux) or Cmd + O (Mac).
Opening Workspaces from the Repo Management tab
***
## How Cloud Workspaces work
Cloud Workspaces are accessible from any machine and can be shared with selected [teams](/start-here/teams/) in your organization. They allow for [multi-repository actions](/gitkraken-desktop/workspaces/#cloud-multi-repository-actions) and centralized pull request management.
Note: Cloud Workspaces are not available in GitKraken On-Premise Serverless or Self-Hosted Server deployments. See How Local Workspaces work for the supported alternative in those environments.
Use a Cloud Workspace when: you need to share repository groups across machines or with teammates. Don't use a Cloud Workspace when: the repo list is only for your local machine and does not need shared or synced workspace context.
Watch the overview:
### How to create a Cloud Workspace
1. Click .
2. Select "Cloud Workspace".
3. Name your Workspace and select the hosting service.
4. Choose repositories to add.
5. (Optional) Add an icon, description, and share with teams or users.
Add a new Cloud Workspace
Configuring Cloud Workspace settings
Note:
The integration for the desired service must be connected under Preferences > Integrations.
### How to run multi-repository actions in a Cloud Workspace
To take action across multiple repositories:
1. Select the checkboxes next to the desired repositories.
2. Choose an action from the toolbar at the top.
Multi-repo fetch operation
More options are available via the ellipsis menu.
Accessing more multi-repo actions
Action
Description
Clone
Clone all selected repositories. HTTPS is used by default unless SSH is configured in your settings. Only available if repositories aren't already cloned.
Fetch
Fetch all selected repositories.
Pull
Pull all selected repositories. Customize pull behavior from the dropdown menu.
Open in GitKraken Desktop or an external editor
Open all selected repositories in GitKraken or your default editor.
Locate in filesystem
Reveal local paths of selected repositories or update their location.
Remove
Remove selected repositories from the Workspace.
### How to view Workspace pull requests in Launchpad
Access open pull requests for all repositories in a Workspace directly from [Launchpad](https://help.gitkraken.com/gitkraken-desktop/gitkraken-launchpad/).
Viewing a Workspace in Launchpad
Launchpad showing team-wide pull request details
## How Local Workspaces work
Use a Local Workspace when: you want a private repository grouping stored only on your machine. Convert to a Cloud Workspace when: you need cross-device access, sharing, or integration-backed workspace features.
### How to create a Local Workspace
To create a Local Workspace:
1. Click .
2. Select “Local Workspace.”
3. Name your Workspace.
4. Browse to select one or more repositories. You can choose:
- Individual repositories
- A directory of repositories
- A VS Code Workspace file (`.code-workspace`)
5. (Optional) Add an icon and description.
Creating a Local Workspace in GitKraken Desktop
To automatically add all repositories in a selected folder, enable the Sync with local directory option.
### How to run multi-repository actions in a Local Workspace
You can take actions across multiple repositories within a Local Workspace:
1. Select the checkboxes next to the repositories.
2. Use the action toolbar at the top to:
- **Fetch**: Update all selected repositories.
- **Pull**: Sync selected repositories with the latest changes. Use the dropdown to customize pull behavior.
- **Open**: Launch selected repositories in GitKraken or your [default external editor](/start-here/preferences/#external-editor).
- **Remove**: Delete selected repositories from the Workspace.
### How to convert a Local Workspace to a Cloud Workspace
To enable sharing and enhanced visibility:
1. Open your Local Workspace.
2. Click Create cloud workspace.
3. Choose a provider and select repositories to include.
4. (Optional) Add additional repositories from the same provider.
Converting a Local Workspace to a Cloud Workspace
Note:
Ensure the provider integration is connected under Preferences > Integrations before creating a Cloud Workspace.
***
## How to edit a Workspace
To edit a Workspace, click the ellipsis next to the Workspace name.
Workspace actions menu
### How to hide a Workspace
Hide a Workspace to reduce clutter. Hidden groups (e.g., Recents, Favorites) can be shown again using the icon.
Unhiding a group from the Repo Management tab
### How to select or unselect repositories
Manually select repositories for targeted multi-repo actions like Fetch or Pull.
### How to open, clone, or locate repositories
Open repositories in GitKraken Desktop or your preferred editor. You can also clone or locate repositories within the file system.
Cloning or locating repositories
### How to edit Workspace details
Customize your Workspace’s name, color, description, and access permissions.
Editing Workspace properties
### How to change Workspace color
Use color to visually organize and prioritize Workspaces. Select `Change color` from the three-dot menu.
***
## How to reorder Workspaces
Drag and drop Workspaces to arrange them in the desired order.
Reordering Workspaces
***
## How to use Insights to visualize pull request history
Note: GitKraken Insights is not available in GitKraken On-Premise Serverless or Self-Hosted Server deployments. Insights requires a connection to gitkraken.dev.
GitKraken Insights helps you understand how pull requests are merged into your repositories. It provides:
- A visual history of your repository’s development
- Insight into pull request trends and team workflows
- Support for GitHub.com, Bitbucket.org, GitLab.com, and Azure DevOps (Hosted)
Insights metrics view in GitKraken.dev > Insights > Dashboards
To launch GitKraken Insights:
1. Open a Cloud Workspace.
2. Click the Insights icon in the upper-right of the Workspace header.
Accessing GitKraken Insights from a Workspace
This will open a new browser tab showing insights for that Workspace on GitKraken.dev.
For more details, visit the [GitKraken.dev Insights documentation](/gk-dev/gk-dev-insights/).
***
## Azure DevOps requirements for Workspace Insights
To use Workspaces and [Insights](/gk-dev/gk-dev-insights/) with Azure DevOps:
- You must enable **Third-party application access via OAuth** in Azure.
- Navigate to Organization Settings > Policies in your Azure DevOps dashboard.
Learn more from Microsoft’s official guidance: [Change application connection & security policies for your organization](https://learn.microsoft.com/en-us/azure/devops/organizations/accounts/change-application-access-policies?view=azure-devops).
***
## Workspace changelog
Take a trip down memory lane, and see how Workspaces have evolved over time.
---
## Self-Hosted & Enterprise
---
# Configure GitKraken Self-Hosted Server (LDAP, SMTP, and Super User)
URL: https://help.gitkraken.com/gitkraken-desktop/configure-self-managed/
Description: Step-by-step instructions to configure GitKraken Self-Hosted Server. Set up licensing, LDAP authentication, SMTP server, and Super User access.
Product: GitKraken Self-Hosted
Feature: Self-Hosted Configuration
Content type: how-to
Audience: enterprise-admin
Plan required: Enterprise
Status: GA
Last verified: 2026-03
Last updated: March 2026
Use this page to complete the first-time configuration of GitKraken Self-Hosted Server after installation. It covers license upload, authentication mode selection, LDAP setup, SMTP settings, Super User creation, and initial user-management steps needed before the server is ready for administrators and users.
**Requirements and limits**
- Use this page after the GitKraken Self-Hosted Server installation is already running and reachable in a browser.
- A valid Self-Hosted license file is required before configuration can be completed.
- Choose either Built-in authentication or LDAP; SMTP is required unless you use LDAP authentication.
- The Super User account manages the server, does not consume a user license, and cannot sign in to GitKraken Desktop directly.
- LDAP setup requires server connection details, group mappings, and user attribute mappings before users can authenticate successfully.
GitKraken Desktop Self-Hosted and On-Premise Serverless products are sold separately from standard subscriptions. Visit our On-Premise Pricing page to learn more.
***
## Quick Start
1. Navigate to your GitKraken Self-Hosted server in a browser.
2. Click **Browse for license** and upload the license file included with your installation package.
3. Choose an authentication method: **Built-in** (email and password) or **LDAP**.
- If using LDAP, enter your server hostname, port, encryption method, base DNs, group CNs, and user attribute mappings. Optionally enable the Sync Server for automatic user syncing.
4. If using Built-in authentication, configure your SMTP server: enter the hostname, port, From Address, and credentials, then click the test connection button to verify.
5. Create a Super User account by entering an email and password. This account manages the server but cannot log in to GitKraken Desktop directly.
6. Click **Save** to complete configuration. The Manage Users screen will appear, where you can begin adding user accounts.
To add users, click **Add user** and enter the user's email. To disable self-registration, adjust the setting in the **Registration** tab.
***
## How to upload the server license
Navigate to your GitKraken Self-Hosted server.
Prompt to upload your GitKraken Self-Hosted license file
Click **Browse for license** and upload the license file provided with your installation package. Once selected, license details will be displayed.
Details view of your Self-Hosted license
## How authentication setup works
Choose the authentication configuration for your server:
- **Built-in**: Users sign in using an email and password.
- **LDAP**: Users authenticate using LDAP credentials.
Select authentication mode: Built-in or LDAP
If using Built-in authentication, [skip to the SMTP Server section](#smtp-server).
### How to configure LDAP
Enter your LDAP server hostname and port:
Configure hostname and port for LDAP
Choose the corresponding encryption method:
Select the appropriate LDAP encryption method
Specify the following LDAP configuration fields:
- **Base Distinguished Names** – Top-level directory paths to search for users.
- **Access Group Common Names** – Groups that are granted GitKraken licenses. If omitted, all found users are granted access.
- **Admin Group Common Names** – Groups granted administrative access. If omitted, no users receive admin rights.
Assign base DNs and group CNs for LDAP integration
Set the required user attribute mappings:
- **Username Attribute** – Maps to GitKraken usernames (required).
- **Email Attribute** – Maps to user emails (required).
- **Name Attribute** – Maps to user display names (optional).
Assign LDAP attributes for username, email, and name
Provide the DN of a search user account with read access to users and groups:
Designate an LDAP search user account
Note: The Domain Search Password field will always appear blank, even when a value is set.
Enable the Sync Server if you want GitKraken to regularly sync with LDAP:
Configure LDAP sync interval
If Sync Server is disabled, you'll need to manage user accounts manually.
## How to configure the SMTP server
An SMTP server is required unless you're using LDAP authentication.
Specify the server details:
- **SMTP IP address or hostname**
- **SMTP port**
- **From Address**
Enable secure protocols if necessary and provide authentication credentials. Use the test connection button to verify:
Set up SMTP server settings and test connection
## How to configure the Super User
The Super User is the license owner of GitKraken Self-Hosted. This account:
- Does not consume a user license
- Cannot log into GitKraken Desktop
- Cannot be viewed or modified via the account site user management page
Define the Super User account
Note: To reset the Super User password, visit the upgrade guide.
Configuration is now complete! You should see the 'Manage Users' screen, where you can begin adding users.
Manage Users interface after setup
## How to add users
To add a user, click **Add user** and enter the user's email address:
Enter email address to add a new user
By default, users can self-register on the GitKraken Self-Hosted site. To disable self-registration, go to the **Registration** tab:
Modify user registration settings
---
# GitKraken On-Premise Serverless (Stand-Alone) Setup
URL: https://help.gitkraken.com/gitkraken-desktop/serverless/
Description: Learn how to install, license, and run GitKraken On-Premise Serverless on Windows, macOS, and Linux in offline or secure environments.
Product: GitKraken Serverless
Feature: Serverless Setup
Content type: overview
Audience: enterprise-admin
Plan required: Enterprise
Status: GA
Last verified: 2026-03
Last updated: April 2026
Use this page to install and license GitKraken On-Premise Serverless, also called GitKraken Stand-Alone, when your team works in offline or tightly controlled environments. It covers platform-specific installation steps, supported license file locations, and the manual license update flow required after expiration or renewal.
**Requirements and limits**
- Product scope: GitKraken On-Premise Serverless / Stand-Alone
- Environment fit: Offline, disconnected, or tightly controlled environments
- Account model: No internet account creation required
- Activation requirement: A `.dat` license file must be loaded at first launch
- License maintenance: Expired or renewed licenses must be updated manually by replacing the `.dat` file or using **Update License**
- Commercial note: Serverless is sold separately from standard subscriptions and separately from Self-Hosted on-premise offerings
**GitKraken On-Premise Serverless** (also known as *GitKraken Stand-Alone*) is designed for teams operating in disconnected or secure environments. It includes most core GitKraken features, with additional advantages:
- Works without internet access
- Requires no account creation
- Requires no server installation
***
## Quick Start
1. Download the GitKraken Serverless installer for your operating system from the [downloads page](https://www.gitkraken.com/download-on-premise-serverless).
2. Install the application:
- **Windows**: Double-click the `.exe` file and follow the setup prompts.
- **macOS**: Open the DMG and drag the GitKraken icon to your Applications folder.
- **Linux (.deb)**: Run `wget https://release.gitkraken.com/linux-standalone/gitkraken-amd64.deb && dpkg -i gitkraken-amd64.deb`.
3. At first launch, load your `.dat` license file when prompted. If you do not have the file, contact your GitKraken administrator.
If your license expires, replace the `.dat` file in one of the supported directories or click the license text in the bottom-left corner of the app and select **Update License**. GitKraken Serverless is sold separately from standard subscriptions.
Example view of GitKraken Serverless in use.
Note: GitKraken Desktop Self-Hosted and On-Premise Serverless versions are sold separately. Visit our On-Premise Pricing page to purchase.
***
## Feature support
GitKraken On-Premise Serverless uses the same GitKraken Desktop client feature set as other supported on-premises deployments.
Features that require connectivity to GitKraken cloud services or to external cloud hosting providers are not available.
### What is included
The following feature categories are fully supported in Serverless:
| Category | Included | Notes |
| --- | --- | --- |
| **Core Git client** | All standard Git operations, including commits, branches, merges, rebases, diffs, stashing, tagging, interactive rebase, cherry pick (including multi-commit interactive cherry pick), worktrees, shallow clone, and undo or redo of rebase and cherry pick operations. | |
| **Agent Sessions View and coding agent session workflows** | Agent Sessions View and worktree-based coding agent session workflows are available in the on-premises Desktop client. | Supported-agent integrations and status details depend on the client version and local environment. |
| **Embedded terminal for manual coding agent workflows** | You can run coding agents manually in the embedded terminal, including agents that GitKraken Desktop does not explicitly integrate with. | See [GitKraken Terminal Guide](/gitkraken-desktop/terminal/). |
| **Launchpad** | Track pull requests and issues in a single view and filter by repository, branch, milestone, or sprint. Launchpad works with the following on-premises integrations: GitHub Enterprise Server, GitLab Self-Managed, Bitbucket Server and Data Center, Azure DevOps Server, and Jira Data Center. | For a description of the differences between cloud and on-premises Launchpad, see [How On-Premise Launchpad differs from Cloud Launchpad](/gitkraken-desktop/gitkraken-launchpad/#how-on-premise-launchpad-differs-from-cloud-launchpad). |
| **Local Workspaces** | Organize multiple local Git repositories in one view. You can see the branch status of each repository and run multi-repository actions, such as fetch and pull, from a single place. | Cloud Workspaces are not available in Serverless. |
| **Conflict detection** | GitKraken detects potential conflicts with your target branch before you reach the merge step and alerts you when your checked-out branch has diverged from its pull request target. | |
| **GitKraken AI (bring your own key)** | All GitKraken AI features are available when you configure a Custom URL that points to a private or internal AI endpoint. | For setup instructions, see [GitKraken AI in Serverless](#gitkraken-ai-in-serverless). |
| **ARM builds** | A native ARM installer is available for machines with ARM architecture. | |
| **On-premises integrations** | GitKraken Serverless supports integrations with self-hosted Git hosting services and issue trackers. | For the full list, see [Supported on-premises integrations](#supported-on-premises-integrations). |
### What is not available
The following features require connectivity to GitKraken cloud services (`gitkraken.dev`) or to external cloud hosting providers and are not available in Serverless:
- Cloud Workspaces and features that depend on them, including Team Launchpad, Launchpad Saved Views, and Launchpad snooze and pin
- GitKraken Insights
- GitKraken AI using the default GitKraken-hosted provider
- Cloud Patch sharing
- Org Member conflict detection
- Integrations with cloud-hosted services: GitHub.com, GitLab.com, Bitbucket.org, Azure DevOps cloud, Jira Cloud, and Trello
Local Desktop workflows such as worktrees, Agent Sessions View, and terminal-based coding agent workflows remain available unless they depend on a cloud-only or otherwise unsupported external service.
### Feature support table
| Feature | Supported | Notes |
|---|---|---|
| Core Git client (commits, branches, merges, rebase, diff, stash) | Yes | |
| Interactive Rebase | Yes | |
| Multi-commit Cherry Pick | Yes | |
| Worktrees | Yes | Requires version 10.5.0 or later |
| Agent Sessions View and coding agent session workflows | Yes | Available in the on-premises Desktop client; supported-agent integrations and status details depend on the client version and local environment |
| Embedded terminal for manual coding agent workflows | Yes | You can run coding agents manually in the embedded terminal |
| Shallow Clone | Yes | |
| Undo rebases, cherry picks, and AI Commit Compose | Yes | |
| Local Workspaces | Yes | Stored on-device only; not shareable across machines |
| Cloud Workspaces | No | Requires gitkraken.dev |
| Launchpad with on-premises integrations | Yes | See supported integrations list |
| Launchpad Cloud Workspace filtering | No | |
| Launchpad Team View | No | |
| Launchpad Saved Views | No | |
| Launchpad snooze and pin | No | |
| Conflict detection (target branch) | Yes | |
| Conflict detection (Org Member awareness) | No | Requires cloud GitKraken Org |
| Cloud Patch sharing | No | |
| GitKraken AI (default hosted provider, no key required) | No | Calls GitKraken cloud endpoint |
| GitKraken AI (Custom URL or bring your own key) | Yes | Per-user opt-in; you provide the AI infrastructure |
| ARM builds | Yes | Separate ARM installer available |
| GitHub Enterprise Server integration | Yes | |
| GitLab Self-Managed integration | Yes | |
| Bitbucket Server and Data Center integration | Yes | |
| Azure DevOps Server integration | Yes | |
| Jira Data Center integration | Yes | |
| GitHub.com, GitLab.com, Bitbucket.org, Azure DevOps cloud, Jira Cloud | No | Require outbound internet access |
| GitKraken Insights | No | Requires gitkraken.dev |
### GitKraken AI in Serverless
GitKraken AI is available in GitKraken Serverless when you configure a Custom URL that directs AI requests to a private or internal service. The default GitKraken-hosted AI provider is not accessible in offline or air-gapped environments.
**To enable GitKraken AI in Serverless:**
1. Go to Preferences > GitKraken AI.
2. Select **Custom URL** as the provider.
3. Enter the endpoint URL for your internal AI service.
4. If your endpoint requires authentication, enter an API key.
This is an opt-in, per-user setting. GitKraken does not validate or support the configuration of third-party or self-hosted AI endpoints.
When you configure a Custom URL, the following AI features are available:
- Commit message generation
- Commit Composer (Preview)
- Explain commits
- Explain branch changes
- Pull request title and description generation (requires a configured on-premises integration)
- Auto-resolve merge conflicts (Preview)
- Stash message generation
### Supported on-premises integrations
GitKraken Serverless supports the following self-hosted integrations. These integrations communicate only within your network and do not require outbound internet access:
- GitHub Enterprise Server
- GitLab Self-Managed
- Bitbucket Server and Data Center
- Azure DevOps Server
- Jira Data Center
- or any custom remote hosting service available over HTTPS or SSH authentication
The cloud-hosted counterparts of these services (GitHub.com, GitLab.com, Bitbucket.org, Azure DevOps cloud, and Jira Cloud) are not supported in Serverless because they require outbound internet connectivity.
***
## How to install GitKraken Serverless
Follow these steps to get started:
---
### How to download GitKraken Serverless
Download the appropriate client for your operating system from our downloads page.
If the page is inaccessible, contact your GitKraken administrator for internal distribution options.
---
### How to install GitKraken Serverless on each platform
#### Windows (.exe)
**System Requirements:** Windows 10+
**Install:** Double-click the downloaded `.exe` file and follow the setup instructions.
**Data Location:**
- `C:\Users\{user}\AppData\Roaming`
- `%APPDATA%\.gitkraken` (for older versions)
Prompt to load license file after install.
---
#### macOS (.dmg)
**System Requirements:**
- Intel: macOS 10.15+
- Apple Silicon: macOS 11+
**Install:** Open the DMG file and drag the GitKraken icon into your Applications folder.
**Data Location:** `/Users/{user}/.gitkraken` (or `~/.gitkraken`)
---
#### Linux (.deb, .rpm, .tar.gz)
**System Requirements:**
- `.deb`: Ubuntu 18.04+ LTS, Debian 10+
- `.rpm`: RHEL 8+, Fedora 39+
**Install Commands:**
`.deb`
```
wget https://release.gitkraken.com/linux-standalone/gitkraken-amd64.deb
dpkg -i gitkraken-amd64.deb
```
`.tar.gz`
```
wget https://release.gitkraken.com/linux-standalone/gitkraken-amd64.tar.gz
tar -xvzf gitkraken-amd64.tar.gz
```
`.rpm`
```
wget https://release.gitkraken.com/linux-standalone/gitkraken-amd64.rpm
sudo dnf install ./gitkraken-amd64.rpm
```
**Note:** For older distros, use `yum` if `dnf` is not available.
**Data Location:** `/home/{user}/.gitkraken` (or `~/.gitkraken`)
---
### How to load the license file
At first launch, you’ll be prompted to load the `.dat` license file.
If you don’t have the file, contact your GitKraken admin. Admins can retrieve it from app.gitkraken.com. For older accounts or help locating the file, contact support.
GitKraken Serverless ready after license activation.
---
### Where GitKraken checks for license files
GitKraken checks the following locations for license files:
**Linux/macOS:**
- `/usr/local/share/gitkraken`
- `/usr/share/gitkraken`
- Directory above application
- Application directory
- `~/.gitkraken`
**Windows:**
- `C:\ProgramData\GitKraken`
- Directory above the `.exe`
- Directory of the `.exe`
- `%APPDATA%\.gitkraken`
---
### How to update the license file
If your license expires, you can:
- Replace the file in one of the directories listed above
- Or, update manually:
- In GitKraken, click the license text in the bottom-left corner
- Select Update LicenseUpdate your license manually from the client footer.
---
# Install GitKraken Self-Hosted Server with Docker
URL: https://help.gitkraken.com/gitkraken-desktop/how-to-install-self-hosted/
Description: Step-by-step guide to installing GitKraken Self-Hosted Server on CentOS, Ubuntu, or RHEL7 using Docker and Docker Compose.
Product: GitKraken Self-Hosted
Feature: Self-Hosted Installation
Content type: how-to
Audience: enterprise-admin
Plan required: Enterprise
Status: GA
Last verified: 2026-03
Last updated: March 2026
Use this page to install GitKraken Self-Hosted Server on a Linux host with Docker and Docker Compose. It covers the initial server setup flow, offline installation notes, and platform-specific Docker installation steps for CentOS, Ubuntu, and RHEL7 before you bring the GitKraken services online.
**Requirements and limits**
- Product scope: GitKraken Self-Hosted Server installation on Linux
- Host requirement: Linux machine with Docker CE and Docker Compose
- Supported platforms on this page: CentOS, Ubuntu, and RHEL7
- Installation inputs: `GitKrakenEnterpriseServer.zip`, `release.zip`, and Docker images must be present before startup
- Offline installation note: Docker CE and Docker Compose can be downloaded on another machine and transferred manually
- Default service port: `3000` unless changed in `docker-compose.yml`
- Commercial note: Self-Hosted is sold separately from standard subscriptions and separately from Serverless
GitKraken Desktop Self-Hosted and On-Premise Serverless versions are sold separately from standard subscriptions. To purchase, visit our On-Premise Pricing page.
***
## Quick Start
1. Install Docker CE and Docker Compose on your Linux host (CentOS, Ubuntu, or RHEL7). Follow the platform-specific steps in the sections below, or refer to the official [Docker documentation](https://docs.docker.com/).
2. Start Docker: `sudo systemctl start docker`.
3. Extract `GitKrakenEnterpriseServer.zip` into a directory on your host machine.
4. Load the Docker images: `sudo sh loadImages.sh`.
5. (Optional) Edit `docker-compose.yml` to change the port (default: 3000) and set the `GITKRAKEN_ENTERPRISE_URL` to your server's address.
6. Create the directory for GitKraken Desktop releases and extract `release.zip` into it (default path: `./gk-data/release`).
7. From the directory containing `docker-compose.yml`, start the server: `sudo docker-compose up`.
8. Open `http://localhost:3000` (or your configured URL) in a browser to complete the setup.
For offline installations, download Docker CE and Docker Compose on a machine with internet access, transfer the packages to your server, and install them manually before proceeding.
***
## How to install Docker CE on CentOS
These instructions are based on the official [Docker documentation](https://docs.docker.com/engine/installation/linux/centos/#install-docker).
### How to install on CentOS with internet access
1. Install required packages:
```bash
sudo yum install -y yum-utils device-mapper-persistent-data lvm2
```
2. Set up the stable repository:
```bash
sudo yum-config-manager --add-repo https://download.docker.com/linux/centos/docker-ce.repo
```
3. Update the yum package index:
```bash
sudo yum makecache fast
```
4. Install Docker:
```bash
sudo yum install docker-ce
```
5. Configure the Docker daemon:
```json
{
"storage-driver": "devicemapper"
}
```
Edit or create the `/etc/docker/daemon.json` file with the above content.
6. Start Docker:
```bash
sudo systemctl start docker
```
7. Switch to root user:
```bash
sudo su
```
8. Download Docker Compose:
```bash
curl -L https://github.com/docker/compose/releases/download/1.14.0/docker-compose-`uname -s`-`uname -m` > /usr/local/bin/docker-compose
```
9. Apply executable permissions:
```bash
sudo chmod +x /usr/local/bin/docker-compose
```
10. Proceed to the installation section.
### How to install on CentOS without internet access
1. Download Docker CE and Docker Compose on a different machine.
* [Docker CE for CentOS](https://download.docker.com/linux/centos/7/x86_64/stable/Packages/)
* [Docker Compose](https://github.com/docker/compose/releases/download/1.14.0/docker-compose-Linux-x86_64)
2. Transfer the packages to the target server.
3. Install the packages:
```bash
sudo yum install /path/to/docker-ce-selinux-package.rpm
sudo yum install /path/to/docker-ce-package.rpm
```
4. Move and rename Docker Compose:
```bash
sudo mv docker-compose-Linux-x86_64 /usr/local/bin/docker-compose
```
5. Change permissions:
```bash
chmod +x /usr/local/bin/docker-compose
```
6. Configure the Docker daemon as previously described.
7. Start Docker:
```bash
sudo systemctl start docker
```
8. Continue to the installation section.
## How to install Docker CE on Ubuntu
Refer to the official [Docker documentation](https://docs.docker.com/engine/installation/linux/ubuntu/#install-docker).
### How to install on Ubuntu with internet access
1. Install required packages:
```bash
sudo apt-get install apt-transport-https ca-certificates curl software-properties-common
```
2. Add Docker’s GPG key:
```bash
curl -fsSL https://download.docker.com/linux/ubuntu/gpg | sudo apt-key add -
```
3. Verify the key:
```bash
sudo apt-key fingerprint 0EBFCD88
```
4. Set up the stable repository:
```bash
sudo add-apt-repository "deb [arch=amd64] https://download.docker.com/linux/ubuntu $(lsb_release -cs) stable"
```
5. Update the apt package index:
```bash
sudo apt-get update
```
6. Install Docker:
```bash
sudo apt-get install docker-ce
```
7. Switch to root user:
```bash
sudo su
```
8. Download Docker Compose:
```bash
curl -L https://github.com/docker/compose/releases/download/1.14.0/docker-compose-`uname -s`-`uname -m` > /usr/local/bin/docker-compose
```
9. Apply executable permissions:
```bash
sudo chmod +x /usr/local/bin/docker-compose
```
10. Proceed to the installation section.
### How to install on Ubuntu without internet access
1. Download Docker CE package from a machine with internet access.
* [Docker CE for Ubuntu](https://download.docker.com/linux/ubuntu/dists/)
Check your version:
```bash
lsb_release -a
```
2. Download Docker Compose:
* [Docker Compose](https://github.com/docker/compose/releases/download/1.14.0/docker-compose-Linux-x86_64)
3. Transfer both files to the host server.
4. Install Docker:
```bash
sudo dpkg -i /path/to/package.deb
# Example:
sudo dpkg -i docker-ce_17.06.0-ce-0-ubuntu_amd64.deb
```
5. Move and rename Docker Compose:
```bash
sudo mv docker-compose-Linux-x86_64 /usr/local/bin/docker-compose
```
6. Apply executable permissions:
```bash
sudo chmod +x /usr/local/bin/docker-compose
## How to install Docker CE on RHEL7
### How to install on RHEL7 with internet access
1. Install required packages:
```bash
sudo yum install -y yum-utils device-mapper-persistent-data lvm2
```
2. Set up the Docker repository:
```bash
sudo yum-config-manager --add-repo https://download.docker.com/linux/centos/docker-ce.repo
```
3. Update the yum package index:
```bash
sudo yum makecache fast
```
4. Install Docker:
```bash
sudo yum install --setopt=obsoletes=0 docker-ce-17.03.2.ce-1.el7.centos.x86_64 docker-ce-selinux-17.03.2.ce-1.el7.centos.noarch
```
5. (Optional) To view available Docker versions:
```bash
yum list docker-ce --showduplicates | sort -r
```
6. Configure the Docker daemon:
```json
{
"storage-driver": "devicemapper"
}
```
Edit or create the `/etc/docker/daemon.json` file with the above content.
7. Start Docker:
```bash
sudo systemctl start docker
```
8. Switch to root user:
```bash
sudo su
```
9. Download Docker Compose:
```bash
curl -L https://github.com/docker/compose/releases/download/1.14.0/docker-compose-`uname -s`-`uname -m` > /usr/local/bin/docker-compose
```
10. Apply executable permissions:
```bash
sudo chmod +x /usr/local/bin/docker-compose
```
11. Proceed to the installation section.
### How to install on RHEL7 without internet access
1. Download Docker CE and Docker Compose packages from a machine with internet access.
* [Docker CE for CentOS](https://download.docker.com/linux/centos/7/x86_64/stable/Packages/) (select both the docker-ce-selinux and the docker-ce package of the same version, e.g., 17.03.1)
* [Docker Compose](https://github.com/docker/compose/releases/download/1.14.0/docker-compose-Linux-x86_64)
2. Transfer the files to the host server.
3. Install Docker:
```bash
sudo yum install /path/to/docker-ce-selinux-package.rpm
sudo yum install /path/to/docker-ce-package.rpm
```
4. Move Docker Compose to the appropriate directory:
```bash
sudo mv docker-compose-Linux-x86_64 /usr/local/bin/docker-compose
```
5. Apply executable permissions:
```bash
sudo chmod +x /usr/local/bin/docker-compose
```
6. Configure the Docker daemon:
Edit or create the `/etc/docker/daemon.json` file:
```json
{
"storage-driver": "devicemapper"
}
```
7. Start Docker:
```bash
sudo systemctl start docker
```
8. Proceed to the [installation section](#install_enterprise).
## Install GitKraken Self-Hosted Server
1. Extract the `GitKrakenEnterpriseServer.zip` file into a directory of your choice. All subsequent commands assume you are operating within this directory.
2. Load the Docker images:
```bash
sudo sh loadImages.sh
```
3. Configure the port on which GitKraken Self-Hosted should run. By default, it runs on port 3000. To change it, edit the `docker-compose.yml` file:
Find the `ports` section under `gk-enterprise-controller`:
```yaml
ports:
- "3000:3000"
```
Change the first value to your desired port. For example, to use port 80:
```yaml
ports:
- "80:3000"
```
Update the `GITKRAKEN_ENTERPRISE_URL` in both the `gk-enterprise-controller` and `gk-services` sections:
```yaml
environment:
GITKRAKEN_ENTERPRISE_URL: http://localhost:80
```
4. *(Optional)* To access GitKraken Self-Hosted from outside the server, update `GITKRAKEN_ENTERPRISE_URL` with your domain:
```yaml
environment:
GITKRAKEN_ENTERPRISE_URL: http://gitkraken.example.com:80
```
5. Configure the folder where GitKraken Desktop releases will be stored. The default path is `./gk-data/release`. To change this, update the volume under `gk-enterprise-controller`:
```yaml
volumes:
- /your/custom/path:/controller/release
```
6. Create the directory you specified for storing releases on the host machine.
7. Extract `release.zip` into the directory you created in step 6.
8. In the directory containing `docker-compose.yml`, start the application:
```bash
sudo docker-compose up
```
* To run in detached mode:
```bash
sudo docker-compose up -d
```
* For CentOS or RHEL7, you may need to use the full path:
```bash
sudo systemctl start docker.service
sudo /usr/local/bin/docker-compose up
```
9. Visit `http://localhost:3000` (or the configured URL/port) in your browser to complete the setup.
---
# Installing Self-Signed Certificates for GitKraken Desktop
URL: https://help.gitkraken.com/gitkraken-desktop/self-signed-certificates/
Description: Learn how to install a self-signed SSL certificate so GitKraken Desktop can recognize it. Follow step-by-step guides for Windows, macOS, and Linux.
Product: GitKraken Desktop
Feature: Self-Signed Certificates
Content type: how-to
Audience: developer
Plan required: all
Status: GA
Last verified: 2026-03
Last updated: March 2026
Use this page to install a self-signed SSL certificate so GitKraken Desktop can trust a private or internally signed remote host. It covers browser-based certificate export on Windows and macOS, Linux certificate installation steps, common SSL error messages, and how Git Executable respects global Git SSL settings.
**Requirements and limits**
- Use case: Private or internally signed remote hosts that GitKraken Desktop does not trust by default
- Windows workflow on this page: Chrome-based certificate export and trusted root installation
- macOS workflow on this page: Safari export and Keychain Access trust configuration
- Linux workflow on this page: Chrome export plus `openssl` and `certutil` installation steps
- Git Executable note: When enabled, GitKraken Desktop honors SSL settings in the global `.gitconfig`
- Common failure mode: Missing or invalid SAN values can require the server certificate to be reissued
| OS | Export step | Install location | Notes |
|----|-------------|------------------|-------|
| Windows | Export the certificate from Chrome | Windows Trusted Root Certificates store | Restart GitKraken Desktop after installing if needed |
| macOS | Export the certificate from Safari | Keychain Access | Set trust to **Always Trust** if required |
| Linux | Export the certificate from Chrome | System certificate trust store | Exact install path depends on the distribution |
***
## Quick Start
**On Windows (Chrome):**
1. Navigate to your remote hosting service in Chrome and open the certificate details.
2. Export the certificate using the Certificate Export Wizard.
3. Open Chrome Settings, go to **Privacy and Security > Security**, and click **Manage certificates**.
4. Import the certificate and add it to the Trusted Root Certificates store.
**On macOS (Safari):**
1. Open Safari and navigate to your remote host.
2. Hold **Option** and drag the certificate icon to your desktop to save it as a `.pem` file.
3. Double-click the file to open Keychain Access.
4. Find the certificate in the login keychain, open it, and set trust to **Always Trust**.
5. Restart your computer.
**On Linux (Chrome/Ubuntu):**
1. Export the certificate using the steps from the Windows Chrome section.
2. Convert and install using `openssl` and `certutil` in the terminal.
3. Reopen Chrome to confirm the warning no longer appears.
If you have the Git Executable enabled, SSL settings in your global `.gitconfig` are also honored.
***
## How to add a self-signed certificate
Self-signed certificates must be added to your trusted root directory before GitKraken will recognize the cert. This can be done through your operating system or in many browsers.
Note: If you have the Git Executable enabled, SSL settings in the global .gitconfig file are honored by GitKraken Desktop for actions performed by the Git executable.
### How to use Google Chrome on Windows
An easy way to install a certificate so that GitKraken can use it is via Google Chrome.
To generate a self-signed certificate, navigate to your remote hosting service's website. You should see something like this:
Certificate view in Chrome with export option
Click on the certificate, go to Details, click Copy to File..., and follow the Certificate Export Wizard.
Certificate export wizard in Chrome
Open Chrome's Settings menu from the top-right .
Chrome settings menu
Navigate to Privacy & Security Security:
Privacy & Security settings in Chrome
Scroll down and click Manage certificates. Use the wizard to import the certificate.
Certificate management dialog in Chrome
Ensure that the certificate is added to your trusted root certificates.
Wizard with trusted root option
### How to use Safari on macOS
Open Safari and navigate to your remote hosting service.
Remote host with invalid certificate in Safari
Click to open the certificate window:
Certificate details window in Safari
Hold down the Option key and drag the certificate icon to the desktop. This saves it as a `.pem` file.
Dragging certificate to save it as a .pem file
Double-click the file to open your macOS Keychain.
macOS Keychain interface
Locate the certificate in the **login** section and double-click to configure.
Certificate settings in Keychain Access
Set the trust level to *Always Trust*. Restart your computer to apply the changes.
### How to use Chrome on Ubuntu Linux
Follow the same certificate export steps described in the [Windows section](/integrations/self-signed-certificates/#using-google-chrome-on-windows). Then:
1. Open a terminal and go to your Downloads folder.
2. Run the following commands:
```
openssl x509 -outform der -in DOWNLOADED-CERT-NAME -out DOWNLOADED-CERT-NAME.crt
```
```
certutil -d sql:$HOME/.pki/nssdb -A -t "CT,C,C" -n DOWNLOADED-CERT-NAME.crt -i DOWNLOADED-CERT-NAME.crt
```
3. Verify the certificate:
```
certutil -d sql:$HOME/.pki/nssdb -L
```
Close and reopen Chrome to confirm the certificate warning no longer appears.
### Common certificate errors
#### How to fix `Invalid SSL Certificate`
GitKraken invalid SSL certificate warning
This usually indicates the certificate is invalid or missing. [Add a certificate](/integrations/self-signed-certificates/#adding-a-self-signed-certificate) to your local store.
#### Additional details about SSL certificate errors
Detailed certificate error from GitKraken
These errors often point to issues like a missing *Server Alternate Name (SAN)*. Contact your server administrator to fix and reissue the certificate.
### Operating system guides
Use the links below for more help installing certificates by OS:
---
# Set Up GitKraken Self-Hosted Server (On-Premise)
URL: https://help.gitkraken.com/gitkraken-desktop/self-hosted/
Description: Learn how to install and configure GitKraken On-Premise Self-Hosted Server, including system requirements, supported OS versions, and benefits for secure environments.
Product: GitKraken Self-Hosted
Feature: Self-Hosted Server Setup
Content type: overview
Audience: enterprise-admin
Plan required: Enterprise
Status: GA
Last verified: 2026-03
Last updated: April 2026
Use this page to understand what GitKraken On-Premise Self-Hosted Server is, when to choose it, and what infrastructure it requires before installation. It summarizes the offline deployment model, supported operating systems, minimum server specs, and the distinction between Self-Hosted and Serverless on-premise offerings.
**Requirements and limits**
- Product scope: GitKraken On-Premise Self-Hosted Server
- Environment fit: Internal-network, offline, or air-gapped deployments
- Infrastructure model: Lightweight Linux server or VM running Docker containers
- Minimum specs: 2 CPU cores, 4 GB RAM, 5 GB disk space
- Supported OS families on this page: CentOS 7, selected Ubuntu versions, and RHEL 7
- Commercial note: Self-Hosted and Serverless on-premise offerings are sold separately from standard subscriptions and from each other
## Overview
**GitKraken On-Premise Self-Hosted Server** is a version of GitKraken Desktop that operates entirely within your internal network. Also referred to as *GitKraken Enterprise Self-Hosted*, *Enterprise On-Premise Server*, or *Self-Hosted*, this option allows users to authenticate and work without external internet access.
### Key benefits
- Operates without internet connectivity (ideal for air-gapped or secure environments)
- Supports email-based and LDAP authentication
- Full control over version management
Manage users and settings within your private GitKraken instance.
Note: GitKraken Desktop Self-Hosted and On-Premise Serverless versions are sold separately from standard subscriptions. To purchase, visit our On-Premise Pricing page.
## Feature support
GitKraken On-Premise Self-Hosted Server uses the same Desktop client as GitKraken On-Premise Serverless. The Desktop client feature set is identical between the two variants. The difference between Self-Hosted and Serverless is the deployment and license model, not the feature set.
In Self-Hosted, a central server inside your network handles authentication and license management. This gives your organization control over which client version is deployed to users and how users authenticate. Features that require connectivity to GitKraken cloud services are not available in either on-premises variant.
### What is included
The following feature categories are fully supported:
| Category | Included | Notes |
| --- | --- | --- |
| **Core Git client** | All standard Git operations, including commits, branches, merges, rebases, diffs, stashing, tagging, interactive rebase, cherry pick (including multi-commit interactive cherry pick), worktrees, shallow clone, and undo or redo of rebase and cherry pick operations. | |
| **Agent Sessions View and coding agent session workflows** | Agent Sessions View and worktree-based coding agent session workflows are available in the on-premises Desktop client. | Supported-agent integrations and status details depend on the client version and local environment. |
| **Embedded terminal for manual coding agent workflows** | You can run coding agents manually in the embedded terminal, including agents that GitKraken Desktop does not explicitly integrate with. | See [GitKraken Terminal Guide](/gitkraken-desktop/terminal/). |
| **Launchpad** | Track pull requests and issues in a single view and filter by repository, branch, milestone, or sprint. Launchpad works with the following on-premises integrations: GitHub Enterprise Server, GitLab Self-Managed, Bitbucket Server and Data Center, Azure DevOps Server, and Jira Data Center. | For a description of the differences between cloud and on-premises Launchpad, see [How On-Premise Launchpad differs from Cloud Launchpad](/gitkraken-desktop/gitkraken-launchpad/#how-on-premise-launchpad-differs-from-cloud-launchpad). |
| **Local Workspaces** | Organize multiple local Git repositories in one view. You can see the branch status of each repository and run multi-repository actions, such as fetch and pull, from a single place. | Cloud Workspaces are not available. |
| **Conflict detection** | GitKraken detects potential conflicts with your target branch before you reach the merge step and alerts you when your checked-out branch has diverged from its pull request target. | |
| **GitKraken AI (bring your own key)** | All GitKraken AI features are available when you configure a Custom URL that points to a private or internal AI endpoint. | For setup instructions, see [GitKraken AI in Self-Hosted Server](#gitkraken-ai-in-self-hosted-server). |
| **ARM builds** | A native ARM installer is available for machines with ARM architecture. | |
| **Centralized version management** | Because the Desktop client connects to your internal server, your admin controls which client version is served to users. This lets you test and roll out updates on your own schedule. | |
| **Authentication** | Users authenticate through your Self-Hosted Server using email-based or LDAP authentication. No external GitKraken cloud account is required. | |
| **On-premises integrations** | GitKraken Self-Hosted supports integrations with self-hosted Git hosting services and issue trackers. | For the full list, see [Supported on-premises integrations](#supported-on-premises-integrations). |
### What is not available
The following features require connectivity to GitKraken cloud services (`gitkraken.dev`) or to external cloud hosting providers and are not available in Self-Hosted Server:
- Cloud Workspaces and features that depend on them, including Team Launchpad, Launchpad Saved Views, and Launchpad snooze and pin
- GitKraken Insights
- GitKraken AI using the default GitKraken-hosted provider
- Cloud Patch sharing
- Org Member conflict detection
- Integrations with cloud-hosted services: GitHub.com, GitLab.com, Bitbucket.org, Azure DevOps cloud, Jira Cloud, and Trello
Local Desktop workflows such as worktrees, Agent Sessions View, and terminal-based coding agent workflows remain available unless they depend on a cloud-only or otherwise unsupported external service.
### Feature support table
| Feature | Supported | Notes |
|---|---|---|
| Core Git client (commits, branches, merges, rebase, diff, stash) | Yes | |
| Interactive Rebase | Yes | |
| Multi-commit Cherry Pick | Yes | |
| Worktrees | Yes | Requires client version 10.5.0 or later |
| Agent Sessions View and coding agent session workflows | Yes | Available in the on-premises Desktop client; supported-agent integrations and status details depend on the client version and local environment |
| Embedded terminal for manual coding agent workflows | Yes | You can run coding agents manually in the embedded terminal |
| Shallow Clone | Yes | |
| Undo rebases, cherry picks, and AI Commit Compose | Yes | |
| Local Workspaces | Yes | Stored on-device only; not shareable across machines |
| Cloud Workspaces | No | Requires gitkraken.dev |
| Launchpad with on-premises integrations | Yes | See supported integrations list |
| Launchpad Cloud Workspace filtering | No | |
| Launchpad Team View | No | |
| Launchpad Saved Views | No | |
| Launchpad snooze and pin | No | |
| Conflict detection (target branch) | Yes | |
| Conflict detection (Org Member awareness) | No | Requires cloud GitKraken Org |
| Cloud Patch sharing | No | |
| GitKraken AI (default hosted provider, no key required) | No | Calls GitKraken cloud endpoint |
| GitKraken AI (Custom URL or bring your own key) | Yes | Per-user opt-in; you provide the AI infrastructure |
| ARM builds | Yes | Separate ARM installer available |
| Centralized version management | Yes | Admin controls client version rollout via the server |
| LDAP authentication | Yes | Configured on the Self-Hosted Server |
| GitHub Enterprise Server integration | Yes | |
| GitLab Self-Managed integration | Yes | |
| Bitbucket Server and Data Center integration | Yes | |
| Azure DevOps Server integration | Yes | |
| Jira Data Center integration | Yes | |
| GitHub.com, GitLab.com, Bitbucket.org, Azure DevOps cloud, Jira Cloud | No | Require outbound internet access |
| GitKraken Insights | No | Requires gitkraken.dev |
### GitKraken AI in Self-Hosted Server
GitKraken AI is available in Self-Hosted Server when individual users configure a Custom URL that directs AI requests to a private or internal service. The default GitKraken-hosted AI provider is not accessible in network-isolated environments.
**To enable GitKraken AI:**
1. Go to Preferences > GitKraken AI.
2. Select **Custom URL** as the provider.
3. Enter the endpoint URL for your internal AI service.
4. If your endpoint requires authentication, enter an API key.
This is an opt-in, per-user setting. GitKraken does not validate or support the configuration of third-party or self-hosted AI endpoints.
When you configure a Custom URL, the following AI features are available:
- Commit message generation
- Commit Composer (Preview)
- Explain commits
- Explain branch changes
- Pull request title and description generation (requires a configured on-premises integration)
- Auto-resolve merge conflicts (Preview)
- Stash message generation
### Supported on-premises integrations
GitKraken Self-Hosted supports the following self-hosted integrations. These integrations communicate only within your network and do not require outbound internet access:
- GitHub Enterprise Server
- GitLab Self-Managed
- Bitbucket Server and Data Center
- Azure DevOps Server
- Jira Data Center
- or any custom remote hosting service available over HTTPS or SSH authentication
The cloud-hosted counterparts of these services (GitHub.com, GitLab.com, Bitbucket.org, Azure DevOps cloud, and Jira Cloud) are not supported because they require outbound internet connectivity.
***
## System requirements
GitKraken Self-Hosted Server runs on a lightweight Linux server or virtual machine using Docker containers.
### Supported operating systems
- CentOS 7 (64-bit)
- Ubuntu (Zesty 17.04, Xenial 16.04 LTS, Trusty 14.04 LTS)
- Red Hat Enterprise Linux 7 (RHEL7)
### Minimum specifications
- 2 CPU cores
- 4 GB RAM
- 5 GB disk space
To install Docker CE, the host system must meet Docker's requirements:
#### [CentOS Requirements](https://docs.docker.com/engine/installation/linux/docker-ce/centos/)
- 64-bit CentOS 7 is required
#### [Ubuntu Requirements](https://docs.docker.com/engine/installation/linux/docker-ce/ubuntu/)
- 64-bit versions of:
- Zesty 17.04
- Xenial 16.04 (LTS)
- Trusty 14.04 (LTS)
Prefer to skip installation and maintenance? Explore our Serverless option.
---
# System Requirements
URL: https://help.gitkraken.com/gitkraken-desktop/system-requirements/
Description: Minimum requirements for GitKraken Self-Hosted servers
Product: GitKraken Self-Hosted
Feature: System Requirements
Content type: reference
Audience: enterprise-admin
Plan required: Enterprise
Status: GA
Last verified: 2026-03
Last updated: March 2026
Use this page to confirm the minimum server resources and supported Linux distributions for GitKraken Self-Hosted before deployment. It summarizes the CPU, memory, storage, and Docker-host operating system requirements you need to validate before starting an installation or upgrade.
**Requirements summary**
- Deployment target: GitKraken Self-Hosted server
- Minimum CPU: 2 cores
- Minimum RAM: 4 GB
- Minimum disk space: 5 GB
- Host requirement: Linux server with Docker CE support
- Supported Linux families on this page: CentOS, Ubuntu, and Red Hat Enterprise Linux
- Legacy note: Some Ubuntu versions listed below are legacy Docker-era requirements and are no longer officially supported upstream
---
## Minimum server requirements
| Resource | Minimum |
|----------|---------|
| CPU | 2 cores |
| RAM | 4 GB |
| Disk Space | 5 GB |
- Linux server with support for Docker CE
- Compatible with CentOS, Ubuntu, or Red Hat Enterprise Linux 7 (RHEL7)
---
## Supported Linux distributions
### CentOS
To install Docker CE on CentOS, you need:
- 64-bit version of CentOS 7
- [Docker CE for CentOS requirements](https://docs.docker.com/engine/installation/linux/docker-ce/centos/)
### Ubuntu
To install Docker CE on Ubuntu, use a 64-bit version of one of the following:
- Ubuntu Zesty 17.04
- Ubuntu Xenial 16.04 (LTS)
- Ubuntu Trusty 14.04 (LTS)
- [Docker CE for Ubuntu requirements](https://docs.docker.com/engine/installation/linux/docker-ce/ubuntu/)
> Note: These distributions are no longer officially supported by Docker or the Ubuntu team. Proceed with caution and only for legacy deployments.
### Red Hat Enterprise Linux
- RHEL 7 or later is supported with Docker CE
---
## How to get started
Interested in deploying GitKraken Self-Hosted?
Learn more or start a free trial on the [GitKraken On-Premise pricing page](https://www.gitkraken.com/git-client/on-premise-pricing).
---
# Upgrade GitKraken Self-Hosted Server (Docker & Client Instructions)
URL: https://help.gitkraken.com/gitkraken-desktop/upgrade-enterprise/
Description: Step-by-step guide to upgrading GitKraken Self-Hosted Server, Docker images, client installers, and license file—including how to reset the Super User password.
Product: GitKraken Self-Hosted
Feature: Self-Hosted Upgrade
Content type: how-to
Audience: enterprise-admin
Plan required: Enterprise
Status: GA
Last verified: 2026-03
Last updated: March 2026
Use this page to upgrade GitKraken Self-Hosted Server, client installers, and license files when your deployment runs on Docker. It also covers the Super User password reset flow, so administrators can handle both standard upgrades and recovery tasks from the same procedure.
Note: GitKraken Desktop Self-Hosted and On-Premise Serverless versions are sold separately from standard subscriptions. To purchase, see our On-Premise Pricing page.
***
## Quick Start
**To upgrade the server:**
1. Navigate to the folder containing `docker-compose.yml` and run `sudo docker-compose down`.
2. Back up the existing `docker-compose.yml`.
3. Extract the new `GitKrakenEnterpriseServer.zip` into the same folder.
4. Compare the old and new `docker-compose.yml` for port, volume, or environment variable changes.
5. Run `sudo sh loadImages.sh` to load the new Docker images.
6. Run `sudo docker-compose up` to restart the server.
**To upgrade client installers:** Locate the release volume path in `docker-compose.yml` under `gk-enterprise-controller`, navigate to the host path, and extract the new `release.zip` into that directory.
**To update the license:** Copy the new `license.dat` file to the server, open the License tab on your Enterprise site, and upload the file.
**To reset the Super User password:** Stop the server, add `SUPER_USER_RESET: 1` to the `gk-services` environment in `docker-compose.yml`, restart, and visit `/reset/super-user` in your browser.
***
## How to upgrade the self-hosted server
1. Navigate to the folder where GitKraken Self-Hosted is installed (the folder with `docker-compose.yml`).
2. Take down the current instance:
```bash
sudo docker-compose down
```
3. Back up the `docker-compose.yml` file.
4. Extract `GitKrakenEnterpriseServer.zip` in the same folder. This will overwrite `docker-compose.yml`.
5. Compare the new and old `docker-compose.yml` for differences, such as:
- Port configurations
- Volume mount paths
- Environment variable updates
6. If you are not using `docker-compose` (e.g., Nomad setup), adjust image names/tags in your swarm manager accordingly.
7. Load Docker images:
```bash
sudo sh loadImages.sh
```
8. Restart the server from the same directory:
```bash
sudo docker-compose up
```
**Note:** Always run `docker-compose up` from the original directory. On CentOS or RHEL7, you may need full paths:
```bash
sudo systemctl start docker.service
sudo /usr/local/bin/docker-compose up
```
***
## How to upgrade self-hosted clients
1. Open your `docker-compose.yml` file.
2. Find the `gk-enterprise-controller` service. Under `volumes`, identify the client volume:
```
- ./gk-data/release:/controller/release
```
3. This line splits into:
- Host path: `./gk-data/release`
- Container path: `/controller/release`
4. Navigate to the release folder on the host machine. Extract `release.zip` and overwrite existing content.
5. After extracting, your folder should look like:
```
./gk-data/
└── release/
├── linux/
├── darwin/
├── win32/
└── win64/
```
6. GitKraken Self-Hosted users will now receive the latest client.
***
## How to update the license
To update your GitKraken Self-Hosted license:
1. Copy the new `license.dat` file to the server.
2. Open the License tab on your Enterprise site.
3. Browse to and select the new license file.
Use the License tab to upload a new license file.
***
## How to reset the Super User password
1. Stop GitKraken Self-Hosted:
```bash
sudo docker-compose down
```
2. Add the environment variable `SUPER_USER_RESET: 1` under `gk-services` in `docker-compose.yml`:
```yaml
environment:
SUPER_USER_RESET: 1
```
3. Start the instance:
```bash
sudo docker-compose up
```
4. Visit `/reset/super-user` in your browser to set a new password.
5. Confirm login works, then shut down the server:
```bash
sudo docker-compose down
```
6. Remove the `SUPER_USER_RESET` variable from `docker-compose.yml`.
7. Restart GitKraken Self-Hosted:
```bash
sudo docker-compose up
```
---
# Use GitKraken Desktop with Windows Subsystem for Linux (WSL 2)
URL: https://help.gitkraken.com/gitkraken-desktop/windows-subsystem-for-linux/
Description: Step-by-step guide to using GitKraken Desktop in WSL 2, including setup, installation, GUI support, known issues, and file system access.
Product: GitKraken Desktop
Feature: WSL 2 Support
Content type: how-to
Audience: developer
Plan required: all
Status: GA
Last verified: 2026-03
Last updated: April 2026
Use this page to install and run GitKraken Desktop inside Windows Subsystem for Linux 2 (WSL 2) when your repositories live on the Linux file system. It covers WSLg requirements, Linux installation steps, cross-file-system limits, coding agent considerations, and troubleshooting for display, certificate, and environment issues.
**Requirements and limits**
- Windows requirement: Windows 11 or Windows 10 build 19044+
- Linux requirement: WSL 2 distribution with WSLg support
- GitKraken requirement: GitKraken Desktop 9.1.0+ for Linux
- Repository location rule: Keep repositories on the same file system as the GitKraken Desktop installation you use
- Cross-file-system warning: Opening WSL repositories from GitKraken on Windows, or Windows repositories from GitKraken in WSL, can cause degraded performance or broken features
- Coding agent note: In WSL, Windows-installed coding agent CLIs can take precedence over WSL-installed CLIs and prevent agent sessions from starting correctly
- Known issues: WSLg may have HiDPI scaling and window-snapping limitations
***
## Quick Start
1. **Update WSL 2**: From PowerShell or Command Prompt (run as Administrator), run `wsl --update`. To install WSL with Ubuntu, run `wsl --install -d ubuntu` and reboot.
2. **Download GitKraken Desktop for Linux**: For Ubuntu, run:
```bash
wget https://api.gitkraken.dev/releases/production/linux/x64/active/gitkraken-amd64.deb
sudo apt install ./gitkraken-amd64.deb
```
3. **Launch GitKraken Desktop**: Run `gitkraken` in your WSL 2 terminal. With WSLg installed, the app displays natively within Windows.
**Requirements:** Windows 11 or Windows 10 build 19044+, WSL 2 distribution, GitKraken Desktop 9.1.0+ for Linux.
Keep your repositories on the same file system as the GitKraken Desktop installation you use. Accessing repos across file systems (for example, opening a WSL repo from GitKraken installed on Windows) results in degraded performance or non-functional features. If this happens, GitKraken Desktop will prompt you to open the repo with the correct installation.
## What WSL and WSL 2 are
Windows Subsystem for Linux (WSL) enables developers to run a Linux distribution and use Linux tools directly on Windows. WSL 2 runs an actual Linux kernel in a managed VM, offering better performance and full system call compatibility.
To support Linux GUI apps, Microsoft introduced WSLg, which integrates Linux apps into the Windows desktop experience. This feature makes GitKraken Desktop for Linux run smoothly within WSL 2.
> Microsoft recommends storing project files on the same operating system as the tools you're using to avoid cross-OS performance issues.
## How to use GitKraken Desktop with WSL 2
GitKraken Desktop running inside WSL 2.
GitKraken Desktop works with repositories stored on your WSL 2 file system when installed and launched inside the WSL environment. With WSLg, GitKraken Desktop displays natively within Windows.
Note: GitKraken Desktop does not support accessing repos across file systems. Install GitKraken on the OS where your repos are stored to avoid degraded performance or non-functional features.
Coding agent note: If you use Agent Sessions View in WSL, make sure the coding agent CLI you want to run is the one available in your WSL environment. In some cases, a Windows-installed coding agent can take precedence over a WSL-installed one, which can prevent the agent session from starting correctly. For more information, see Coding Agents in GitKraken Desktop.
GitKraken will notify you when accessing repos across environments. For more, see [Working Across File Systems](#working-across-file-systems-in-wsl-2).
### How to set up GitKraken Desktop in WSL 2
Follow these four steps to get started:
1. **Update WSL 2** — Ensure the latest version is installed with WSLg support.
2. **Download GitKraken Desktop** — Get the latest Linux version.
3. **Install in WSL** — Run the installer from your WSL 2 terminal.
4. **Launch GitKraken Desktop** — You're ready to start working!
> Most WSL distributions include Git by default. If needed, [install or update Git for Linux](https://git-scm.com/download/linux).
---
## WSL 2 and WSLg requirements
- Windows 11 or Windows 10 build 19044+
- WSL 2 distribution
- GitKraken Desktop version 9.1.0+ for Linux
---
## How to install or update WSL 2 with WSLg support
GitKraken Desktop requires WSL 2 with WSLg support on Windows 11 or Windows 10 build 19044 or later.
To update WSL from PowerShell or Command Prompt (run as Administrator):
```bash
wsl --update
```
To install WSL with Ubuntu as the default distribution:
```bash
wsl --install -d ubuntu
```
After rebooting, complete the setup by creating a Linux username and password.
WSLg is automatically included in this installation.
---
## How to download and install GitKraken Desktop on WSL 2
To install GitKraken Desktop within WSL, follow the Linux installation instructions.
For Ubuntu users:
```bash
wget https://api.gitkraken.dev/releases/production/linux/x64/active/gitkraken-amd64.deb
sudo apt install ./gitkraken-amd64.deb
```
If dependencies are missing, fix broken packages with:
```bash
sudo apt --fix-broken install
```
Then, launch GitKraken Desktop with:
```bash
gitkraken
```
> If using the `.tar.gz` version, ensure `gitkraken` is in your PATH for the above command to work.
---
## How WSL-specific GitKraken preferences work
GitKraken Desktop offers preferences to control how URLs and files are opened from the WSL environment. Navigate to `Preferences` > `General` to configure them.
Choose where to open URLs and files when using GitKraken within WSL 2.
By default:
- URLs open in your Windows default browser.
- Files attempt to open on the WSL host distribution.
---
## Known issues with WSL 2
Here are known limitations when using GitKraken Desktop with WSLg:
- HiDPI displays may cause WSLg to inconsistently scale the UI.
- Window snapping might not function properly within WSLg.
- Windows-installed coding agent CLIs can take precedence over WSL-installed CLIs, which may cause coding agent sessions to fail to start as expected.
---
## How to troubleshoot WSL 2 issues
If GitKraken opens with a black screen or other display issues, try these fixes:
- Reopen GitKraken Desktop as administrator.
- Update your graphics drivers.
If issues persist, you can disable GPU acceleration:
```bash
gitkraken --disable-gpu
```
To bypass certificate errors (e.g., `NET::ERR_CERT_AUTHORITY_INVALID`), run:
```bash
gitkraken --ignore-certificate-errors
```
To fully restart WSL (use PowerShell or Command Prompt as administrator):
```bash
wsl --shutdown
```
Then, reopen your Linux distribution or GitKraken Desktop.
---
## How cross-file-system access works in WSL 2
GitKraken Desktop does not support opening repos stored on a different file system than where GitKraken is installed.
For the best experience:
- Install GitKraken Desktop on both Windows and WSL.
- Use the correct GitKraken instance based on repo location.
When accessing a repo stored on WSL from GitKraken installed on Windows (or vice versa), you'll see a prompt:
Prompt for cross-system repo access in GitKraken Desktop.
You can choose:
- **Open Help Center** — Opens this guide.
- **Open with GitKraken on Ubuntu/Windows** — Switch to the correct GitKraken instance.
- **Open Anyway** — Attempt to open the repo (may result in degraded performance or broken features).
- **Close** — Cancels the action.
Note: GitKraken cannot detect cross-system access when using mapped network drives. This may lead to unintended behavior.
---
## Troubleshooting & Reference
---
# Authentication with Other Git Hosts in GitKraken Desktop
URL: https://help.gitkraken.com/gitkraken-desktop/authentication/
Description: Learn how to authenticate with TFS, AWS CodeCommit, Google Cloud Source Repositories, and custom Git hosts using HTTPS or SSH in GitKraken Desktop.
Product: GitKraken Desktop
Feature: Generic Git Host Authentication
Content type: reference
Audience: developer
Plan required: all
Status: GA
Last verified: 2026-03
Last updated: March 2026
Use this page to authenticate GitKraken Desktop with Git hosts that do not have a dedicated integration page, including TFS, AWS CodeCommit, Google Cloud Source Repositories, and custom services. It covers HTTPS cloning, SSH key setup, SSH agent usage, proxy handling, and credential reset behavior.
**Requirements and limits**
- Host scope: Git hosts without a dedicated GitKraken integration page
- Authentication methods: HTTPS or SSH
- Supported SSH URL formats: `ssh://{user}@{host}/{repo}` and `{user}@{host}:{repo}`
- Windows SSH note: Only Pageant is supported as the local SSH agent
- Proxy behavior: Windows uses system proxy prompts; macOS and Linux prompt directly in GitKraken Desktop
| Host type | HTTPS | SSH | Special requirement |
|-----------|-------|-----|---------------------|
| TFS | Yes | Possible | May require Basic Authentication on IIS |
| AWS CodeCommit | Yes | Yes | Requires AWS-specific credentials or SSH setup |
| Google Cloud Source Repositories | Yes | Yes | Requires the appropriate Google Cloud credentials |
| Custom Git host | Yes | Yes | Depends on host-specific URL, SSH key, proxy, or certificate setup |
***
## Quick Start
**To clone with HTTPS:**
1. Copy the HTTPS URL from your hosting service (e.g., `https://example.com/username/repo.git`).
2. In GitKraken Desktop, go to File > Clone Repo.
3. Paste the URL and click **Clone the repo**.
**To set up SSH and clone with SSH:**
1. Go to Preferences > SSH.
2. Generate a new SSH key pair or browse to an existing one.
3. Copy the public key and add it to your hosting service's SSH settings.
4. Copy the SSH URL from your hosting service.
5. Go to File > Clone, paste the SSH URL, and click **Clone the repo**.
To use a local SSH agent instead of managing keys manually, enable **Use local SSH agent** under Preferences > SSH. To reset stored HTTPS credentials, go to Preferences > General and click **Forget All**.
***
## How HTTPS authentication works
This is the default and most common method for interacting with remotes. It requires your Git username and password.
Use HTTPS when: you want the simplest setup and your host supports standard username/password or token-based HTTPS access. Use SSH instead when: your environment already relies on SSH keys or you want to avoid repeated HTTPS credential prompts.
### How to clone with HTTPS
1. Copy the HTTPS URL from your hosting service, which typically looks like:
```
https://example.com/username/myrepository.git
```
2. In GitKraken Desktop, go to File > Clone Repo.
Cloning a repository using HTTPS
3. Paste the URL, click , and open it in GitKraken.
The remote tracking at `origin` is automatically set using this HTTPS format.
***
## How SSH authentication works
Before cloning via SSH, you must first set up your SSH keys in GitKraken Desktop.
Use SSH when: your host or team standard is key-based authentication and you want reusable key-based access across repositories.
### How to set up SSH keys
1. Navigate to Preferences > SSH.
SSH preferences in GitKraken Desktop
2. You can browse to select an existing SSH key pair or generate a new one (recommended).
3. Copy the public key to your remote hosting service.
### How to clone over SSH
1. Copy the SSH URL from your hosting service.
2. In GitKraken Desktop, go to File Clone.
Cloning a repository using SSH
3. Paste the SSH URL, click , and open the repo.
### Supported SSH formats
ssh://{user}@{host}/{repo}
{user}@{host}:{repo}
Where:
- `{host}` is the domain (e.g., example.com)
- `{user}` is the username (typically `git`)
- `{repo}` is the path to the repository
Example: git@example.com:org/username/myrepository.git
### How to use custom SSH ports
Use this format:
ssh://{user}@{host}:{port}/{repo}
### How to use a local SSH agent
Using a local agent can simplify SSH management, especially across multiple profiles. From Preferences > SSH, check _Use local SSH agent_.
Use a local SSH agent when: your keys are already loaded and you want GitKraken Desktop to reuse them. Don't use it when: your platform setup depends on agent behavior or alias configuration GitKraken Desktop does not support directly.
> Tip: This allows automatic key usage if already loaded in your system's agent.
### How to troubleshoot SSH
- **Windows**: Only Pageant is supported. Download from [PuTTY's site](http://www.chiark.greenend.org.uk/~sgtatham/putty/download.html).
- **Misconfiguration**: Double-check your remote URL format and SSH settings.
***
## How to forget all credentials
Reset stored usernames and passwords from Preferences > General:
Reset saved credentials
***
## How proxy configuration works
GitKraken Desktop supports proxies for Windows, macOS, and Linux.
### How proxy prompts work on Windows
Your system will prompt for proxy credentials when needed.
### How proxy prompts work on macOS and Linux
GitKraken Desktop prompts for credentials directly.
On Linux, run with this flag if needed:
--proxy-server=10.200.0.1:8080
***
## How to format Google Cloud Source Repositories SSH URLs
Due to formatting, you may need to adjust SSH URLs:
Original:
ssh://example@gitkraken.com@source.developers.google.com:2021/p/test-project-12345/r/Test-Repo-1
Fixed:
ssh://example%40gitkraken.com@source.developers.google.com:2021/p/test-project-12345/r/Test-Repo-1
---
# Git Hooks in GitKraken Desktop
URL: https://help.gitkraken.com/gitkraken-desktop/githooks/
Description: Learn how to create, configure, and manage Git hooks in GitKraken Desktop. Supports custom hook paths, error handling, and pre-push validations.
Product: GitKraken Desktop
Feature: Git Hooks
Content type: how-to
Audience: developer
Plan required: all
Status: GA
Last verified: 2026-03
Last updated: March 2026
Use this page to create, configure, and troubleshoot Git hooks in GitKraken Desktop for commit, push, merge, and rebase workflows. It explains where hooks live, how custom hook paths work, which hook types GitKraken triggers, and how to bypass hooks intentionally when a commit should skip automation.
**Requirements and limits**
- Scope: Standard Git hook workflows triggered by GitKraken Desktop actions
- Default hook location: `.git/hooks`
- macOS/Linux requirement: Hook files must be executable or GitKraken Desktop will fail to run them
- Failure behavior: Any non-zero exit code blocks the Git action
- Custom path support: Repository-specific custom hook paths can be configured in Preferences > Git Hooks
- Global hook support: Global hooks can be configured through `core.hooksPath` in `.gitconfig`
- Skip behavior: Commits can intentionally bypass hooks from the Commit Panel when needed
Overview of Git hooks and demonstration in GitKraken Desktop
***
## Quick Start
1. Navigate to your repository's `.git/hooks` directory. GitKraken Desktop creates this folder automatically when a repository is initialized.
2. Create a new file with the hook name (e.g., `pre-commit`). On macOS or Linux, make it executable by running `chmod +x pre-commit` in the terminal.
3. Add your script to the file. Start with `#!/bin/bash` and include your validation or automation logic. Any non-zero exit code causes the hook to fail and blocks the Git action.
4. To set a custom hooks directory for the repository, go to Preferences > Git Hooks and click **Browse** to select the folder.
5. To use global hooks across all repositories, add `hooksPath = /path/to/your/hooks` under `[core]` in your `.gitconfig`.
To skip hooks for a specific commit, enable **Commit and skip hooks** in the Commit Panel. GitKraken Desktop supports `pre-commit`, `commit-msg`, `post-commit`, `pre-push`, `post-merge`, `post-rewrite`, and several other standard hooks.
***
## Where Git hooks are stored
Hooks reside in the `hooks` subdirectory of the `.git` folder, created automatically when initializing a repository in GitKraken Desktop. You'll find it at `.git/hooks`, typically containing a `README.sample` file.
Hooks are specific to your local repository and are neither tracked by Git nor copied to new repositories.
Terminal view of the .git/hooks directoryExplorer view of the Git hooks directory
If you're on OSX or Linux, you must set hook files to be executable. GitKraken Desktop will throw an error (e.g., exit code 126) if the file lacks executable permissions.
Git hook execution error in GitKraken Desktop (exit code 126)
Any script that returns a non-zero exit code is considered a failure.
***
## How to define a custom hook path
To use a custom Git hook path:
1. Go to Preferences Git Hooks.
2. Click to set or enter the path.
This setting is defined per repository.
Setting a custom Git hooks path in Preferences
***
## Which hooks GitKraken Desktop supports
GitKraken Desktop supports a wide array of Git hooks. Each hook is triggered by specific actions like commit, merge, or rebase.
pre-commit
Amend
Commit
Merge Resolve
prepare-commit-msg
Amend
Commit
Cherrypick
Merge
Revert
Squash
commit-msg
Amend
Commit
Merge Resolve
post-commit
Amend
Cherrypick
Commit
Merge Resolve
Revert
pre-rebase
Rebase
Squash
post-checkout
Checkout
Discard Changes (selectively)
post-merge
Fast-Forward
Merge (Without Conflicts)
post-rewrite
Amend
Rebase
Squash
pre-push
Delete Remote Branch
Delete Remote Tag
Push Branch
Push Tag
***
## Git hooks example
Git hooks automate actions when Git events occur in GitKraken Desktop or the command line. Here's a basic `pre-commit` hook example to validate the global Git user email.
### Tools needed
- GitKraken Desktop
- Text Editor (e.g., [Visual Studio Code](https://code.visualstudio.com/))
- Terminal (e.g., [GitKraken Terminal](https://help.gitkraken.com/gitkraken-desktop/terminal/))
### How to set up a sample hook
**1. Navigate to hooks directory**
Open Visual Studio Code and go to ~/repo/.git/hooks. Create a new file named `pre-commit`.
Creating a new Git hook file in VS Code
Note 📝 - You may need to make the .git folder visible in VS Code by adjusting files.exclude settings.
**2. Make the file executable**
Open the GitKraken Terminal and change to the `.git/hooks` directory. Run:
```
chmod +x pre-commit
```
Making the pre-commit file executable using terminal
Note 📝 - If your terminal isn't set up in GitKraken Desktop, refer to the Start Here Tips.
**3. Write your bash script**
Use a text editor to define your `pre-commit` script. Start with the correct shebang:
```
#!/bin/bash
```
Then add your validation logic using variables like:
- `globalEmail` - value from Git global config
- `workEmail` - required email for commits
The script should compare the current global email with the required email and display an error if they do not match. If the values match, the commit proceeds.
**Example:**
```bash
#!/bin/bash
globalEmail=$(git config --global user.email)
workEmail="you@example.com"
if [ "$globalEmail" != "$workEmail" ]; then
echo "Error: global email does not match required work email ($workEmail)."
exit 1
fi
exit 0
```
Save the file. Your `pre-commit` hook is now ready to enforce proper committer email usage before any commit is made.
### What a Git hook looks like in action
Git hook example triggered during commit
***
## How environment variables affect Git hooks
On macOS, GUI applications do not inherit shell profile variables. If your Git hooks rely on environment variables set in your shell, use the following command to make them available:
```
launchctl setenv YOURVAR value
```
## How to bypass Git hooks
To skip Git hooks during a commit, use the `Commit and skip hooks` option.
Note 📝 - This option disables all hooks triggered by the commit action.
Option to commit while skipping hooks in GitKraken Desktop
## How global Git hooks work
GitKraken Desktop respects global Git hook paths set in your `.gitconfig` file. These hooks apply to all cloned repositories.
To configure a global path, add the following to your `.gitconfig`:
```
[core]
hooksPath = /path/to/your/hooks
```
---
# GitKraken Desktop Experimental Features | Cloud Patch & Git Executable
URL: https://help.gitkraken.com/gitkraken-desktop/experimental-features/
Description: Explore experimental GitKraken Desktop features like Git Executable integration and Cloud Patches. Learn how to enable, use, and self-host these in-development tools.
Product: GitKraken Desktop
Feature: Experimental Features
Content type: overview
Audience: developer
Plan required: all
Status: preview
Last verified: 2026-03
Last updated: March 2026
Use this page to enable and evaluate GitKraken Desktop experimental features such as Git Executable and Cloud Patches. Experimental features are optional previews, so this page focuses on where to enable them, what they currently do, and which workflows depend on them.
**Requirements and limits**
- Scope: Optional preview features in GitKraken Desktop
- Settings location: Preferences > Experimental
- Stability note: Experimental features can be enabled or disabled at any time and may change behavior across releases
- Git Executable scope: Uses a Git executable instead of NodeGit for supported operations
- Cloud Patch dependency: Cloud Patches require Git Executable to be enabled
- Cloud Patch sharing modes: Anyone with the link, anyone in your org, or selected collaborators
- Self-hosting note: Cloud Patch data can be self-hosted on AWS S3 instead of GitKraken servers
***
## Quick Start
**To enable experimental features:**
- Go to Preferences > Experimental and toggle the features you want to use.
**To use the Git Executable:**
- Enable **Use Git Executable** under Preferences > Experimental. This lets GitKraken Desktop use your system's Git binary for core operations instead of the built-in library.
**To create a Cloud Patch:**
1. Stage files in the Commit Panel.
2. Click the Cloud Patch icon to create the patch.
3. Copy the generated link and share it with your team.
**To apply a Cloud Patch:**
1. Open the link in GitKraken Desktop, or find the patch in the Left Panel.
2. Select a target branch and apply the patch.
**To share a commit as a Cloud Patch:**
- Right-click any commit in the graph and select **Share commit as Cloud Patch**.
Cloud Patches are stored securely and can be shared with anyone who has the link, with your GitKraken organization, or with selected collaborators. To delete a patch, right-click it in the Left Panel and choose **Delete Cloud Patch**.
---
## How to access experimental features
To access experimental settings:
- Go to Preferences Experimental
Experimental features are optional and can be enabled or disabled at any time. If you experience issues or have feedback, [contact support](https://help.gitkraken.com/gitkraken-desktop/contact-support/?issue_category__customer_facing_field_=Experimental+feedback&subject=GitKraken+Client+Experimental+feedback).
---
## How Git Executable works
This setting allows GitKraken Desktop to use your system’s Git executable instead of NodeGit for core Git operations. It can enhance compatibility and performance.
**Enable it from:** Preferences > Experimental > Use Git Executable
GitKraken ships with Git built-in, or you can select a system Git path.
### Which features use Git Executable
Git actions that currently use the Git executable (by version):
**v9.4.0–11.9.0:**
- Commit, fetch, push, pull
- Branch rename/delete, merge base
- Tag creation/deletion, revert commits
- Cherry-pick, rebase, checkout, clone
- Shallow repositories and shallow clone settings
- Staging, unstaging, stash support
- SSH signing, Git Credential Manager
- Discard changes, undo/redo, hooks output
- Reset to commit (mixed, hard, soft)
- Undo checkout
- Submodules
- Squash merge setting in Commit preferences
See full details per release in the [GitKraken Desktop release notes](/gitkraken-desktop/current/).
---
## How Cloud Patches work
Watch how to create and apply Cloud Patches in GitKraken.
### What Cloud Patches are
A Cloud Patch is a Git patch that GitKraken securely stores so you can share it across GitKraken Desktop, GitLens, and CLI. Use them to:
- Share work-in-progress with teammates before a pull request
- Apply changes across machines or collaborators securely
### How to enable Cloud Patches
Cloud Patches require the **Git Executable** to be enabled (it is by default).
### How to create a Cloud Patch
1. Stage files in the Commit Panel.
2. Click the Cloud Patch icon.
Create a Cloud Patch from staged changes.
You can also right-click any commit in the graph and select Share commit as Cloud Patch.
### How to share and apply Cloud Patches
- Copy the link from the toast or Left Panel
- Options:
- Anyone with the link
- Anyone in my org (requires GitKraken login)
- Only selected collaborators (requires login)
Recipients can open the patch and apply it to a selected branch.
Apply Cloud Patch to a target branch in GitKraken Desktop.
### How to manage Cloud Patches
To delete a patch, right-click it in the Left Panel and choose Delete Cloud Patch.
Manage Cloud Patches via context menu.
### How to self-host Cloud Patches
You can self-host Cloud Patch data on an AWS S3 instance instead of GitKraken servers. See [Security Controls](/gk-dev/gk-dev-security-controls/#self-hosted) for setup instructions.
---
# GitKraken Desktop FAQ | Common Questions & Troubleshooting
URL: https://help.gitkraken.com/gitkraken-desktop/faq/
Description: Get answers to frequently asked questions about GitKraken Desktop. Learn about features, integrations, installations, SSH issues, and troubleshooting steps.
Product: GitKraken Desktop
Feature: FAQ
Content type: faq
Audience: all
Plan required: all
Status: GA
Last verified: 2026-03
Last updated: April 2026
This FAQ answers common GitKraken Desktop questions about supported platforms, account and plan limits, authentication, remote access, and troubleshooting. Use it when you need a quick answer or constraint check before opening a longer feature guide, especially for Linux support, SSH behavior, proxy issues, or subscription-related questions.
**Key facts**
- Supported Linux distributions: Ubuntu 18.04 LTS+, RHEL 8+, and Fedora 39+
- Multiple accounts: Supported with a paid license by using Profiles
- Windows SSH note: Pageant is the supported SSH agent on Windows
- Community status troubleshooting: Verify that you are signed in with the email associated with your subscription
| Topic | Current answer |
|-------|----------------|
| Supported Linux distributions | Ubuntu 18.04 LTS+, RHEL 8+, Fedora 39+ |
| Multiple accounts | Supported with a paid license by using Profiles |
| Windows SSH agent | Pageant is the supported SSH agent on Windows |
| Subscription shows Community | Verify that you are signed in with the email associated with your subscription |
---
## Common coding agent and worktree questions
### What is Agent Sessions View?
Agent Sessions View is a Left Panel mode in GitKraken Desktop that organizes worktrees around coding agent sessions, status, and quick actions. For more information, see [Coding Agents in GitKraken Desktop](/gitkraken-desktop/agents/).
### Can I run multiple coding agent sessions at the same time?
Yes. Each coding agent session runs in its own worktree and working directory, so you can run parallel sessions in the same repository.
### Can I use a coding agent that GitKraken Desktop does not explicitly integrate with?
Yes. GitKraken Desktop explicitly integrates with supported coding agent CLIs such as Claude Code, Codex CLI, Copilot CLI, Gemini CLI, and OpenCode, but you can still run other coding agents manually in the embedded terminal. For more information, see [Coding Agents in GitKraken Desktop](/gitkraken-desktop/agents/) and [GitKraken Terminal Guide](/gitkraken-desktop/terminal/).
### Do List view and Agent Sessions View show different worktrees?
No. They show the same underlying worktrees. List view is reference-focused, while Agent Sessions View is agent-focused. For more information, see [Manage Git Worktrees in GitKraken Desktop](/gitkraken-desktop/worktrees/).
### Are Agent Sessions View and coding agent workflows available for on-prem customers?
Yes. On-premises deployments use the same GitKraken Desktop client for local Desktop workflows such as worktrees, Agent Sessions View, and terminal-based coding agent workflows. Availability of cloud-dependent services still depends on the deployment and environment. For more information, see [Set Up GitKraken Self-Hosted Server (On-Premise)](/gitkraken-desktop/self-hosted/) and [GitKraken On-Premise Serverless (Stand-Alone) Setup](/gitkraken-desktop/serverless/).
---
## Common feature and interface questions
### Does GitKraken support TFS, Visual Studio Team Services, or Azure DevOps?
Yes. GitKraken integrates with [Azure DevOps](/integrations/azure-devops/). For TFS, clone the repository manually using File > Clone Repo and provide the HTTPS URL. On Mac or Linux, enable _Basic Authentication_ in IIS for TFS. Consider using a Personal Access Token (PAT) if password authentication fails.
More info: [SSH and HTTPS authentication](/integrations/authentication)
### What Linux distributions are supported?
GitKraken supports:
- Ubuntu 18.04 LTS+
- RHEL 8+
- Fedora 39+
Other distributions may work but are not officially supported.
### Can I use multiple GitHub/GitLab/Bitbucket/Azure DevOps accounts?
Yes—with a paid license. Use [Profiles](/start-here/profiles) to configure separate integrations for each account.
### How do I change my commit avatar?
Your avatar is linked to your `.gitconfig` email address via [Gravatar](https://gravatar.com/). Update your Gravatar to change your displayed avatar.
### Can I use GitKraken on multiple computers?
Yes. Subscriptions are linked to your email address, not a specific machine.
### Why can’t I see remotes under the integration drop-down?
The drop-down only shows forks. Use the [URL option](/gitkraken-desktop/pushing-and-pulling/#adding-remotes) to add other remotes.
### How do I push a local project to GitHub or other remotes?
1. [Initialize a new project](/working-with-repositories/open-clone-init/#initialize-a-new-project) remotely.
2. [Open your local project](/working-with-repositories/open-clone-init/#opening-an-existing-project).
3. Add the new project as a [remote](/working-with-repositories/pushing-and-pulling/).
4. Set your branch's [upstream](/working-with-repositories/pushing-and-pulling/#setting-the-upstream-branch).
5. Push and confirm the Force Push prompt.
### How do I sign out of GitKraken?
While there’s no sign-out button, you can:
- Click your profile icon → Sign into a different account
- Or delete the `~/.gitkraken` folder to reset data
---
## Common technical troubleshooting questions
### Why am I getting a repo compatibility error?
Try closing other tools like IDEs, then relaunch GitKraken. Use `git status` to check for uncommitted changes. Try switching branches or cloning to a new directory.
### Why won’t GitKraken launch on Linux?
Launch from terminal to check for missing dependencies. Refer to the [installation guide](/gitkraken-desktop/how-to-install/).
### Why does my subscription show COMMUNITY?
Verify that you're logged into the email associated with your subscription. Check this via your profile icon.
Access alternate login via the profile menu.
### Why isn’t GitKraken authenticating my SSH key?
- Confirm remote URLs start with `ssh://` or `{user}@{host}:{repo}`.
- On Windows, only Pageant is supported. [Download here](http://www.chiark.greenend.org.uk/~sgtatham/putty/download.html).
### Why can’t GitKraken access my GitHub remote?
- Confirm GitKraken is [authorized](https://github.com/settings/applications).
- Org access may require approval from the owner. [Request access](https://github.com/settings/connections/applications/a7557949433b7d282a76).
### Why can’t GitKraken connect to the internet (firewall or proxy)?
- GitKraken works with most firewalls but some PACs or proxy settings may need manual config.
- Use `http.proxy` or `remote..proxy` in Git config. See [Authentication](/integrations/authentication).
### Why is the graph missing commits or showing errors?
Run `git gc` in terminal or clone into a fresh directory.
### Why is the window blank or UI not displaying properly?
Launch GitKraken with:
```bash
gitkraken --disable-gpu
```
### Why is my file encoding incorrect or unreadable?
Set encoding to `UTF-8` or use `GUESS ENCODING` under repository preferences.
### How can I enable extended logging for troubleshooting?
1. Close GitKraken
2. Rename or delete `~/.gitkraken/logs`
3. Start GitKraken using: `gitkraken -d SILLY`
4. Reproduce the issue
5. Logs will be saved in the new `logs` folder
### I can't select repo folders on Ubuntu 20.04 or prior versions. How do I fix this?
This is due to a known Electron issue. Start GitKraken with:
```bash
gitkraken --xdg-portal-required-version=3
```
---
# GitKraken Desktop Themes | Customize Light, Dark & Custom UI
URL: https://help.gitkraken.com/gitkraken-desktop/themes/
Description: Learn how to switch between light and dark themes in GitKraken Desktop, sync with your system theme, and create custom themes using JSONC files.
Product: GitKraken Desktop
Feature: Themes
Content type: how-to
Audience: developer
Plan required: all
Status: GA
Last verified: 2026-03
Last updated: March 2026
Use this page to change the GitKraken Desktop theme, sync the app with your system theme, and understand the current status of custom theme support. It explains where theme controls live, how built-in themes work, and why custom themes are currently disabled as of version 11.8.0.
**Requirements and limits**
- Scope: Built-in themes, system theme sync, and legacy custom theme behavior
- Theme settings location: Preferences > UI Customization
- Built-in theme support: Available and supported
- Custom theme status: Disabled as of GitKraken Desktop 11.8.0
- Legacy custom theme location: `~/.gitkraken/themes/`
- Invalid-theme behavior: If a theme file contains invalid syntax, GitKraken falls back to the default dark theme
- Markdown on this page about custom themes is historical/reference-only until custom themes are restored
Watch how to switch and create themes in GitKraken Desktop.
***
## Quick Start
**To switch themes:** Go to Preferences > UI Customization and select a theme, or open the Command Palette and type `switch theme`.
**To sync with your system theme:** Enable the system theme sync option in Preferences > UI Customization. GitKraken Desktop will follow your OS light or dark setting when supported.
**To create a custom theme:**
1. Open Preferences > UI Customization > Theme and click the folder to navigate to `~/.gitkraken/themes/`.
2. Copy a `.jsonc-default` template file and rename it with a `.jsonc` extension.
3. Open the file in a text editor and set a unique `meta.name` and a `scheme` value of `light` or `dark`.
4. Save the file. Your custom theme appears in the theme list immediately. Changes take effect live without restarting GitKraken Desktop.
Custom themes have been disabled as of version 11.8.0 while the UI is being modernized. Built-in themes remain available.
***
Note:Custom themes have been disabled in 11.8.0 as we modernize the UI for better performance and maintainability.
***
## How built-in themes work
To change your GitKraken Desktop theme:
- Go to Preferences UI Customization
- Or open the [Command Palette](/start-here/command-palette/) and type `switch theme`
Switch themes from the Command Palette.
### How sync with system theme works
If your OS supports theme switching, GitKraken Desktop can follow your system’s light/dark setting. Enable this from Preferences > UI Customization.
***
## How custom themes work
GitKraken Desktop supports user-defined themes. To create a custom theme:
### How to locate theme files
Theme files live in:
```
~/.gitkraken/themes/
```
You can open this folder from Preferences > UI Customization > Theme. Each `.jsonc-default` file is a template.
### How to create a custom theme
1. Copy a `.jsonc-default` file you want to base your theme on.
2. Rename the file (e.g., `MyCustomTheme.jsonc`).
3. Open it in a text editor.
4. Set a unique value for `meta.name`. This is the theme name shown in GitKraken.
5. Define your theme’s `scheme` as either `light` or `dark`.
6. Save your file and return to GitKraken.
Your custom theme will appear under Preferences > UI Customization > Theme.
### How live theme editing works
Changes to your theme file take effect immediately—no need to restart GitKraken. If the file contains invalid syntax, GitKraken will revert to the default dark theme.
Note: Theme files must follow correct JSONC formatting. Invalid files will be skipped and replaced by the default theme until corrected.
***
## What functions are supported in theme files
### Supported CSS functions
GitKraken supports these CSS functions:
- `calc`
- `hsl` / `hsla`
- `max`, `min`
- `rgb` / `rgba`
- `var`
See [CSS functions](https://www.w3schools.com/cssref/css_functions.asp) for reference.
### Supported LESS functions
Supported LESS functions include:
- `darken`, `lighten`, `fade`
- `saturate`, `desaturate`
- `mix`, `mixLess`
See [LESS functions](https://lesscss.org/functions) for full documentation.
***
## Community themes
Looking for inspiration? Some users share their custom themes online, such as the collection at [jonbunator.github.io/gitkraken-custom-themes](https://jonbunator.github.io/gitkraken-custom-themes).
Please note that this site is not affiliated with GitKraken, and we do not provide support for external or user-generated themes.
---
# GitKraken Desktop – Common Issues and Fixes
URL: https://help.gitkraken.com/gitkraken-desktop/common-issues/
Description: Troubleshoot common GitKraken Desktop problems, including login errors, GitHub integrations, performance issues, and experimental Git behavior.
Product: GitKraken Desktop
Feature: Common Issues
Content type: troubleshooting
Audience: developer
Plan required: all
Status: GA
Last verified: 2026-04
Last updated: April 2026
***
Use this page to troubleshoot common GitKraken Desktop problems related to licensing, integrations, SSH, WSL, platform-specific behavior, and known error messages. Start with the Quick Start checklist for the most common fixes, then use the matching section below when you need issue-specific recovery steps.
**Requirements and limits**
- Scope: High-frequency troubleshooting for account, integration, SSH, WSL, platform, and known error conditions
- First-step usage: Start with the Quick Start checklist before using issue-specific sections
- Integration recovery pattern: Browser sign-out, cache clearing, and reconnecting from Preferences > Integrations resolves many 1000-series errors
- WSL limitation: Do not run GitKraken Desktop as root, and prefer native WSL2 GUI support over XServer-based setups
- Experimental Git note: Some issues may be tied to the Git Executable setting in Preferences > Experimental
- Escalation path: Contact GitKraken Support if the matching section does not resolve the problem
***
## Quick Start
- **Account or license not recognized**: Verify you are signed in with the email address linked to your subscription, and that the correct organization is selected in GitKraken Desktop and on gitkraken.dev.
- **Integration errors (1002, 1003, 1005, 1007)**: Sign out of your browser, clear its cache, and reconnect your integration from Preferences > Integrations.
- **Clone always uses HTTPS instead of SSH**: Add or generate an SSH key under Preferences > Integrations > [Integration], then restart GitKraken Desktop.
- **Commit Details panel missing**: Go to View > Show Commit Details panel to restore it.
- **Performance problems**: See the [Performance Issues](/gitkraken-desktop/performance-issues/) guide, or try running Perform Repo Maintenance from the Command Palette.
- **Push failed with `Cannot read property 'fullName' of undefined`**: Rename your local branch to match the remote branch name exactly.
- **WSL issues**: Avoid running GitKraken Desktop as root; use native WSL2 GUI support instead of XServer.
- **Coding agent sessions fail in WSL**: Make sure the coding agent CLI you want to use is installed and available in WSL, not only on Windows. See [Use GitKraken Desktop with Windows Subsystem for Linux (WSL 2)](/gitkraken-desktop/windows-subsystem-for-linux/) and [Coding Agents in GitKraken Desktop](/gitkraken-desktop/agents/).
If the steps on this page do not resolve your issue, contact [GitKraken Support](https://help.gitkraken.com/gitkraken-desktop/contact-support/).
***
## How to fix account, license, and entitlement issues
### My account shows Trial/Free/Community despite being a paid customer
In GitKraken Desktop, verify you're logged in with the correct account:
Ensure you are signed in with the email address linked to your subscription. Avoid using GitHub or Google login options if your subscription is tied to an email address.
### The account is correct but it says I don't have AI credits
Make sure the correct organization is selected:
AI credit access is determined by the selected organization.
### GitKraken.dev shows my account as TRIAL / COMMUNITY
Select the correct organization:
This issue can occur if you're viewing an organization that doesn't have a subscription.
---
## How to fix common GitKraken Desktop issues
### Clone repo always uses HTTPS instead of SSH
GitKraken Desktop defaults to HTTPS. To use SSH:
1. Go to Preferences > Integrations > [INTEGRATION]
2. Add or generate an SSH key
3. Restart GitKraken Desktop
### Issue tracker error appears on repo startup or tab switch
This happens if a disconnected issue tracker is set as default.
- Go to Preferences > Issue Tracker
- Select None
- Check Use this as the default for all repositories
### Commit details panel is missing
To re-enable it: View > Show Commit Details panelThe right-side commit panel can be toggled from the View menu.
### Can't minimize/maximize or exit full-screen mode
Toggle full-screen mode with F11 (for Windows/Linux) or Ctrl + Cmd + F (for macOS)Keyboard shortcut to toggle full screen in GitKraken Desktop.
### Diff shows entire file instead of changes
This can occur due to differences in line endings or encoding.
- Enable "Ignore trailing whitespace"
- If the message changes to "File contents are unchanged," the files are identical
Line ending or whitespace differences may cause misleading diffs.
### Private organization repositories not visible (GitHub)
Ensure GitKraken Desktop has organization access:
Check your GitHub application settings to confirm permissions.
[GitHub Application Access Settings](https://github.com/settings/connections/applications/a7557949433b7d282a76)
---
## How to fix WSL issues
### GitKraken window is too small
GitKraken Desktop may not respect Windows DPI scaling when running in WSL.
- Use this workaround: `gitkraken --force-device-scale-factor=1.5`
### GitKraken doesn't launch from the console
Avoid running GitKraken as root. Switch to a regular user.
### GitKraken closes suddenly and won't reopen
This is a known WSL issue triggered by network changes.
- Terminate GitKraken: `pkill -f gitkraken`
- Launch another GUI app (e.g., `gedit`) to restore GUI functionality
### GitKraken GUI does not launch or scales incorrectly under WSL2 with XServer
- XServer is not required. Use native WSL2 GUI support instead.
### Coding agent sessions fail to start in WSL
Windows-installed coding agent CLIs can take precedence over WSL-installed CLIs.
- Make sure the coding agent CLI you want to use is installed in your WSL environment.
- Avoid relying on a Windows-installed coding agent when GitKraken Desktop is running inside WSL.
- For more information, see [Use GitKraken Desktop with Windows Subsystem for Linux (WSL 2)](/gitkraken-desktop/windows-subsystem-for-linux/) and [Coding Agents in GitKraken Desktop](/gitkraken-desktop/agents/).
---
## How to fix Linux issues on Ubuntu
### File explorer does not open
GitKraken’s Electron window may be hidden behind the app.
- Minimize GitKraken or use Alt + Tab
### GitKraken does not load my environment variables
- GitKraken sources `.bashrc` or `.zshrc` for environment variables
### File watching failed to start
Increase file watchers in `/etc/sysctl.conf`:
```bash
fs.inotify.max_user_instances=8192
fs.inotify.max_user_watches=524288
```
---
## How to fix Windows-specific issues
### Use GitKraken Desktop with PuTTY/Plink
- Set `GIT_SSH` or `GIT_SSH_COMMAND` to point to Plink
- Or configure `core.sshCommand` in `.gitconfig`
- Also update Git Executable under Preferences > Experimental > Git Executable
---
## How to fix macOS-specific issues
### Git hooks fail with `command not found`
GUI apps on macOS do not inherit shell environment variables.
- Try launching GitKraken from terminal
- Use `launchctl setenv YOURVAR value` to set GUI-accessible environment variables
---
## How to troubleshoot GitKraken Desktop 9.4.0 and later
The [Git Executable](/gitkraken-desktop/experimental-features/#git-executable) option may affect Git behavior.
Steps to modify:
- Go to Preferences > Experimental
- Choose system Git version instead of the bundled one
- [Download Git](https://git-scm.com/download) if needed
Switch Git Executable version under Preferences > Experimental.
Disable the executable if problems continue:
Disable Git Executable if needed.
Report persistent issues via [GitKraken Support](https://help.gitkraken.com/gitkraken-desktop/contact-support/).
[Blog post on migrating to Git Executable](https://www.gitkraken.com/blog/gitkraken-client-migrating-from-libgit2-to-git-executable?product=gitkraken&source=help_center)
---
## How to fix 1000-series integration errors
Error codes include:
- 1002
- 1003
- 1005
- 1007
Example: Authentication error during integration.
**Solution:**
- Check credentials
- Sign out from your browser, then try again in GitKraken
- Clear browser cache
- Try a different default browser
Still stuck? [Contact Support](https://www.gitkraken.com/contact?product=gitkraken&source=help_center)
---
## How to fix the `Cannot read property 'fullName' of undefined` push error
Push error caused by case mismatch in branch name.
**Solution:**
Rename the local branch to match the remote branch exactly. Use an intermediate name if necessary:
```bash
git branch -m Test-branch temp-branch
git branch -m temp-branch test-branch
```
---
## How to fix missing branches or files caused by capitalization issues
On case-insensitive file systems like Windows, branches or files differing only by case may not appear correctly.
End of document.
---
# GitKraken Terminal Guide
URL: https://help.gitkraken.com/gitkraken-desktop/terminal/
Description: Learn how to use GitKraken’s in-app terminal to run Git commands, work in repository and worktree context, run coding agents manually, and customize shell preferences.
Product: GitKraken Desktop
Feature: Terminal
Content type: how-to
Audience: developer
Plan required: all
Status: GA
Last verified: 2026-04
Last updated: April 2026
Use this page to use the GitKraken Desktop terminal while staying in the context of the open repository, commit graph, and active worktree. It covers how to open the terminal, how command and flag auto-complete works, how terminal sessions behave across worktrees, how to run coding agents manually, and where to change shell and terminal appearance settings.
**Requirements and limits**
- Scope: In-app terminal for the currently open repository context
- Repository context: Commands run in the active repository or worktree working directory automatically
- Supported shell note: macOS and Linux use the OS default shell; Windows supports PowerShell and Bash via Preferences
- Auto-complete limitation: Conflicting third-party auto-complete tools can disable GitKraken suggestions
- Settings location: Preferences > In-App Terminal for appearance and autocomplete behavior
- Coding agents: You can run supported or unsupported coding agent CLIs manually in the embedded terminal
To get started, open a repository and click the Terminal button in the toolbar, or search for "terminal" using the Command Palette.
***
## Quick Start
**To open the terminal:** Click the Terminal icon in the toolbar or search for "terminal" in the Command Palette.
**To run commands:** Type any Git command such as `git status`, `git commit -m "message"`, or `git log --oneline`. Auto-complete suggestions appear as you type, including flag suggestions for each command.
**To run a coding agent manually:** Open the terminal in the worktree you want to use, then start your coding agent CLI there.
**To customize terminal appearance:** Go to Preferences > In-App Terminal to change font, size, line height, cursor style, and autocomplete behavior.
**To set your default shell:**
- **macOS/Linux**: Set ZSH or Bash as the default shell in your OS settings and restart your machine.
- **Windows**: Open Preferences > Terminal and select PowerShell or Bash.
The terminal shares context with the open repository or worktree, so commands run against the correct working directory automatically.
Launch the terminal from the GitKraken toolbar
---
## How Git commands and auto-complete work
The GitKraken Terminal supports most Git commands. Start typing `git` to see command suggestions via auto-complete.
Git commands appear in auto-complete suggestions
Flag suggestions are also supported:
Flag suggestions enhance Git command efficiency
Note: Conflicting auto-complete programs may disable suggestions. You may need to uninstall or disable such programs for GitKraken's suggestions to work correctly.
---
## How to customize terminal preferences
Visit Preferences > In-app Terminal to modify your terminal settings.
Access terminal settings under Preferences
### How the default terminal works on macOS and Linux
GitKraken supports ZSH and Bash. To switch shells:
1. Set the preferred shell as default in your OS settings.
2. Restart your machine to apply changes.
### How the default terminal works on Windows
PowerShell and Bash are currently supported. To change the shell:
1. Open Preferences > Terminal.
2. Set the _Default Terminal_ to your desired shell.
---
## How multi-session support works
The embedded terminal supports independent sessions per worktree in a single tab. GitKraken Desktop uses the same underlying worktrees in both List view and [Agent Sessions View](/gitkraken-desktop/agents/).
When you switch to another worktree, the terminal view refreshes to that worktree's session and opens in its working directory. For example, you might switch worktrees from List view or by clicking an agent session card in Agent Sessions View.
Each session runs independently, so long-running commands in one worktree keep running when you switch away and come back.
This is also how manual coding agent workflows work. If a coding agent is not explicitly integrated with GitKraken Desktop, you can still open the terminal for a worktree and run that agent there.
---
## How to run a coding agent manually in the terminal
Use this workflow when you want to run a coding agent CLI that GitKraken Desktop does not explicitly integrate with, or when you prefer to start the agent yourself.
1. Open the repository or worktree you want to use.
2. Open the terminal from the toolbar or Command Palette.
3. Confirm that the terminal is running in the correct working directory.
4. Start your coding agent CLI in the terminal.
5. Continue working in GitKraken Desktop while the terminal session stays attached to that worktree.
If you want GitKraken Desktop to create and manage coding agent sessions for explicitly supported agents, see [Coding Agents in GitKraken Desktop](/gitkraken-desktop/agents/).
---
## How to drag and drop files into the terminal
You can drag a file from your OS file manager or from the Commit Panel into the terminal to insert the file's full path at the cursor. You can also drag text into the terminal to insert it at the cursor. This is useful when you want to paste a path or snippet into a command without retyping it.
---
## Common Git commands to try
Use the terminal to quickly execute common Git operations:
- `git status` - View working directory and staging status
- `git commit -m "message"` - Commit changes with a message
- `git log --oneline` - View a condensed commit history
These commands complement GitKraken’s visual graph for a comprehensive Git experience.
---
# Improve GitKraken Desktop Performance
URL: https://help.gitkraken.com/gitkraken-desktop/performance-issues/
Description: Troubleshoot and fix performance issues in GitKraken Desktop with maintenance tips and optimization settings.
Product: GitKraken Desktop
Feature: Performance Troubleshooting
Content type: troubleshooting
Audience: developer
Plan required: all
Status: GA
Last verified: 2026-03
Last updated: March 2026
Use this page to diagnose slow or unresponsive behavior in GitKraken Desktop, especially in large or complex repositories. It focuses on practical fixes such as repository maintenance, graph-size limits, auto-fetch changes, branch cleanup, LFS cleanup, and build verification for macOS systems.
**Requirements and limits**
- Scope: Troubleshooting performance problems in GitKraken Desktop repositories and UI rendering
- Common trigger: Large repositories with many references or heavy graph rendering
- Primary fixes: Repo maintenance, graph-size reduction, auto-fetch changes, branch cleanup, and LFS cleanup
- macOS-specific note: Version 11.5.1 performance can be affected by using the wrong Intel vs Apple Silicon build
- Escalation path: Contact GitKraken Support if maintenance and configuration fixes do not help
***
## Quick Start
**Common fixes:**
- Run **Perform Repo Maintenance** from the Command Palette. This executes `git maintenance run` to optimize the repository’s internal data structures.
- Set the Auto-fetch interval to `0` in Preferences > General to disable automatic background fetches.
- Lower the **Max Commits in Graph** value in Preferences > General to reduce the number of commits rendered.
- Delete unnecessary local branches to reduce reference overhead.
- If Git LFS is in use, run an LFS prune to clean up unreferenced objects.
- Clone a fresh copy of the repository to a clean directory if the local copy has accumulated issues.
**macOS users on version 11.5.1:** Confirm the installed build matches your chip type (Apple Silicon or Intel) by checking the GitKraken menu. Download the correct version from gitkraken.com if there is a mismatch.
If problems persist after these steps, contact GitKraken support.
***
## How to improve performance
Performance issues are commonly linked to large repositories with many references. Try these steps to improve responsiveness:
### Repository-level actions
- Use the Perform Repo Maintenance command from the [Command Palette](/start-here/command-palette). This runs `git maintenance run`, which may take several minutes on large repos.
- Run [`git gc`](https://git-scm.com/docs/git-gc) in your local repository.
- Clone a fresh copy of the repository to a new directory.
### Interface optimization
- Disable auto-fetch by setting the [Auto-fetch interval](/gitkraken-desktop/preferences/#auto-fetch) to `0`.
- Reduce the number of commits shown in the graph by setting a lower [Max Commits value](/gitkraken-desktop/preferences/#max-commits-in-graph).
- [Solo or Hide](/gitkraken-desktop/hiding-and-soloing/) branches and tags to reduce visual complexity.
### Cleanup and maintenance
- [Delete unnecessary local branches](/gitkraken-desktop/branching-and-merging/#delete-a-branch).
- If using Git LFS, perform an [LFS prune](/gitkraken-desktop/git-lfs/).
- Run [`git status`](https://git-scm.com/docs/git-status) to check for unexpected working directory states.
- Restart GitKraken Desktop daily to clear any accumulated memory or cache usage.
### How to verify your GitKraken Desktop build on macOS
Some Mac users have noticed that GitKraken Desktop **11.5.1** may feel less responsive. In most cases, the Mac installed the wrong build for the machine’s chip (Intel vs. Apple Silicon).
It’s an easy check:
1. **Open GitKraken.** Navigate to the **GitKraken** menu from the top left of your machine.
Check your version from the GitKraken menu.
2. **Confirm the build matches your Mac’s chip** (Apple Silicon/arm64 vs. Intel/x64).
3. **If it doesn’t match,** [download the correct version](https://www.gitkraken.com/download) and reinstall.
Note: Performance issues may also be impacted by file system speed, antivirus scanning, or external integrations. If the above steps don’t help, reach out to GitKraken support.
---
# Sign Commits with GPG or SSH in GitKraken Desktop
URL: https://help.gitkraken.com/gitkraken-desktop/commit-signing-with-gpg/
Description: Learn how to verify your commits using GPG or SSH keys in GitKraken Desktop. Includes setup, configuration, and troubleshooting for Git commit signing.
Product: GitKraken Desktop
Feature: Commit Signing
Content type: how-to
Audience: developer
Plan required: all
Status: GA
Last verified: 2026-03
Last updated: March 2026
***
Use this page to sign Git commits and tags in GitKraken Desktop with either GPG or SSH keys so hosting providers can verify your identity. It covers setup requirements, key generation, GitKraken configuration, verification behavior, and the extra Git Executable requirement for SSH-based signing.
**Requirements and limits**
- Scope: Commit and tag signing with GPG or SSH keys
- GPG requirement: Install GPG before configuring signing in GitKraken Desktop
- Restart requirement: Close and reopen GitKraken Desktop after installing GPG
- SSH signing requirement: Git Executable must be enabled
- SSH signing setup: Requires a `.pub` signing key and an `allowed_signers` file
- Host verification note: GitHub and GitLab support SSH-signed commit verification; Bitbucket does not
- Verification behavior: Signed commits show a badge in the Commit Panel with signature details on hover
***
## Quick Start
**To sign commits with GPG:**
1. Install GPG for your operating system (Gpg4win on Windows, `brew install gpg` on macOS, or your Linux package manager).
2. Close and reopen GitKraken Desktop.
3. Go to Preferences > Commit Signing.
4. Select a **Signing Key** from the dropdown, or click **Generate new GPG Key**.
5. Set the **GPG Program** path if it is not auto-detected.
6. Enable **Sign Commits by Default** and/or **Sign Tags by Default**.
7. Copy your public key from Preferences > GPG and upload it to your hosting service (GitHub, GitLab, or Bitbucket).
**To sign commits with SSH:**
1. Generate an SSH key and enable the **Git Executable** under Preferences > Experimental.
2. Go to Preferences > Commit Signing, set the **GPG Format** to **SSH**, and select your `.pub` key file.
3. Create an `allowed_signers` file and select it in GitKraken Desktop.
4. Enable **Sign Commits by Default**.
Signed commits display a badge next to the SHA in the Commit Panel. Hover over it to view signature details.
## What commit signing is
In Git, you may commit using any name and email address. However, Git supports signing commits and annotated tags using a GPG or SSH key pair.
By signing a commit, others with your public key can verify that the commit was created by you. Public keys can also be uploaded to remote hosting services like GitHub so commits appear as verified.
---
## How to sign commits with GPG
### GPG requirements
Before signing commits, install and configure GPG.
Note: Close GitKraken Desktop before installing GPG.
- **Windows:** Use [Gpg4win](https://gpg4win.org/download.html) and follow the installer.
- **Mac:** Use [Homebrew](https://brew.sh/):
```bash
brew install gpg
```
- **Linux:** Use your package manager:
- Debian/Ubuntu: `apt install gnupg`
- Fedora: `dnf install gnupg2`
- CentOS/RHEL: `yum install gnupg2`
More downloads at [gnupg.org](https://www.gnupg.org/download/index.html).
To verify installation:
```bash
gpg --version
```
Note: Use gpg2 if gpg isn’t aliased. Prefix commands accordingly.
### How to generate a GPG key in GitKraken Desktop
Once GPG is installed:
1. Go to Preferences > Commit Signing.
2. Click **Generate new GPG Key**.
3. (Optional) Enter a passphrase before generating.
### How to configure GPG in GitKraken Desktop
1. Navigate to Preferences > Commit Signing.
2. Set the **Signing Key** from the dropdown list. If it’s empty:
- Configure the GPG Program path.
- Restart GitKraken after installing GPG.
3. Specify the **GPG Program** location or use the Browse button if not auto-detected.
```bash
which gpg # macOS/Linux
where gpg # Windows
```
4. Enable **Sign Commits by Default** and/or **Sign Tags by Default** as needed.
### How to verify signed commits
Signed commits show an icon next to the SHA in the Commit Panel.
Hover to view signature details:
**Common GPG signature codes:**
- `GOODSIG`: Valid signature.
- `EXPSIG`: Signature is expired.
- `EXPKEYSIG`: Signed with expired key.
- `REVKEYSIG`: Signed with revoked key.
- `BADSIG`: Signature not verified.
- `ERRSIG`: Unable to check signature (missing key or unsupported algorithm).
### How to upload a GPG key to your hosting service
To display signed commits as verified:
- [GitHub GPG setup](https://docs.github.com/en/authentication/managing-commit-signature-verification/adding-a-gpg-key-to-your-github-account)
- [GitLab GPG setup](https://docs.gitlab.com/ee/user/project/repository/signed_commits/gpg.html#add-a-gpg-key-to-your-account)
- [Bitbucket GPG setup](https://support.atlassian.com/bitbucket-cloud/docs/use-gpg-keys-to-sign-commits/#Add-a-GPG-key)
In GitKraken: Preferences > GPG → Copy GPG Public Key.
### How to edit a GPG key
To add emails or renew a key:
1. List keys:
```bash
gpg --list-secret-keys --keyid-format LONG
```
2. Edit:
```bash
gpg --edit-key YOUR_KEY_ID
```
3. Use commands:
- `adduid`: Add email
- `deluid`: Remove email
- `trust`: Update trust level
- `expire`: Change expiration
- `save`: Save and exit
[GNU’s full GPG key guide](https://www.gnupg.org/gph/en/manual/r899.html)
After editing, re-upload the key to your host. See Uploading Your GPG Key to a Remote Hosting Service.
### How to delete a GPG key
To delete:
```bash
gpg --delete-secret-keys
```
Append your key ID or name.
---
## How to sign commits with SSH
SSH signing is available through Git Executable.
### SSH signing requirements
- **macOS/Linux:** Git and OpenSSH are usually preinstalled.
```bash
git -v
ssh -V
```
- **Windows:** Install [Git Bash](https://git-scm.com/).
### How to enable SSH signing
1. **Create SSH key:**
```bash
ssh-keygen -t ed25519 -C "your_email@example.com"
```
2. **Enable Git Executable:**
Go to Preferences > Experimental > Git Executable.
3. **Set GPG Format to SSH:**
Preferences > Commit Signing > GPG Format → select SSH.
4. **Select signing key:**
On Signing Key, browse to the `.pub` key.
5. **Create allowed_signers file:**
```bash
touch ~/.ssh/allowed_signers
echo "$(git config --get user.email) namespaces=\"git\" $(cat ~/.ssh/YOUR_KEY.pub)" >> ~/.ssh/allowed_signers
```
Select this file in GitKraken.
6. **Enable Signing by Default:**
Preferences > Commit Signing → enable **Sign Commits** and/or **Sign Tags**.
7. **Add SSH Key to Host:**
- [GitHub SSH setup](https://docs.github.com/en/authentication/connecting-to-github-with-ssh/adding-a-new-ssh-key-to-your-github-account)
- [GitLab SSH setup](https://docs.gitlab.com/ee/user/project/repository/signed_commits/gpg.html#add-a-gpg-key-to-your-account)
- ⚠️ Bitbucket does **not** support SSH-signed commit verification.
---
# View Activity Logs in GitKraken Desktop
URL: https://help.gitkraken.com/gitkraken-desktop/activity-logs/
Description: Learn how to view real-time Git actions, application events, and Git hook feedback using Activity Logs in GitKraken Desktop.
Product: GitKraken Desktop
Feature: Activity Logs
Content type: troubleshooting
Audience: developer
Plan required: all
Status: GA
Last verified: 2026-03
Last updated: March 2026
Use this page to inspect Activity Logs in GitKraken Desktop when you need to see recent Git operations, application events, performance timing, or Git hook output. It explains the difference between the Application and Repository tabs, how extended logging changes the output, and how hook failures surface in the log UI.
**Requirements and limits**
- Scope: Real-time GitKraken Desktop application and repository event logs
- Access point: Activity Logs icon in the footer toolbar
- Application tab: Shows GitKraken Desktop instance events and is not tied to the active repository
- Repository tab: Shows Git operations for the currently active repository only
- Extended logging: Enable in Preferences > General for more detailed repository log output
- Hook log behavior: Git hook failures surface in the Repository log and through snackbox links to the hook output
***
## Quick Start
1. Open GitKraken Desktop and open any repository.
2. Click the Activity Logs icon in the footer toolbar at the bottom of the window.
3. Select the **Application** tab to view actions taken by GitKraken Desktop itself, such as opening repositories or refreshing the Git config.
4. Select the **Repository** tab to see Git operations performed on the current repository, such as fetch, push, and merge.
5. To include more detail in the Repository tab, go to Preferences > General and enable **Use extended logging in activity log**.
6. If a Git hook fails, a snackbox notification will appear with a link to the hook log. Click it to view the hook output directly.
Each log entry includes a timestamp, a description of the action, and duration in milliseconds. Logs are displayed in plain text format and update in real time as you work.
***
## What Activity Logs are
The Activity Logs panel, located in the footer toolbar of GitKraken Desktop, provides real-time feedback on actions taken within the application and your repositories.
Accessing Activity Logs from the footer toolbar
Each log entry includes a timestamp, a description of the action, and performance data in milliseconds. The logs are stored in plain text and presented in a standard log format.
Sample log line showing timestamp and performance data
***
## How the Application log works
The **Application** tab in Activity Logs displays actions specific to the GitKraken Desktop instance. Events include:
- Creating a project
- Clearing SSH credentials
- Setting the global gitconfig
Application tab showing GitKraken Desktop actions
This log remains static regardless of which repository is currently open.
***
## How the Repository log works
The **Repository** tab displays Git operations performed on the currently active repository, such as:
- Fetch
- Push
- Merge
Repository-level Git actions displayed in the log
Repository logs only reflect actions from the active repo.
Note: For more detailed entries, go to Preferences > General > Use extended logging in activity log.
Enabling extended logging adds more granularity, including details like Auto-fetch activity.
Extended logging shows additional Git operations
***
## How the Git hook log works
If you use Git hooks, the *Repository* tab will display hook activity such as:
- Success messages
- Warnings and failures
- Errors
Git hook activity displayed in the log
This provides context for events, making it easier to troubleshoot issues.
Additionally, you can open the Git hook log directly from the snackbox notification if a hook-related error occurs.
Error snackbox linking to Git hook log
---
# View and Submit Error Logs
URL: https://help.gitkraken.com/gitkraken-desktop/error-logs/
Description: Learn how to access GitKraken Desktop error logs to troubleshoot issues and send diagnostics to support.
Product: GitKraken Desktop
Feature: Error Logs
Content type: troubleshooting
Audience: developer
Plan required: all
Status: GA
Last verified: 2026-03
Last updated: March 2026
This page explains how to view recent GitKraken Desktop error logs so you can troubleshoot problems and share diagnostics with support. Use it when you see red error toasts in the app, need the underlying log text for a ticket, or want to capture recent failure details before reproducing an issue again.
**Requirements and limits**
- Error logs contain the most recent GitKraken Desktop error toasts, not a full application log history.
- You can open error logs from the Help menu or the Command Palette.
- Include the log contents when contacting support so the issue can be investigated faster.
- Use this page for error toasts specifically; other diagnostics may live in separate log views.
## How to open error logs in GitKraken Desktop
You can access error logs via:
- Help > Support > View Error Logs
- The Command Palette
Access logs from Help > Support > View Error Logs.You can also search for "error log" in the Command Palette.
## What the error log contains
This will open a text file with a list of the most recent error toasts, which are the red notifications that appear in the upper-right corner of GitKraken Desktop.
## How to send error logs to support
Include a copy of your error log when submitting a [support ticket](https://www.gitkraken.com/git-client/contact-support?product=gitkraken&source=help_center). This helps our team identify and resolve issues faster.
---
## Security & Policy
---
# GitKraken Desktop – Data Security and Storage Practices
URL: https://help.gitkraken.com/gitkraken-desktop/GKC-Security/
Description: Learn how GitKraken Desktop collects, transmits, and stores user and repository data securely. Includes encryption methods, data storage locations, and compliance details.
Product: GitKraken Desktop
Feature: Data Security and Storage Practices
Content type: policy
Audience: buyer
Plan required: all
Status: GA
Last verified: 2026-03
Last updated: March 2026
This page explains GitKraken Desktop data security and storage practices, including what information GitKraken services collect, how that data is secured in transit and at rest, and how SOC 2 report access works. Use it when reviewing security posture, storage locations, or compliance-related documentation for GitKraken Desktop.
**Requirements and limits**
- This page summarizes GitKraken cloud-service data handling and storage practices; it is not a product configuration guide.
- Security details vary by service, so use the table below for service-specific storage and encryption information.
- Data in transit is secured with TLS across the listed services.
- SOC 2 reports are available only to Business and Enterprise customers and require a signed MNDA through the Trust Center.
## How GitKraken Desktop services collect and store information
Below is a chart outlining some basic security information regarding the type of data that we collect and how we store it.
Repo-relative file paths, number of lines changed, name of branch currently checked out, first commit SHA of the repository
Encrypted with TLS
MongoDB Atlas
Encrypted at rest (AES-256)
Subscriptions
Billing info: name, payment type (credit card, paypal, ACH, etc.), last four digits of payment method, zip code, country, credit card type (mastercard, visa, etc.)
Encrypted with TLS
MongoDB Atlas
Encrypted at rest (AES-256)
Launchpad
URLs of issues and pull requests, issue tracker and Git provider filters for saved views
Encrypted with TLS
Postgres (RDS)
Encrypted at rest (AES-256)
Cloud Patches
Info related to the patch (repo name/URL/provider/base branch name/etc.) + the patch content itself.
Encrypted with TLS
Patch info is stored in a Postgres database, patch content is stored in AWS S3.
SSE-S3, which uses 256-bit Advanced Encryption Standard (AES-256)
Proactive Conflict Detection
Repo-relative file paths, name and commit SHA of relevant branches, names of files changed, line numbers with changes, and first commit SHA of the repository
Encrypted with TLS
Redis (max TTL of 108 hours)
Encrypted at rest (AES-256)
## How to request the SOC 2 report
GitKraken and it’s tools are now SOC 2 Certified! If you would like to request a copy of our SOC2 report, please visit our [Trust Center](https://trust.gitkraken.com/) to get the request process started. Please note that in order to provide a copy of the report, we will need you to sign an MNDA.
SOC 2 reports are only available for Business and Enterprise customers.
---
## Other
---
# Detached HEAD in GitKraken Desktop
URL: https://help.gitkraken.com/gitkraken-desktop/detached-head-state/
Description: Learn how to safely enter, work in, and exit detached HEAD state in GitKraken Desktop. Includes recovery tips and commit preservation.
Product: GitKraken Desktop
Feature: Detached HEAD
Content type: how-to
Audience: developer
Plan required: all
Status: GA
Last verified: 2026-03
Last updated: March 2026
Use this page to enter, work in, and recover from detached HEAD state in GitKraken Desktop when you need to inspect or test a specific commit without switching a branch pointer. It explains how to preserve commits created in detached HEAD state and how to recover lost work if you switch branches too early.
**Requirements and limits**
- Entry point: Check out a specific commit instead of a branch
- HEAD behavior: The checked-out commit is labeled `HEAD`
- Commit-preservation rule: Commits made in detached HEAD state are not attached to any branch until you create one
- Exit behavior: Checking out another branch removes the detached `HEAD` state
- Recovery options: Use GitKraken Desktop Undo if available, or use `git reflog` from the terminal to recover lost commit SHAs
- Risk: Unpreserved commits can be lost from normal branch history when you switch branches
***
## Quick Start
**To enter detached HEAD state:**
1. Right-click any commit in the Commit Graph.
2. Select **Checkout this commit**. The commit will display a `HEAD` label.
**To preserve commits made in detached HEAD state:**
1. Right-click the commit labeled `HEAD`.
2. Select **Create branch here** and name the new branch.
**To exit detached HEAD state:**
- Double-click any local branch in the graph or Left Panel to check it out.
Any commits made in detached HEAD state that were not saved to a branch will be removed when you switch branches. If you switch branches before creating a branch, use the **Undo** button if available, or run `git reflog` in the terminal to find the lost commit SHA and re-check it out with `git checkout `.
***
## How to enter detached HEAD state
1. Right-click the commit you want to inspect.
2. Select Checkout this commit.
Check out any past commit without creating a new branch.
The checked-out commit will display a `HEAD` label, indicating you’re in detached HEAD state.
GitKraken tags the commit with HEAD.
You can now review the full history and diffs, or create a branch from this state.
***
## How to commit in detached HEAD state
You can make changes and commit them while in this state. However, these commits won’t belong to any branch.
GitKraken shows a warning when you commit in detached HEAD state.
To preserve your work, create a branch from the current commit:
1. Right-click the commit tagged as HEAD.
2. Select Create branch here.
Start a branch from your current detached commit to keep your changes.
***
## How to exit detached HEAD state
To exit detached HEAD state:
- Check out any local branch.
This will remove the `HEAD` label and discard any unpreserved commits.
Unbranched commits are removed when you check out another branch.
Important: Commits made in detached HEAD state will be lost unless you create a branch. You may be able to recover them manually.
***
## How to recover lost commits
If you accidentally switch branches before saving your changes:
- Click Undo in GitKraken if available.
- Use the CLI and run [`git reflog`](https://git-scm.com/docs/git-reflog) to find the lost commit SHA.
- Then use [`git checkout `](https://git-scm.com/docs/git-checkout) to re-enter that state.
---
# Pull Request Filter Syntax in GitKraken Desktop
URL: https://help.gitkraken.com/gitkraken-desktop/pull-requests-filter-syntax/
Description: Use advanced filter syntax in GitKraken Desktop to find pull requests by title, author, label, branch, CI status, and more across supported integrations.
Product: GitKraken Desktop
Feature: Pull Request Filter Syntax
Content type: reference
Audience: developer
Plan required: all
Status: GA
Last verified: 2026-03
Last updated: March 2026
This reference explains how to filter pull requests in GitKraken Desktop by title, author, assignee, branch, status, and other supported fields. Use it when you need to narrow large pull request lists quickly or want to know which filter operators work for GitHub and other hosted integrations.
***
## Pull request filters supported for GitHub
### How to search by title or description
| Filter | Example | Description |
|------------------|-----------------------|--------------------------------------------------------------------|
| Title/body search| `foo` | Matches PRs with `foo` in the title or description |
| Exact match | `foo bar` | Matches PRs with `foo bar` in the title or description |
| `in:` title only | `foo in:title` | Matches PRs with `foo` in the title only |
| `in:` body only | `foo in:body` | Matches PRs with `foo` in the body only |
### How to filter by people
| Filter | Example | Description |
|-------------------|-----------------------|------------------------------------------------------------------|
| `author:` | `author:keanu` | PRs created by user `keanu` |
| `assignee:` | `assignee:keanu` | PRs assigned to `keanu` |
| `review-requested:`| `review-requested:jerry` | PRs needing review from `jerry` |
| `reviewed-by:` | `reviewed-by:keanu` | PRs already reviewed by `keanu` |
| `involves:` | `involves:jerry` | PRs involving `jerry` via comment, review, or assignment |
### How to filter by branch
| Filter | Example | Description |
|------------|--------------------|------------------------------------|
| `base:` | `base:main` | PRs targeting the `main` branch |
| `head:` | `head:development` | PRs from `development` branch |
### How to filter by state and metadata
| Filter | Example | Description |
|---------------|------------------------|-------------------------------------------------|
| `draft:` | `draft:true` | Draft PRs only |
| `label:` | `label:"Release Critical"` | PRs with the specified label |
| `milestone:` | `milestone:v1` | PRs assigned to `v1` milestone |
### How to filter by review status
| Filter | Example | Description |
|---------|-------------------------|---------------------------------------------------|
| `review:`| `review:approved` | PRs approved by at least one reviewer |
| | `review:changes_requested`| PRs with change requests |
| | `review:none` | PRs without any reviews |
### How to filter by CI status
| Filter | Example | Description |
|-----------|------------------|------------------------------------|
| `status:` | `status:success` | PRs with successful CI |
| | `status:pending` | PRs with pending CI |
| | `status:failure` | PRs with failed CI |
### How to filter for missing values
| Filter | Example | Description |
|--------|-----------------|----------------------------------|
| `no:` | `no:assignee` | PRs without an assignee |
| | `no:status` | PRs without a CI status |
### How to filter by date
| Filter | Example | Description |
|------------|--------------------------|--------------------------------------|
| `created:` | `created:2020-12-31` | PRs created on or after this date |
| `updated:` | `updated:2020-12-31` | PRs updated on or after this date |
### How to combine or exclude filters
You can combine filters using commas (OR logic) or use a dash (`-`) to exclude.
**Examples:**
- `label:Bug,Feature` – PRs with either label
- `-assignee:guy` – PRs not assigned to `guy`
- `label:Bug,Feature label:Important` – PRs with Bug or Feature, and also Important
***
## Pull request filters supported for other integrations
GitKraken Desktop supports some—but not all—filter options across integrations:
| Integration | updated: | review-requested: | assignee: | title/body/in/no/created/base/head | reviewed-by, review, involves, label, milestone, draft, status |
|------------------------|:--------:|:------------------:|:---------:|:----------------------------------:|:-------------------------------------------------------------:|
| GitLab / Self-Managed | ✔ | | ✔ | ✔ | |
| Bitbucket | ✔ | | ✔ | ✔ | |
| Bitbucket Data Center | ✔ | ✔ | | ✔ | |
| Azure DevOps | | | ✔ | ✔ | |
Tip: Use filters in the pull request panel to narrow down by author, label, or merge target.
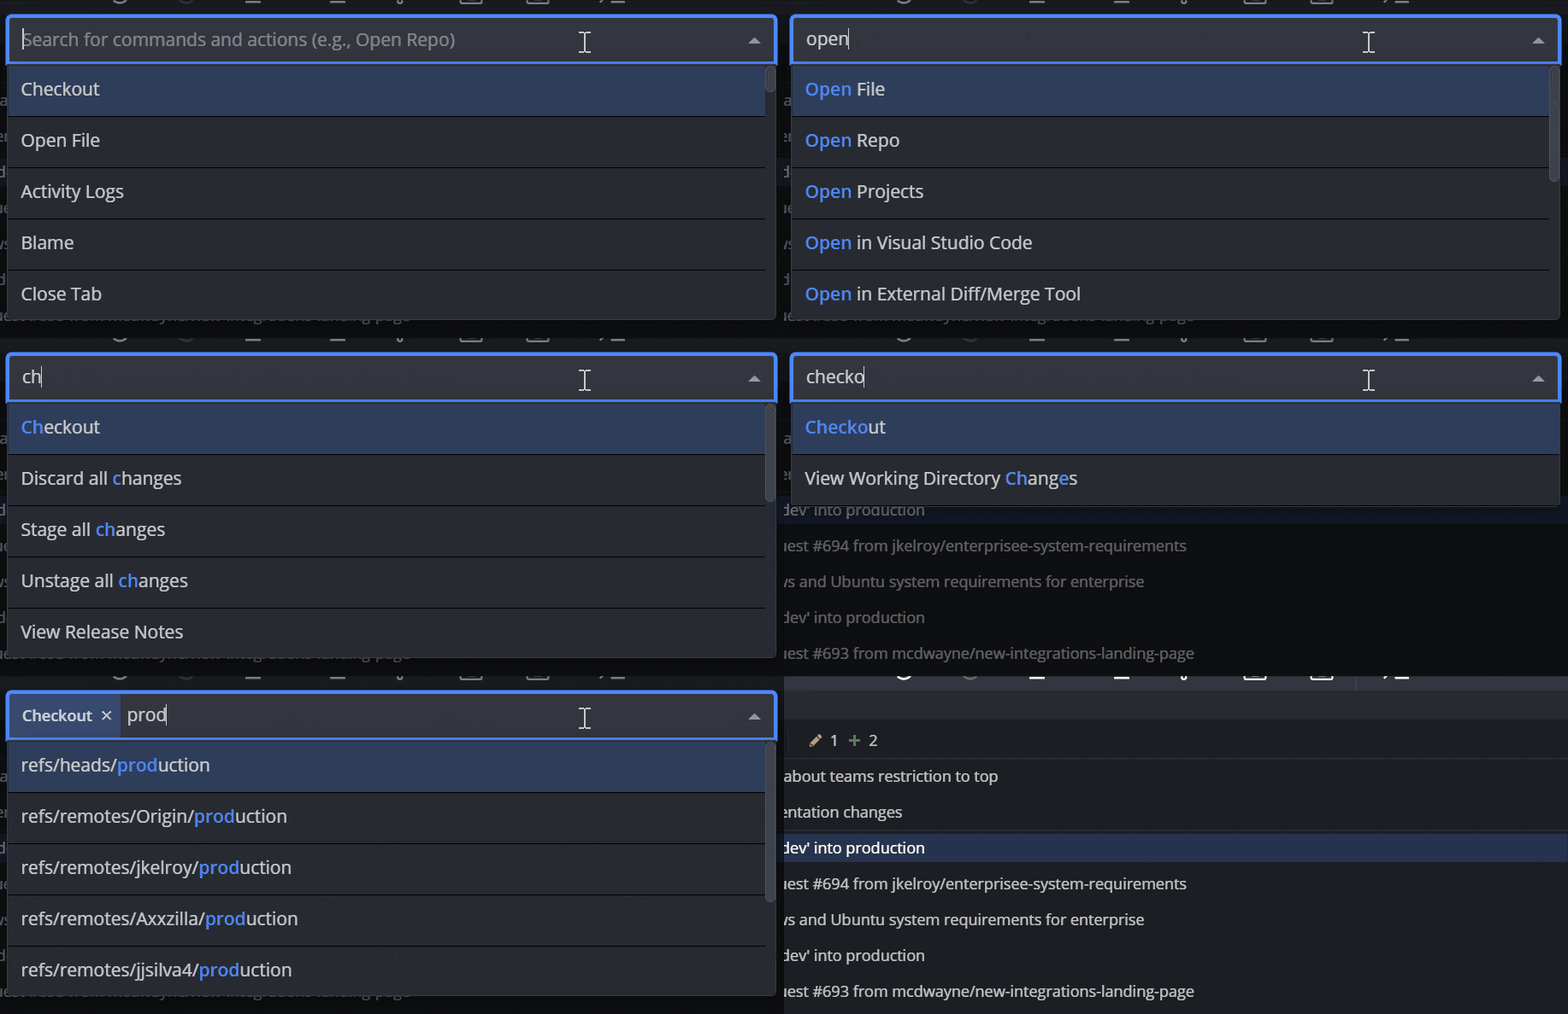
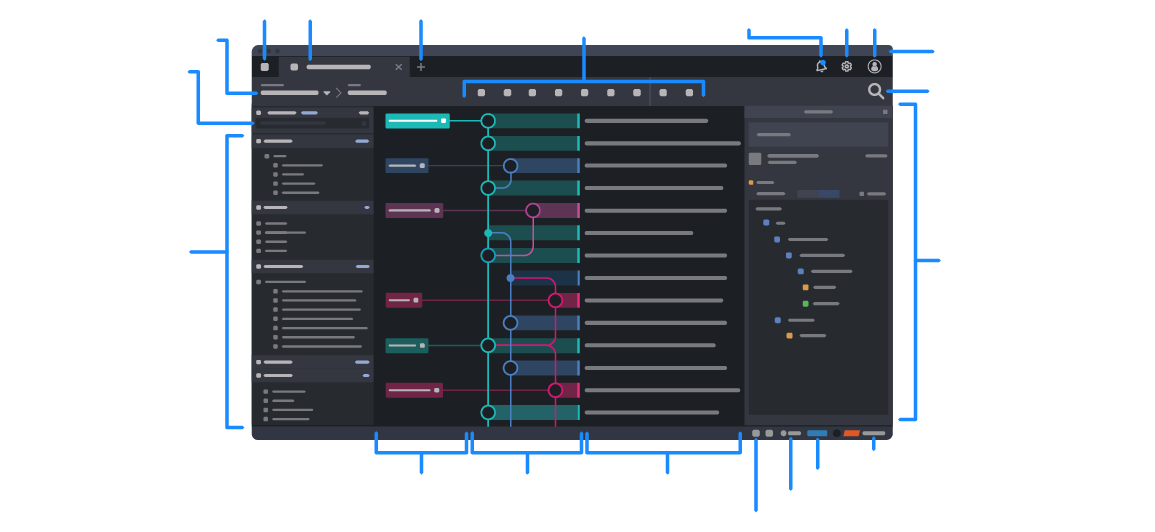
 | **Undo** | If an action can be undone, the Undo button is activated. Click to reverse the last undoable action. |
|
| **Undo** | If an action can be undone, the Undo button is activated. Click to reverse the last undoable action. |
|  | **Redo** | Click Redo to reverse the last undo command. |
### Sync actions
| Icon | Button | What it does |
| --- | --- | --- |
|
| **Redo** | Click Redo to reverse the last undo command. |
### Sync actions
| Icon | Button | What it does |
| --- | --- | --- |
|  | **Pull** | Click to pull changes from the remote repository. Use the adjacent dropdown to choose pull behavior: |
|
| **Pull** | Click to pull changes from the remote repository. Use the adjacent dropdown to choose pull behavior: |
|  | **Push** | Push changes to the upstream remote repository. |
* Fetch All
* Pull (fast-forward if possible)
* Pull (fast-forward only): same as `git fetch && git merge --ff-only`
* Pull (rebase): same as `git fetch && git rebase`
| **Push** | Push changes to the upstream remote repository. |
* Fetch All
* Pull (fast-forward if possible)
* Pull (fast-forward only): same as `git fetch && git merge --ff-only`
* Pull (rebase): same as `git fetch && git rebase`
 | **Branch** | Create a new branch from your current HEAD. |
### Work-in-progress actions
| Icon | Button | What it does |
| --- | --- | --- |
|
| **Branch** | Create a new branch from your current HEAD. |
### Work-in-progress actions
| Icon | Button | What it does |
| --- | --- | --- |
|  | **Stash** | Temporarily save your changes without committing using a stash. |
|
| **Stash** | Temporarily save your changes without committing using a stash. |
|  | **Pop Stash** | Restore changes from the most recent stash. |
### Conditional actions
| Icon | Button | What it does |
| --- | --- | --- |
|
| **Pop Stash** | Restore changes from the most recent stash. |
### Conditional actions
| Icon | Button | What it does |
| --- | --- | --- |
|  | **LFS** | This button appears if LFS is enabled for your repository. |
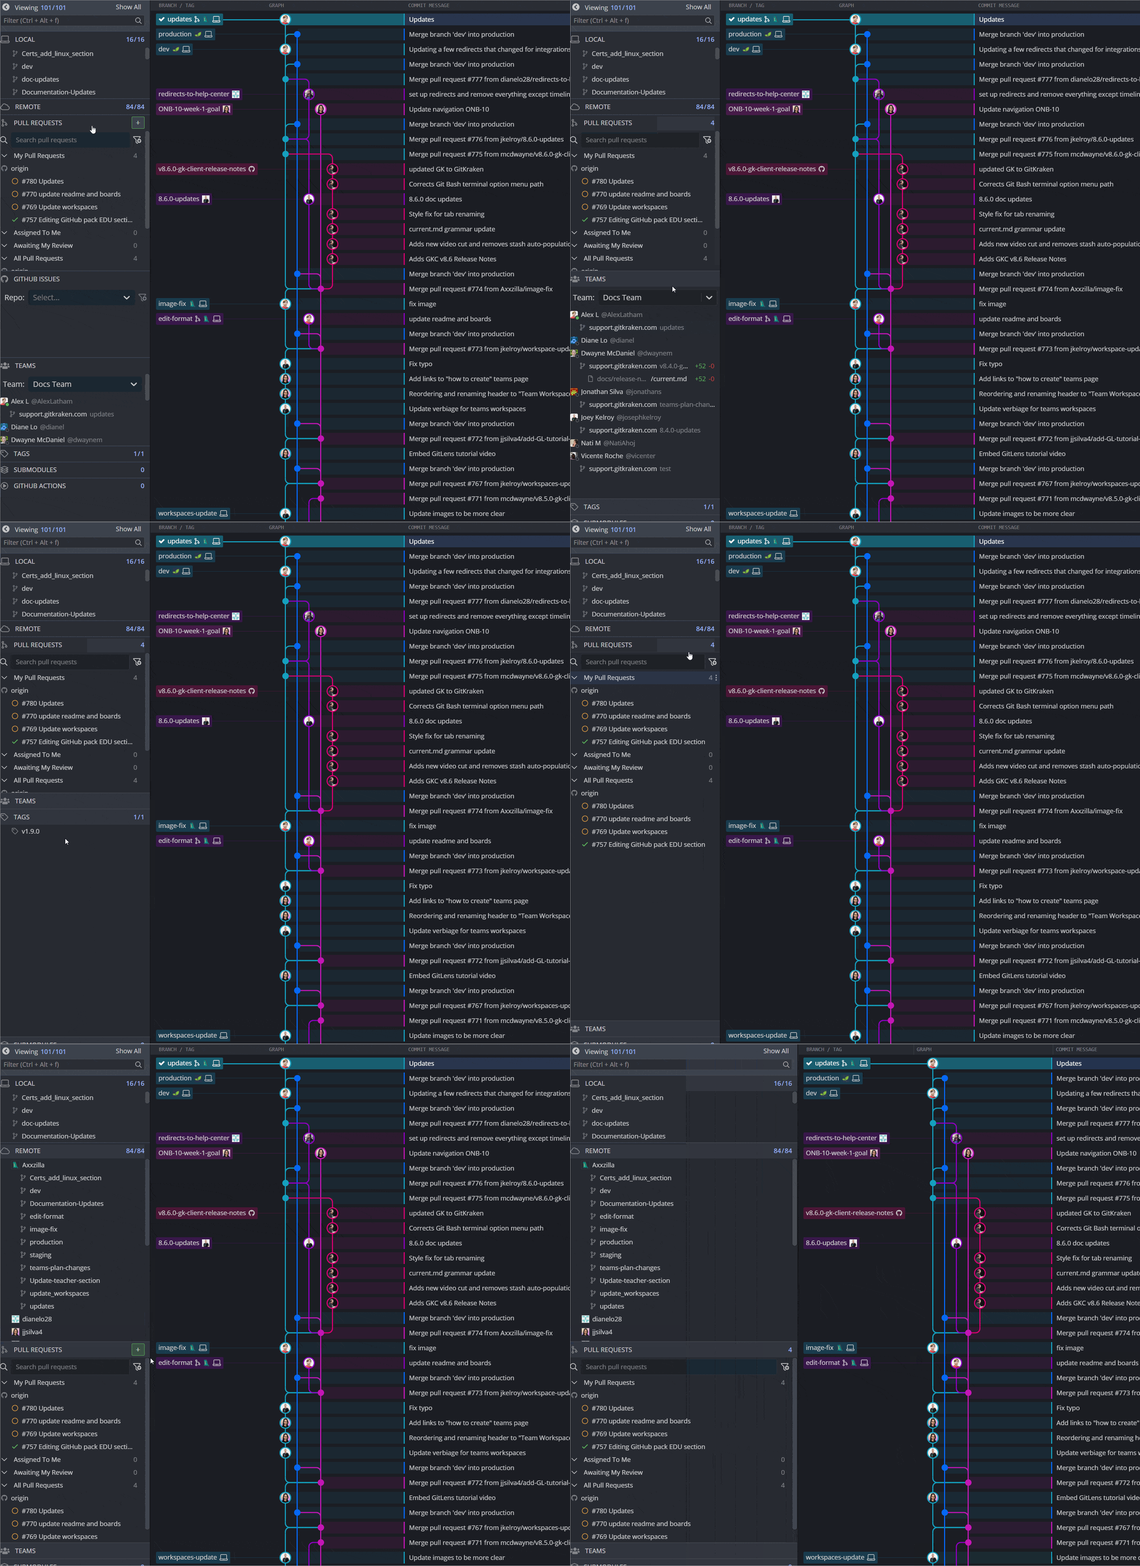
 | **Local** |
  | **Remote** |
  | **Pull Requests** |
  | **Tags** |
  | **Submodules** |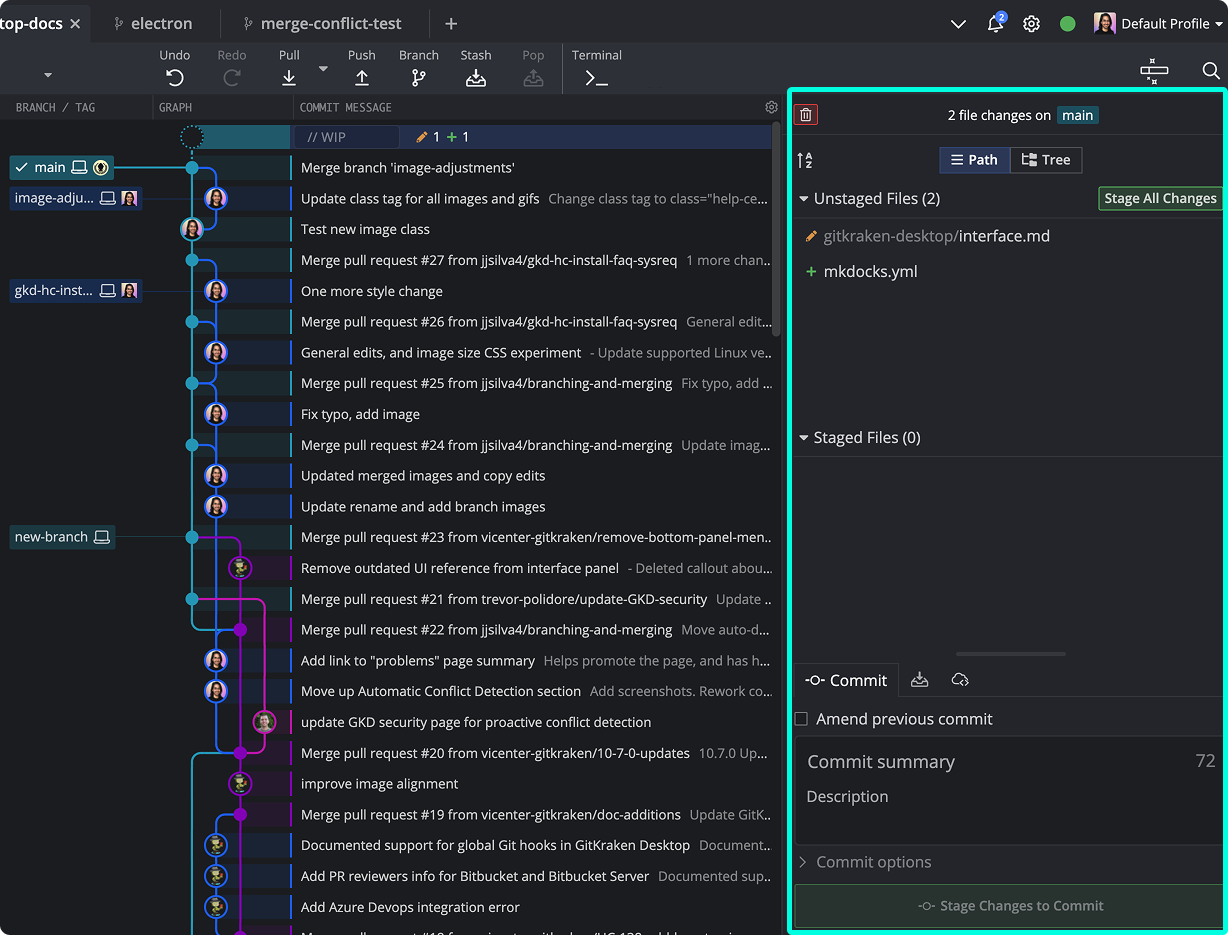
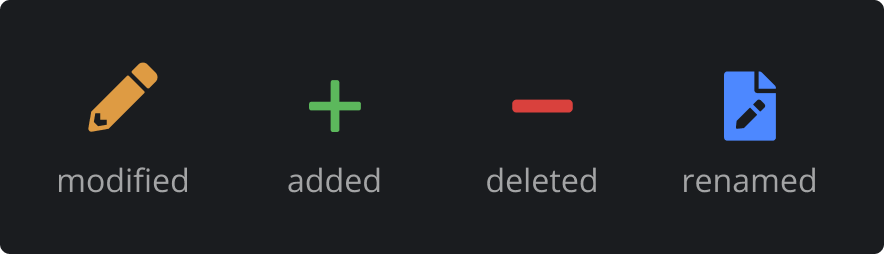
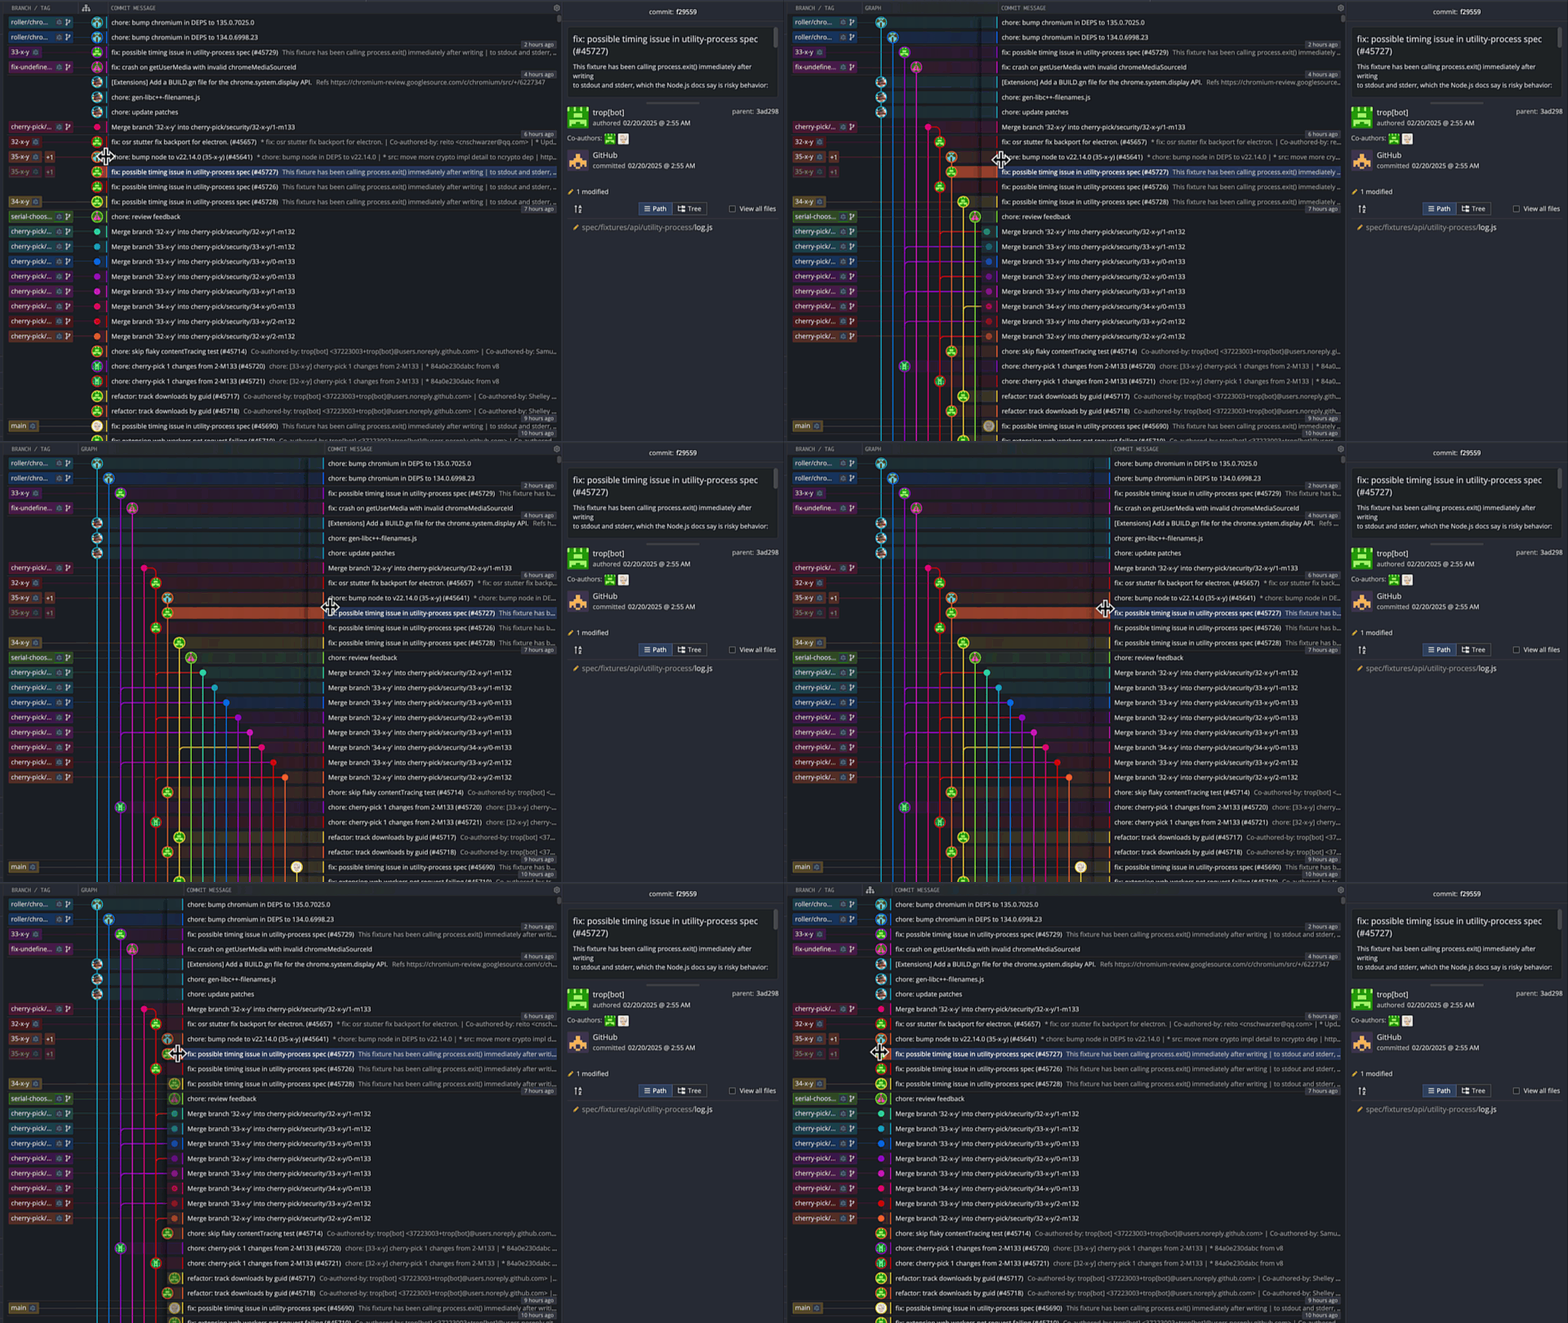
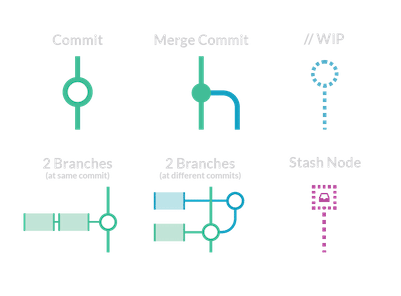
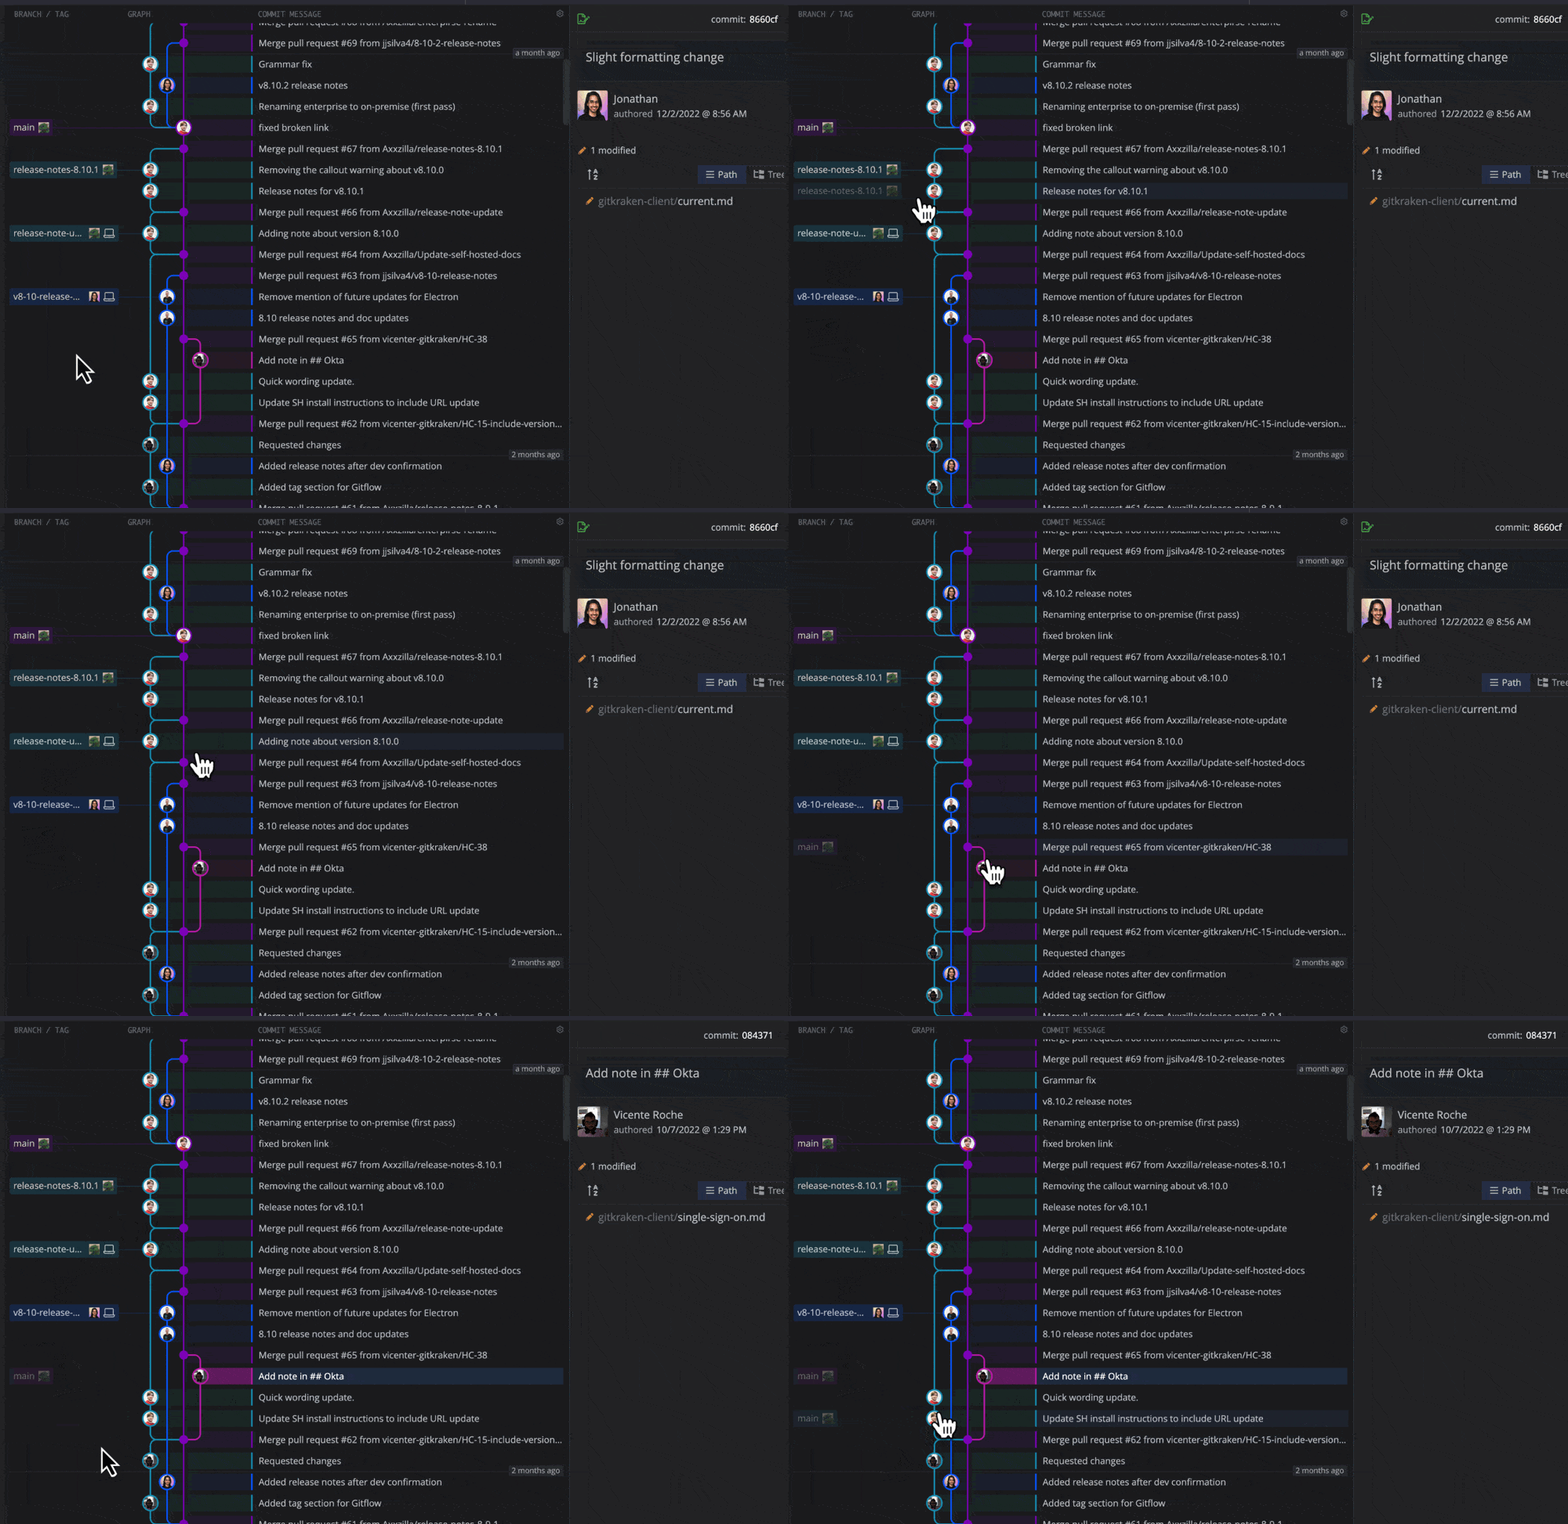
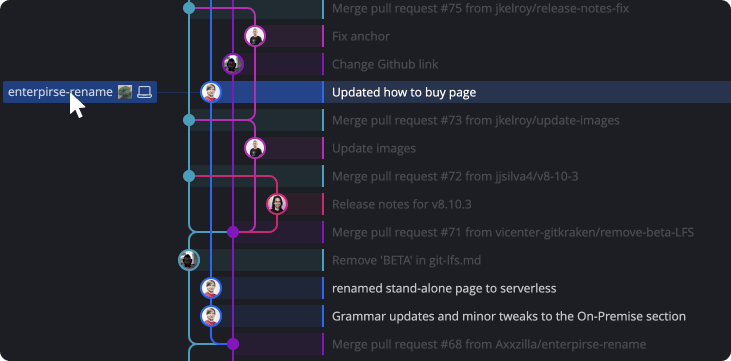
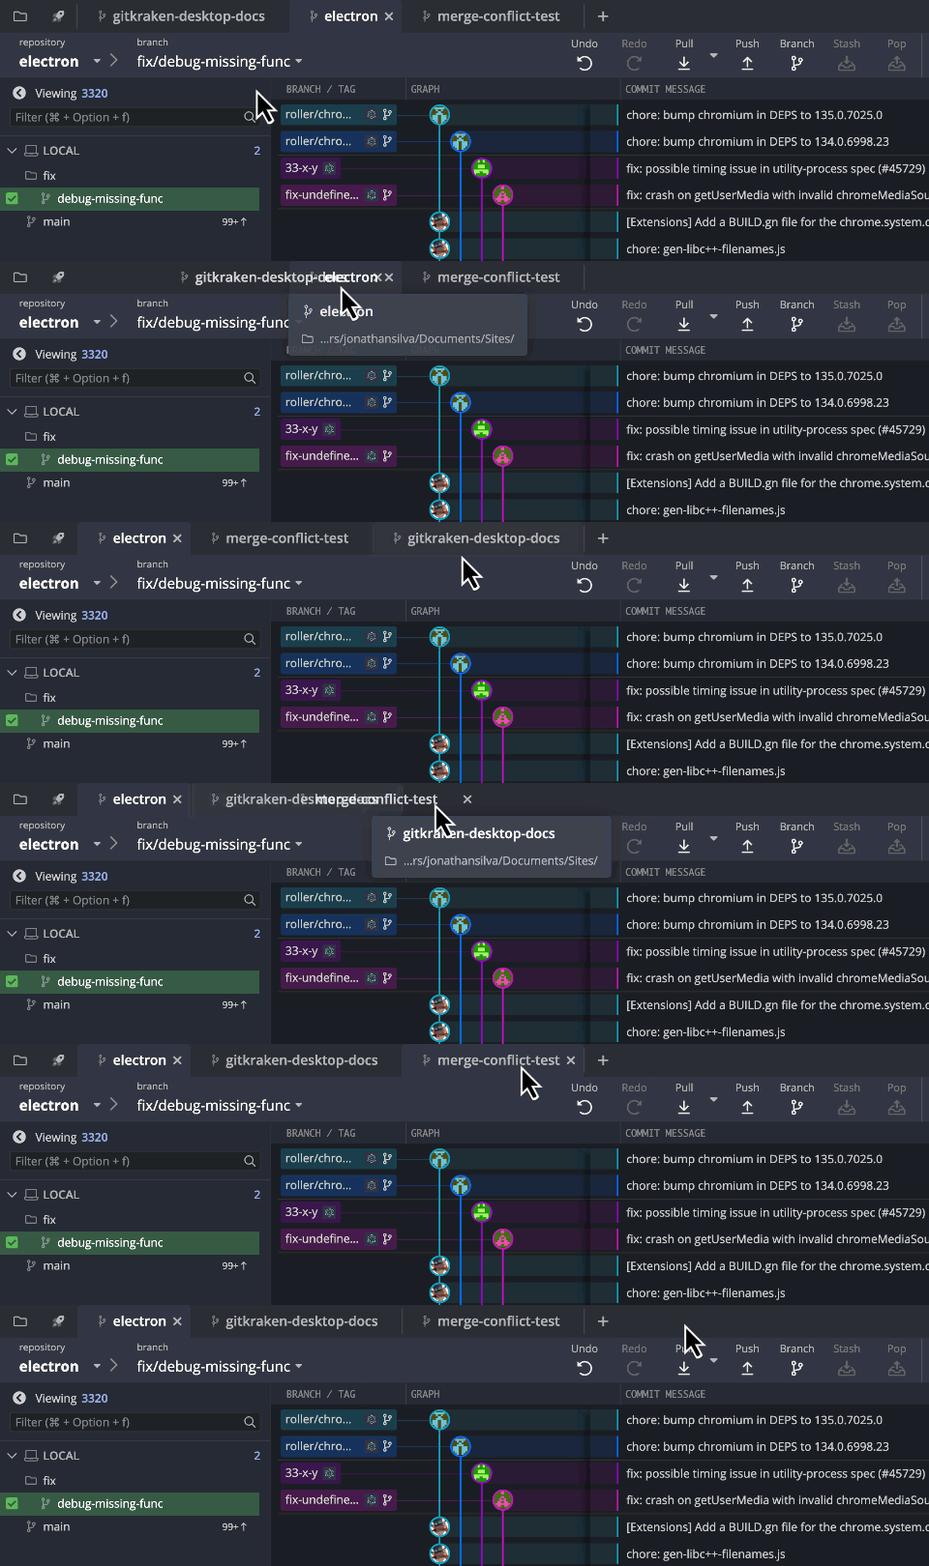
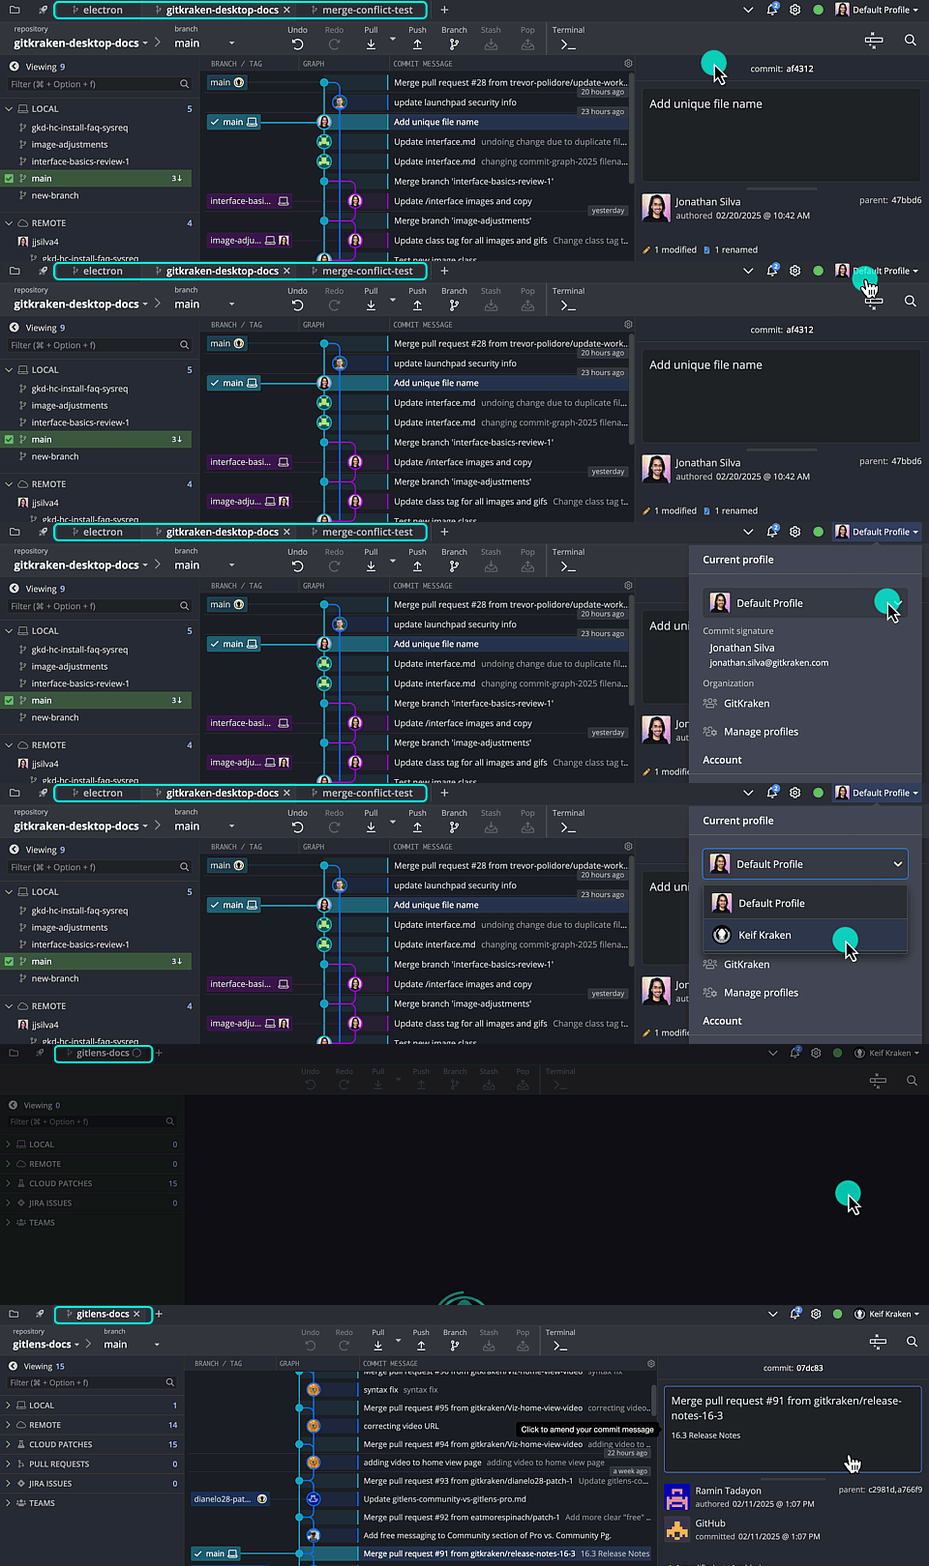
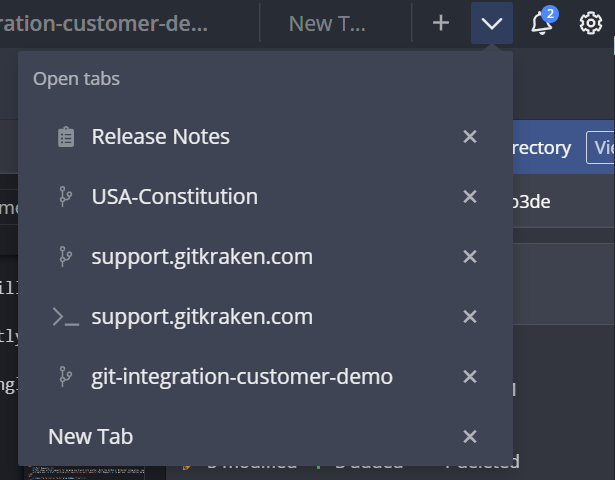
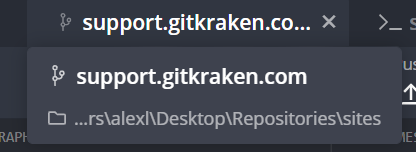
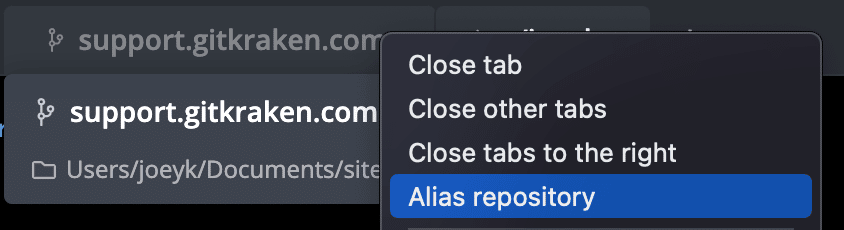
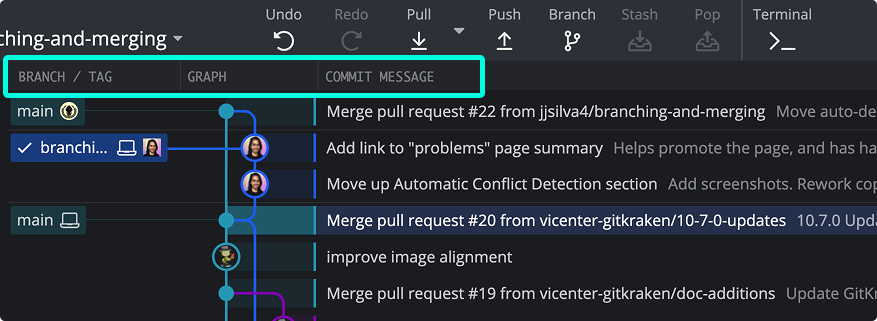

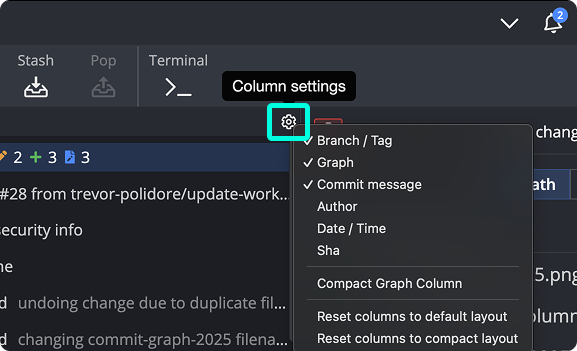
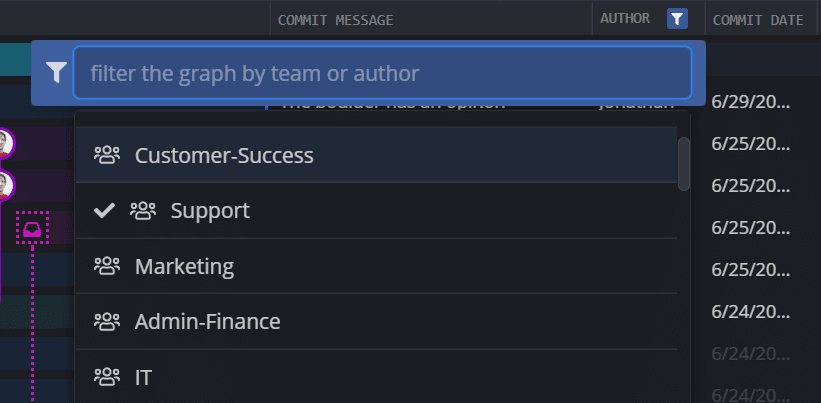
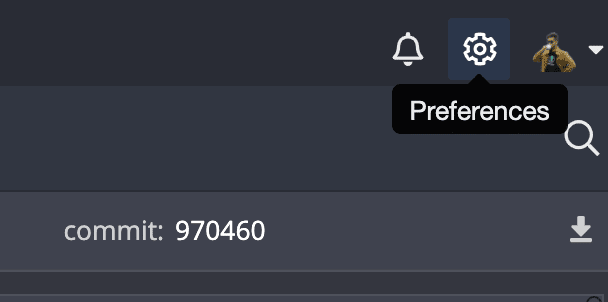
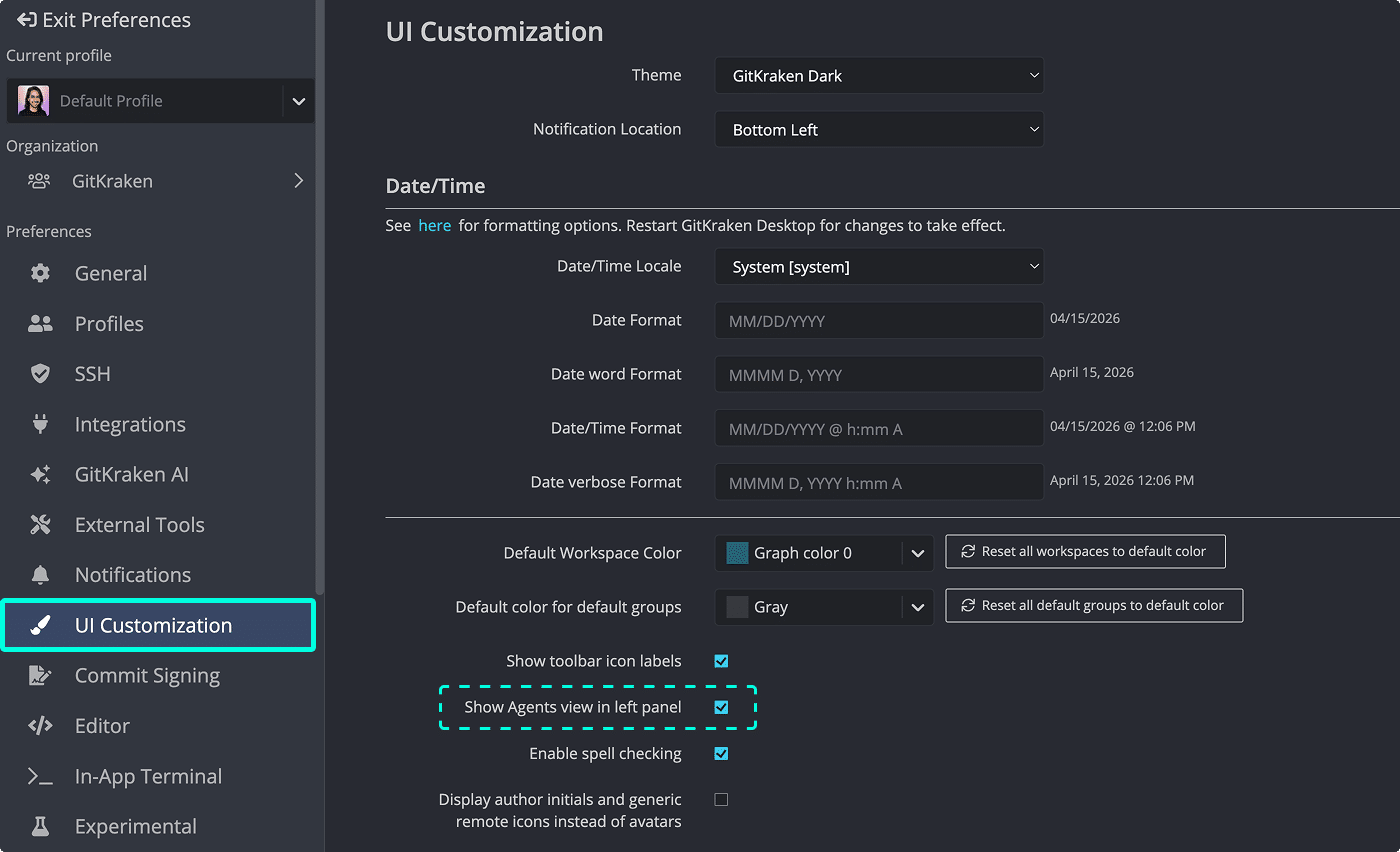
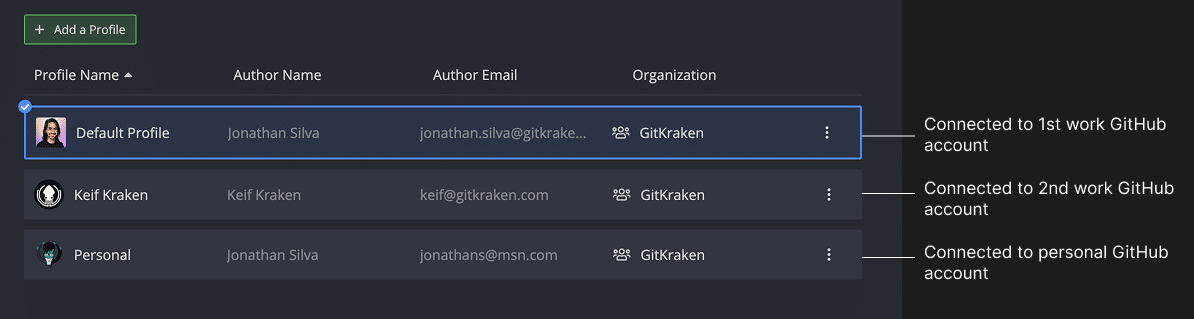
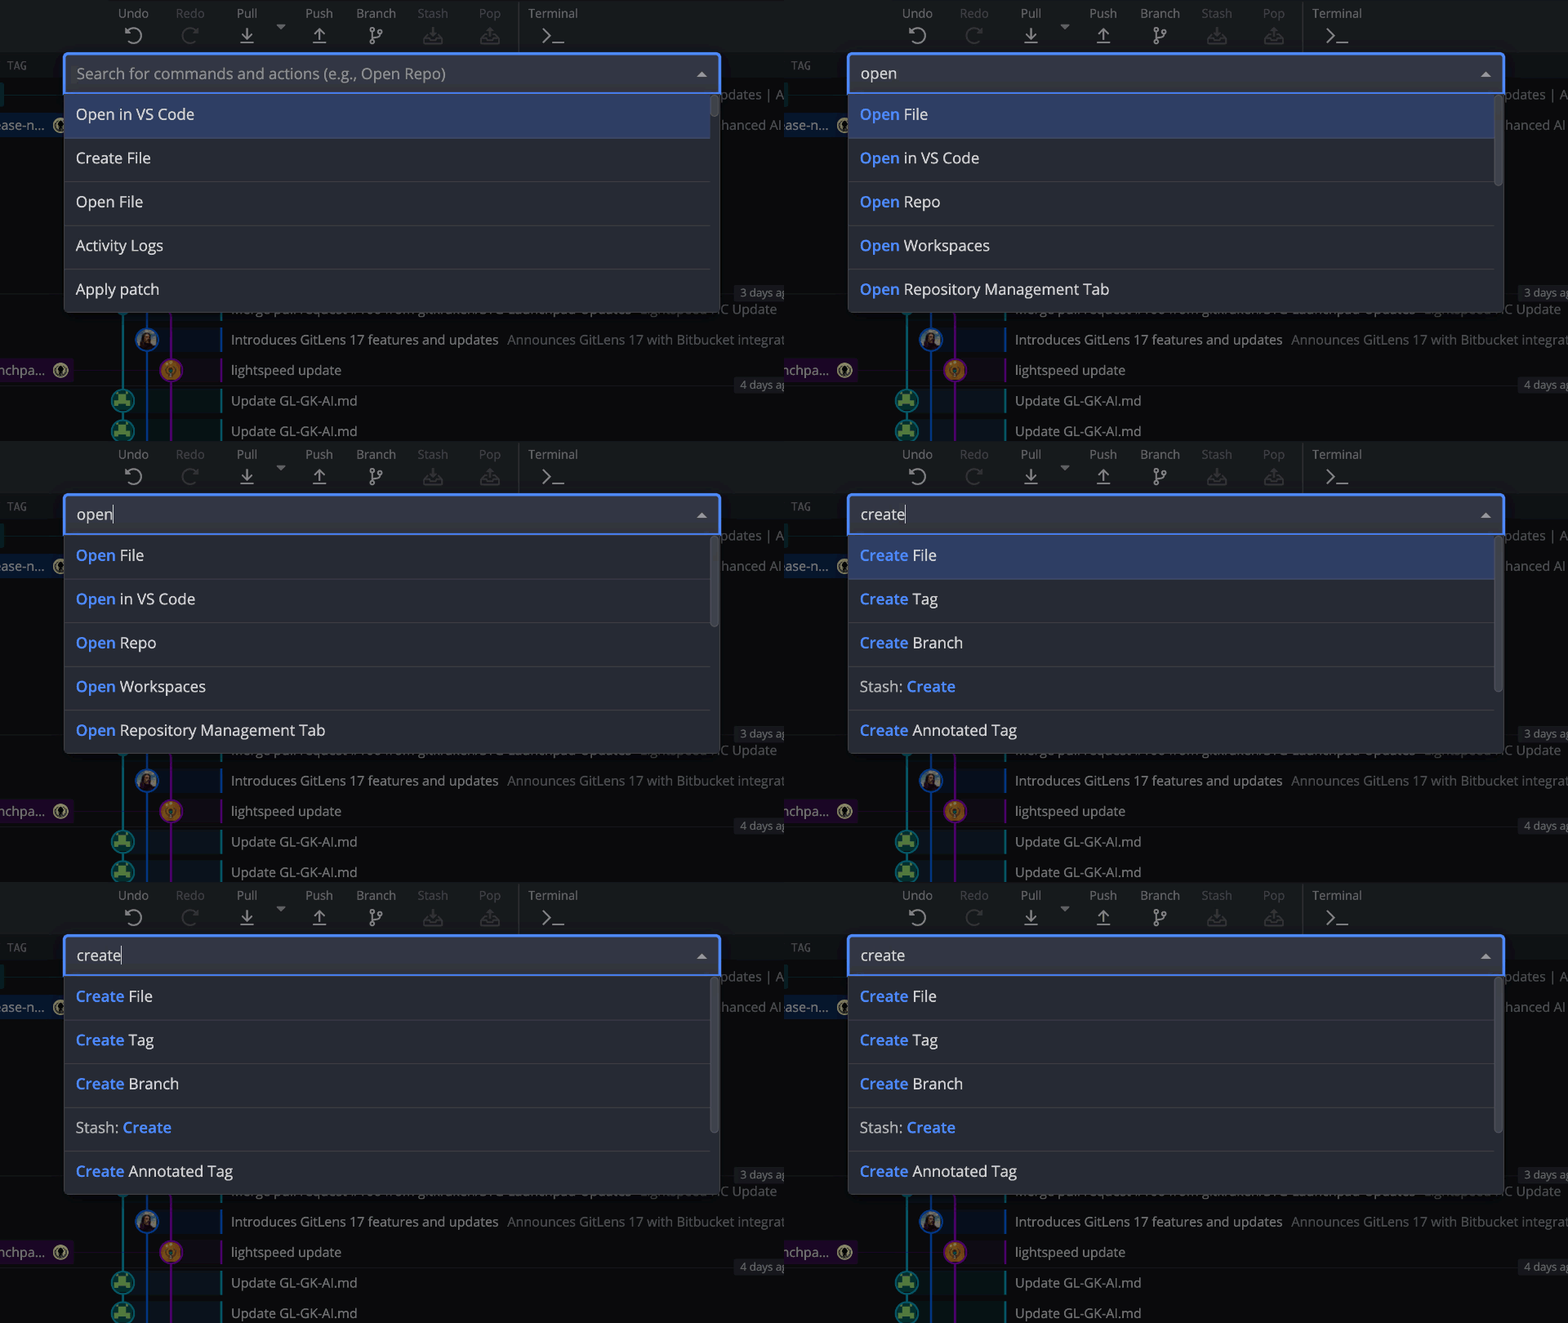
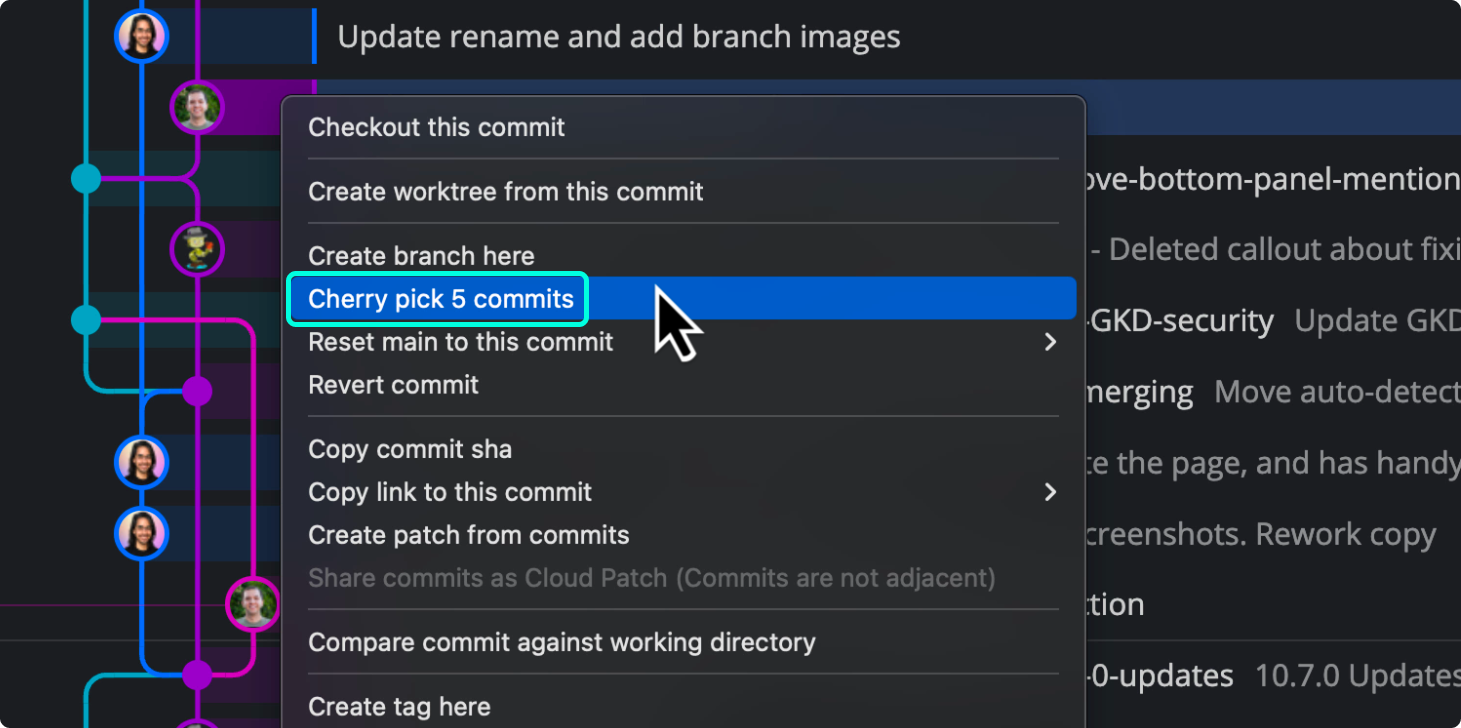



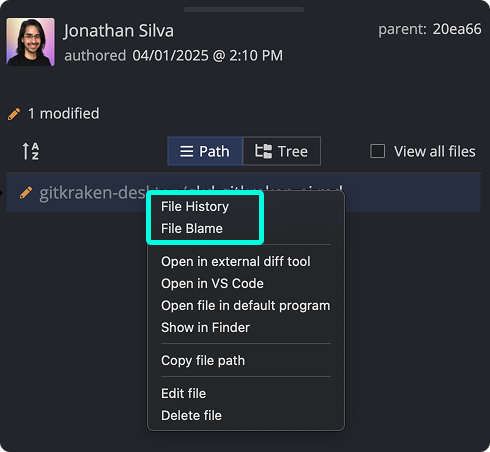
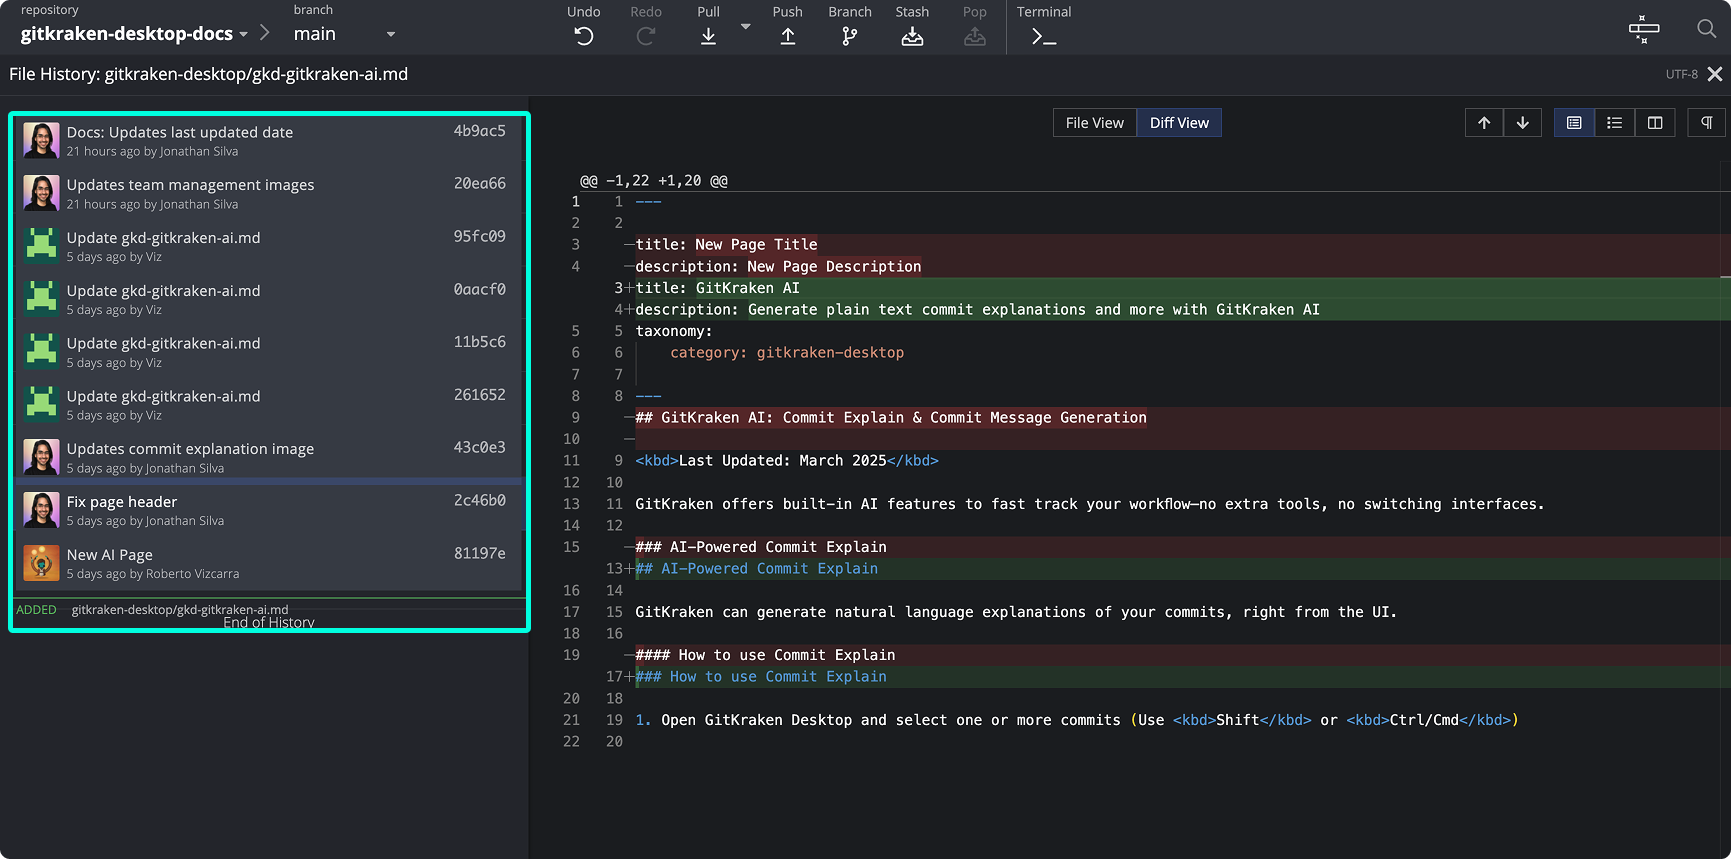
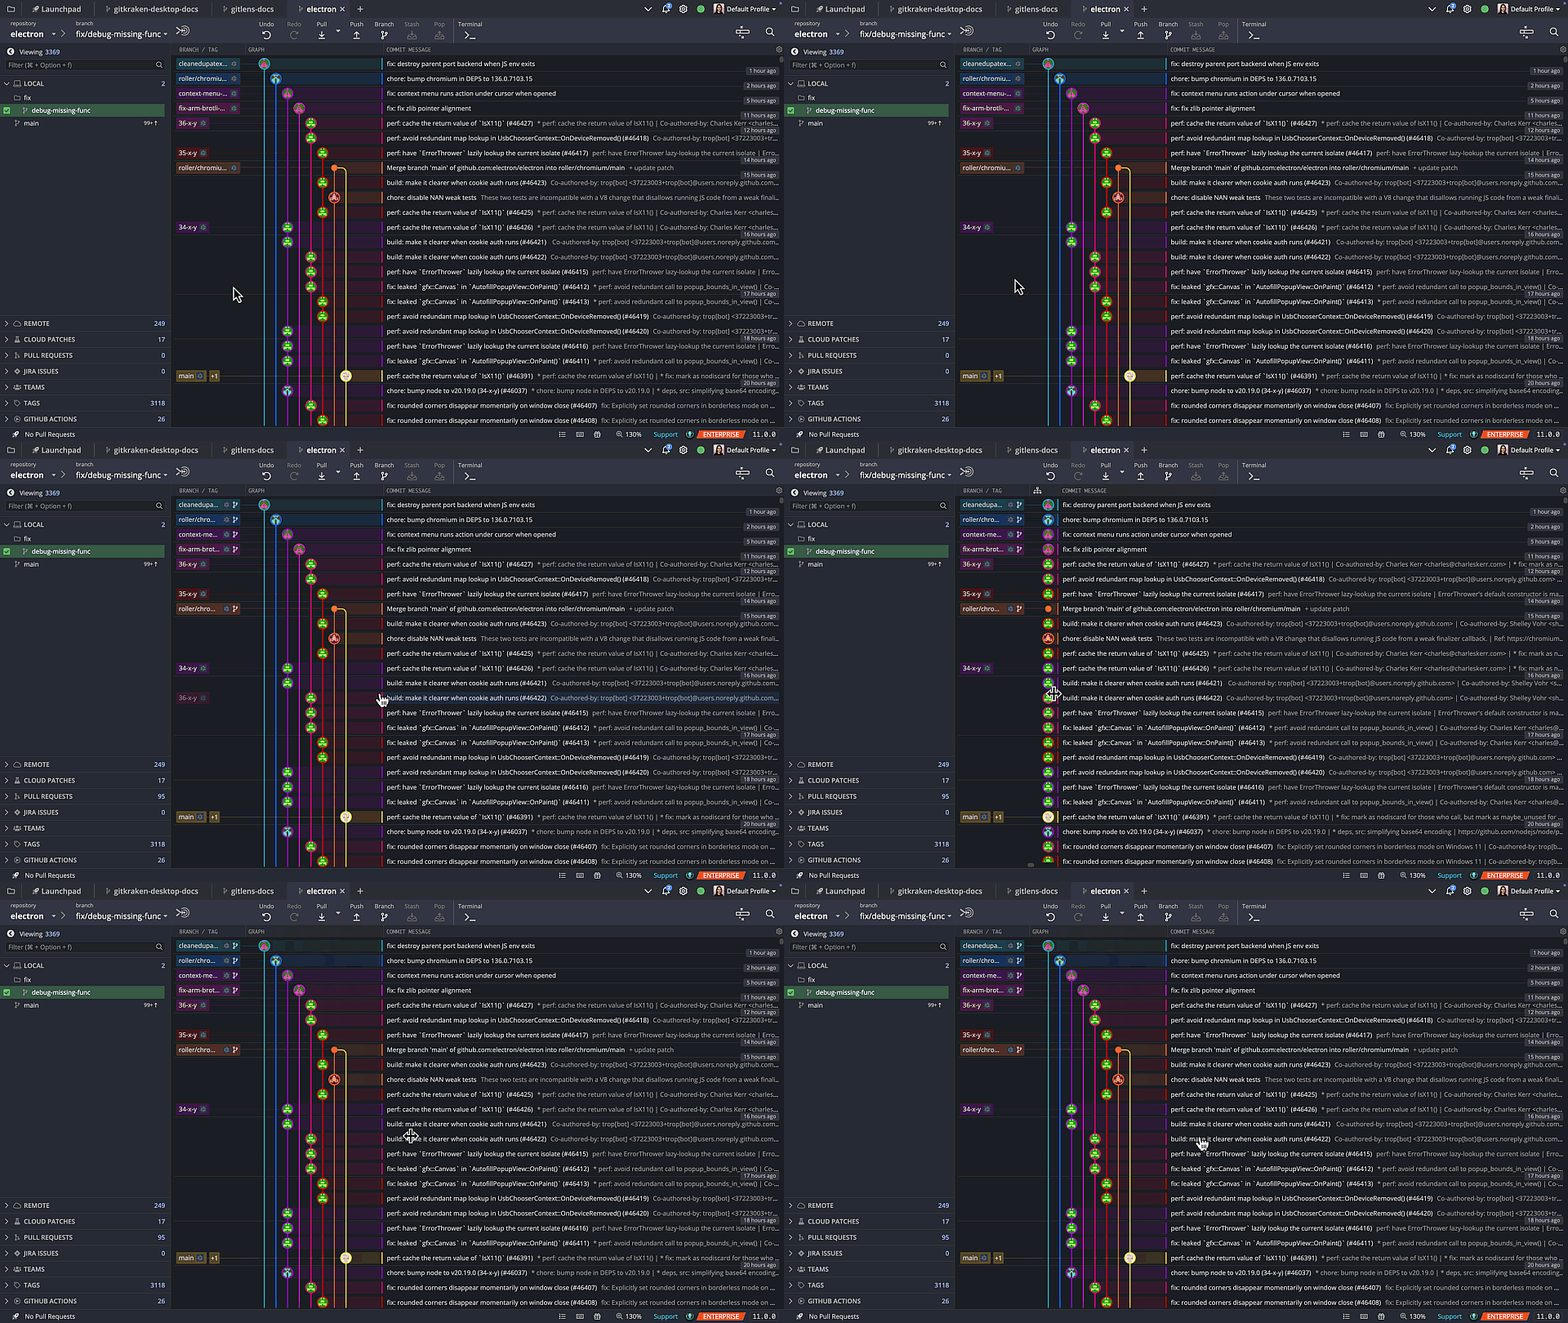
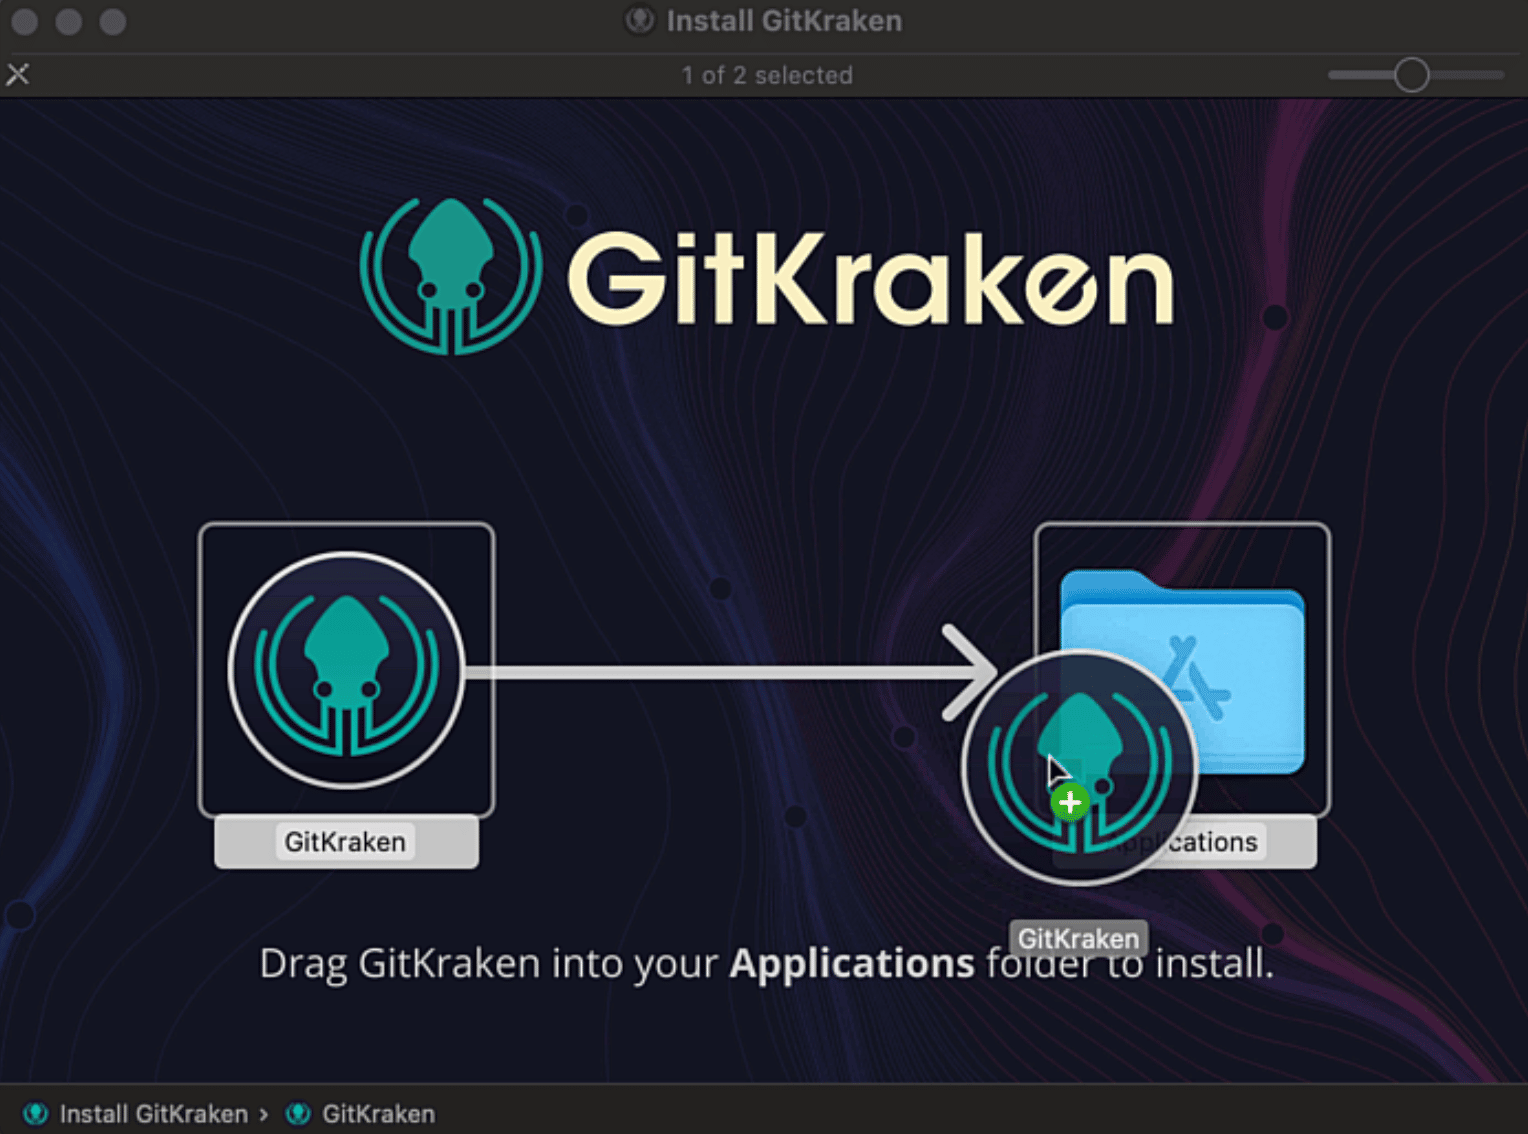
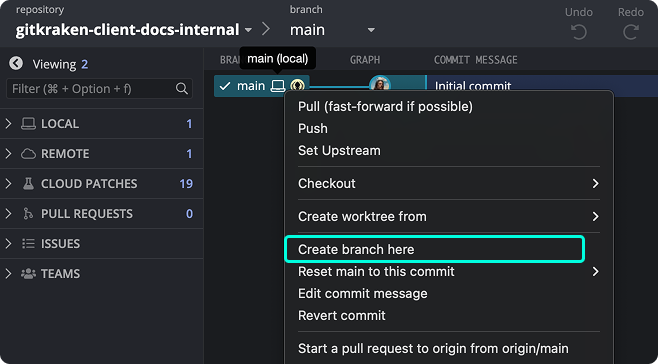
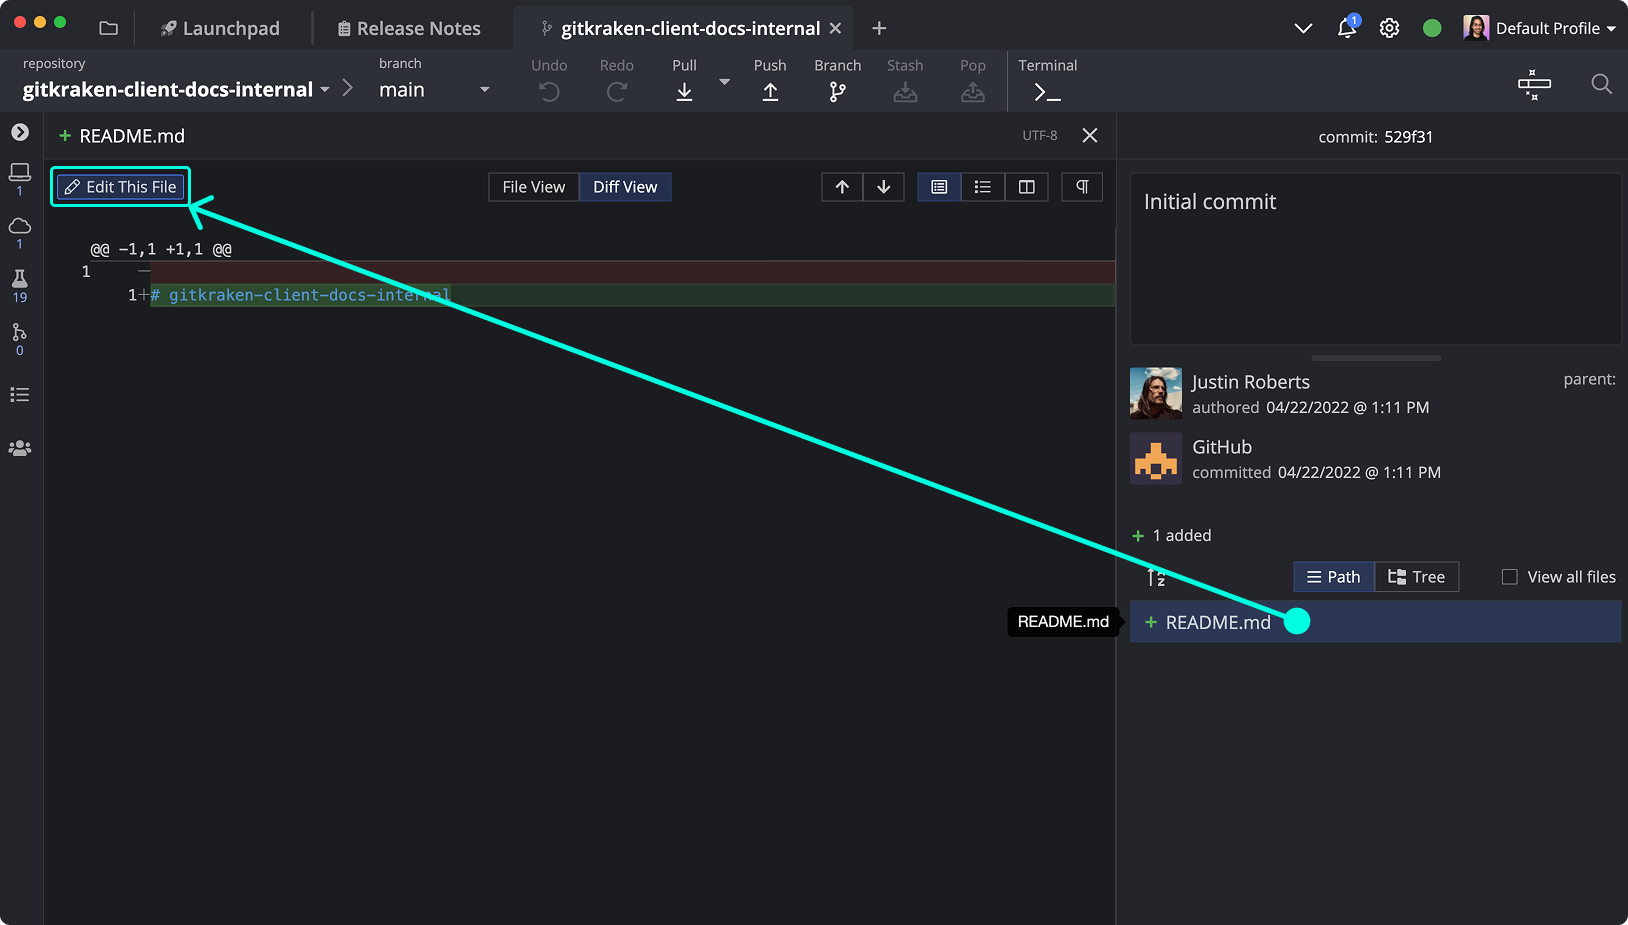
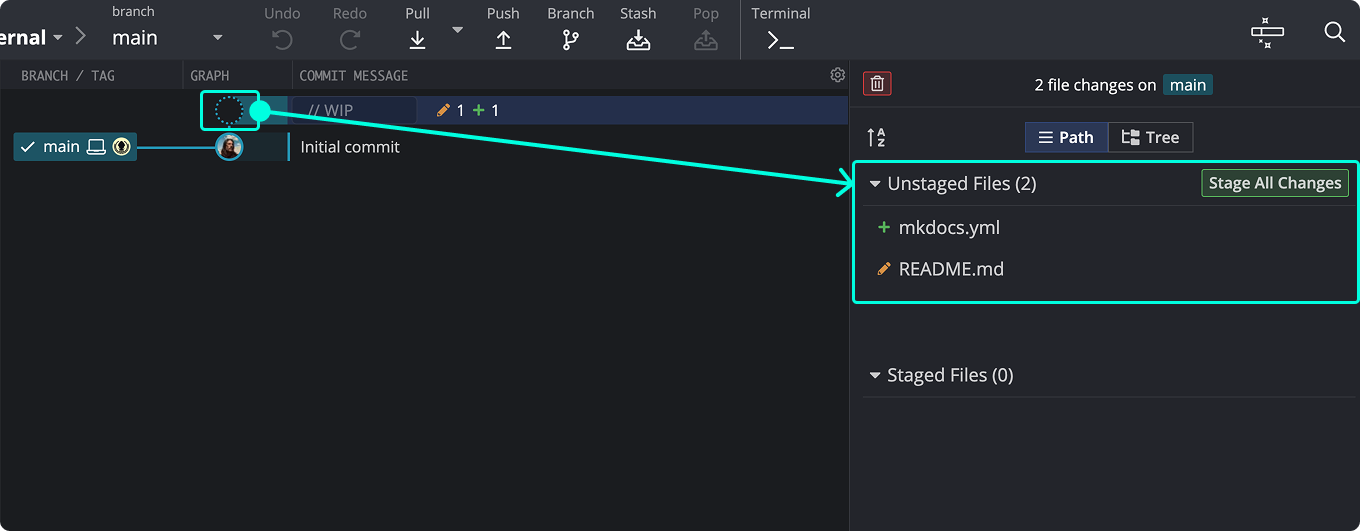
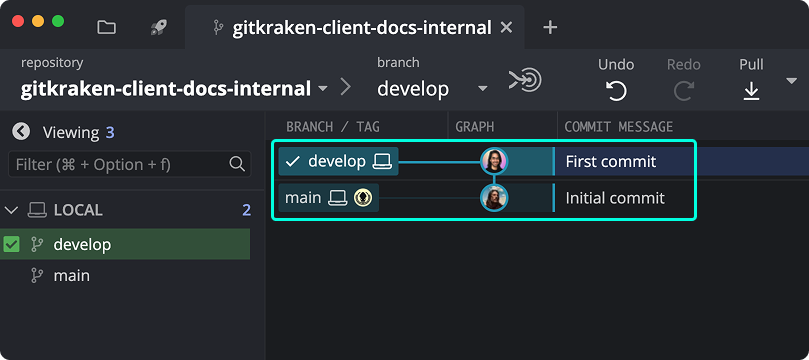

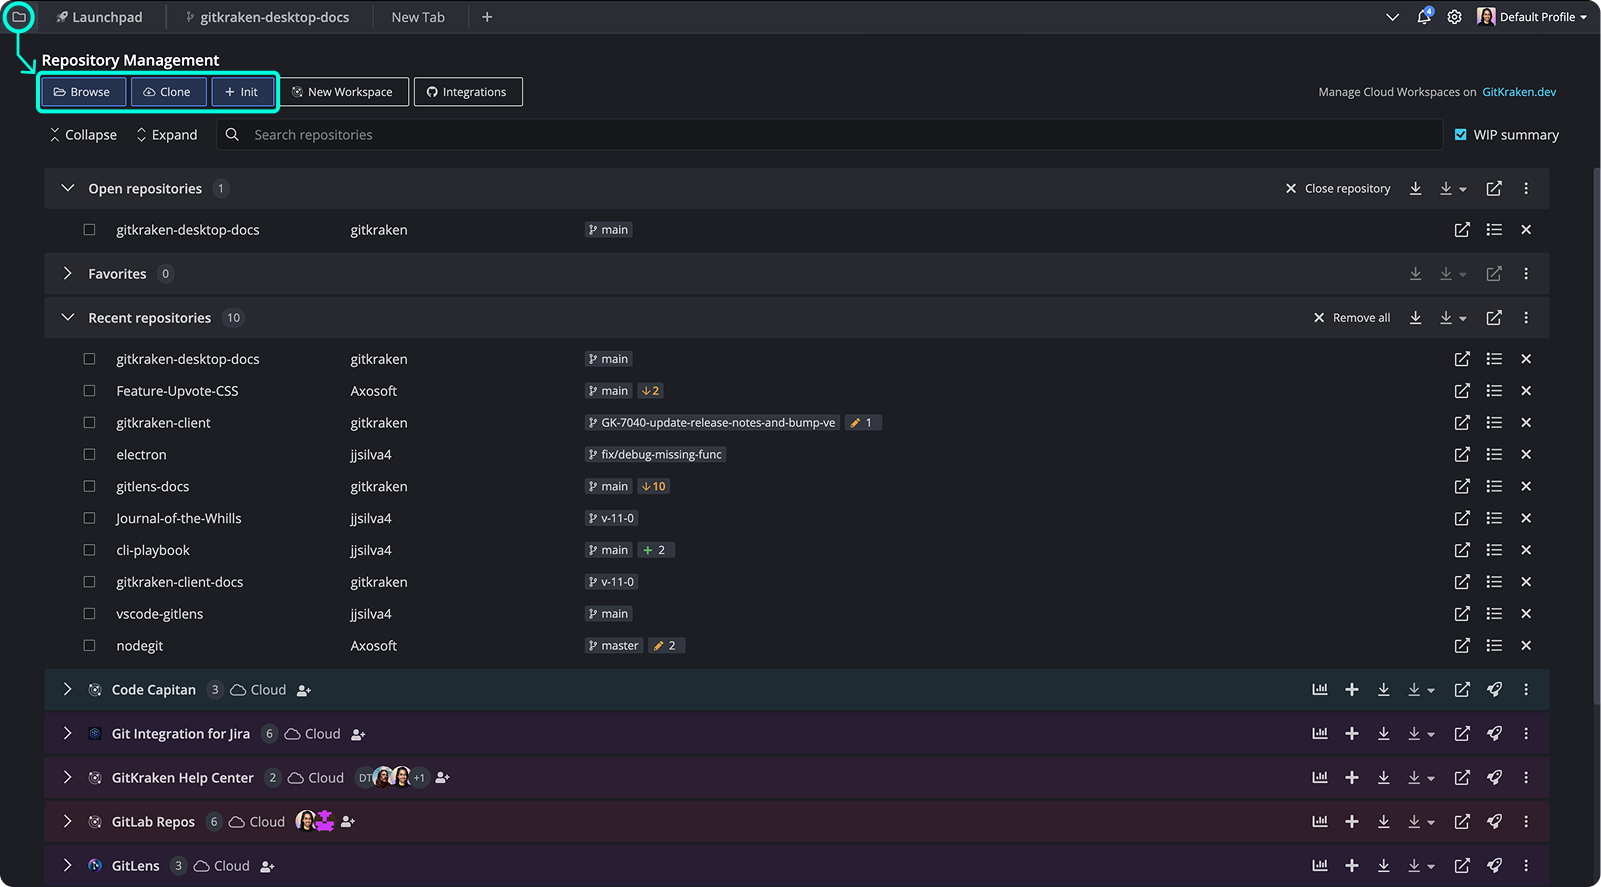
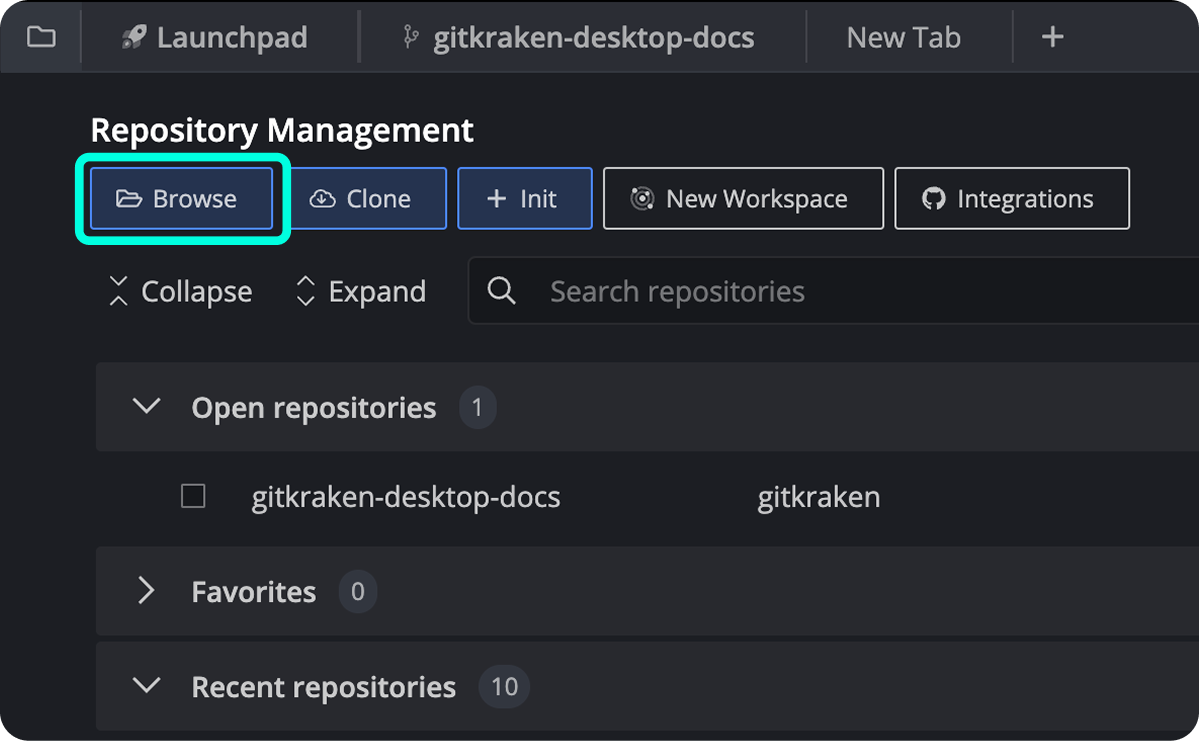
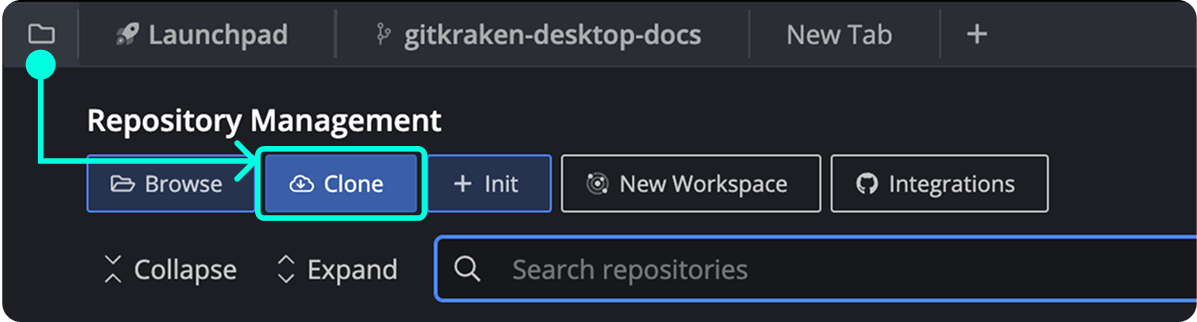
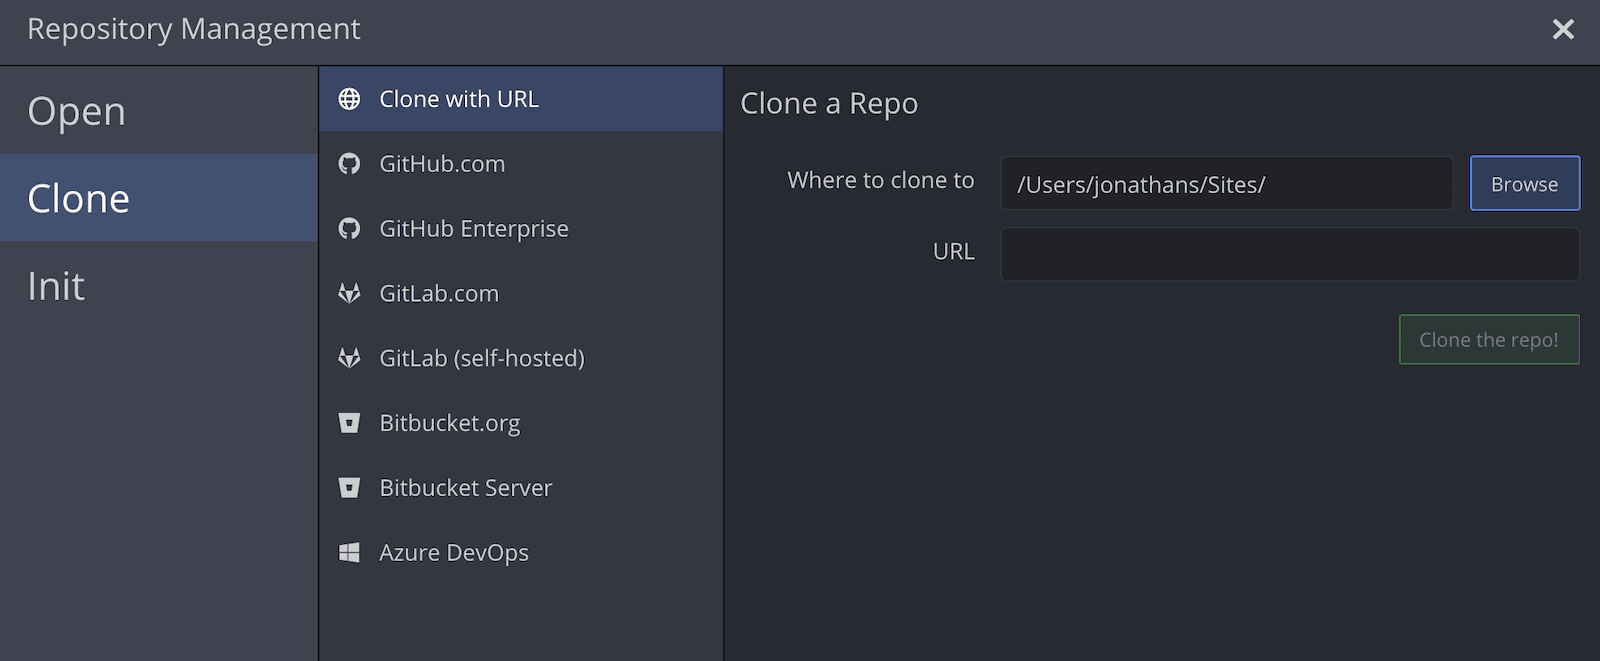


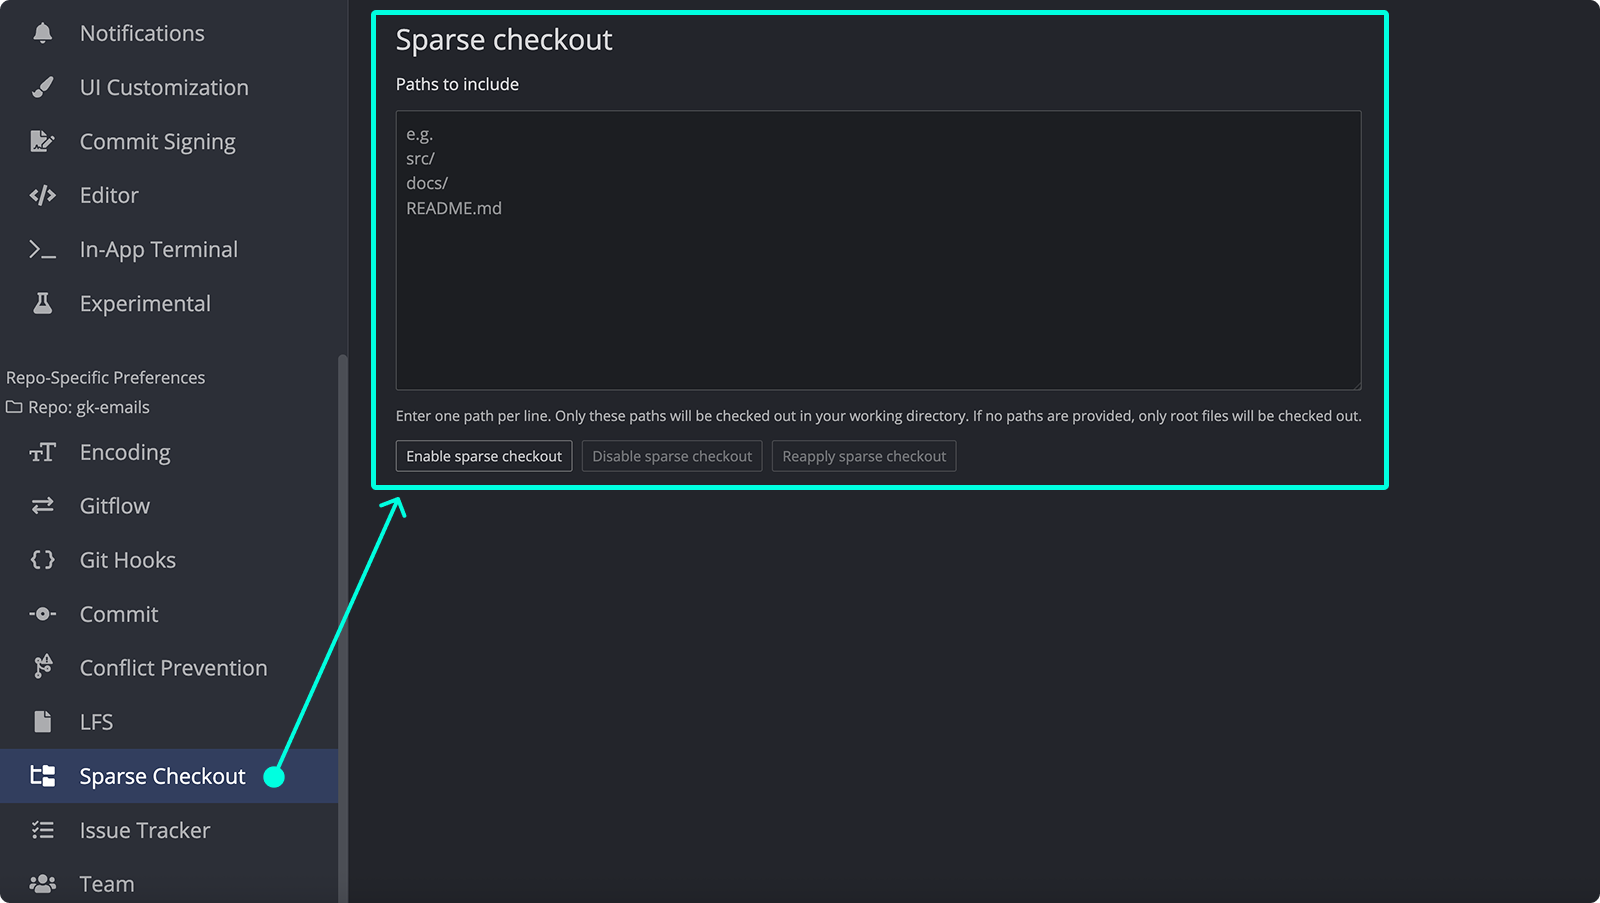

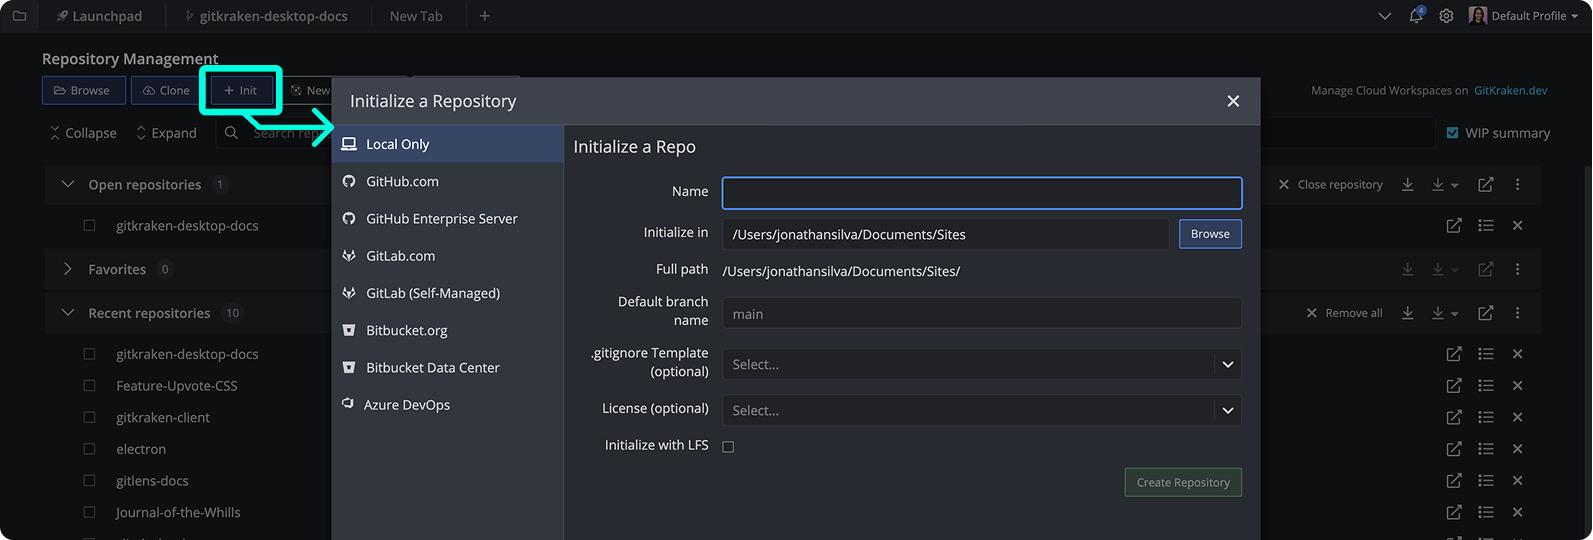
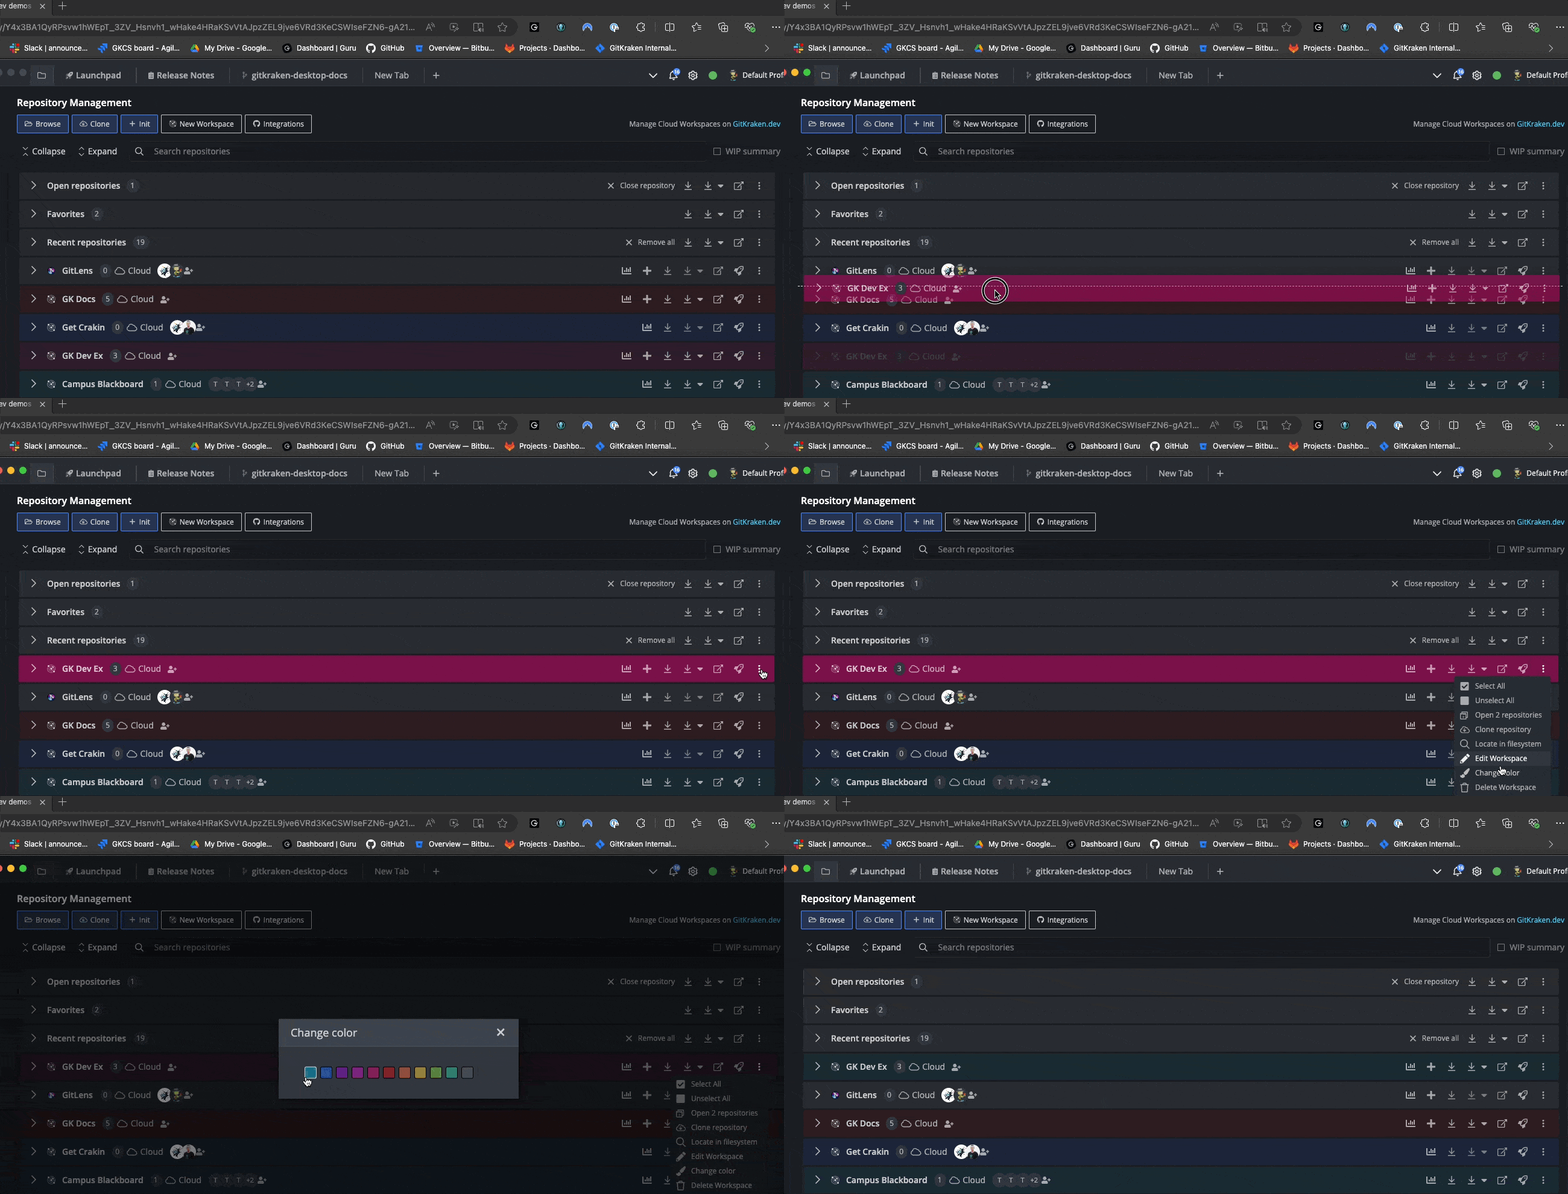
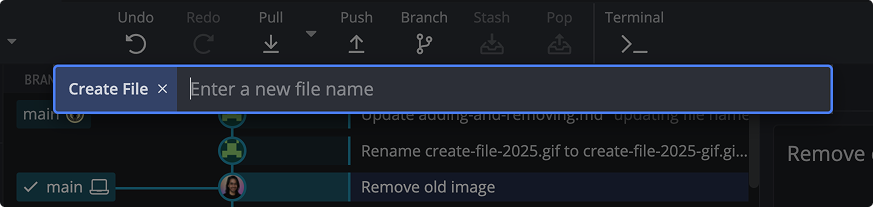
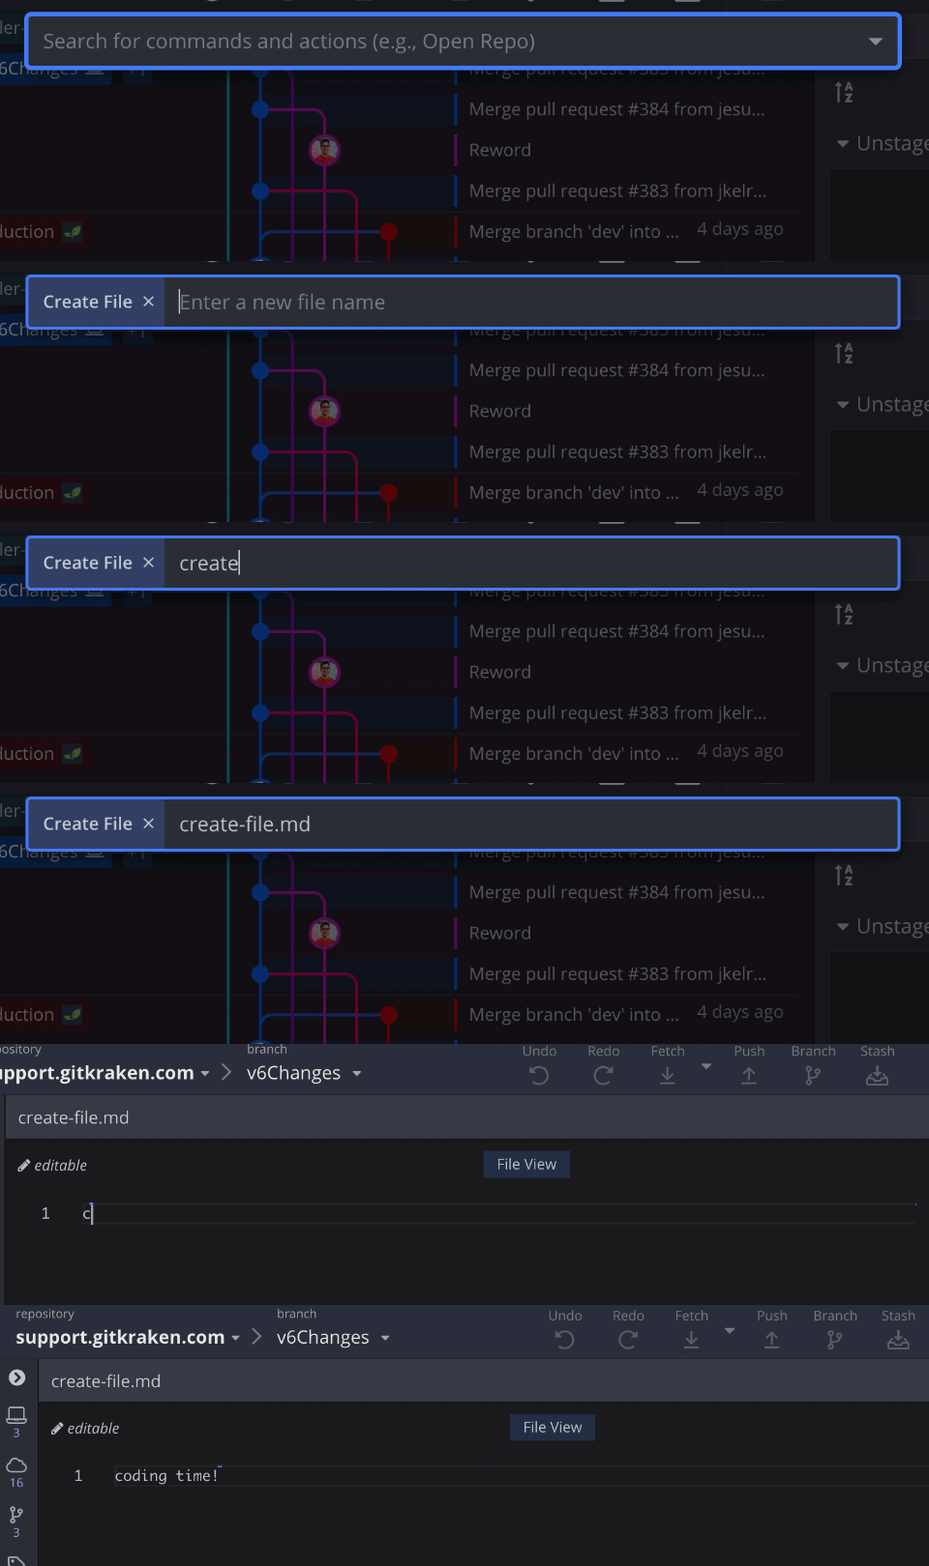

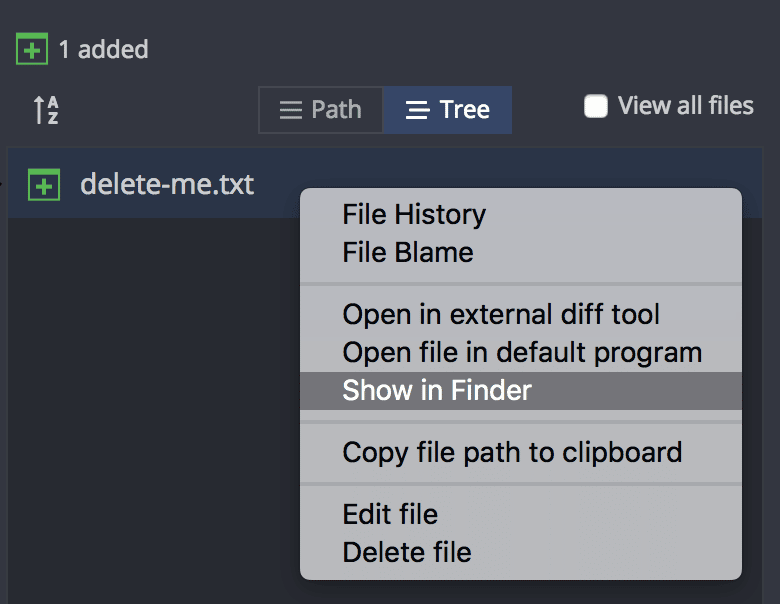

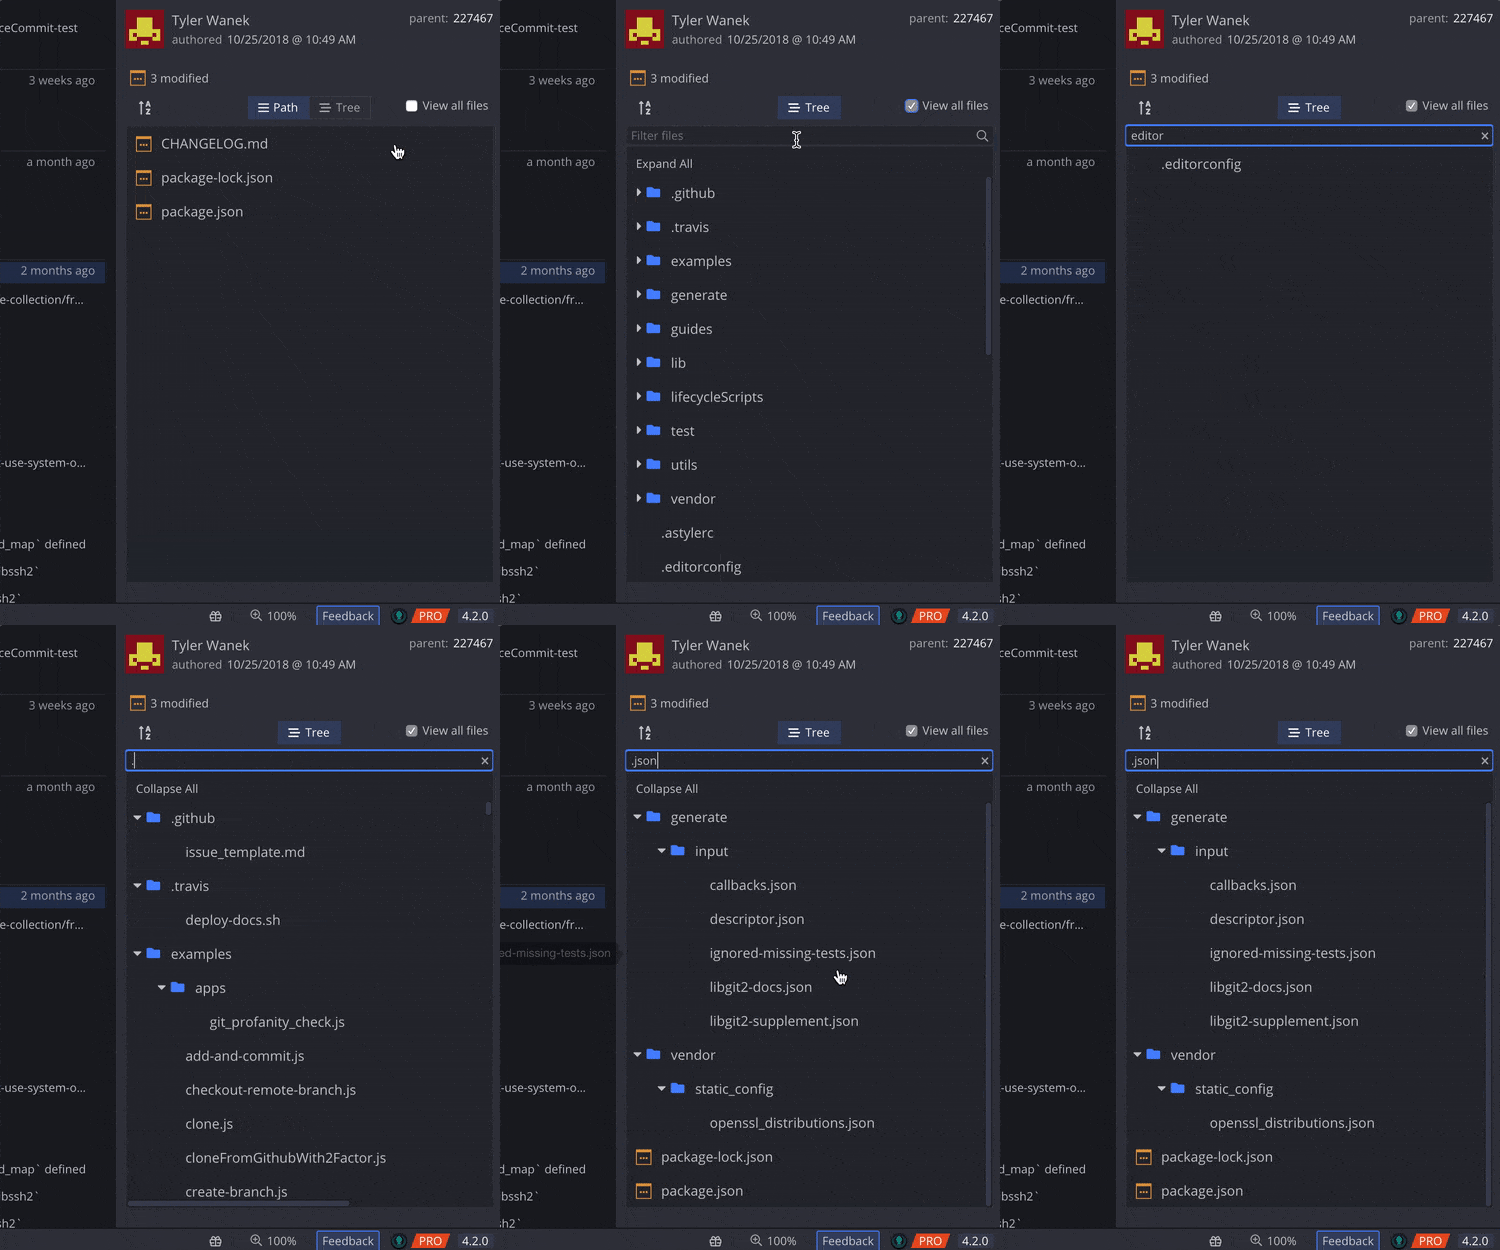

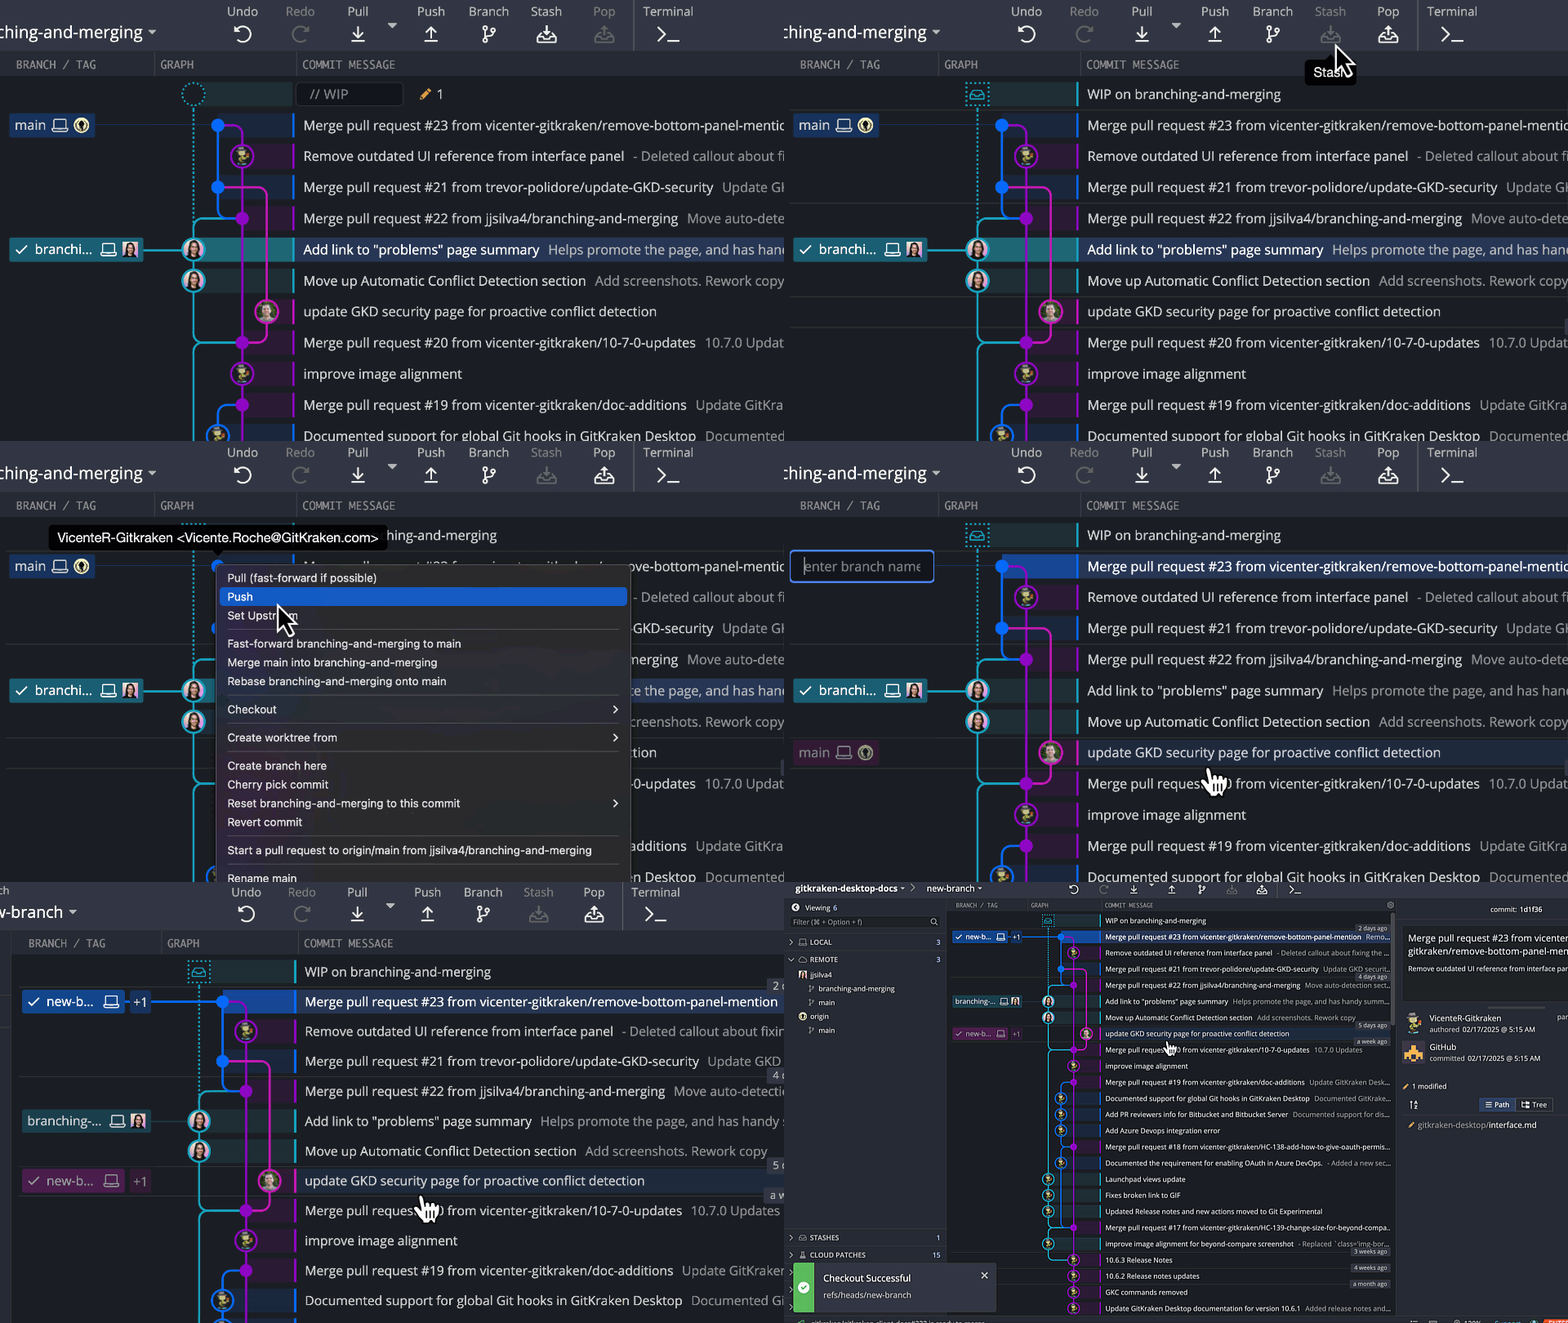
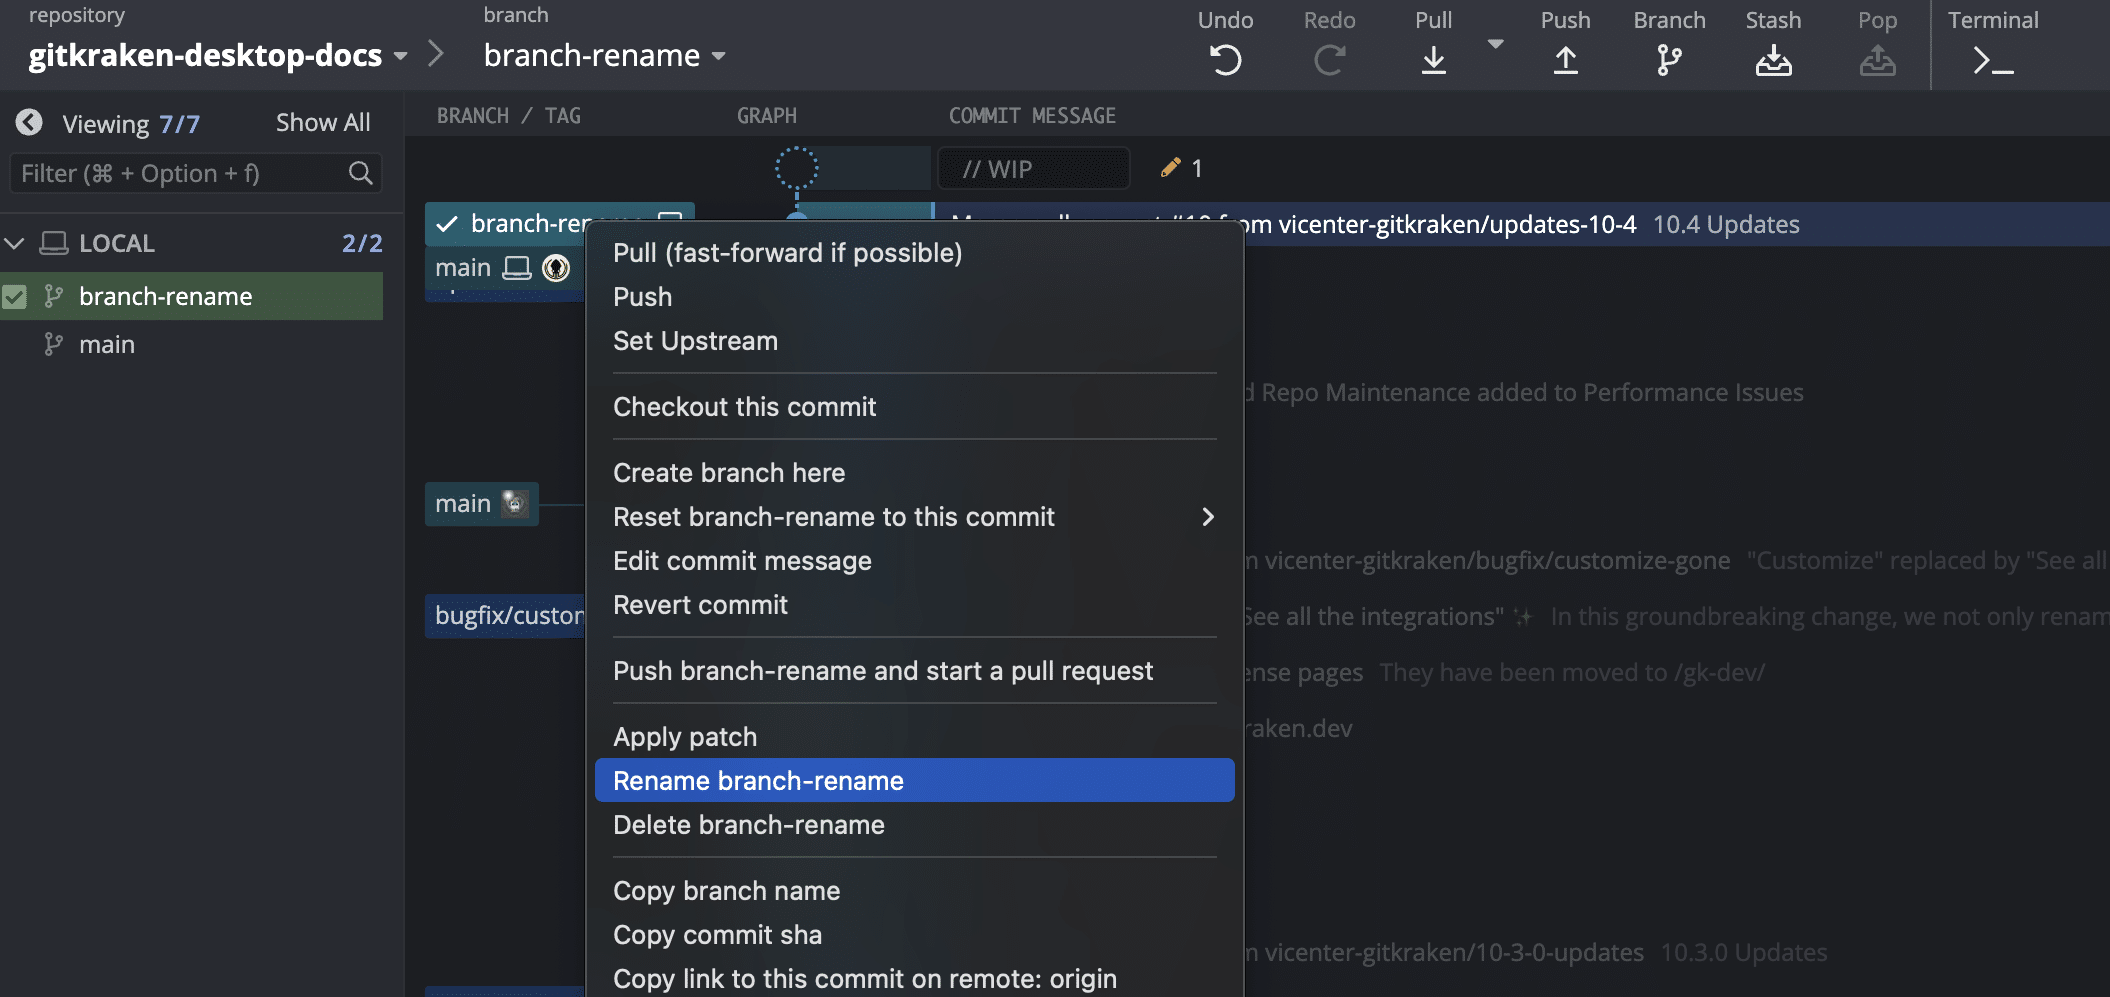
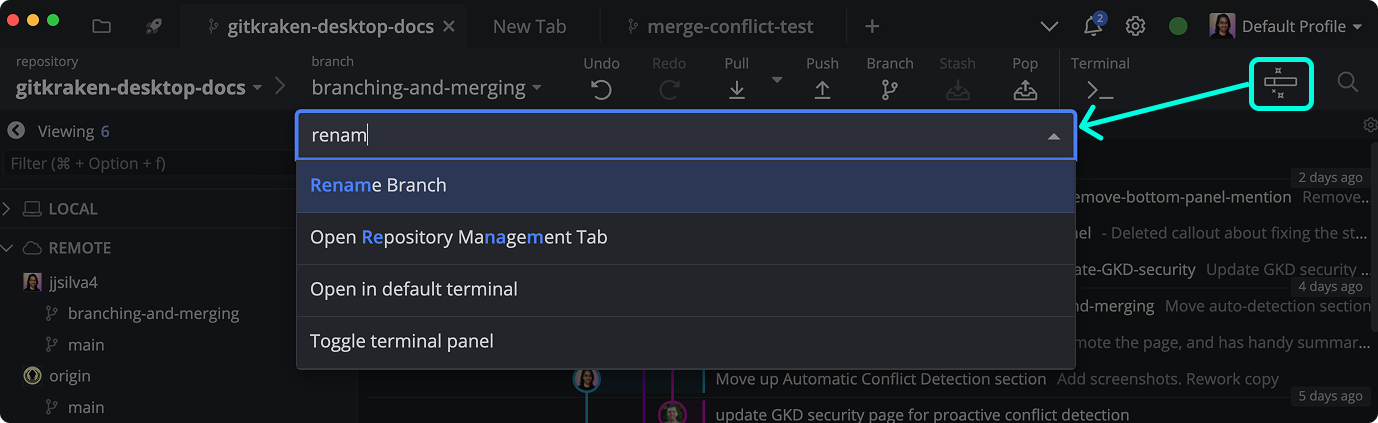
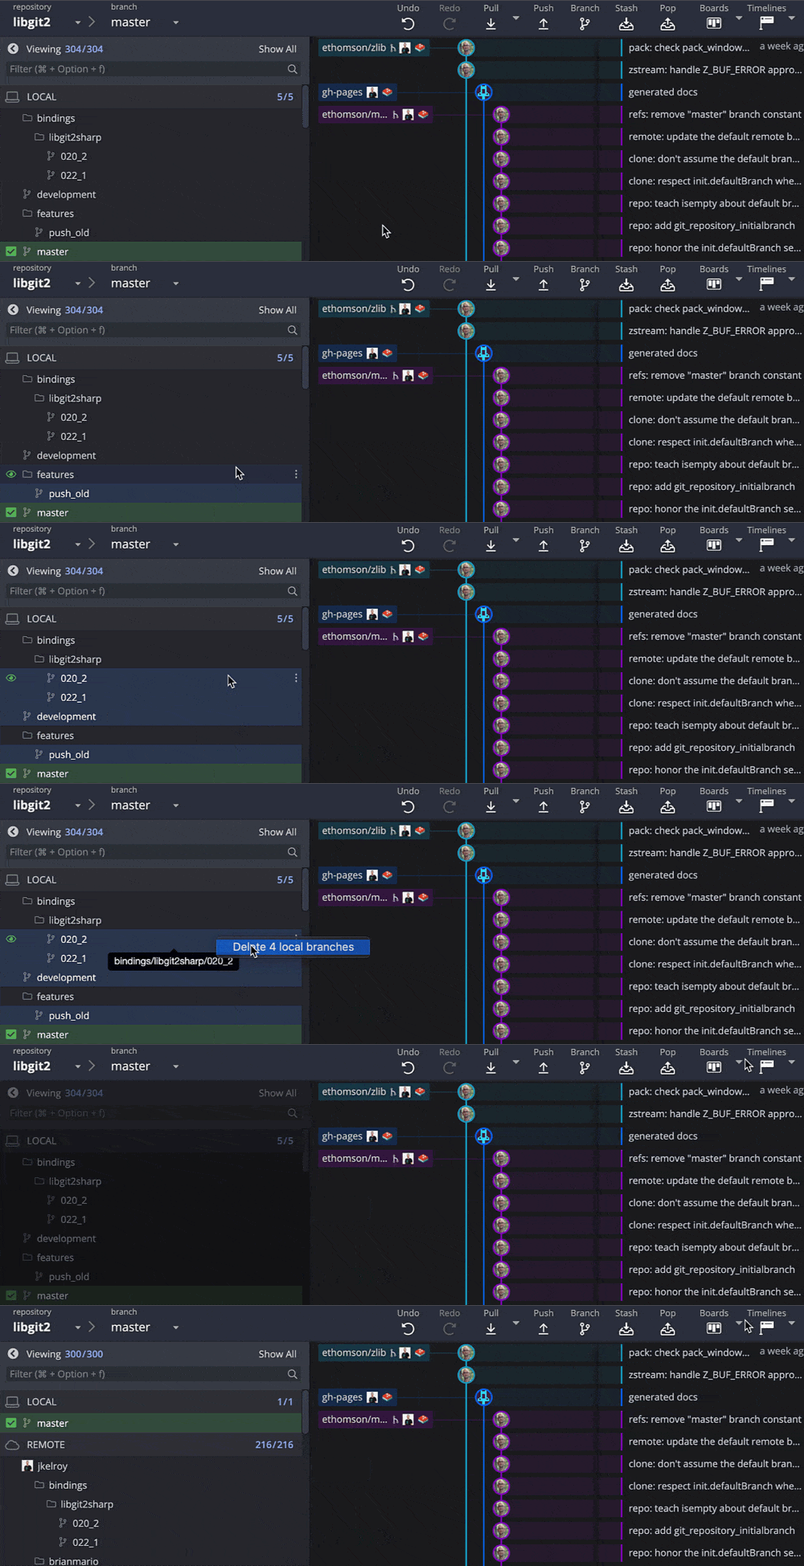
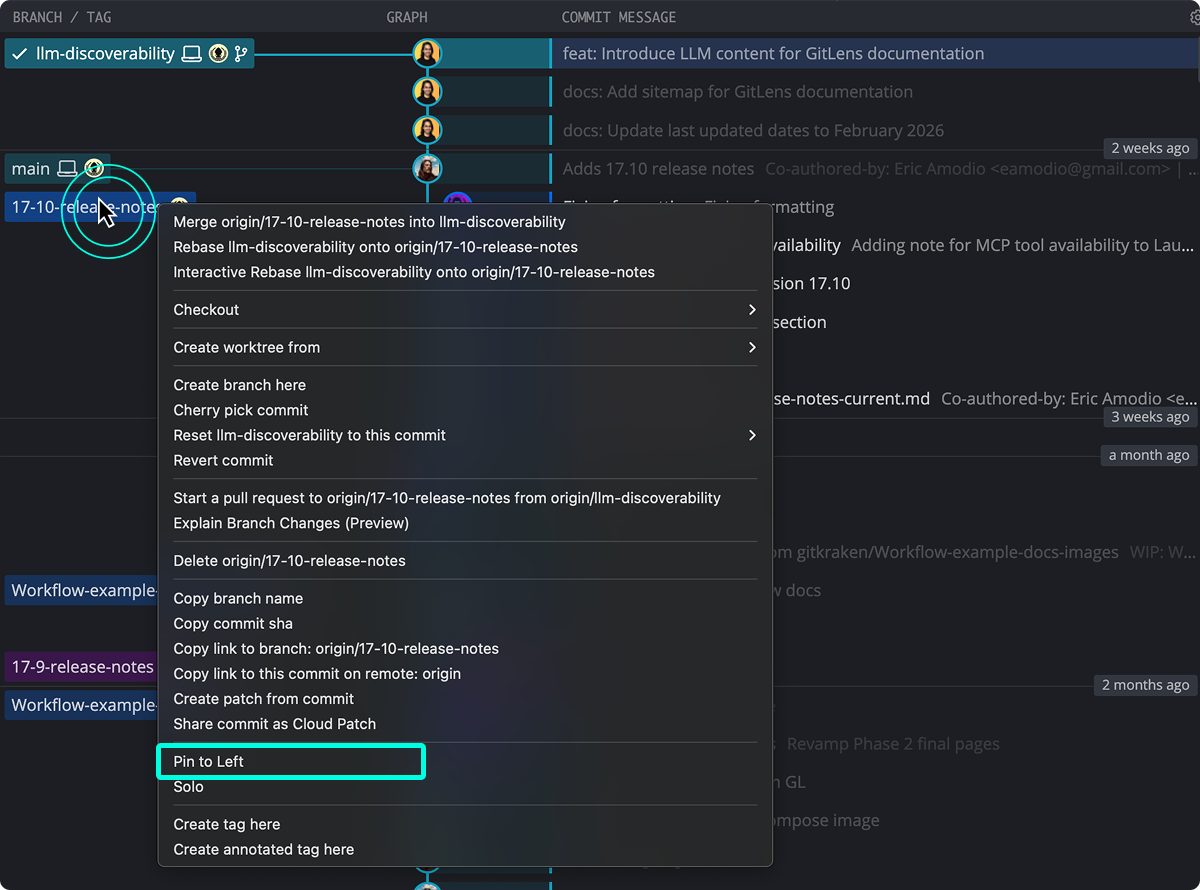
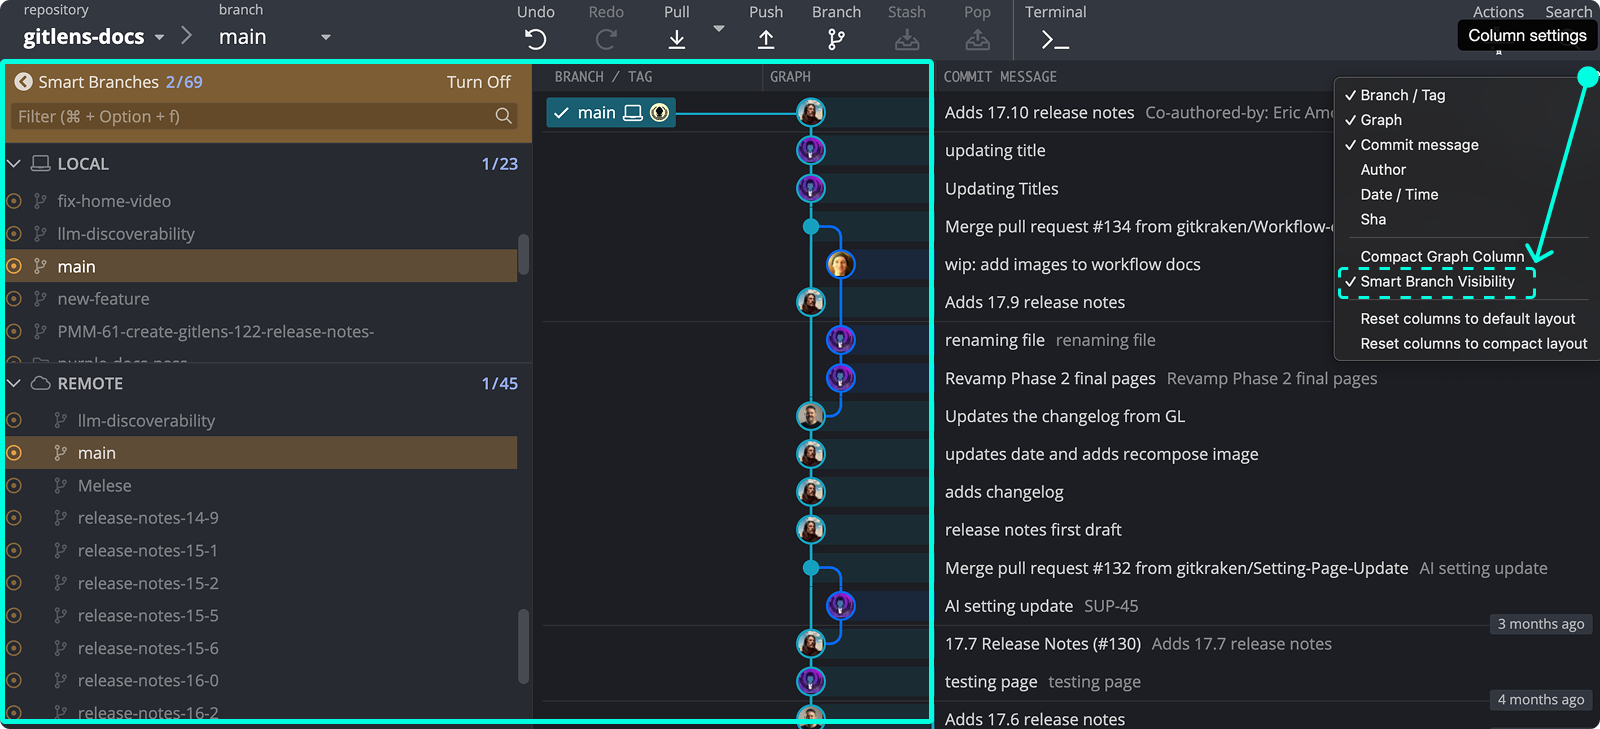
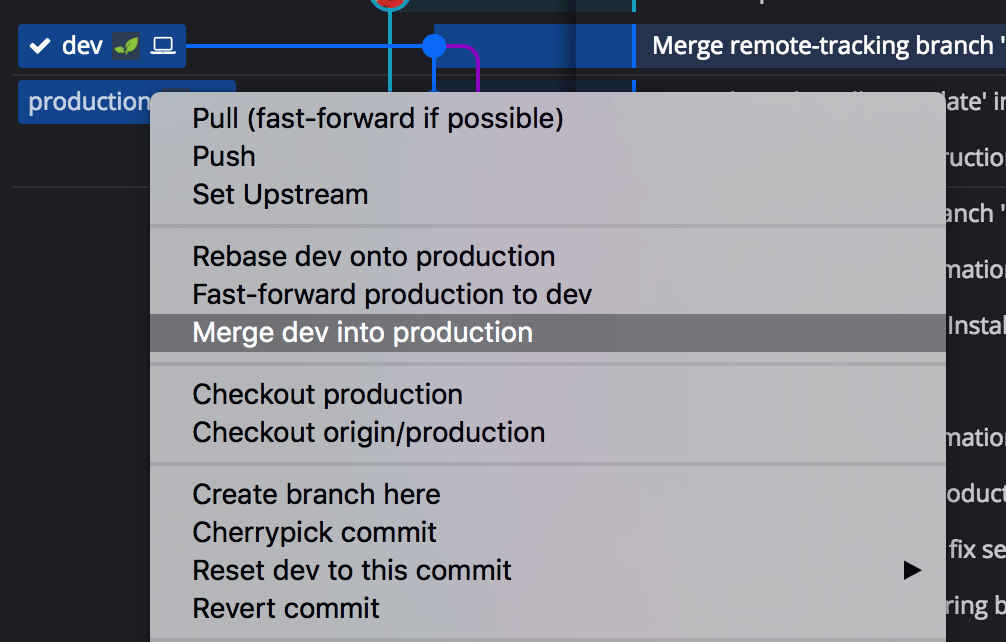
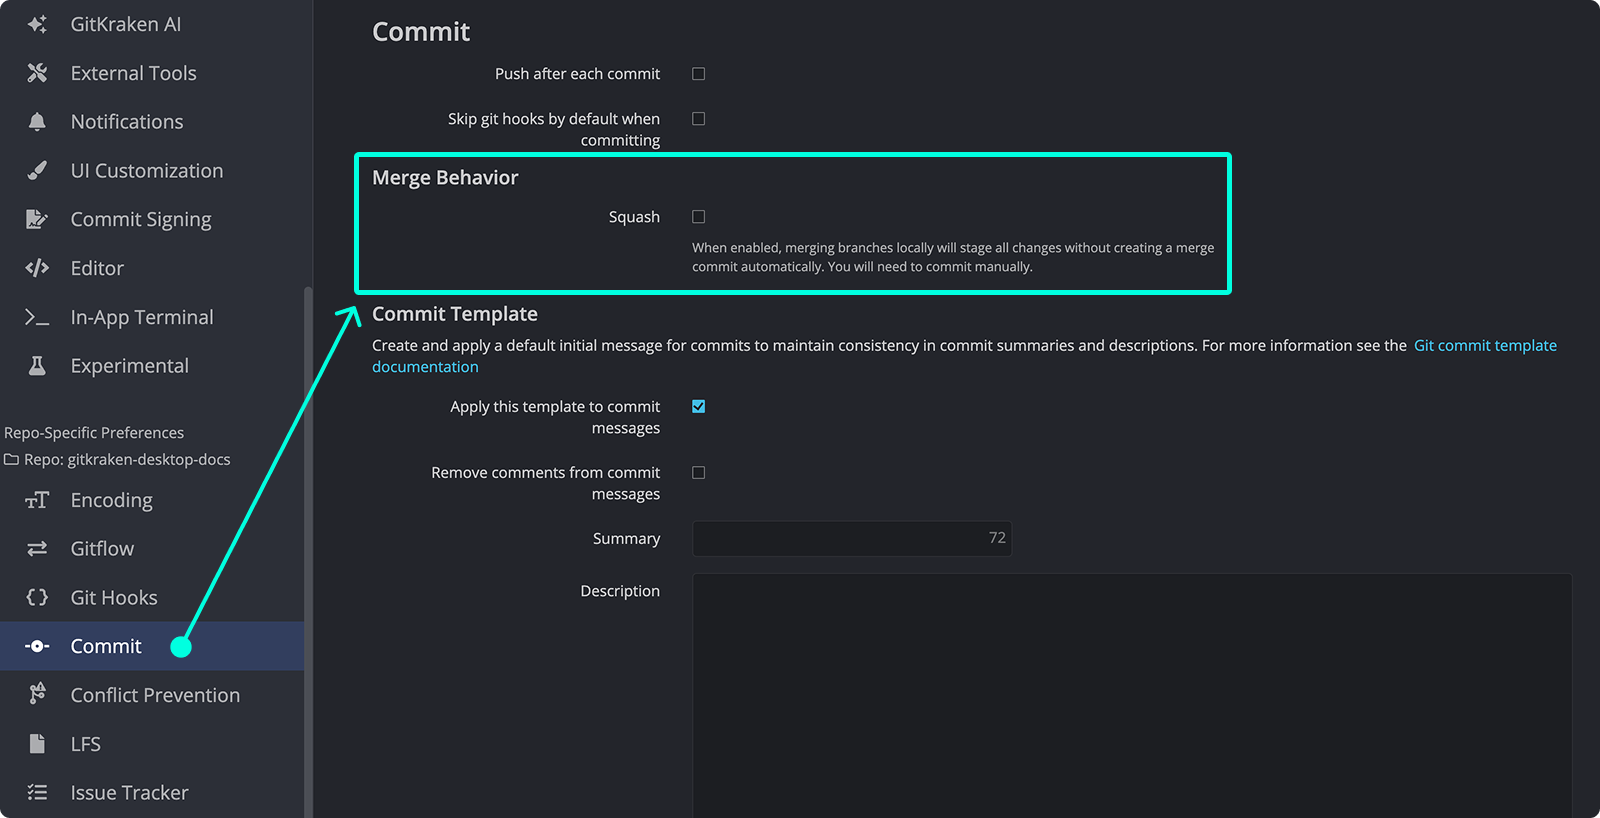

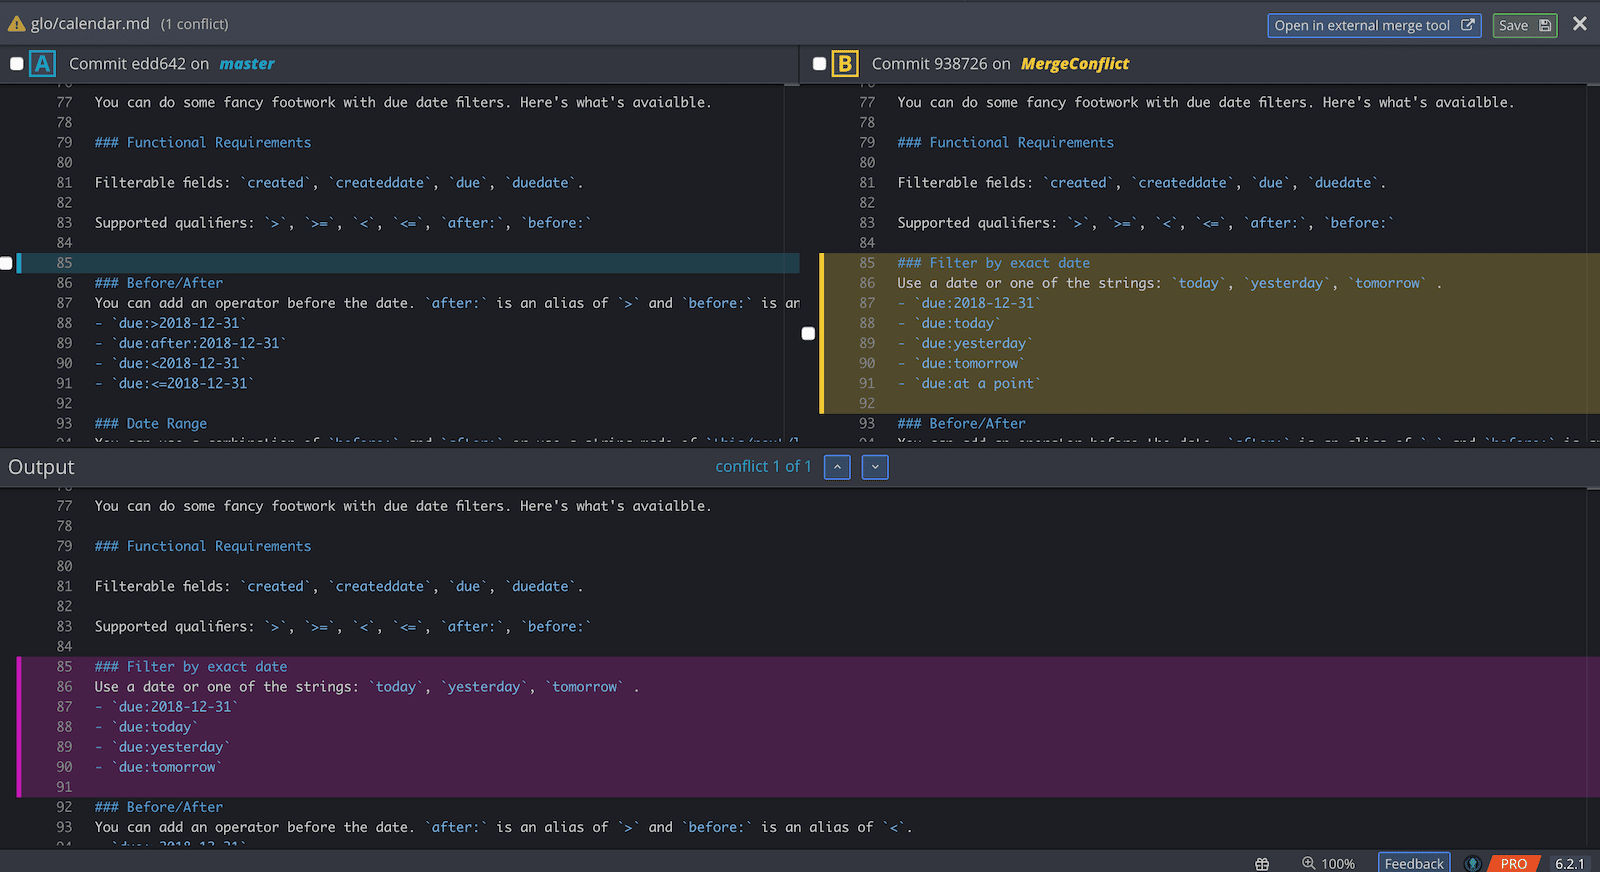
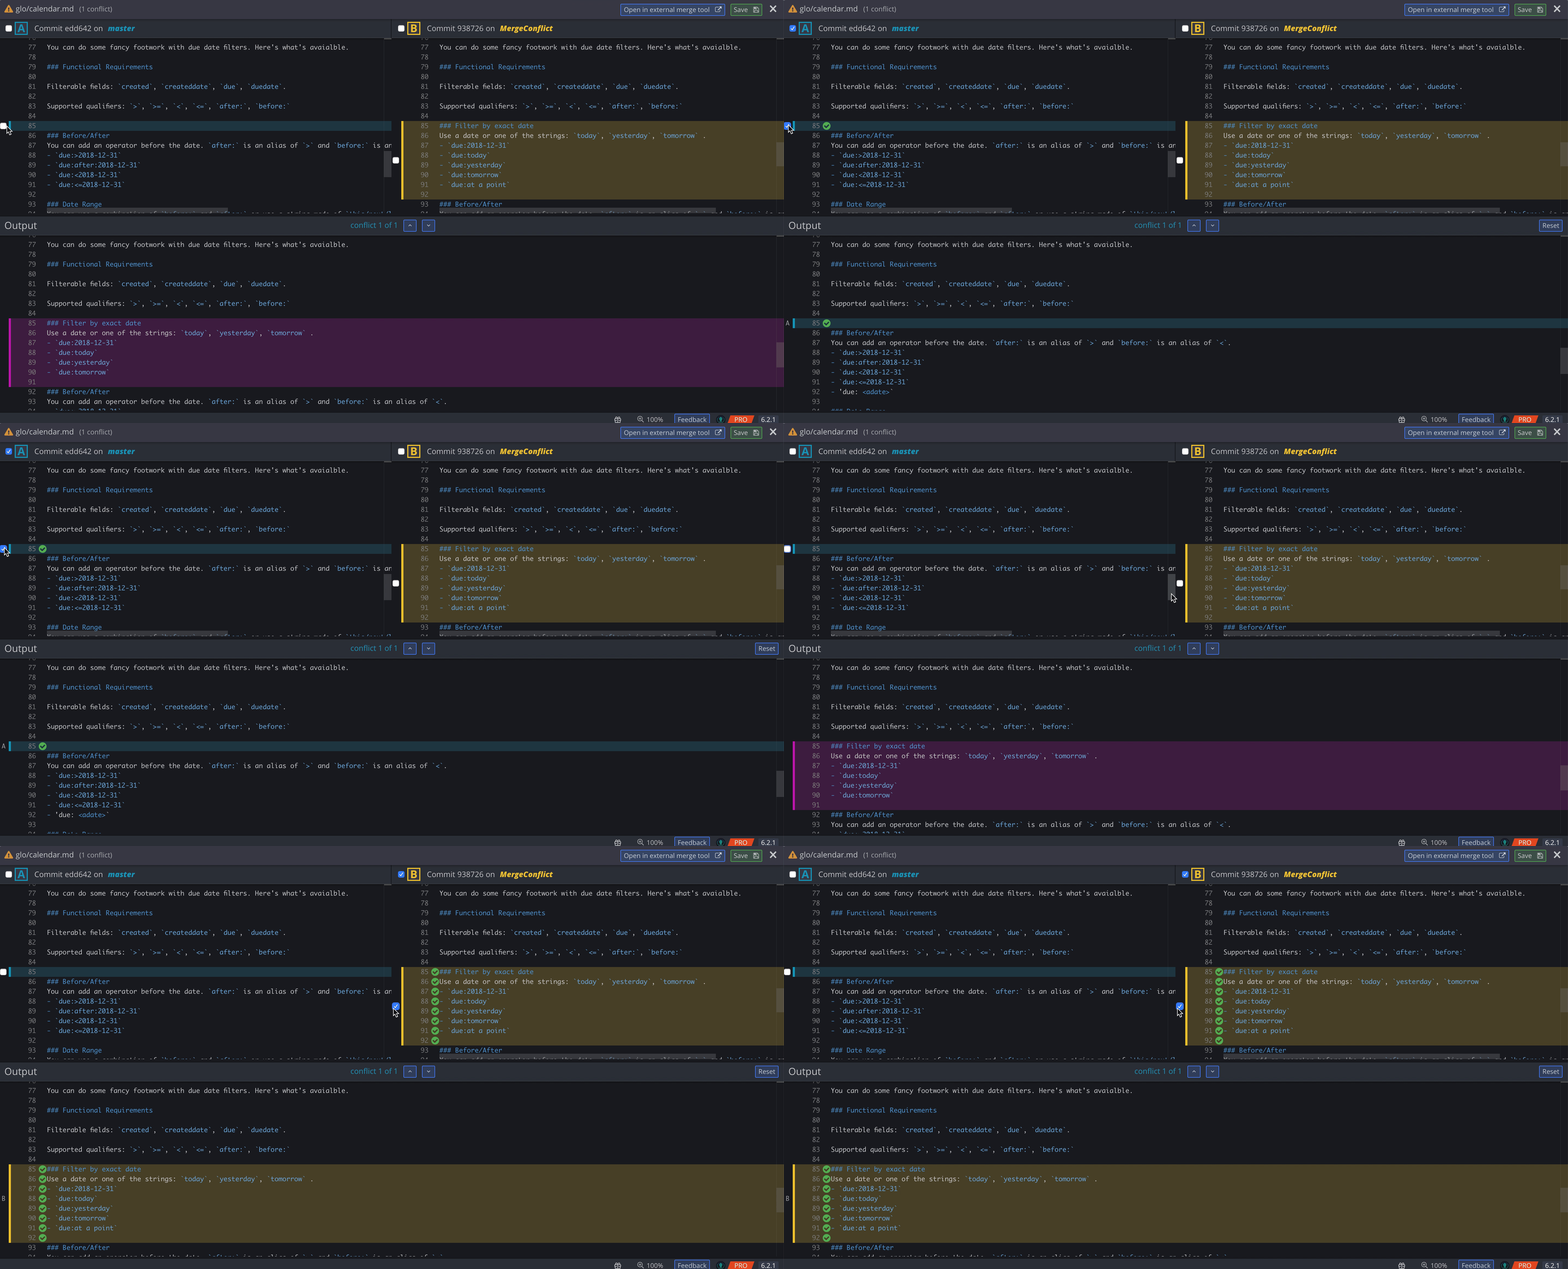
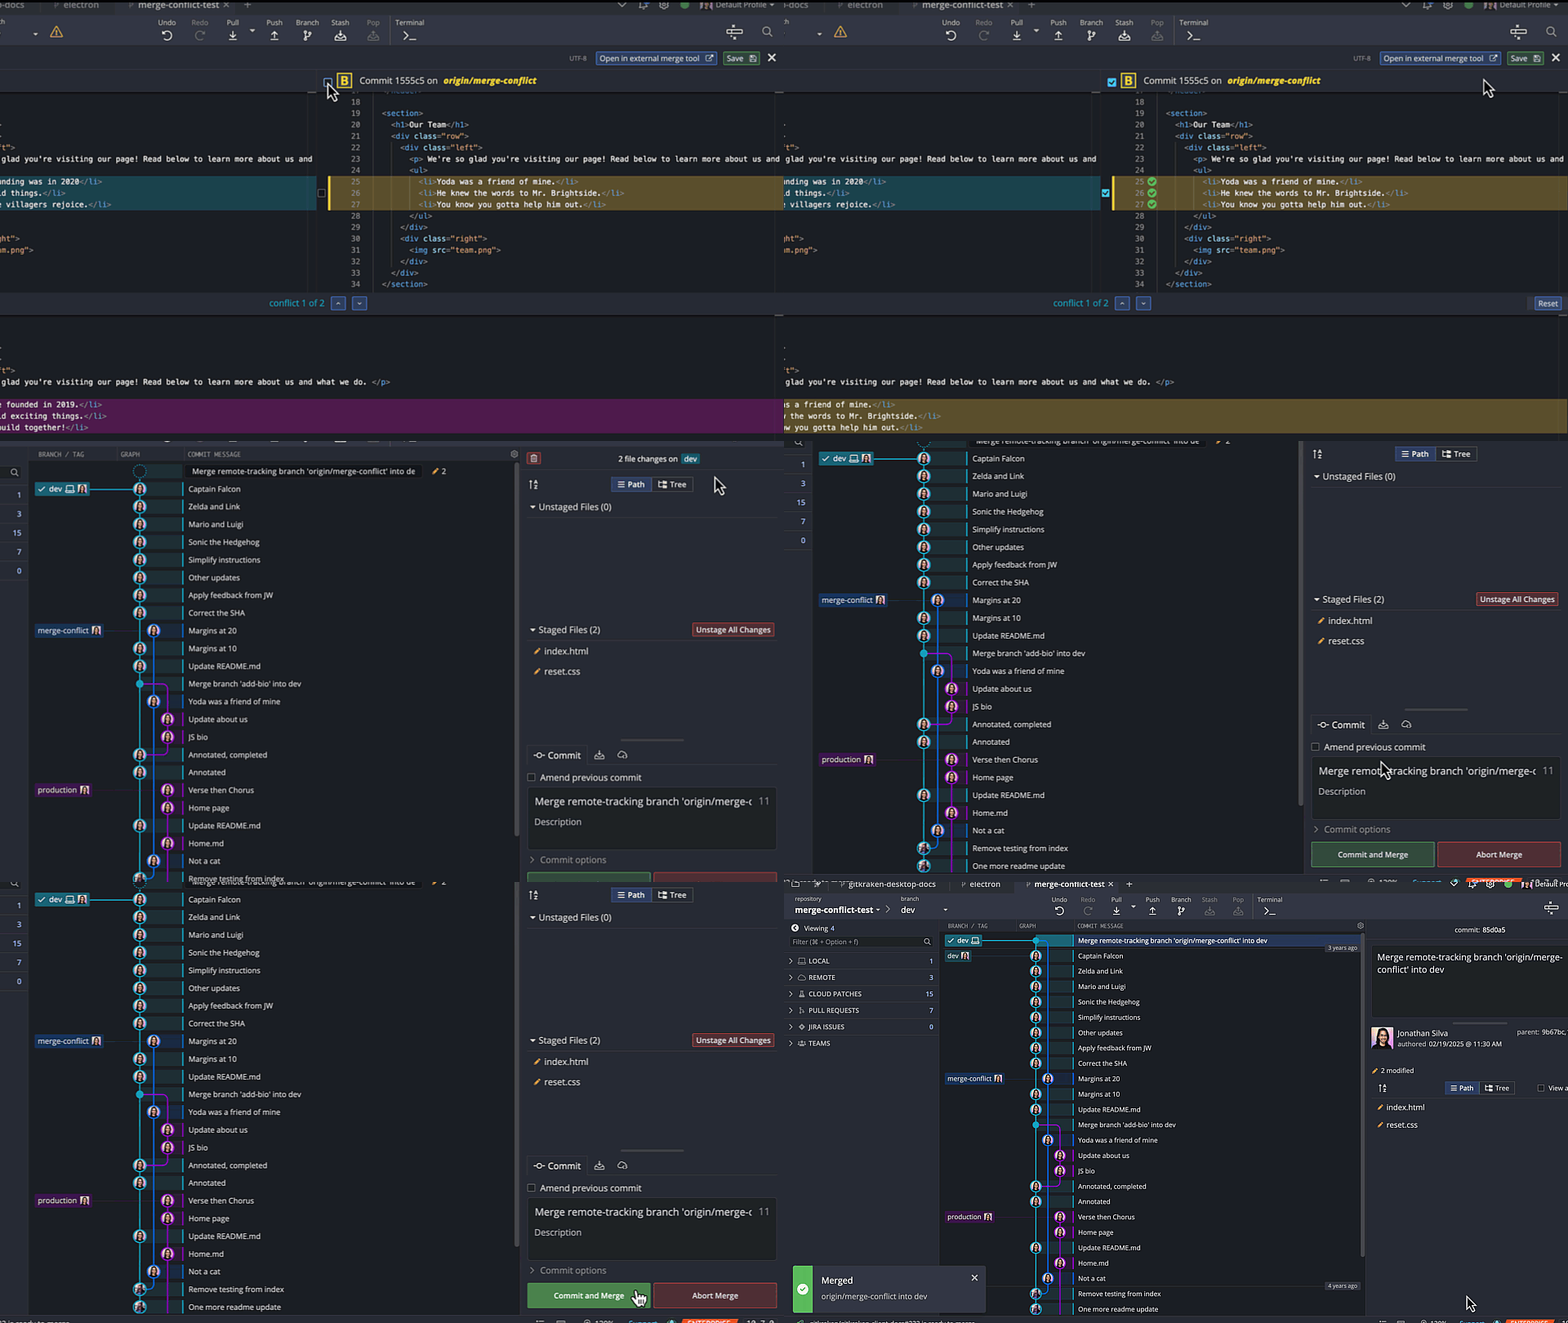

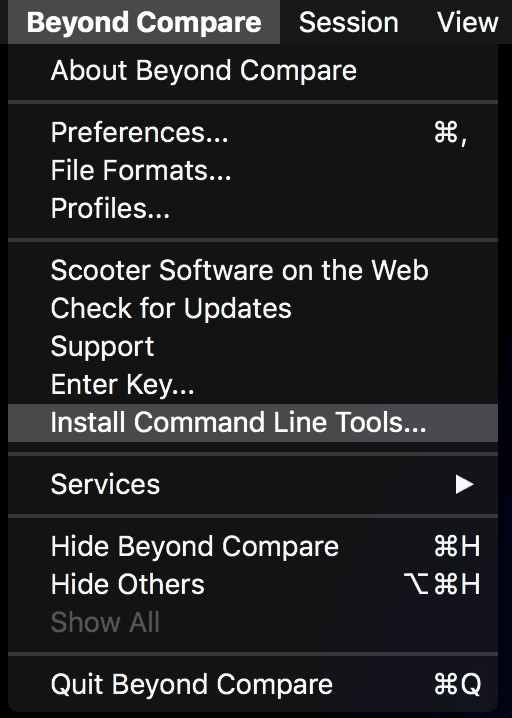
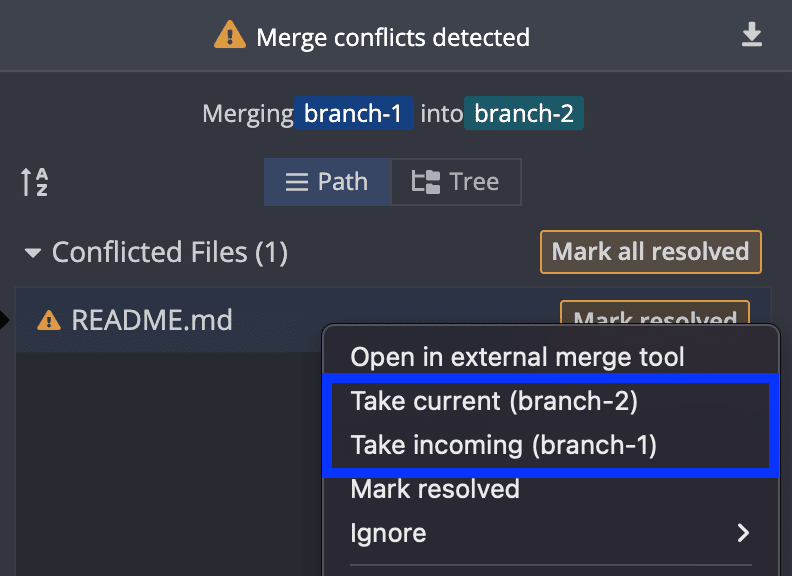
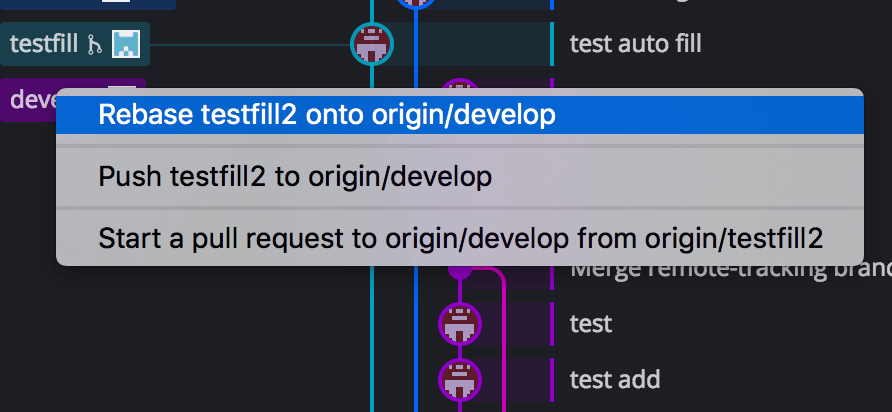

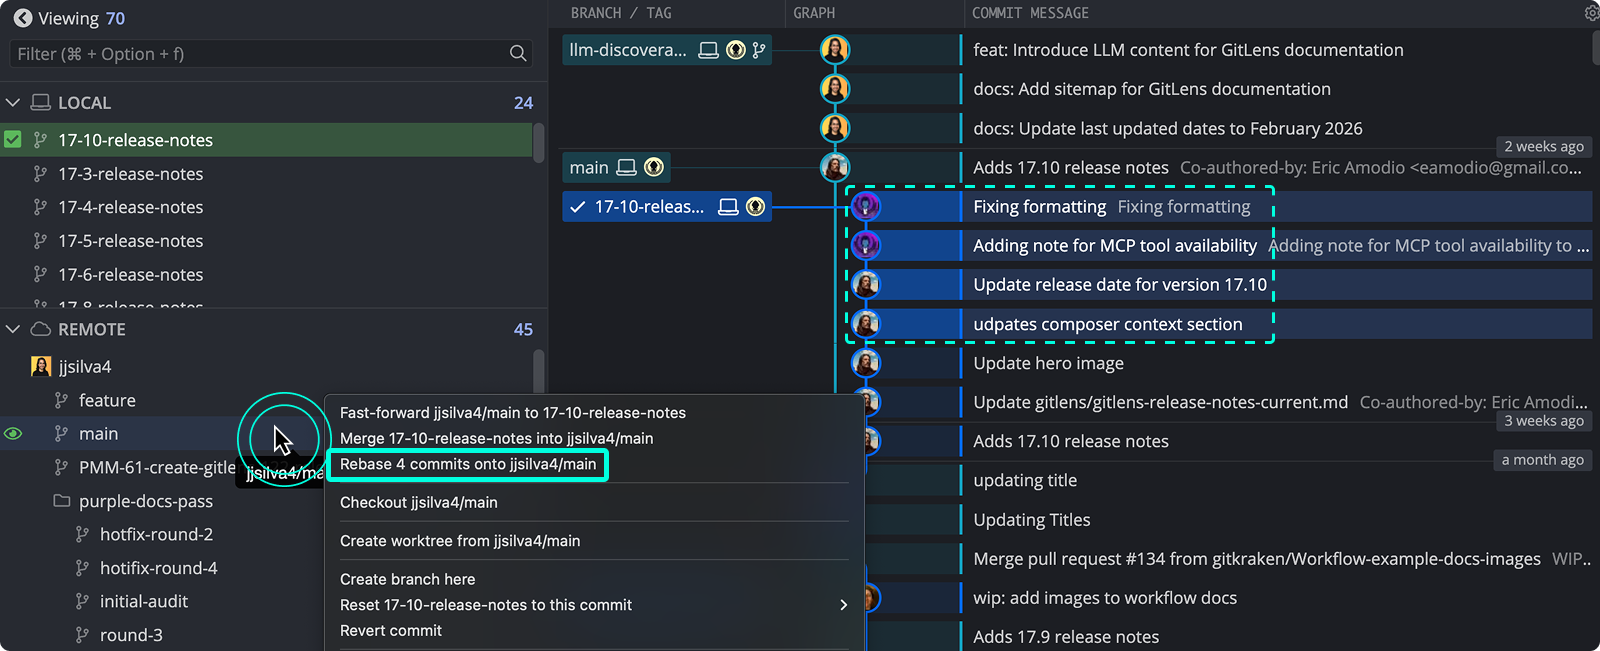
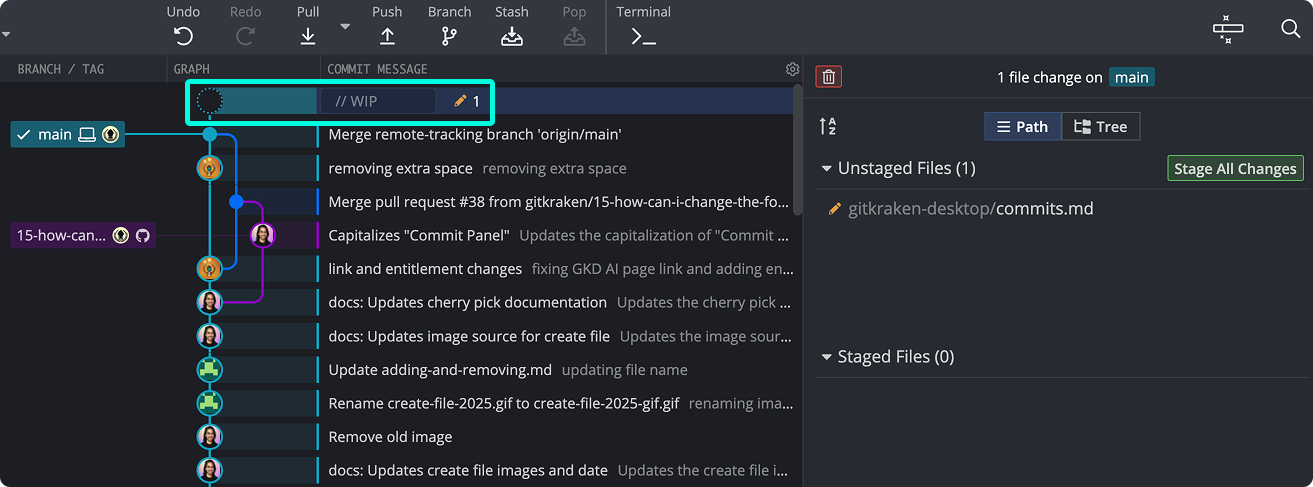
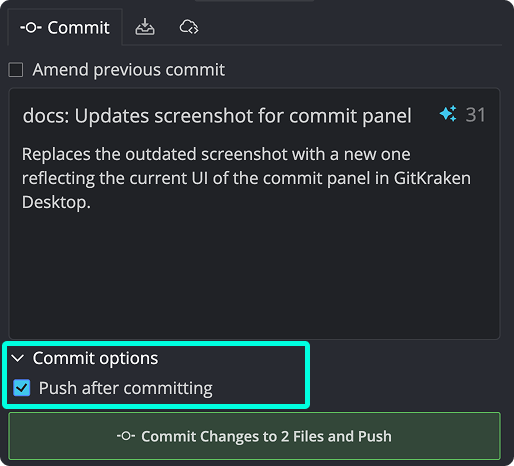
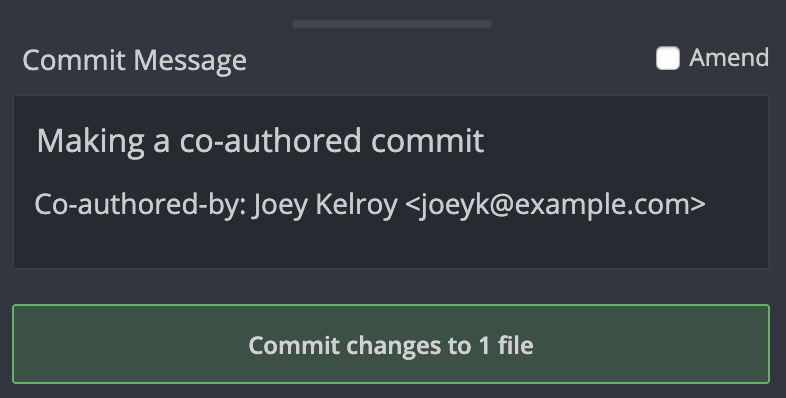

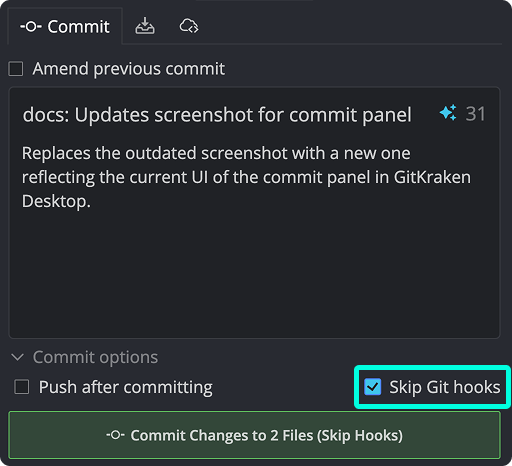
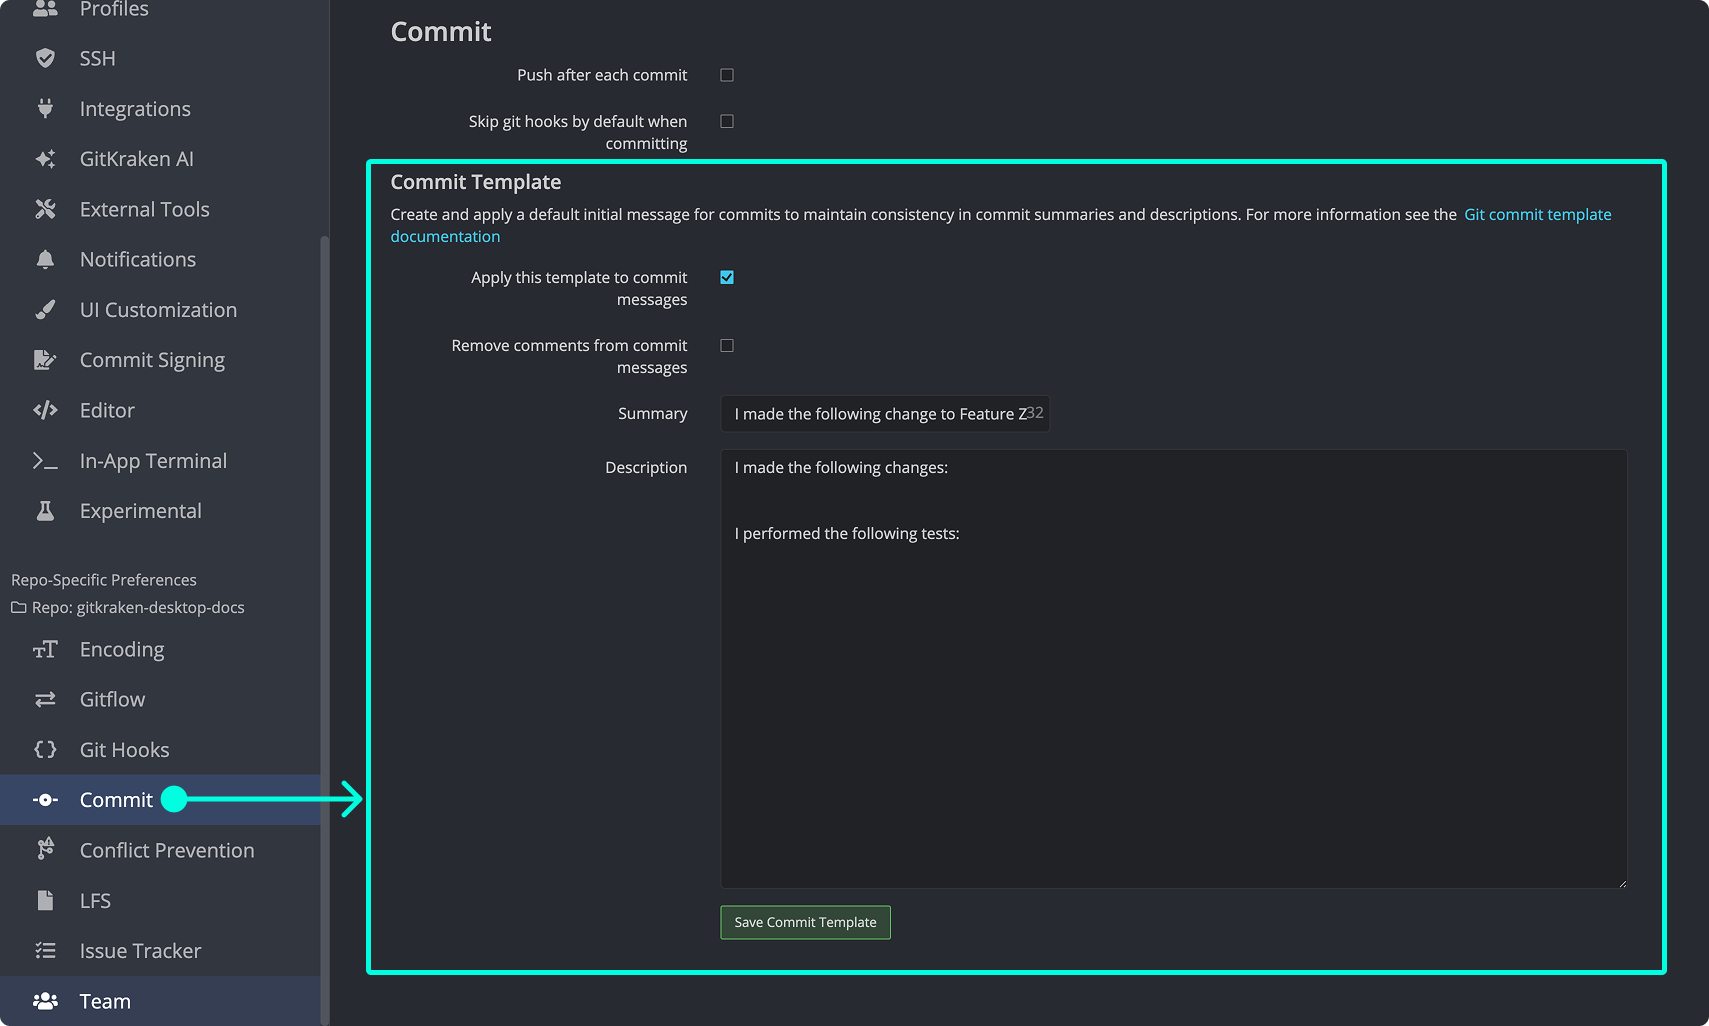
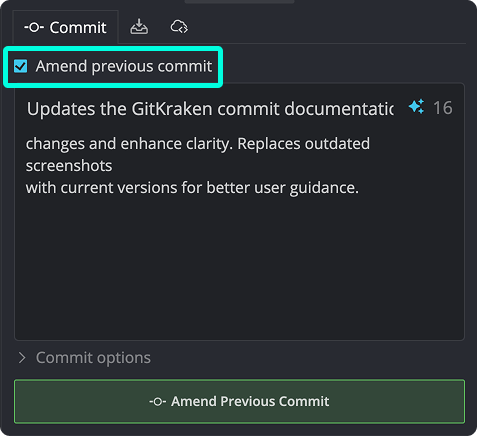
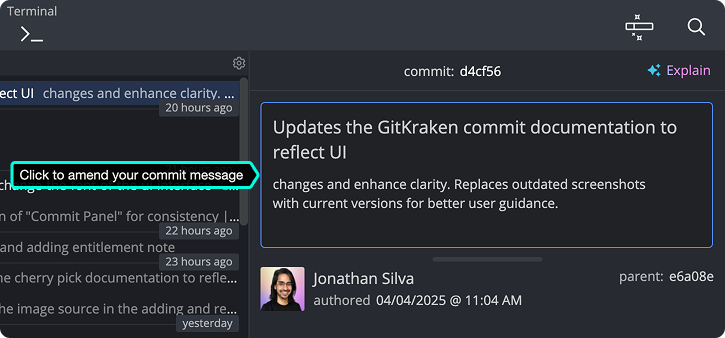
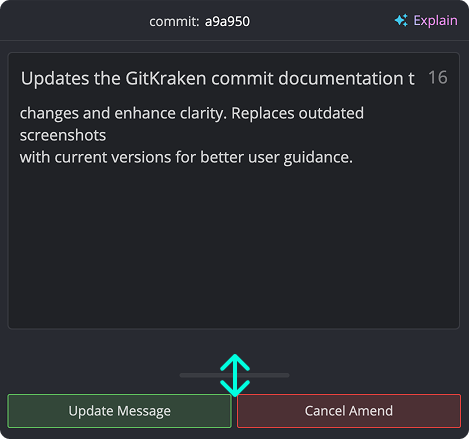
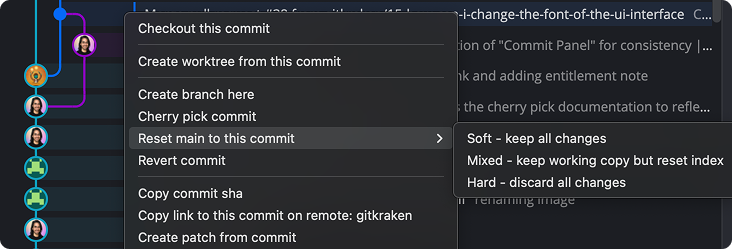
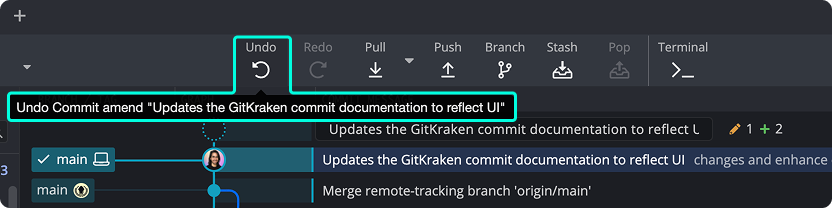
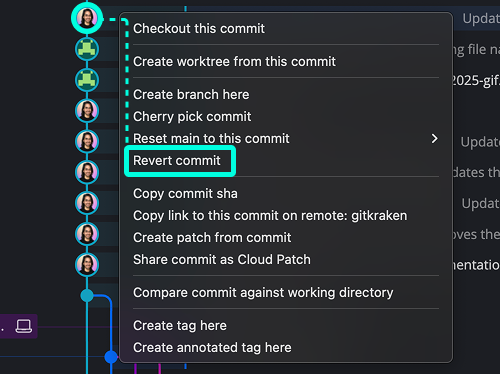

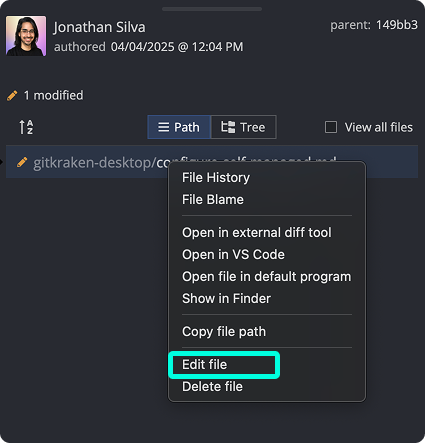
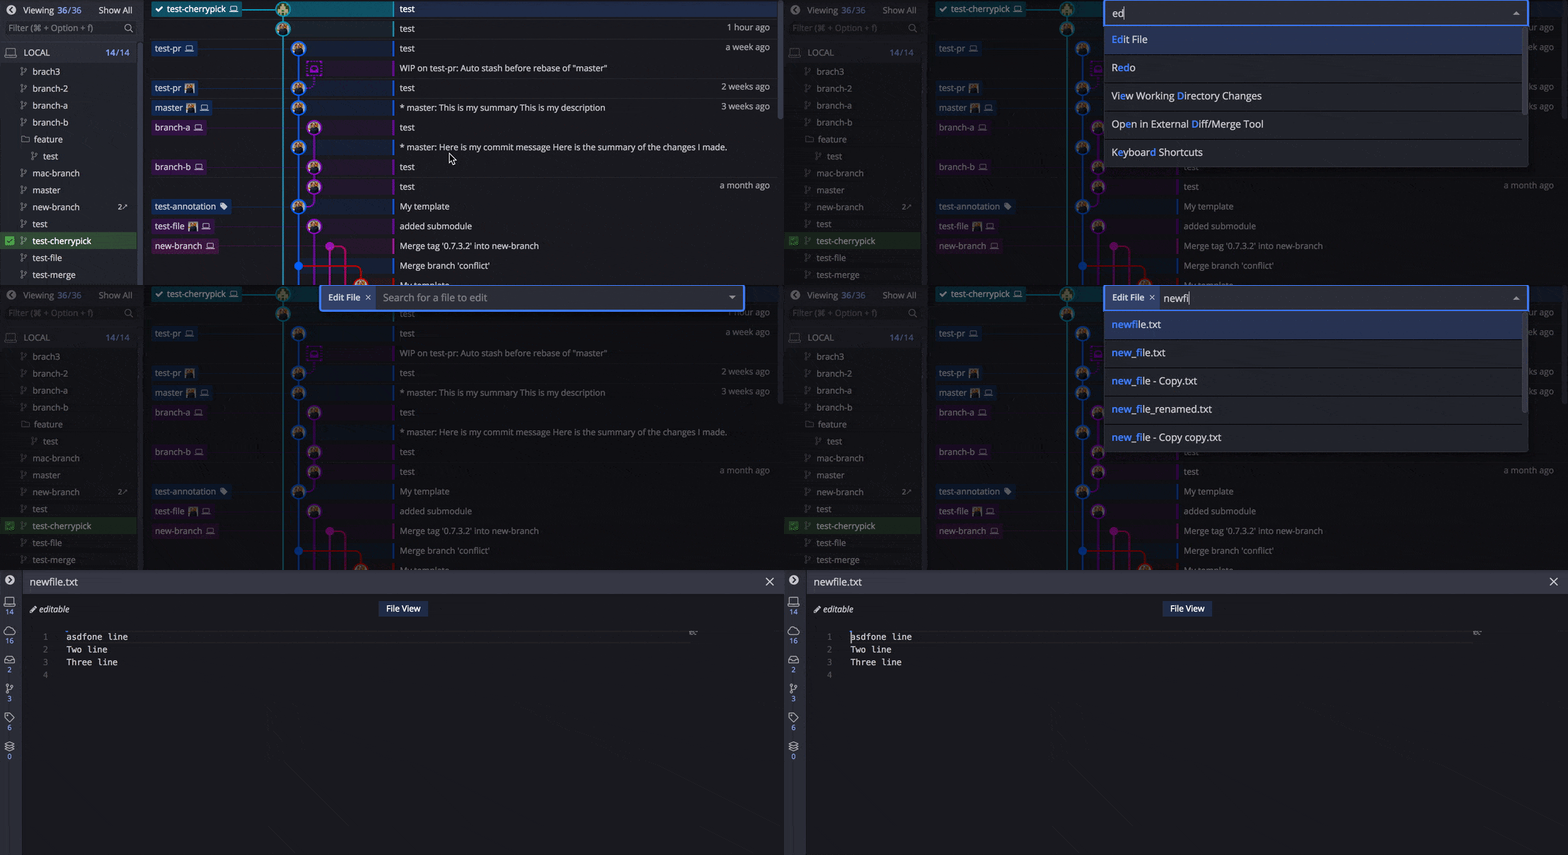
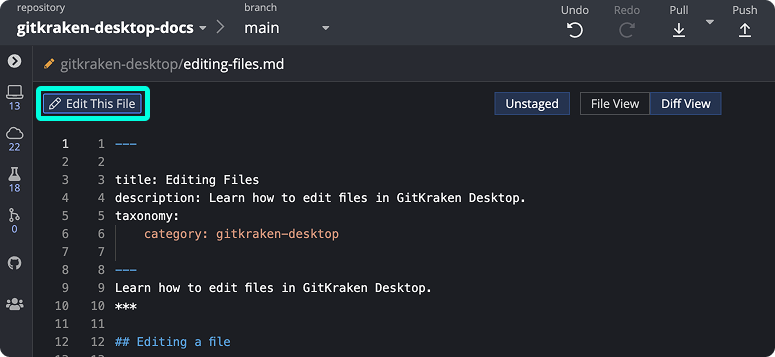
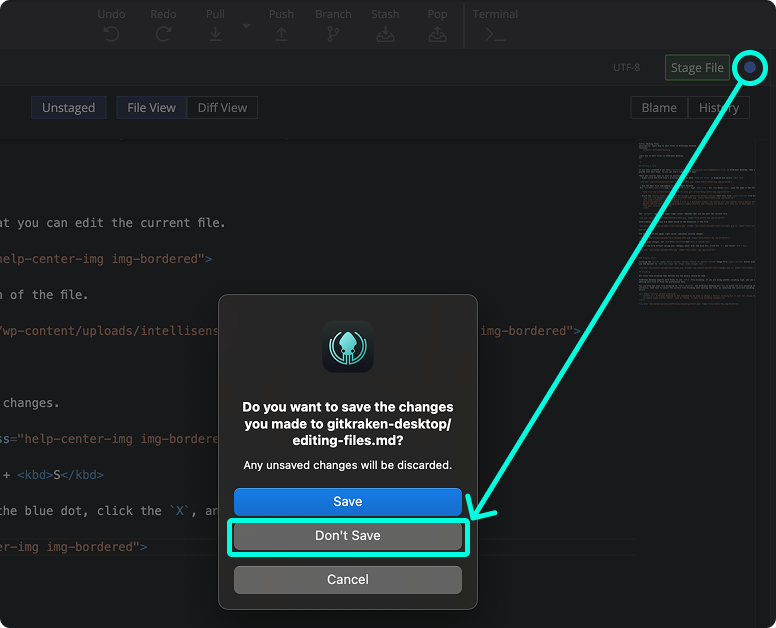
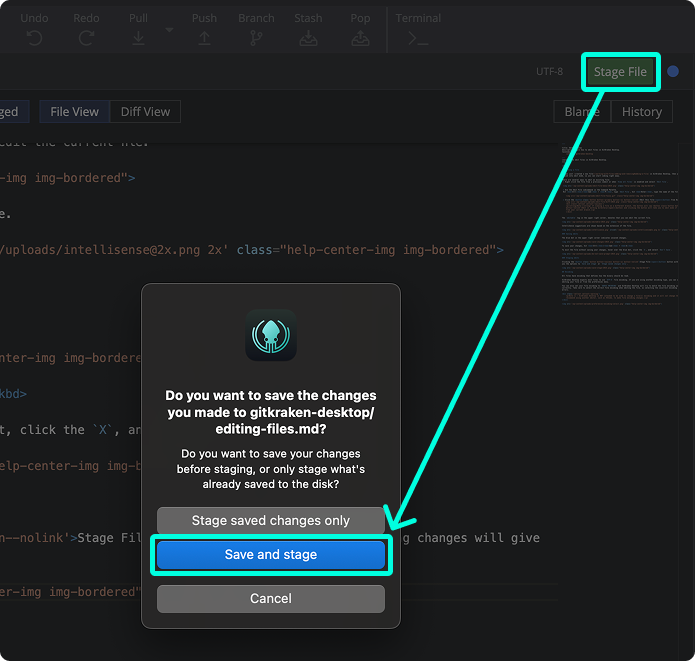
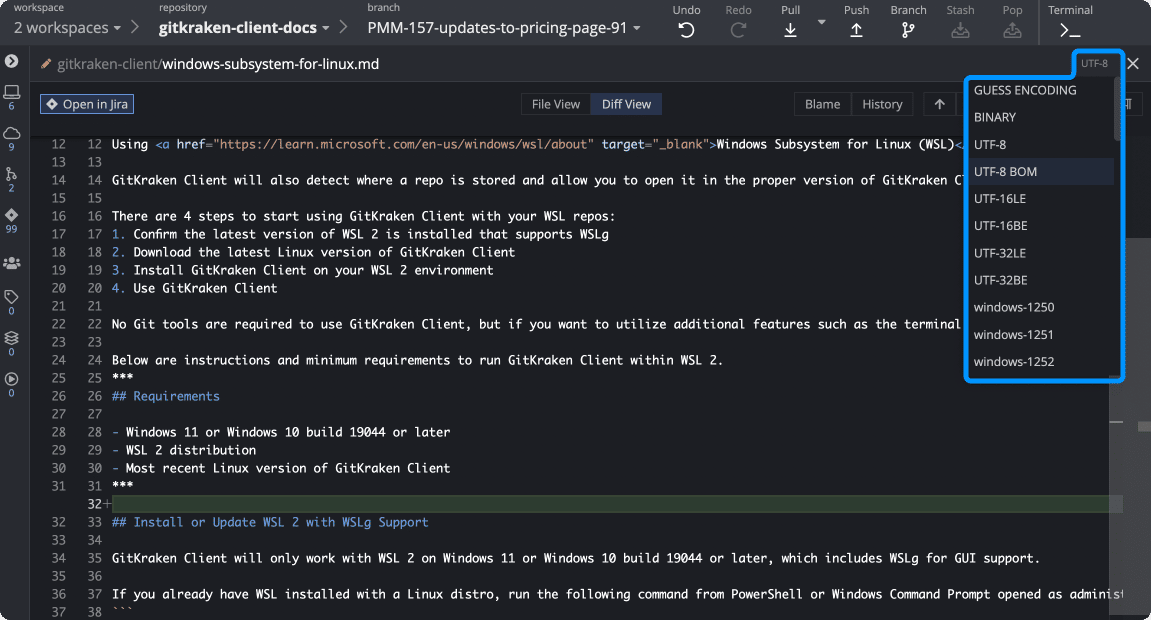
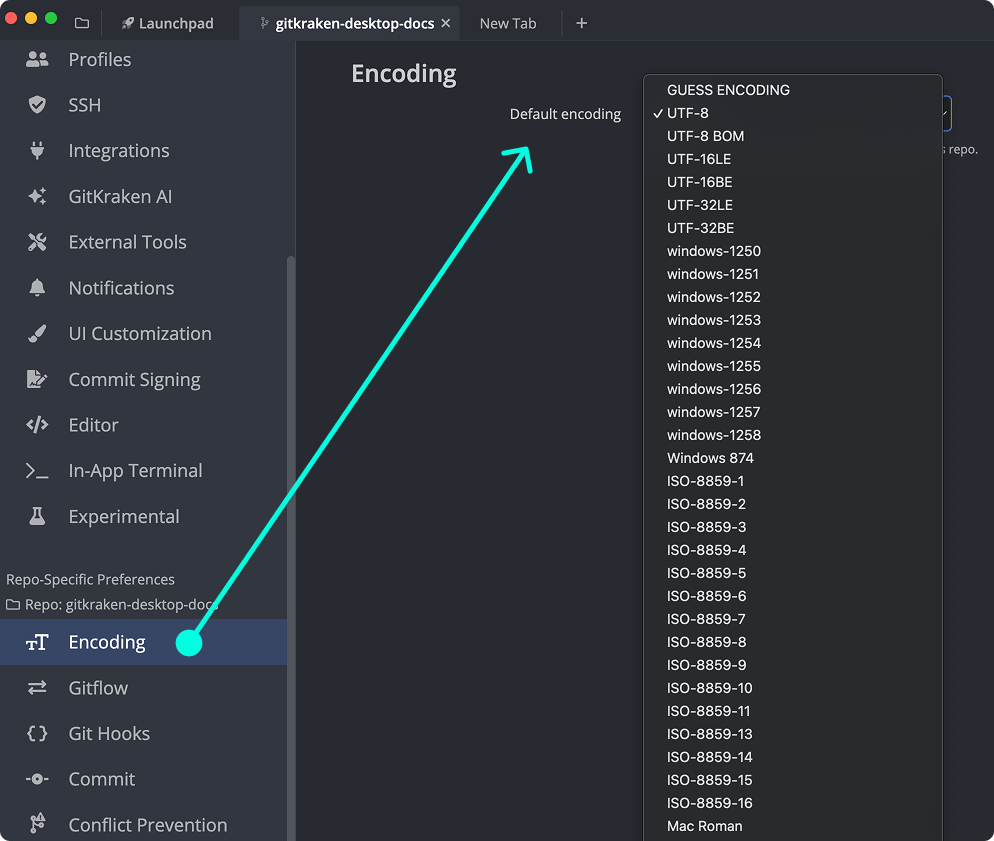
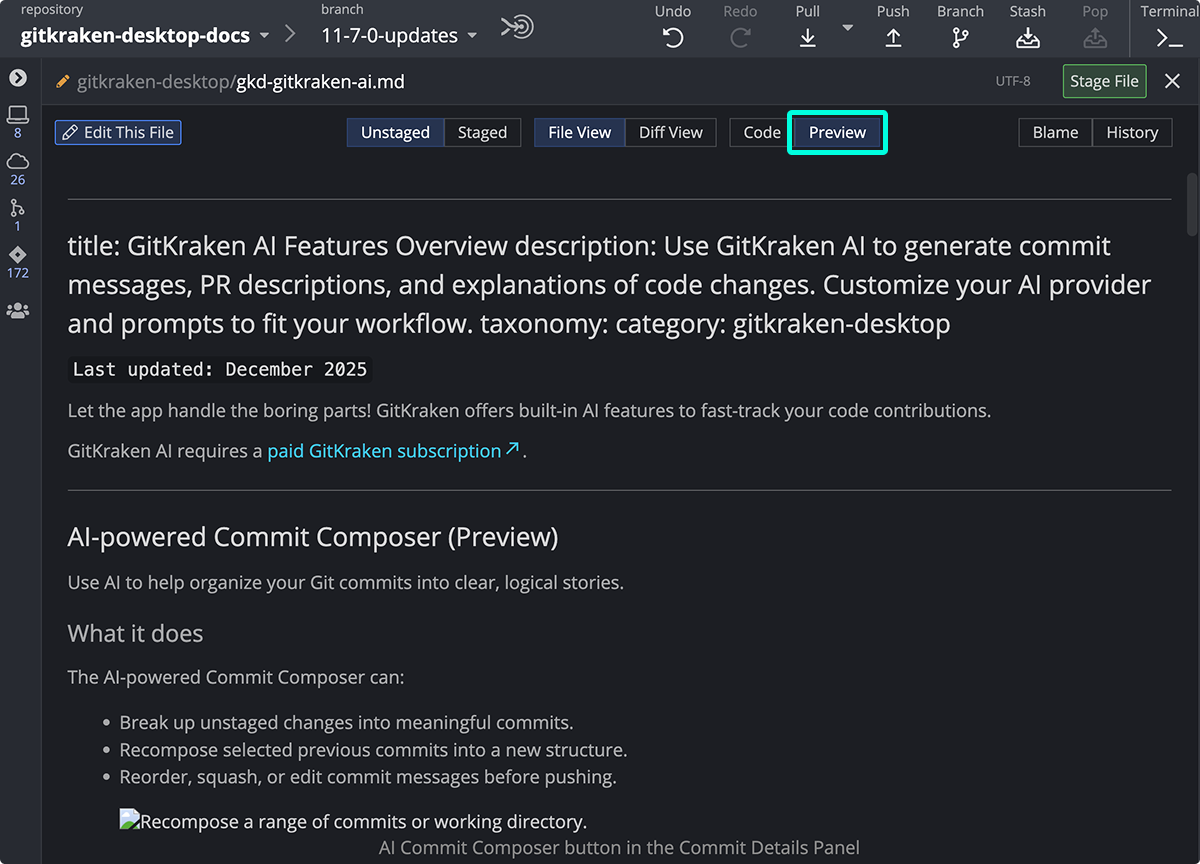
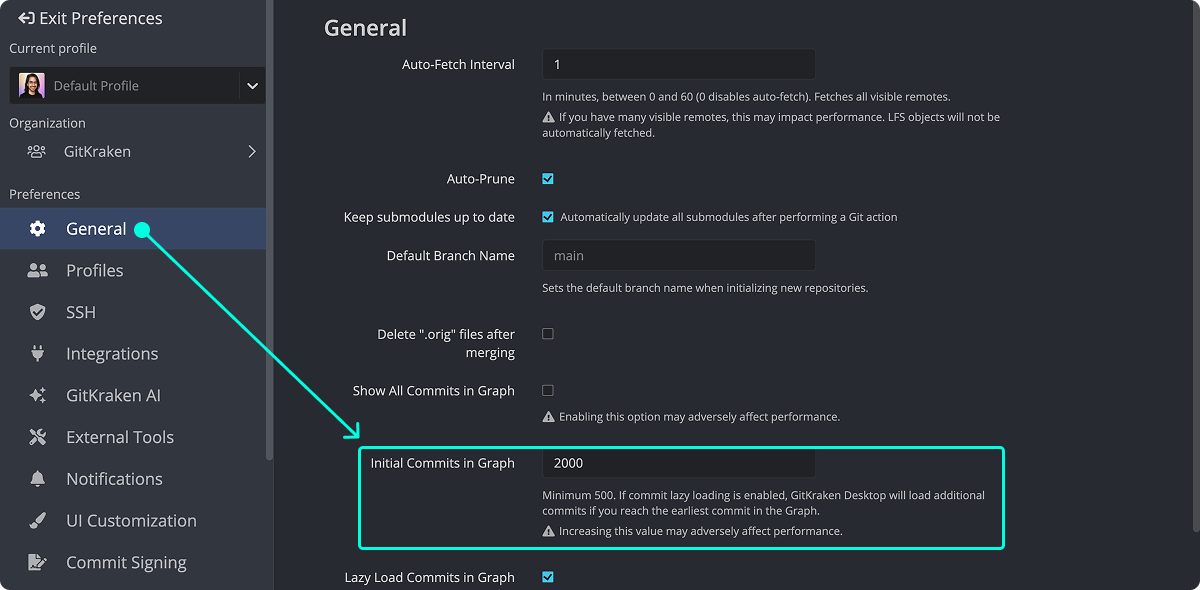
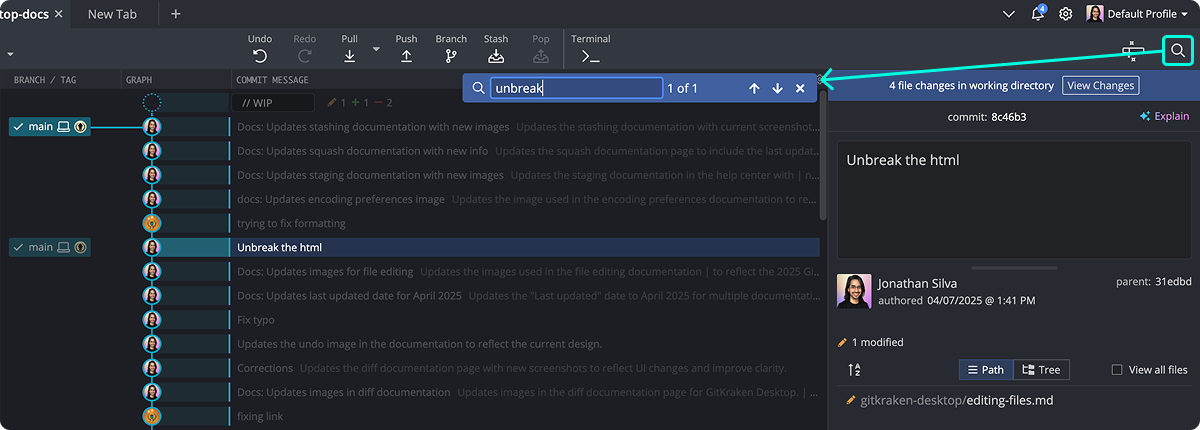
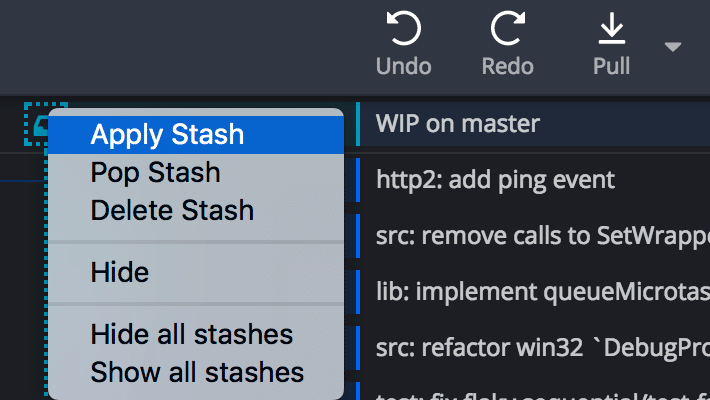
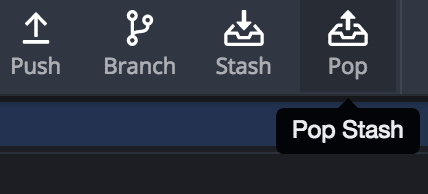
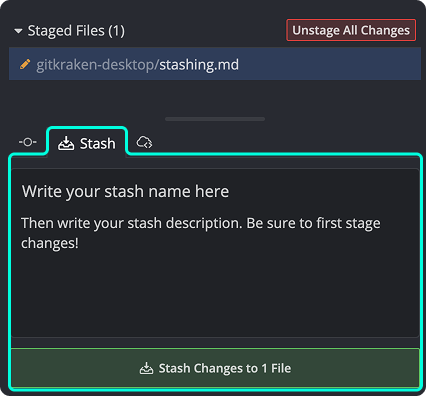
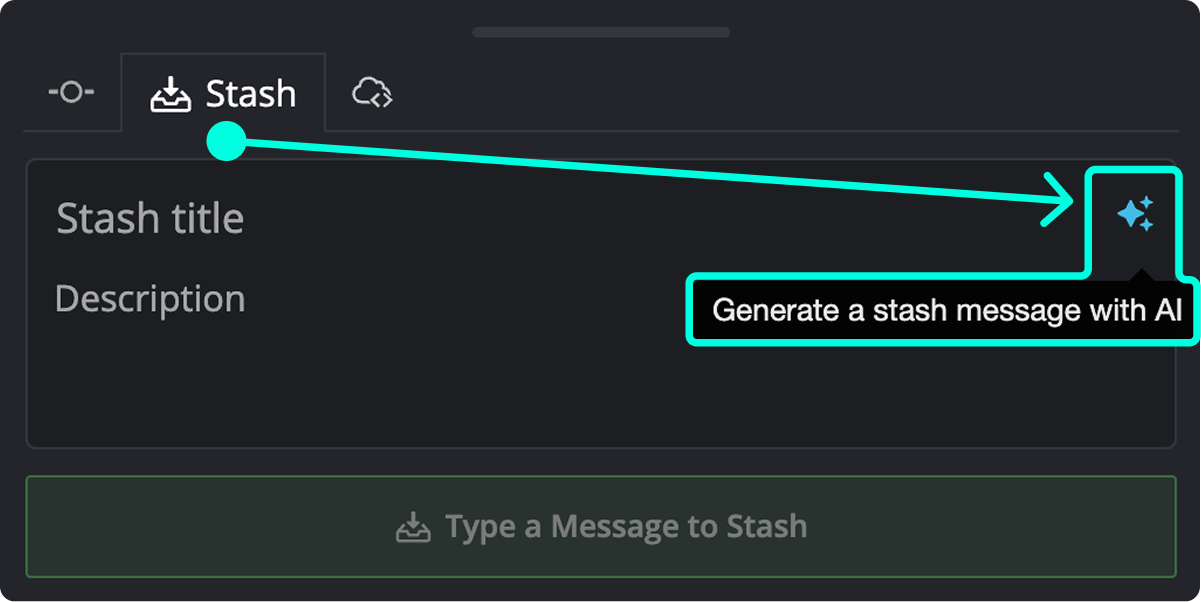
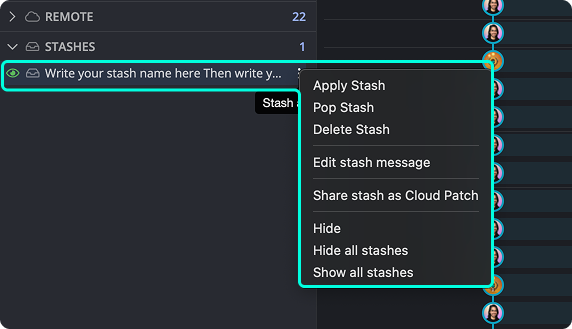

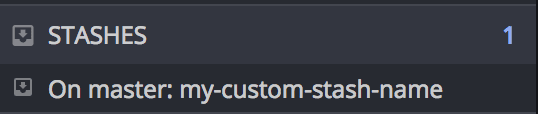

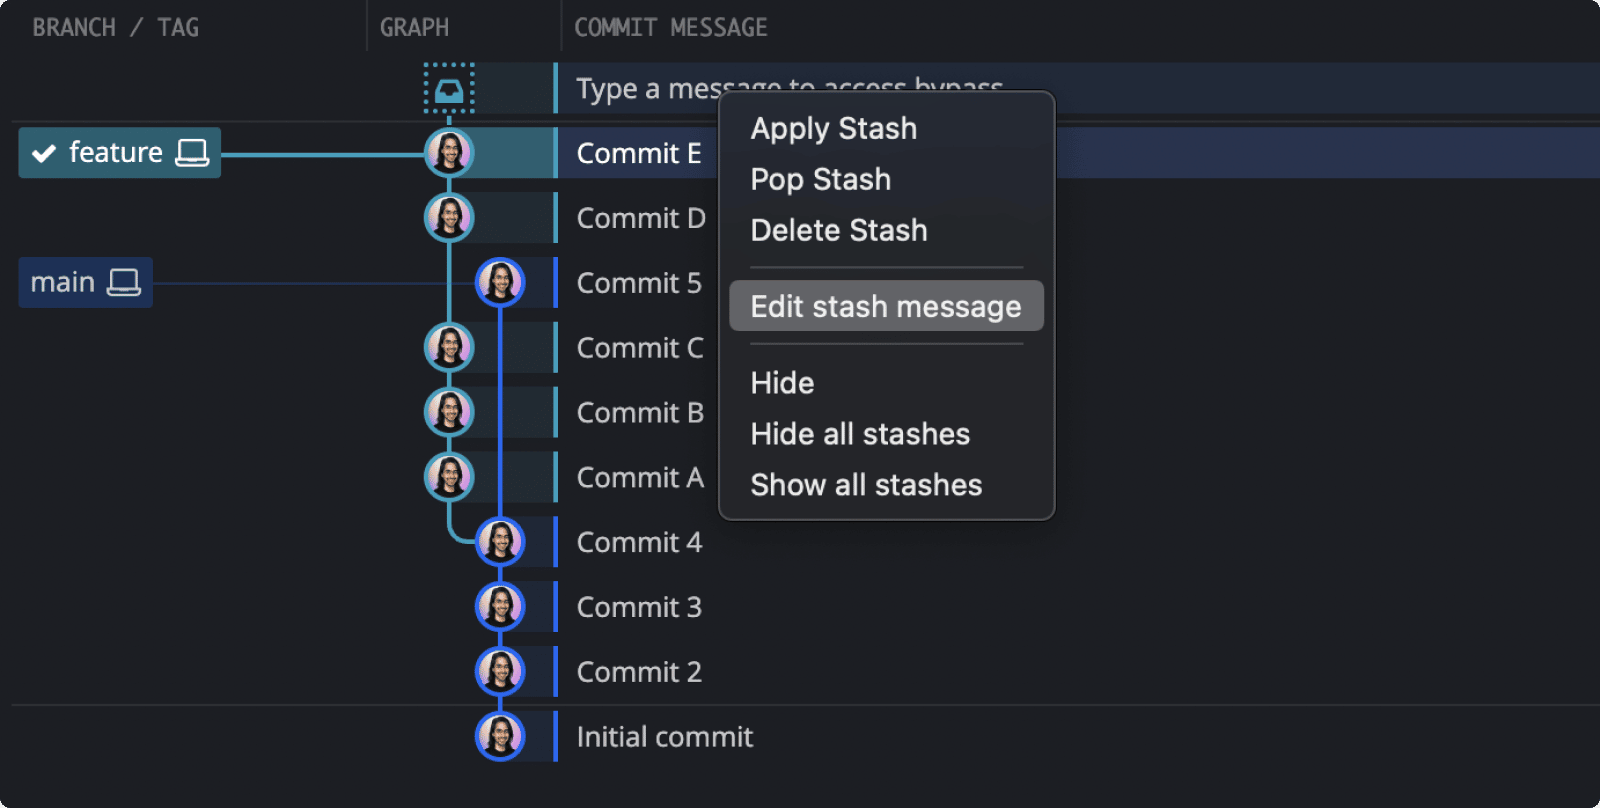
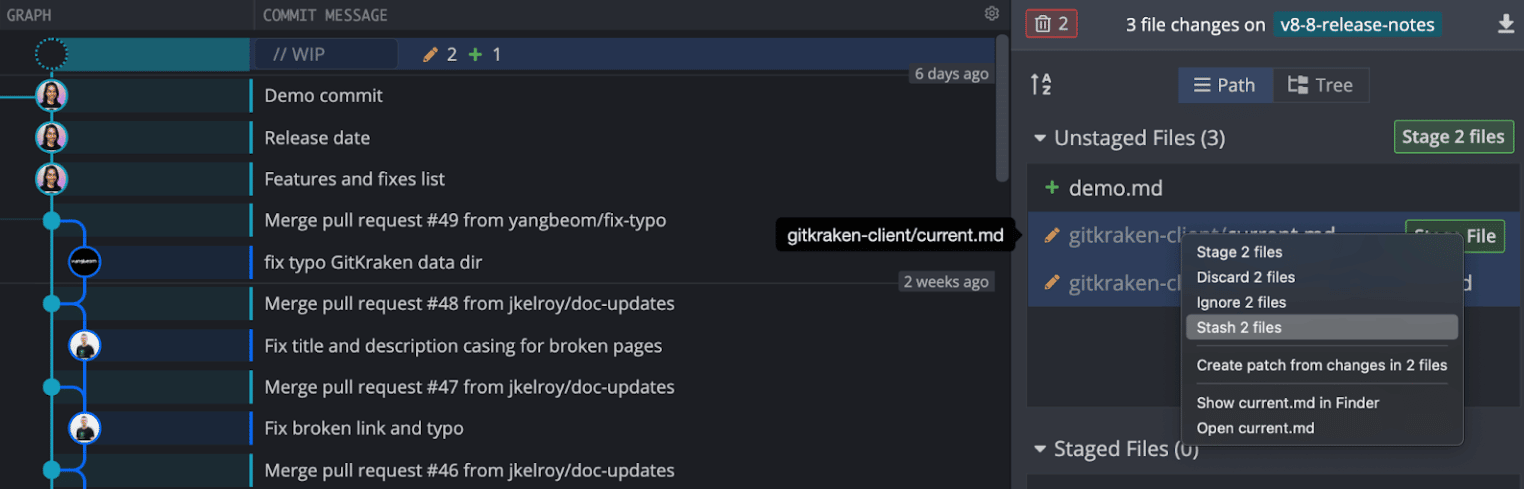
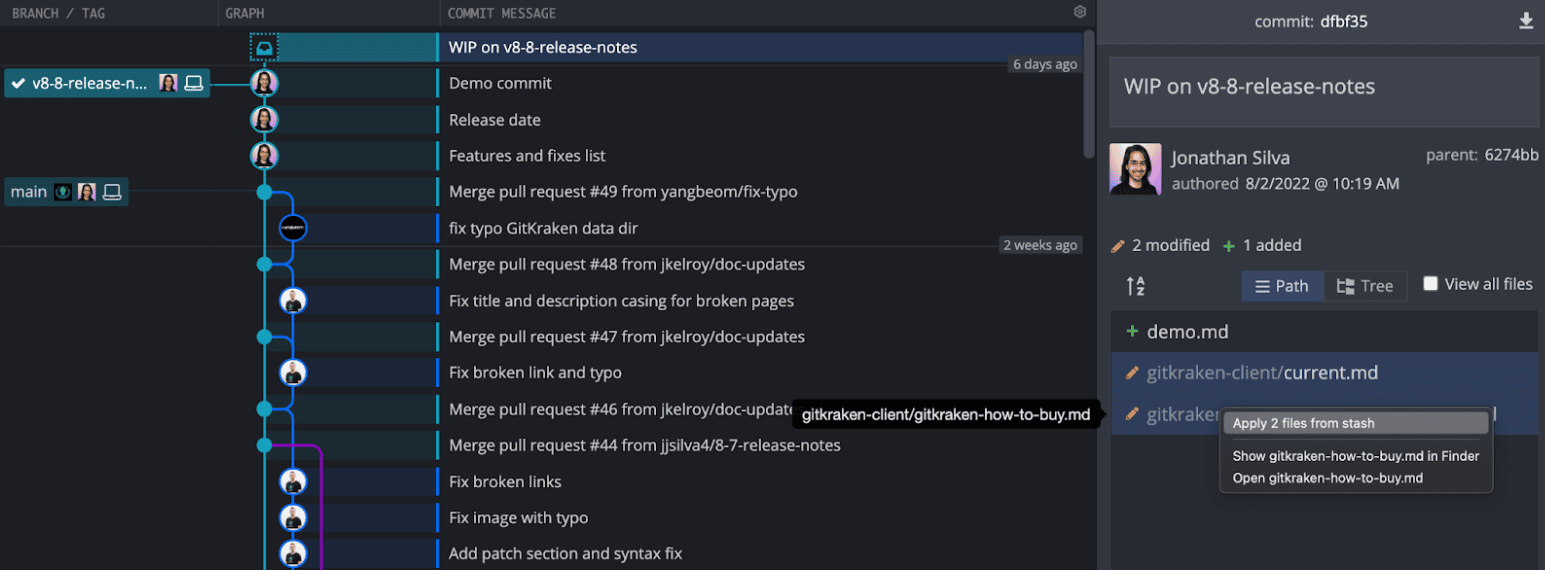
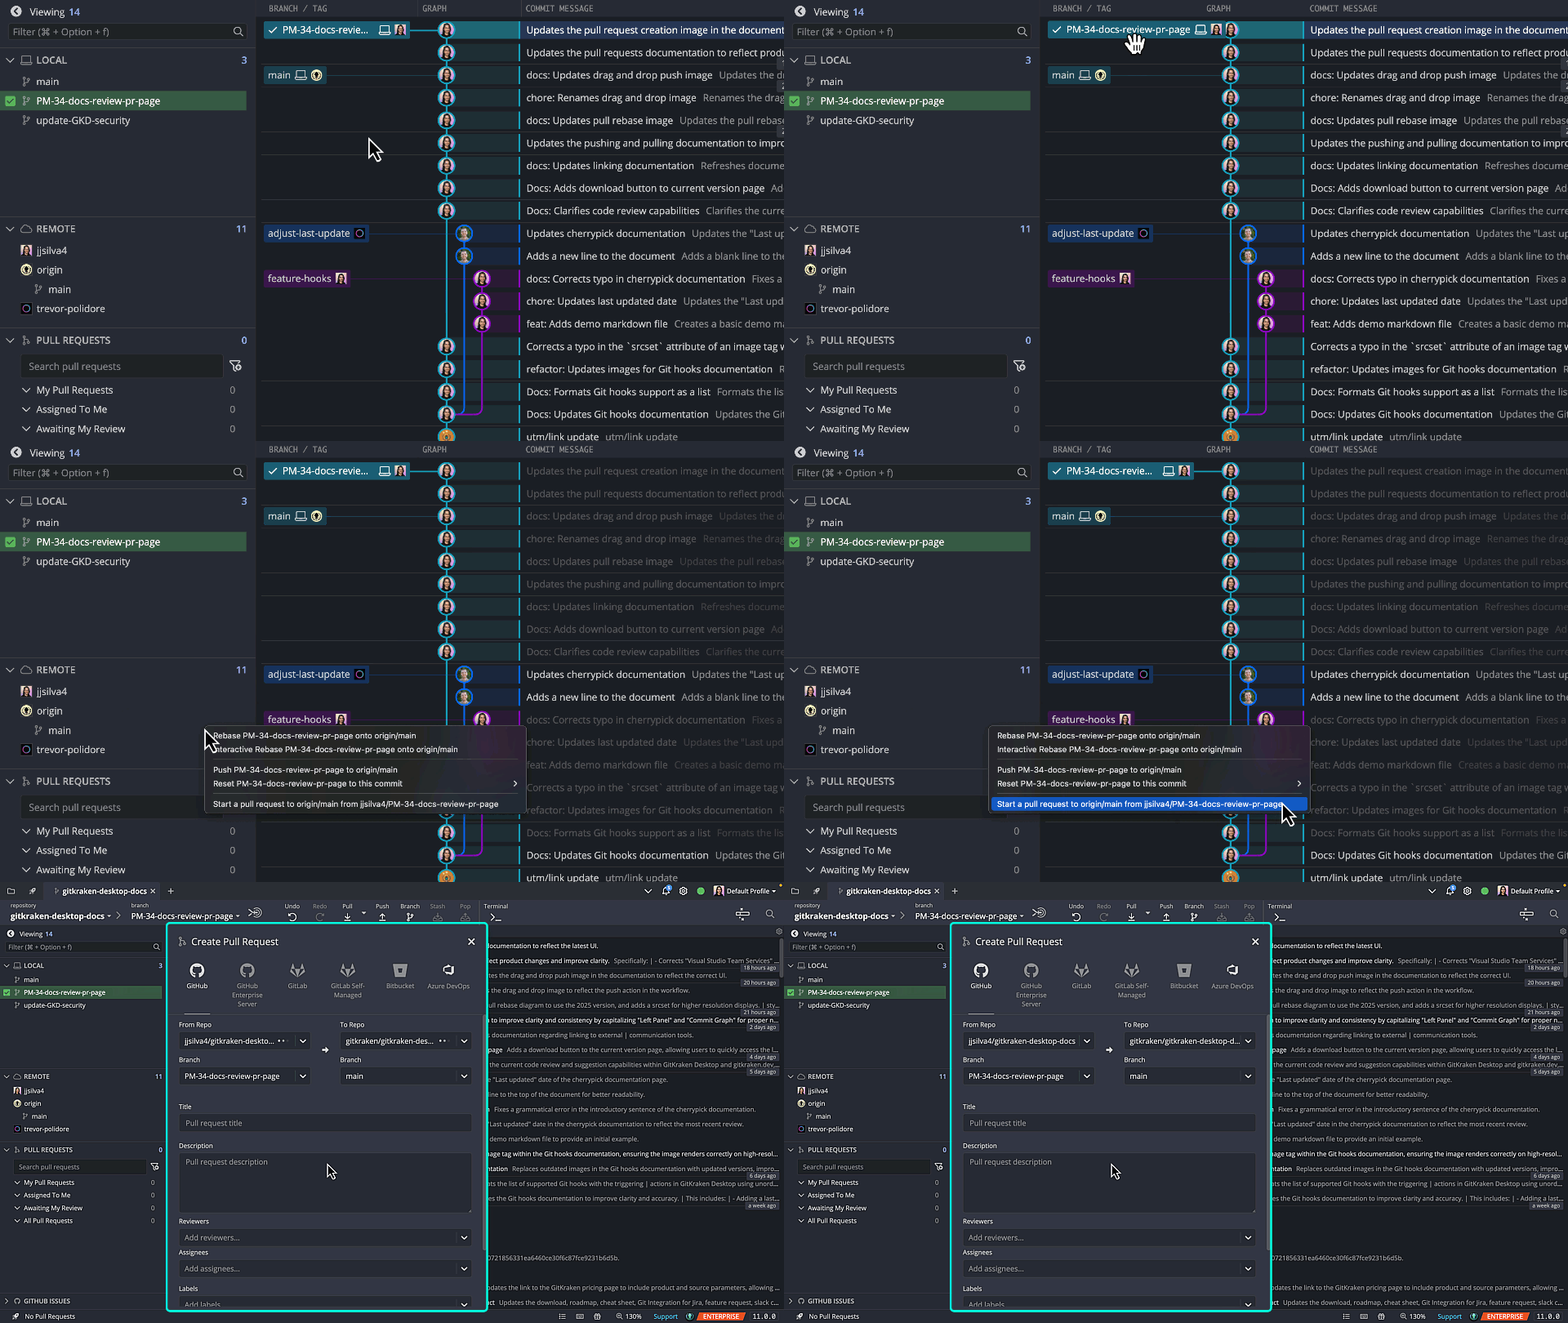
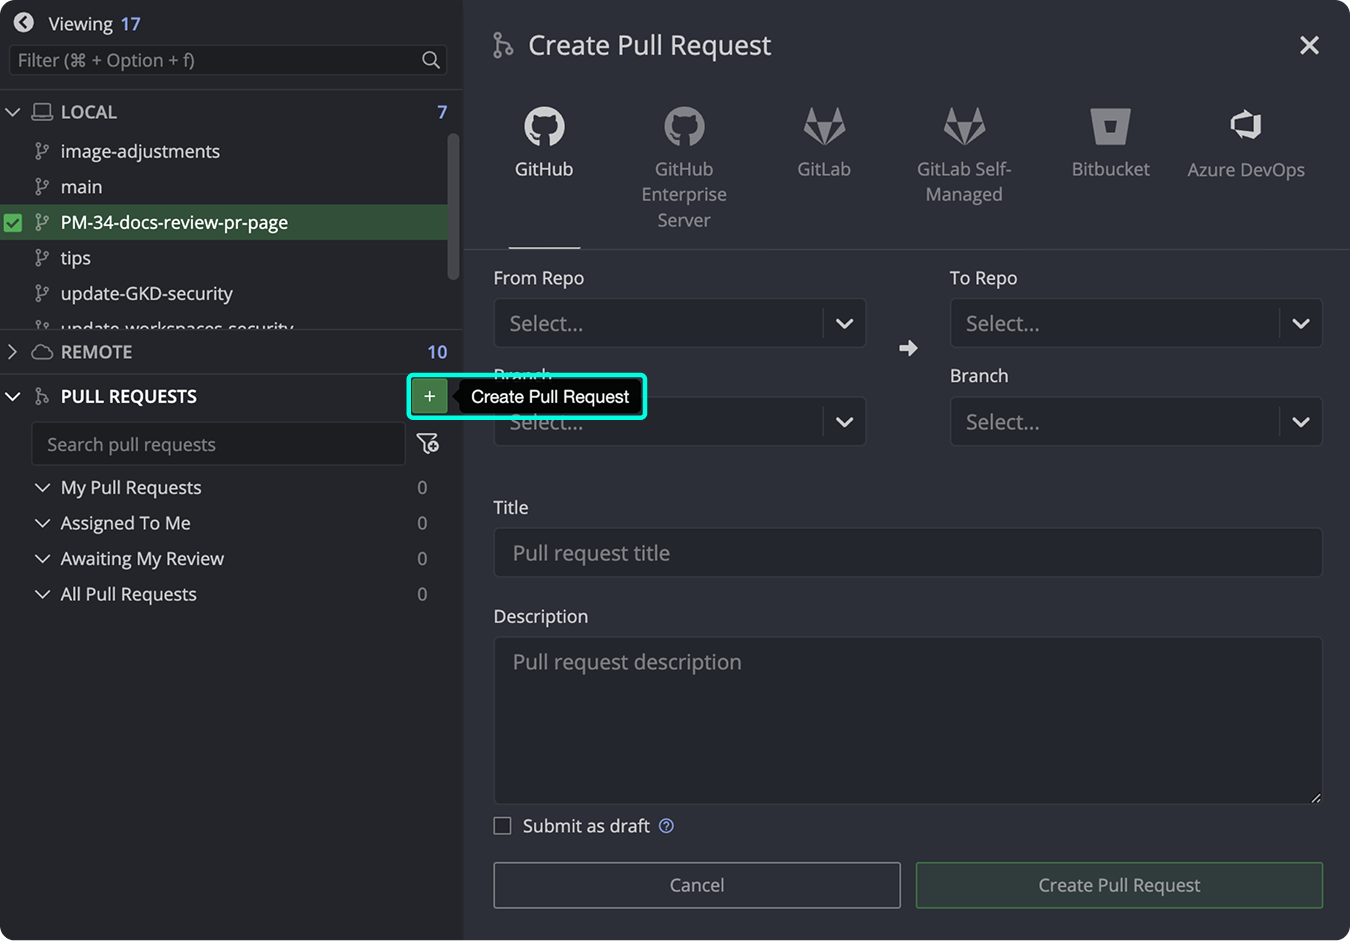
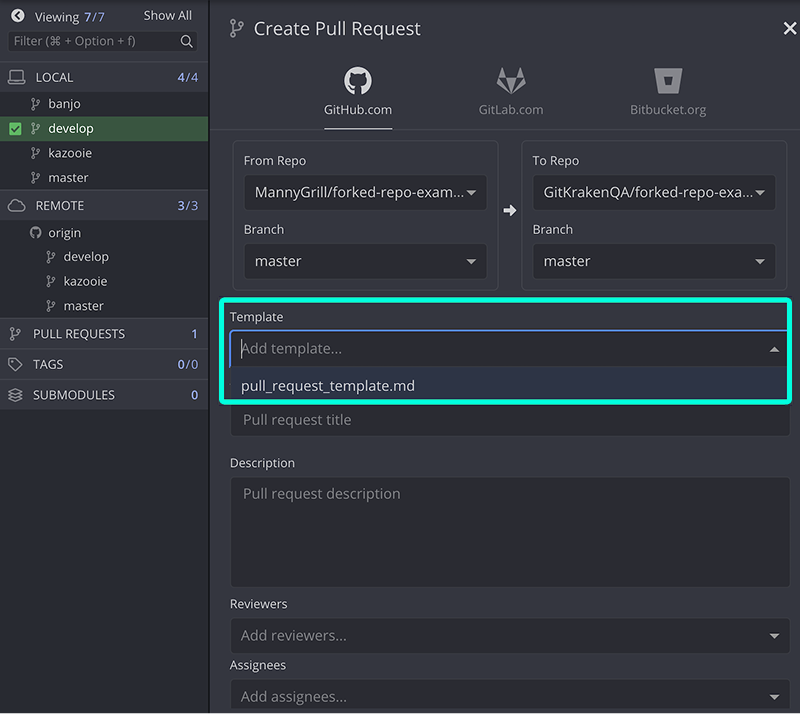
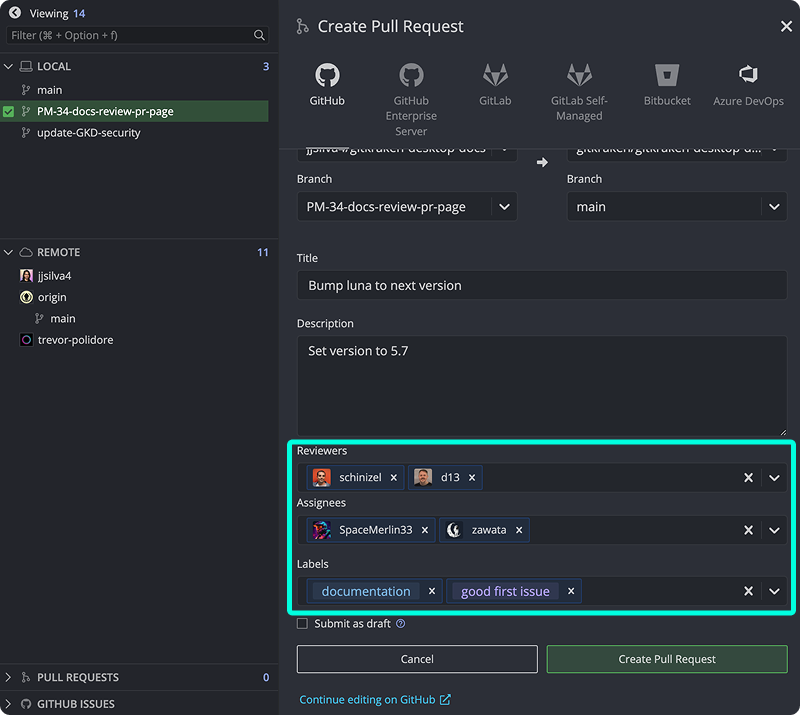
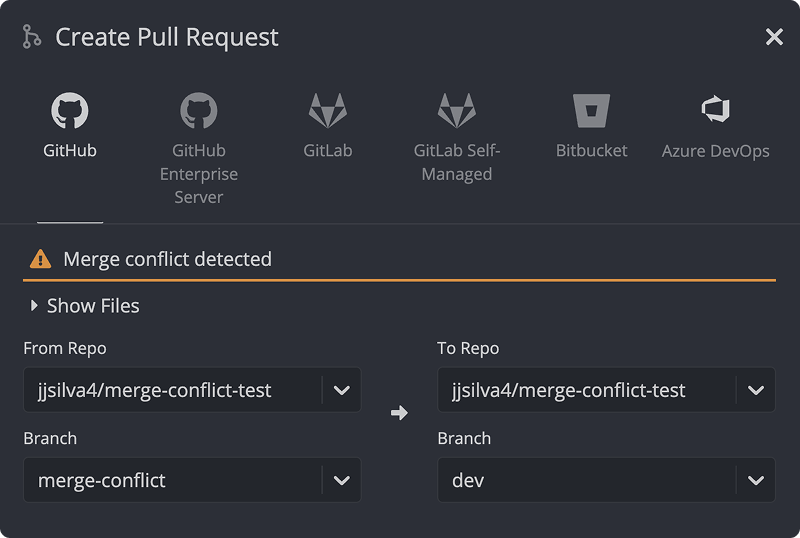
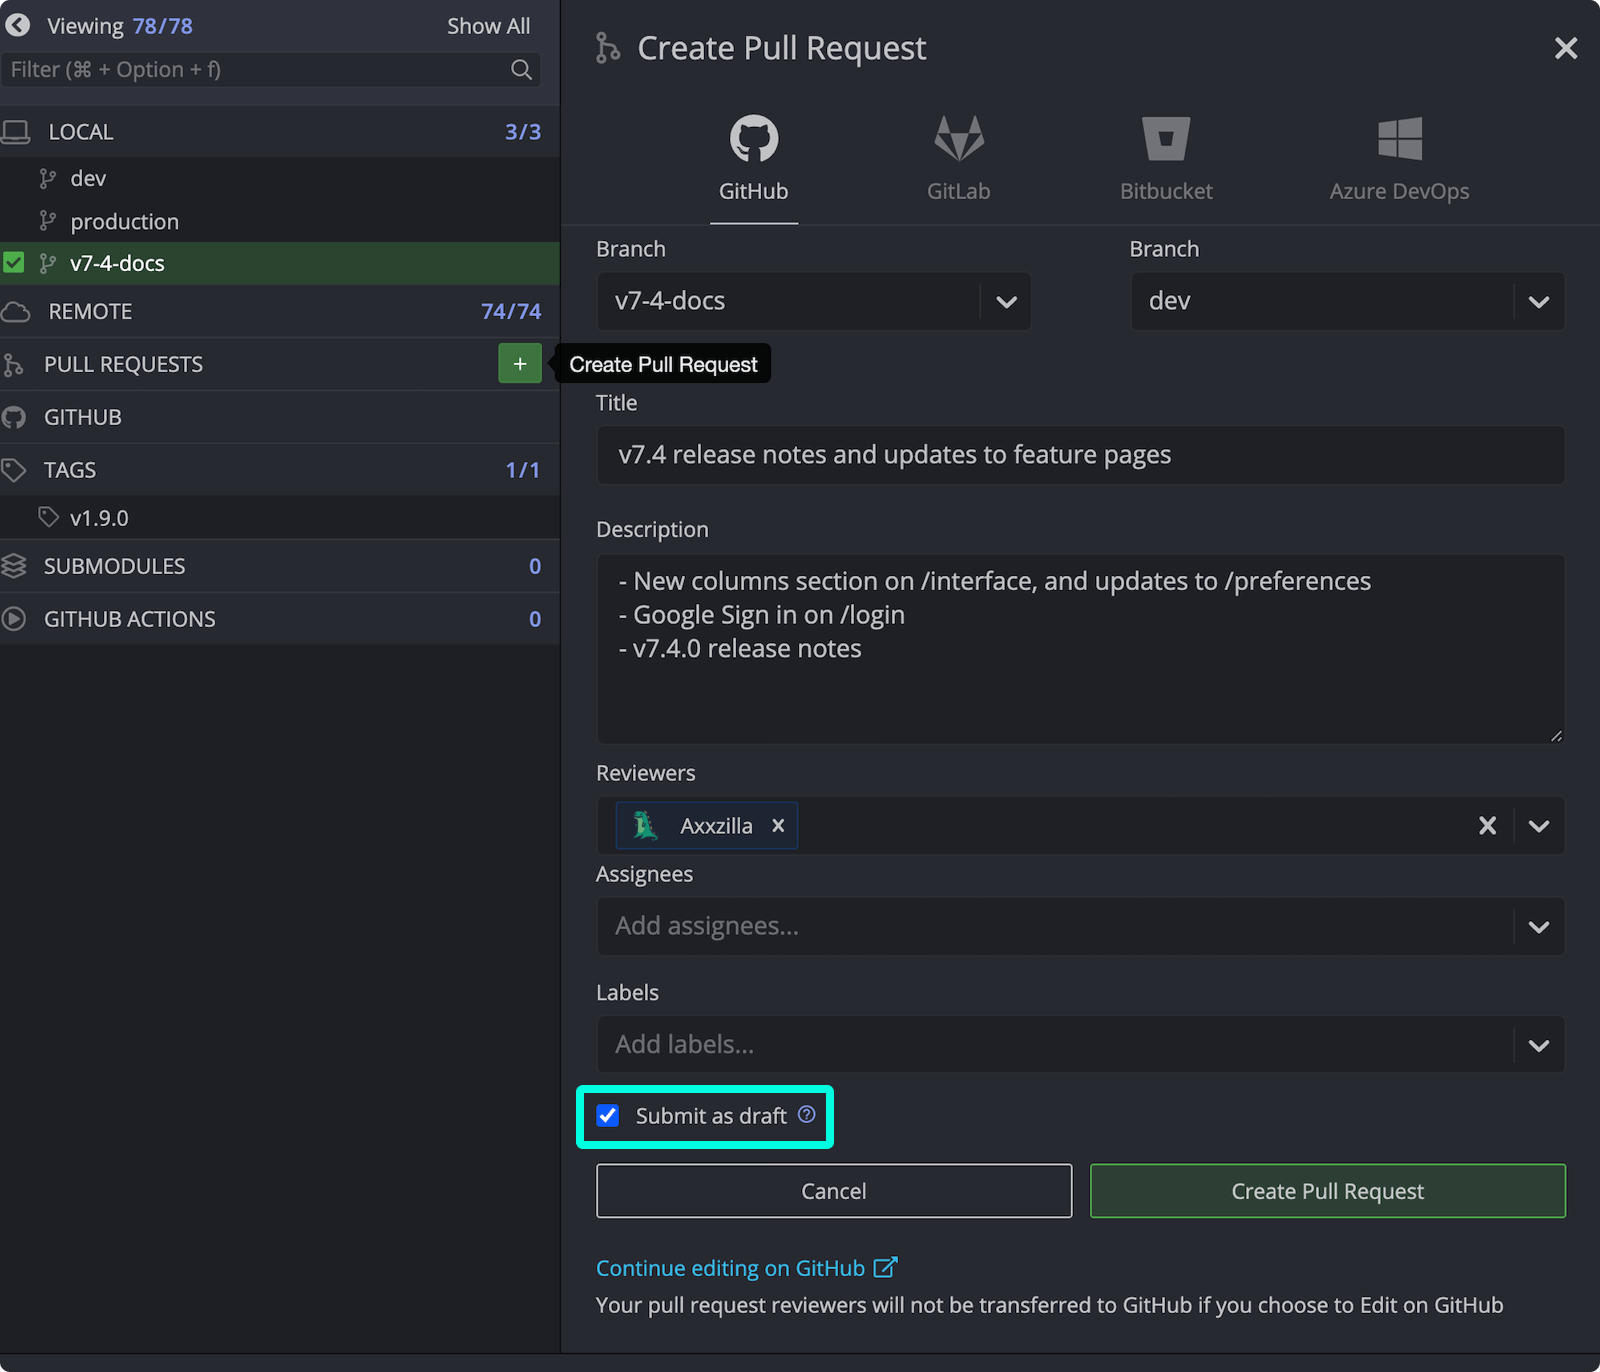
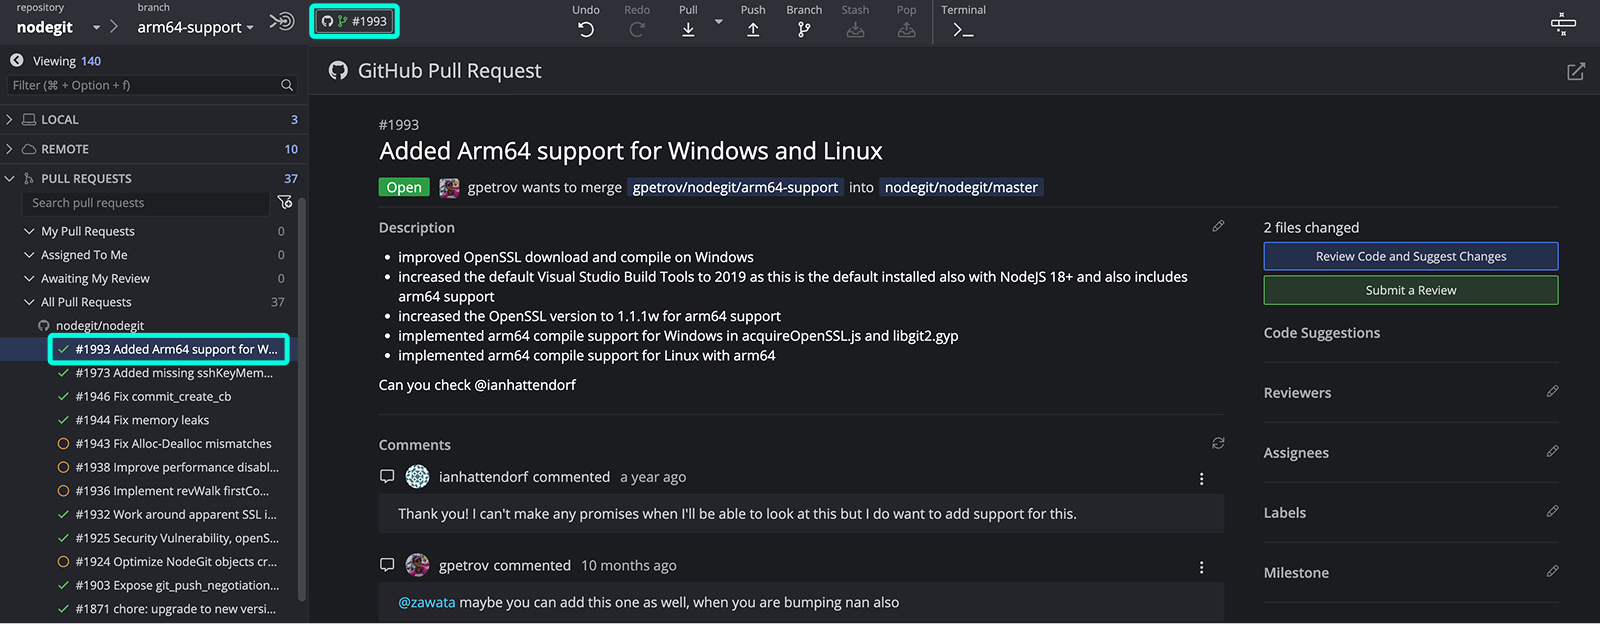
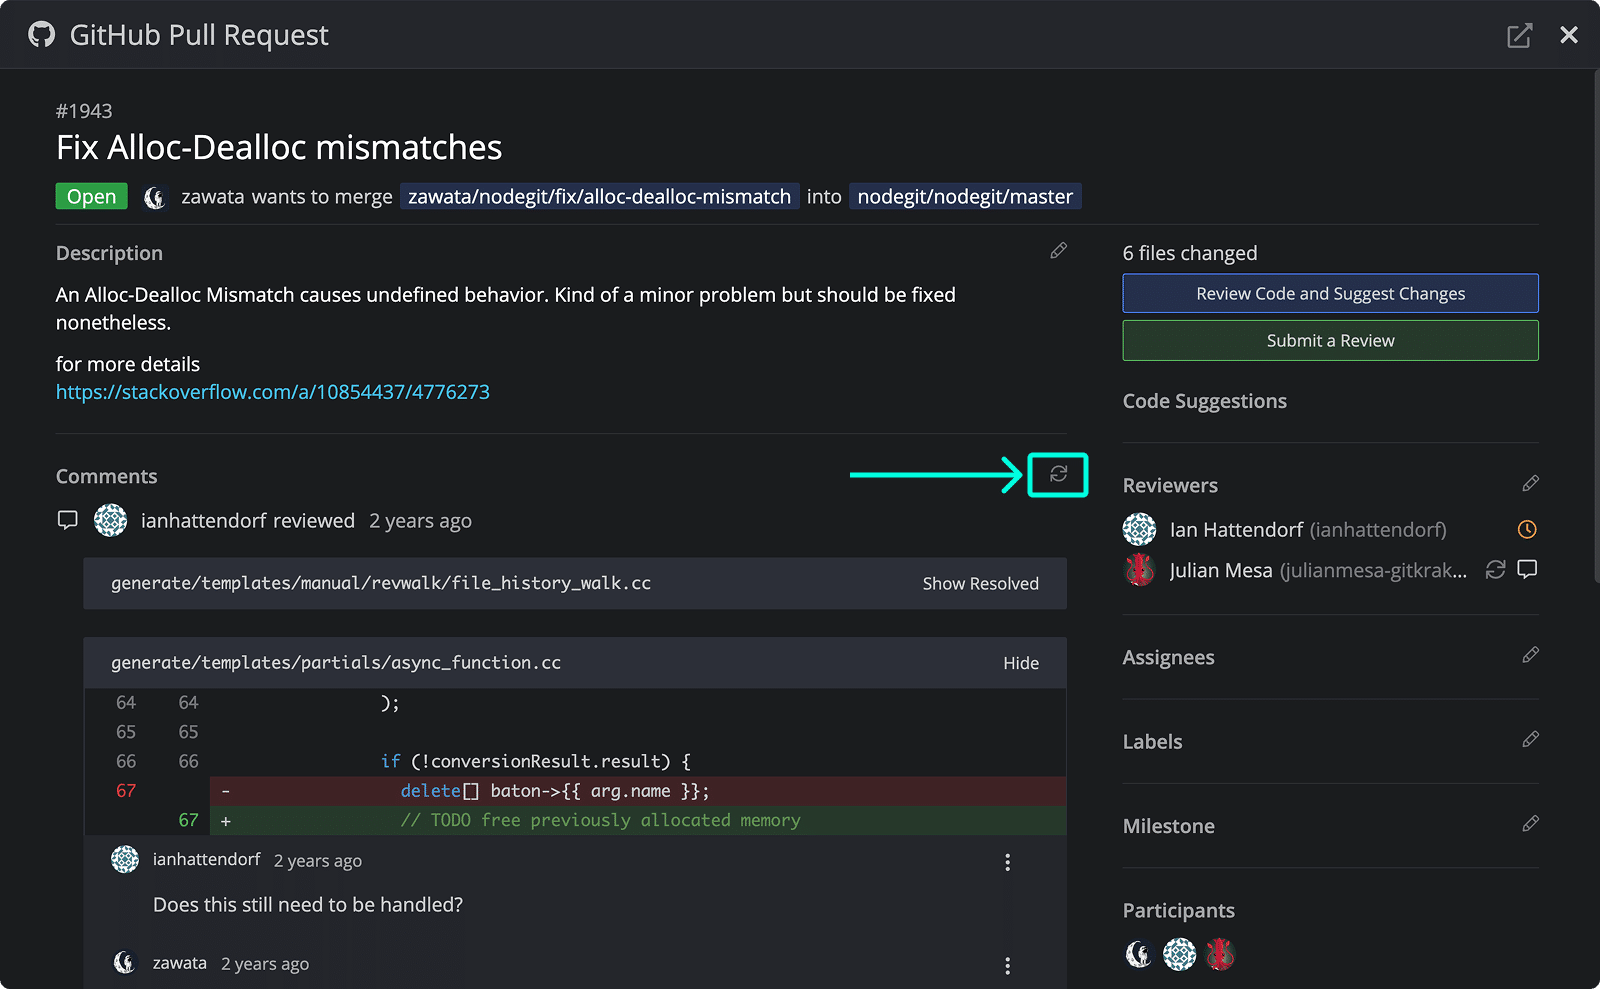

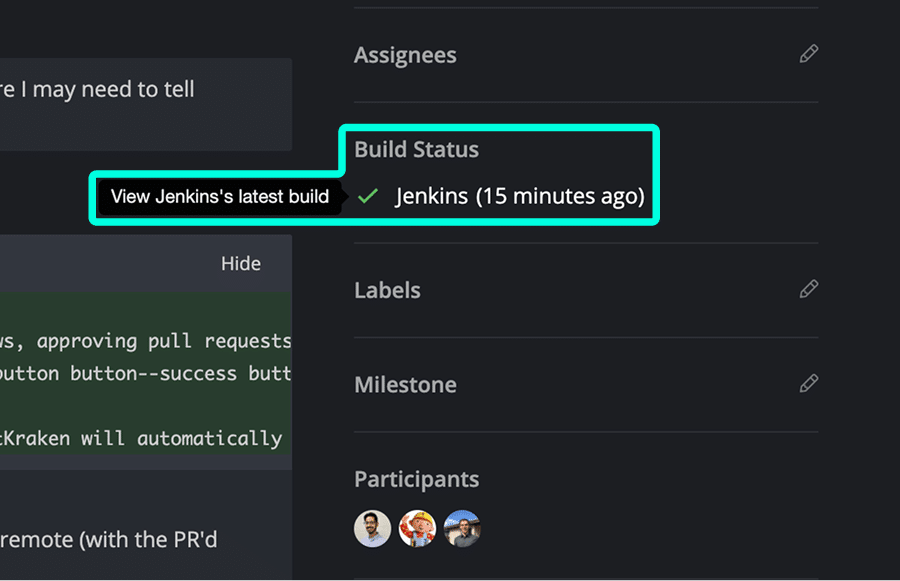
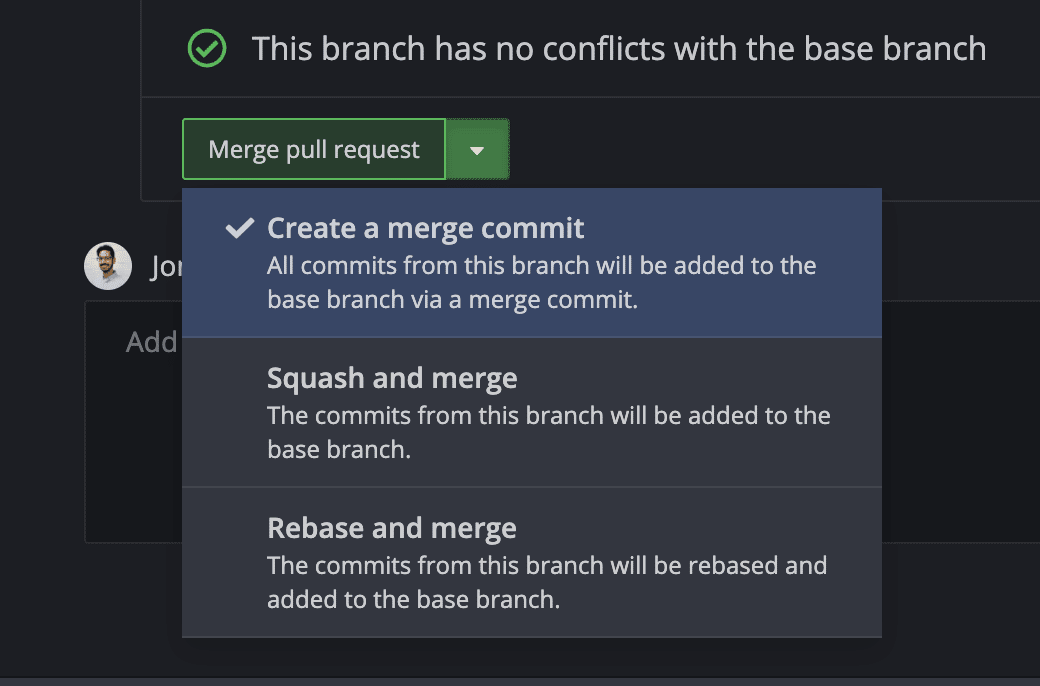
 and are listed in the PULL REQUESTS section of the Left Panel.
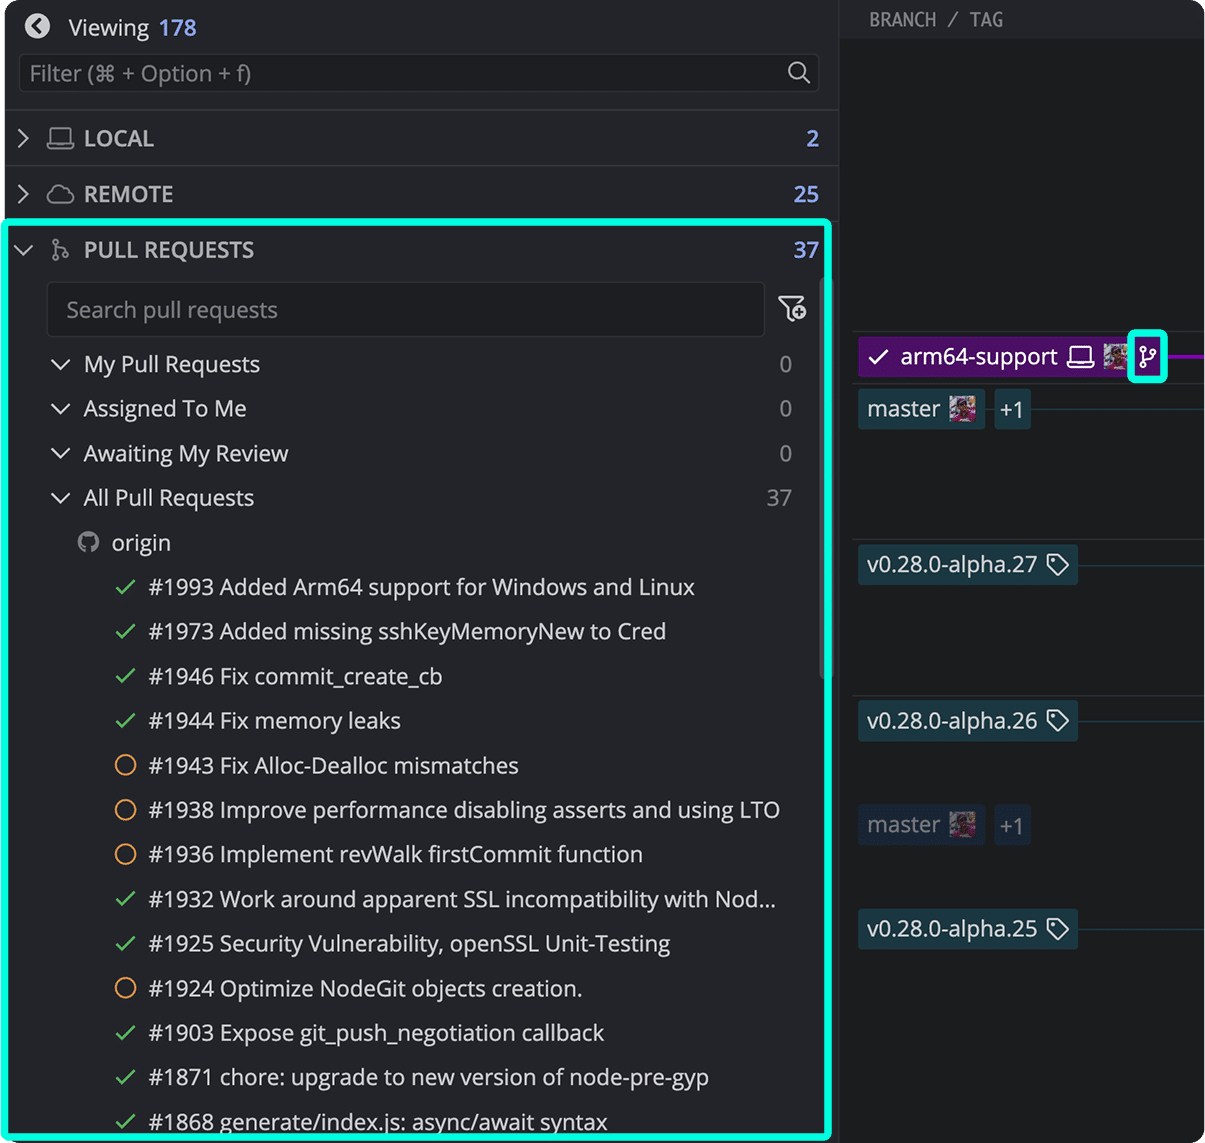
 Remote in the Left Panel.
2. Click the icon.
3. Enter the remote URL or choose from integration-based dropdowns (GitHub, GitLab, Bitbucket).
Remote in the Left Panel.
2. Click the icon.
3. Enter the remote URL or choose from integration-based dropdowns (GitHub, GitLab, Bitbucket).
 To push local commits to a remote branch:
- Click Push in the main toolbar
- Or right-click a branch and select Push
To push local commits to a remote branch:
- Click Push in the main toolbar
- Or right-click a branch and select Push

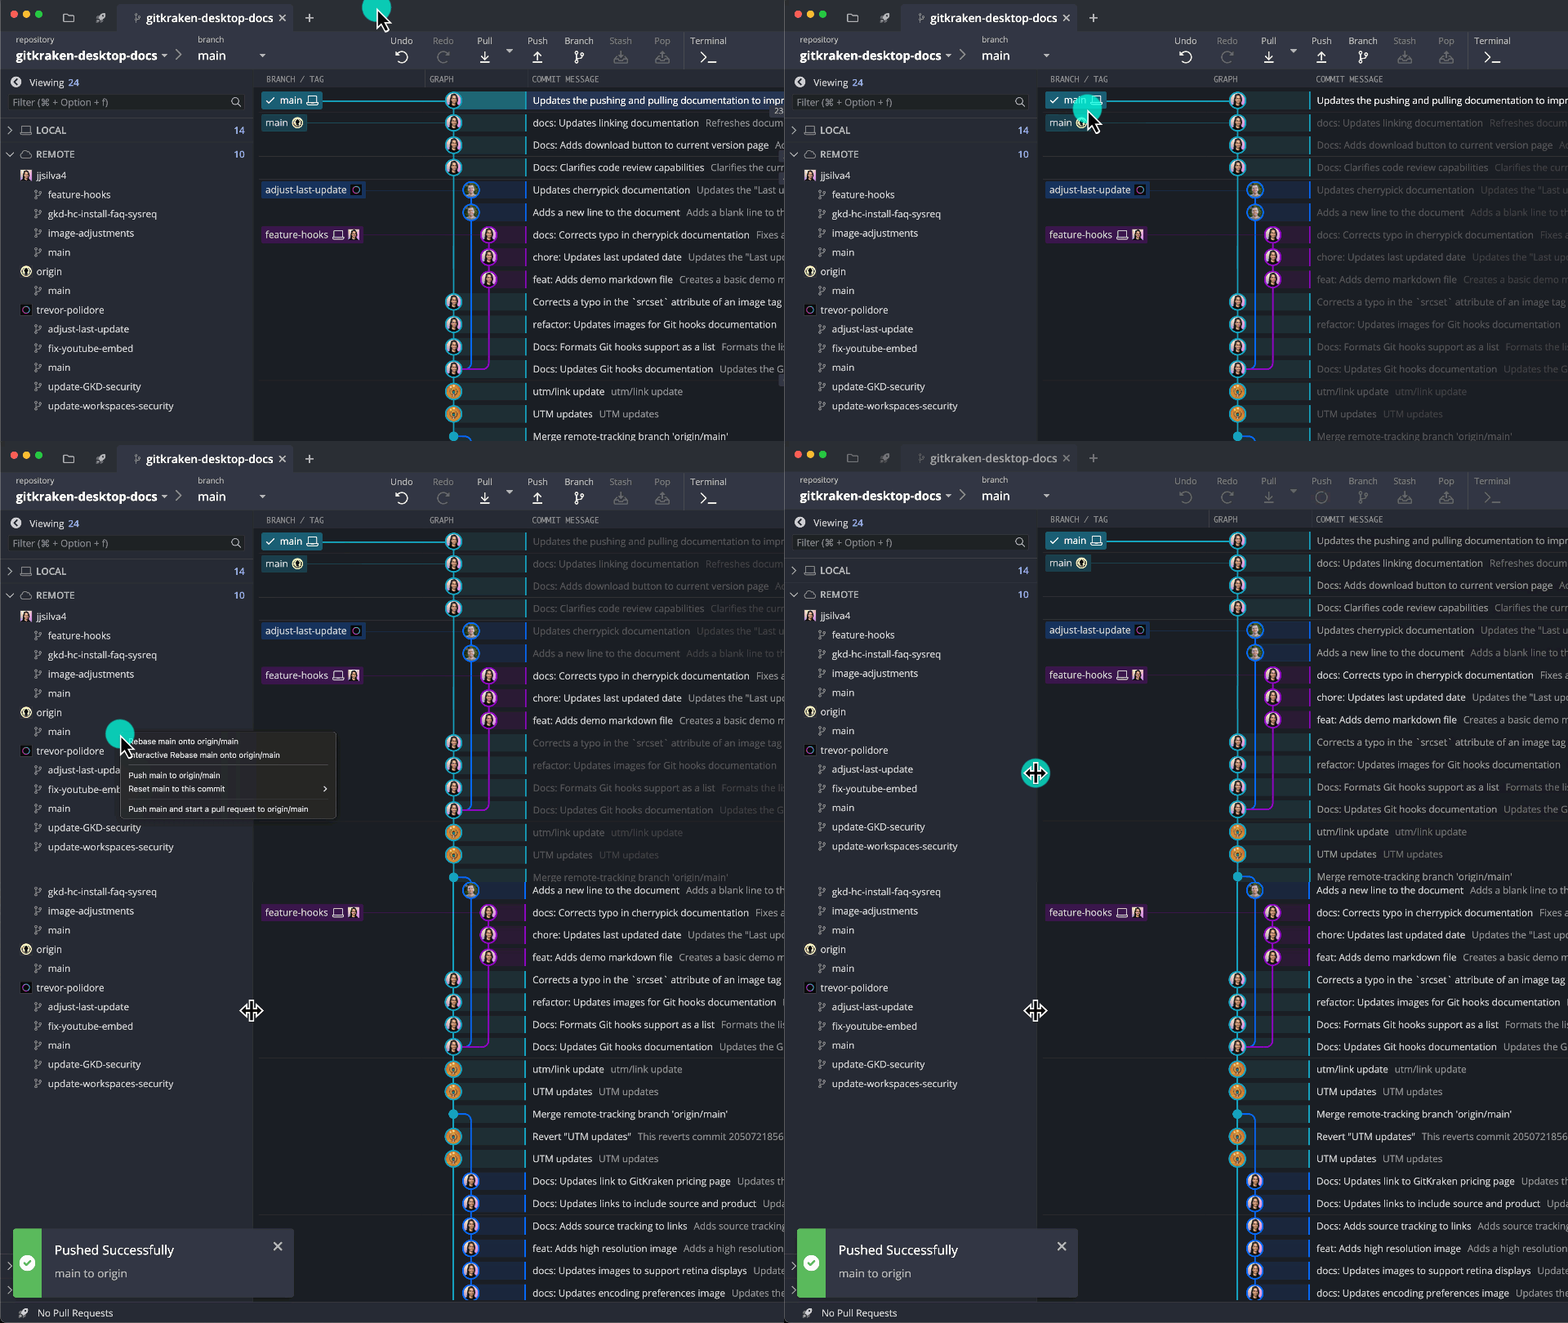
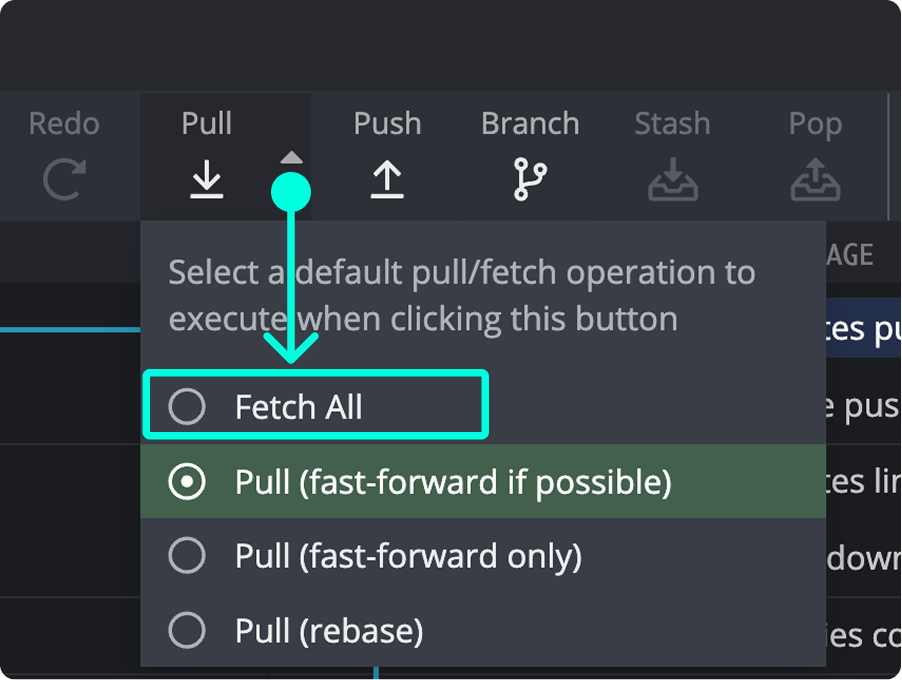
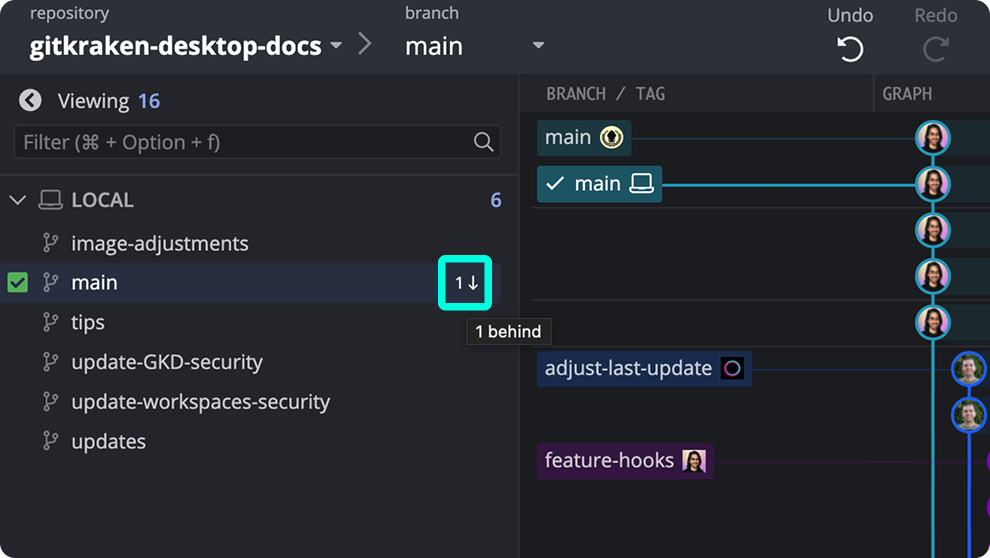
 Pulling performs a fetch and then updates your local branch.
### How pull with fast-forward if possible works
Fast-forwards your branch if there are no conflicting commits; otherwise, merges.
Pulling performs a fetch and then updates your local branch.
### How pull with fast-forward if possible works
Fast-forwards your branch if there are no conflicting commits; otherwise, merges.
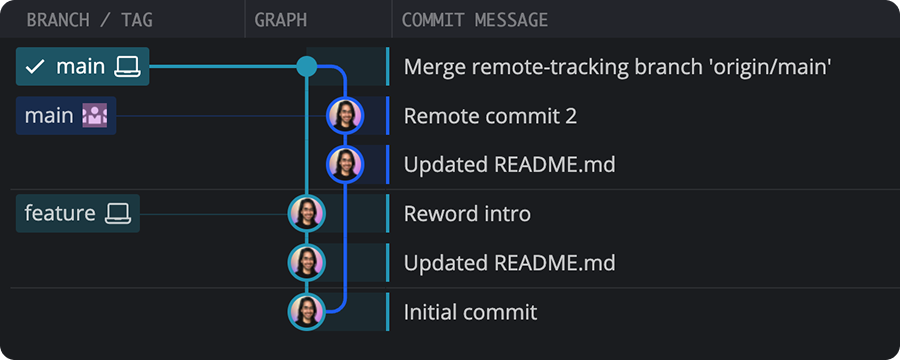

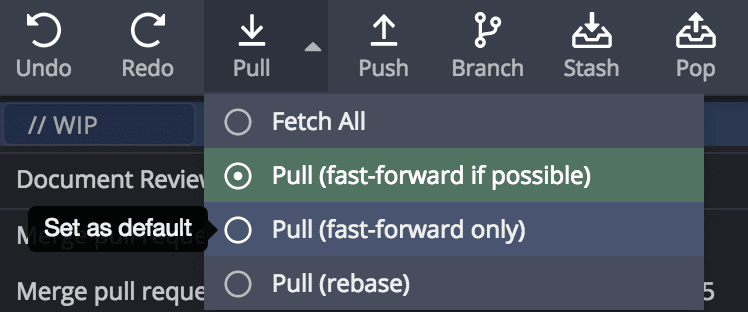
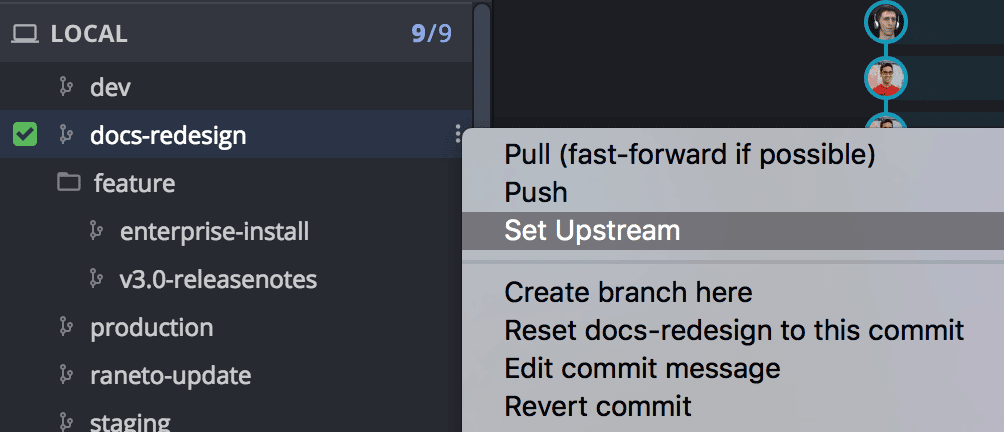
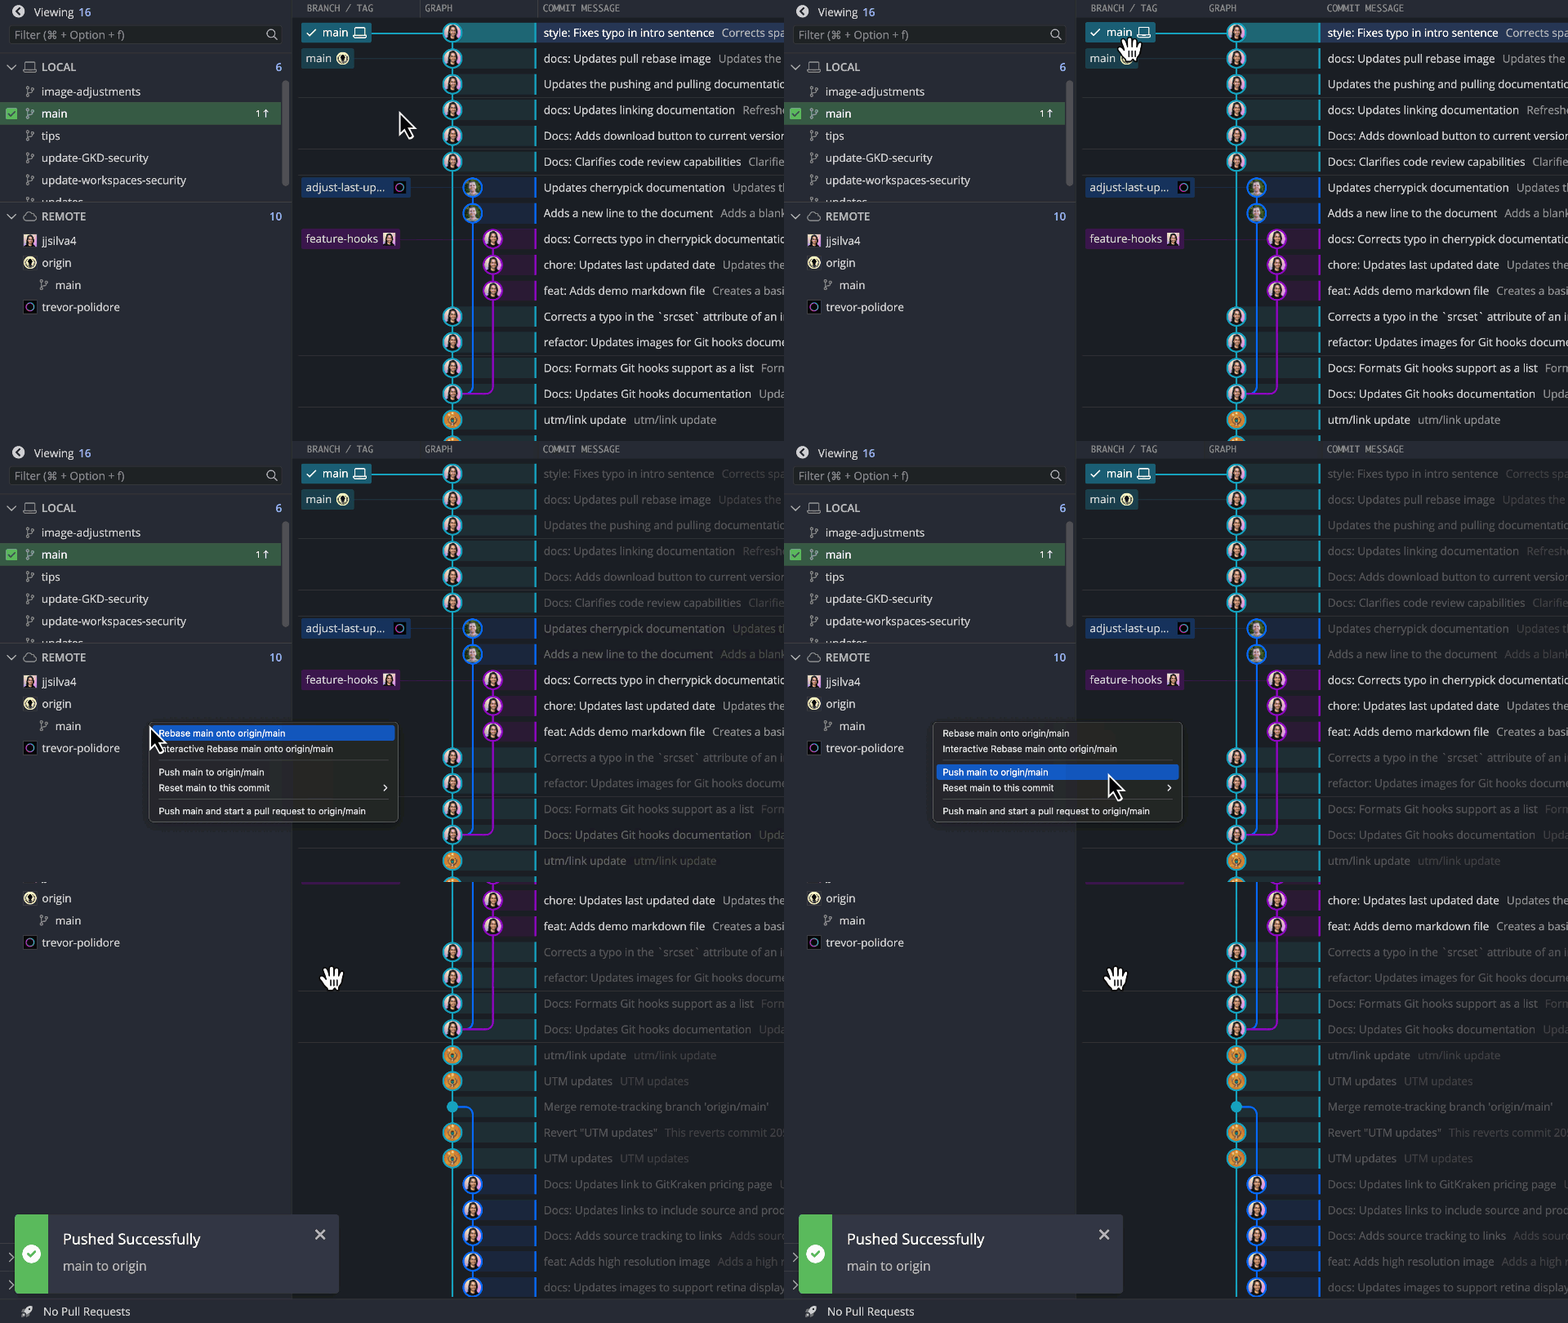
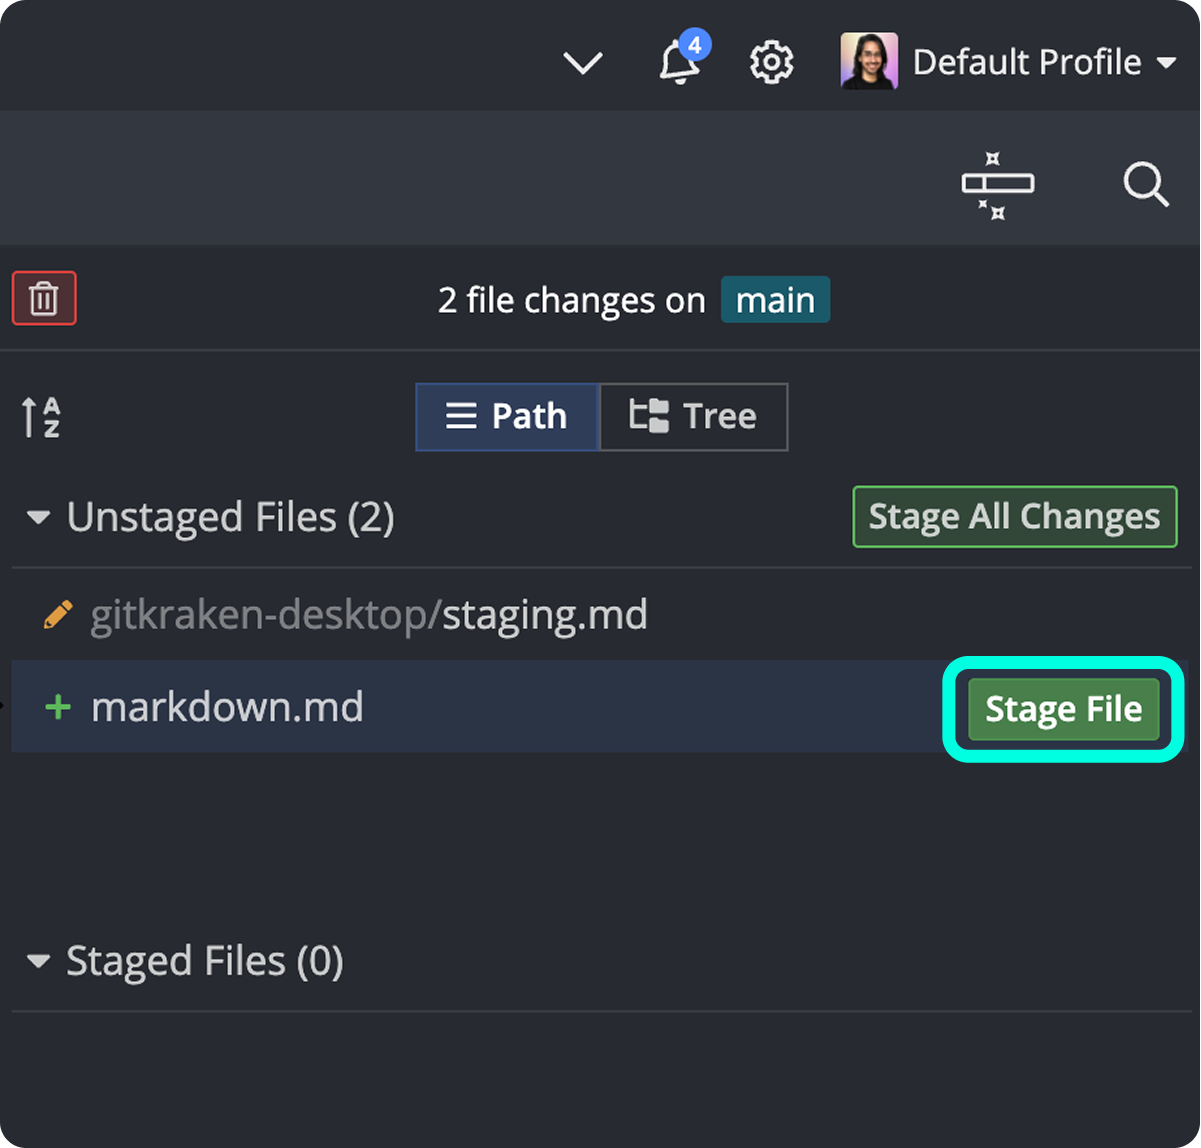
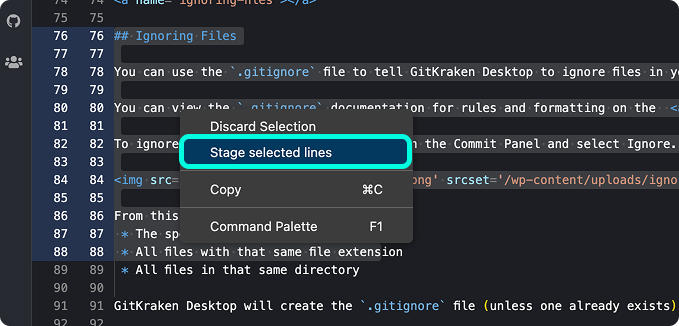


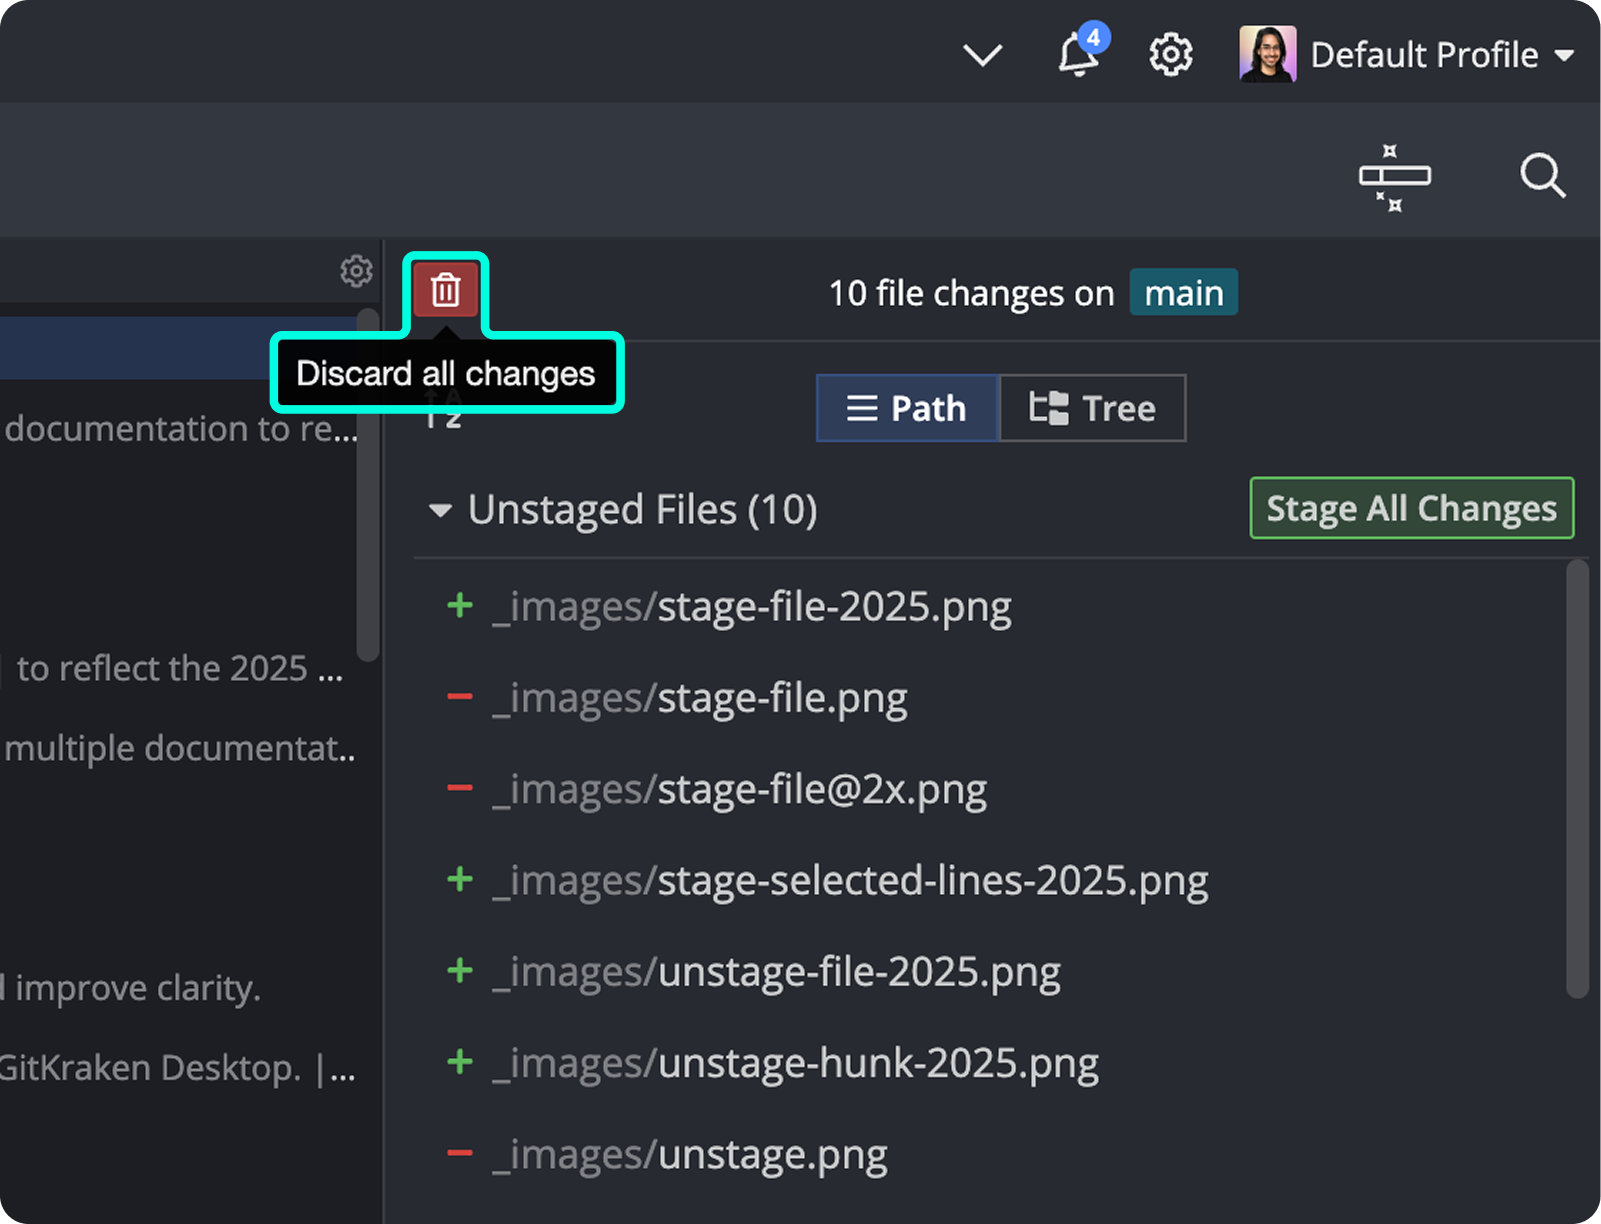

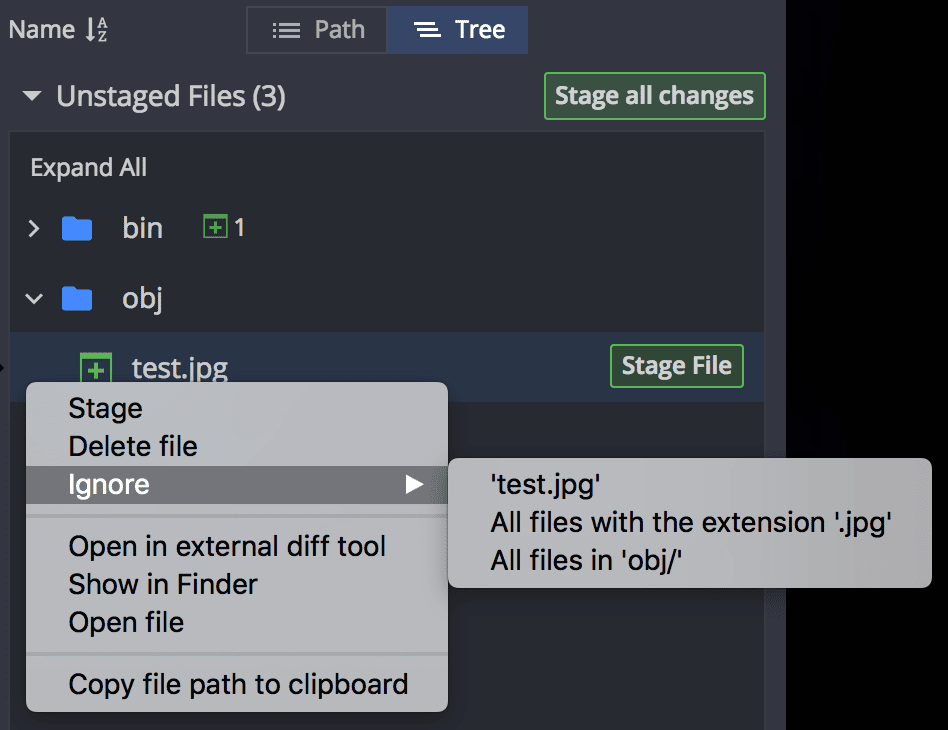

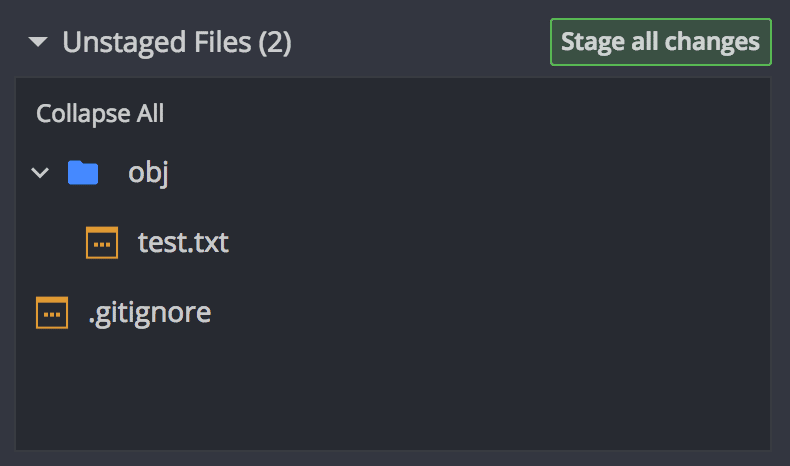
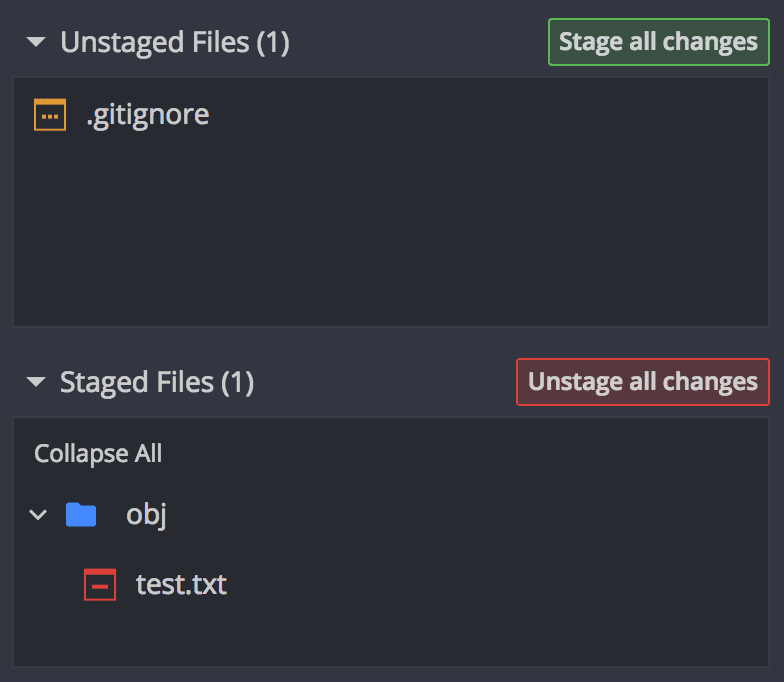
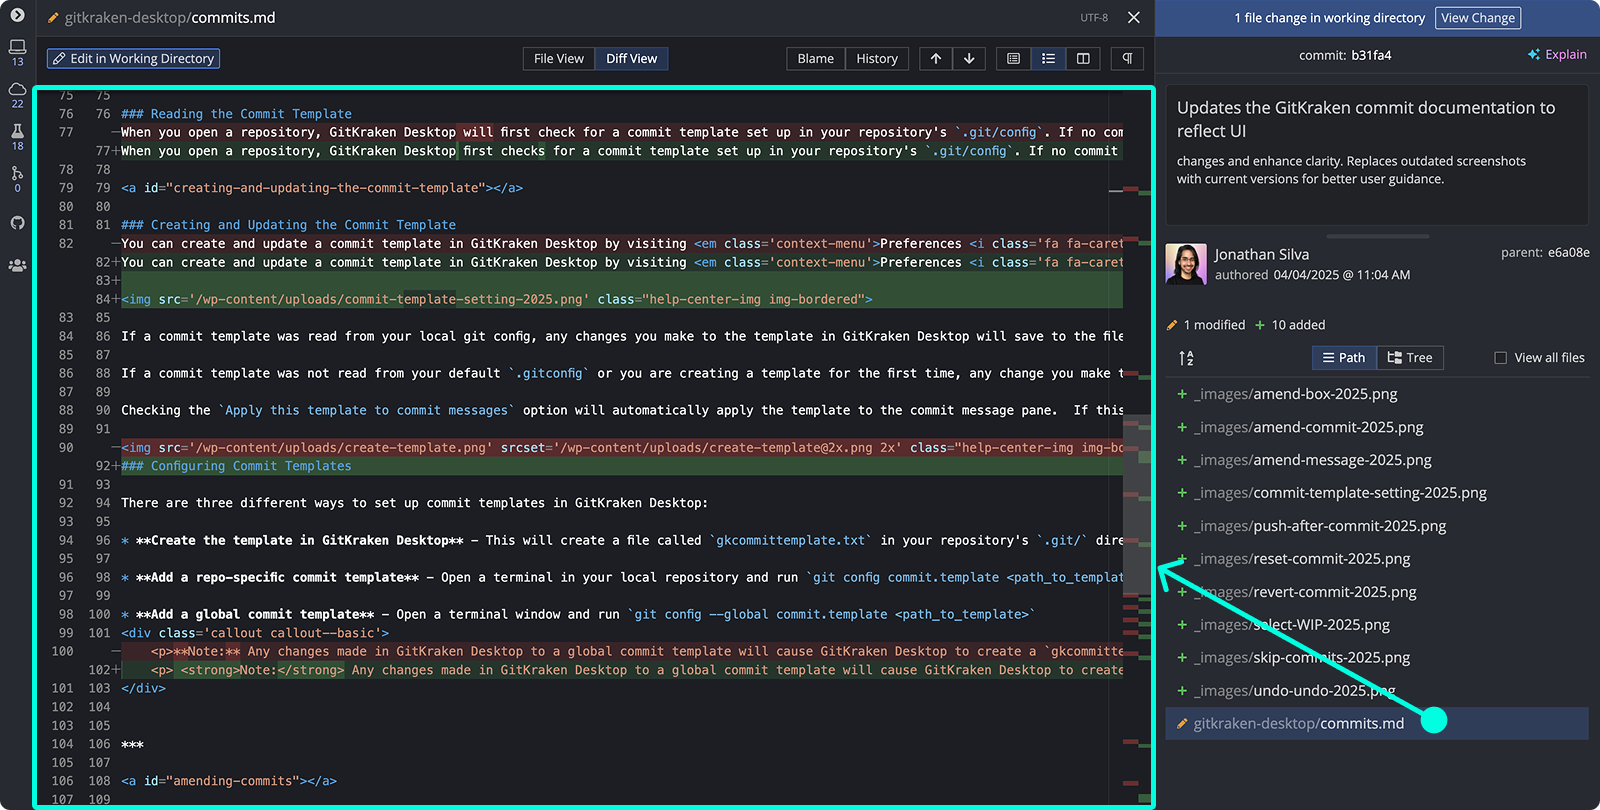
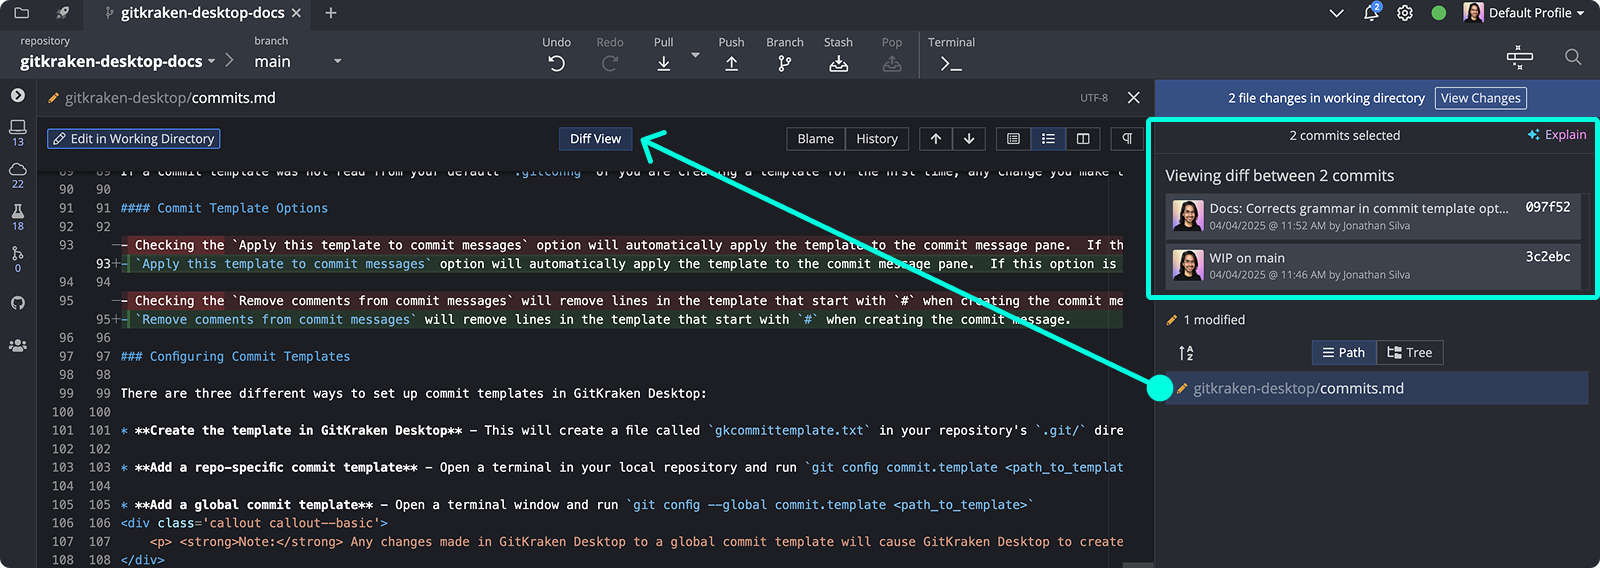
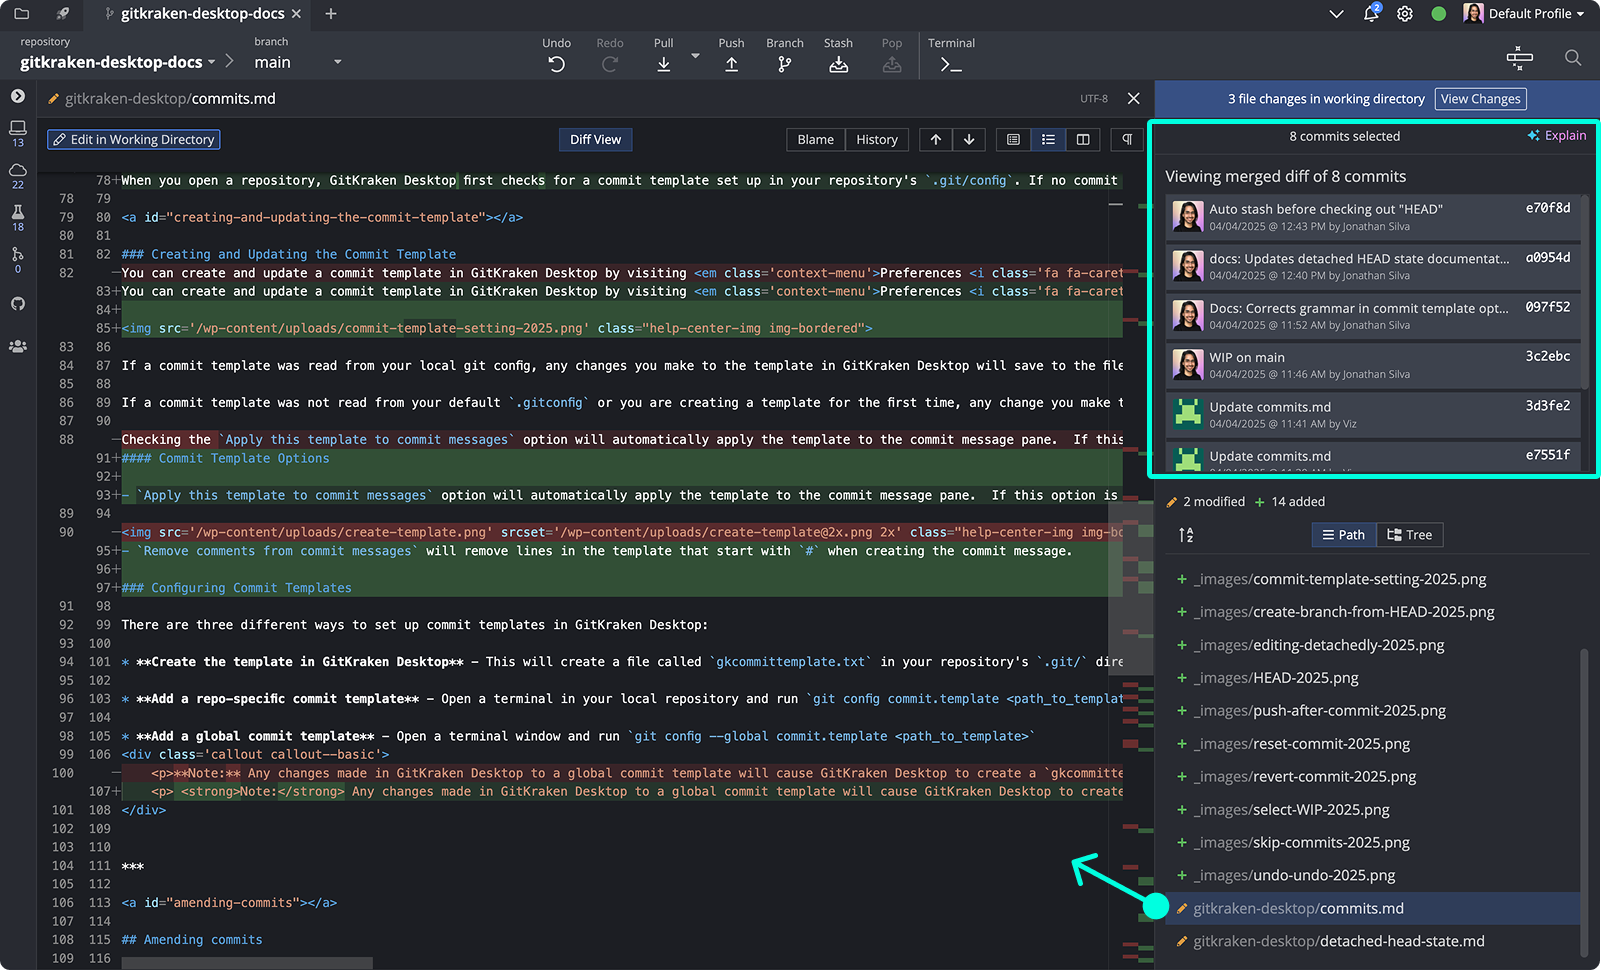
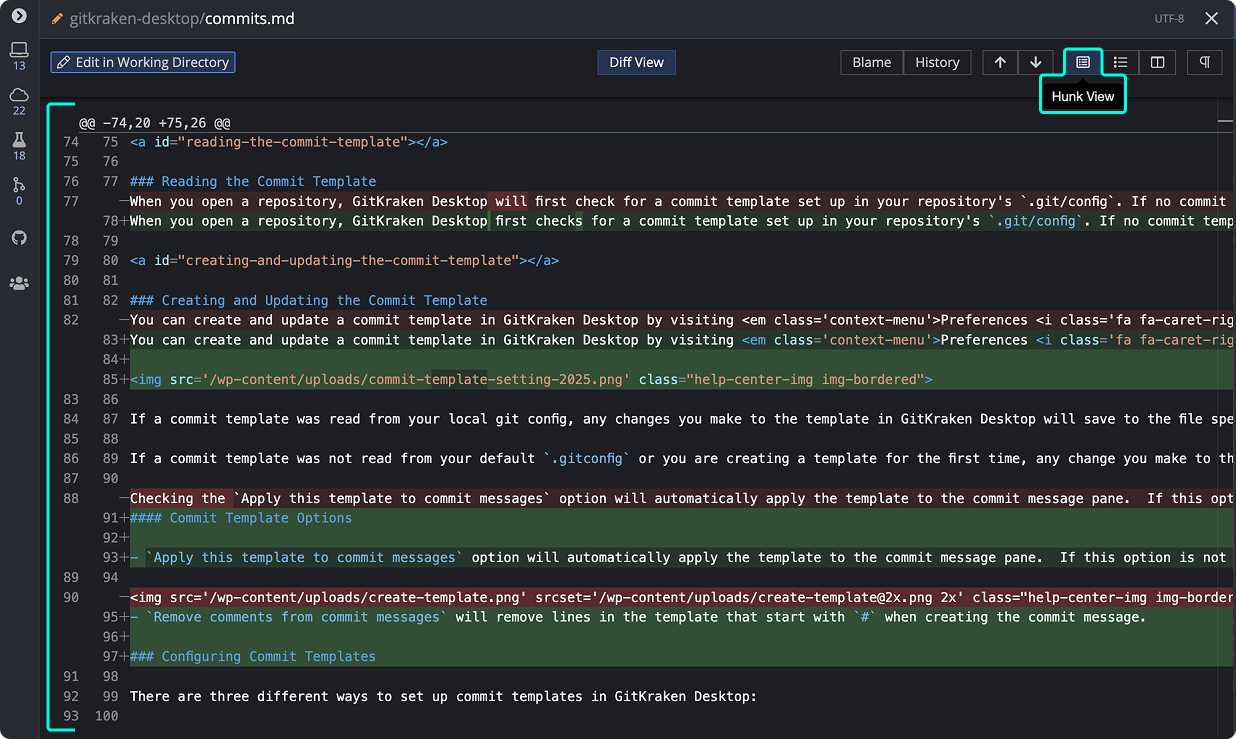
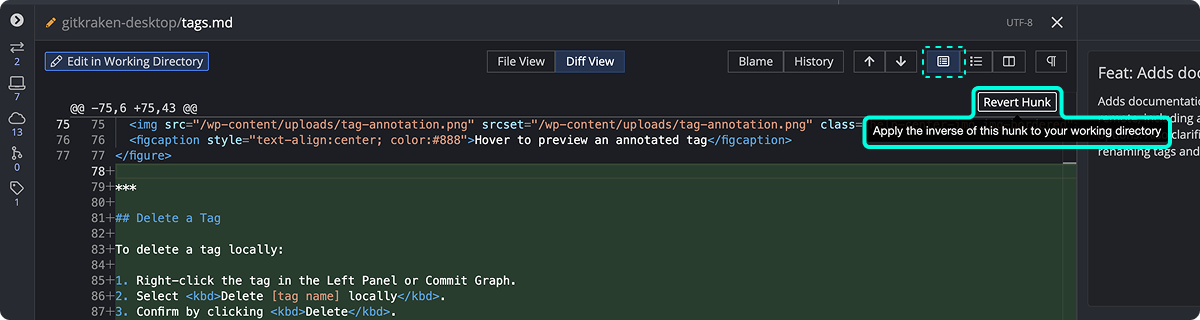
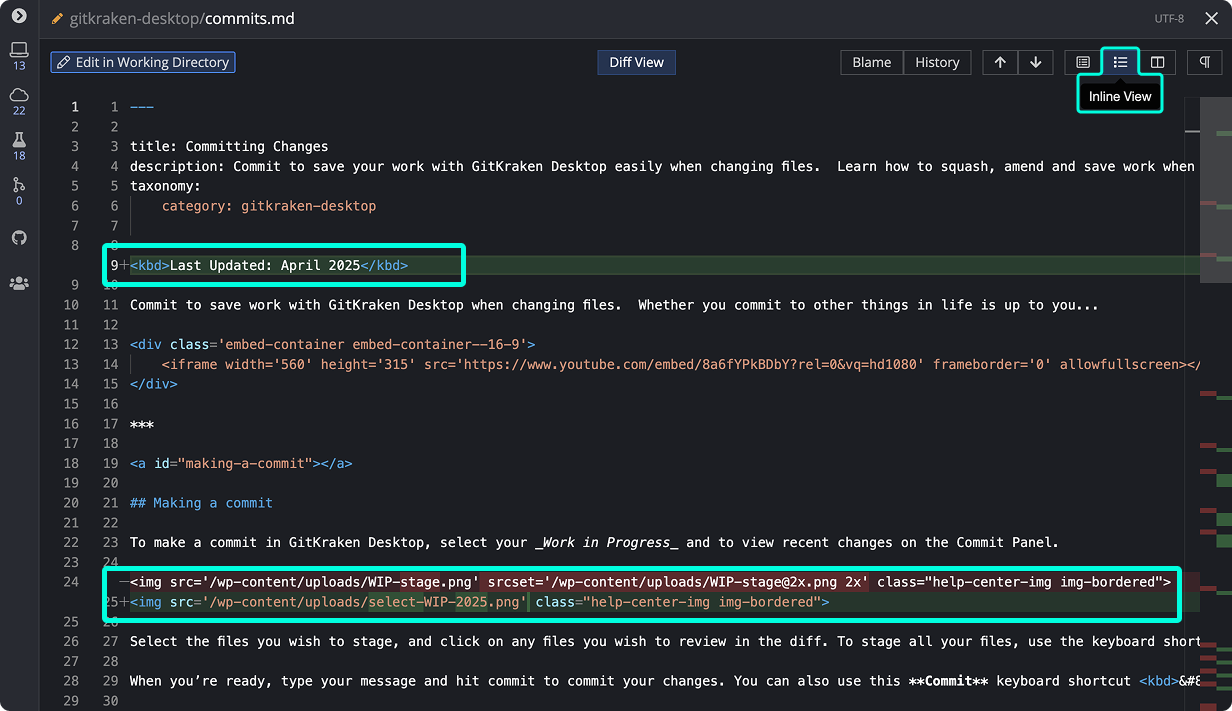
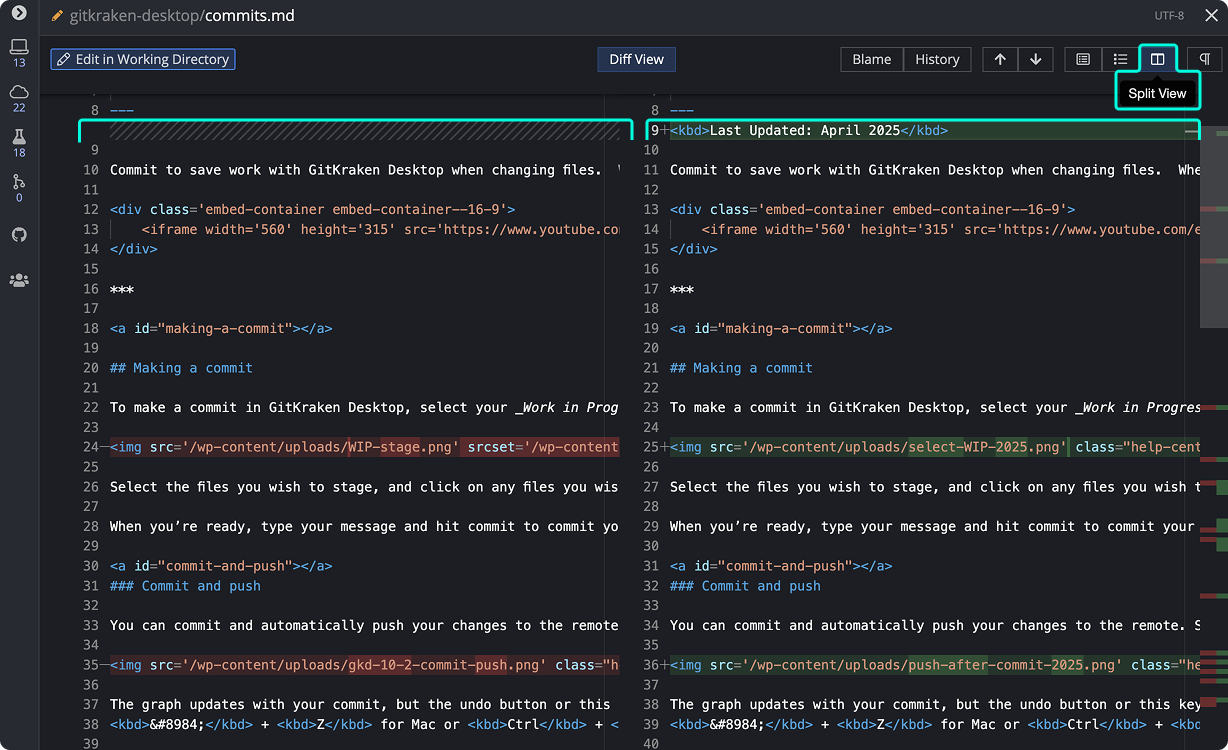
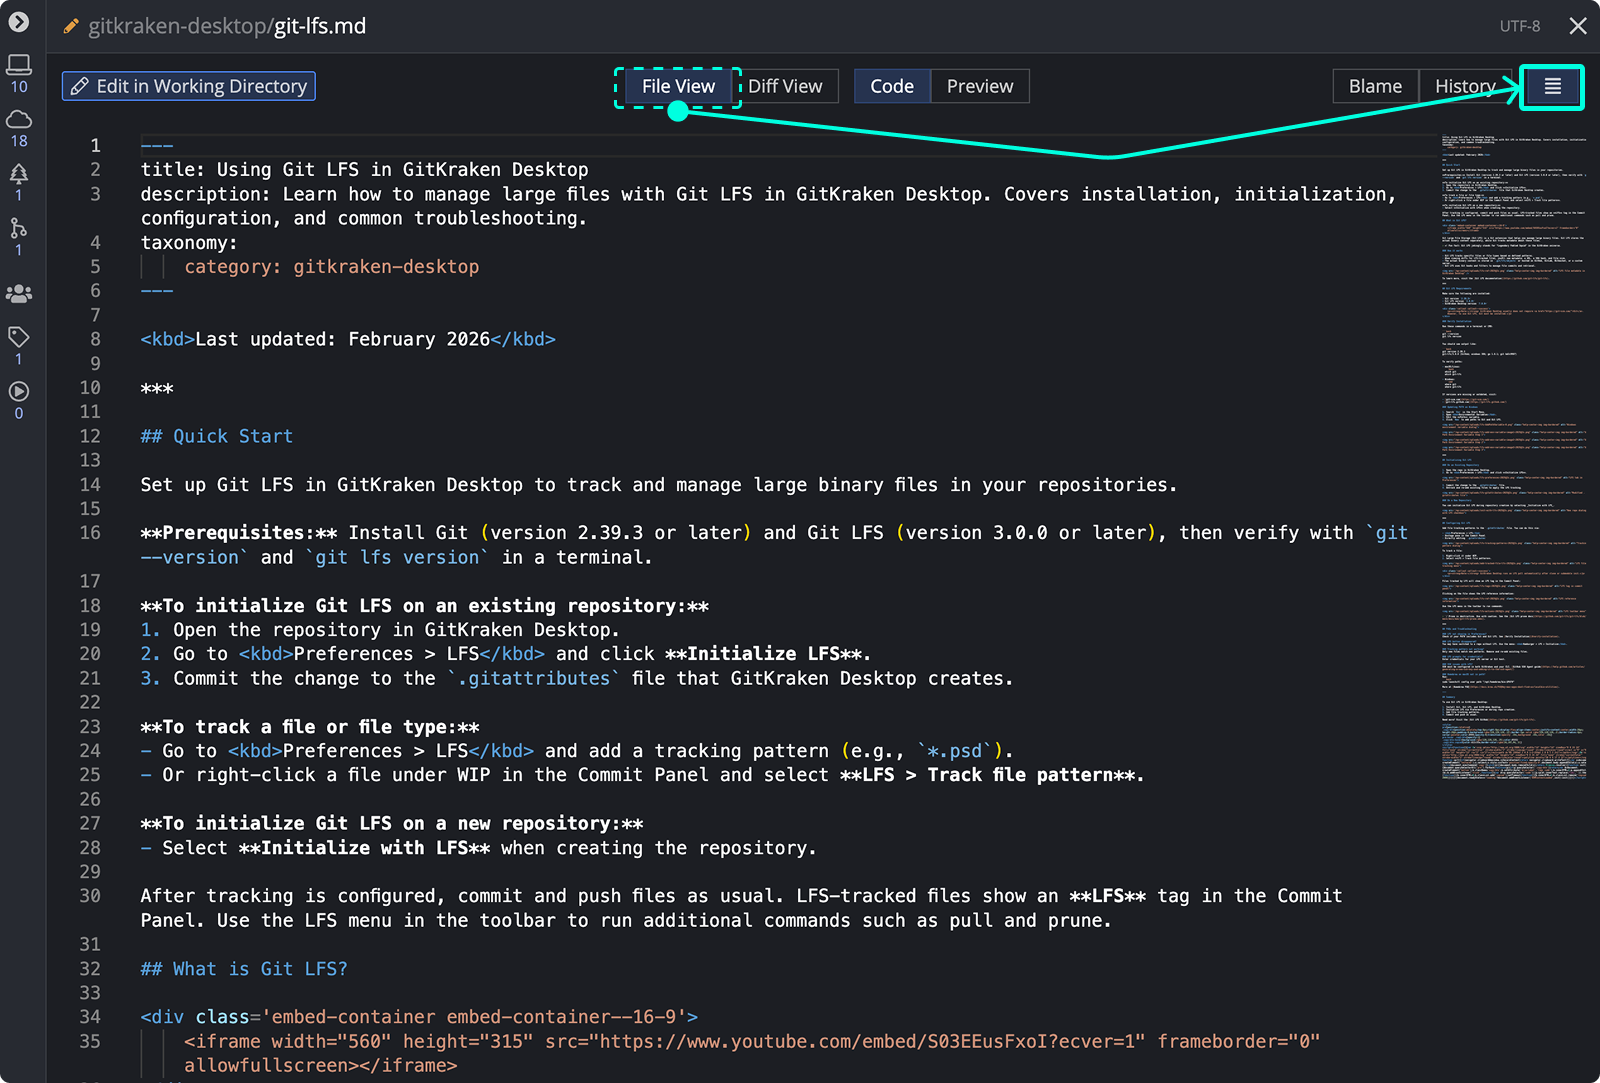
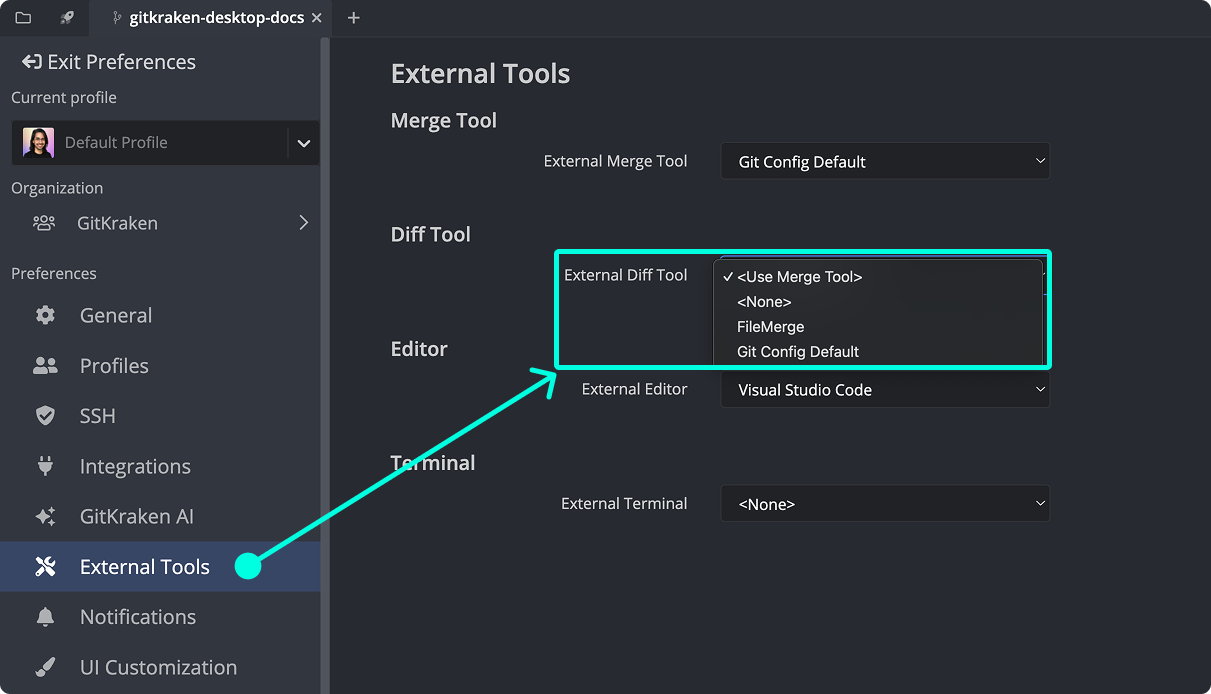
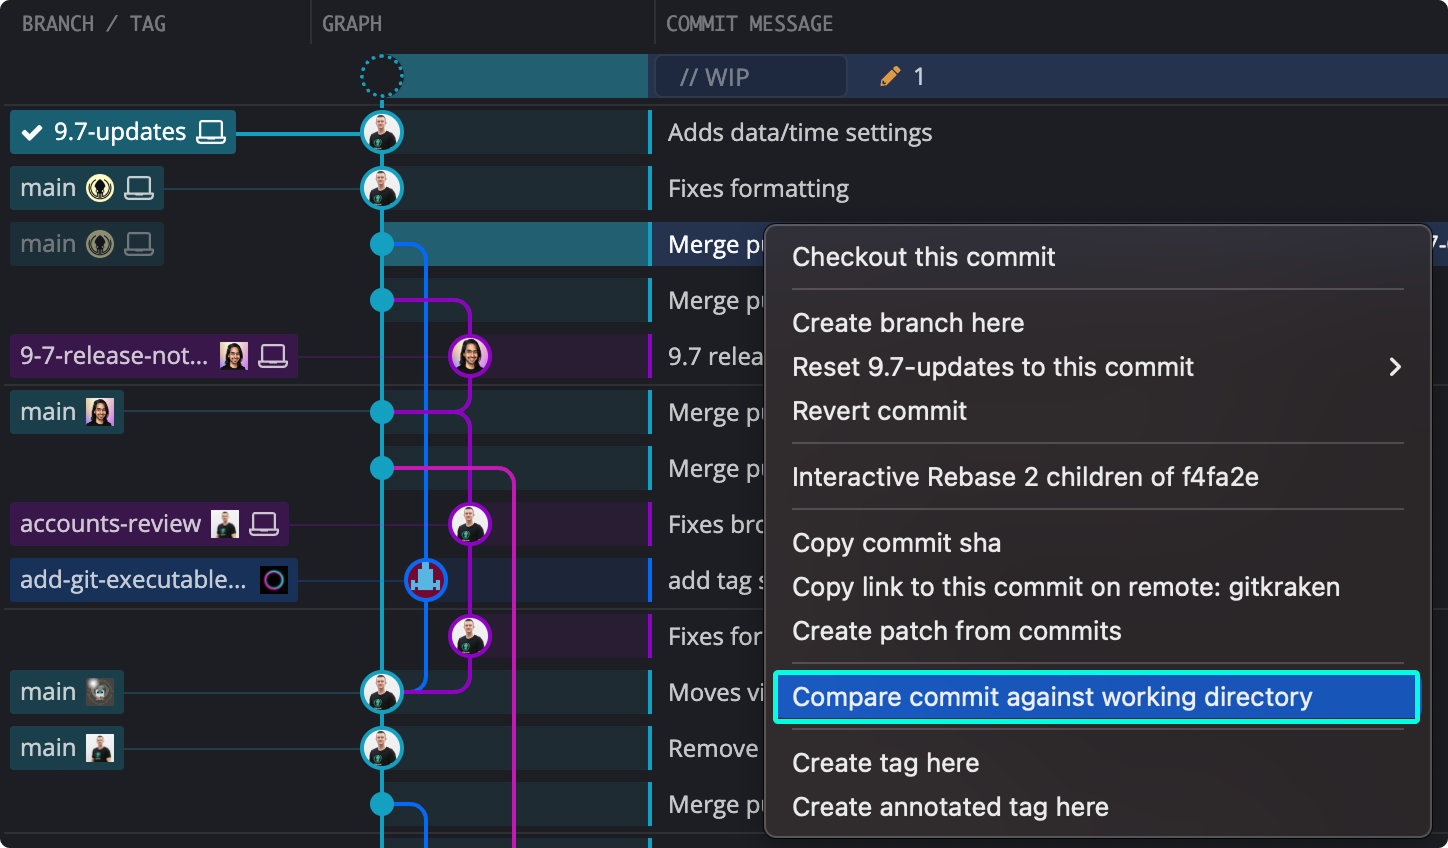

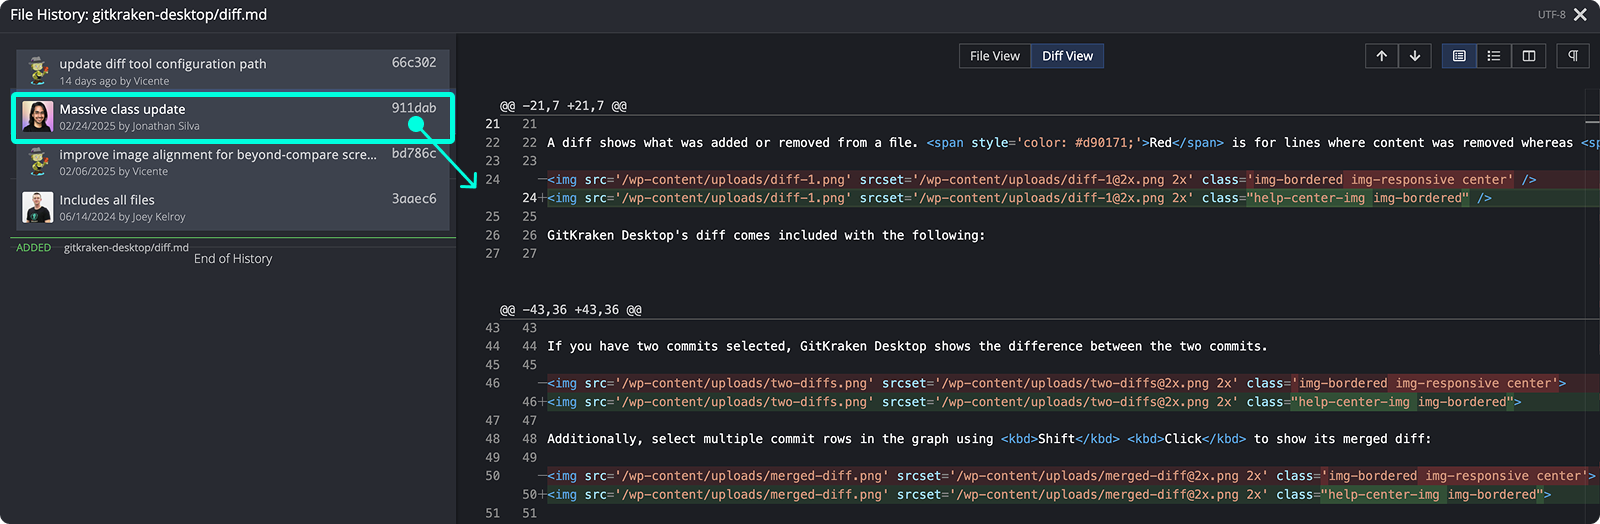

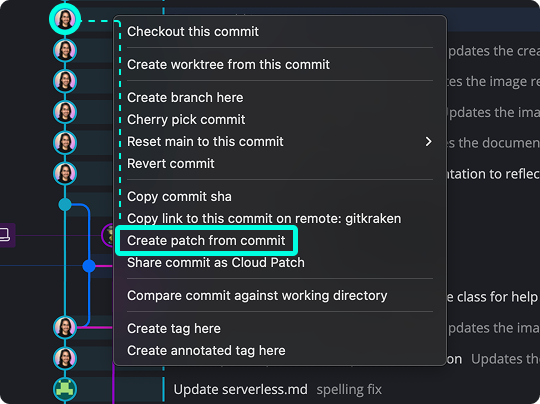
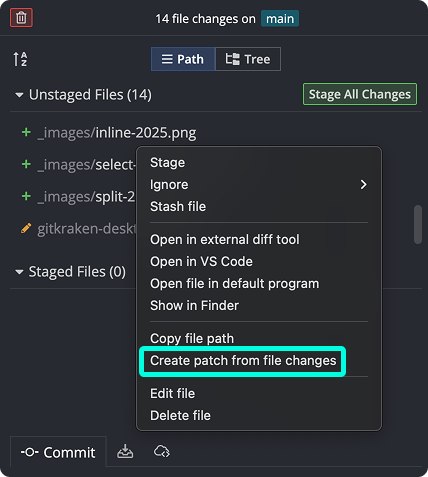
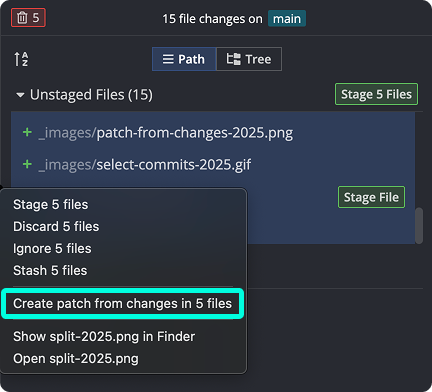
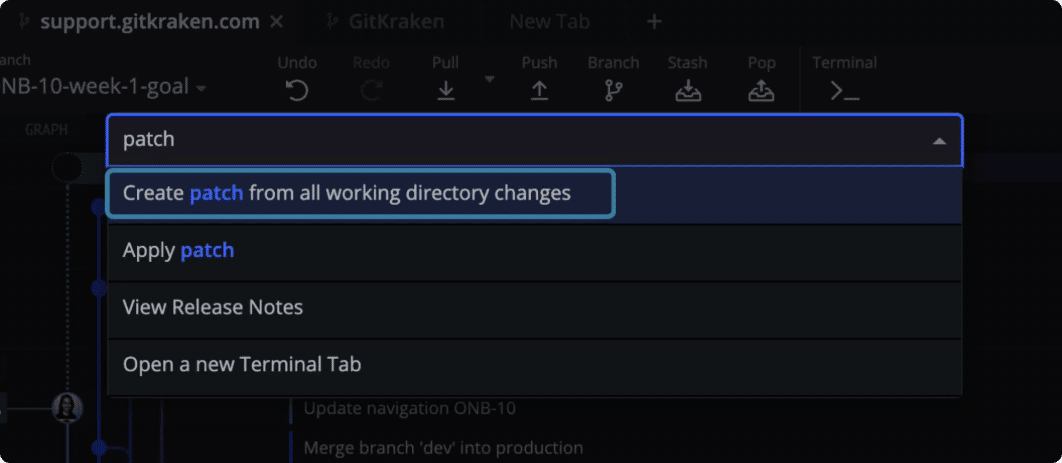
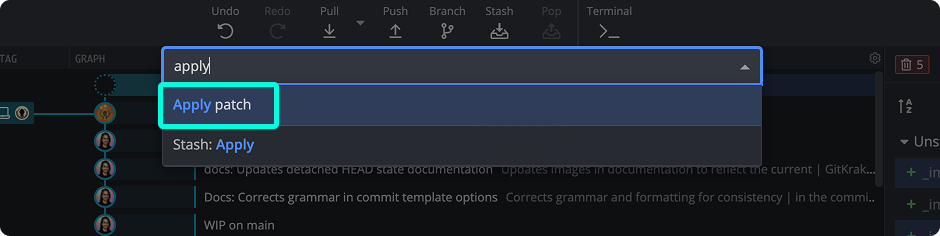
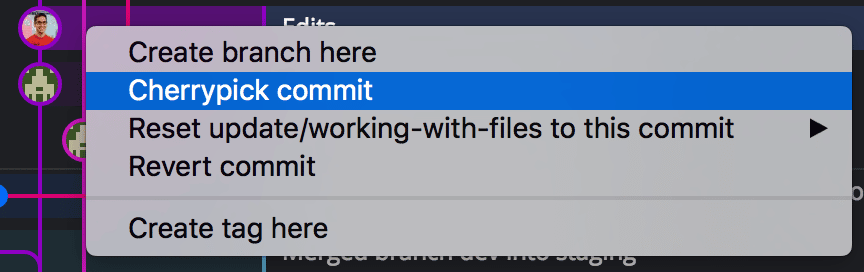
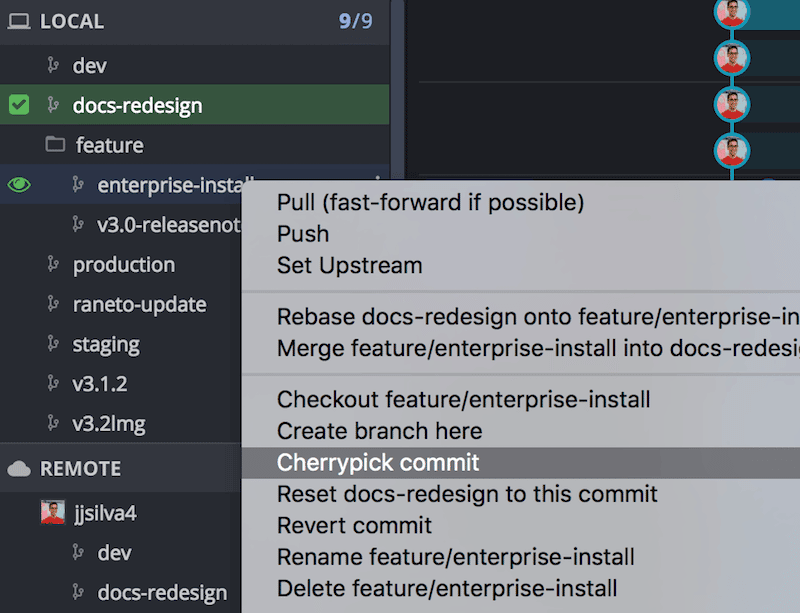
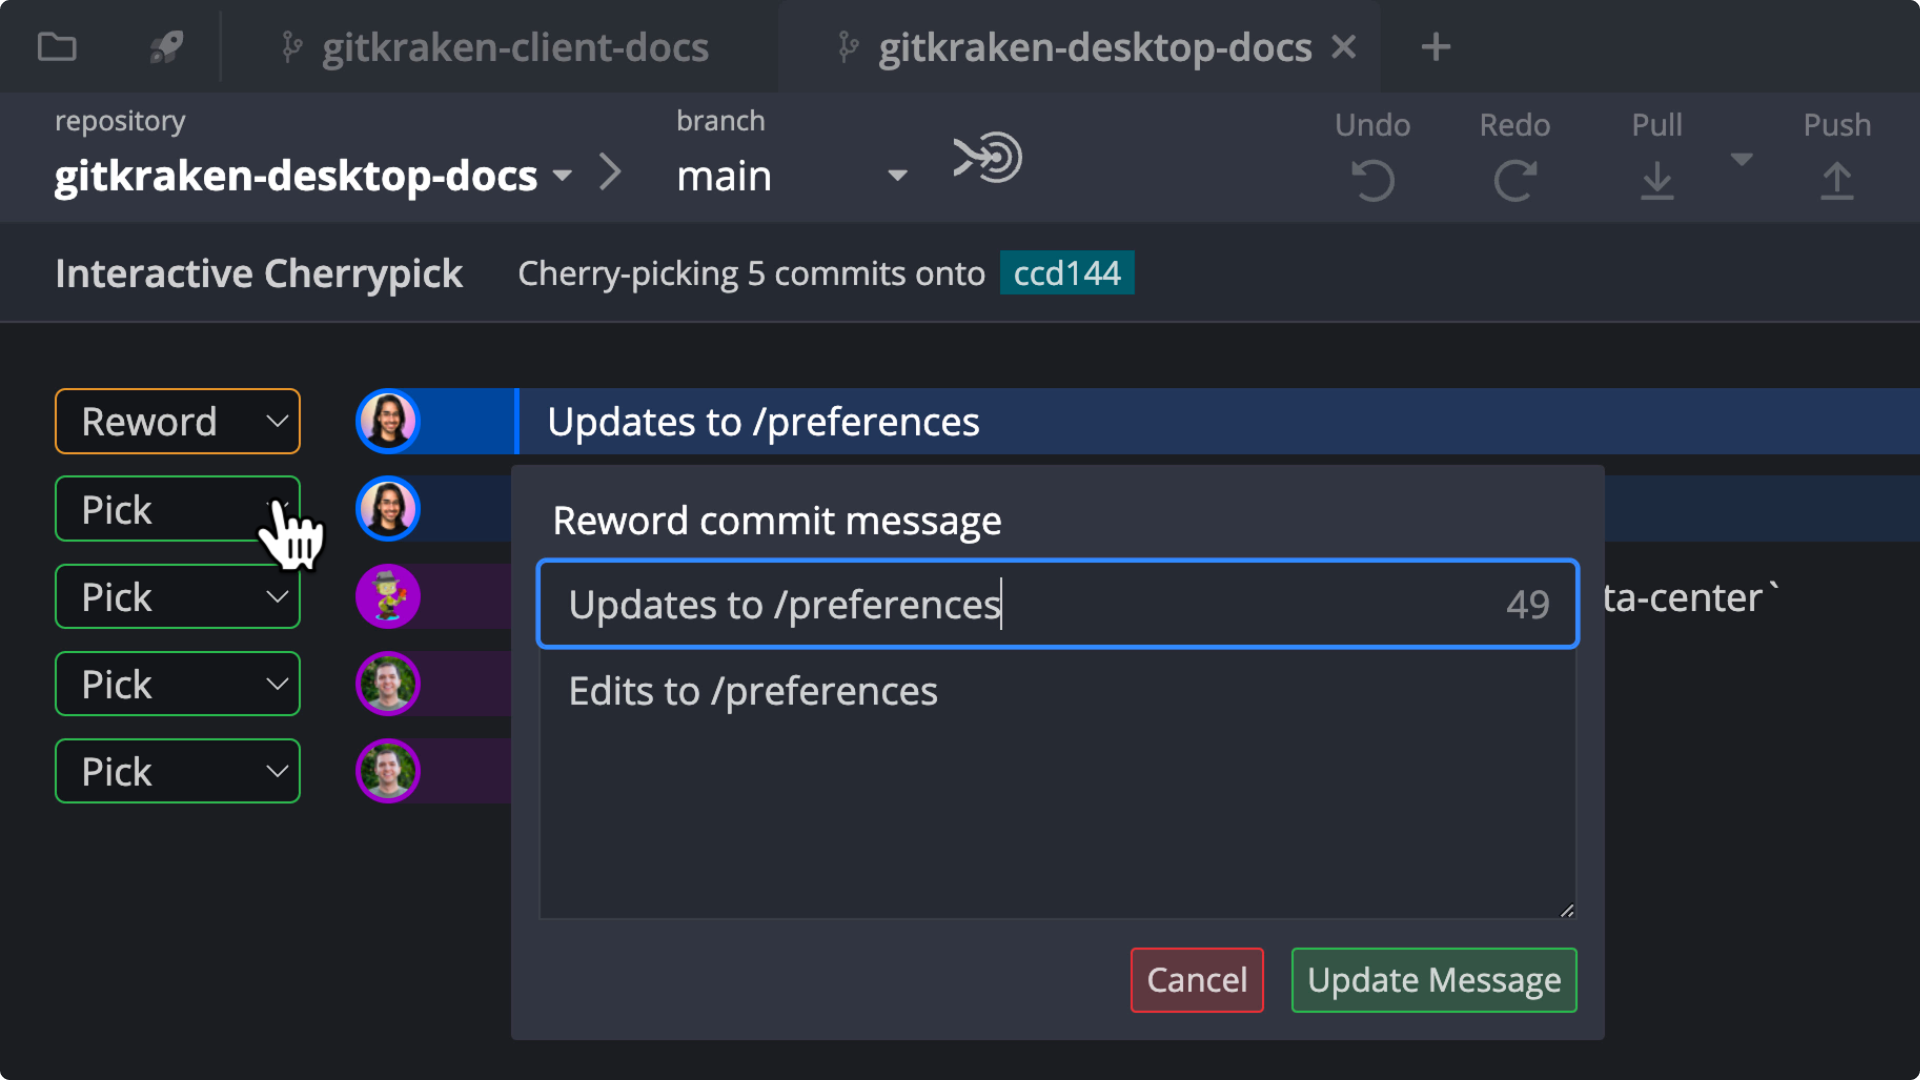
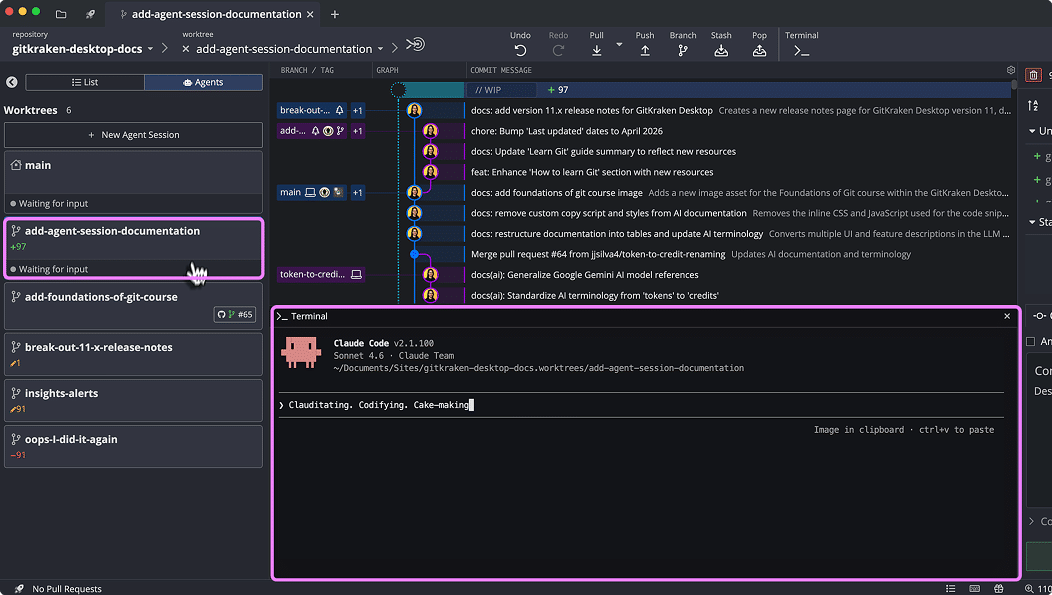 A **coding agent** is an external CLI that can work on code in a terminal session. In GitKraken Desktop, each **agent session** runs that CLI in its own [**worktree**](/gitkraken-desktop/worktrees/). **Agent Sessions View** shows those worktrees as agent-focused cards so you can start parallel work, monitor progress, and switch back when an agent needs attention.
GitKraken Desktop explicitly integrates with a set of supported coding agent CLIs. You can also run other coding agents manually in the embedded terminal, even if they do not appear in the coding agent configuration.
This page also helps answer common questions such as:
- How do I use Claude Code with GitKraken Desktop?
- How do I run Copilot CLI as a coding agent in GitKraken?
- How do I use Codex CLI, Gemini CLI, or OpenCode in GitKraken Desktop?
- Can I run multiple coding agent sessions at the same time?
**Requirements and limits**
- Product: GitKraken Desktop with Agent Sessions View enabled
- Coding agent CLI: Install and configure a supported coding agent CLI in Preferences > External Tools > Coding Agent
- Session model: Each agent session runs in its own Git worktree and working directory
- Repository setup: Setup commands are configured per repository in Preferences > Repo-Specific Preferences > Agents
- Status support: Agent status indicators are available for Claude Code as of version 12.0.0
- Other agents: You can still run other coding agents manually in the embedded terminal, even if GitKraken does not explicitly integrate with or detect them
| What you want to do | Supported | Where in GitKraken Desktop | Notes |
|---------------------|-----------|-----------------------------|-------|
| Start a coding agent session | Yes | Agent Sessions View | Creates a worktree, runs setup commands, and launches the coding agent CLI |
| Start multiple coding agent sessions at the same time | Yes | Agent Sessions View | Each session runs in a separate worktree |
| Choose a different base branch for a new session | Yes | New Agent Session form | Default base branch is `HEAD` |
| Choose a coding agent CLI for a session | Yes | New Agent Session form | Falls back to the coding agent set in Preferences |
| Monitor agent progress | Yes | Agent Sessions View card | Cards show WIP changes, ahead/behind, and agent status |
| Respond when an agent is waiting for input | Yes | Agent Sessions View and embedded terminal | Claude Code can show a **Waiting for input** status in the card |
| Configure coding agent CLIs | Yes | Preferences > External Tools > Coding Agent | GitKraken auto-detects installed CLIs |
| Configure setup commands for a repository | Yes | Preferences > Repo-Specific Preferences > Agents | Commands run before the agent launches |
***
## Quick start for coding agents in GitKraken Desktop
**To open Agent Sessions View:**
Click **Agents** in the `List | Agents` segmented control at the top of the Left Panel.
**To start a coding agent session:**
1. Click **+ New Agent Session** at the top of Agent Sessions View.
2. Enter a branch name.
3. Optional: choose a base branch, choose a coding agent CLI, or click **Configure setup commands**.
4. Click **Start**.
**To monitor an agent session:**
Review the card for branch name, WIP changes, ahead/behind counts, and agent status.
**To respond when an agent is waiting for input:**
Open that worktree or switch to its terminal session and respond there.
**To configure coding agent CLIs:**
Go to Preferences > External Tools > Coding Agent.
**To configure setup commands for the current repository:**
Go to Preferences > Repo-Specific Preferences > Agents.
***
## What coding agents, agent sessions, and Agent Sessions View mean
Use these terms consistently when working with Agent Sessions View:
| Term | What it means |
|------|---------------|
| **Coding agent** | An external coding agent CLI such as Claude Code, Codex CLI, Copilot CLI, Gemini CLI, or OpenCode |
| **Coding agent session** | A running session of a coding agent CLI started from GitKraken Desktop |
| **Worktree** | A separate Git working directory used for that agent session |
| **Agent Sessions View** | The Left Panel view that shows worktrees as agent session cards |
| **List view** | The standard Left Panel view for worktrees and branches |
Agent Sessions View and List view use the same underlying worktrees. The difference is how GitKraken Desktop presents them:
- Use **List view** when you want a branch-focused view.
- Use **Agent Sessions View** when you want an agent-focused view with status and quick actions.
A **coding agent** is an external CLI that can work on code in a terminal session. In GitKraken Desktop, each **agent session** runs that CLI in its own [**worktree**](/gitkraken-desktop/worktrees/). **Agent Sessions View** shows those worktrees as agent-focused cards so you can start parallel work, monitor progress, and switch back when an agent needs attention.
GitKraken Desktop explicitly integrates with a set of supported coding agent CLIs. You can also run other coding agents manually in the embedded terminal, even if they do not appear in the coding agent configuration.
This page also helps answer common questions such as:
- How do I use Claude Code with GitKraken Desktop?
- How do I run Copilot CLI as a coding agent in GitKraken?
- How do I use Codex CLI, Gemini CLI, or OpenCode in GitKraken Desktop?
- Can I run multiple coding agent sessions at the same time?
**Requirements and limits**
- Product: GitKraken Desktop with Agent Sessions View enabled
- Coding agent CLI: Install and configure a supported coding agent CLI in Preferences > External Tools > Coding Agent
- Session model: Each agent session runs in its own Git worktree and working directory
- Repository setup: Setup commands are configured per repository in Preferences > Repo-Specific Preferences > Agents
- Status support: Agent status indicators are available for Claude Code as of version 12.0.0
- Other agents: You can still run other coding agents manually in the embedded terminal, even if GitKraken does not explicitly integrate with or detect them
| What you want to do | Supported | Where in GitKraken Desktop | Notes |
|---------------------|-----------|-----------------------------|-------|
| Start a coding agent session | Yes | Agent Sessions View | Creates a worktree, runs setup commands, and launches the coding agent CLI |
| Start multiple coding agent sessions at the same time | Yes | Agent Sessions View | Each session runs in a separate worktree |
| Choose a different base branch for a new session | Yes | New Agent Session form | Default base branch is `HEAD` |
| Choose a coding agent CLI for a session | Yes | New Agent Session form | Falls back to the coding agent set in Preferences |
| Monitor agent progress | Yes | Agent Sessions View card | Cards show WIP changes, ahead/behind, and agent status |
| Respond when an agent is waiting for input | Yes | Agent Sessions View and embedded terminal | Claude Code can show a **Waiting for input** status in the card |
| Configure coding agent CLIs | Yes | Preferences > External Tools > Coding Agent | GitKraken auto-detects installed CLIs |
| Configure setup commands for a repository | Yes | Preferences > Repo-Specific Preferences > Agents | Commands run before the agent launches |
***
## Quick start for coding agents in GitKraken Desktop
**To open Agent Sessions View:**
Click **Agents** in the `List | Agents` segmented control at the top of the Left Panel.
**To start a coding agent session:**
1. Click **+ New Agent Session** at the top of Agent Sessions View.
2. Enter a branch name.
3. Optional: choose a base branch, choose a coding agent CLI, or click **Configure setup commands**.
4. Click **Start**.
**To monitor an agent session:**
Review the card for branch name, WIP changes, ahead/behind counts, and agent status.
**To respond when an agent is waiting for input:**
Open that worktree or switch to its terminal session and respond there.
**To configure coding agent CLIs:**
Go to Preferences > External Tools > Coding Agent.
**To configure setup commands for the current repository:**
Go to Preferences > Repo-Specific Preferences > Agents.
***
## What coding agents, agent sessions, and Agent Sessions View mean
Use these terms consistently when working with Agent Sessions View:
| Term | What it means |
|------|---------------|
| **Coding agent** | An external coding agent CLI such as Claude Code, Codex CLI, Copilot CLI, Gemini CLI, or OpenCode |
| **Coding agent session** | A running session of a coding agent CLI started from GitKraken Desktop |
| **Worktree** | A separate Git working directory used for that agent session |
| **Agent Sessions View** | The Left Panel view that shows worktrees as agent session cards |
| **List view** | The standard Left Panel view for worktrees and branches |
Agent Sessions View and List view use the same underlying worktrees. The difference is how GitKraken Desktop presents them:
- Use **List view** when you want a branch-focused view.
- Use **Agent Sessions View** when you want an agent-focused view with status and quick actions.
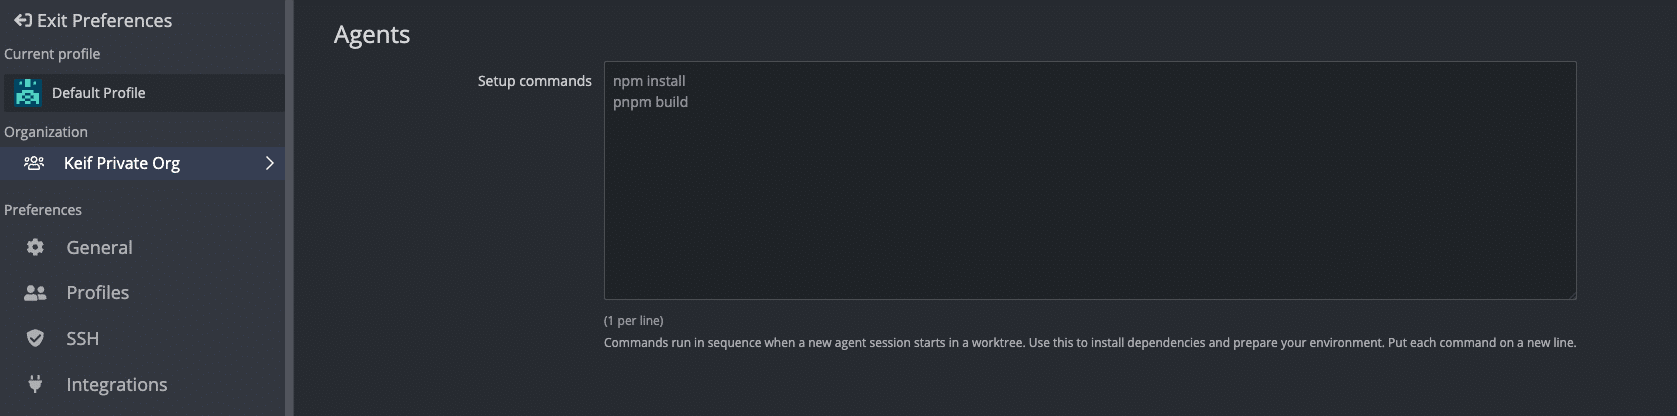 ***
## How to create a new coding agent session
1. Open **Agent Sessions View** by clicking **Agents** in the Left Panel.
2. Click **+ New Agent Session**.
***
## How to create a new coding agent session
1. Open **Agent Sessions View** by clicking **Agents** in the Left Panel.
2. Click **+ New Agent Session**.
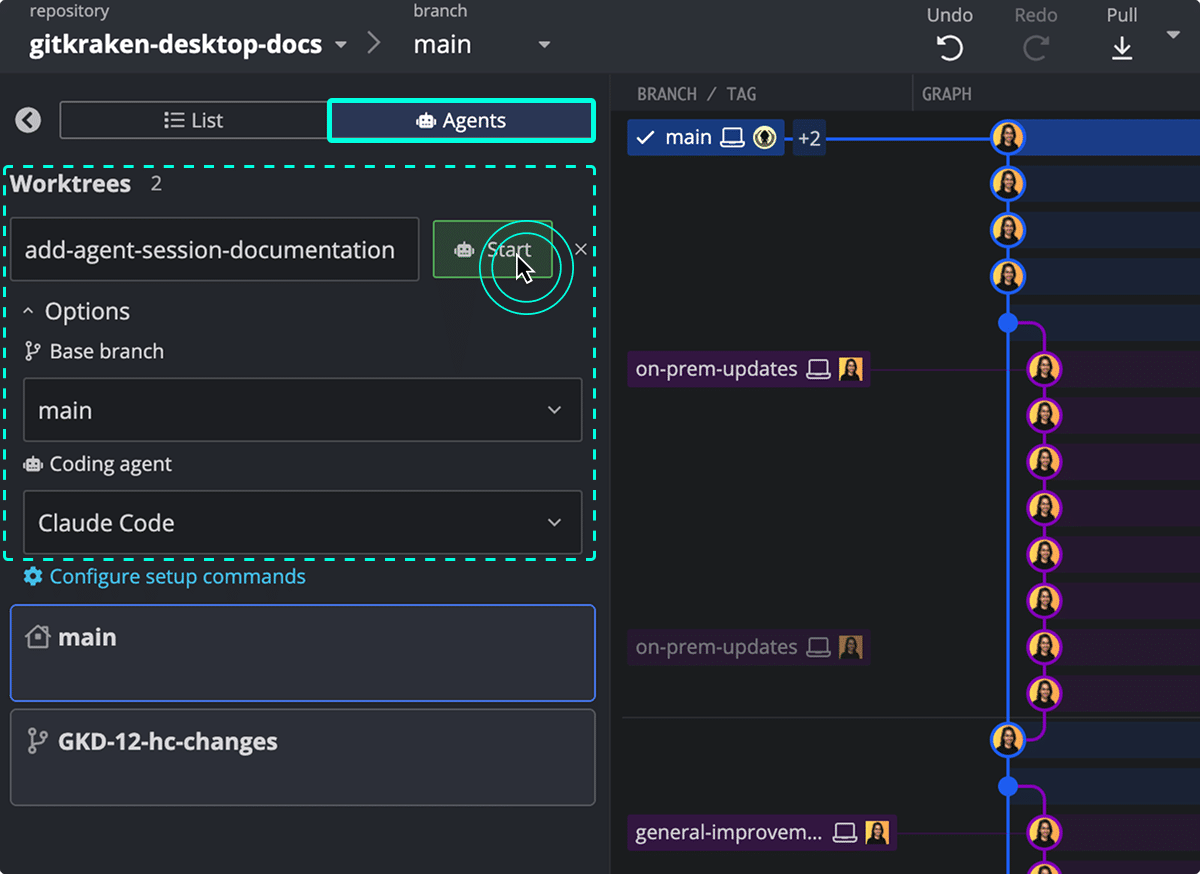 3. Enter a branch name.
4. Optional: review the session options.
| Option | Use it to | Default |
|--------|-----------|---------|
| **Base branch** | Create the new worktree from a different branch | `HEAD` |
| **Coding agent** | Launch a specific coding agent CLI for this session | Coding agent set in Preferences |
To update repository setup, click **Configure setup commands** to open Preferences > Repo-Specific Preferences > Agents.
3. Enter a branch name.
4. Optional: review the session options.
| Option | Use it to | Default |
|--------|-----------|---------|
| **Base branch** | Create the new worktree from a different branch | `HEAD` |
| **Coding agent** | Launch a specific coding agent CLI for this session | Coding agent set in Preferences |
To update repository setup, click **Configure setup commands** to open Preferences > Repo-Specific Preferences > Agents.
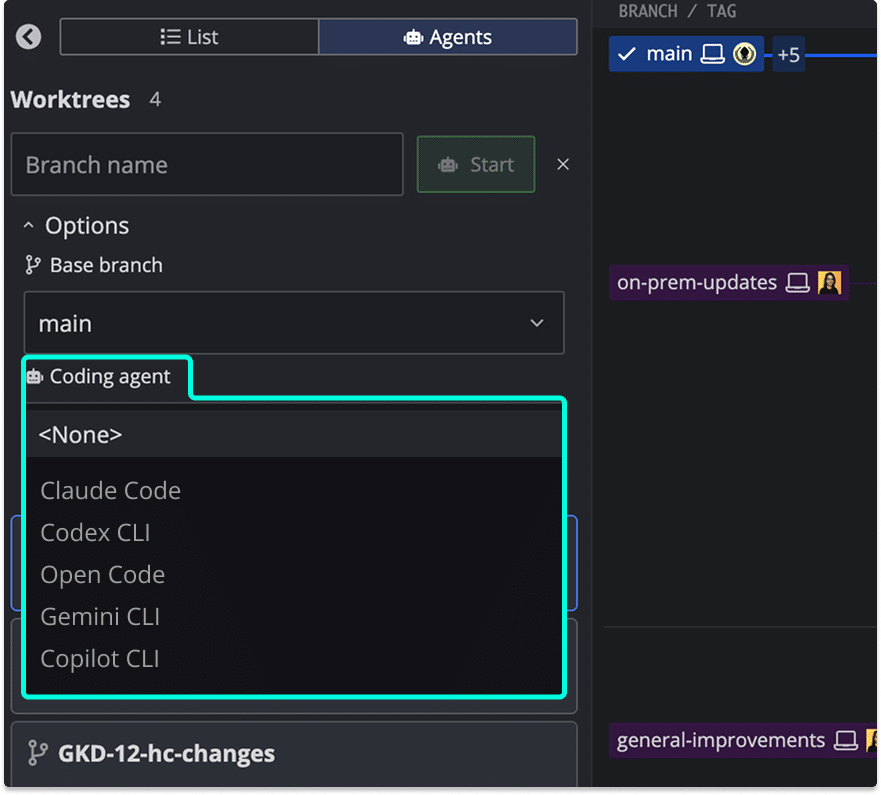 5. Click **Start**.
GitKraken Desktop creates a new worktree from the selected base branch, runs any configured setup commands, and launches the selected coding agent in the embedded terminal.
***
## How to monitor coding agent progress and session status
Each card in Agent Sessions View represents one worktree and one coding agent session.
| Card element | What it shows |
|--------------|---------------|
| **Branch name** | The branch checked out in that worktree |
| **WIP change summary** | The count of uncommitted file changes |
| **Ahead / behind** | Commit counts relative to the remote |
| **Agent status** | Whether the agent is running, waiting for input, or done |
The status bar at the bottom of each card shows the current session state. Status indicators are available for Claude Code as of version 12.0.0.
When an agent needs attention, the card can show a bell icon and a **Waiting for input** label. This lets you see that the session needs a response without switching to the terminal first.
5. Click **Start**.
GitKraken Desktop creates a new worktree from the selected base branch, runs any configured setup commands, and launches the selected coding agent in the embedded terminal.
***
## How to monitor coding agent progress and session status
Each card in Agent Sessions View represents one worktree and one coding agent session.
| Card element | What it shows |
|--------------|---------------|
| **Branch name** | The branch checked out in that worktree |
| **WIP change summary** | The count of uncommitted file changes |
| **Ahead / behind** | Commit counts relative to the remote |
| **Agent status** | Whether the agent is running, waiting for input, or done |
The status bar at the bottom of each card shows the current session state. Status indicators are available for Claude Code as of version 12.0.0.
When an agent needs attention, the card can show a bell icon and a **Waiting for input** label. This lets you see that the session needs a response without switching to the terminal first.
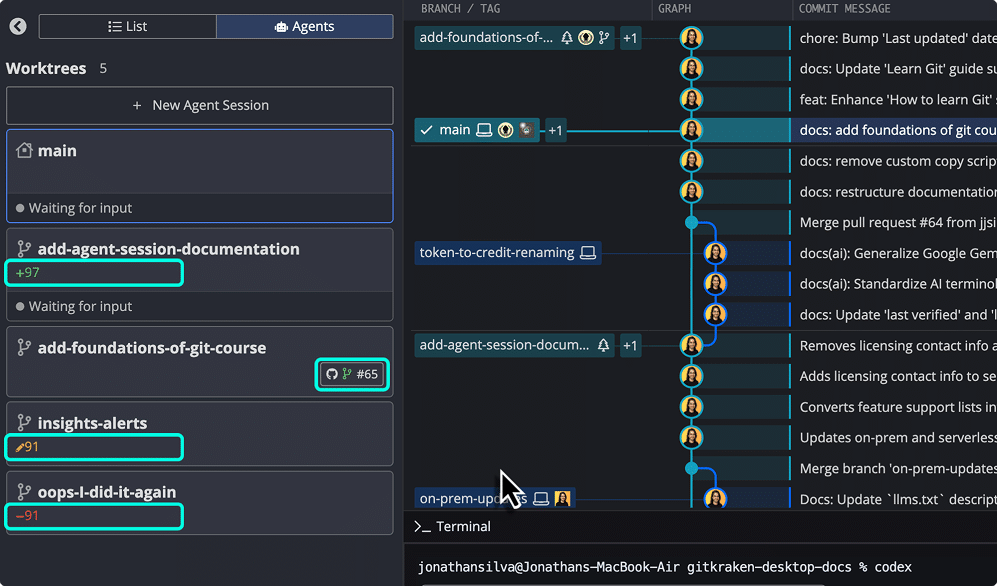 You can keep working in another worktree while monitoring these cards. When a session finishes, switch to that worktree to review the results.
***
## How to monitor and respond to coding agent prompts
Use this workflow when a coding agent pauses and waits for input.
1. Watch the card in **Agent Sessions View** for a bell icon or a **Waiting for input** status.
2. Open that worktree from the card.
3. Switch to the embedded terminal for that agent session.
4. Review the prompt from the coding agent CLI.
5. Respond in the terminal to continue the session.
This workflow is especially useful when you run multiple coding agent sessions at the same time and need to see which session needs attention first.
***
## How to open, review, and manage a coding agent worktree
For general worktree tasks outside coding agents, see [Manage Git Worktrees in GitKraken Desktop](/gitkraken-desktop/worktrees/).
Right-click any card in Agent Sessions View to manage that worktree:
| What you want to do | Action in the card menu | Result |
|---------------------|-------------------------|--------|
| Open the session worktree | **Open this worktree** | Switches to that worktree |
| Open the session in another tab | **Open worktree in a new tab** | Opens the worktree in a new GitKraken tab |
| Prevent the worktree from being pruned, moved, or deleted | **Lock this worktree** | Locks the worktree |
| Re-enable normal worktree management | **Unlock this worktree** | Unlocks the worktree |
| Remove the session worktree | **Remove this worktree** | Deletes the worktree and its working directory |
Use these actions after the agent finishes so you can review changes, push the branch, create a pull request, or clean up the worktree.
***
## Typical workflow for coding agents and worktrees
1. You are working on a feature in your current worktree.
2. A second task comes in, such as a bug fix or a small refactor.
3. You open **Agent Sessions View** and start a new coding agent session on a new branch such as `fix/login-crash`.
4. GitKraken Desktop creates a worktree, runs setup commands, and launches the coding agent CLI.
5. You continue working in your original worktree while monitoring the new agent session card.
6. If the card shows **Waiting for input**, you switch to that session and respond in the terminal.
7. When the agent finishes, you open the worktree, review the diff, and push or open a pull request.
8. After the work is merged or no longer needed, you remove the worktree.
***
## Common questions about coding agents in GitKraken Desktop
### Can I run multiple coding agent sessions at the same time?
Yes. Each coding agent session runs in its own worktree and working directory, so you can run parallel sessions in the same repository.
### What happens when I start a coding agent session?
GitKraken Desktop creates a worktree, checks out the new branch, runs any configured setup commands, and then launches the selected coding agent CLI in the embedded terminal.
### Do Agent Sessions View and List view show different worktrees?
No. They show the same underlying worktrees. The difference is the presentation: List view is branch-focused, and Agent Sessions View is agent-focused.
### Where do I choose Claude Code, Copilot CLI, Codex CLI, Gemini CLI, or OpenCode?
Go to Preferences > External Tools > Coding Agent. You can also choose a different coding agent in the New Agent Session form for a single session.
### Can I use a coding agent that GitKraken Desktop does not explicitly integrate with?
Yes. GitKraken Desktop explicitly integrates with supported coding agent CLIs such as Claude Code, Codex CLI, Copilot CLI, Gemini CLI, and OpenCode, but you can still run other coding agents manually in the embedded terminal. The agent does not need to appear in the coding agent configuration for you to use that terminal workflow.
### Where do I configure repository setup before the agent starts?
Go to Preferences > Repo-Specific Preferences > Agents. Setup commands run in sequence in the new worktree before the coding agent launches.
---
# Deep Linking in GitKraken Desktop
URL: https://help.gitkraken.com/gitkraken-desktop/linking/
Description: Learn how to share and open deep links to specific branches, commits, tags, and repositories in GitKraken Desktop for faster collaboration.
Product: GitKraken Desktop
Feature: Deep Linking
Content type: reference
Audience: developer
Plan required: all
Status: GA
Last verified: 2026-03
Last updated: March 2026
Use deep links in GitKraken Desktop to share or open specific remote repositories, commits, branches, or tags. This allows your team to quickly access relevant project context with a single click.
**Requirements and limits**
- Scope: Deep links to repositories, commits, branches, and tags
- Integration requirement: The repository must be hosted through a supported GitKraken integration
- Local access behavior: If the repository is already open, GitKraken navigates directly to the referenced item
- Clone fallback: If the repository is not cloned locally, GitKraken opens a clone dialog with the URL pre-filled
- Multiple-copy behavior: If more than one local copy exists, GitKraken prompts the user to choose which one to use
- Setup note: No extra configuration is required beyond having access to the repository locally or through cloning
***
## Quick Start
**To copy a deep link:**
- Right-click a branch, commit, tag, or repository in the Commit Graph or Left Panel and select the copy link option.
- Paste the copied link into tools like Jira, GitHub, Slack, or Microsoft Teams.
**When a teammate clicks your link:**
- If the repository is already open, GitKraken Desktop navigates directly to the referenced item.
- If the repository is not open, GitKraken Desktop attempts to open it automatically.
- If the repository is not cloned, a clone dialog appears with the URL pre-filled.
- If multiple local copies exist, you will be prompted to select which copy to use.
Deep links are available for any hosted remote repository that is connected through a GitKraken integration. No additional configuration is required beyond having the repository accessible locally.
***
## How to copy a link from GitKraken Desktop
Right-click on a branch, commit, tag, or repository to copy a deep link.
You can keep working in another worktree while monitoring these cards. When a session finishes, switch to that worktree to review the results.
***
## How to monitor and respond to coding agent prompts
Use this workflow when a coding agent pauses and waits for input.
1. Watch the card in **Agent Sessions View** for a bell icon or a **Waiting for input** status.
2. Open that worktree from the card.
3. Switch to the embedded terminal for that agent session.
4. Review the prompt from the coding agent CLI.
5. Respond in the terminal to continue the session.
This workflow is especially useful when you run multiple coding agent sessions at the same time and need to see which session needs attention first.
***
## How to open, review, and manage a coding agent worktree
For general worktree tasks outside coding agents, see [Manage Git Worktrees in GitKraken Desktop](/gitkraken-desktop/worktrees/).
Right-click any card in Agent Sessions View to manage that worktree:
| What you want to do | Action in the card menu | Result |
|---------------------|-------------------------|--------|
| Open the session worktree | **Open this worktree** | Switches to that worktree |
| Open the session in another tab | **Open worktree in a new tab** | Opens the worktree in a new GitKraken tab |
| Prevent the worktree from being pruned, moved, or deleted | **Lock this worktree** | Locks the worktree |
| Re-enable normal worktree management | **Unlock this worktree** | Unlocks the worktree |
| Remove the session worktree | **Remove this worktree** | Deletes the worktree and its working directory |
Use these actions after the agent finishes so you can review changes, push the branch, create a pull request, or clean up the worktree.
***
## Typical workflow for coding agents and worktrees
1. You are working on a feature in your current worktree.
2. A second task comes in, such as a bug fix or a small refactor.
3. You open **Agent Sessions View** and start a new coding agent session on a new branch such as `fix/login-crash`.
4. GitKraken Desktop creates a worktree, runs setup commands, and launches the coding agent CLI.
5. You continue working in your original worktree while monitoring the new agent session card.
6. If the card shows **Waiting for input**, you switch to that session and respond in the terminal.
7. When the agent finishes, you open the worktree, review the diff, and push or open a pull request.
8. After the work is merged or no longer needed, you remove the worktree.
***
## Common questions about coding agents in GitKraken Desktop
### Can I run multiple coding agent sessions at the same time?
Yes. Each coding agent session runs in its own worktree and working directory, so you can run parallel sessions in the same repository.
### What happens when I start a coding agent session?
GitKraken Desktop creates a worktree, checks out the new branch, runs any configured setup commands, and then launches the selected coding agent CLI in the embedded terminal.
### Do Agent Sessions View and List view show different worktrees?
No. They show the same underlying worktrees. The difference is the presentation: List view is branch-focused, and Agent Sessions View is agent-focused.
### Where do I choose Claude Code, Copilot CLI, Codex CLI, Gemini CLI, or OpenCode?
Go to Preferences > External Tools > Coding Agent. You can also choose a different coding agent in the New Agent Session form for a single session.
### Can I use a coding agent that GitKraken Desktop does not explicitly integrate with?
Yes. GitKraken Desktop explicitly integrates with supported coding agent CLIs such as Claude Code, Codex CLI, Copilot CLI, Gemini CLI, and OpenCode, but you can still run other coding agents manually in the embedded terminal. The agent does not need to appear in the coding agent configuration for you to use that terminal workflow.
### Where do I configure repository setup before the agent starts?
Go to Preferences > Repo-Specific Preferences > Agents. Setup commands run in sequence in the new worktree before the coding agent launches.
---
# Deep Linking in GitKraken Desktop
URL: https://help.gitkraken.com/gitkraken-desktop/linking/
Description: Learn how to share and open deep links to specific branches, commits, tags, and repositories in GitKraken Desktop for faster collaboration.
Product: GitKraken Desktop
Feature: Deep Linking
Content type: reference
Audience: developer
Plan required: all
Status: GA
Last verified: 2026-03
Last updated: March 2026
Use deep links in GitKraken Desktop to share or open specific remote repositories, commits, branches, or tags. This allows your team to quickly access relevant project context with a single click.
**Requirements and limits**
- Scope: Deep links to repositories, commits, branches, and tags
- Integration requirement: The repository must be hosted through a supported GitKraken integration
- Local access behavior: If the repository is already open, GitKraken navigates directly to the referenced item
- Clone fallback: If the repository is not cloned locally, GitKraken opens a clone dialog with the URL pre-filled
- Multiple-copy behavior: If more than one local copy exists, GitKraken prompts the user to choose which one to use
- Setup note: No extra configuration is required beyond having access to the repository locally or through cloning
***
## Quick Start
**To copy a deep link:**
- Right-click a branch, commit, tag, or repository in the Commit Graph or Left Panel and select the copy link option.
- Paste the copied link into tools like Jira, GitHub, Slack, or Microsoft Teams.
**When a teammate clicks your link:**
- If the repository is already open, GitKraken Desktop navigates directly to the referenced item.
- If the repository is not open, GitKraken Desktop attempts to open it automatically.
- If the repository is not cloned, a clone dialog appears with the URL pre-filled.
- If multiple local copies exist, you will be prompted to select which copy to use.
Deep links are available for any hosted remote repository that is connected through a GitKraken integration. No additional configuration is required beyond having the repository accessible locally.
***
## How to copy a link from GitKraken Desktop
Right-click on a branch, commit, tag, or repository to copy a deep link.
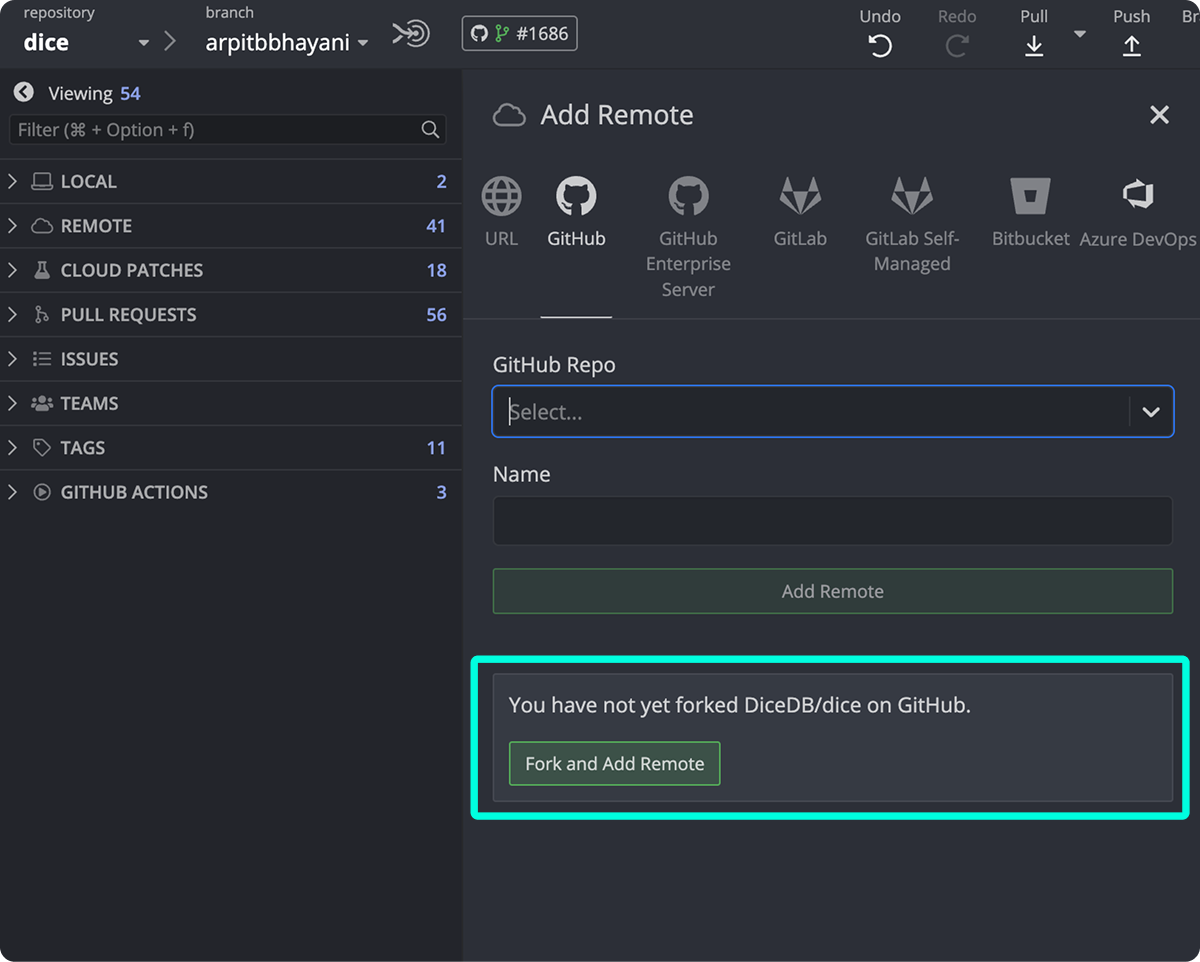
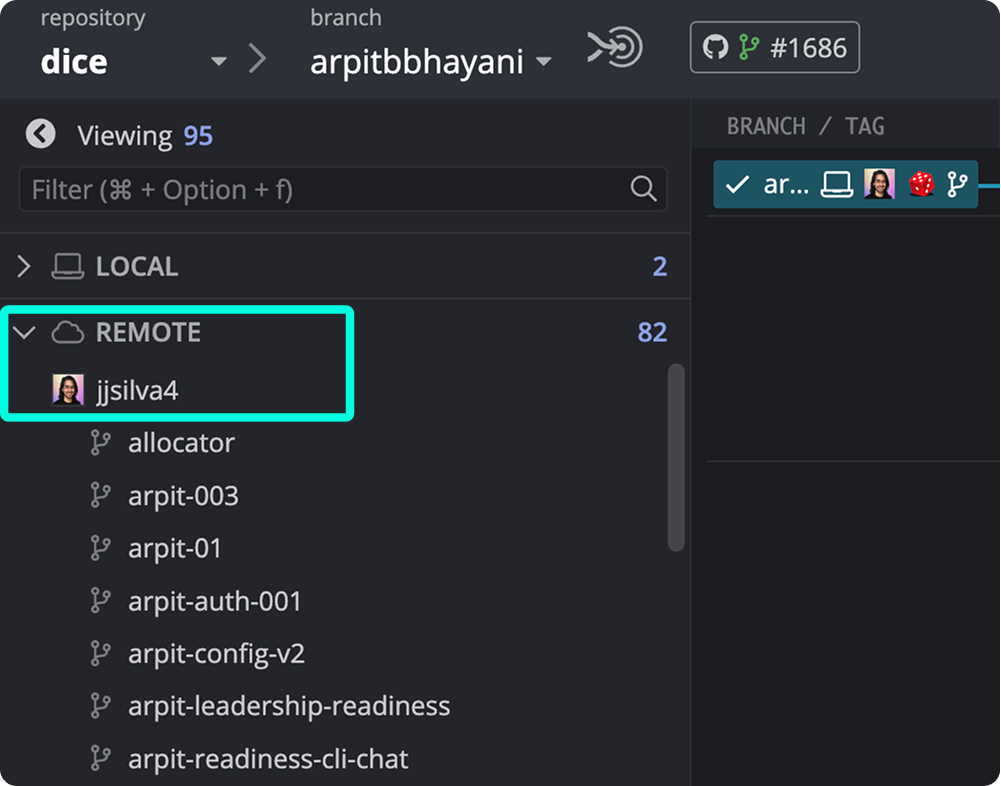
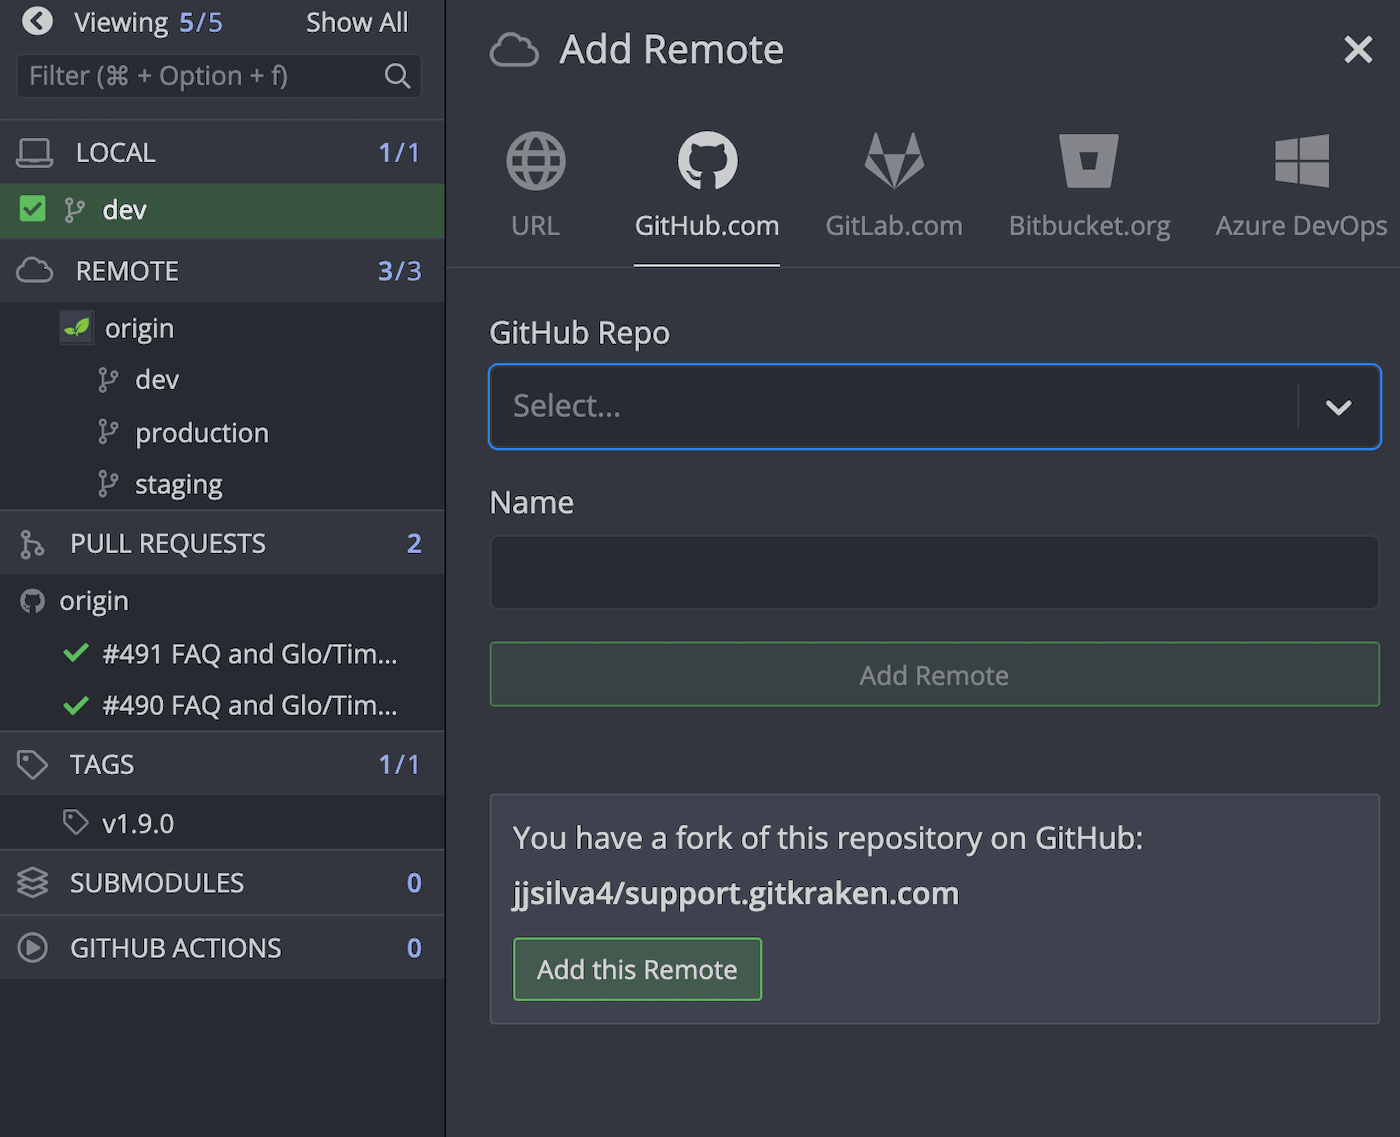
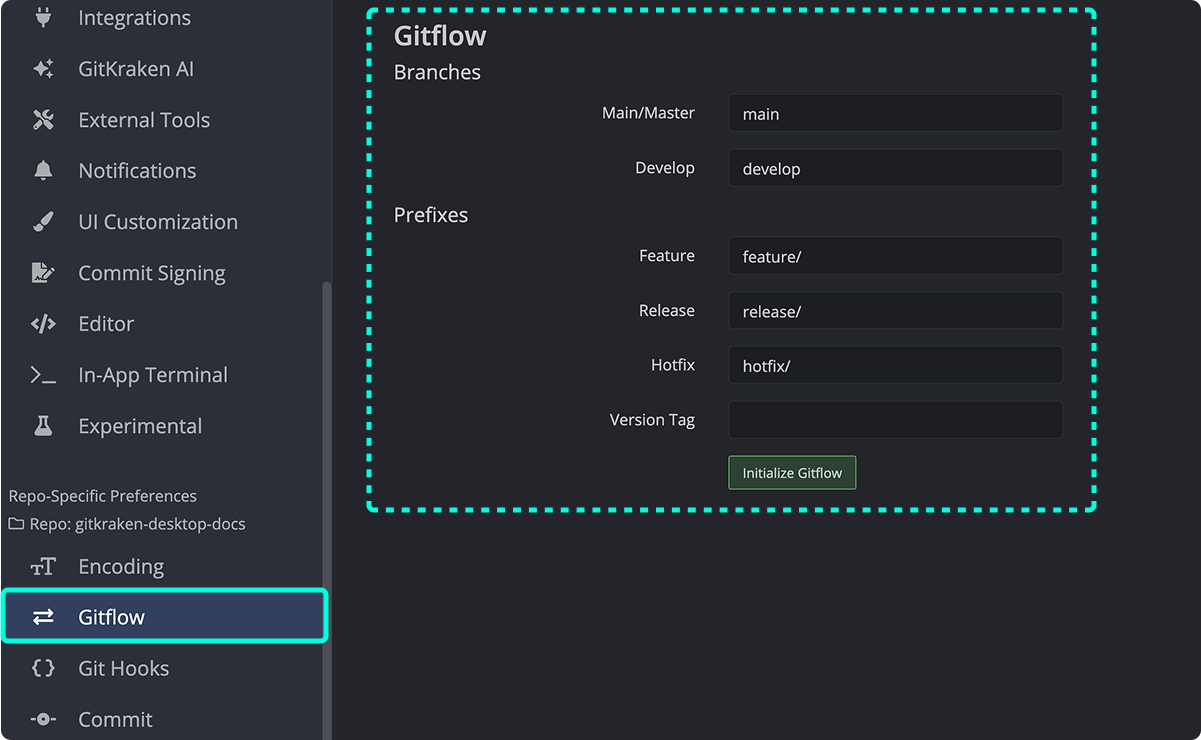 Once initialized, two branches will always be present:
-
Once initialized, two branches will always be present:
- 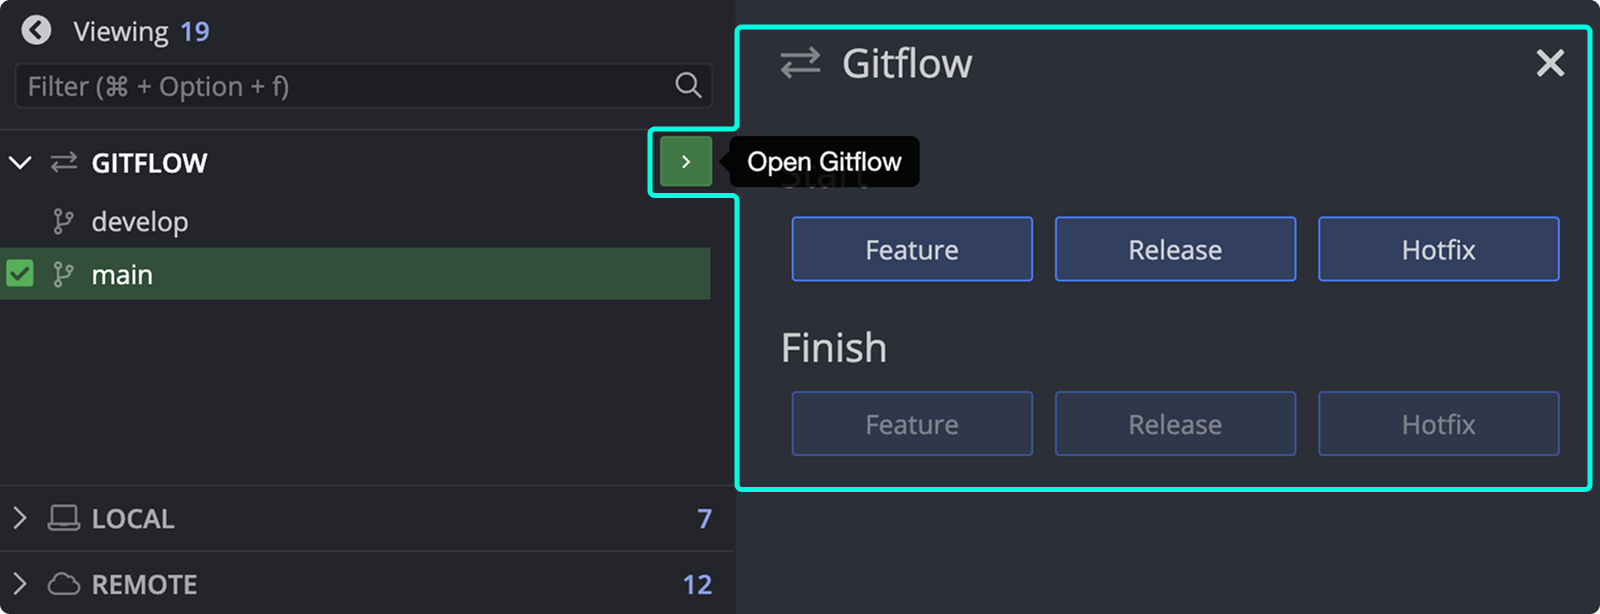 To create a Gitflow branch:
- Click the green button in the Gitflow panel.
- Or name a branch with a Gitflow prefix (e.g.,
To create a Gitflow branch:
- Click the green button in the Gitflow panel.
- Or name a branch with a Gitflow prefix (e.g., 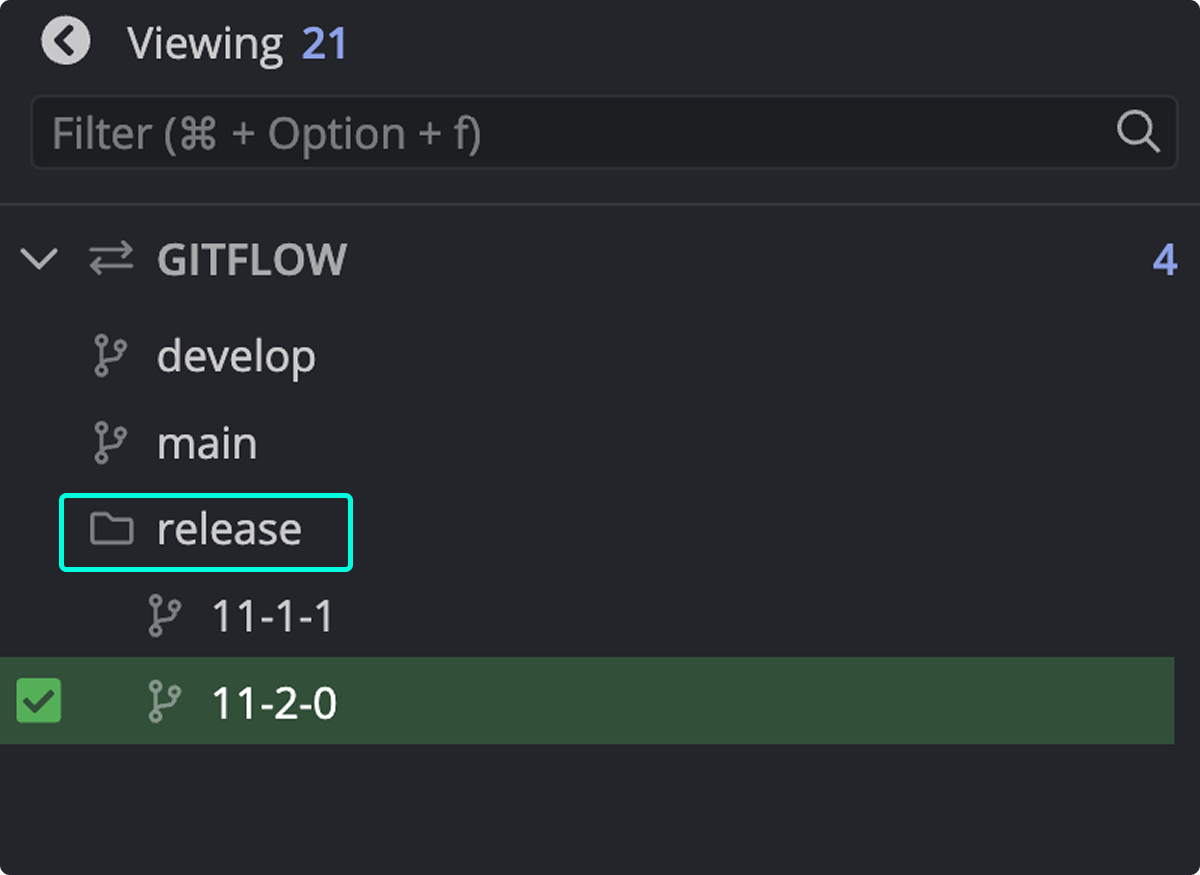
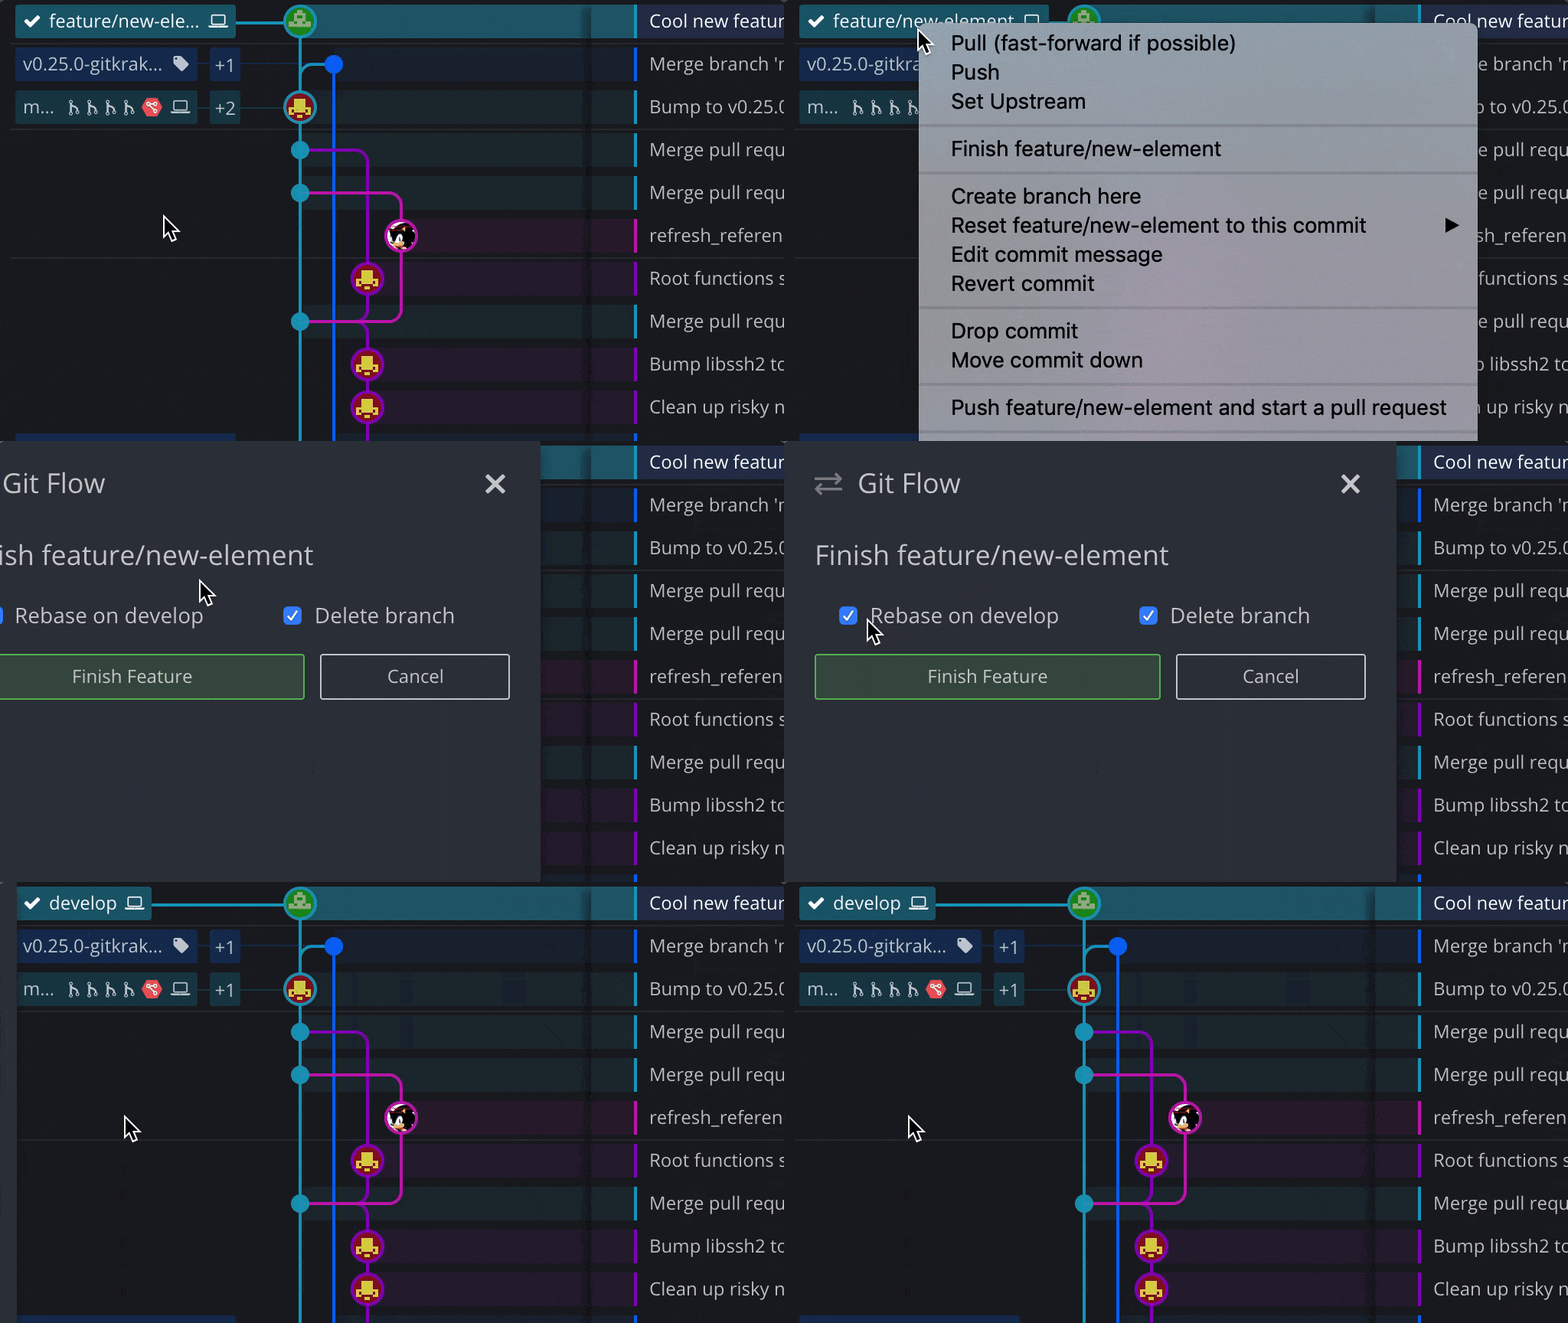 Optionally, rebase the feature branch onto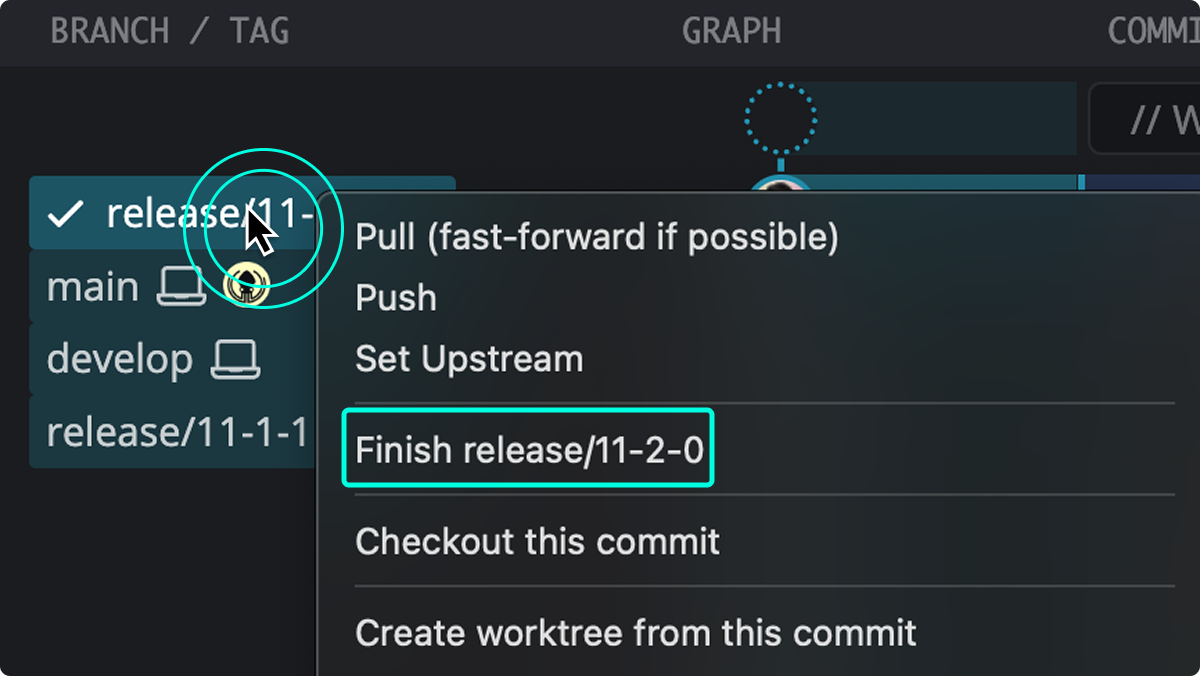
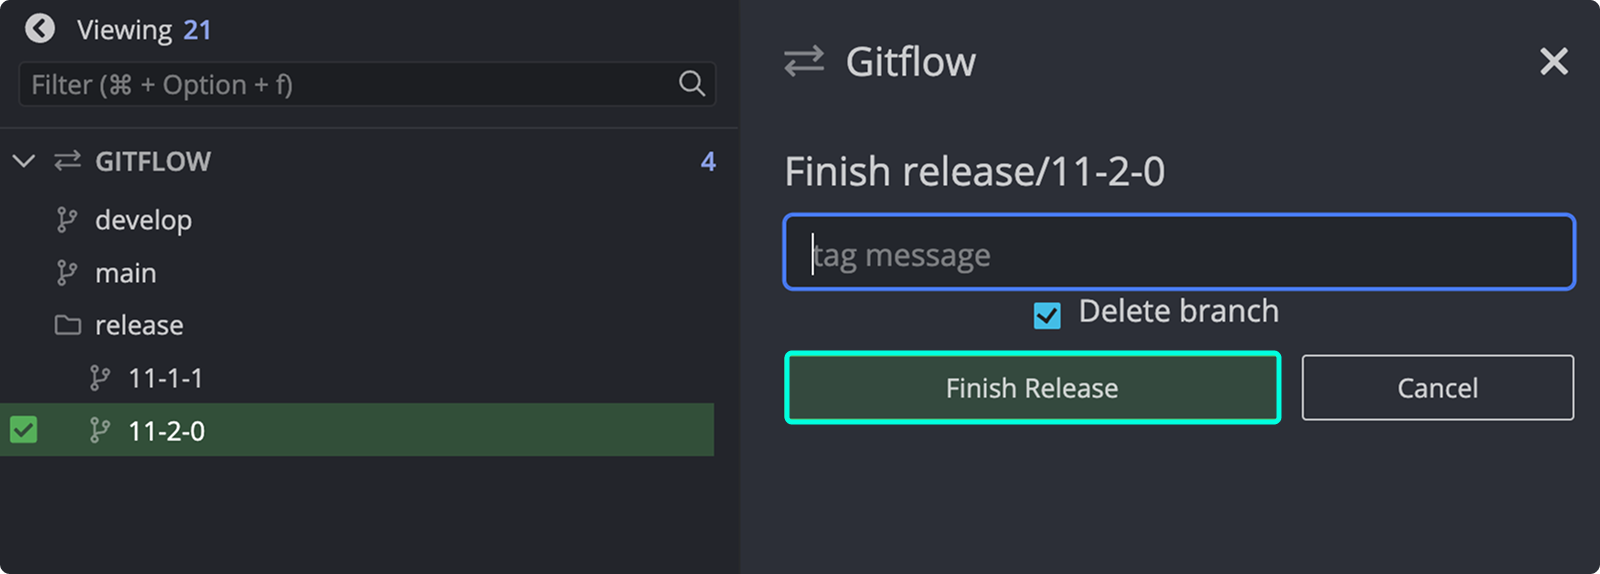 ### How hotfix branches work
Hotfix branches are similar to releases but created from
### How hotfix branches work
Hotfix branches are similar to releases but created from 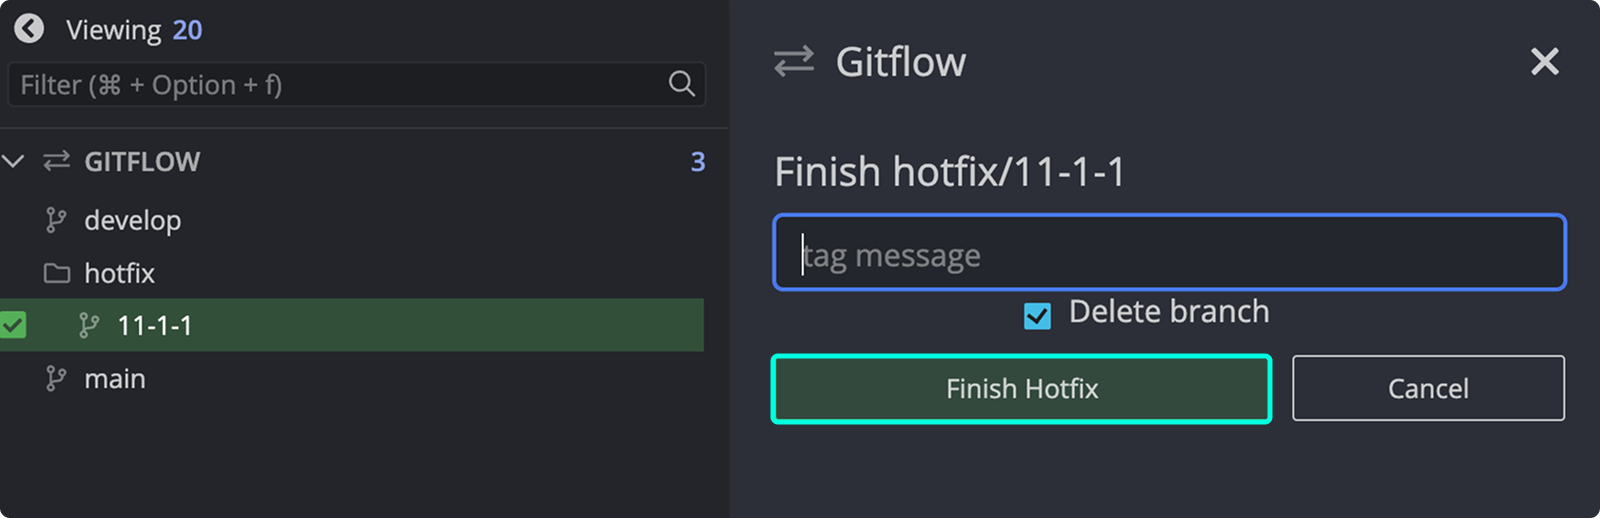 When you finish a hotfix:
- It's merged into both
When you finish a hotfix:
- It's merged into both 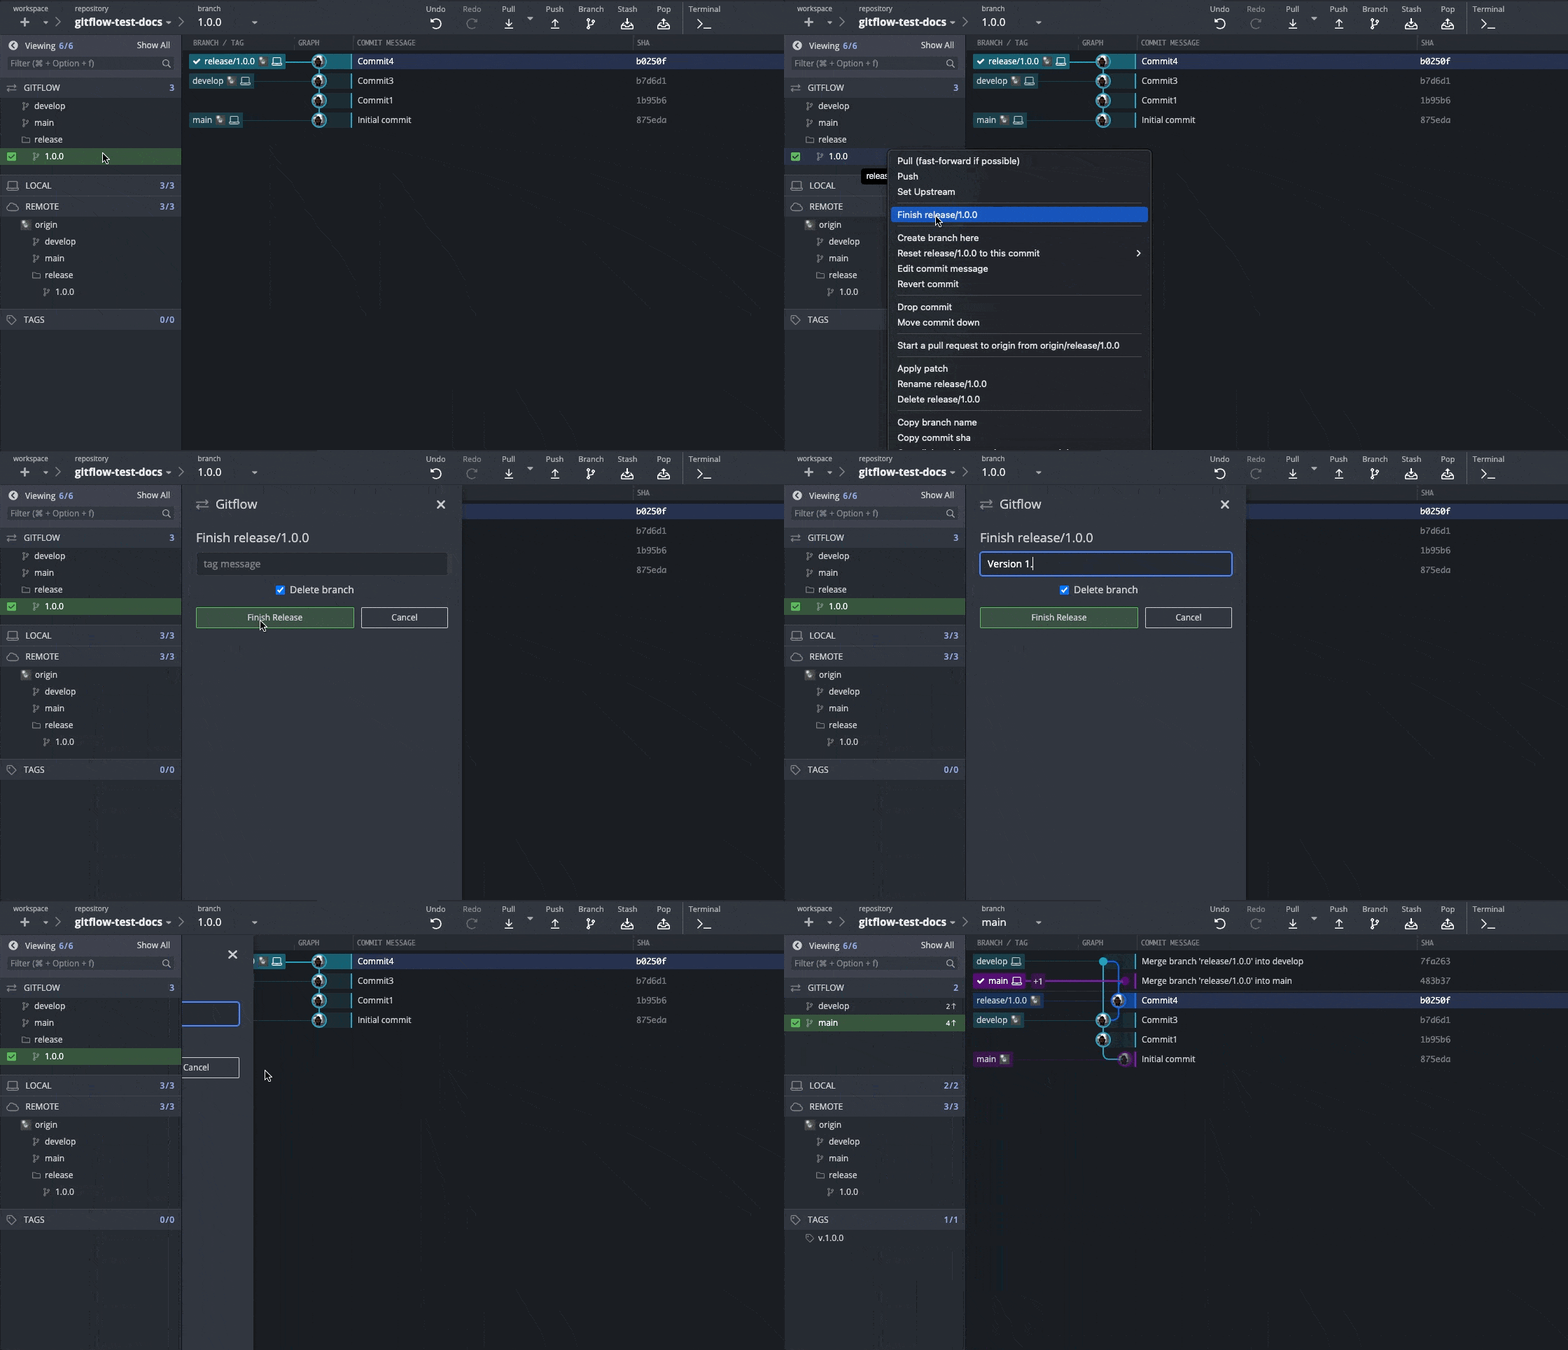
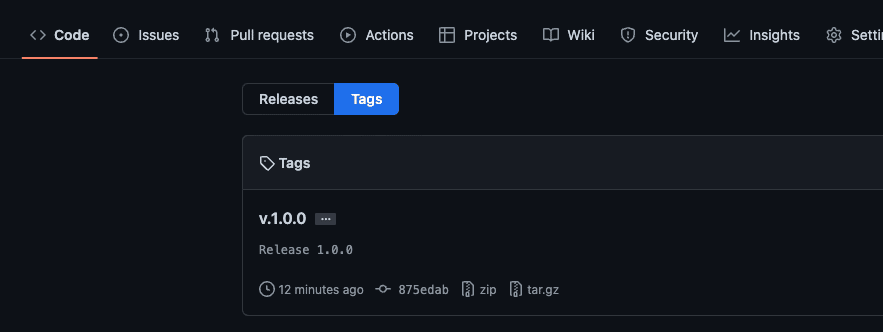 In
In 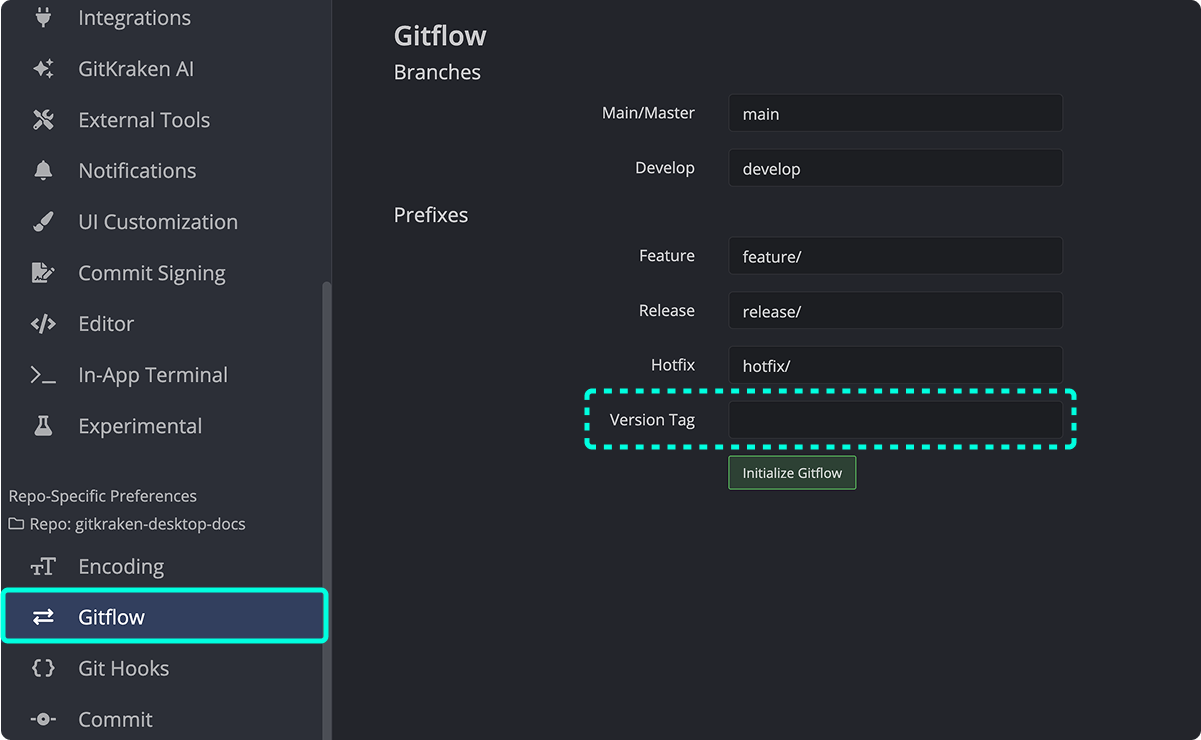 ---
# GitKraken Desktop Profiles | Manage Git Configs & Accounts
URL: https://help.gitkraken.com/gitkraken-desktop/profiles/
Description: Learn how to use GitKraken Desktop profiles to manage Git settings, integrations, avatars, and multiple accounts across different projects. Manage different gitconfig settings, repositories, and more!
Product: GitKraken Desktop
Feature: Profiles
Content type: reference
Audience: developer
Plan required: Pro
Status: GA
Last verified: 2026-03
Last updated: March 2026
***
Use profiles in GitKraken Desktop to keep separate Git identities, integrations, app preferences, and tab sets for different projects or environments. This page explains how to create and switch profiles, what a profile stores, how avatar behavior works, and when a paid GitKraken subscription is required for multiple profiles.
**Requirements and limits**
- Purpose: Separate Git identities, integrations, preferences, and tab sets by work context
- Multiple profiles: Require a paid GitKraken subscription
- Profile data: General, Integrations, and UI Preferences are stored per profile
- Tab behavior: Open tabs are profile-specific; new profiles duplicate tabs from the active profile when created
- Git config option: You can sync profile name and email into the global `.gitconfig`
- Avatar behavior: Connected integrations use provider avatars; otherwise GitKraken Desktop uses the Gravatar tied to the profile email
| Profile data | Stored per profile? | Notes |
|--------------|---------------------|-------|
| General preferences | Yes | Saved separately for each profile |
| Integrations | Yes | Keeps different service accounts isolated |
| UI Preferences | Yes | Theme and other UI settings are profile-specific |
| Open tabs | Yes | New profiles duplicate tabs from the active profile when created |
| Global `.gitconfig` sync | Optional | Can keep profile name and email in sync with Git |
| Avatar | Yes | Uses provider avatar when connected, otherwise Gravatar from the profile email |
***
## Quick Start
**To create a profile:**
1. Click the profile icon in the top-right corner.
2. Select **Manage Profiles**, then click the option to add a new profile.
3. Enter a profile name, author name, and email address.
**To switch profiles:**
- Click the profile icon and select the profile you want to use.
**What each profile stores:**
- Preferences from General, Integrations, and UI Preferences
- Open tabs (duplicated from the active profile when a new profile is created)
- Integration connections (for example, connect one profile to a personal GitHub account and another to a work account)
**To sync your profile email with Git's global config:** Enable the option "Keep my .gitconfig updated with my profile info" in Preferences > Profiles.
Multiple profiles require a paid GitKraken subscription. Profiles are accessible from Preferences > Profiles.
---
# GitKraken Desktop Profiles | Manage Git Configs & Accounts
URL: https://help.gitkraken.com/gitkraken-desktop/profiles/
Description: Learn how to use GitKraken Desktop profiles to manage Git settings, integrations, avatars, and multiple accounts across different projects. Manage different gitconfig settings, repositories, and more!
Product: GitKraken Desktop
Feature: Profiles
Content type: reference
Audience: developer
Plan required: Pro
Status: GA
Last verified: 2026-03
Last updated: March 2026
***
Use profiles in GitKraken Desktop to keep separate Git identities, integrations, app preferences, and tab sets for different projects or environments. This page explains how to create and switch profiles, what a profile stores, how avatar behavior works, and when a paid GitKraken subscription is required for multiple profiles.
**Requirements and limits**
- Purpose: Separate Git identities, integrations, preferences, and tab sets by work context
- Multiple profiles: Require a paid GitKraken subscription
- Profile data: General, Integrations, and UI Preferences are stored per profile
- Tab behavior: Open tabs are profile-specific; new profiles duplicate tabs from the active profile when created
- Git config option: You can sync profile name and email into the global `.gitconfig`
- Avatar behavior: Connected integrations use provider avatars; otherwise GitKraken Desktop uses the Gravatar tied to the profile email
| Profile data | Stored per profile? | Notes |
|--------------|---------------------|-------|
| General preferences | Yes | Saved separately for each profile |
| Integrations | Yes | Keeps different service accounts isolated |
| UI Preferences | Yes | Theme and other UI settings are profile-specific |
| Open tabs | Yes | New profiles duplicate tabs from the active profile when created |
| Global `.gitconfig` sync | Optional | Can keep profile name and email in sync with Git |
| Avatar | Yes | Uses provider avatar when connected, otherwise Gravatar from the profile email |
***
## Quick Start
**To create a profile:**
1. Click the profile icon in the top-right corner.
2. Select **Manage Profiles**, then click the option to add a new profile.
3. Enter a profile name, author name, and email address.
**To switch profiles:**
- Click the profile icon and select the profile you want to use.
**What each profile stores:**
- Preferences from General, Integrations, and UI Preferences
- Open tabs (duplicated from the active profile when a new profile is created)
- Integration connections (for example, connect one profile to a personal GitHub account and another to a work account)
**To sync your profile email with Git's global config:** Enable the option "Keep my .gitconfig updated with my profile info" in Preferences > Profiles.
Multiple profiles require a paid GitKraken subscription. Profiles are accessible from Preferences > Profiles.
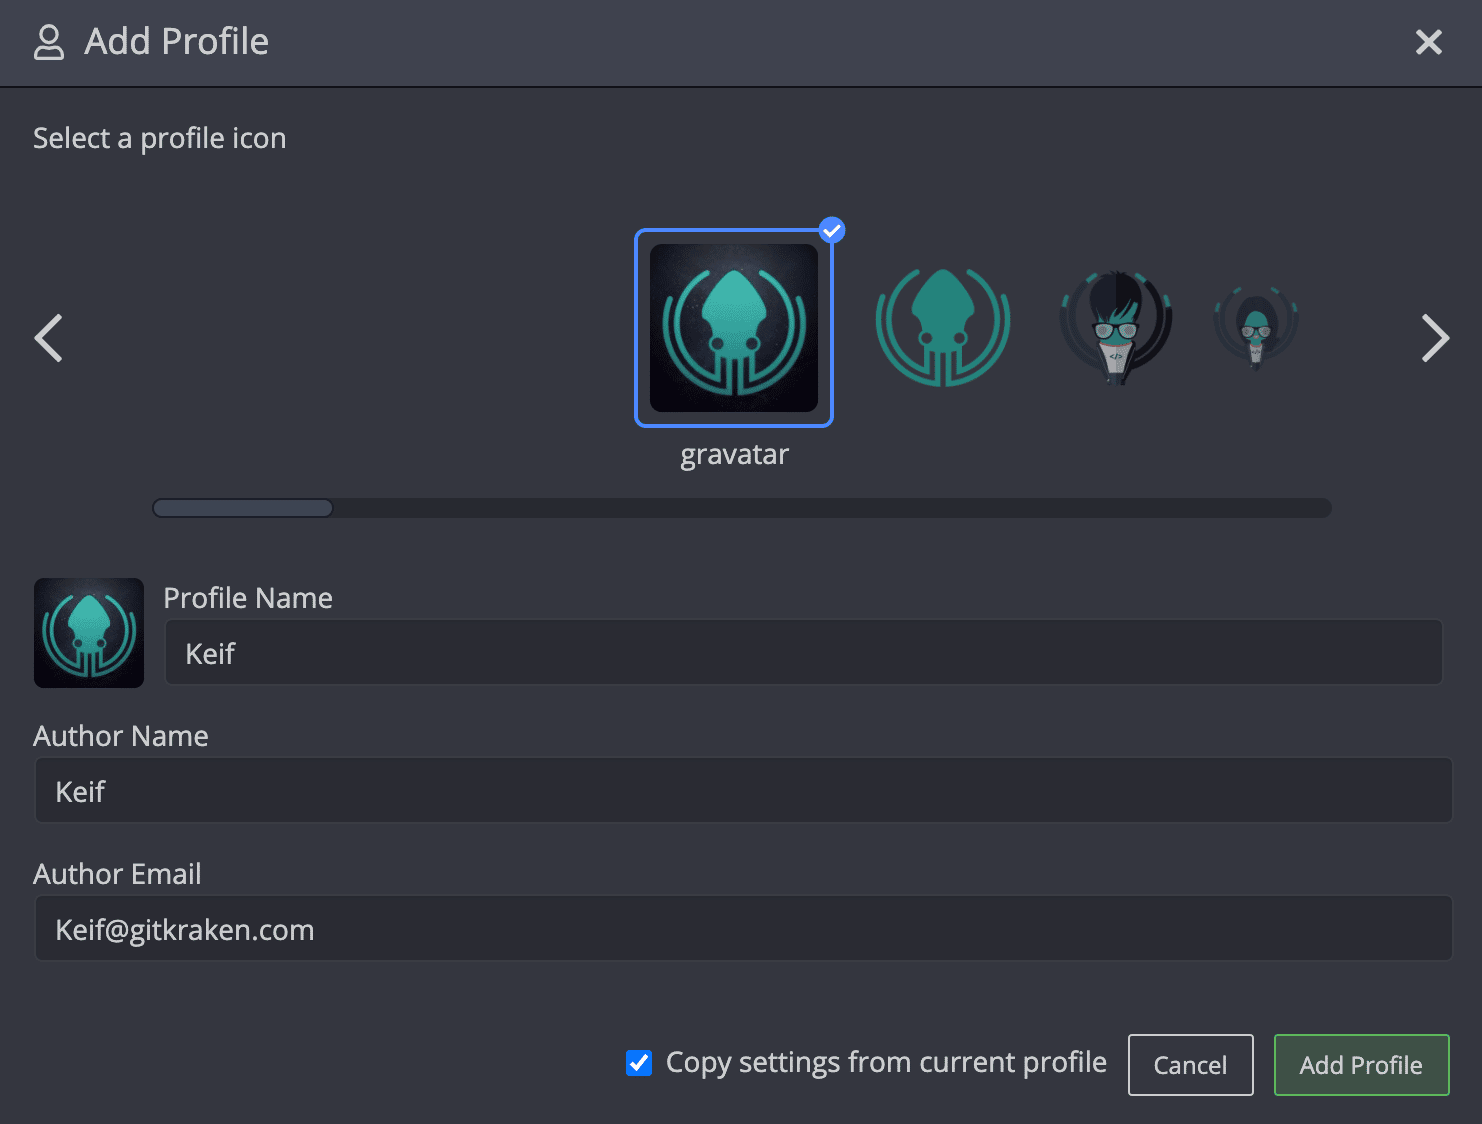
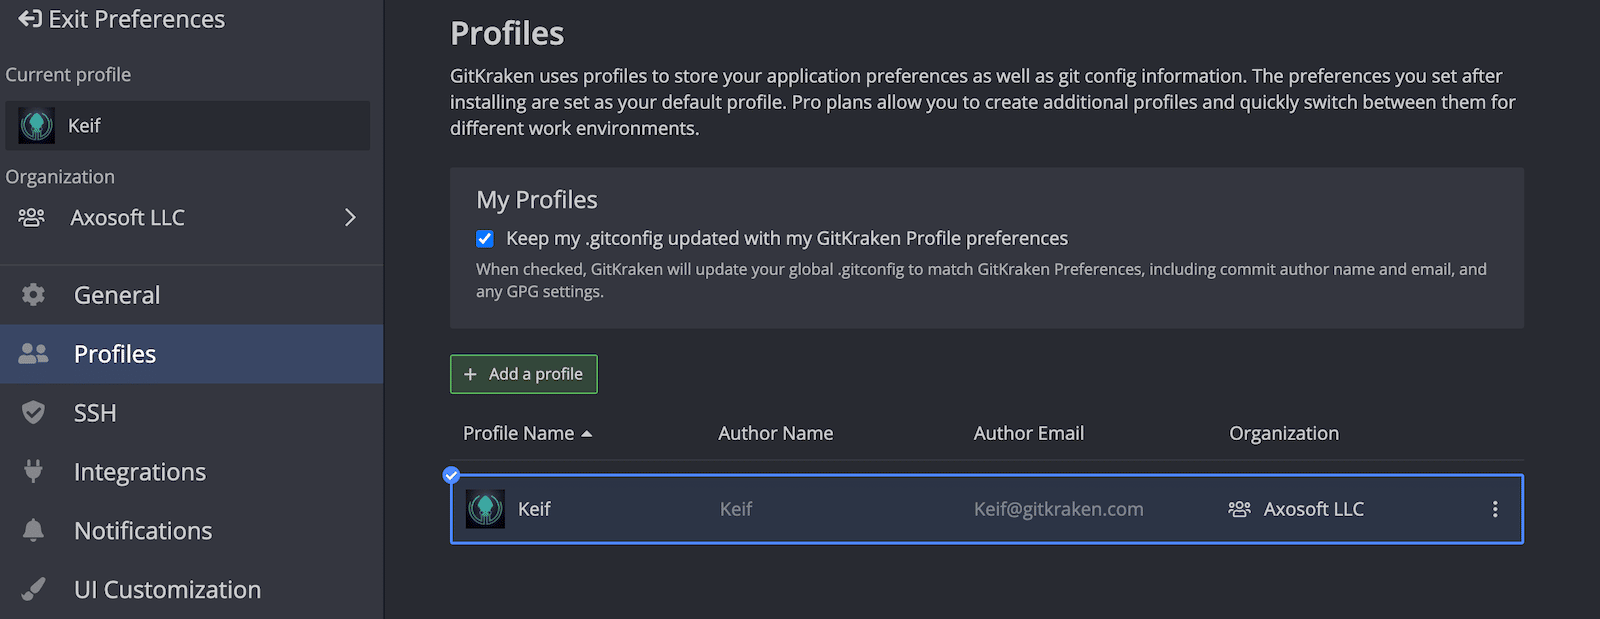
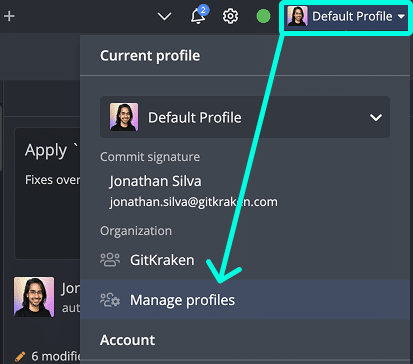
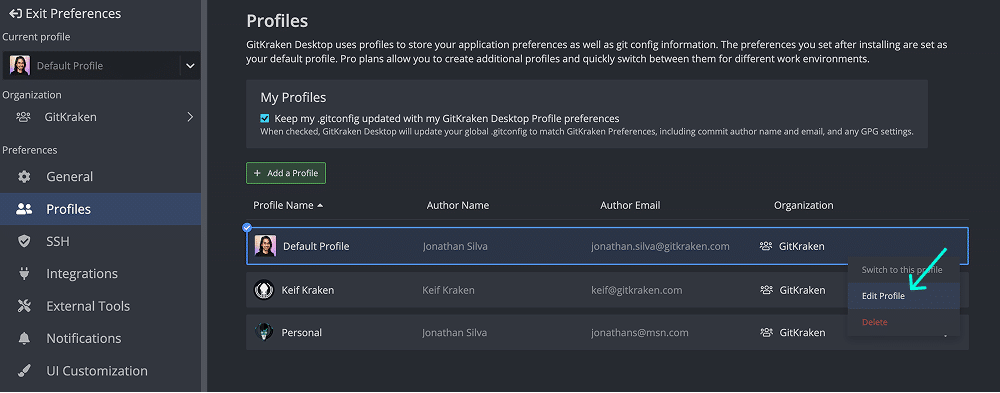
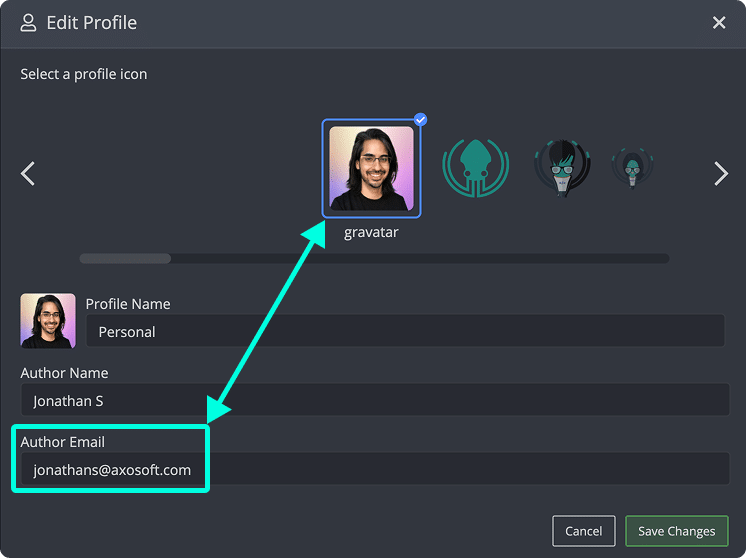
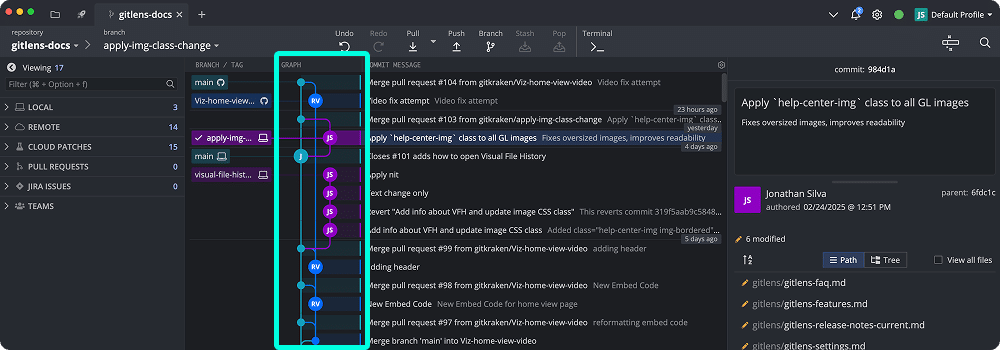
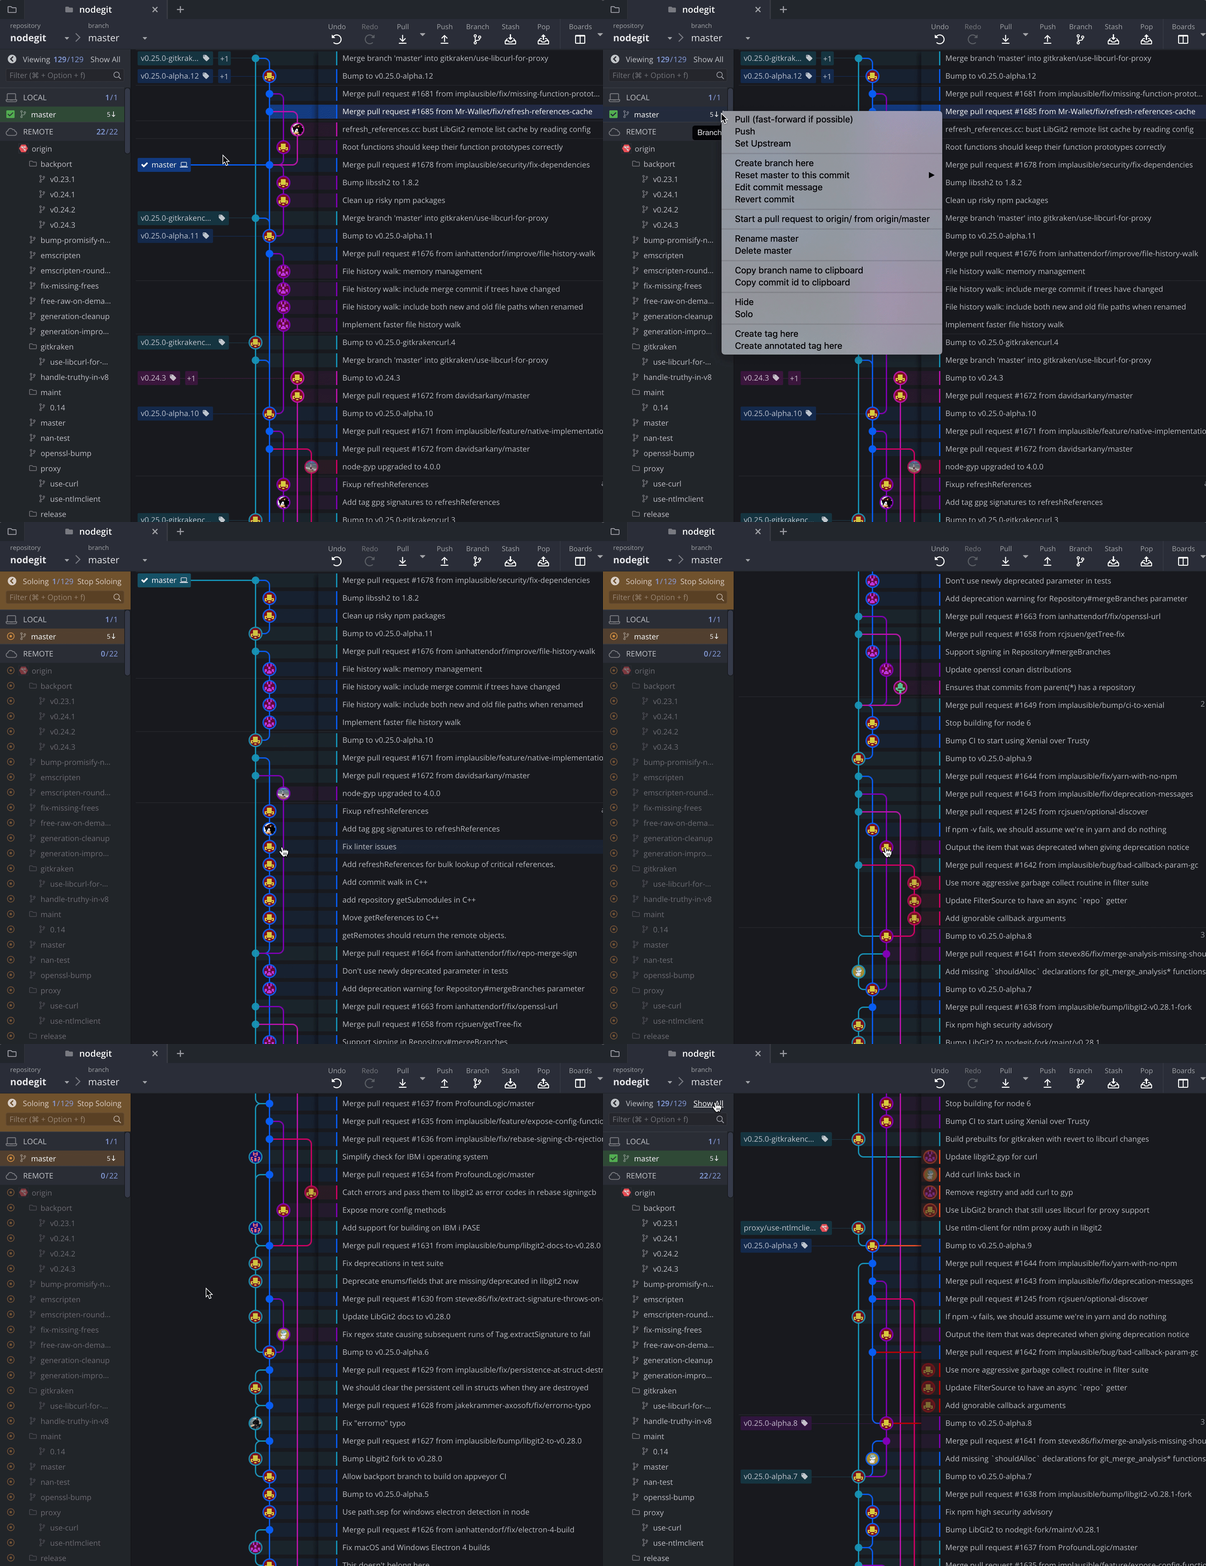
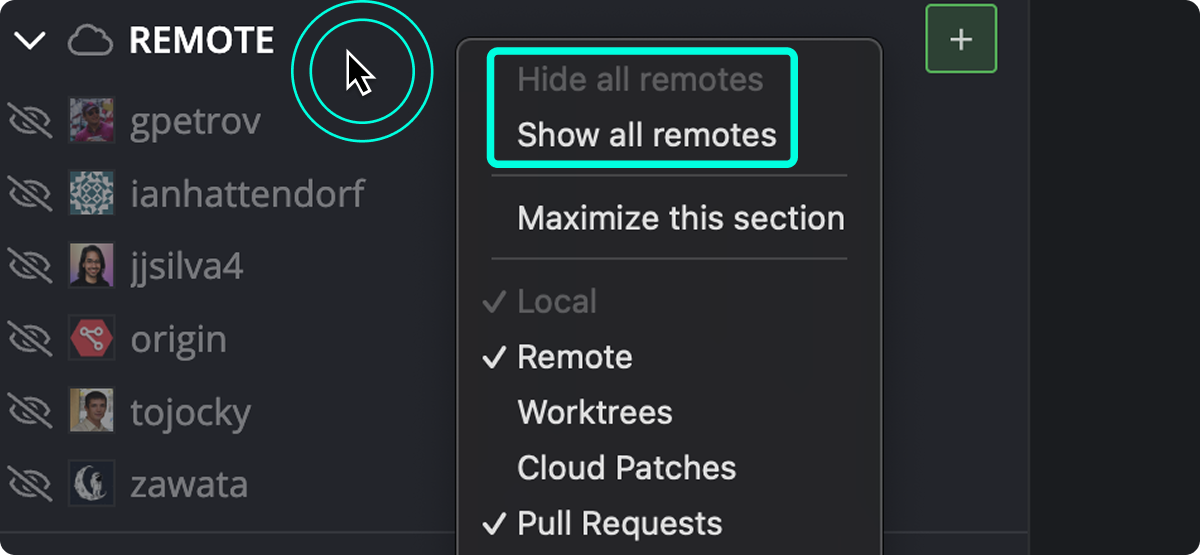
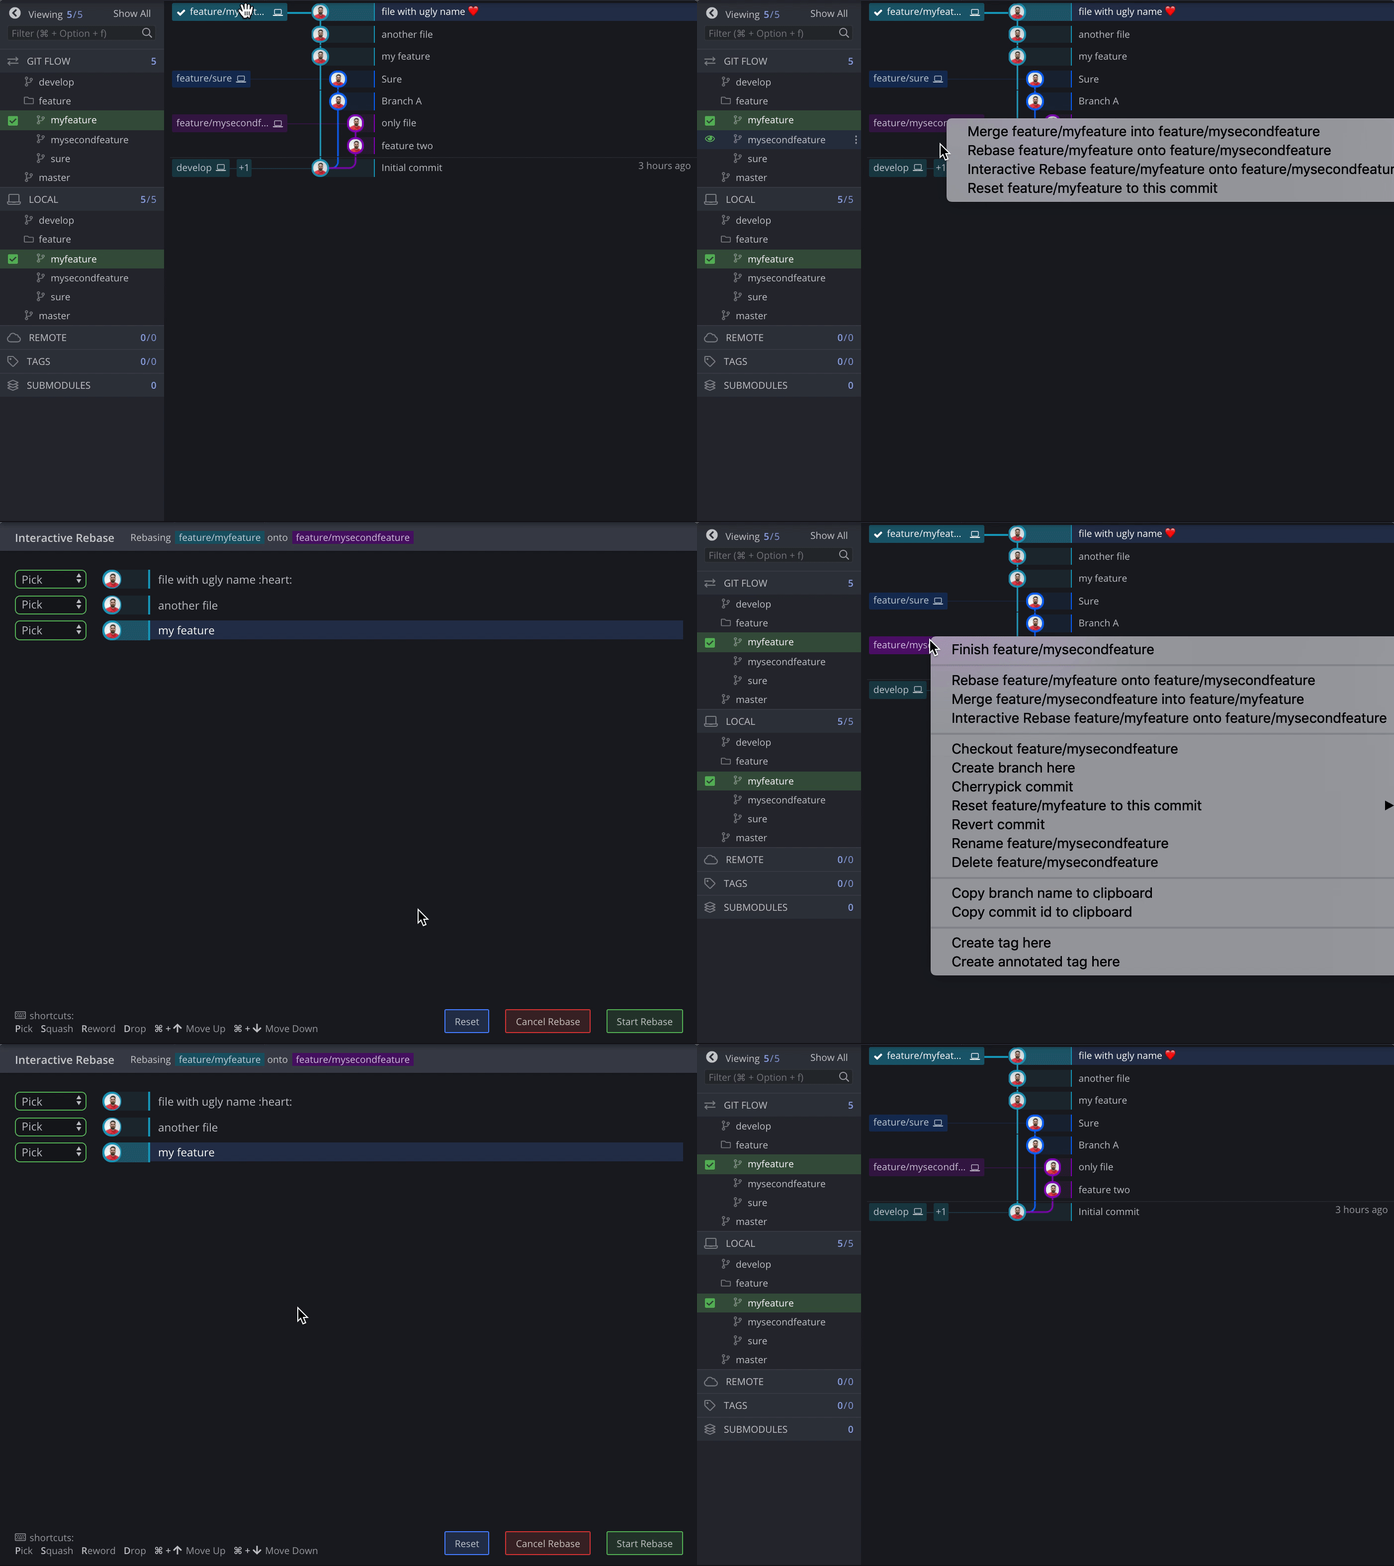
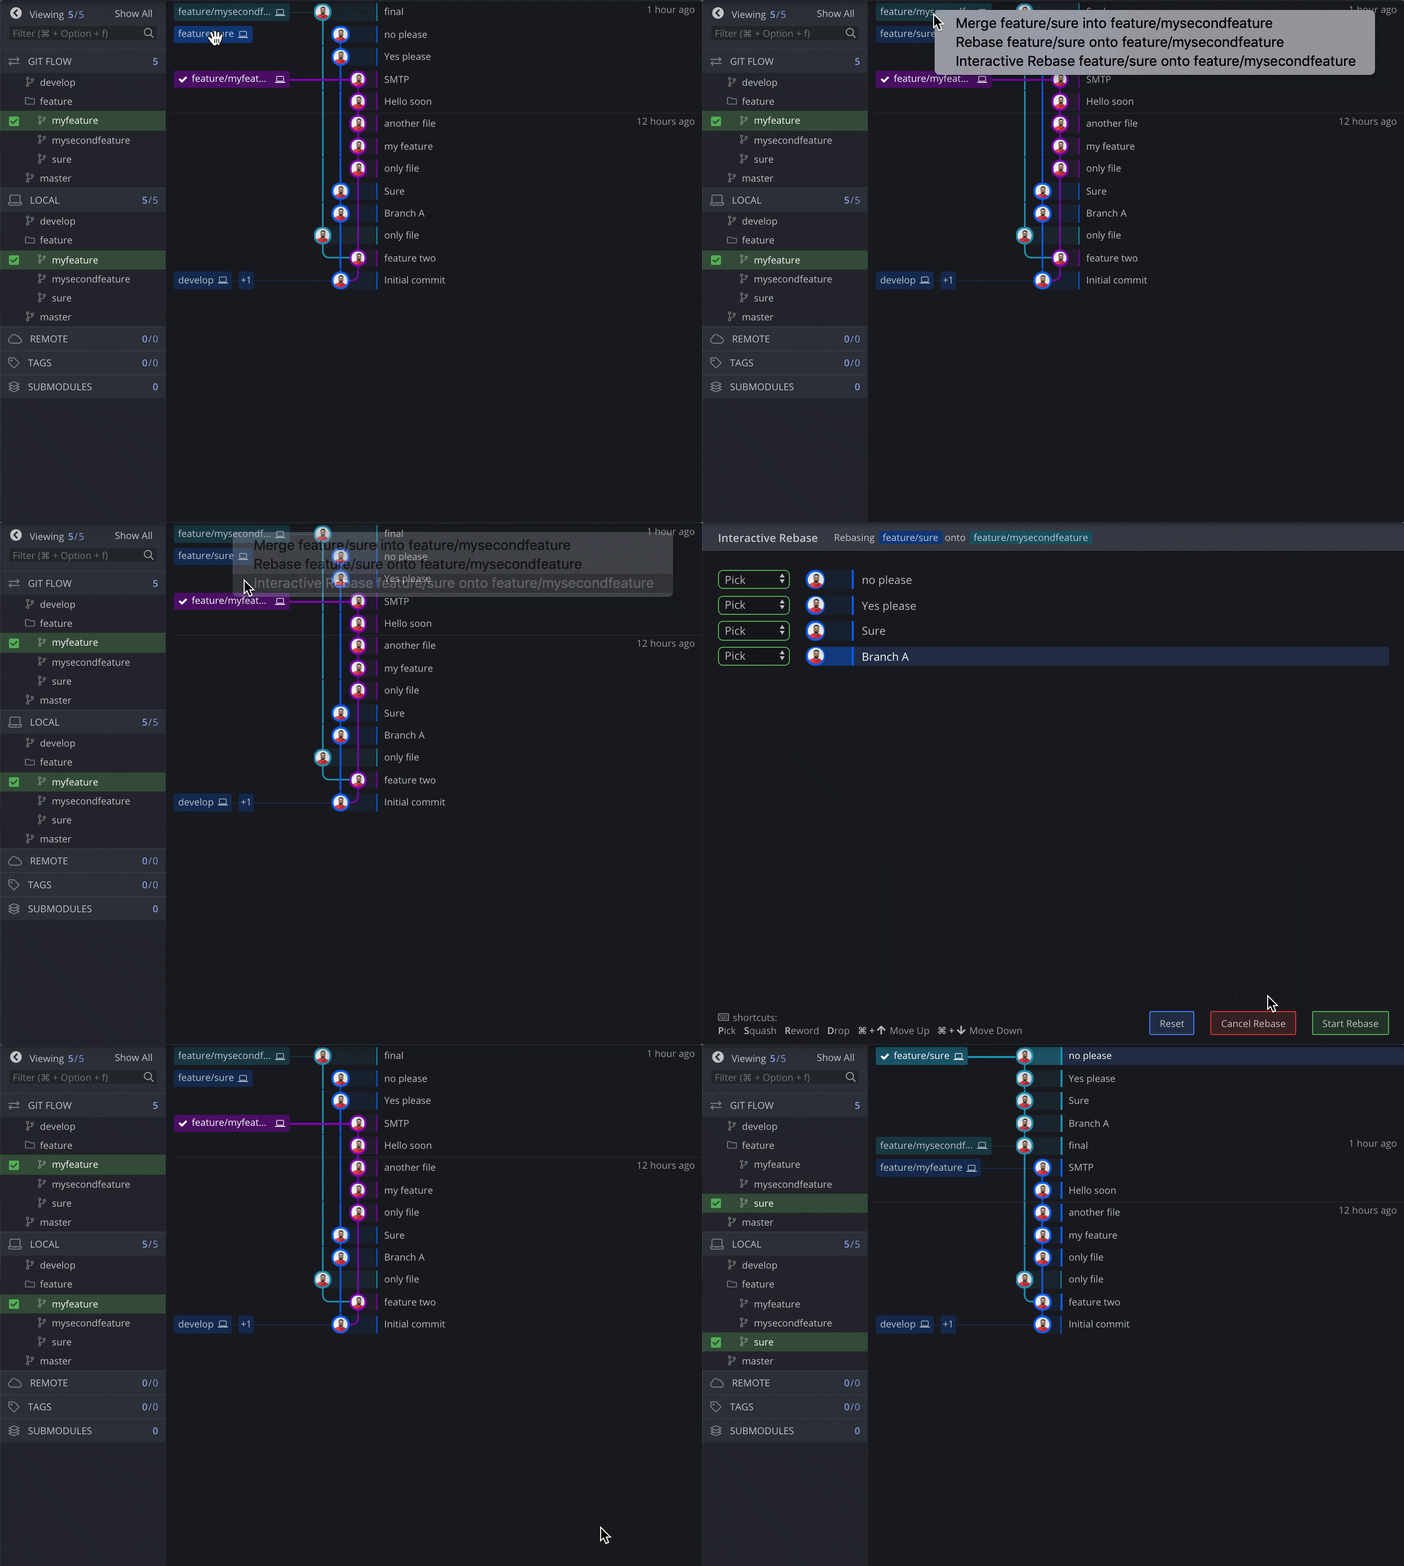
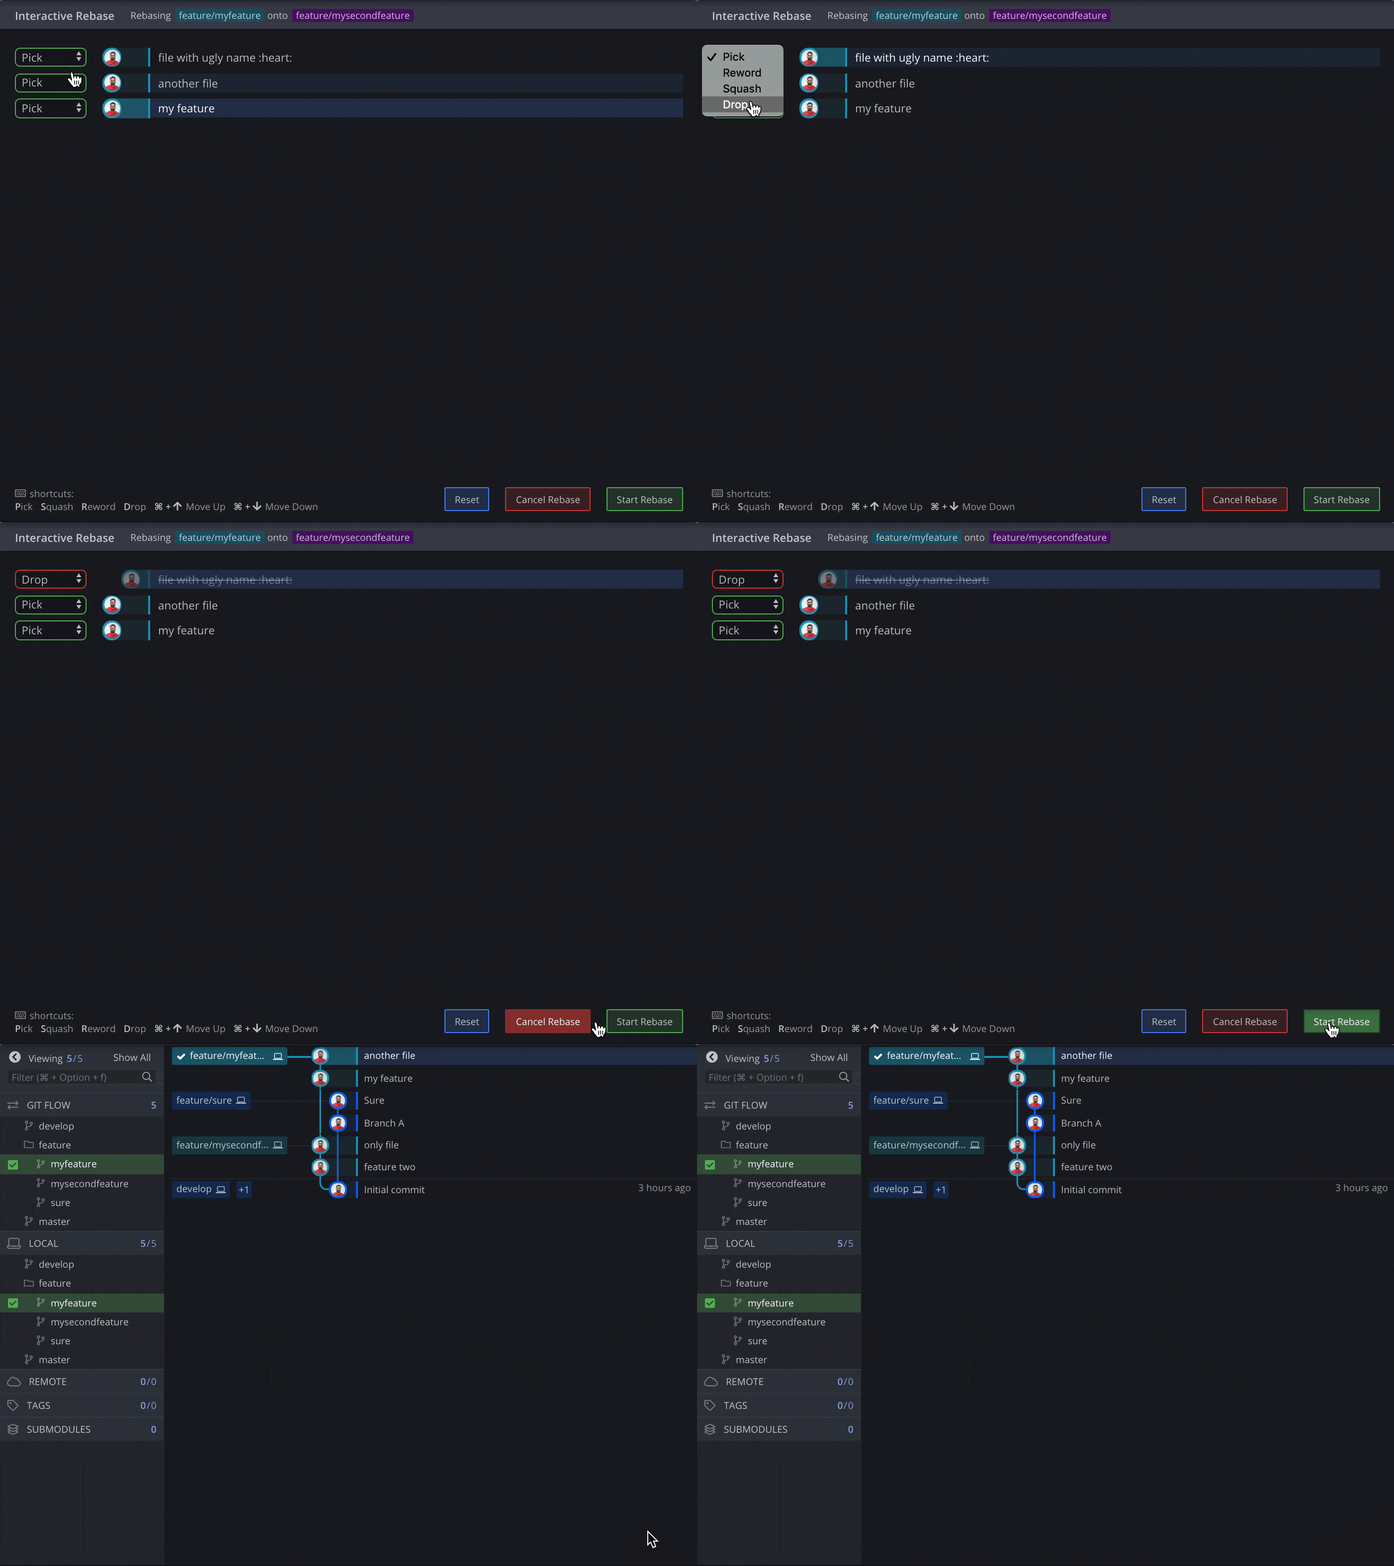
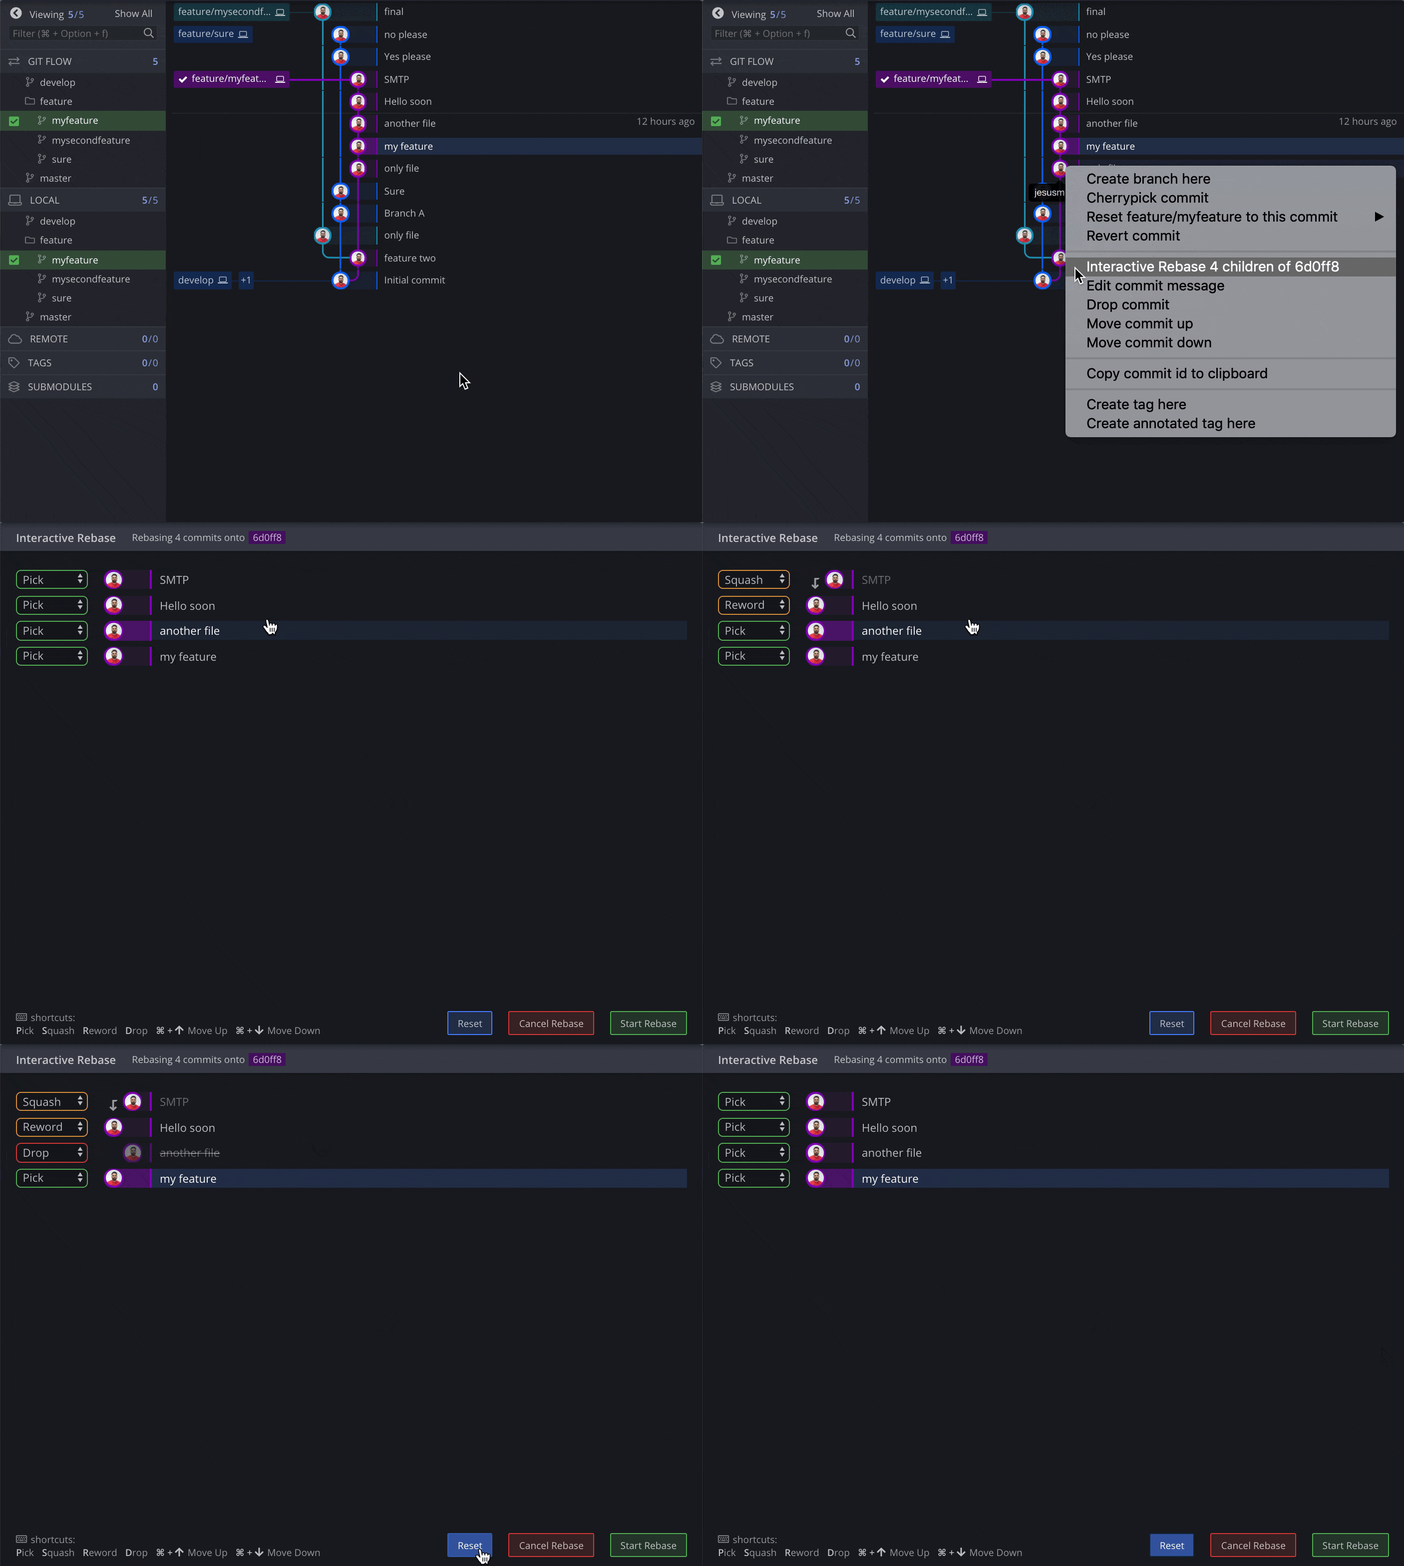
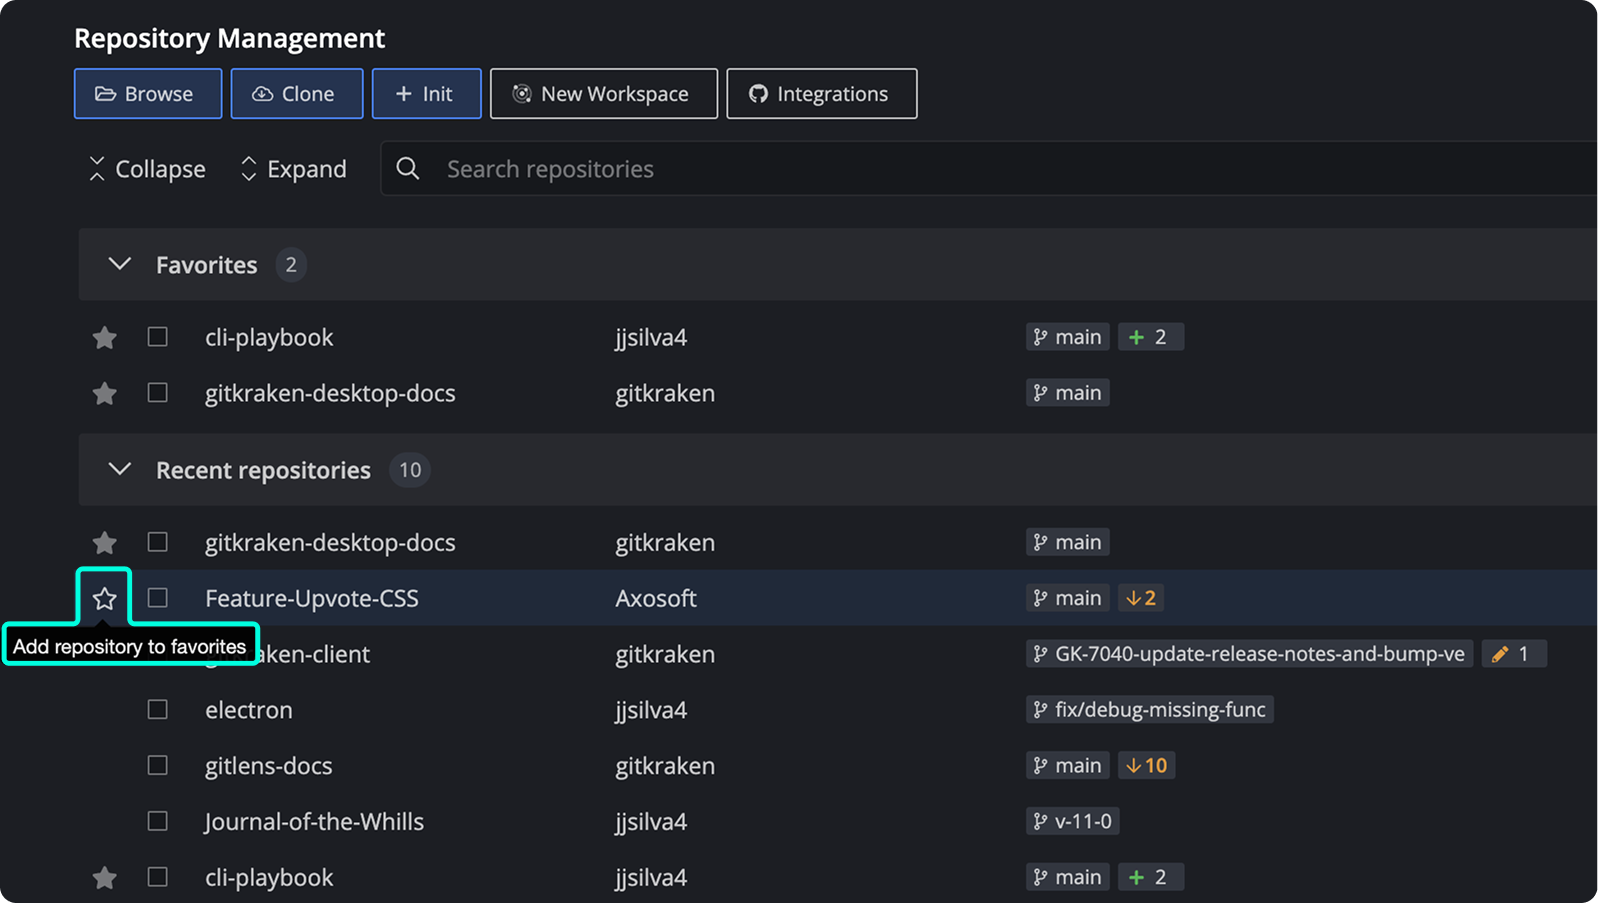
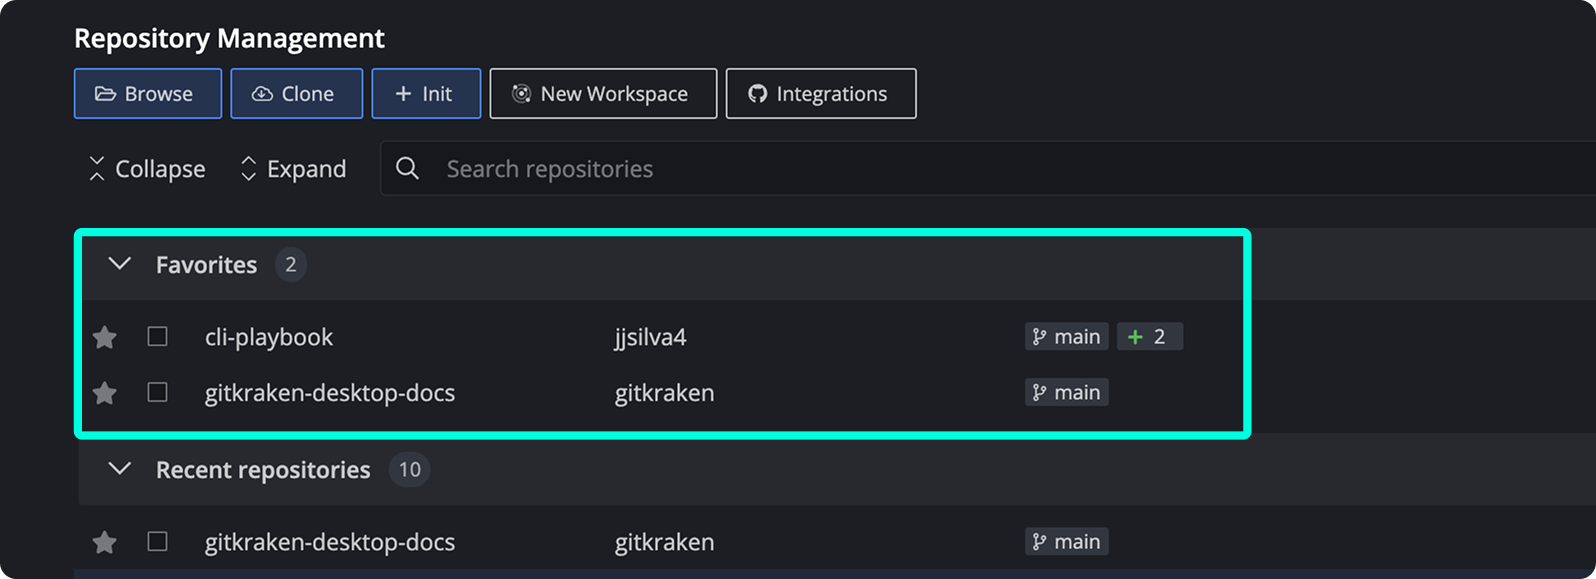
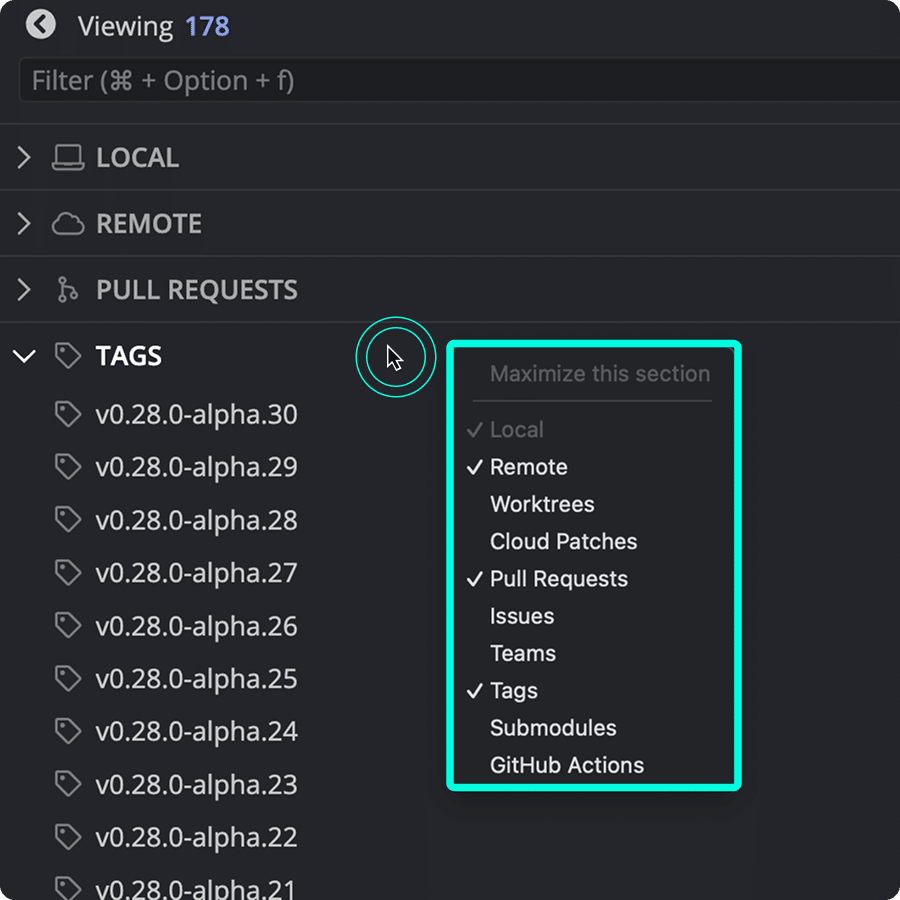
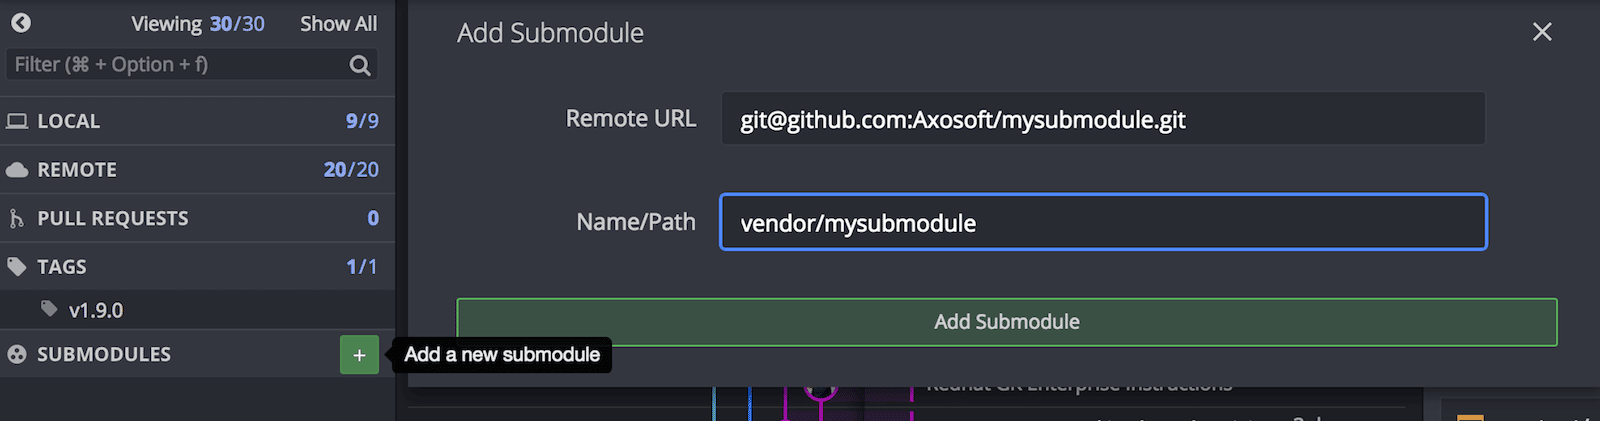
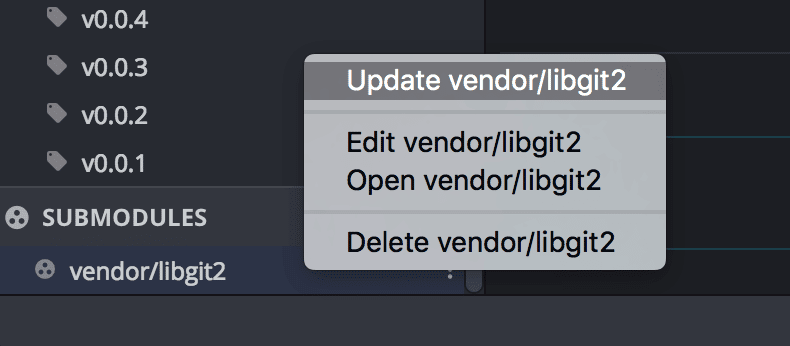
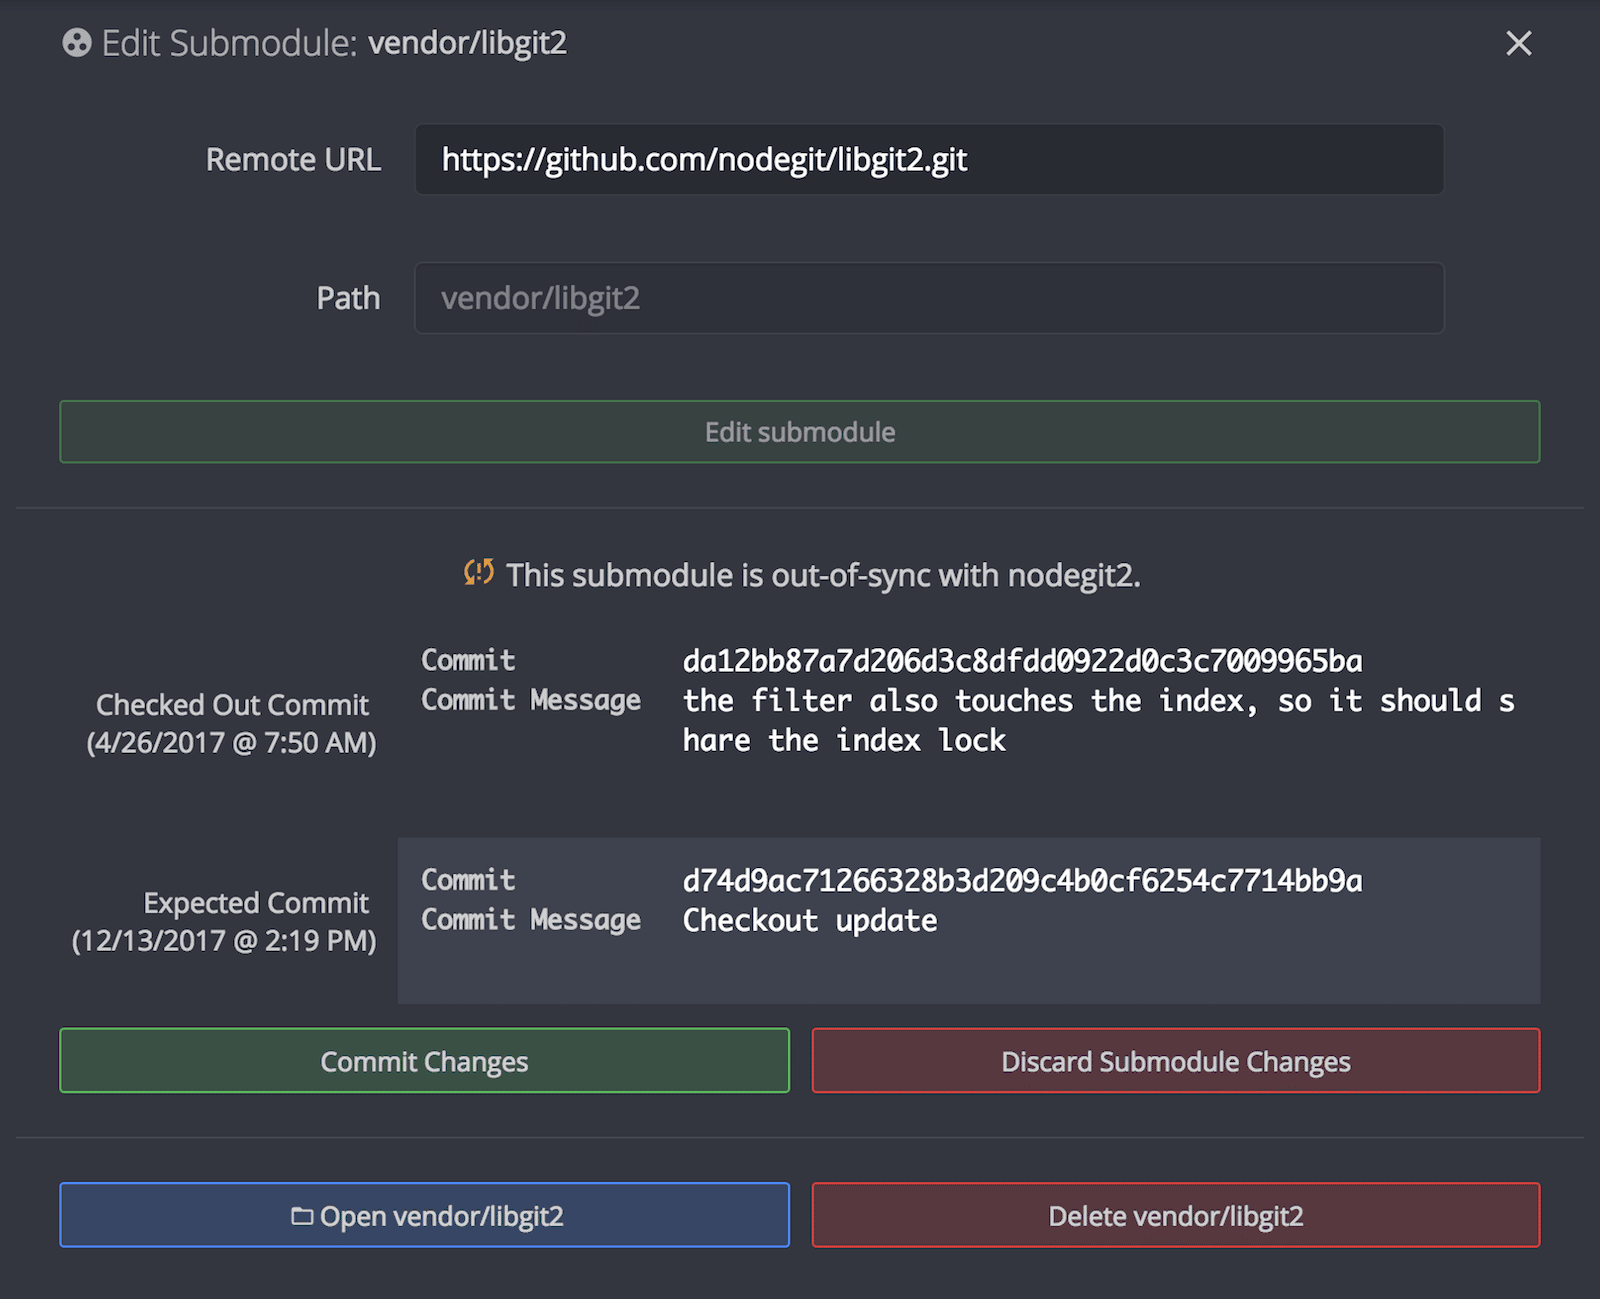
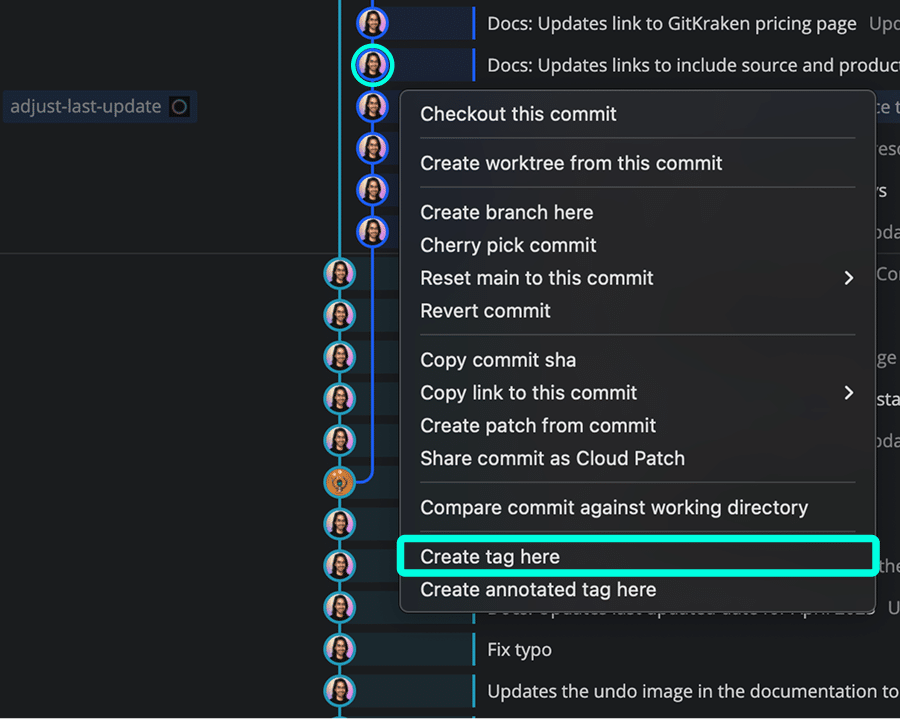
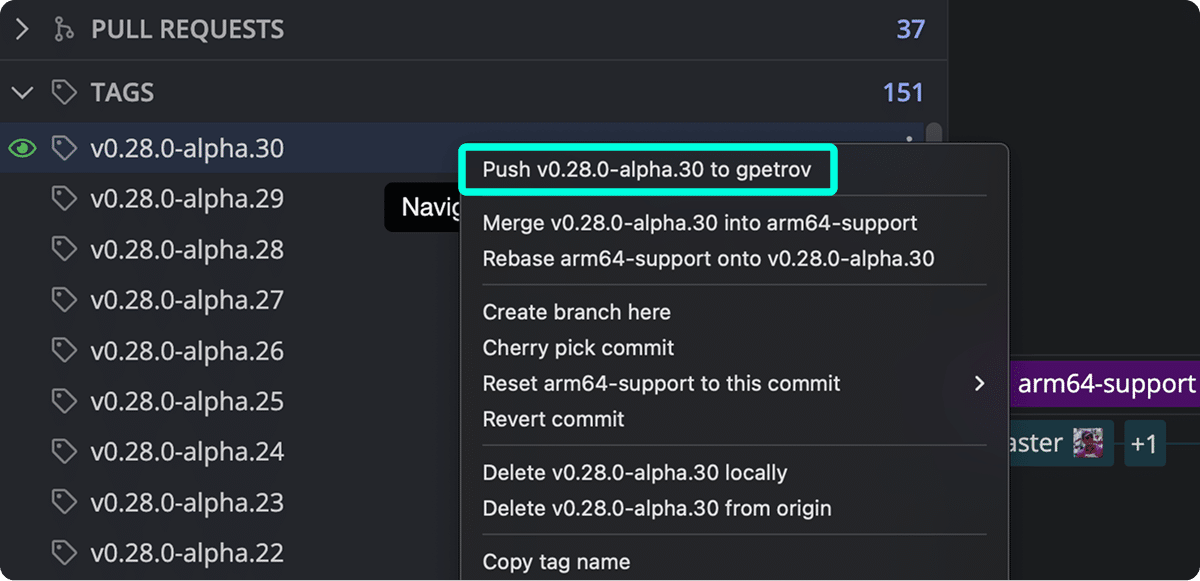
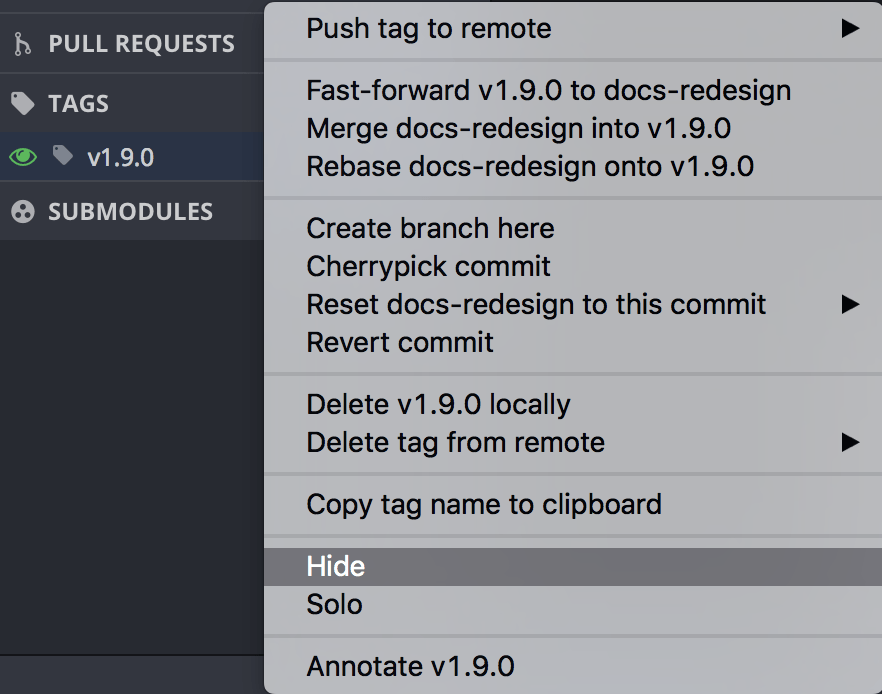
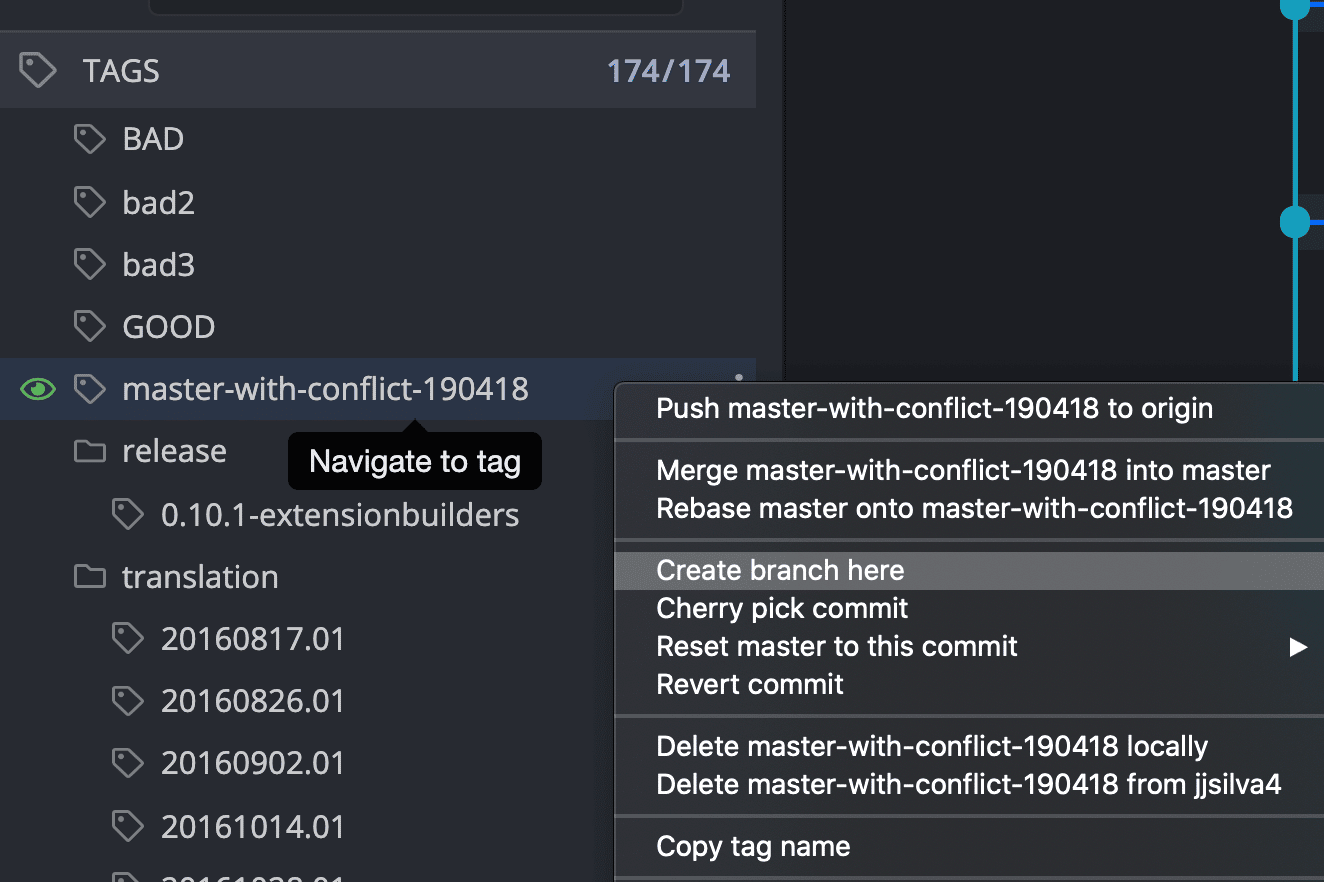
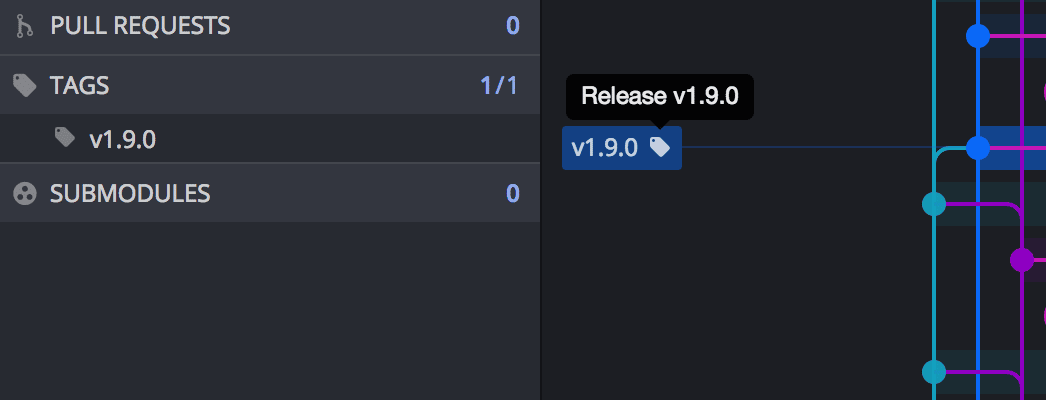
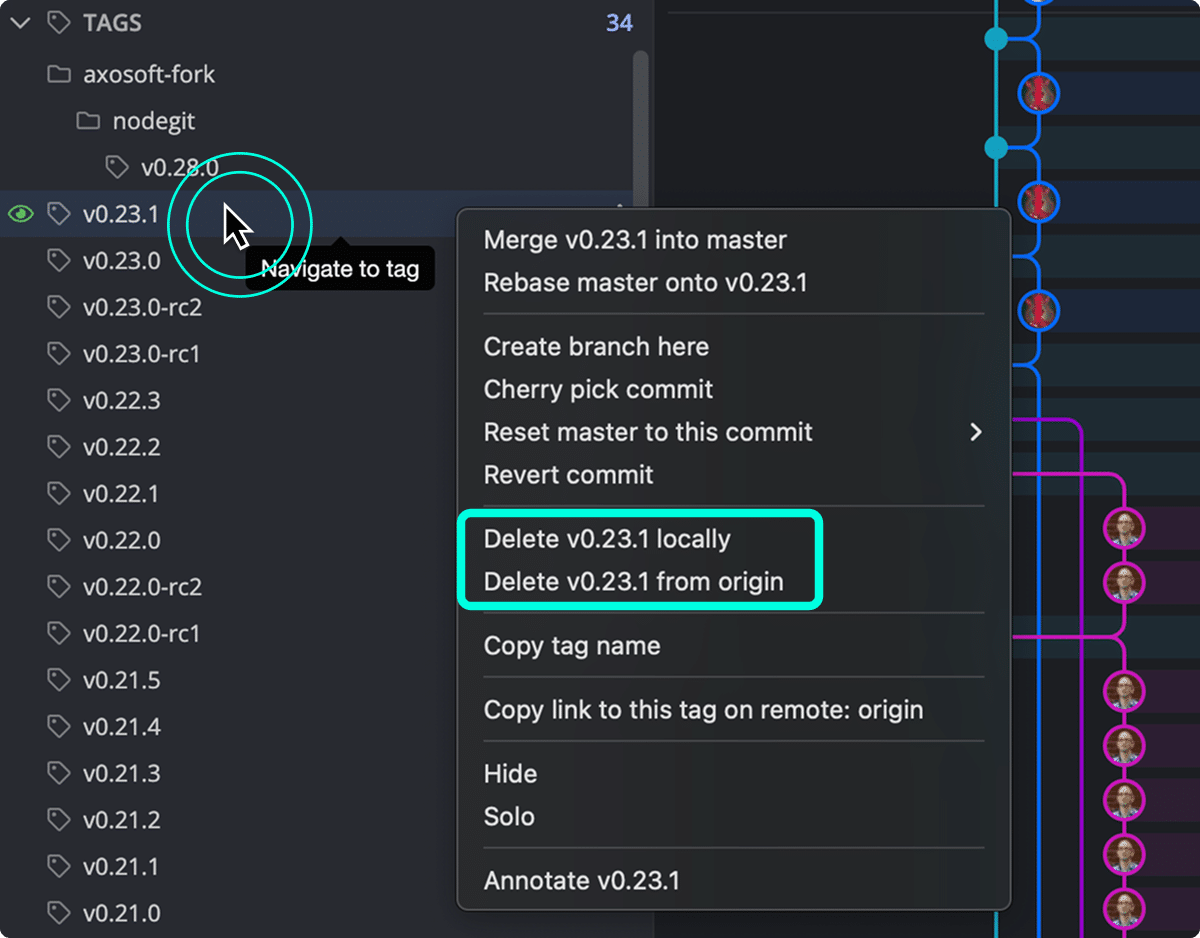
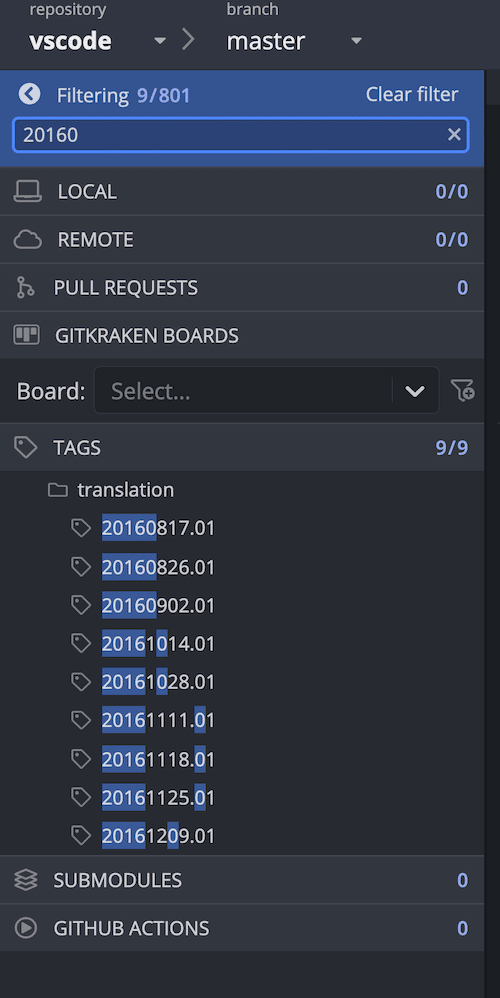
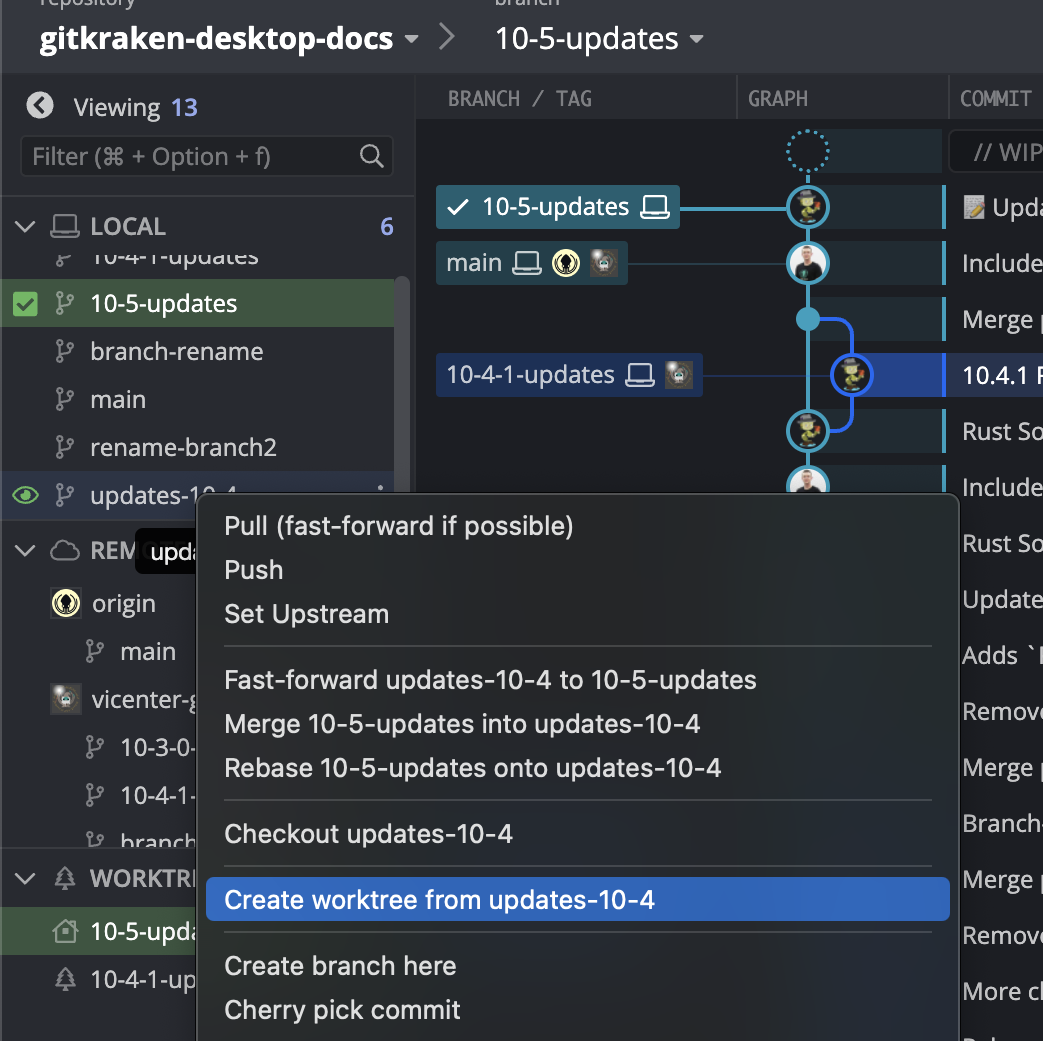
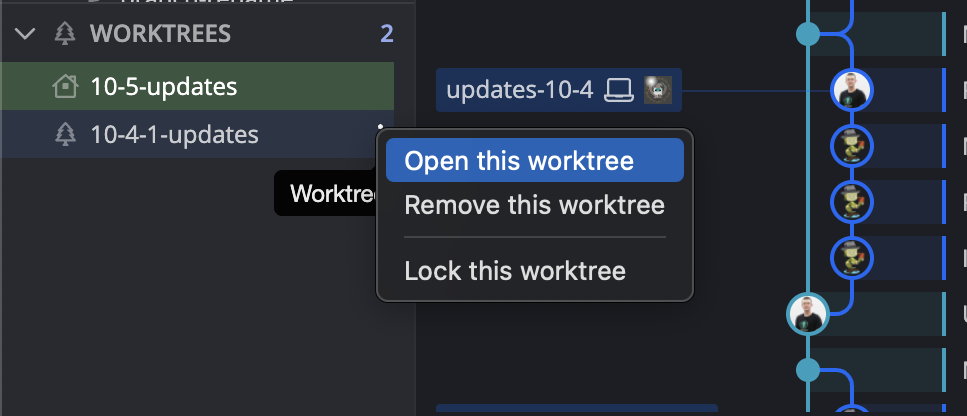
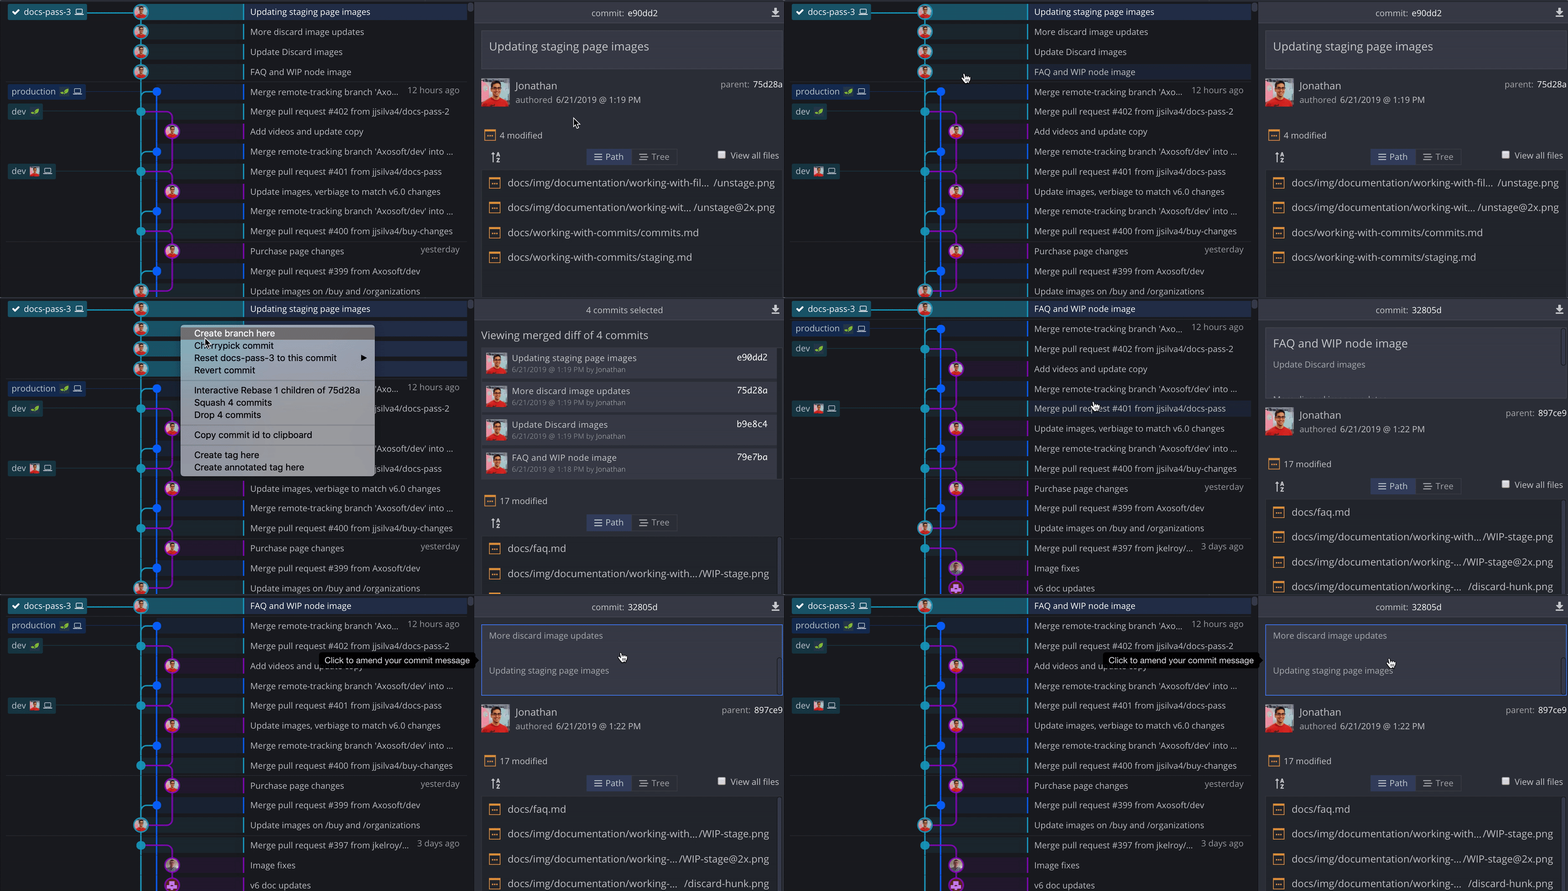
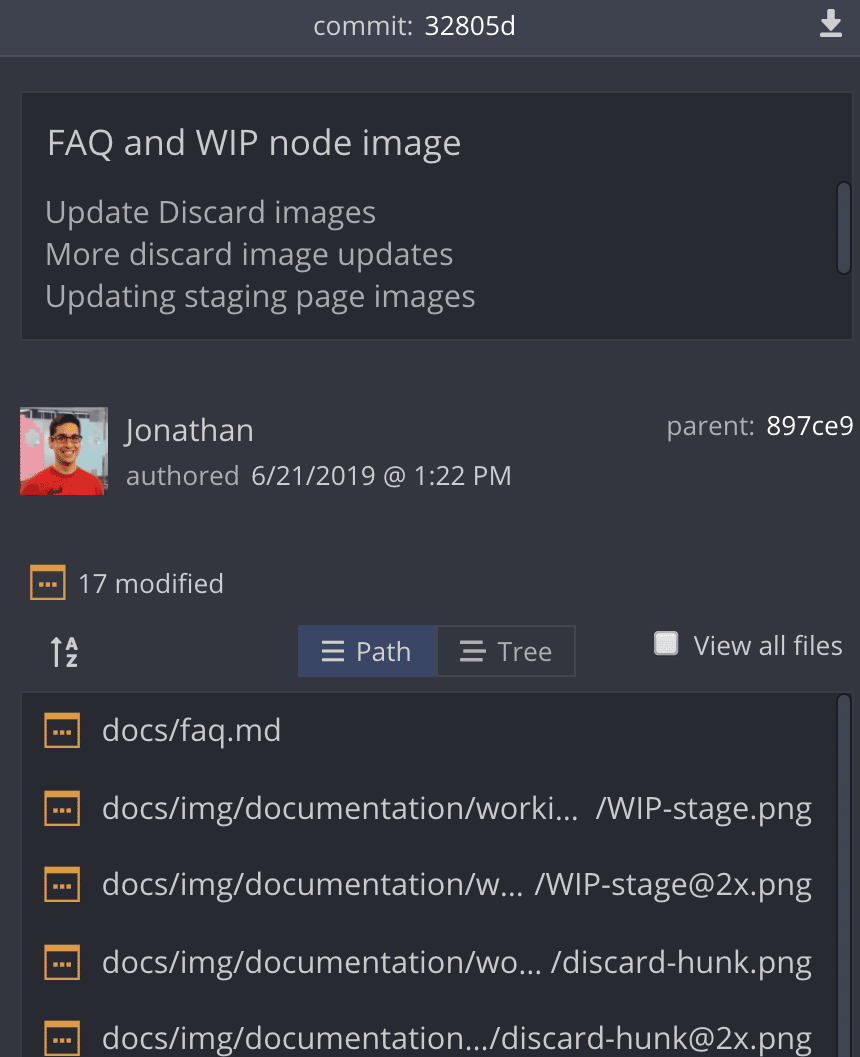
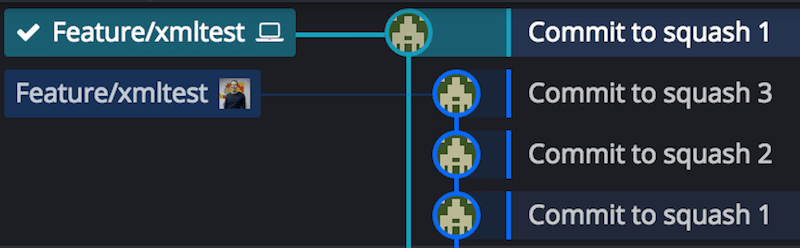


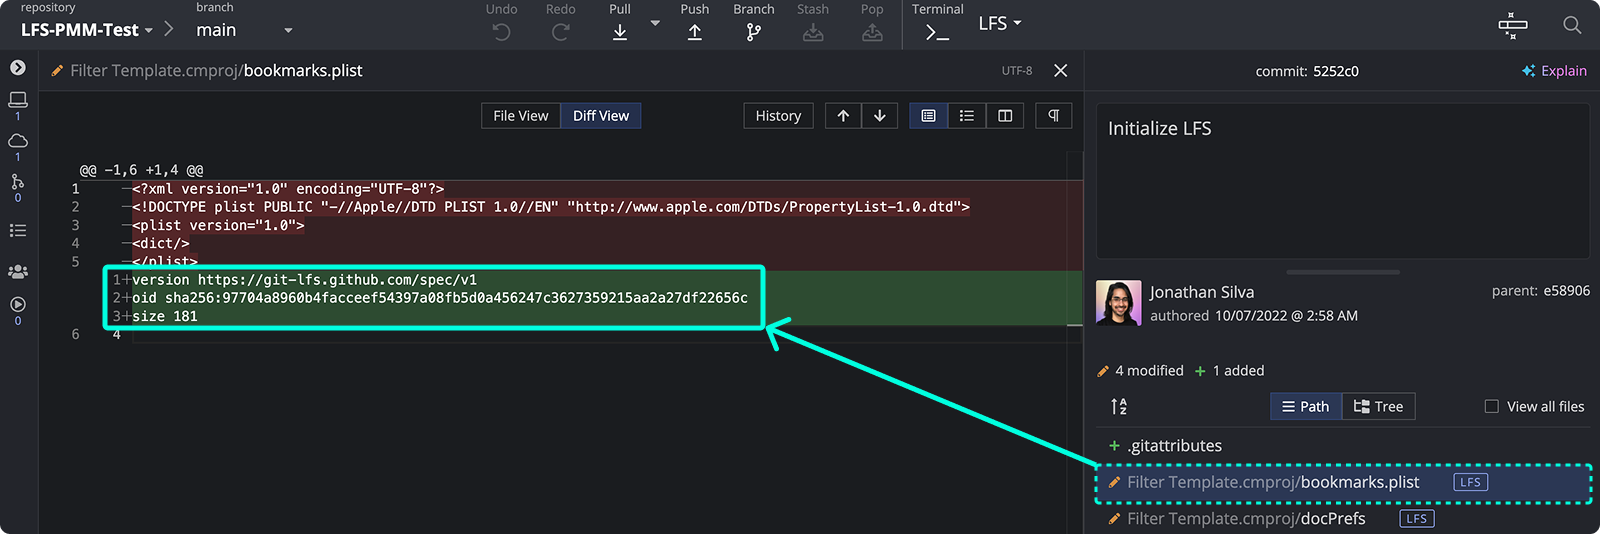 To learn more, visit the [Git LFS documentation](https://github.com/git-lfs/git-lfs).
***
## Git LFS requirements
Make sure the following are installed:
- Git version `2.39.3+`
- Git LFS version `3.0.0+`
- GitKraken Desktop version `7.0.0+`
To learn more, visit the [Git LFS documentation](https://github.com/git-lfs/git-lfs).
***
## Git LFS requirements
Make sure the following are installed:
- Git version `2.39.3+`
- Git LFS version `3.0.0+`
- GitKraken Desktop version `7.0.0+`
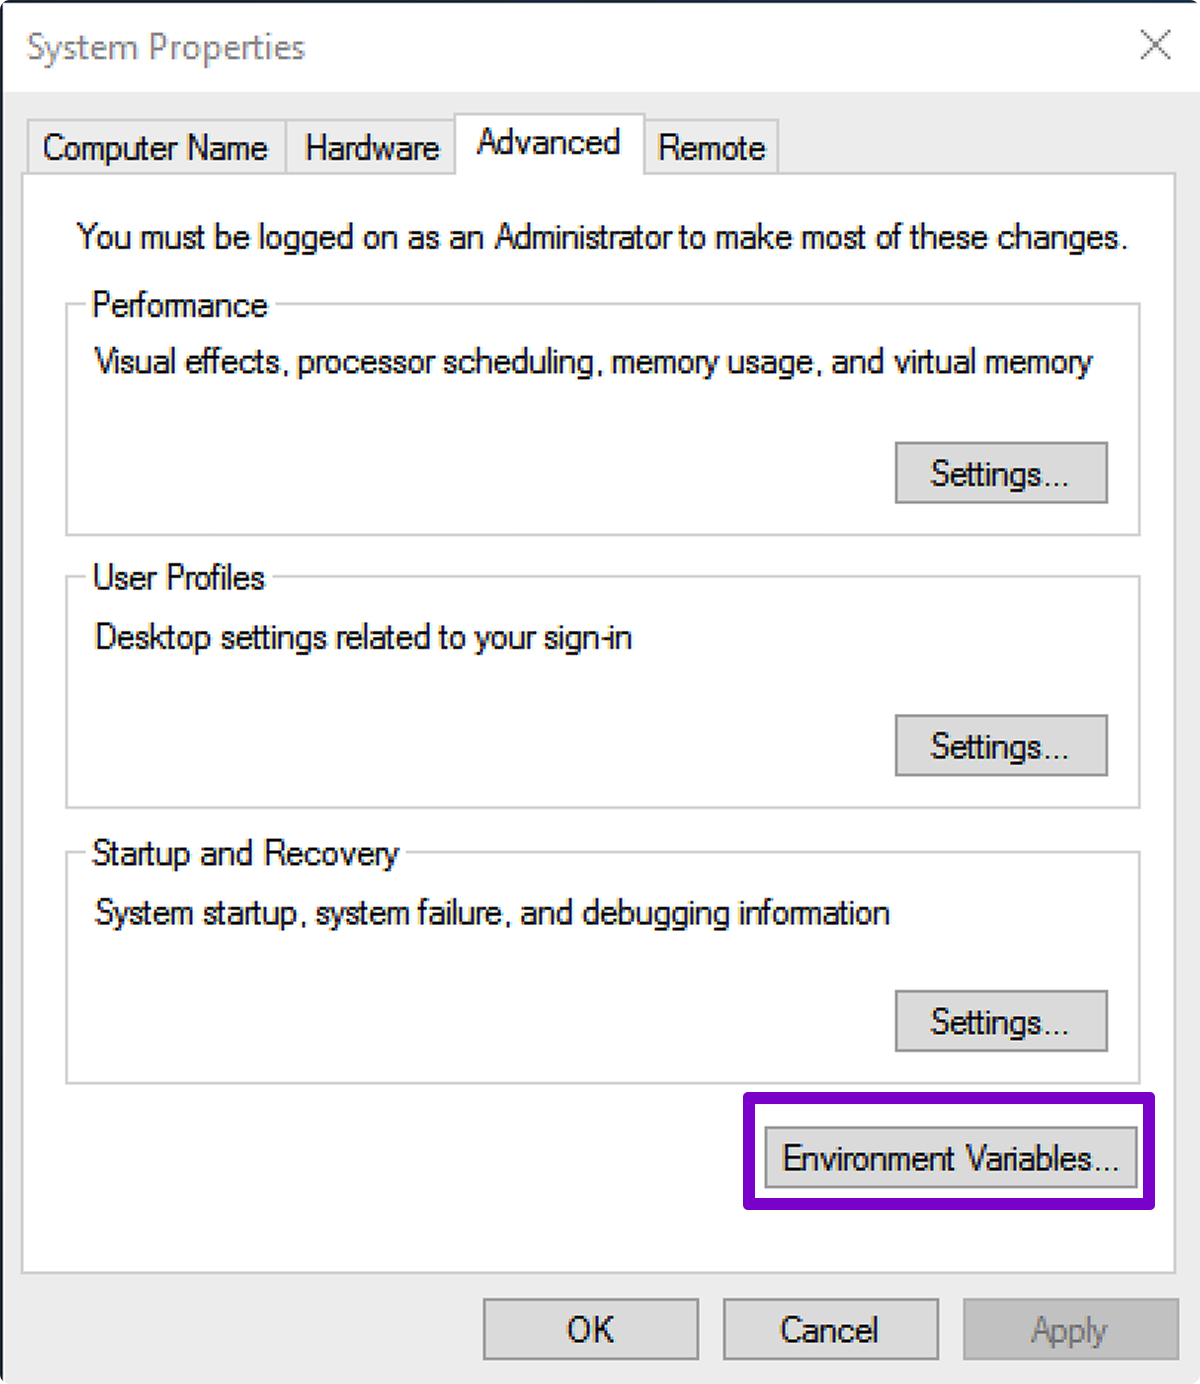

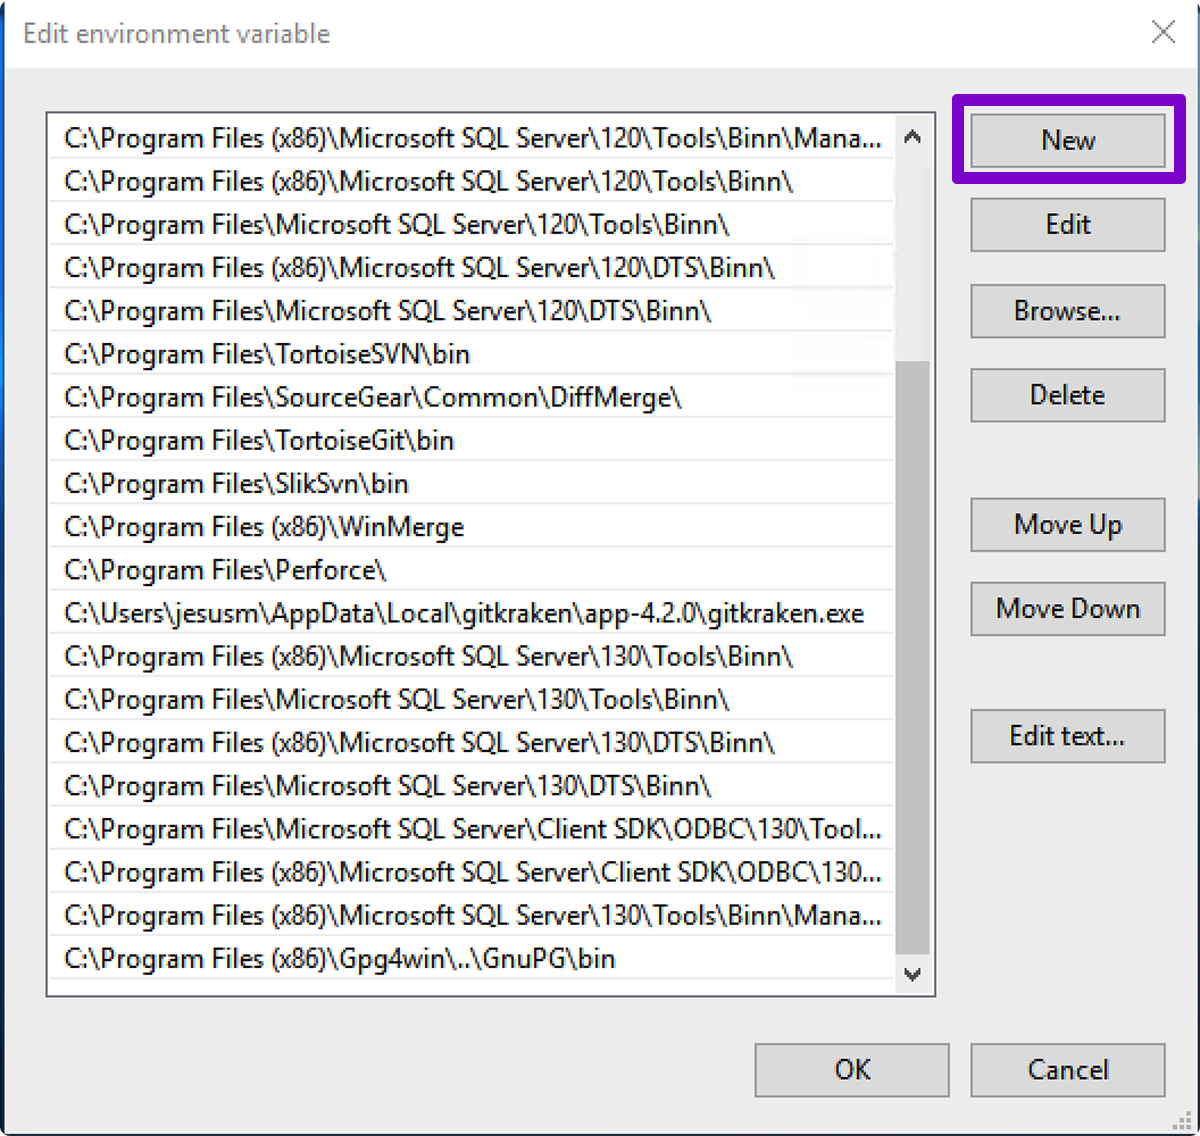 ***
## How to initialize Git LFS
### How to initialize Git LFS on an existing repository
1. Open the repo in GitKraken Desktop.
2. Go to Preferences > LFS and click **Initialize LFS**.
***
## How to initialize Git LFS
### How to initialize Git LFS on an existing repository
1. Open the repo in GitKraken Desktop.
2. Go to Preferences > LFS and click **Initialize LFS**.
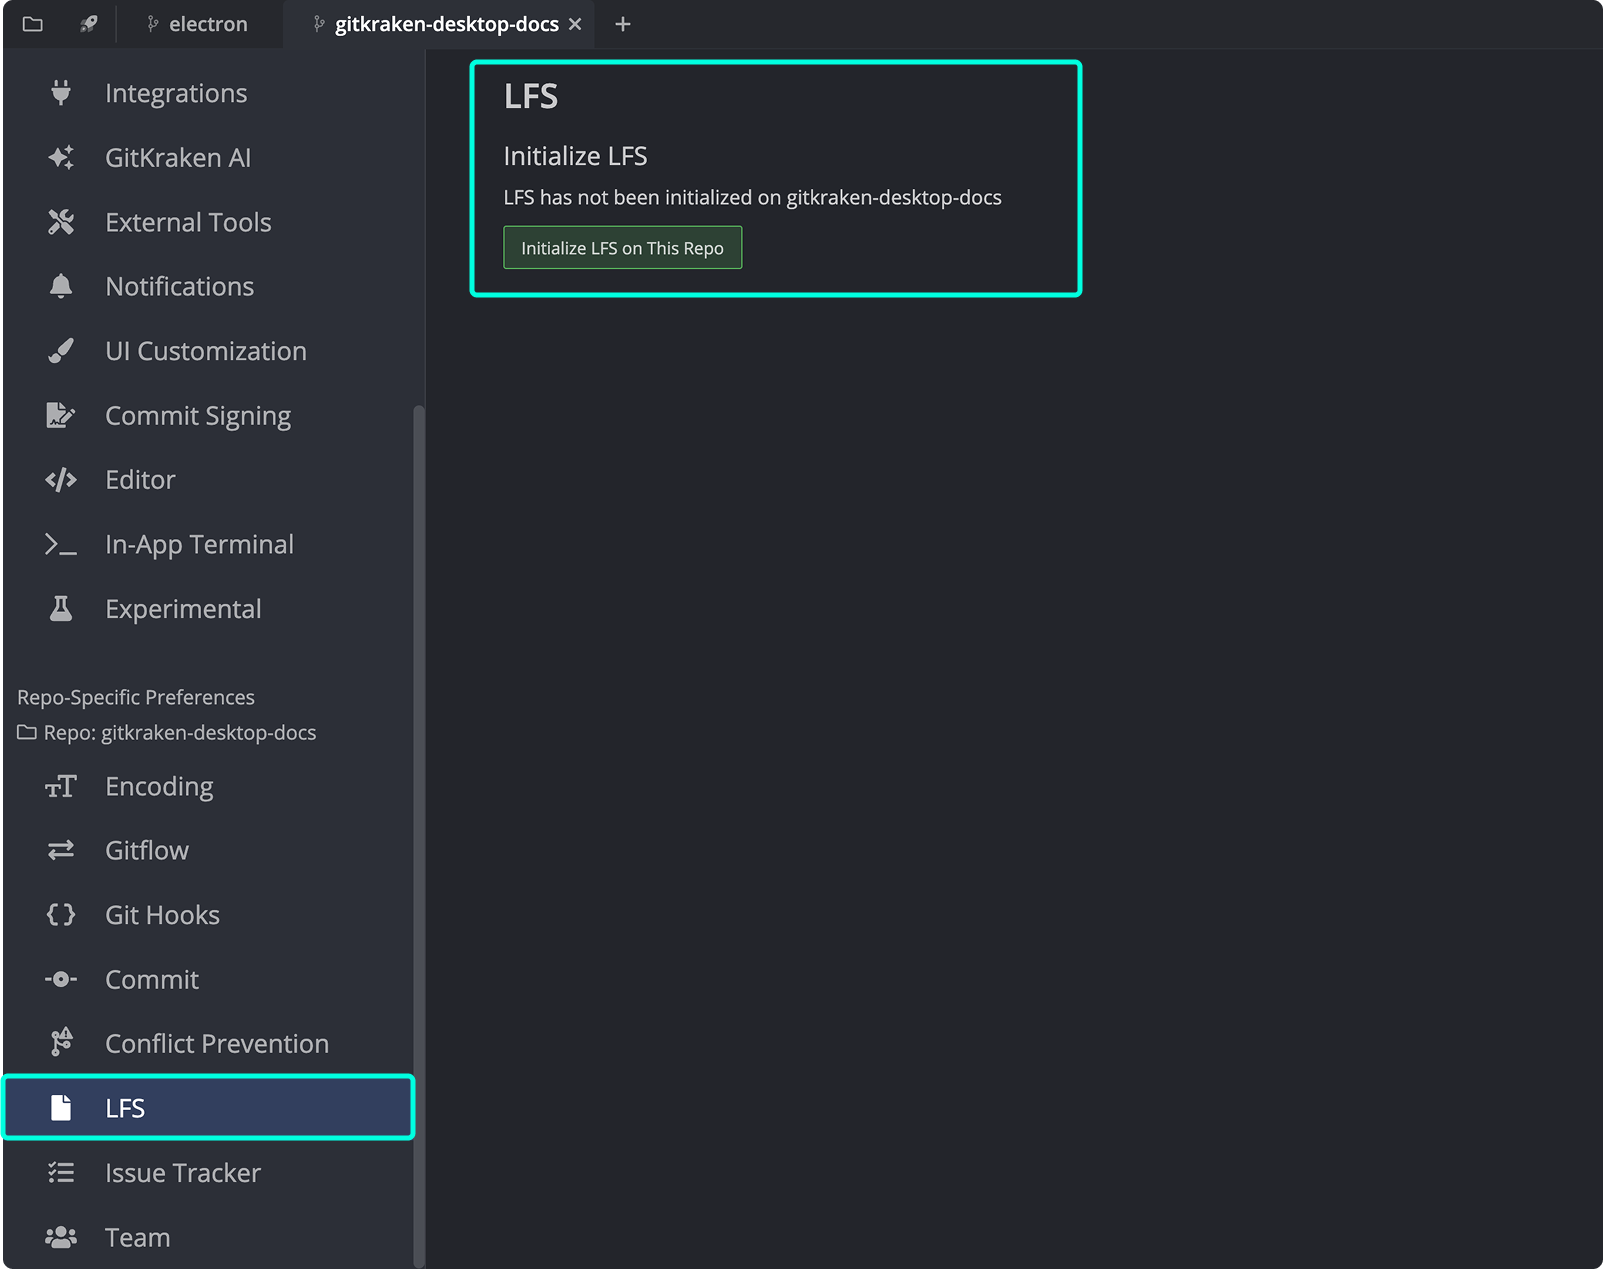 3. Commit the change to the `.gitattributes` file.
4. Untrack and re-add existing files to apply the LFS tracking.
3. Commit the change to the `.gitattributes` file.
4. Untrack and re-add existing files to apply the LFS tracking.
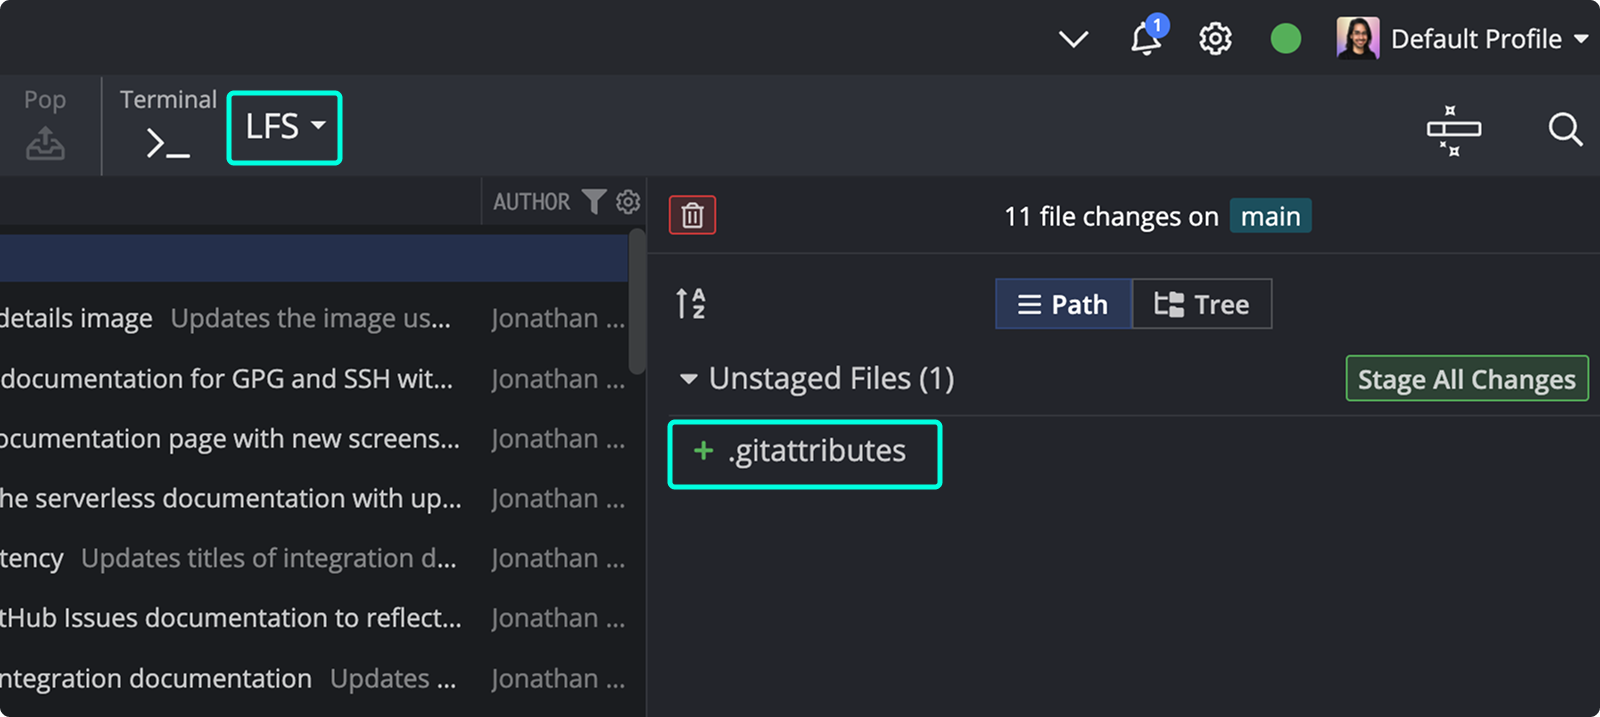 ### How to initialize Git LFS on a new repository
You can initialize Git LFS during repository creation by selecting _Initialize with LFS_.
### How to initialize Git LFS on a new repository
You can initialize Git LFS during repository creation by selecting _Initialize with LFS_.
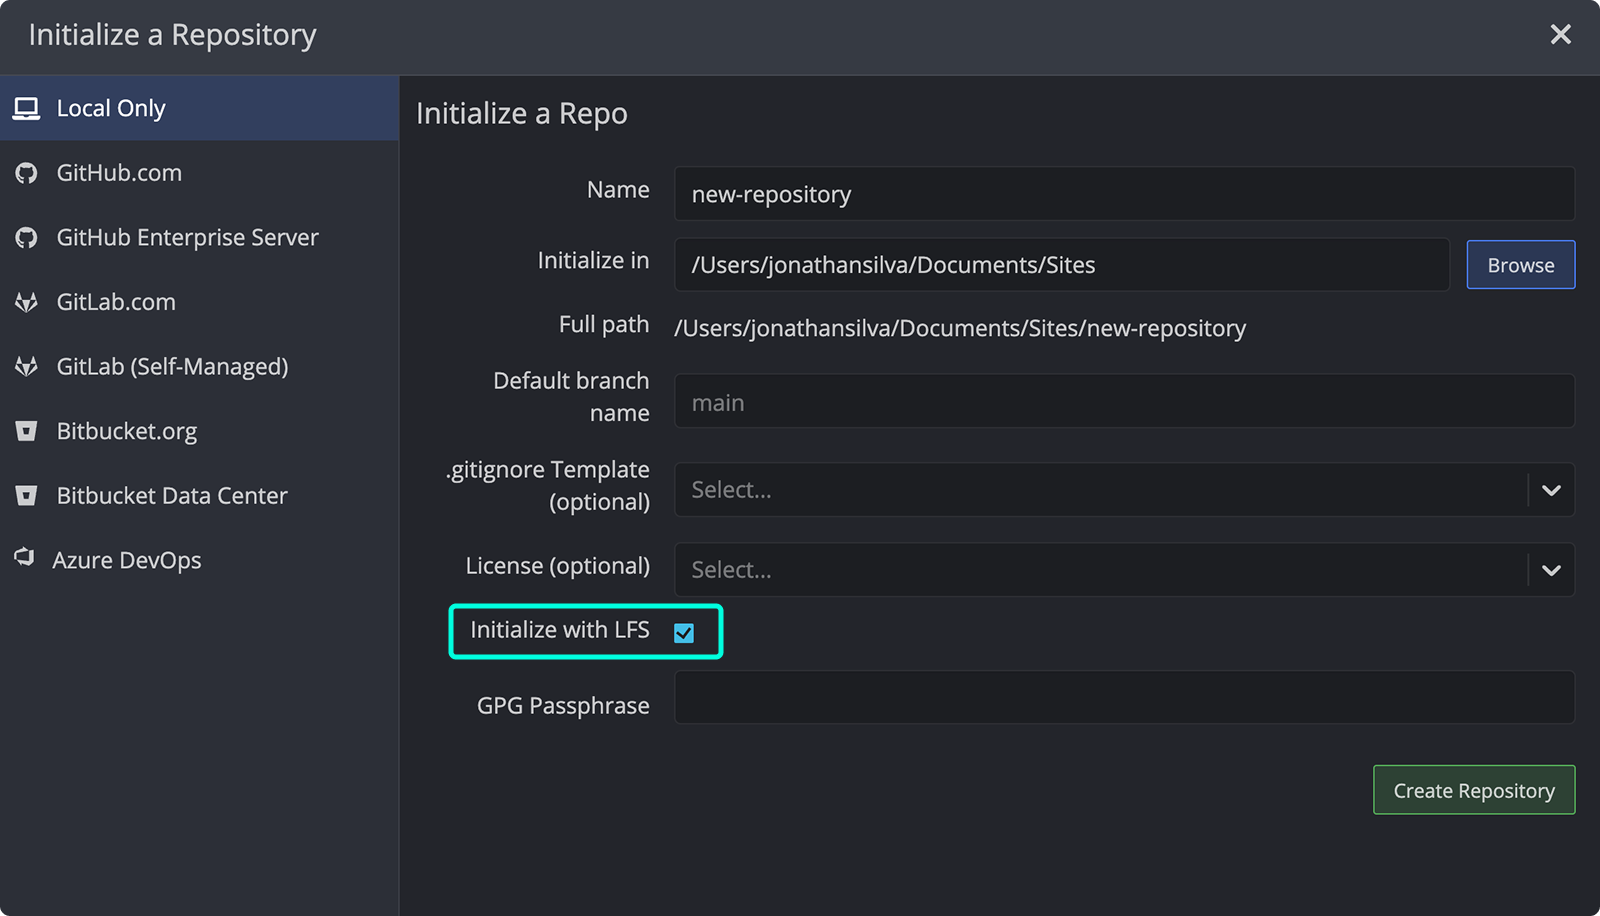 ***
## How to configure Git LFS
Add file tracking patterns to the `.gitattributes` file. You can do this via:
- Preferences > LFS
- Unstage pane in the Commit Panel
- Directly editing `.gitattributes`
***
## How to configure Git LFS
Add file tracking patterns to the `.gitattributes` file. You can do this via:
- Preferences > LFS
- Unstage pane in the Commit Panel
- Directly editing `.gitattributes`
 To track a file:
1. Right-click it under WIP.
2. Select **LFS > Track file pattern**.
To track a file:
1. Right-click it under WIP.
2. Select **LFS > Track file pattern**.
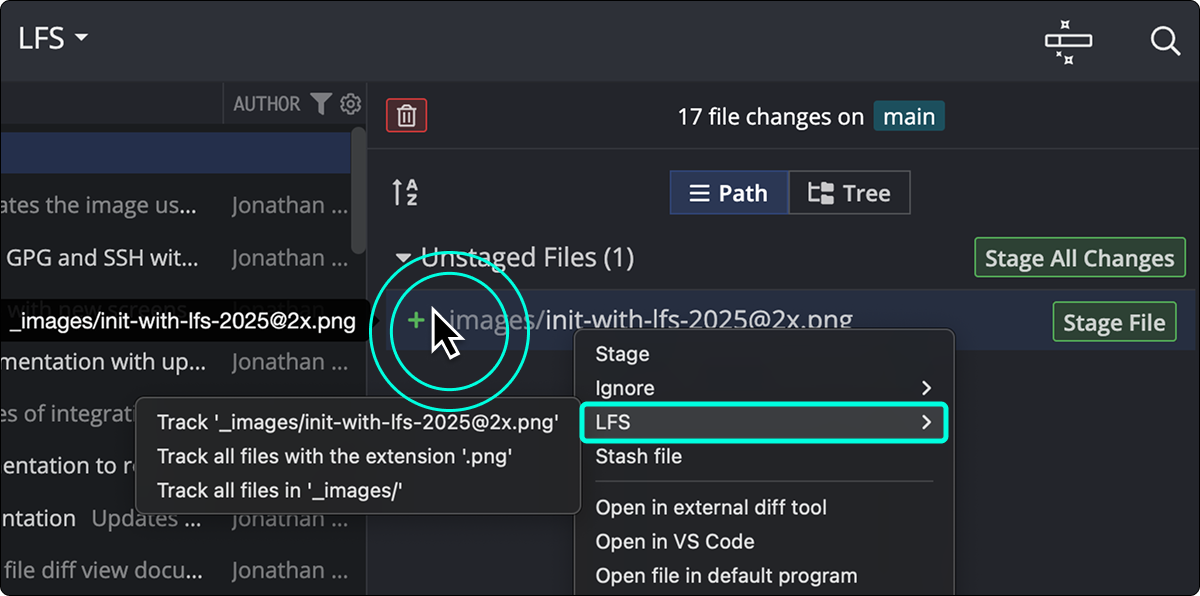
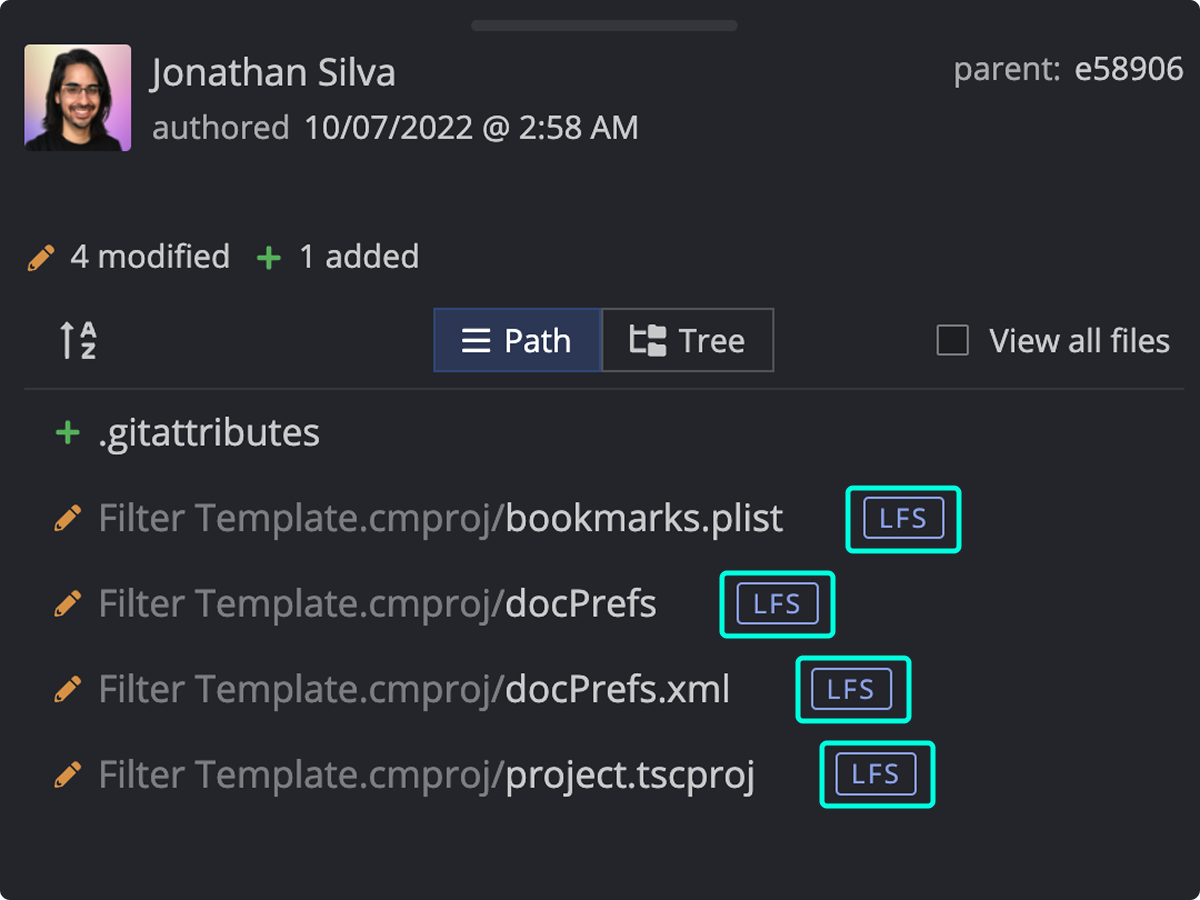 Clicking on the file shows the LFS reference information:
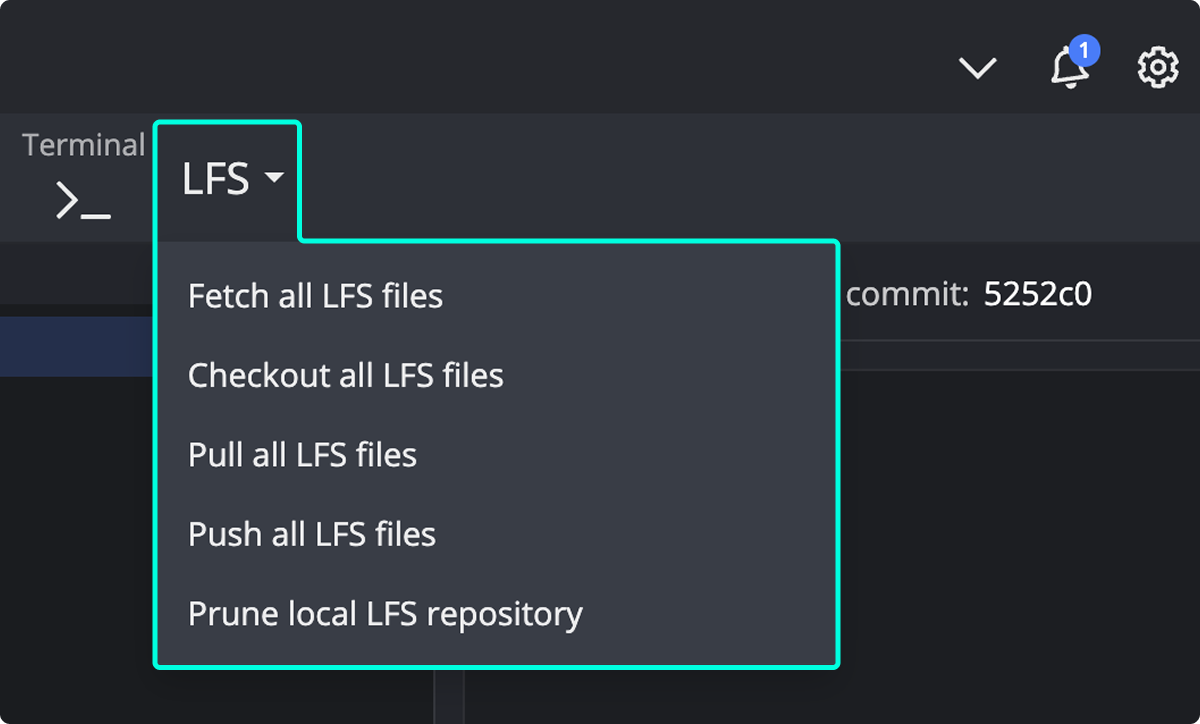 > ⚠️ Prune is destructive. Use with caution. See the [Git LFS prune docs](https://github.com/git-lfs/git-lfs/blob/main/docs/man/git-lfs-prune.adoc).
***
## Git LFS FAQs and troubleshooting
### LFS not showing in Preferences?
Check if your PATH includes Git and Git LFS. See [Verify Installation](#verify-installation).
### LFS button disappeared?
You may have switched to a repo without LFS. Use the menu: Hamburger > LFS > Initialize.
### Tracking pattern not working?
Only new files match new patterns. Remove and re-add existing files.
### LFS prompts for credentials?
Enter credentials for your LFS server or Git host.
### SSH issues with LFS?
SSH must be configured in both GitKraken and your CLI. [GitHub SSH Agent guide](https://help.github.com/articles/generating-a-new-ssh-key-and-adding-it-to-the-ssh-agent/)
### Homebrew on macOS not in path?
Run:
```bash
sudo launchctl config user path "/opt/homebrew/bin:$PATH"
```
More at [Homebrew FAQ](https://docs.brew.sh/FAQ#my-mac-apps-dont-find-usrlocalbin-utilities).
---
## Git LFS summary
To use Git LFS in GitKraken Desktop:
1. Install Git, Git LFS, and GitKraken Desktop.
2. Initialize LFS via Preferences or during repo creation.
3. Add file tracking patterns.
4. Commit and push as usual.
Need more? Visit the [Git LFS GitHub](https://github.com/git-lfs/git-lfs).
---
## Integrations & AI
---
# Azure DevOps Integration with GitKraken Desktop
URL: https://help.gitkraken.com/gitkraken-desktop/azure-devops/
Description: Connect GitKraken Desktop to Azure DevOps to manage repositories, SSH keys, and pull requests using OAuth or Personal Access Tokens.
Product: GitKraken Desktop
Feature: Azure DevOps Integration
Content type: how-to
Audience: developer
Plan required: Pro
Status: GA
Last verified: 2026-03
Last updated: March 2026
Use this page to connect GitKraken Desktop to Azure DevOps for repository access, pull request work, and SSH setup by using OAuth or a personal access token. The integration requires a Pro subscription or higher, and PAT authentication is the fallback when an Azure DevOps organization blocks third-party OAuth access.
**Requirements and limits**
- Integration covered here: Azure DevOps
- Plan: Pro subscription tier or higher
- Authentication options: OAuth or Personal Access Token (PAT)
- OAuth constraint: If the Azure DevOps organization disables third-party OAuth access, use a PAT instead
- Account limit: One Azure DevOps account per profile; multiple profiles require a paid Pro, Teams, or Enterprise plan
- SSH behavior: GitKraken uses the key in Preferences > SSH unless you configure a service-specific key or system SSH Agent
| Method | When to use | Requires | Limitation |
|--------|-------------|----------|------------|
| OAuth | Standard Azure DevOps browser-based connection | Pro subscription and third-party OAuth access | Not available if the organization blocks third-party OAuth |
| Personal Access Token | OAuth is blocked or policy requires token-based access | Pro subscription, host domain, PAT | Manual token generation and paste flow |
| SSH key setup | You want SSH-based Git operations after connecting | Existing integration connection and SSH key upload | Uses GitKraken SSH settings unless overridden |
***
## Quick Start
1. Go to Preferences > Integrations in GitKraken Desktop.
2. Select **Azure DevOps** and click **Connect to Azure DevOps**.
3. Log in with your Azure DevOps credentials in the browser window that opens.
4. Select **Open GitKraken** and choose your organization.
If OAuth is not available (e.g., your organization has disabled third-party access), use a Personal Access Token (PAT) instead:
1. In Preferences > Integrations, enter your host domain.
2. Click **Generate a token on Azure DevOps** to open the token creation page.
3. Copy the token and paste it into GitKraken, then click **Connect**.
After connecting, GitKraken Desktop can browse your Azure DevOps repositories when cloning, display fork options when adding remotes, and show pull request details. To use SSH, go to Preferences > Integrations, click **Generate SSH key and copy to clipboard**, and add it to your Azure DevOps SSH settings.
### What the Azure DevOps integration lets you do
- Create new repositories on your Azure DevOps account with optional .gitignore and license files.
- Automatically generate and copy an SSH key to Azure DevOps.
- Clone directly from your Azure DevOps repository list.
- Identify Azure DevOps repositories by remote avatars on the Commit Graph.
- Add remotes for Azure DevOps repositories.
- Create and view pull requests, including the ability to add reviewers.
> ⚠️ Prune is destructive. Use with caution. See the [Git LFS prune docs](https://github.com/git-lfs/git-lfs/blob/main/docs/man/git-lfs-prune.adoc).
***
## Git LFS FAQs and troubleshooting
### LFS not showing in Preferences?
Check if your PATH includes Git and Git LFS. See [Verify Installation](#verify-installation).
### LFS button disappeared?
You may have switched to a repo without LFS. Use the menu: Hamburger > LFS > Initialize.
### Tracking pattern not working?
Only new files match new patterns. Remove and re-add existing files.
### LFS prompts for credentials?
Enter credentials for your LFS server or Git host.
### SSH issues with LFS?
SSH must be configured in both GitKraken and your CLI. [GitHub SSH Agent guide](https://help.github.com/articles/generating-a-new-ssh-key-and-adding-it-to-the-ssh-agent/)
### Homebrew on macOS not in path?
Run:
```bash
sudo launchctl config user path "/opt/homebrew/bin:$PATH"
```
More at [Homebrew FAQ](https://docs.brew.sh/FAQ#my-mac-apps-dont-find-usrlocalbin-utilities).
---
## Git LFS summary
To use Git LFS in GitKraken Desktop:
1. Install Git, Git LFS, and GitKraken Desktop.
2. Initialize LFS via Preferences or during repo creation.
3. Add file tracking patterns.
4. Commit and push as usual.
Need more? Visit the [Git LFS GitHub](https://github.com/git-lfs/git-lfs).
---
## Integrations & AI
---
# Azure DevOps Integration with GitKraken Desktop
URL: https://help.gitkraken.com/gitkraken-desktop/azure-devops/
Description: Connect GitKraken Desktop to Azure DevOps to manage repositories, SSH keys, and pull requests using OAuth or Personal Access Tokens.
Product: GitKraken Desktop
Feature: Azure DevOps Integration
Content type: how-to
Audience: developer
Plan required: Pro
Status: GA
Last verified: 2026-03
Last updated: March 2026
Use this page to connect GitKraken Desktop to Azure DevOps for repository access, pull request work, and SSH setup by using OAuth or a personal access token. The integration requires a Pro subscription or higher, and PAT authentication is the fallback when an Azure DevOps organization blocks third-party OAuth access.
**Requirements and limits**
- Integration covered here: Azure DevOps
- Plan: Pro subscription tier or higher
- Authentication options: OAuth or Personal Access Token (PAT)
- OAuth constraint: If the Azure DevOps organization disables third-party OAuth access, use a PAT instead
- Account limit: One Azure DevOps account per profile; multiple profiles require a paid Pro, Teams, or Enterprise plan
- SSH behavior: GitKraken uses the key in Preferences > SSH unless you configure a service-specific key or system SSH Agent
| Method | When to use | Requires | Limitation |
|--------|-------------|----------|------------|
| OAuth | Standard Azure DevOps browser-based connection | Pro subscription and third-party OAuth access | Not available if the organization blocks third-party OAuth |
| Personal Access Token | OAuth is blocked or policy requires token-based access | Pro subscription, host domain, PAT | Manual token generation and paste flow |
| SSH key setup | You want SSH-based Git operations after connecting | Existing integration connection and SSH key upload | Uses GitKraken SSH settings unless overridden |
***
## Quick Start
1. Go to Preferences > Integrations in GitKraken Desktop.
2. Select **Azure DevOps** and click **Connect to Azure DevOps**.
3. Log in with your Azure DevOps credentials in the browser window that opens.
4. Select **Open GitKraken** and choose your organization.
If OAuth is not available (e.g., your organization has disabled third-party access), use a Personal Access Token (PAT) instead:
1. In Preferences > Integrations, enter your host domain.
2. Click **Generate a token on Azure DevOps** to open the token creation page.
3. Copy the token and paste it into GitKraken, then click **Connect**.
After connecting, GitKraken Desktop can browse your Azure DevOps repositories when cloning, display fork options when adding remotes, and show pull request details. To use SSH, go to Preferences > Integrations, click **Generate SSH key and copy to clipboard**, and add it to your Azure DevOps SSH settings.
### What the Azure DevOps integration lets you do
- Create new repositories on your Azure DevOps account with optional .gitignore and license files.
- Automatically generate and copy an SSH key to Azure DevOps.
- Clone directly from your Azure DevOps repository list.
- Identify Azure DevOps repositories by remote avatars on the Commit Graph.
- Add remotes for Azure DevOps repositories.
- Create and view pull requests, including the ability to add reviewers.


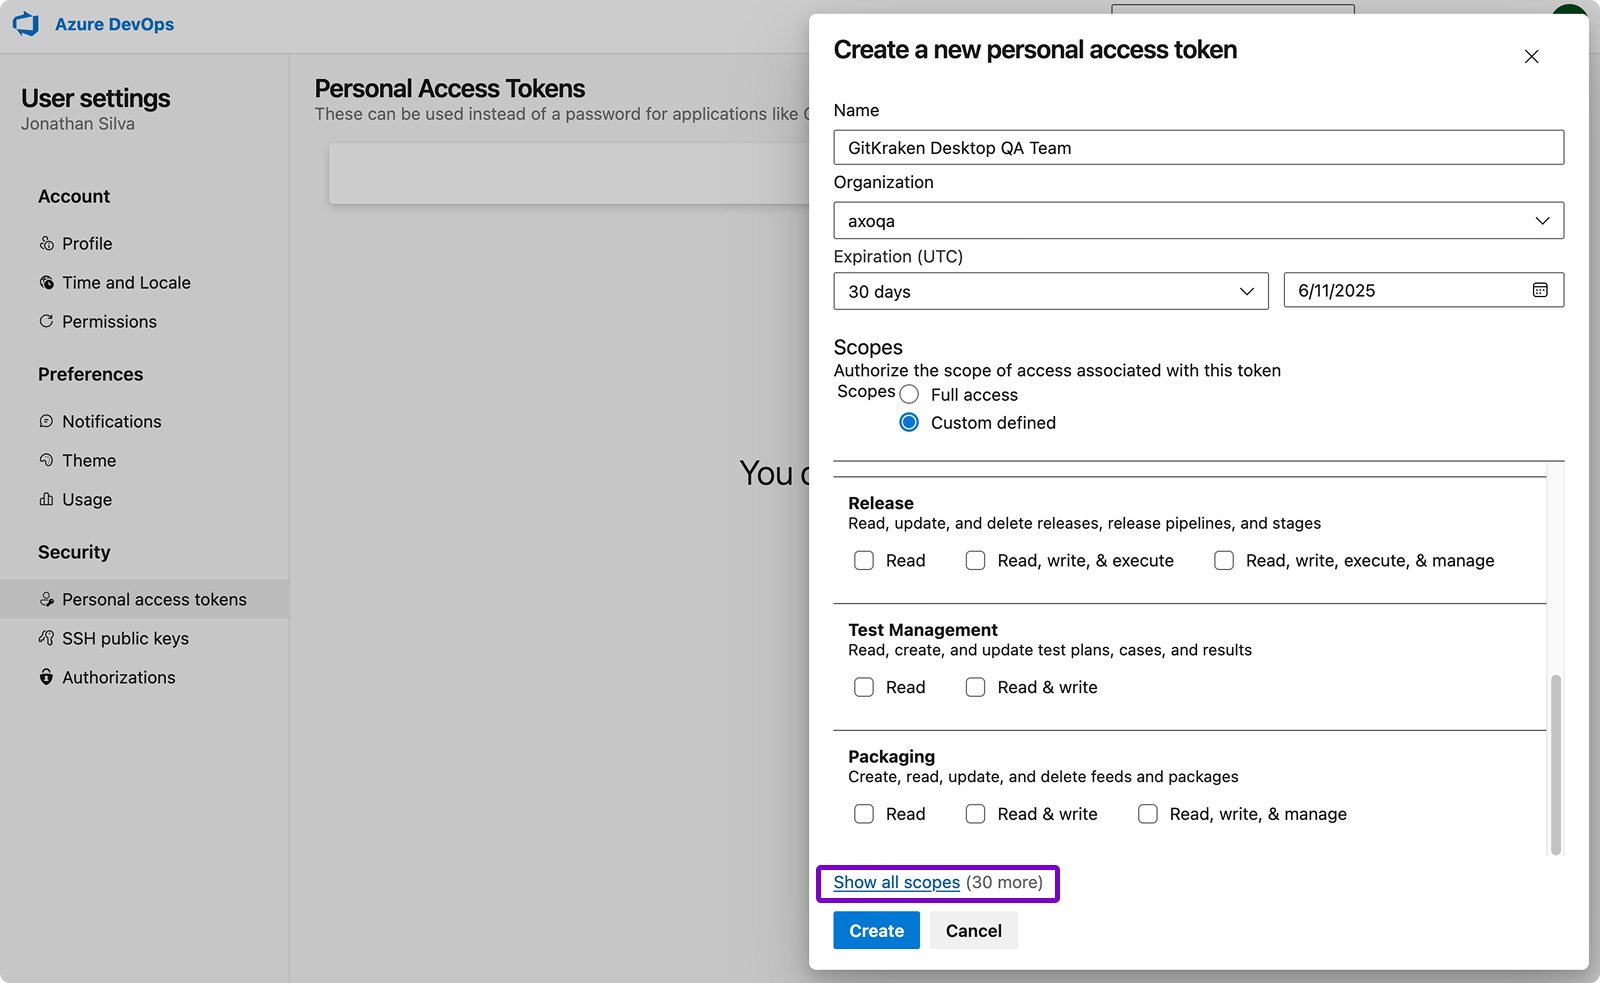
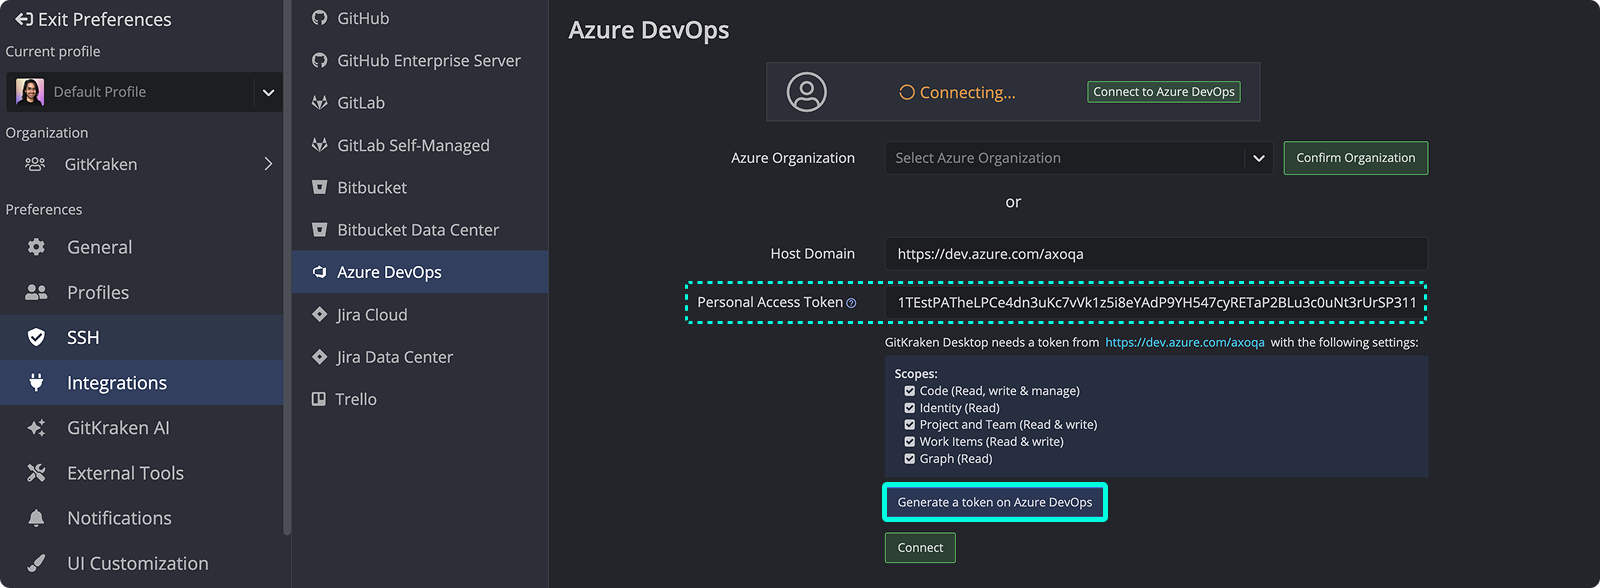
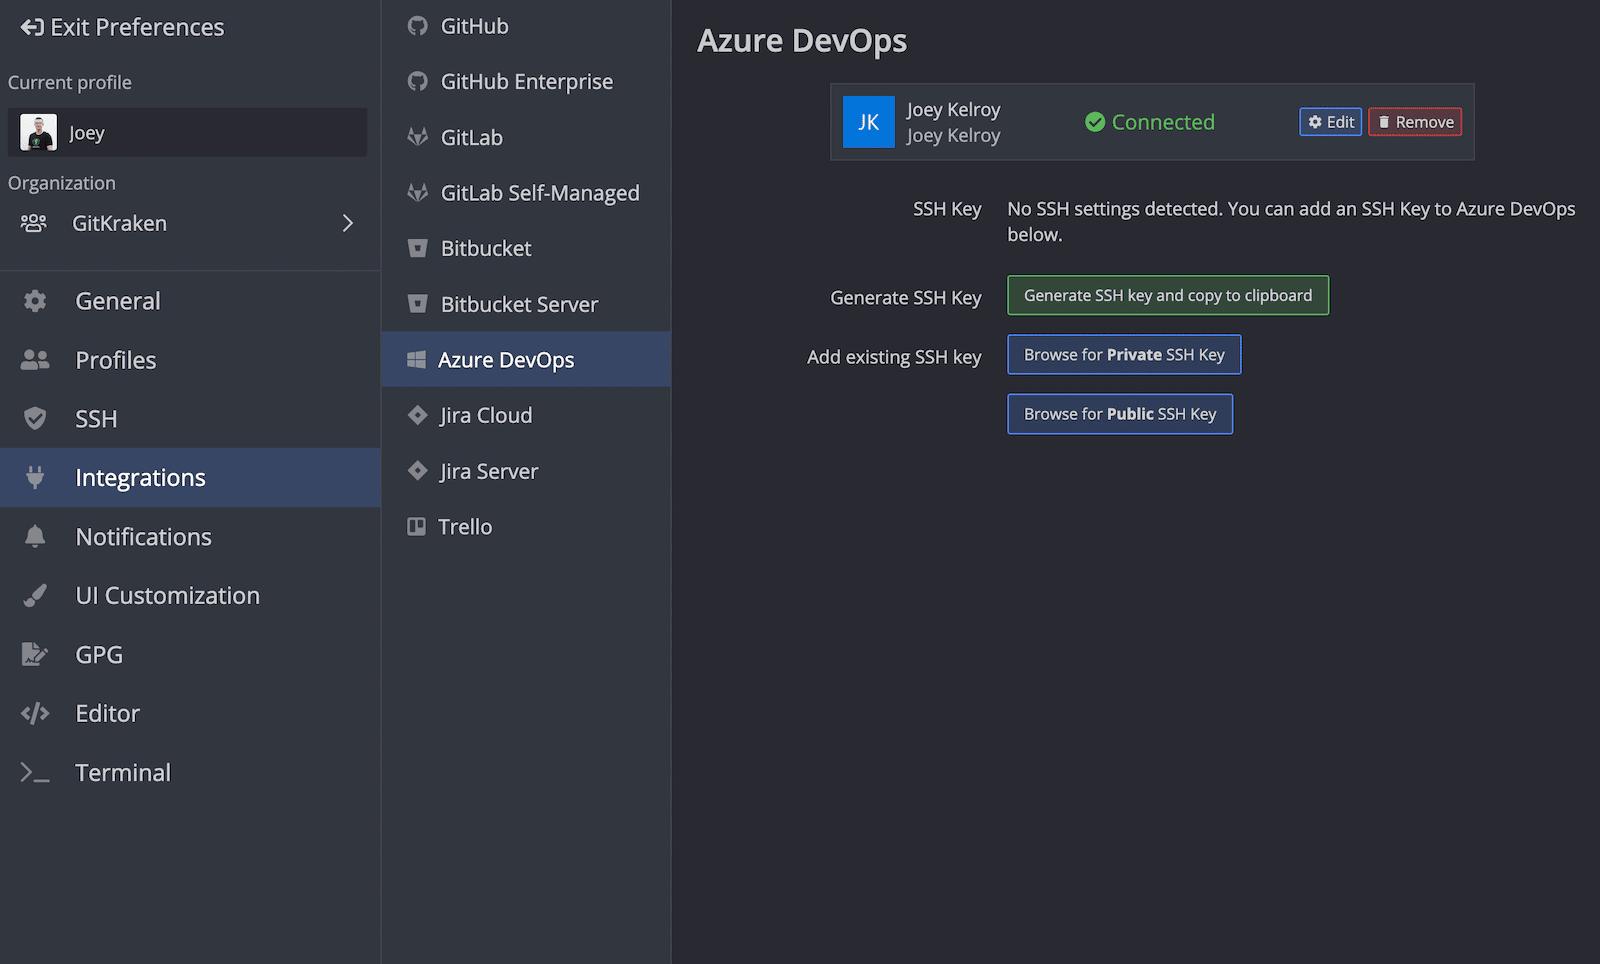
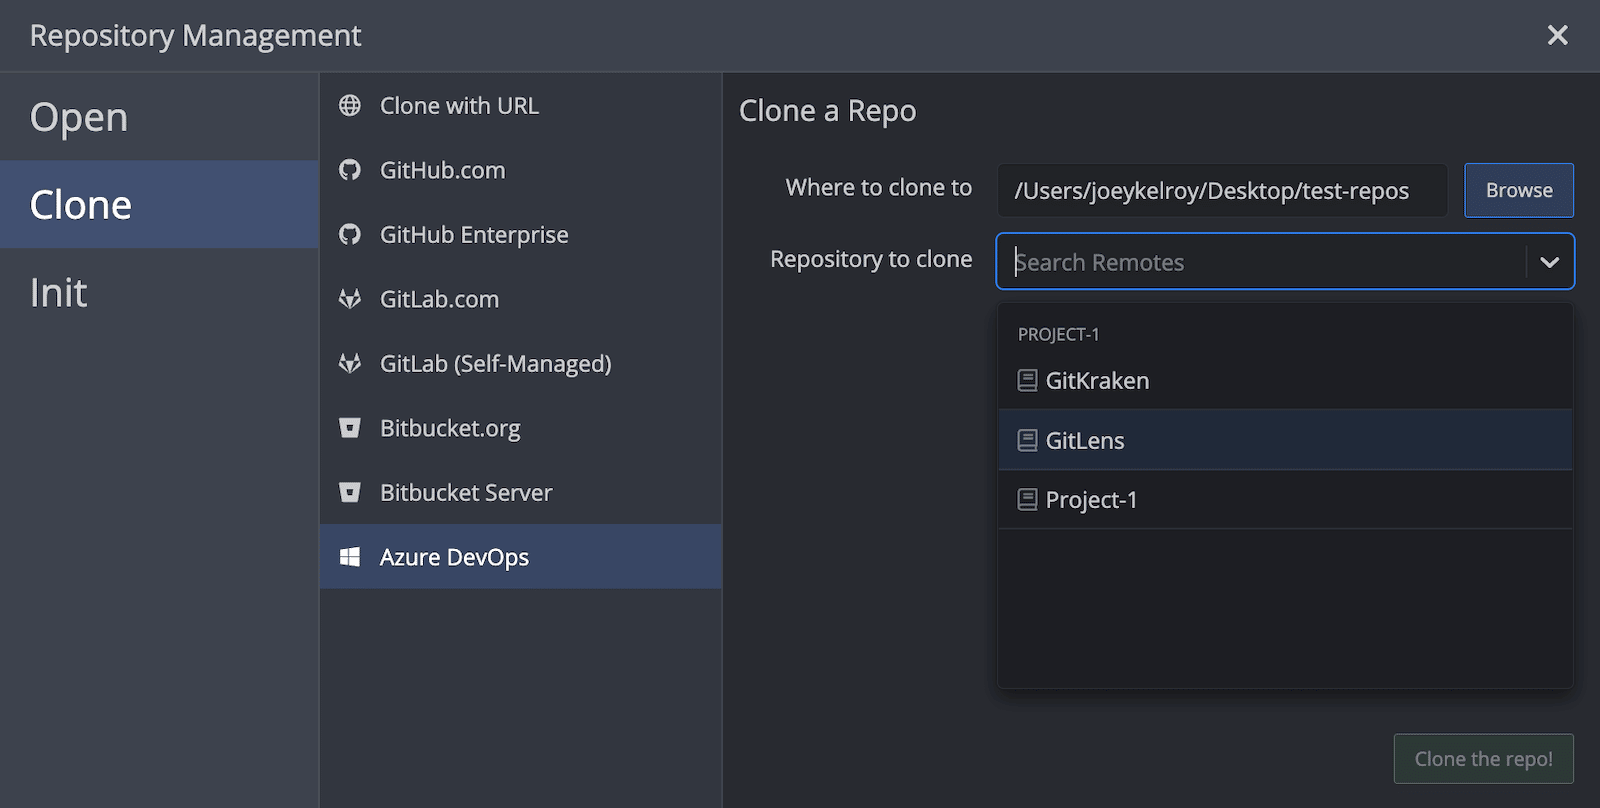
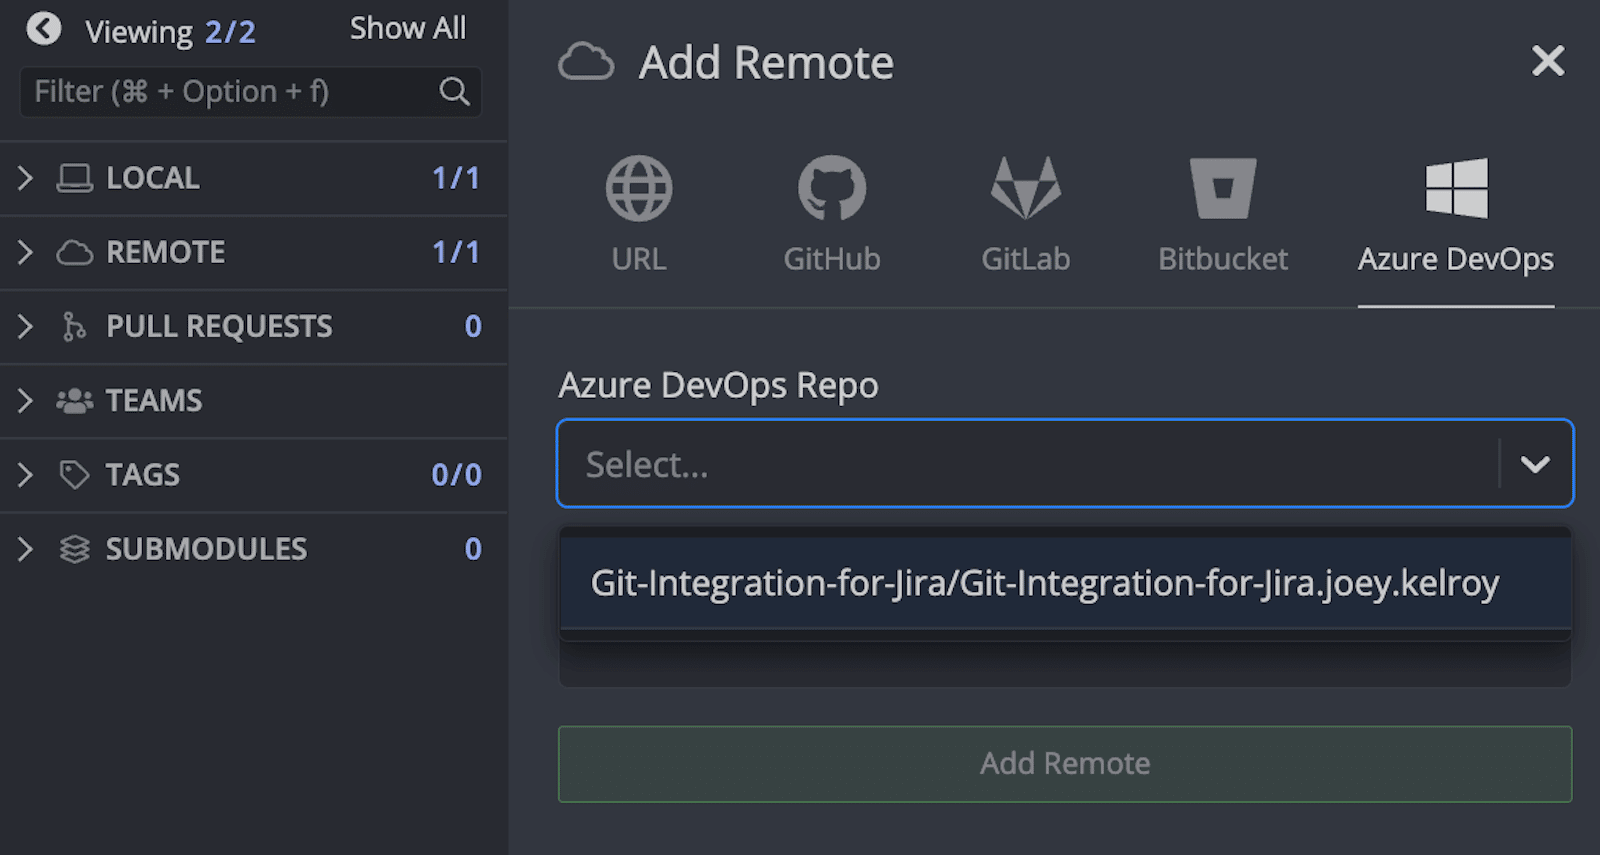
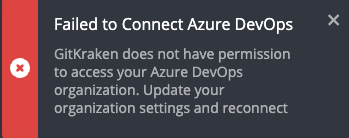

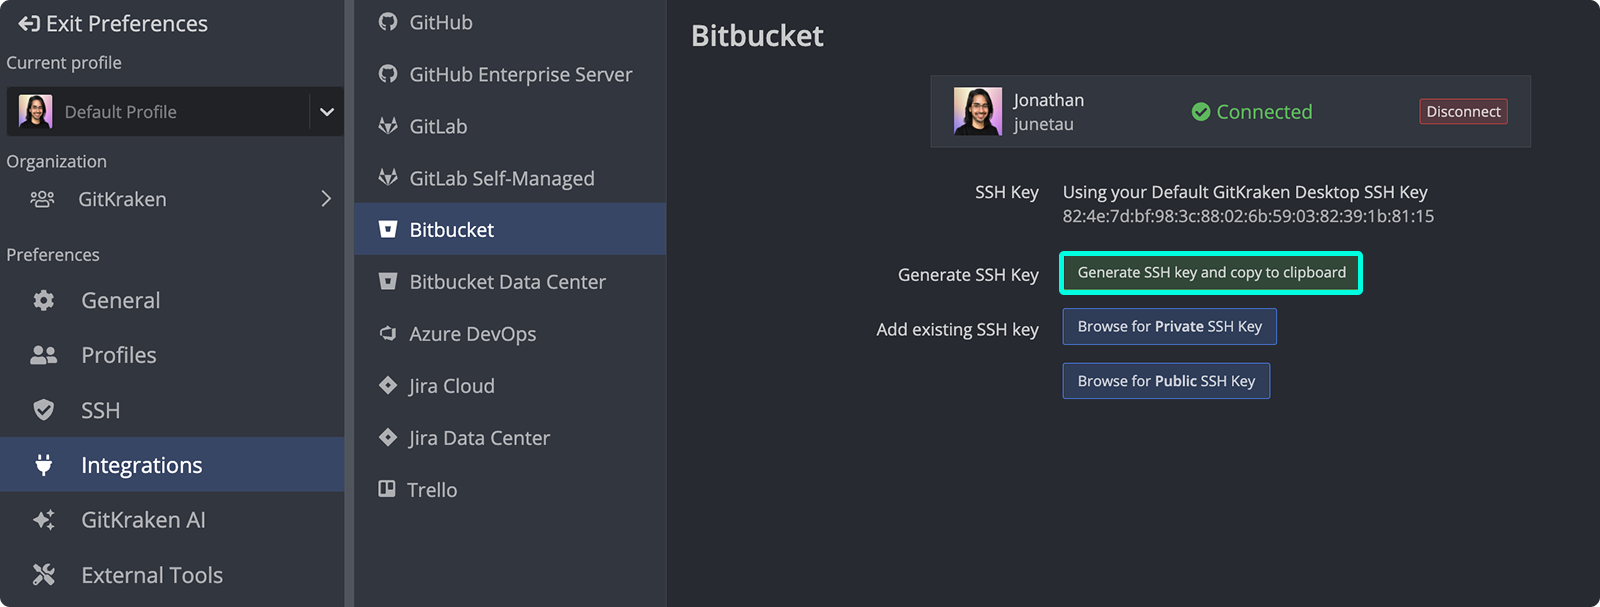
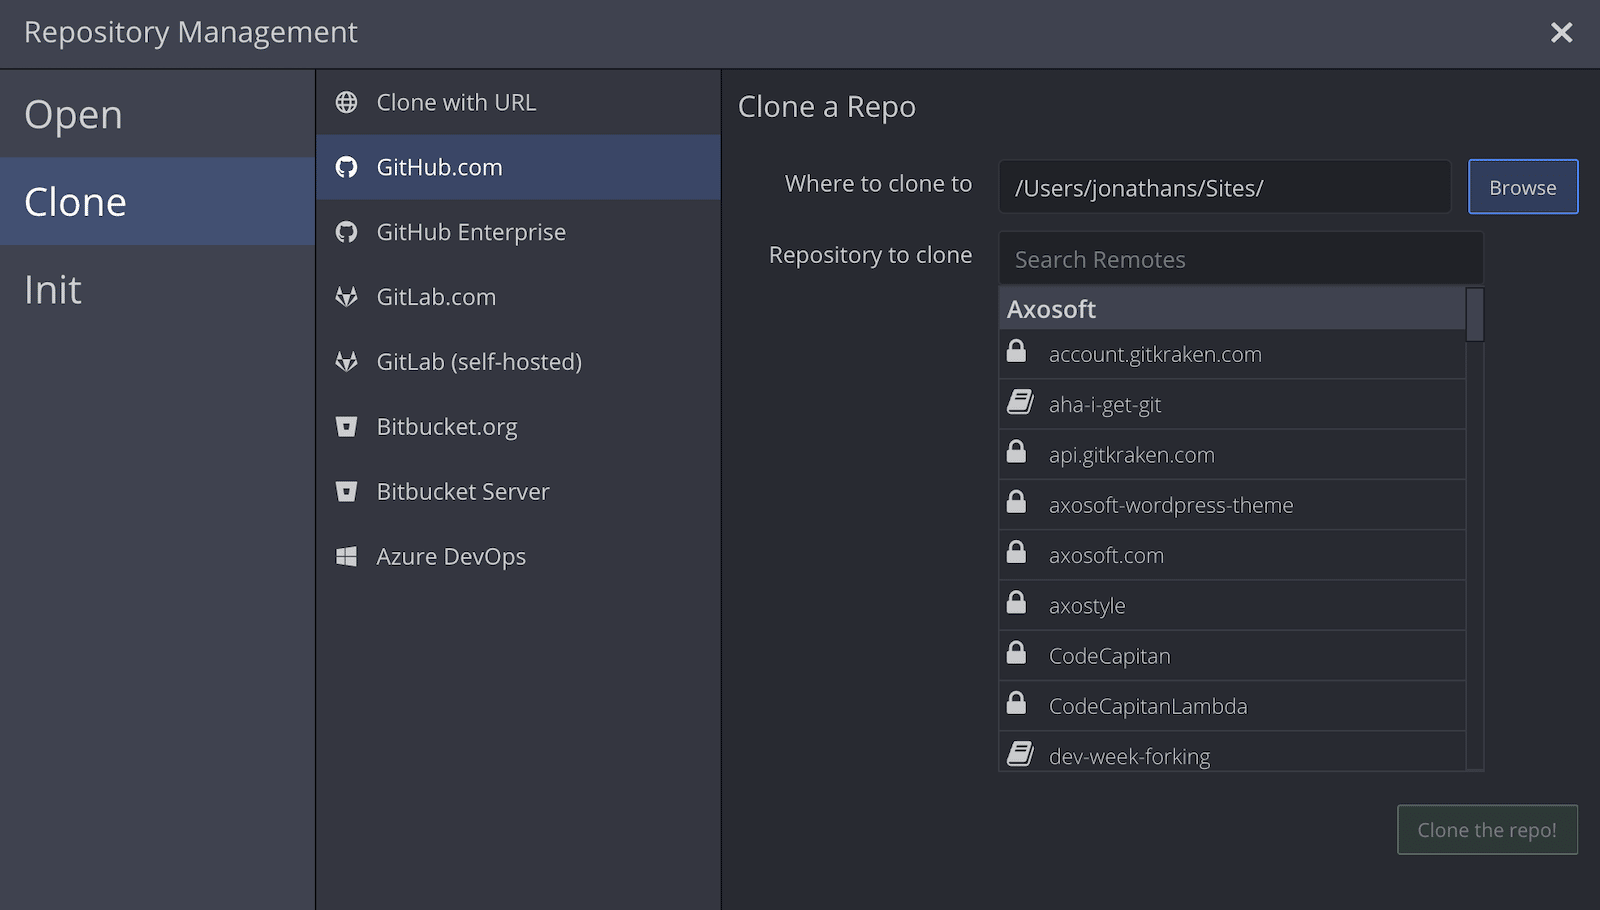
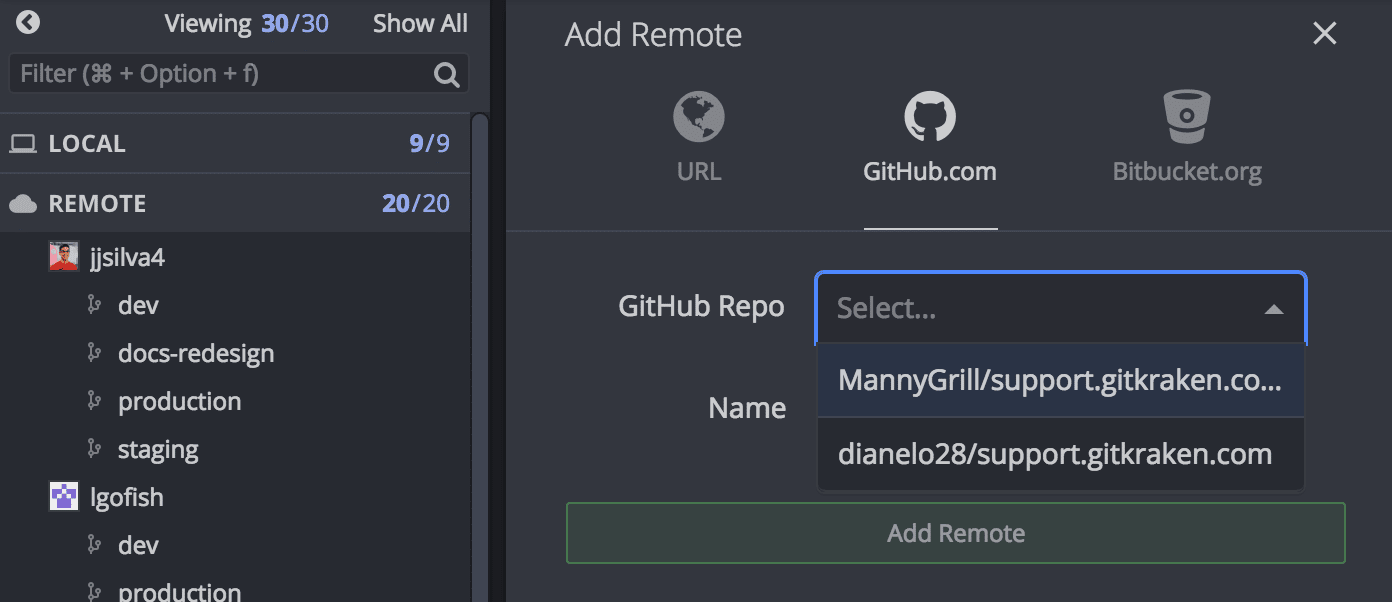
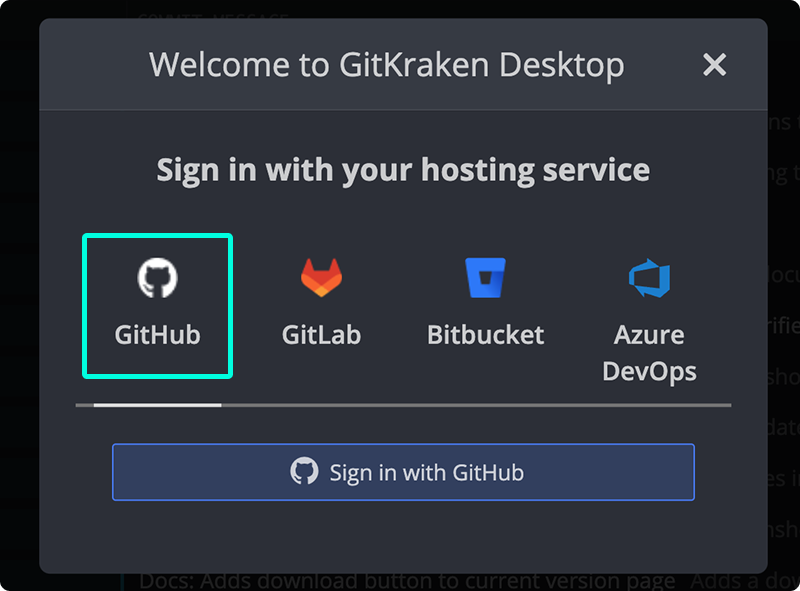
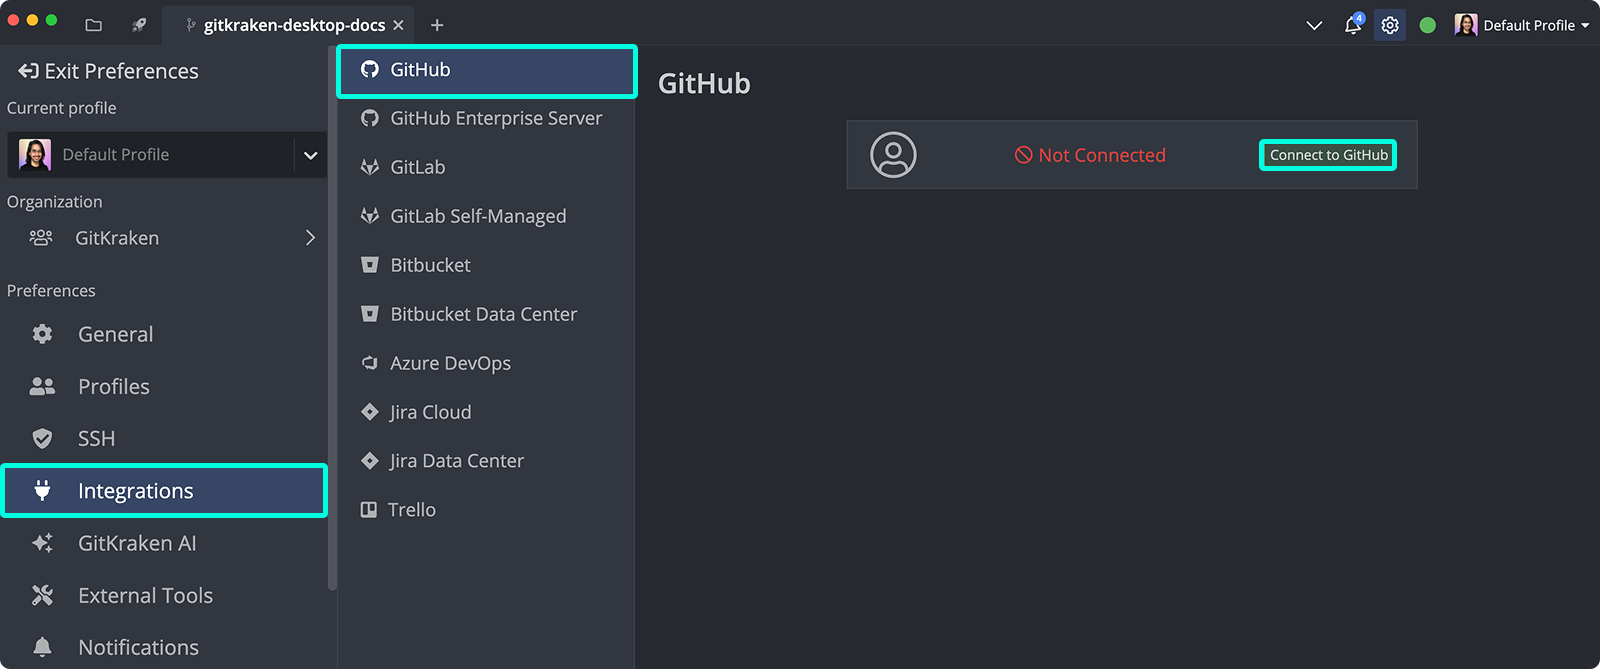
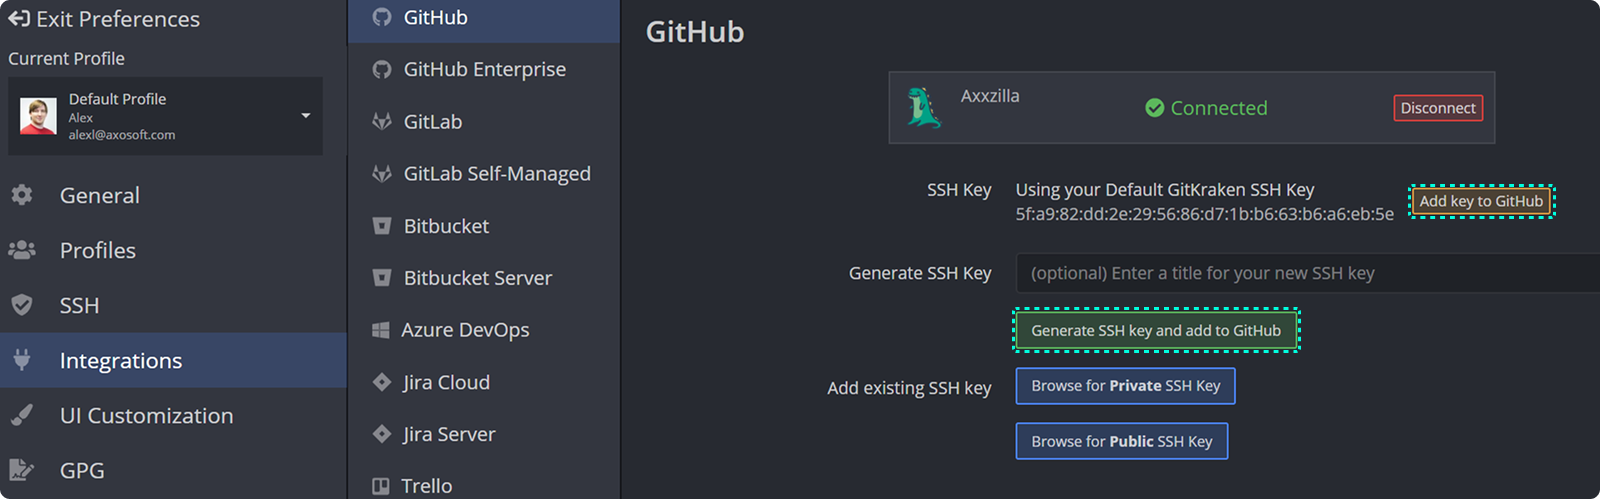
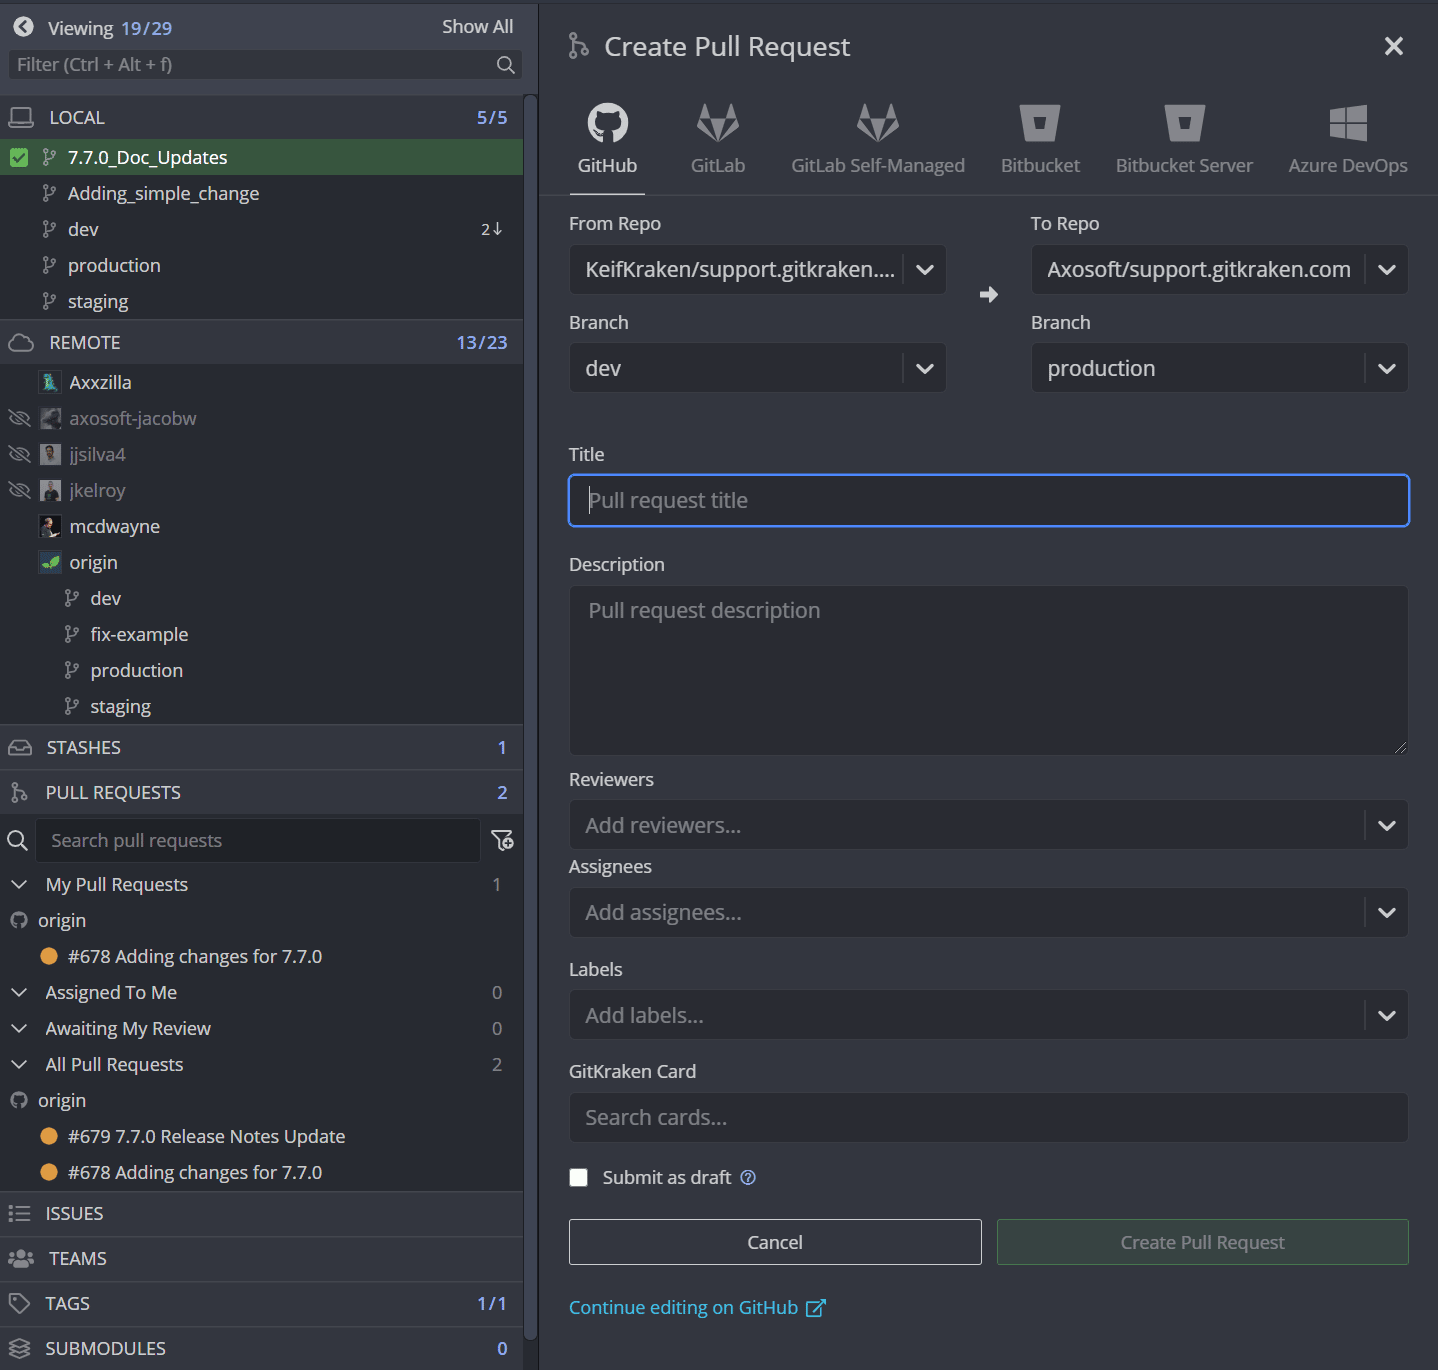
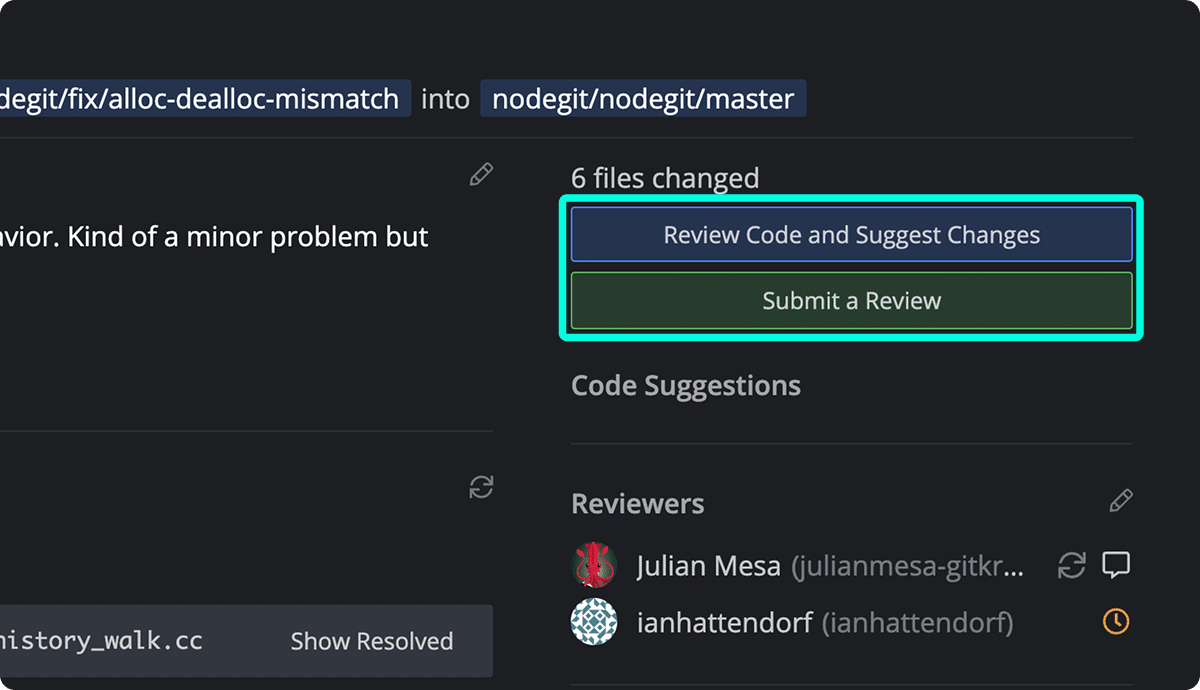
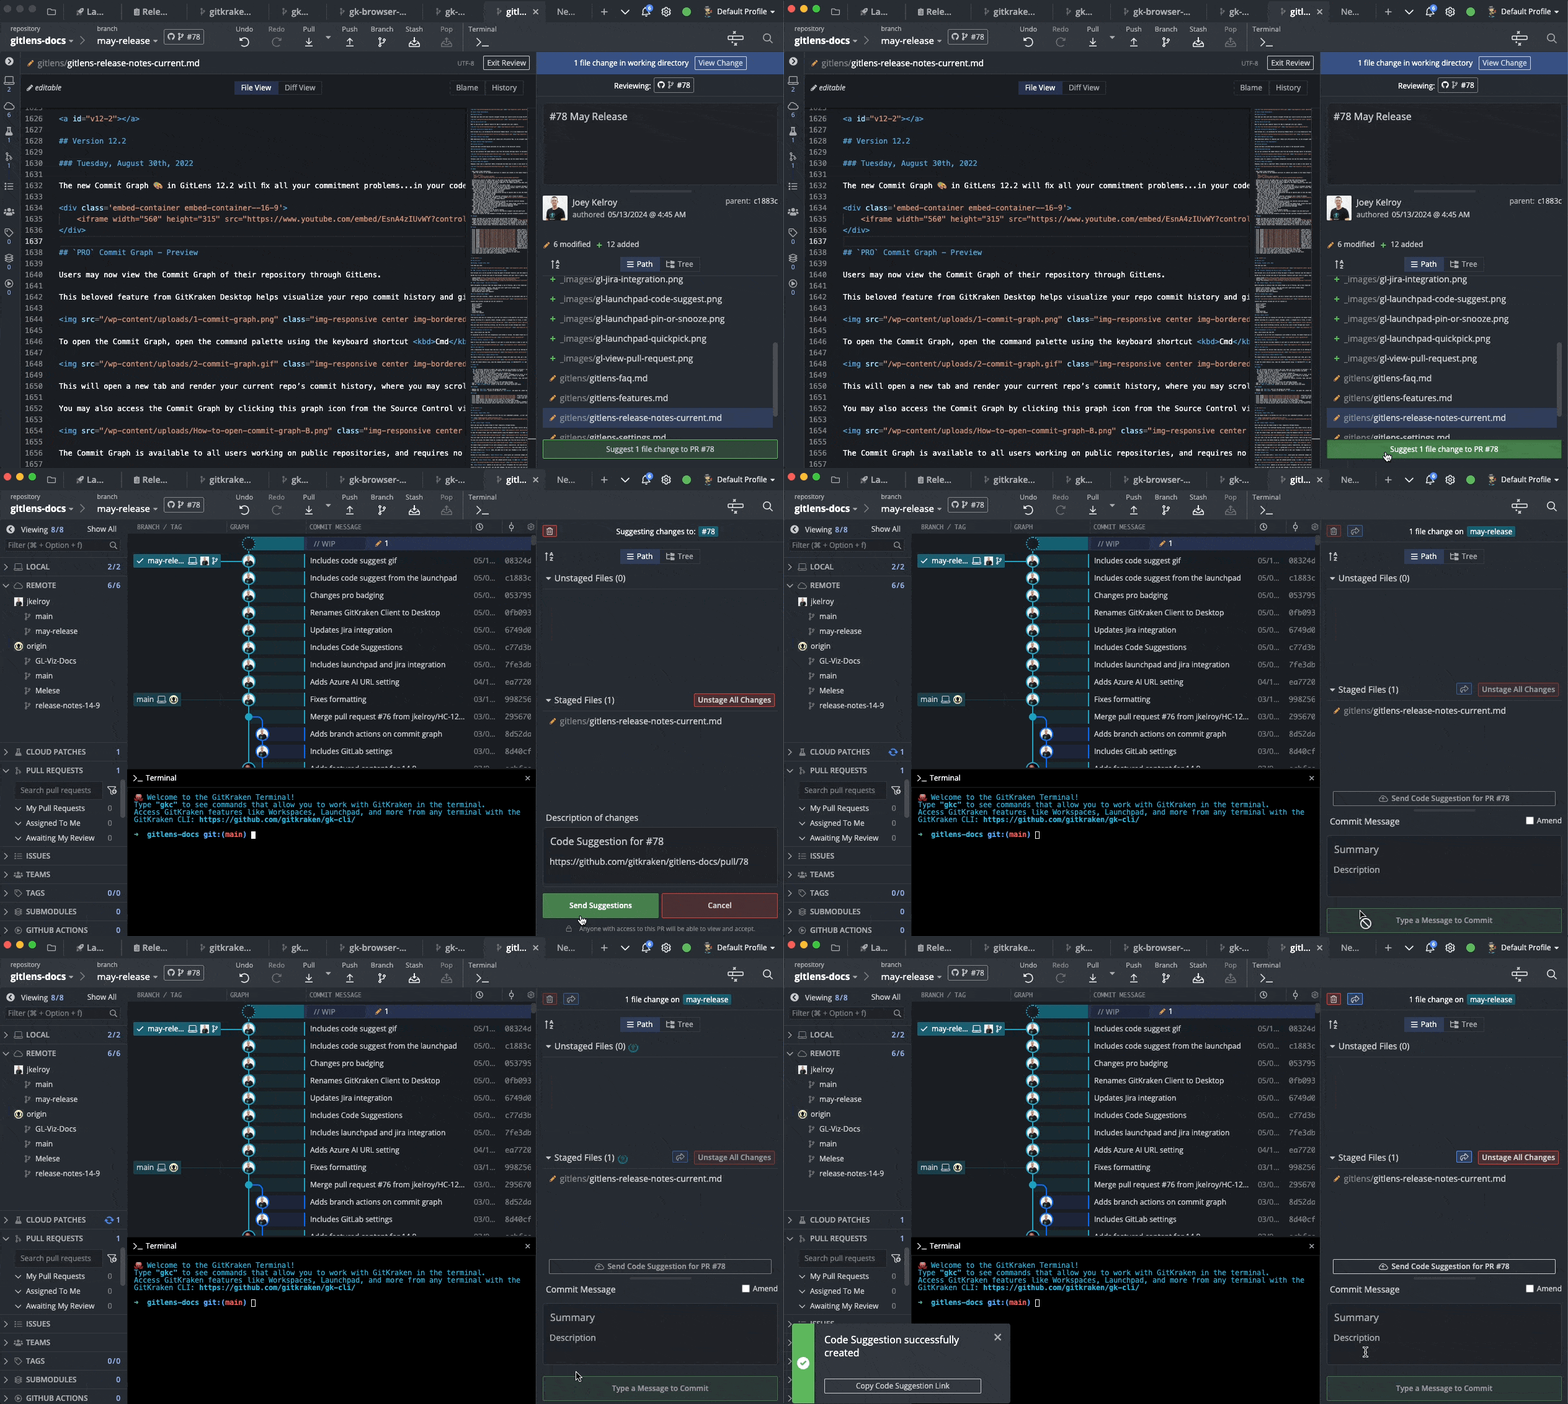
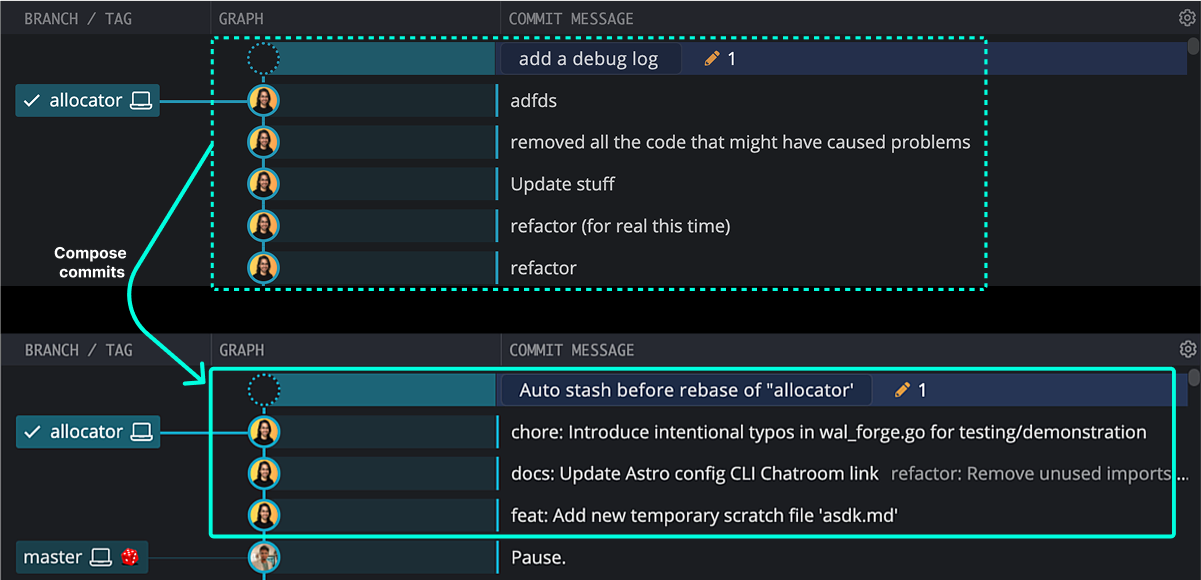
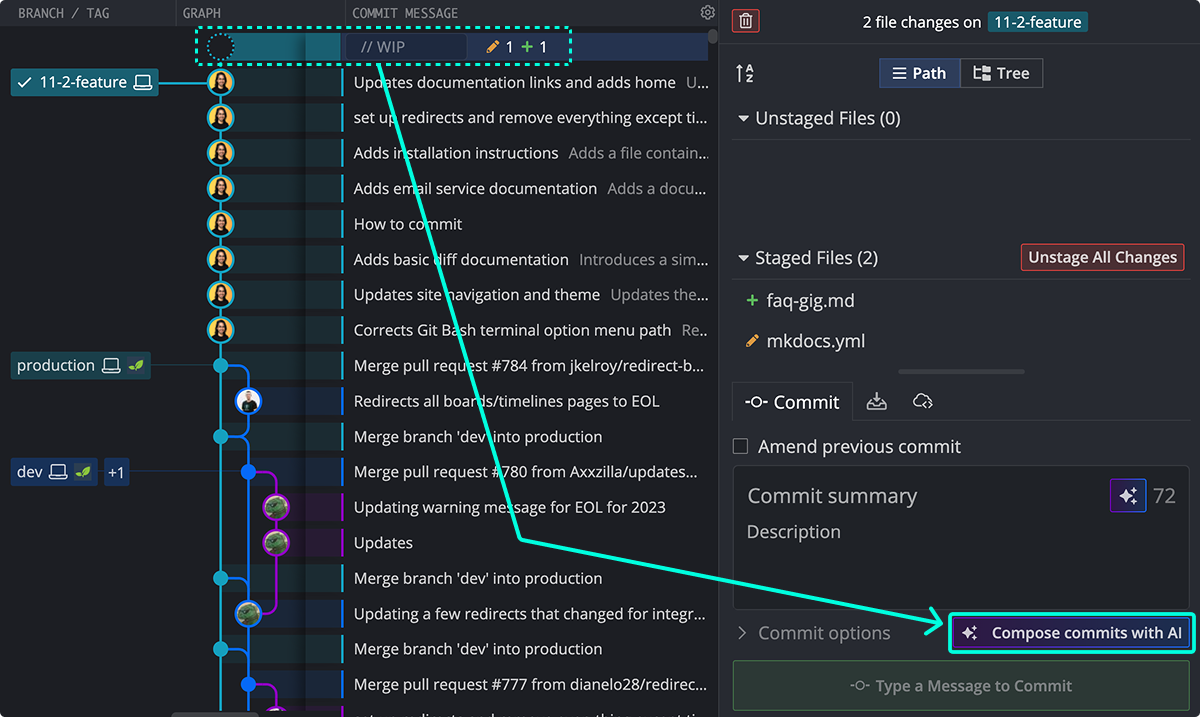
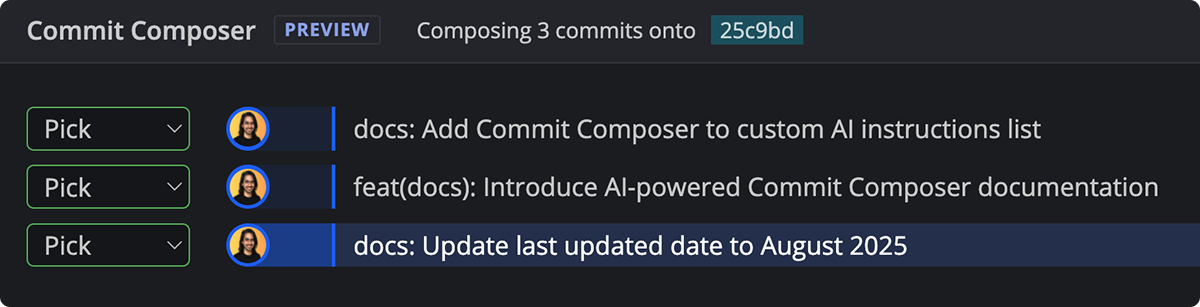
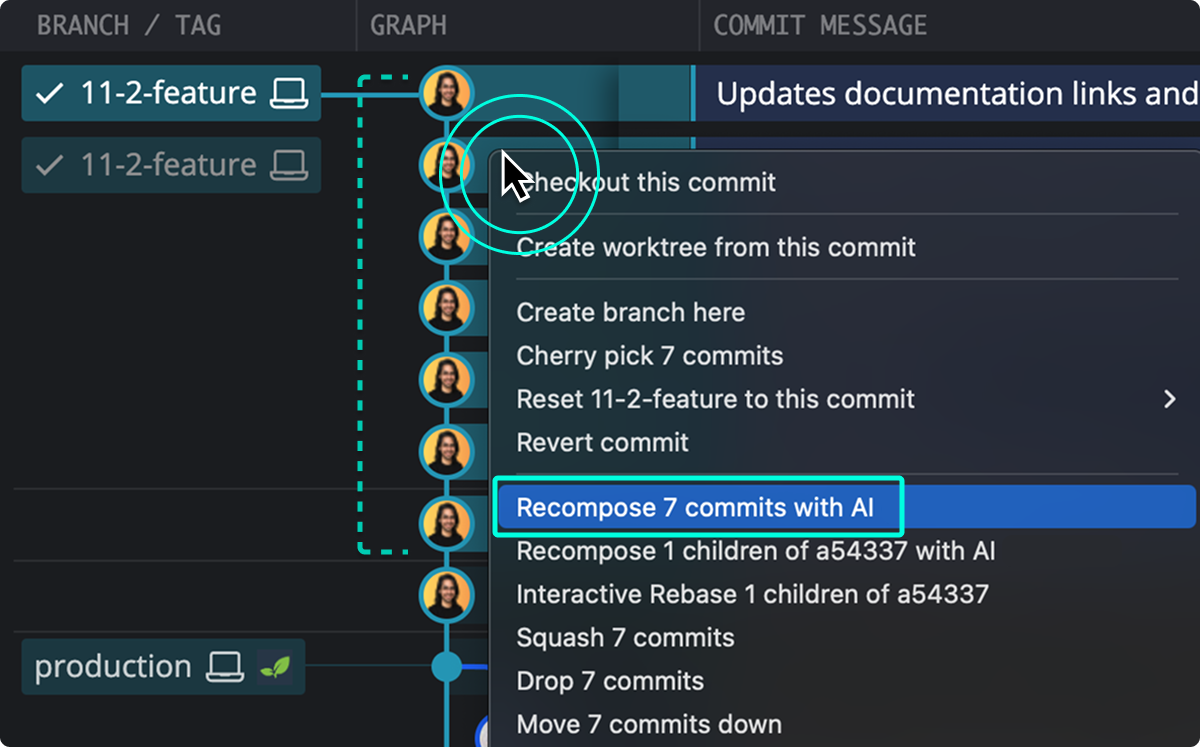

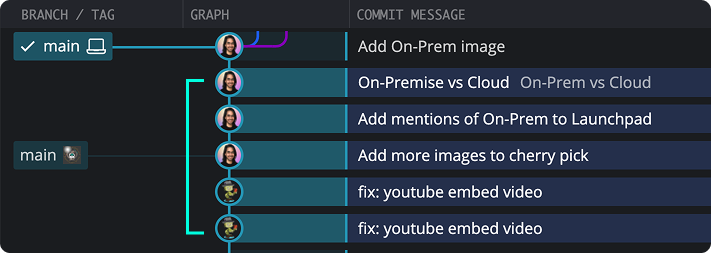
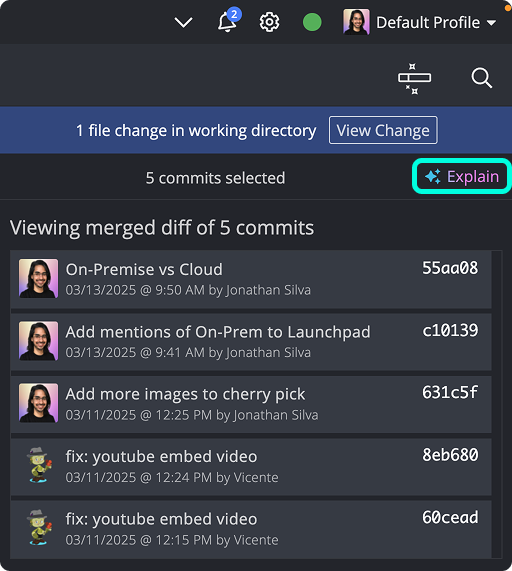
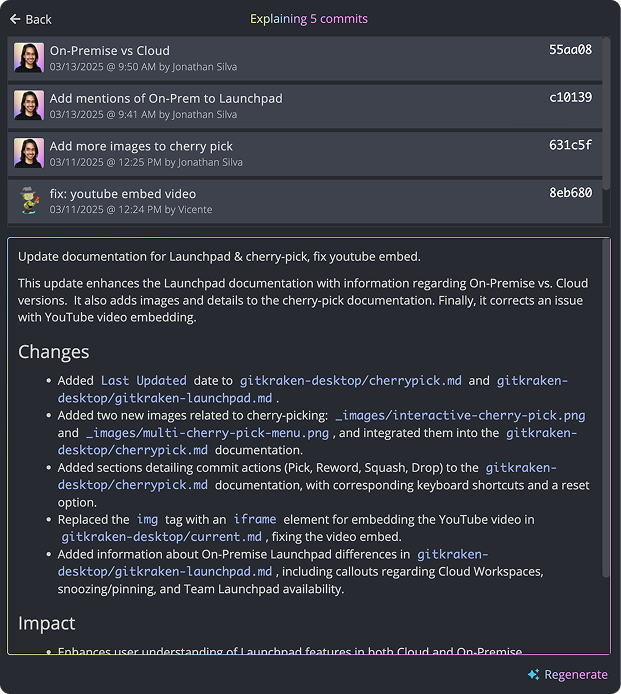
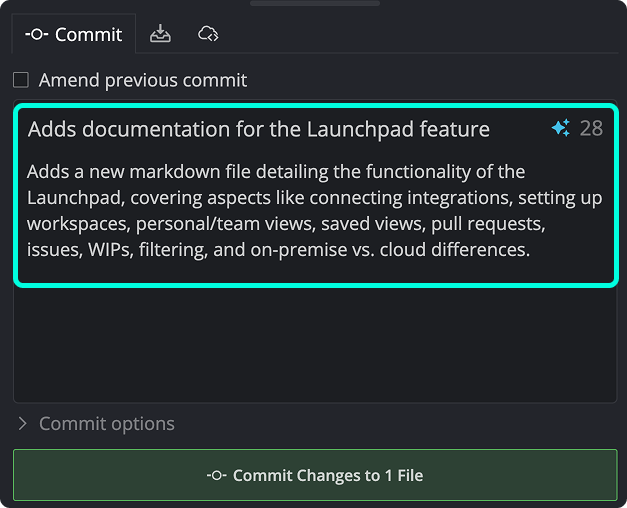
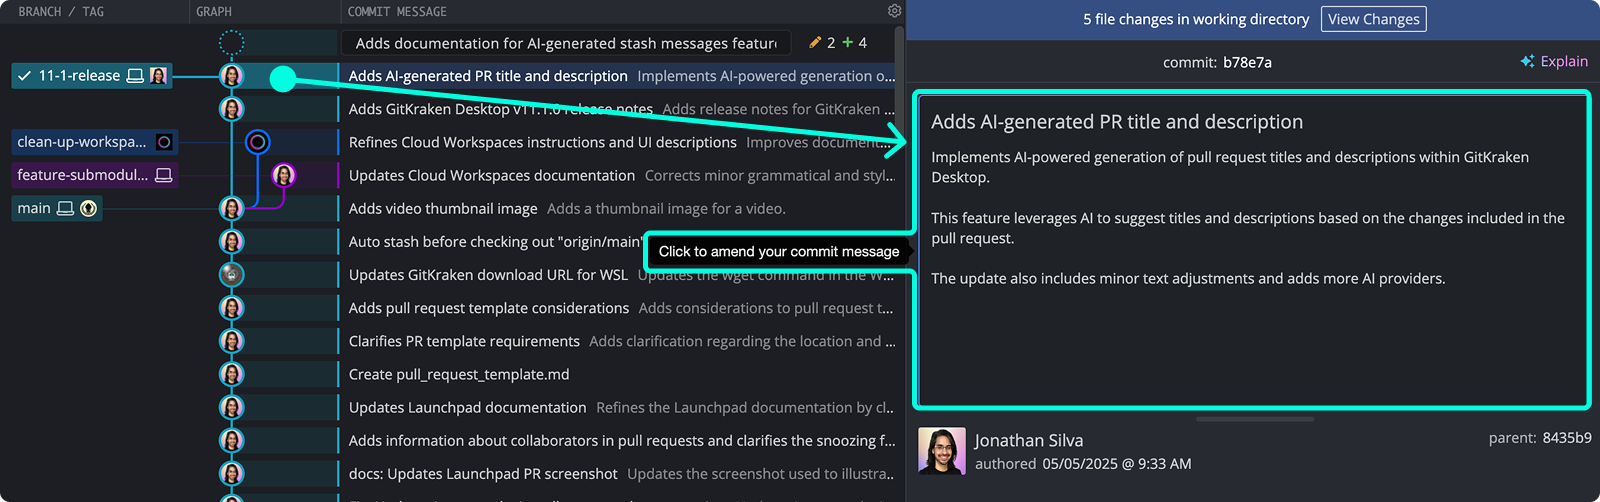
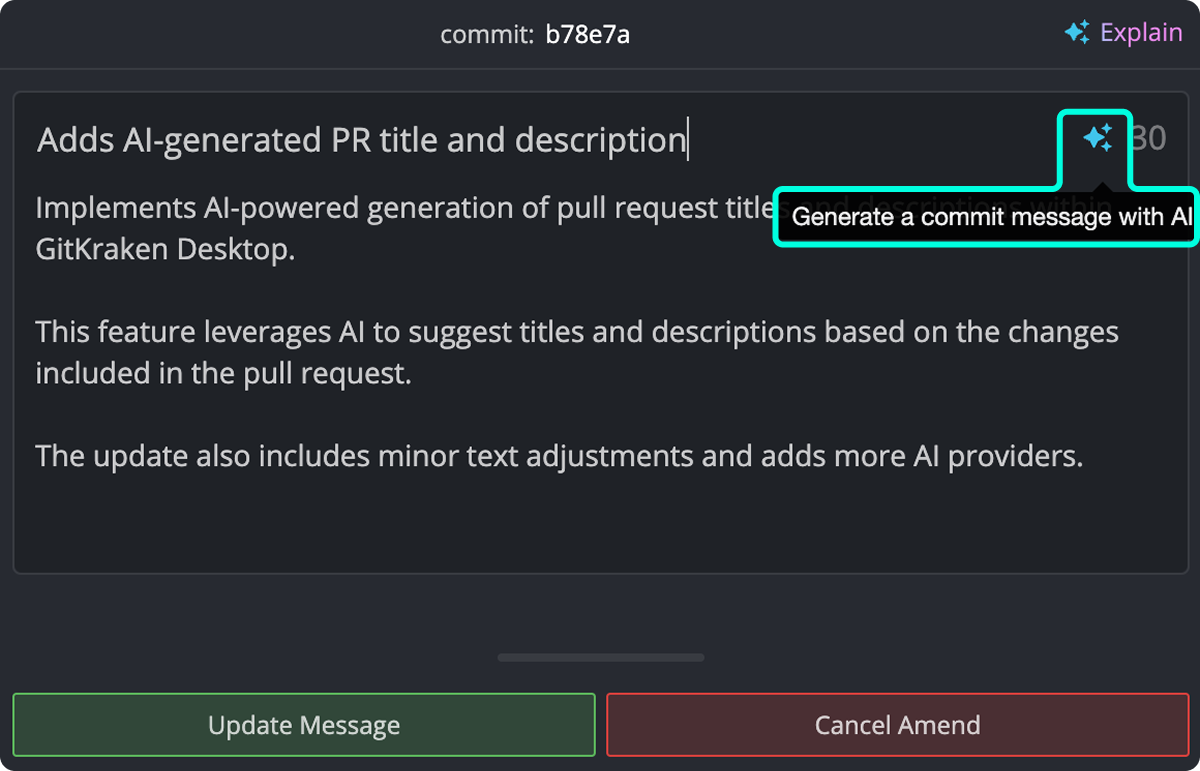
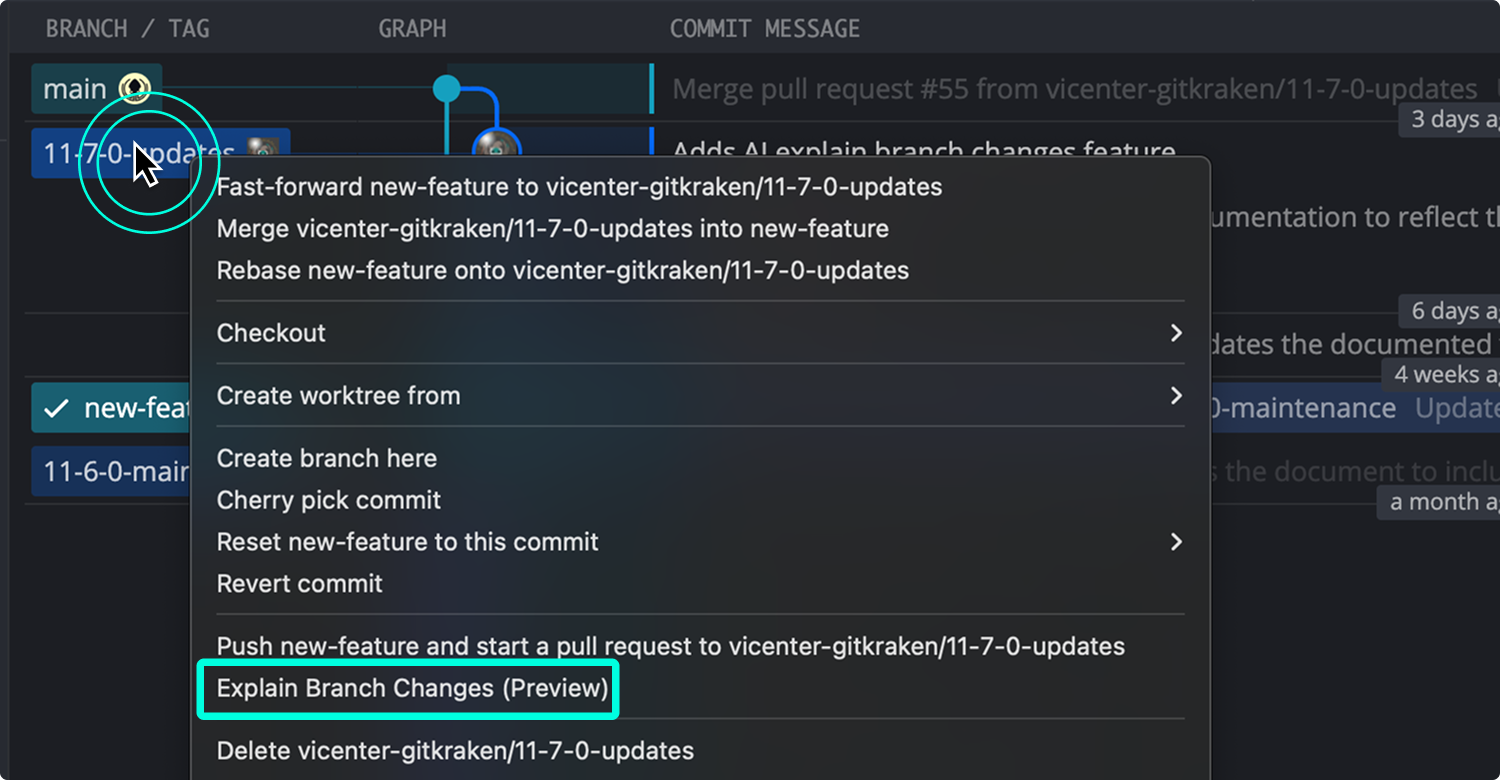
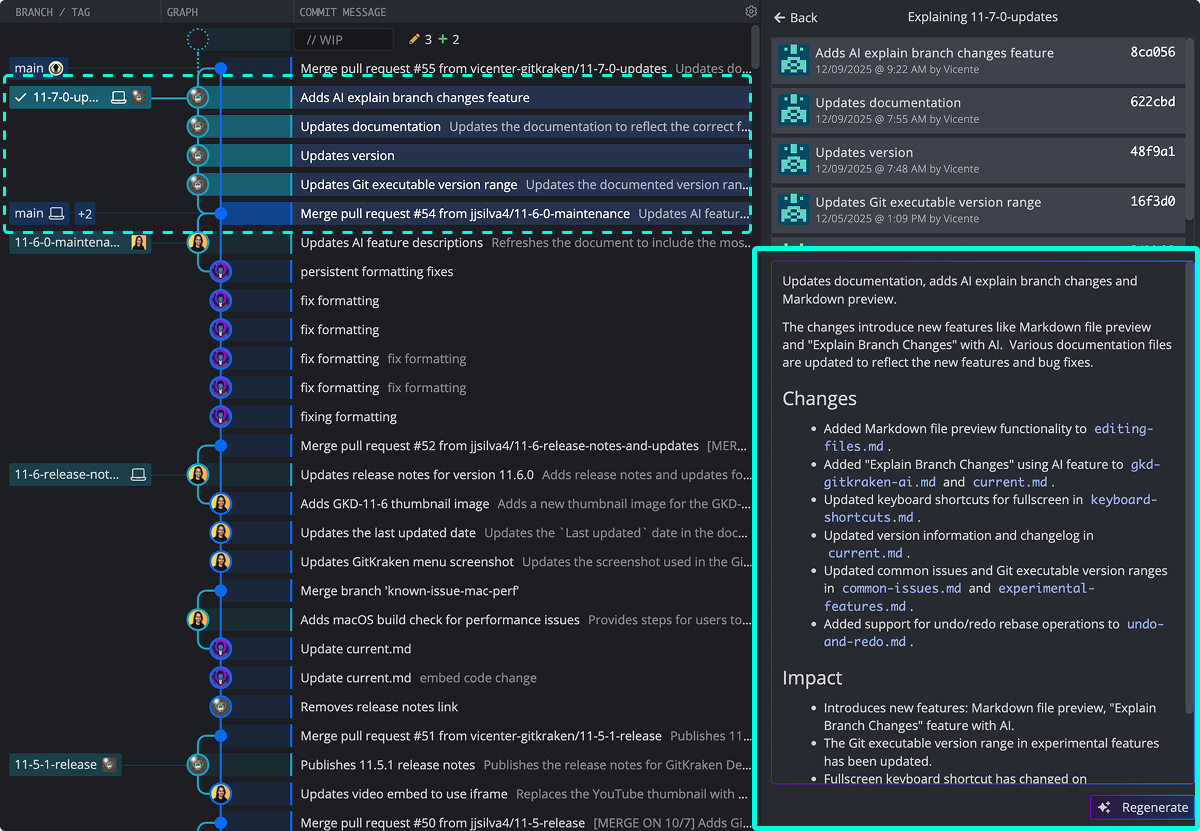
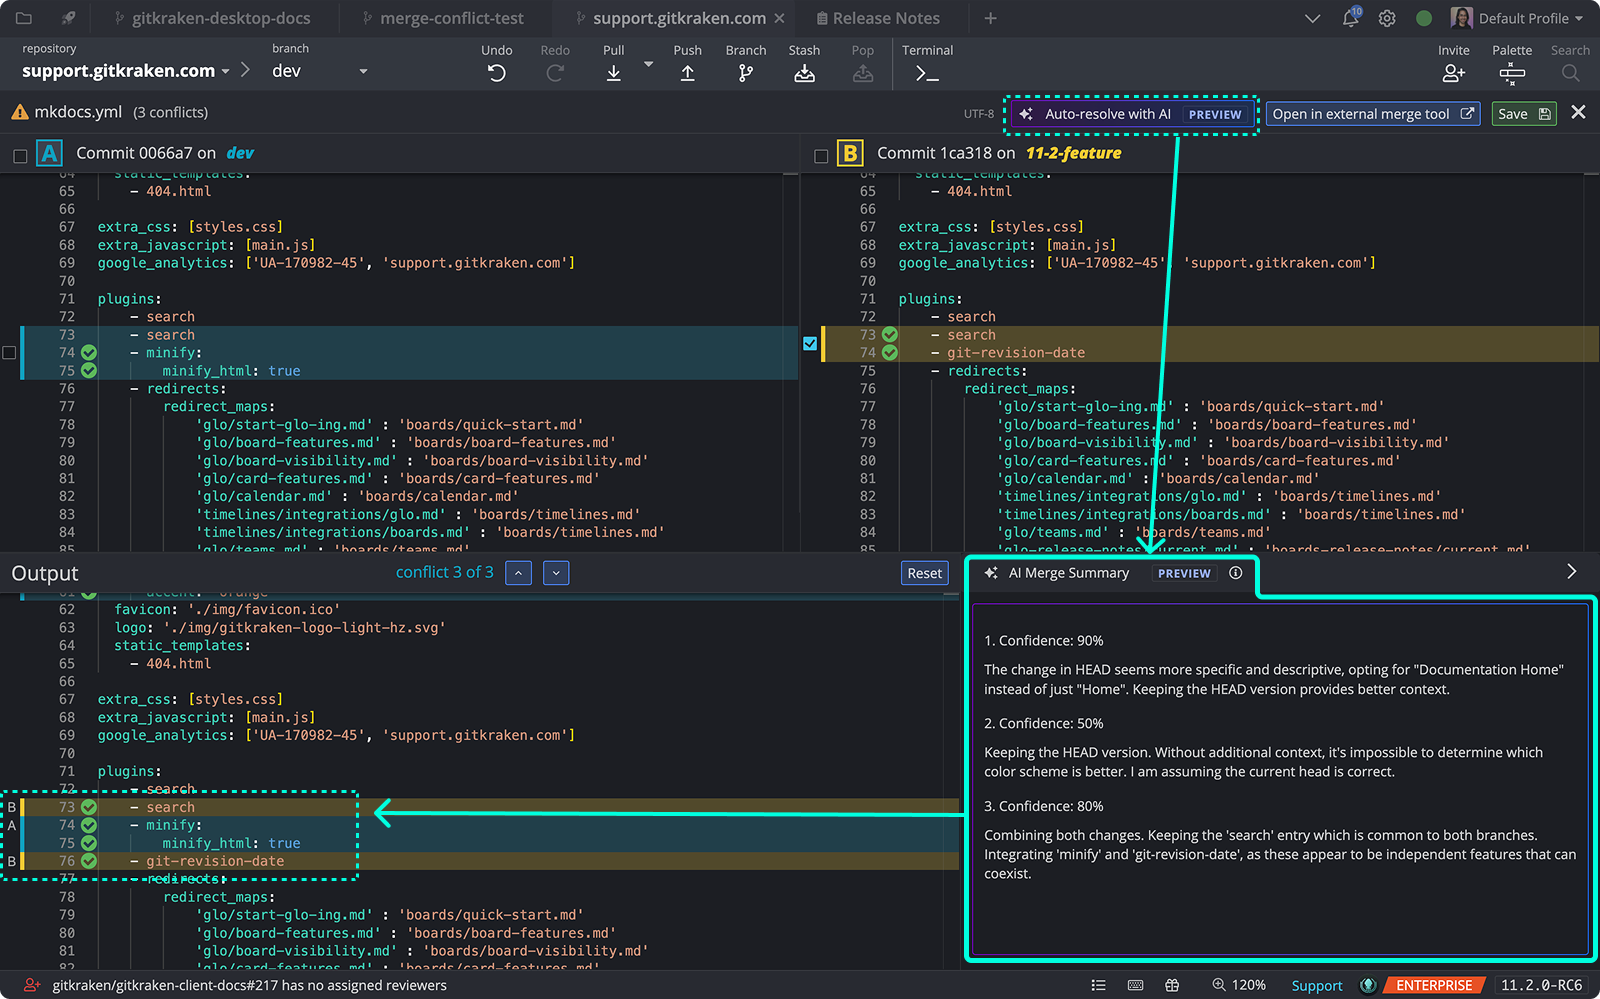

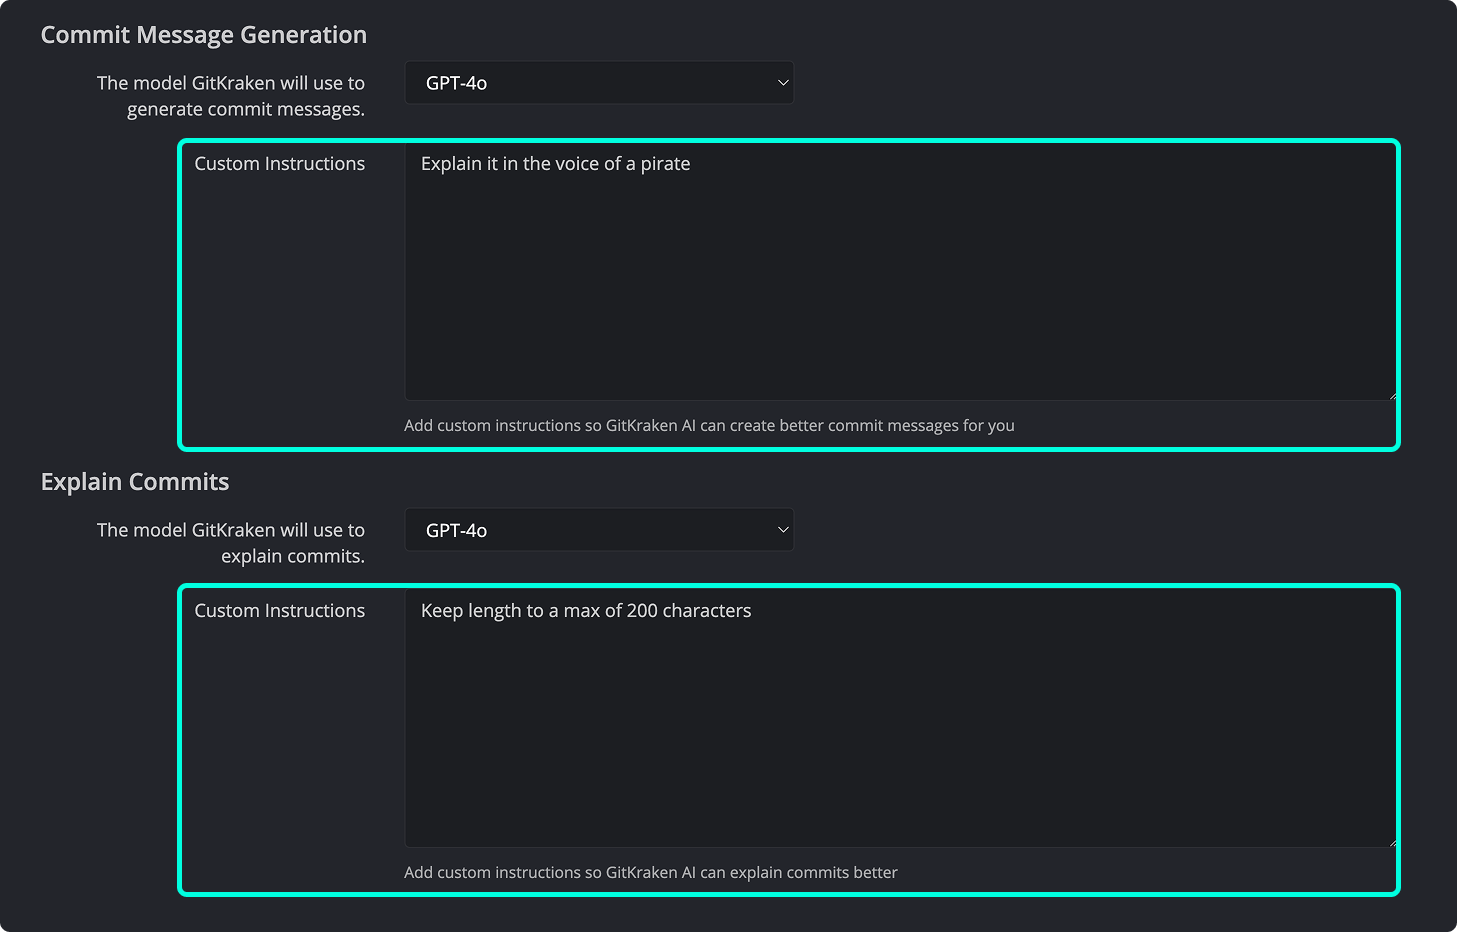
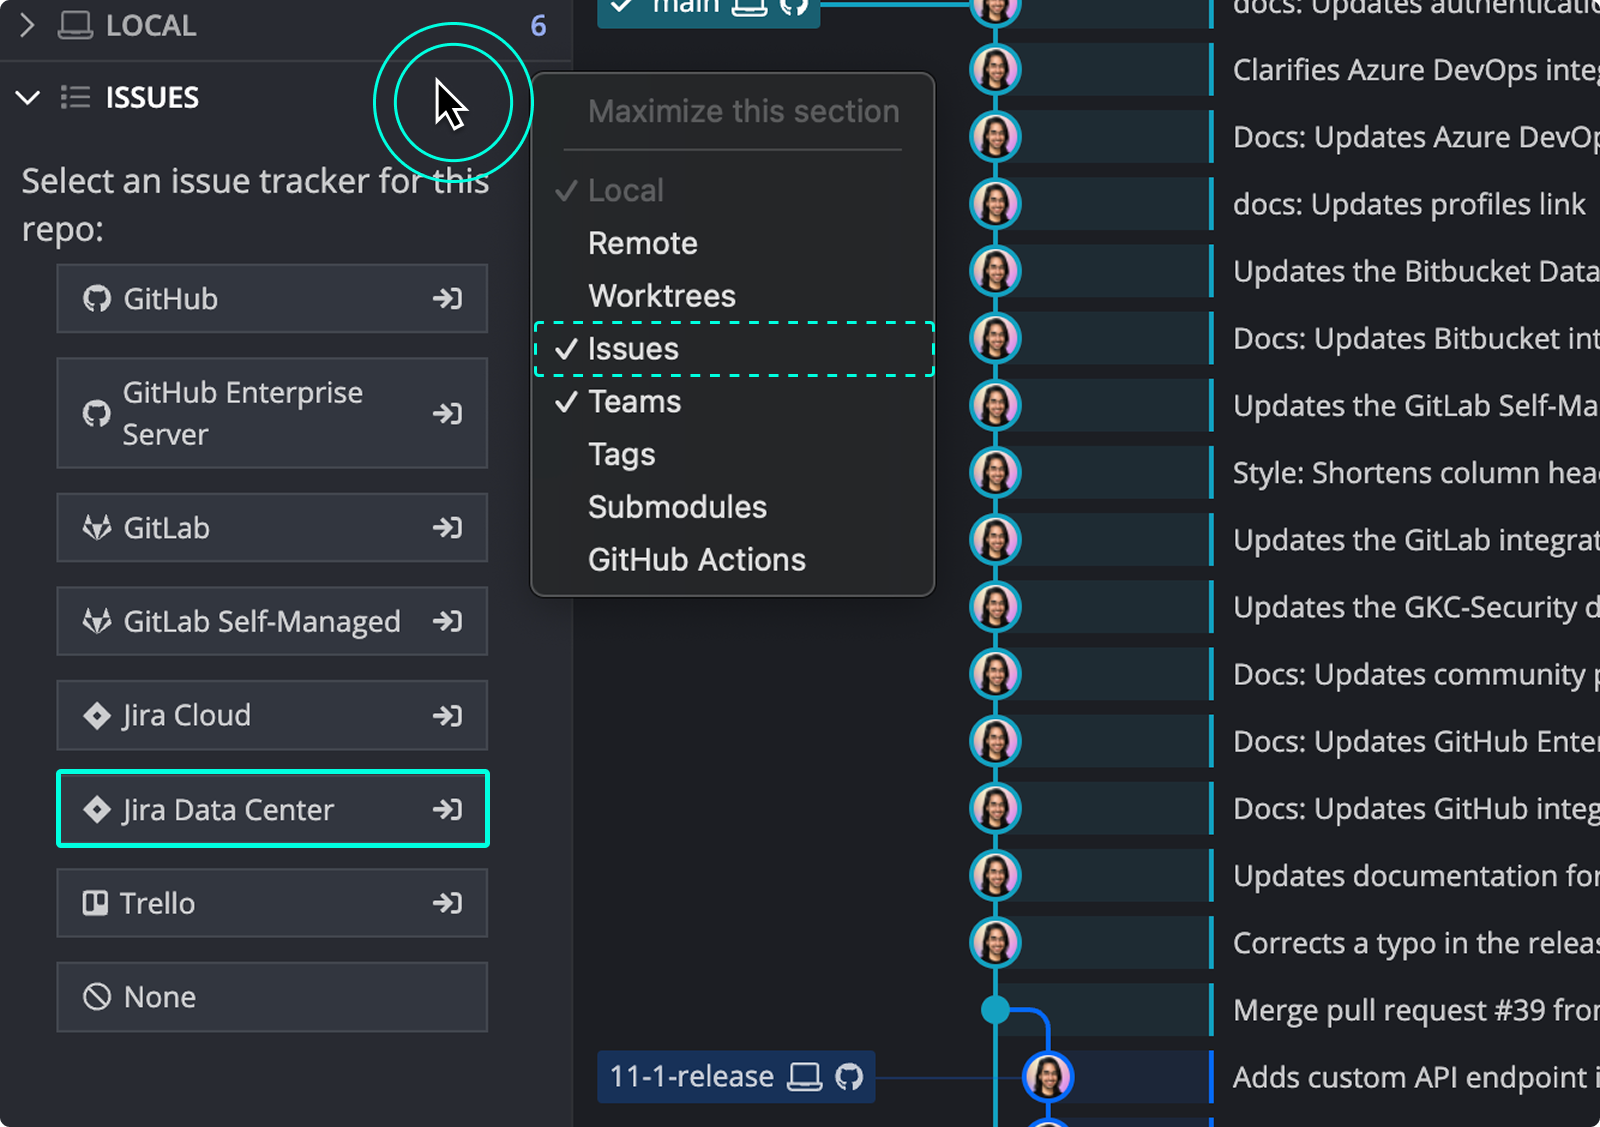 Enter your Host Domain URL and a Personal Access Token generated in your Jira Data Center instance.
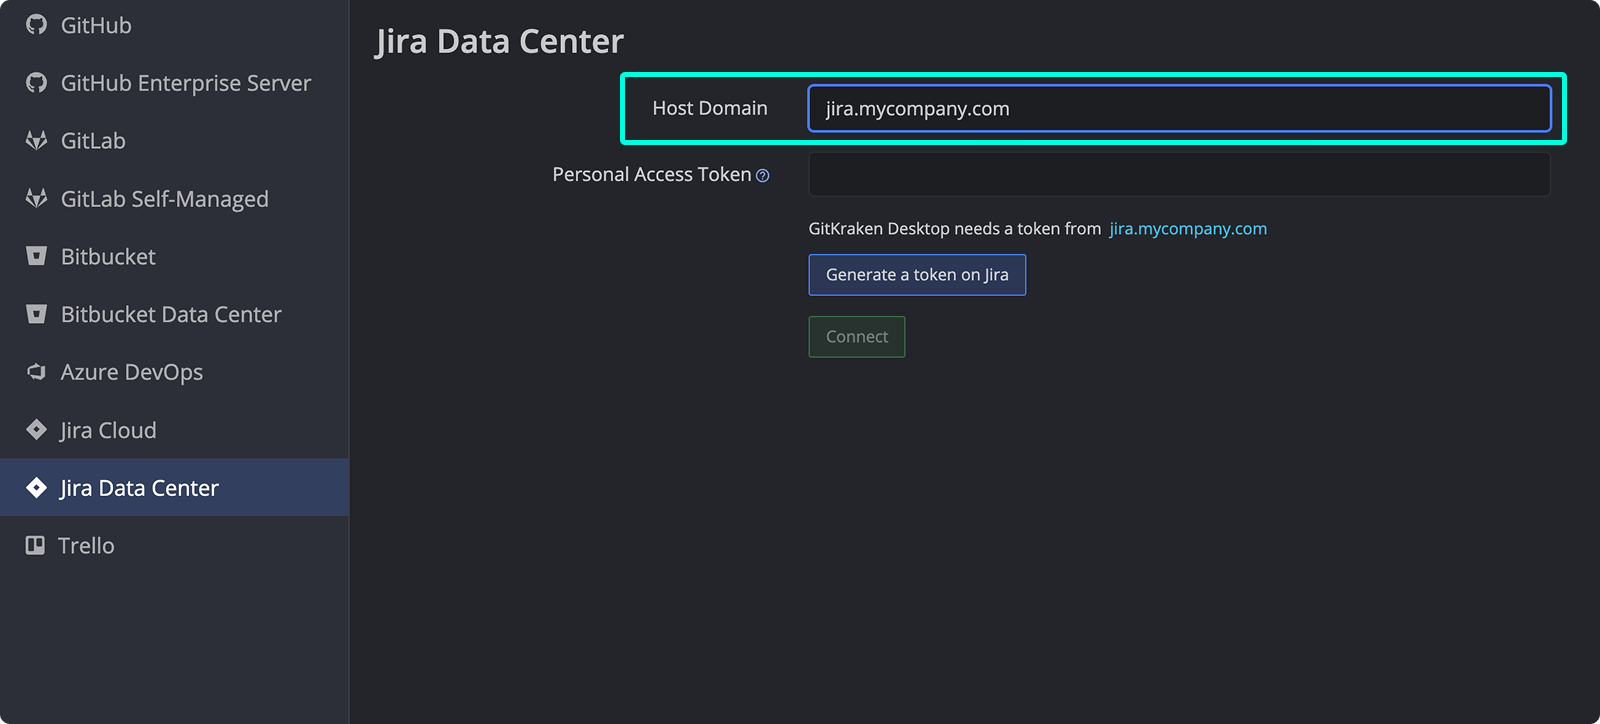 Once connected, GitKraken Desktop will confirm the integration.
 ---
## What the Jira Data Center integration supports
The Jira Data Center integration includes the same functionality as the Jira Cloud integration:
---
## What the Jira Data Center integration supports
The Jira Data Center integration includes the same functionality as the Jira Cloud integration:
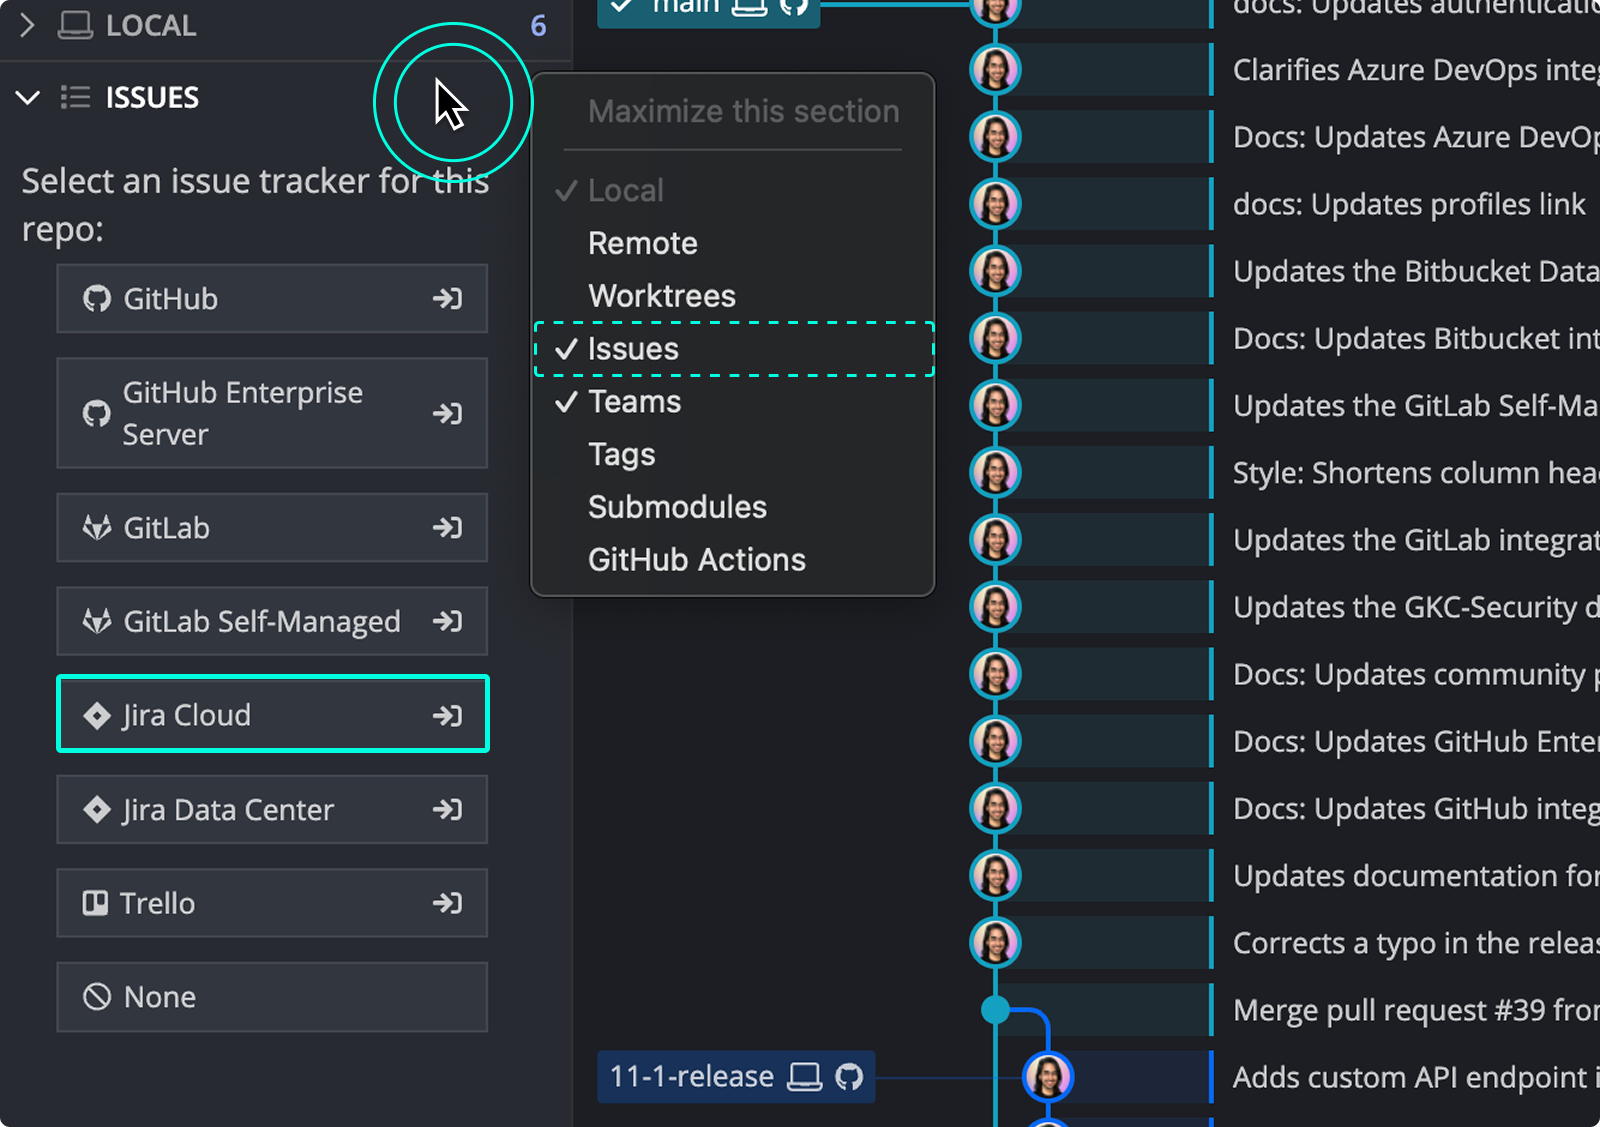 You will be redirected to an Atlassian page to authorize the connection. Click Accept to proceed.
 Alternatively, you may copy the token from the _Success_ page and paste it into the Jira Cloud integration screen in GitKraken Desktop.
---
## How to preview Jira issues
Once connected, your Jira issues will appear in the Left Panel. By default, the app displays issues assigned to you under the _My Issues_ filter.
Alternatively, you may copy the token from the _Success_ page and paste it into the Jira Cloud integration screen in GitKraken Desktop.
---
## How to preview Jira issues
Once connected, your Jira issues will appear in the Left Panel. By default, the app displays issues assigned to you under the _My Issues_ filter.
 Hover over any issue to preview key details including Title, Description, Status, Assignee, and Reporter.
 ---
## How to view Jira issue details
Click an issue to open its detail view.
---
## How to view Jira issue details
Click an issue to open its detail view.
 You can:
- Edit Title and Description
- Change Status
- Assign or reassign
- Add comments
These changes will sync with your Jira board.
---
## How to create a new Jira issue
From the Left Panel, click the
You can:
- Edit Title and Description
- Change Status
- Assign or reassign
- Add comments
These changes will sync with your Jira board.
---
## How to create a new Jira issue
From the Left Panel, click the  The issue will sync directly with your connected Jira project.
---
## How to create Jira filters
You can create filters to show specific issues. The integration supports Atlassian’s JQL (Jira Query Language) and provides auto-complete for filter fields.
The issue will sync directly with your connected Jira project.
---
## How to create Jira filters
You can create filters to show specific issues. The integration supports Atlassian’s JQL (Jira Query Language) and provides auto-complete for filter fields.
 For advanced filtering tips, see Atlassian’s [JQL guide](https://www.atlassian.com/software/jira/guides/expand-jira/jql#visualize-results).
---
## How to create branches from Jira issues
You can create branches tied to Jira issues directly from the issue detail view.
For advanced filtering tips, see Atlassian’s [JQL guide](https://www.atlassian.com/software/jira/guides/expand-jira/jql#visualize-results).
---
## How to create branches from Jira issues
You can create branches tied to Jira issues directly from the issue detail view.
 The branch name is prefilled based on the issue title. After creation, branches linked to Jira issues display the Jira icon.
---
## How to copy an issue link or open it in Jira
Click the icon on an issue card to copy the issue link or open it directly in Jira.
The branch name is prefilled based on the issue title. After creation, branches linked to Jira issues display the Jira icon.
---
## How to copy an issue link or open it in Jira
Click the icon on an issue card to copy the issue link or open it directly in Jira.
 ---
## More Jira integration options
For more powerful features between GitKraken and Jira, check out Git Integration for Jira.
---
# GitKraken Desktop + Git Integration for Jira
URL: https://help.gitkraken.com/gitkraken-desktop/git-integration-for-jira/
Description: Connect GitKraken Desktop with Git Integration for Jira to navigate commits and diffs directly from Jira issues, and open GitKraken from Jira for deeper Git context.
Product: Git Integration for Jira
Feature: GitKraken Desktop Integration
Content type: how-to
Audience: developer
Plan required: all
Status: GA
Last verified: 2026-03
Last updated: March 2026
This page explains how GitKraken Desktop works with the Git Integration for Jira app so you can jump between Jira issues, commits, and file diffs. Use it when your team works in Jira Cloud and you want direct navigation between issue context and Git history.
**Requirements and limits**
- Scope: Navigation between GitKraken Desktop and Jira via Git Integration for Jira
- Jira requirement: Jira Cloud integration must already be connected in GitKraken Desktop
- Repository requirement: Set Preferences > Issue Tracker to Jira Cloud for the relevant repository
- Project requirement: A Jira project must be selected in the Left Panel
- App dependency: The Git Integration for Jira app must be installed on the same Jira Cloud instance
- Workflow scope: This page covers navigation between Jira, commits, and file diffs rather than general Jira issue management
---
## What this integration requires
Before using this integration, ensure the following:
1. Connect the [Jira Cloud Integration](/integrations/jira) in GitKraken Desktop.
2. Set Preferences > Issue Tracker to use Jira Cloud for the relevant repository.
3. Select a Jira Project in the Left Panel.
4. The Git Integration for Jira app must be installed on the same Jira Cloud instance.
---
## How to open a file diff in Jira
Once connected, a Open in Jira button appears in the [file diff view](/gitkraken-desktop/diff/). Clicking this opens the specific file diff in your Jira instance.
---
## More Jira integration options
For more powerful features between GitKraken and Jira, check out Git Integration for Jira.
---
# GitKraken Desktop + Git Integration for Jira
URL: https://help.gitkraken.com/gitkraken-desktop/git-integration-for-jira/
Description: Connect GitKraken Desktop with Git Integration for Jira to navigate commits and diffs directly from Jira issues, and open GitKraken from Jira for deeper Git context.
Product: Git Integration for Jira
Feature: GitKraken Desktop Integration
Content type: how-to
Audience: developer
Plan required: all
Status: GA
Last verified: 2026-03
Last updated: March 2026
This page explains how GitKraken Desktop works with the Git Integration for Jira app so you can jump between Jira issues, commits, and file diffs. Use it when your team works in Jira Cloud and you want direct navigation between issue context and Git history.
**Requirements and limits**
- Scope: Navigation between GitKraken Desktop and Jira via Git Integration for Jira
- Jira requirement: Jira Cloud integration must already be connected in GitKraken Desktop
- Repository requirement: Set Preferences > Issue Tracker to Jira Cloud for the relevant repository
- Project requirement: A Jira project must be selected in the Left Panel
- App dependency: The Git Integration for Jira app must be installed on the same Jira Cloud instance
- Workflow scope: This page covers navigation between Jira, commits, and file diffs rather than general Jira issue management
---
## What this integration requires
Before using this integration, ensure the following:
1. Connect the [Jira Cloud Integration](/integrations/jira) in GitKraken Desktop.
2. Set Preferences > Issue Tracker to use Jira Cloud for the relevant repository.
3. Select a Jira Project in the Left Panel.
4. The Git Integration for Jira app must be installed on the same Jira Cloud instance.
---
## How to open a file diff in Jira
Once connected, a Open in Jira button appears in the [file diff view](/gitkraken-desktop/diff/). Clicking this opens the specific file diff in your Jira instance.
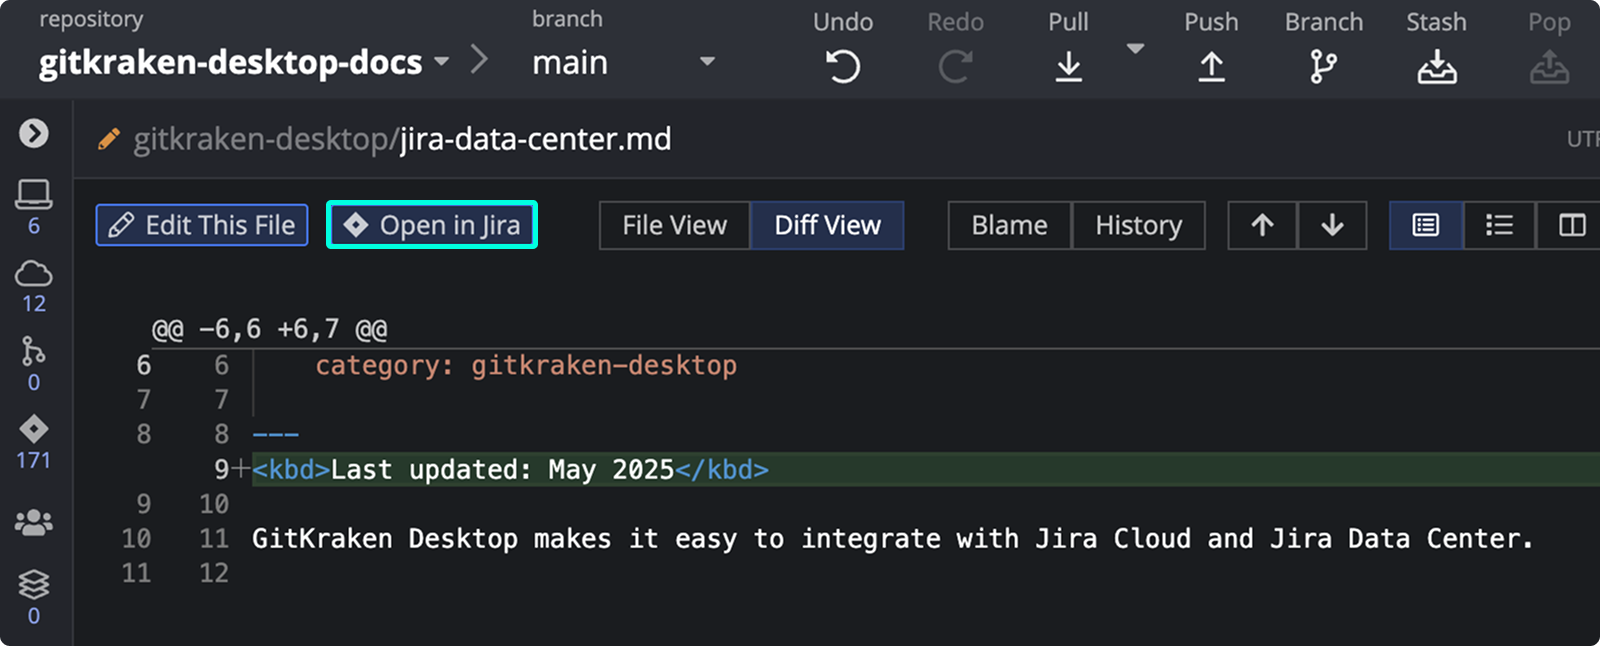 ---
## How to open Jira to a commit
Right-click any commit in the graph and choose Open in Jira. This launches Jira focused on the selected commit.
---
## How to open Jira to a commit
Right-click any commit in the graph and choose Open in Jira. This launches Jira focused on the selected commit.
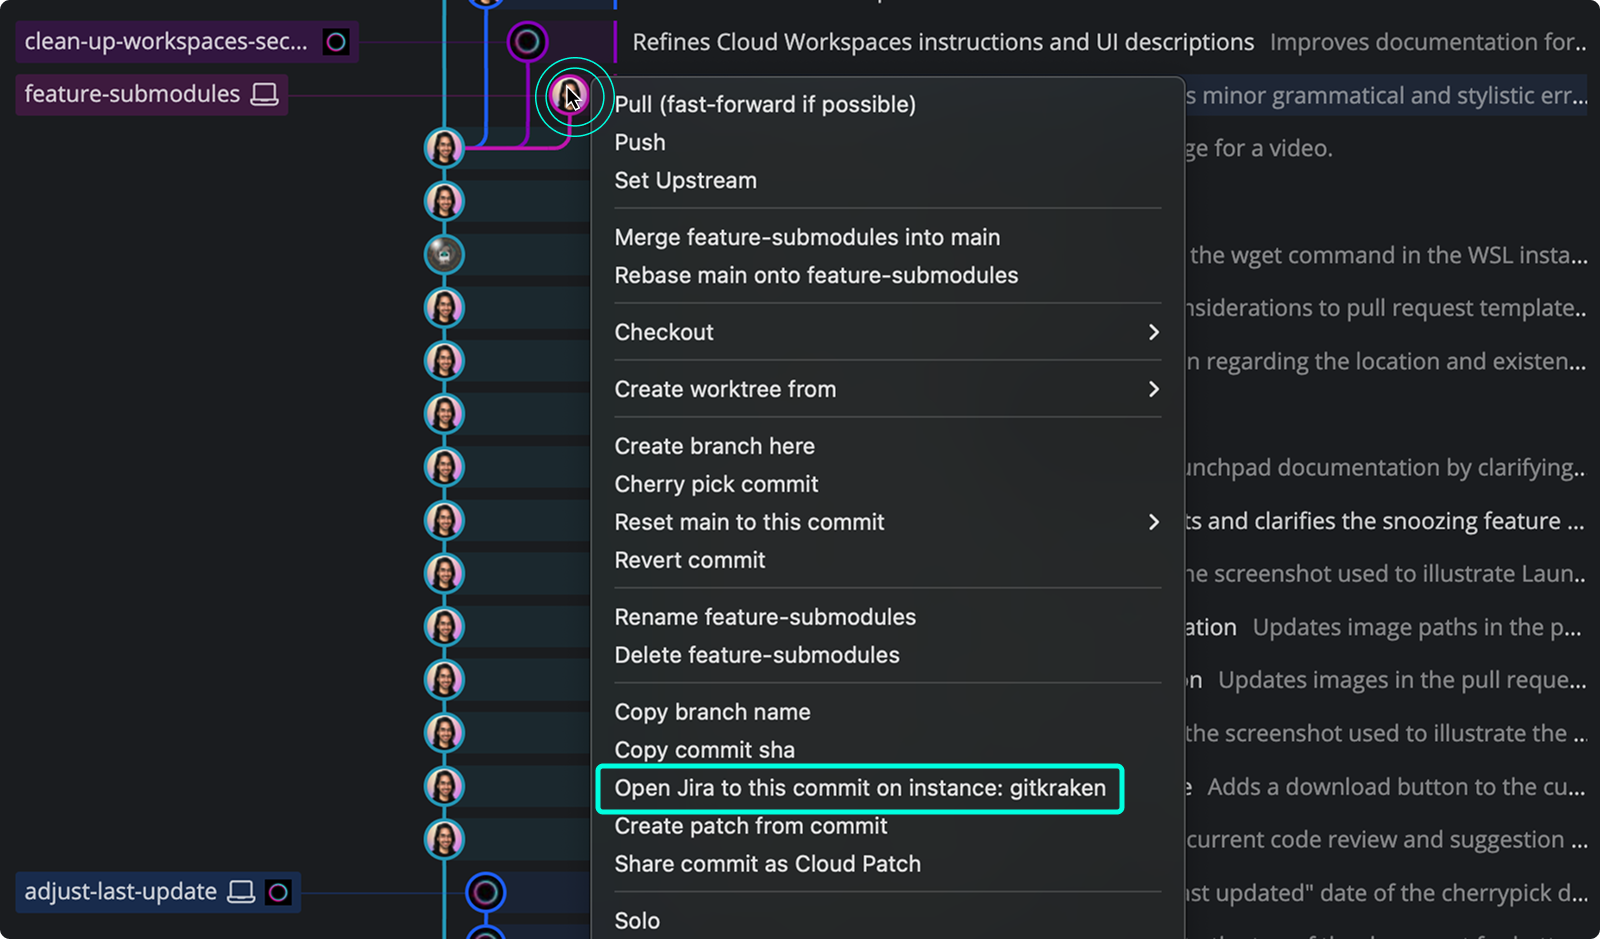 ---
## How to open GitKraken Desktop from Jira
Within Jira, Git Integration for Jira adds buttons to open commits and diffs in GitKraken. Look for the GitKraken logo to launch GitKraken Desktop for a deeper view.
---
## How to open GitKraken Desktop from Jira
Within Jira, Git Integration for Jira adds buttons to open commits and diffs in GitKraken. Look for the GitKraken logo to launch GitKraken Desktop for a deeper view.
 ---
# GitKraken Desktop + GitHub Enterprise Issues Integration
URL: https://help.gitkraken.com/gitkraken-desktop/github-enterprise-issues/
Description: Connect GitKraken Desktop with GitHub Enterprise Server to preview, filter, and create issues directly from your Git workflow.
Product: GitKraken Desktop
Feature: GitHub Enterprise Server Issues Integration
Content type: how-to
Audience: developer
Plan required: [Advanced, Business, Enterprise]
Status: GA
Last verified: 2026-03
Last updated: March 2026
This page explains how GitKraken Desktop connects to GitHub Enterprise Server Issues so you can preview, filter, and create issues alongside your repository work. Use it when you already work with GitHub Enterprise Server and want issue access inside GitKraken Desktop instead of switching to the web interface.
---
# GitKraken Desktop + GitHub Enterprise Issues Integration
URL: https://help.gitkraken.com/gitkraken-desktop/github-enterprise-issues/
Description: Connect GitKraken Desktop with GitHub Enterprise Server to preview, filter, and create issues directly from your Git workflow.
Product: GitKraken Desktop
Feature: GitHub Enterprise Server Issues Integration
Content type: how-to
Audience: developer
Plan required: [Advanced, Business, Enterprise]
Status: GA
Last verified: 2026-03
Last updated: March 2026
This page explains how GitKraken Desktop connects to GitHub Enterprise Server Issues so you can preview, filter, and create issues alongside your repository work. Use it when you already work with GitHub Enterprise Server and want issue access inside GitKraken Desktop instead of switching to the web interface.
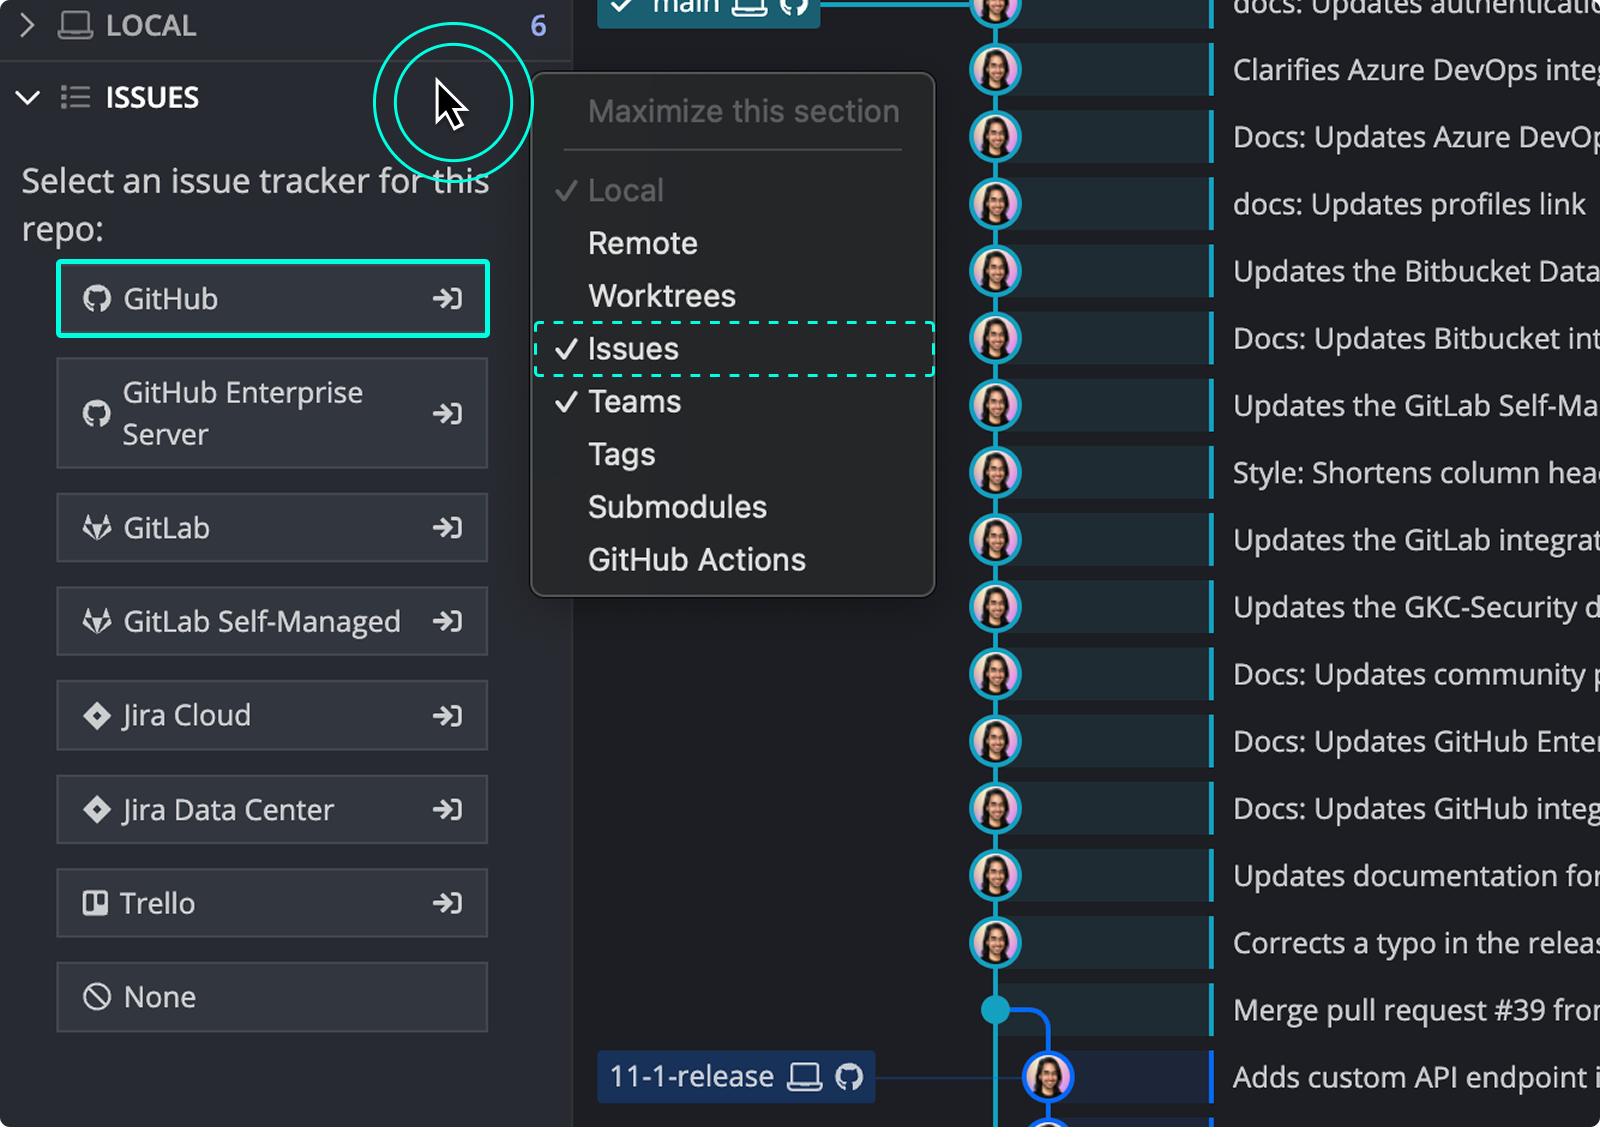 From the Integrations window, select GitHub.com and click Connect to GitHub.
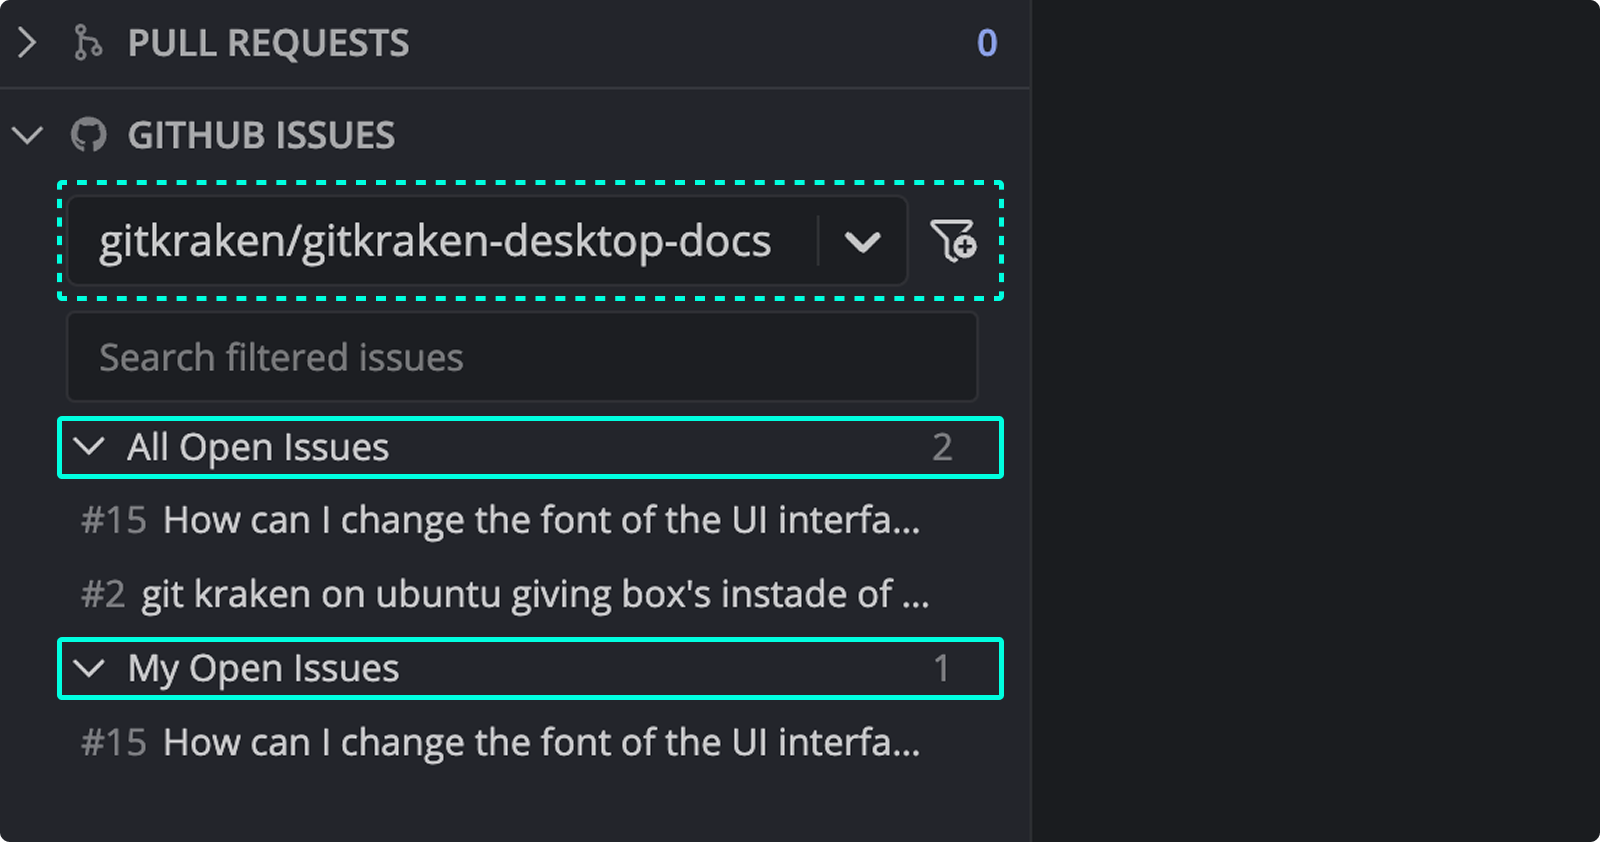 Hover over an issue to preview the title, description, status, labels, assignees, and reporter.
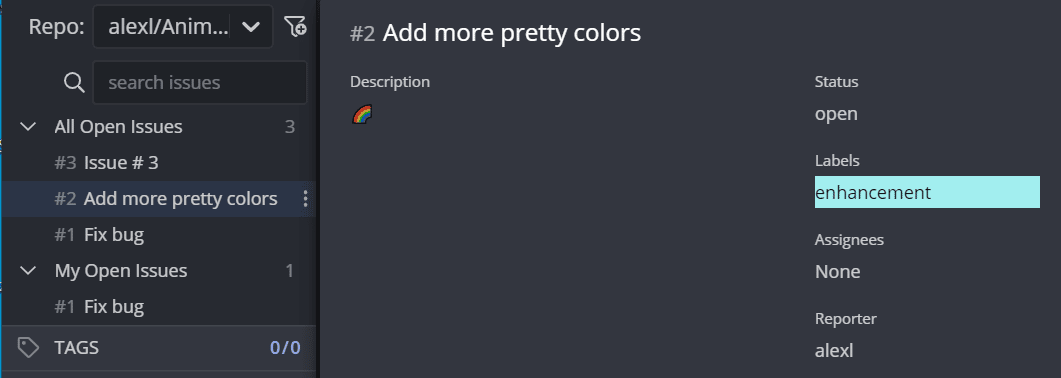 ---
## How to view and edit GitHub issue details
Click an issue to open the details view.
---
## How to view and edit GitHub issue details
Click an issue to open the details view.
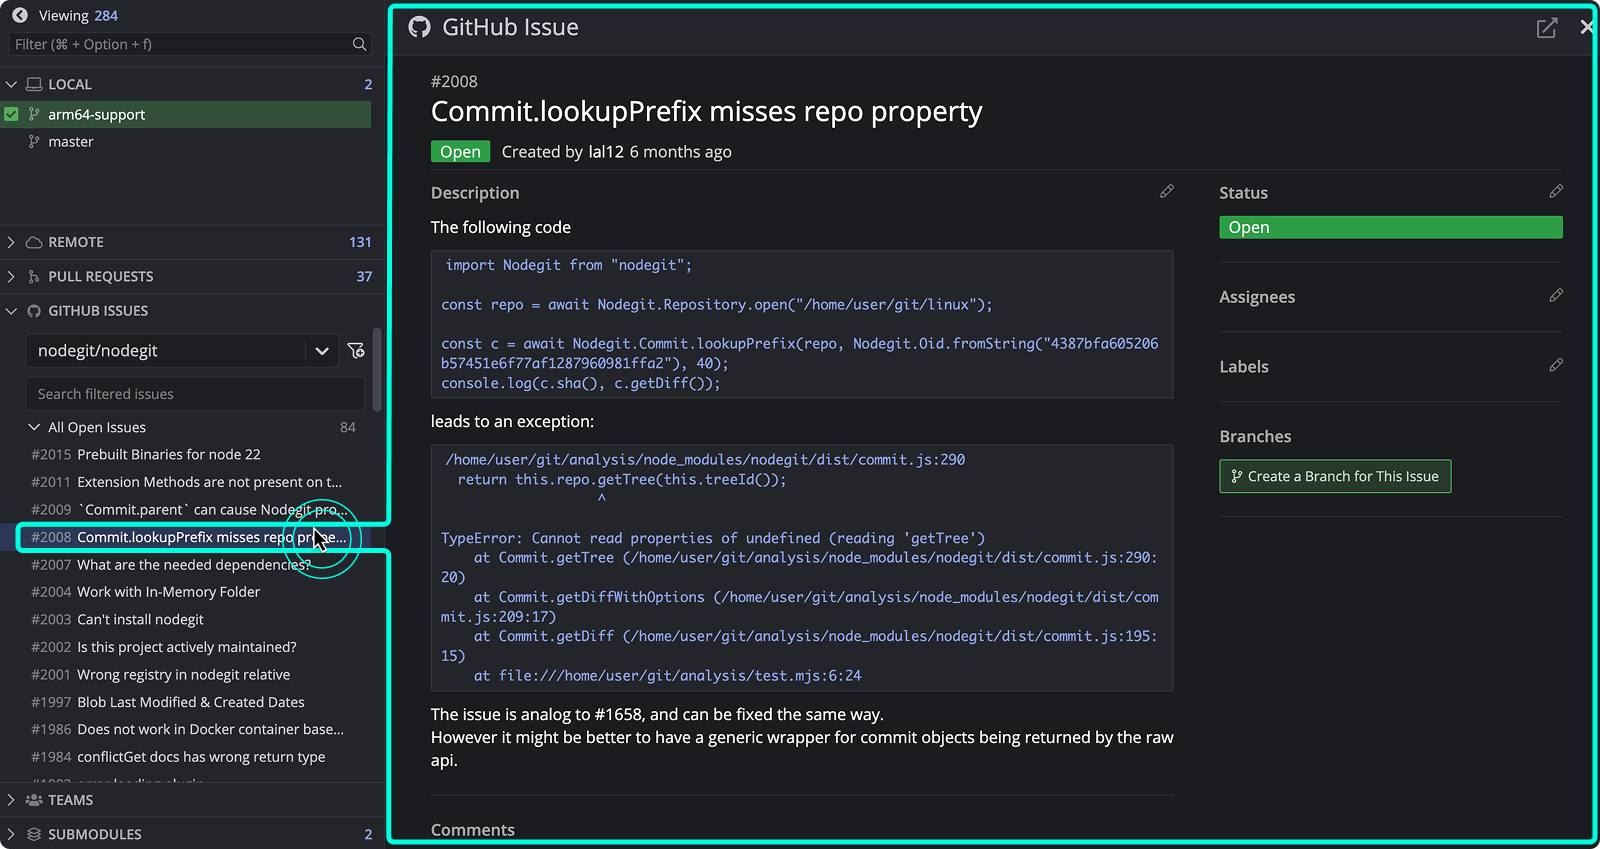 Any changes made here will be synced with GitHub.
---
## How to create a new GitHub issue
To create a new issue, click the
Any changes made here will be synced with GitHub.
---
## How to create a new GitHub issue
To create a new issue, click the  Required fields are marked with
 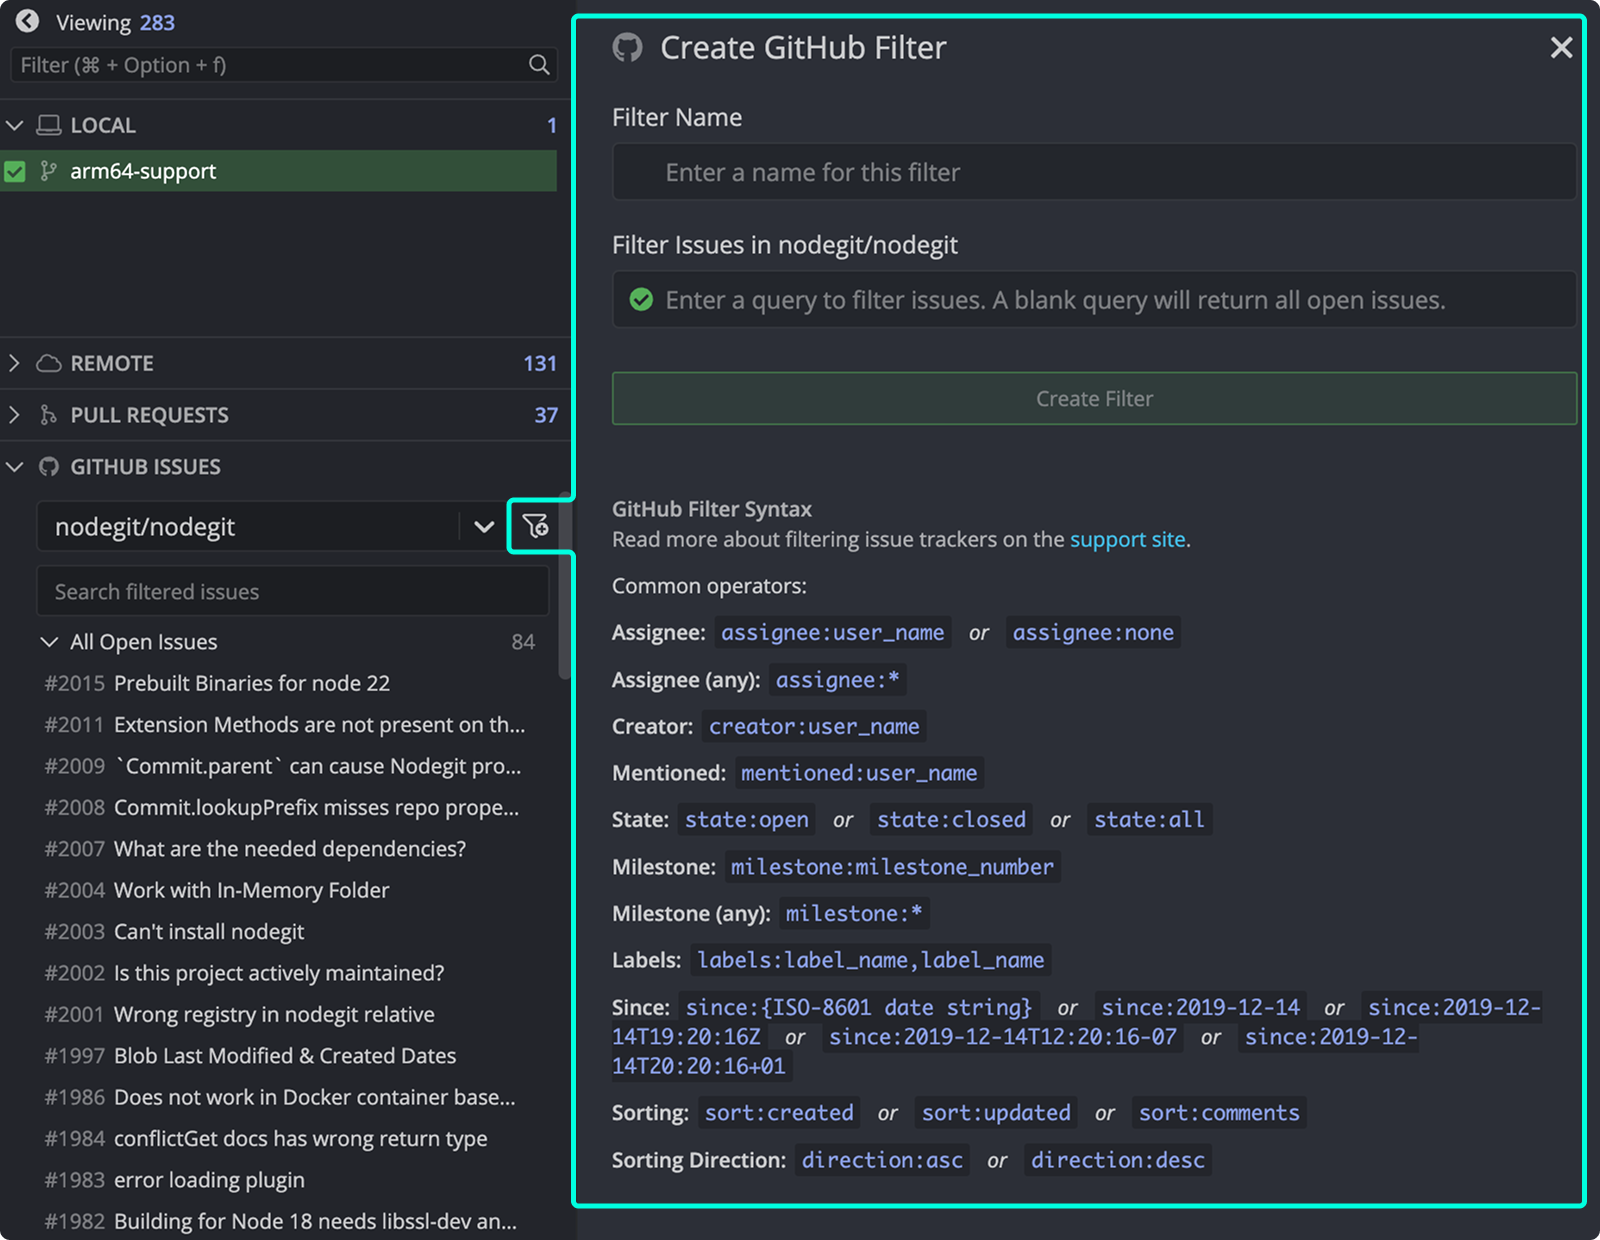 Refer to GitHub’s [issue filtering guide](https://docs.github.com/en/github/searching-for-information-on-github/searching-issues-and-pull-requests) for syntax examples.
---
## How to create branches from GitHub issues
From the issue details view, click Create a branch for this issue. You can also right-click an issue or use the menu.
Refer to GitHub’s [issue filtering guide](https://docs.github.com/en/github/searching-for-information-on-github/searching-issues-and-pull-requests) for syntax examples.
---
## How to create branches from GitHub issues
From the issue details view, click Create a branch for this issue. You can also right-click an issue or use the menu.
 Branch names auto-fill based on the issue title. Created branches will display the GitHub icon to reflect their link.
---
## How to copy an issue link or open it in GitHub
To open the issue in GitHub or copy its link, use the menu or click the icon in the top right.
Branch names auto-fill based on the issue title. Created branches will display the GitHub icon to reflect their link.
---
## How to copy an issue link or open it in GitHub
To open the issue in GitHub or copy its link, use the menu or click the icon in the top right.
 ---
# GitKraken Desktop + GitLab Issues Integration
URL: https://help.gitkraken.com/gitkraken-desktop/gitlab-issues/
Description: Connect GitKraken with GitLab to view, filter, and manage issues directly from your local Git interface.
Product: GitKraken Desktop
Feature: GitLab Issues Integration
Content type: how-to
Audience: developer
Plan required: all
Status: GA
Last verified: 2026-03
Last updated: March 2026
Use this page to connect GitKraken Desktop to GitLab Issues so you can preview, create, edit, filter, and branch from issues without leaving your Git workflow. GitLab Issues uses the same GitLab integration connection, and Community users are limited to public repositories.
**Requirements and limits**
- Integration covered here: GitLab Issues through the shared GitLab.com connection
- Connection model: GitLab Issues uses the same authentication as the GitLab integration
- Community plan limit: Public repositories only
- Branch creation, editing, and issue management depend on the connected GitLab repository and account permissions
- Custom filters use GitLab issue filter syntax
| Capability | Community | Paid plans | Notes |
|------------|-----------|------------|-------|
| Preview issues | Yes | Yes | Uses the shared GitLab integration connection |
| Create issues | Public repos only | Yes | Depends on repository and account permissions |
| Edit issue details | Public repos only | Yes | Depends on repository and account permissions |
| Create branches from issues | Public repos only | Yes | Depends on repository and account permissions |
| Filter issues | Yes | Yes | Uses GitLab issue filter syntax |
---
# GitKraken Desktop + GitLab Issues Integration
URL: https://help.gitkraken.com/gitkraken-desktop/gitlab-issues/
Description: Connect GitKraken with GitLab to view, filter, and manage issues directly from your local Git interface.
Product: GitKraken Desktop
Feature: GitLab Issues Integration
Content type: how-to
Audience: developer
Plan required: all
Status: GA
Last verified: 2026-03
Last updated: March 2026
Use this page to connect GitKraken Desktop to GitLab Issues so you can preview, create, edit, filter, and branch from issues without leaving your Git workflow. GitLab Issues uses the same GitLab integration connection, and Community users are limited to public repositories.
**Requirements and limits**
- Integration covered here: GitLab Issues through the shared GitLab.com connection
- Connection model: GitLab Issues uses the same authentication as the GitLab integration
- Community plan limit: Public repositories only
- Branch creation, editing, and issue management depend on the connected GitLab repository and account permissions
- Custom filters use GitLab issue filter syntax
| Capability | Community | Paid plans | Notes |
|------------|-----------|------------|-------|
| Preview issues | Yes | Yes | Uses the shared GitLab integration connection |
| Create issues | Public repos only | Yes | Depends on repository and account permissions |
| Edit issue details | Public repos only | Yes | Depends on repository and account permissions |
| Create branches from issues | Public repos only | Yes | Depends on repository and account permissions |
| Filter issues | Yes | Yes | Uses GitLab issue filter syntax |
 From the Integrations window, select GitLab.com and click Connect to GitLab.
 A browser window will open to authorize the connection. Log in with your GitLab credentials and click Continue authorization.
 Once authorized, GitKraken will display a success message.
 ---
## How to preview GitLab issues
After connecting, your GitLab issues will appear in the Left Panel. Default filters include _My Issues_ and _All Issues_.
---
## How to preview GitLab issues
After connecting, your GitLab issues will appear in the Left Panel. Default filters include _My Issues_ and _All Issues_.
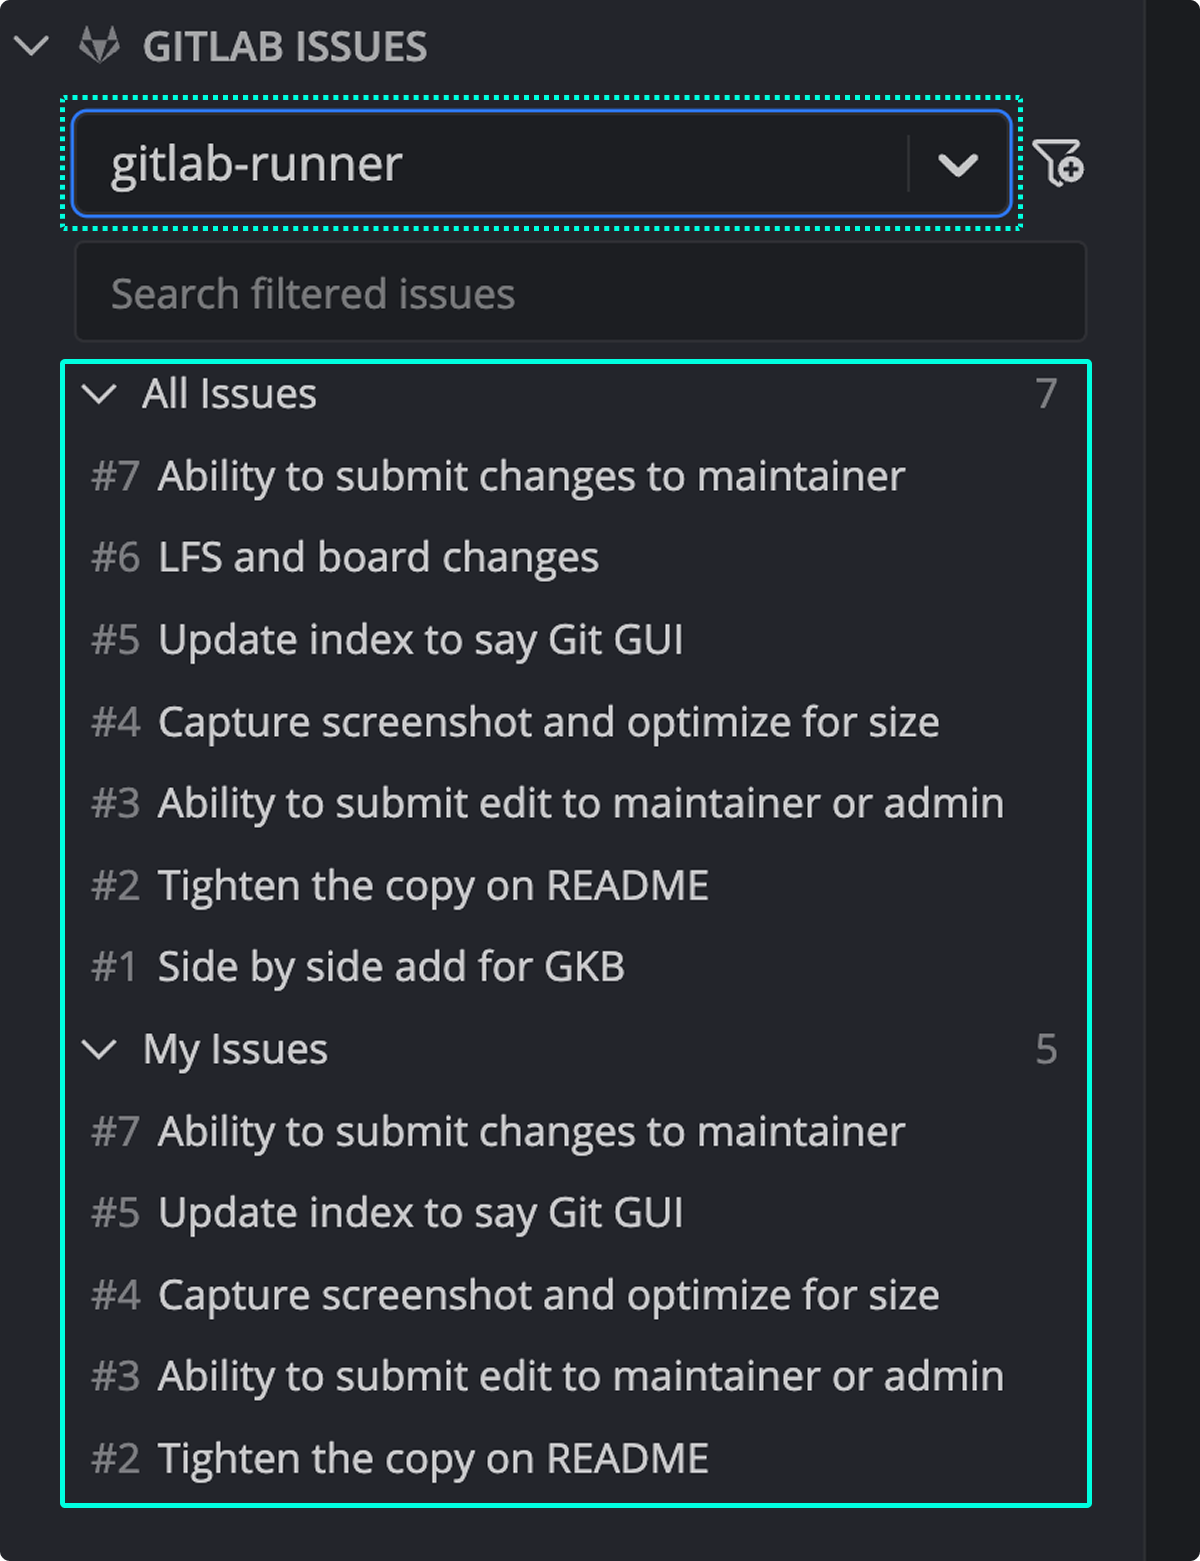 Hover over an issue to preview the title, description, labels, milestones, and assignee.
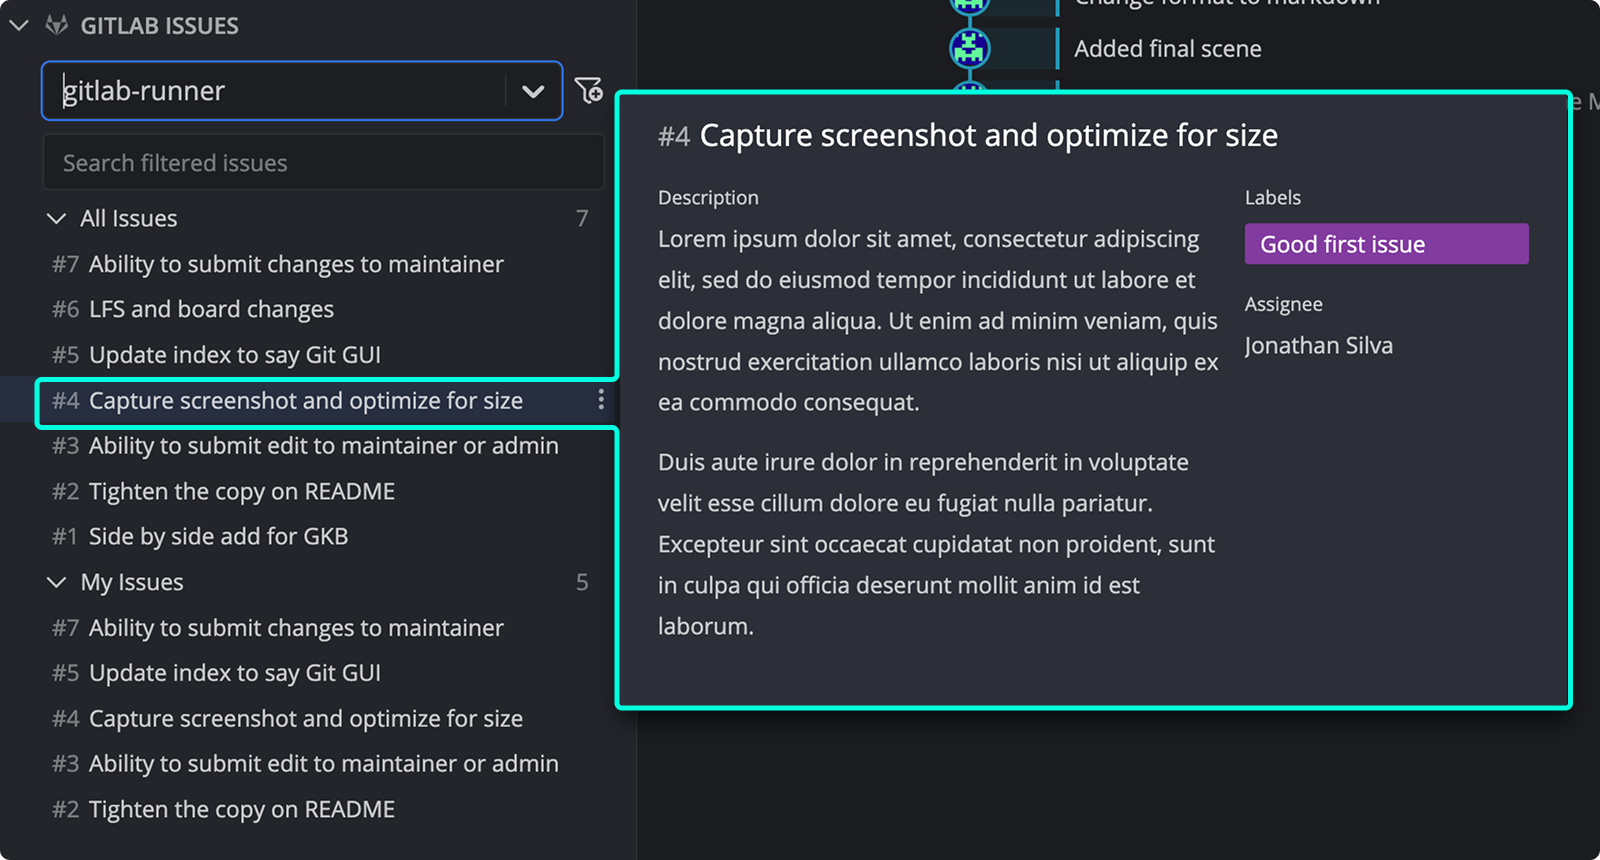 ---
## How to view and edit GitLab issue details
Click an issue to view its details.
---
## How to view and edit GitLab issue details
Click an issue to view its details.
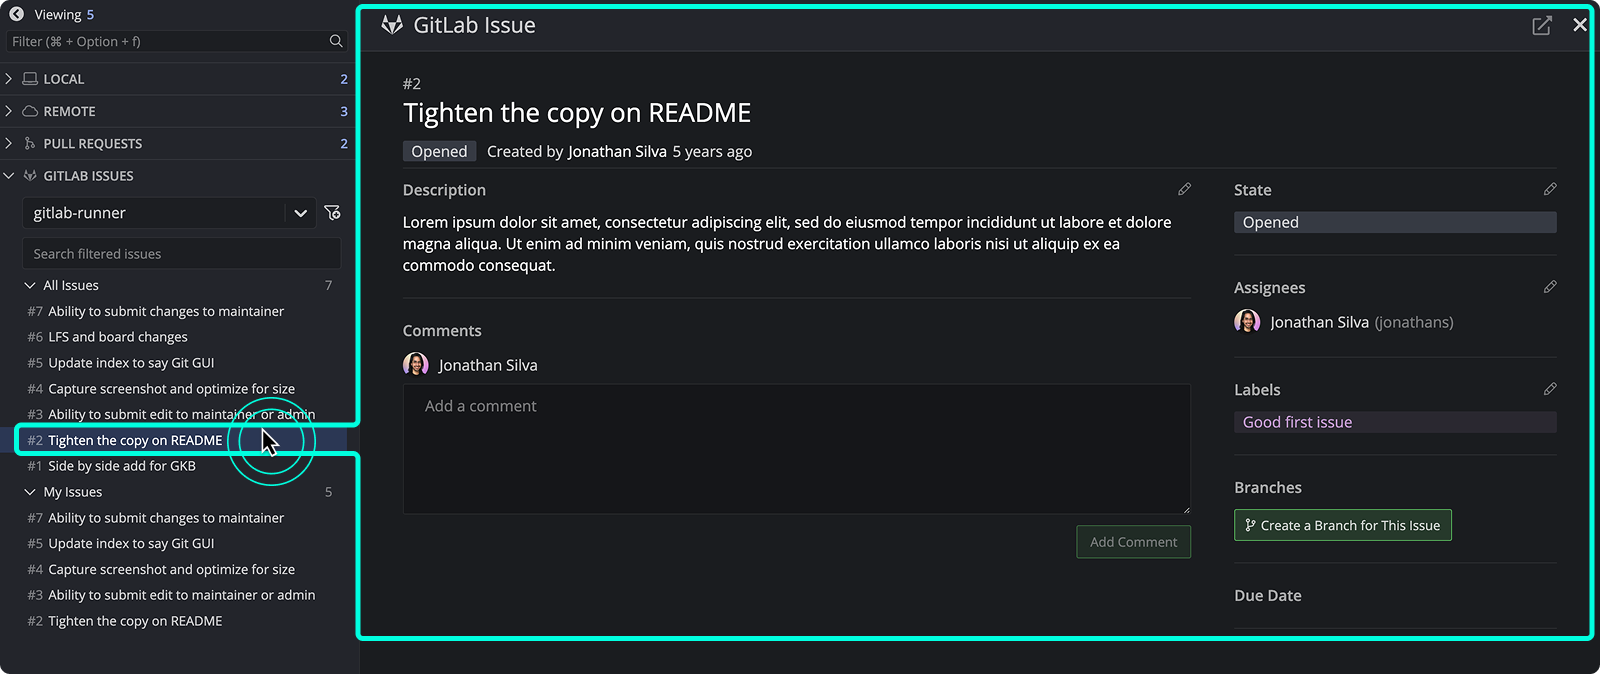 Edits made here will sync with your GitLab issue tracker.
---
## How to create a new GitLab issue
Click the
Edits made here will sync with your GitLab issue tracker.
---
## How to create a new GitLab issue
Click the 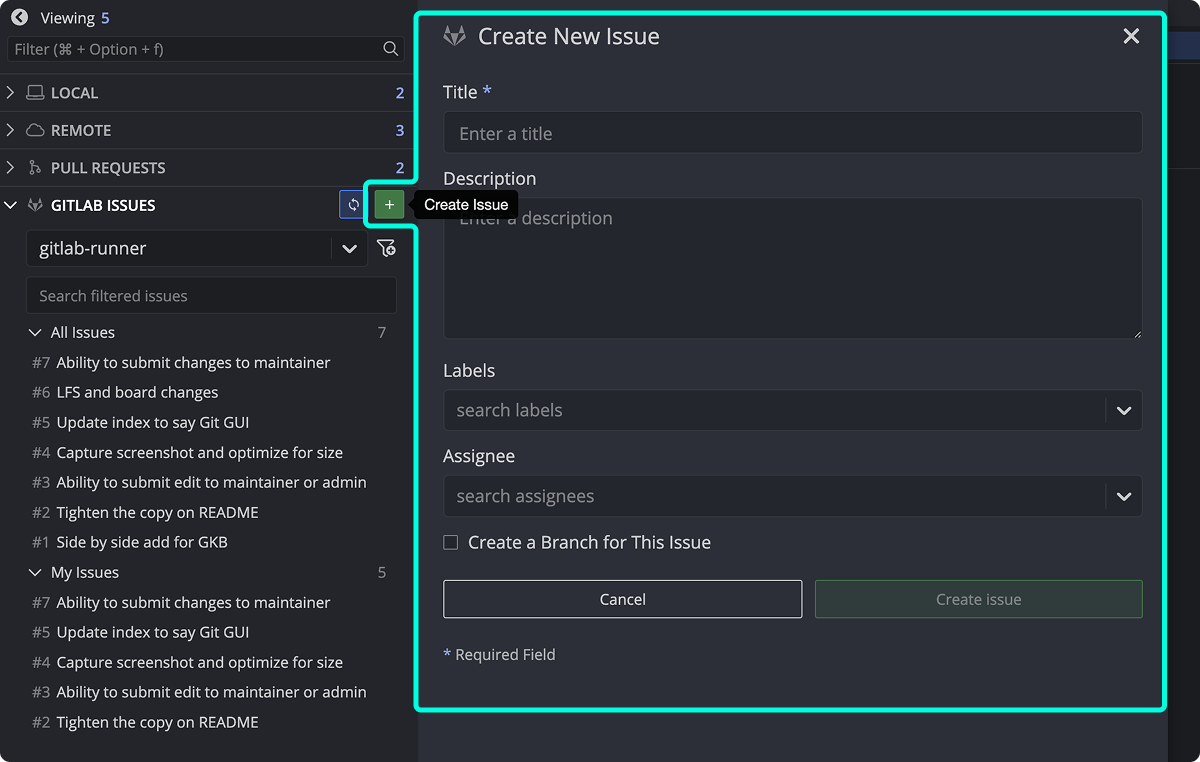 Required fields are marked with
 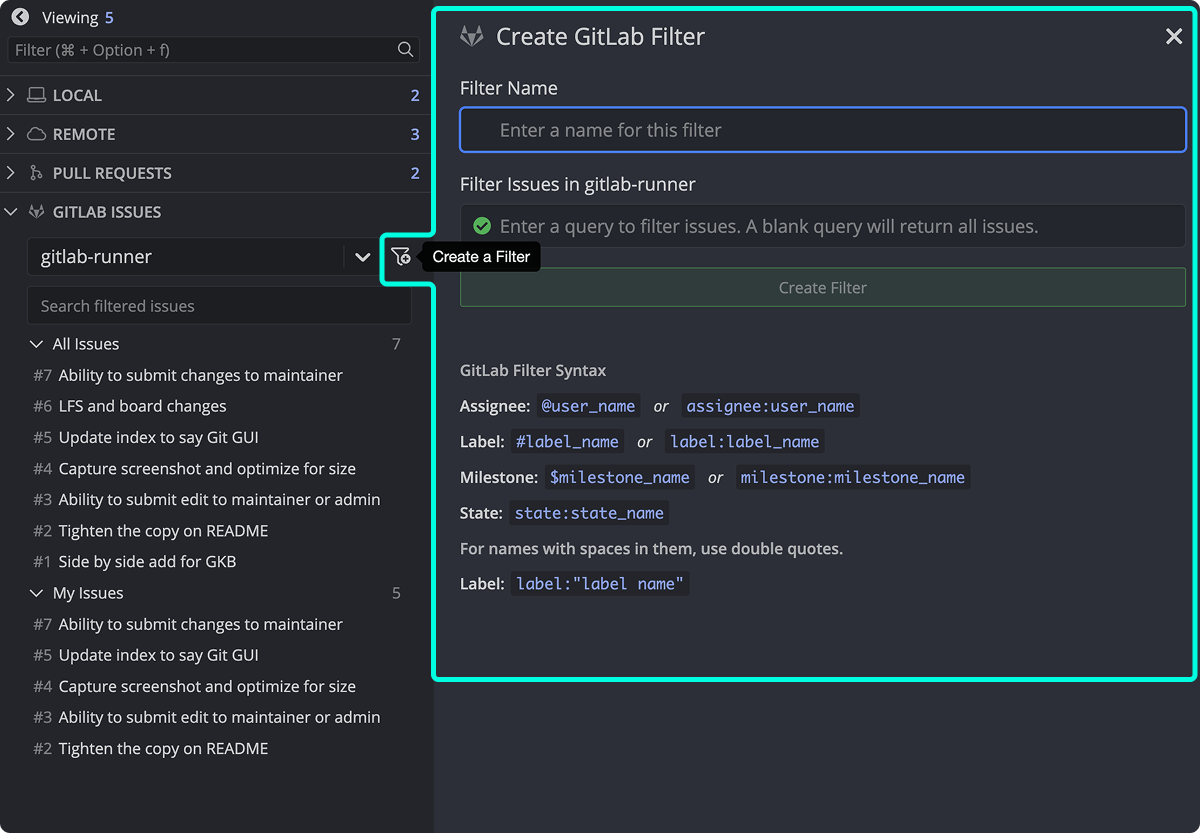 Refer to GitLab’s [issue filtering guide](https://docs.gitlab.com/ee/user/search/index.html#filtering-issue-and-merge-request-lists) for examples.
---
## How to create branches from GitLab issues
From the issue detail view, click Create a branch for this issue. You can also right-click the issue or use the menu.
Refer to GitLab’s [issue filtering guide](https://docs.gitlab.com/ee/user/search/index.html#filtering-issue-and-merge-request-lists) for examples.
---
## How to create branches from GitLab issues
From the issue detail view, click Create a branch for this issue. You can also right-click the issue or use the menu.
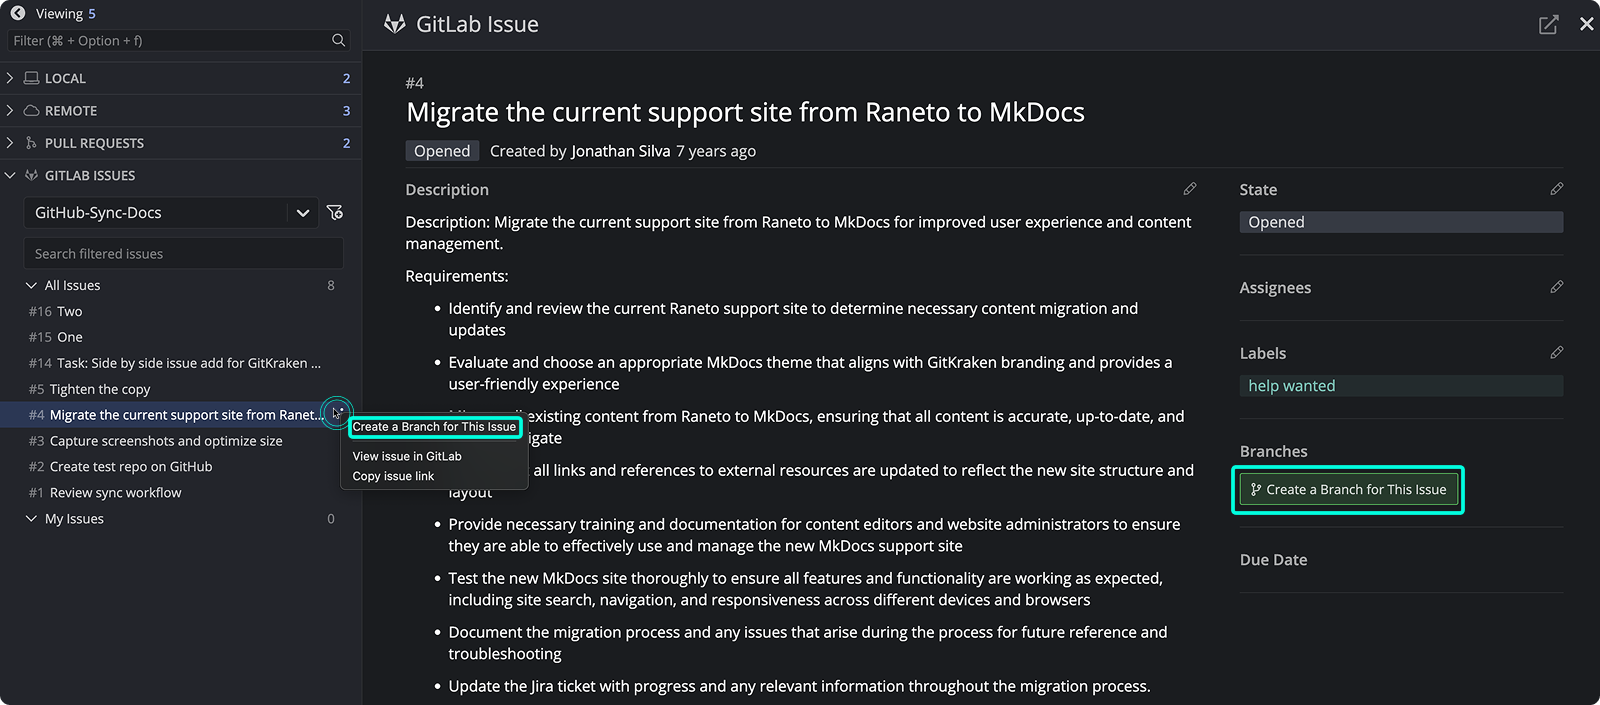 The branch name is auto-filled based on the issue title. These branches show the GitLab icon to indicate the connection.
---
## How to copy an issue link or open it in GitLab
Use the menu or icon to open the issue in GitLab or copy the link.
The branch name is auto-filled based on the issue title. These branches show the GitLab icon to indicate the connection.
---
## How to copy an issue link or open it in GitLab
Use the menu or icon to open the issue in GitLab or copy the link.
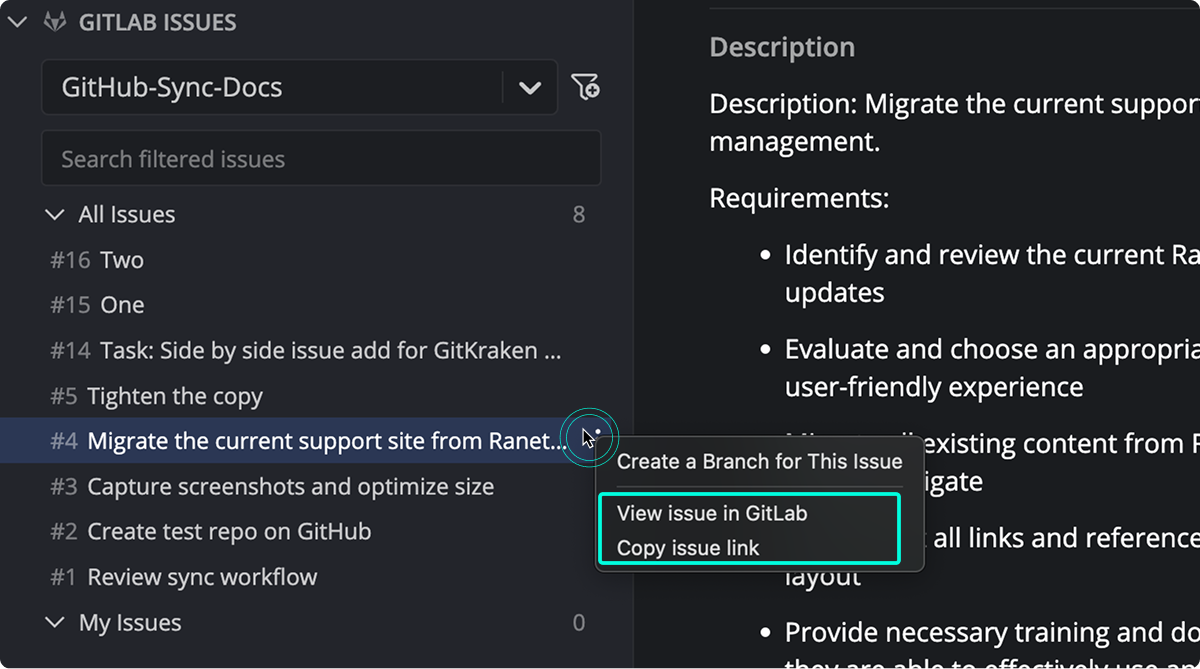 ---
# GitKraken Desktop + GitLab Self-Managed Issues Integration
URL: https://help.gitkraken.com/gitkraken-desktop/gitlab-self-managed-issues/
Description: Connect GitKraken with GitLab Self-Managed to preview, manage, and filter issues directly from your Git workflow.
Product: GitKraken Desktop
Feature: GitLab Self-Managed Issues Integration
Content type: how-to
Audience: developer
Plan required: all
Status: GA
Last verified: 2026-03
Last updated: March 2026
Use this page to connect GitKraken Desktop to GitLab Self-Managed Issues so you can preview, manage, filter, and branch from issues alongside your repository work. This integration shares the GitLab Self-Managed connection, requires GitLab Self-Managed 13.1 or newer, and is view-only for Community users.
---
# GitKraken Desktop + GitLab Self-Managed Issues Integration
URL: https://help.gitkraken.com/gitkraken-desktop/gitlab-self-managed-issues/
Description: Connect GitKraken with GitLab Self-Managed to preview, manage, and filter issues directly from your Git workflow.
Product: GitKraken Desktop
Feature: GitLab Self-Managed Issues Integration
Content type: how-to
Audience: developer
Plan required: all
Status: GA
Last verified: 2026-03
Last updated: March 2026
Use this page to connect GitKraken Desktop to GitLab Self-Managed Issues so you can preview, manage, filter, and branch from issues alongside your repository work. This integration shares the GitLab Self-Managed connection, requires GitLab Self-Managed 13.1 or newer, and is view-only for Community users.
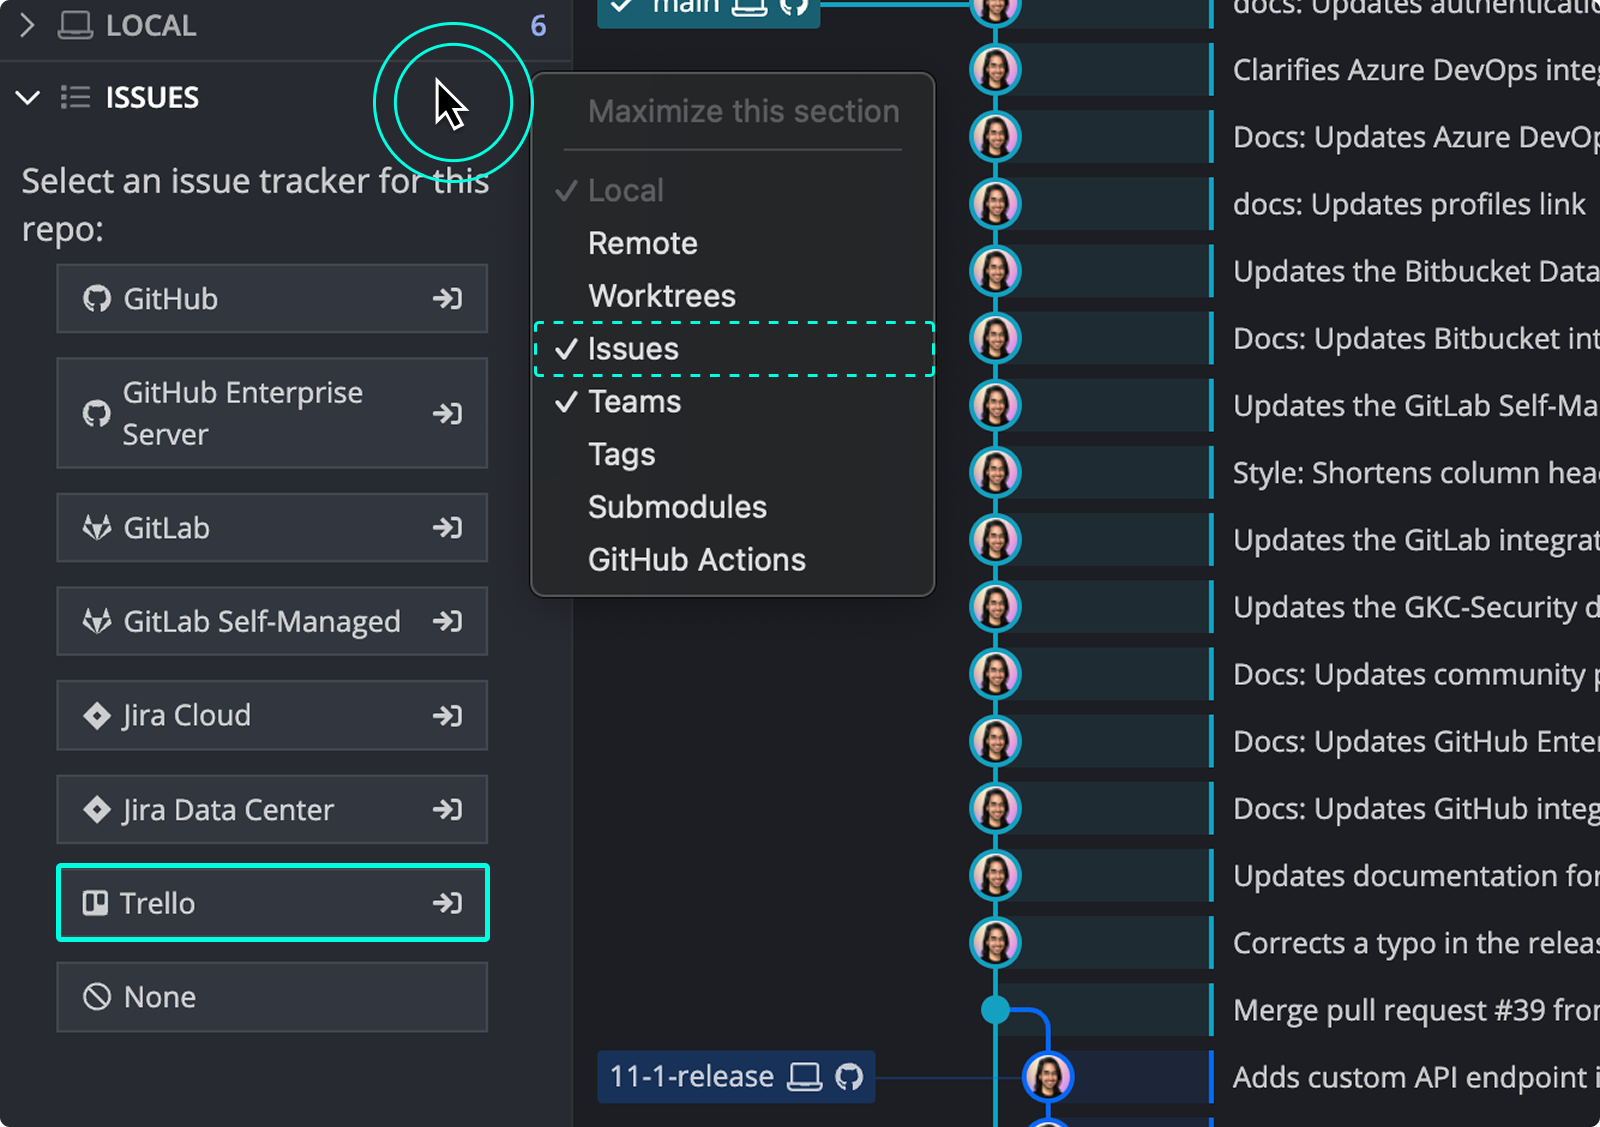 You’ll be redirected to a Trello page to authorize the connection. Scroll down and click Allow.
 Alternatively, copy the token from the _Success_ page and paste it into GitKraken Desktop.
---
## How to preview Trello cards
Once connected, your Trello cards will appear in the Left Panel under a default _All Cards_ filter.
Alternatively, copy the token from the _Success_ page and paste it into GitKraken Desktop.
---
## How to preview Trello cards
Once connected, your Trello cards will appear in the Left Panel under a default _All Cards_ filter.
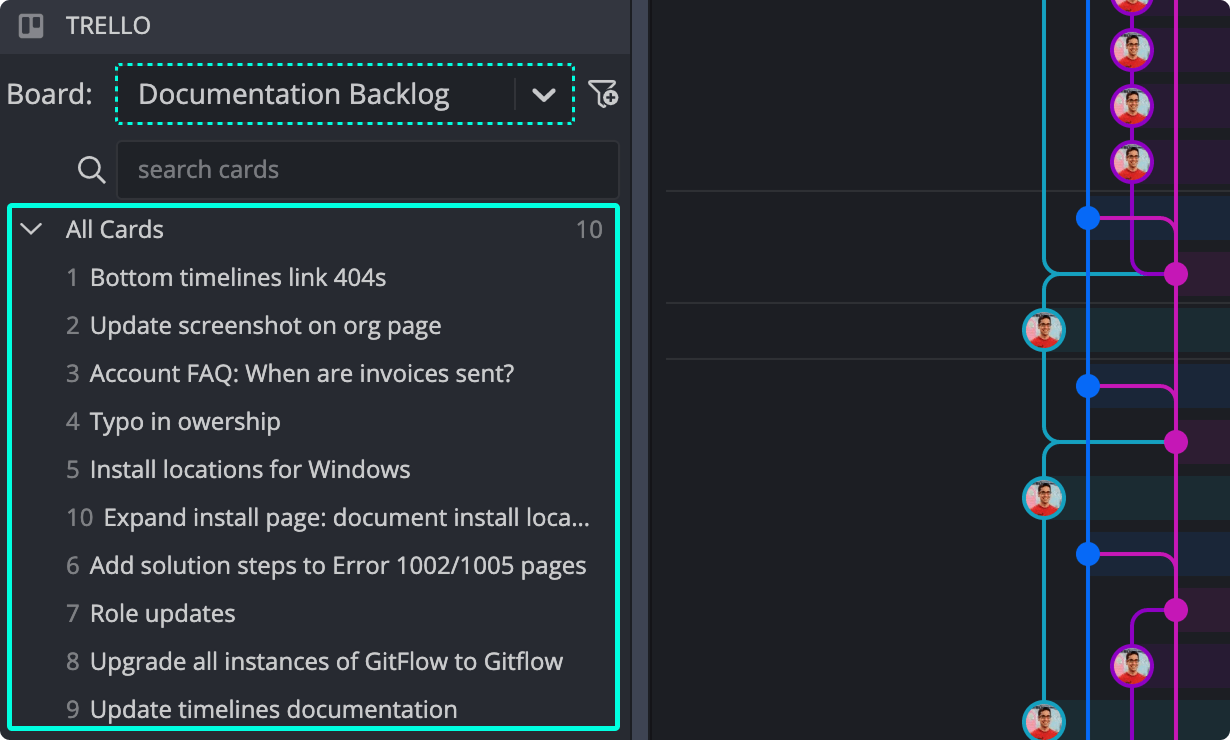 Hover over any card to preview its title, description, list, labels, and members.
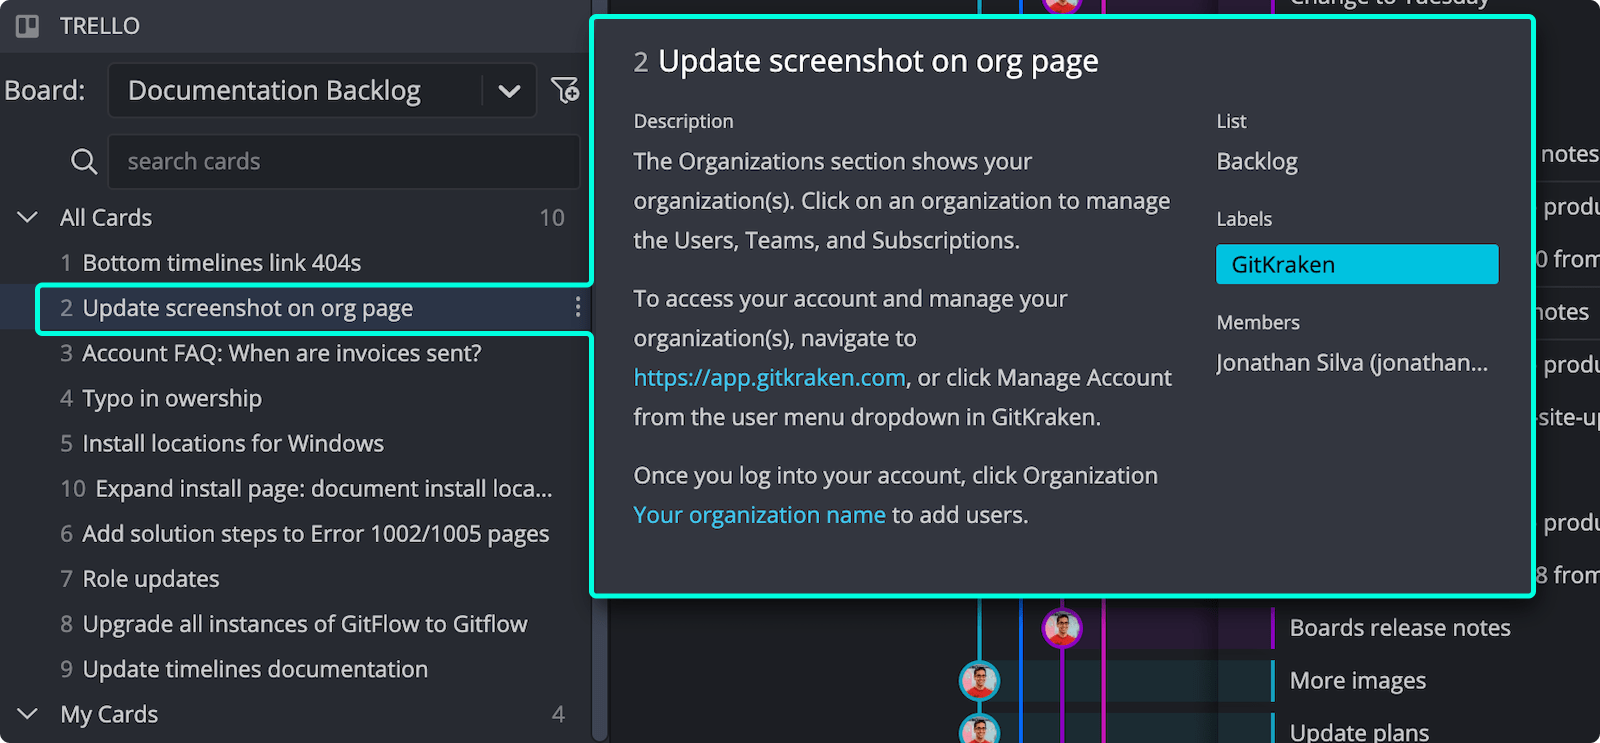 ---
## How to view and edit Trello card details
Click a card to open its detail view.
---
## How to view and edit Trello card details
Click a card to open its detail view.
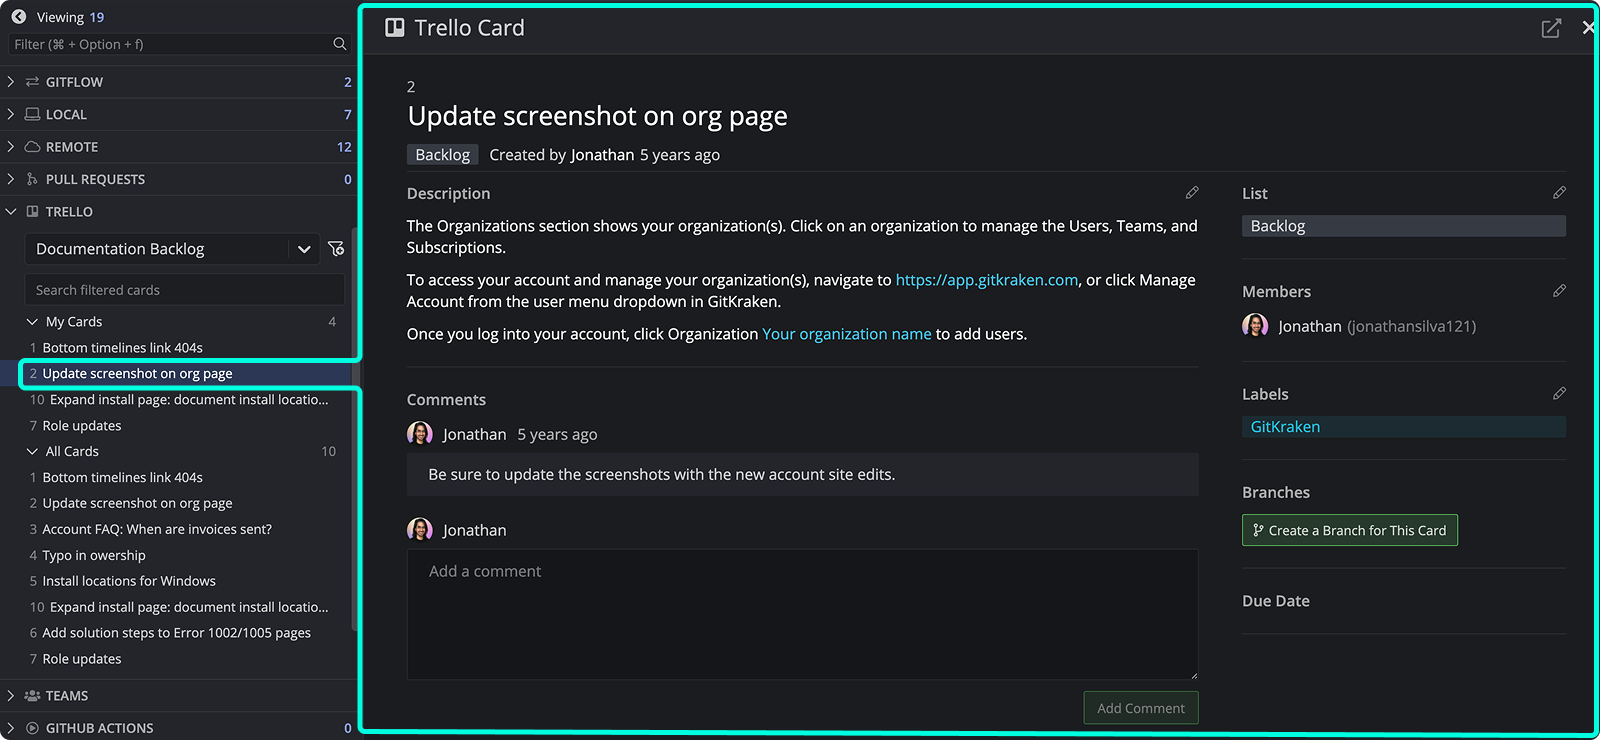 You can view and edit:
- Title and Description
- List
- Assignees
- Comments
Changes sync with your Trello board in real-time.
---
## How to create a new Trello card
Click the
You can view and edit:
- Title and Description
- List
- Assignees
- Comments
Changes sync with your Trello board in real-time.
---
## How to create a new Trello card
Click the 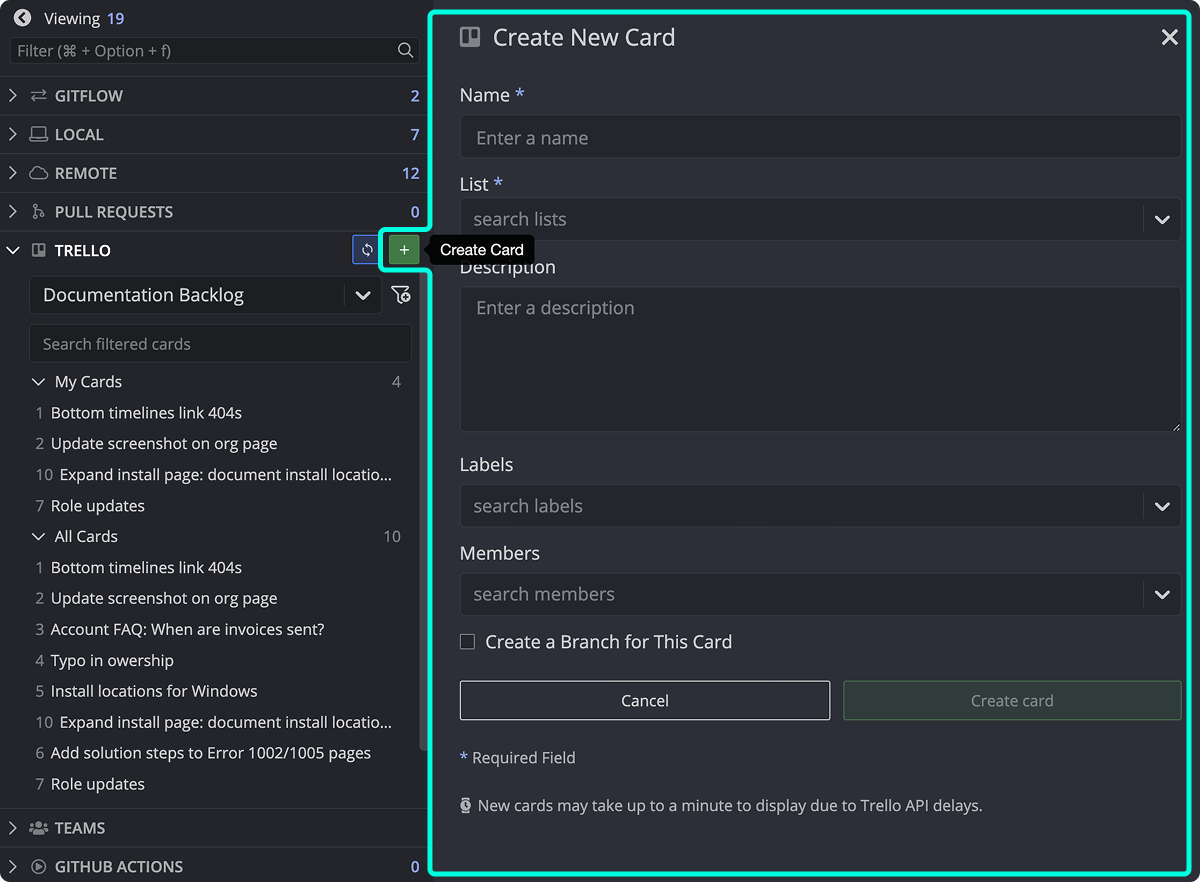 Fields marked with
 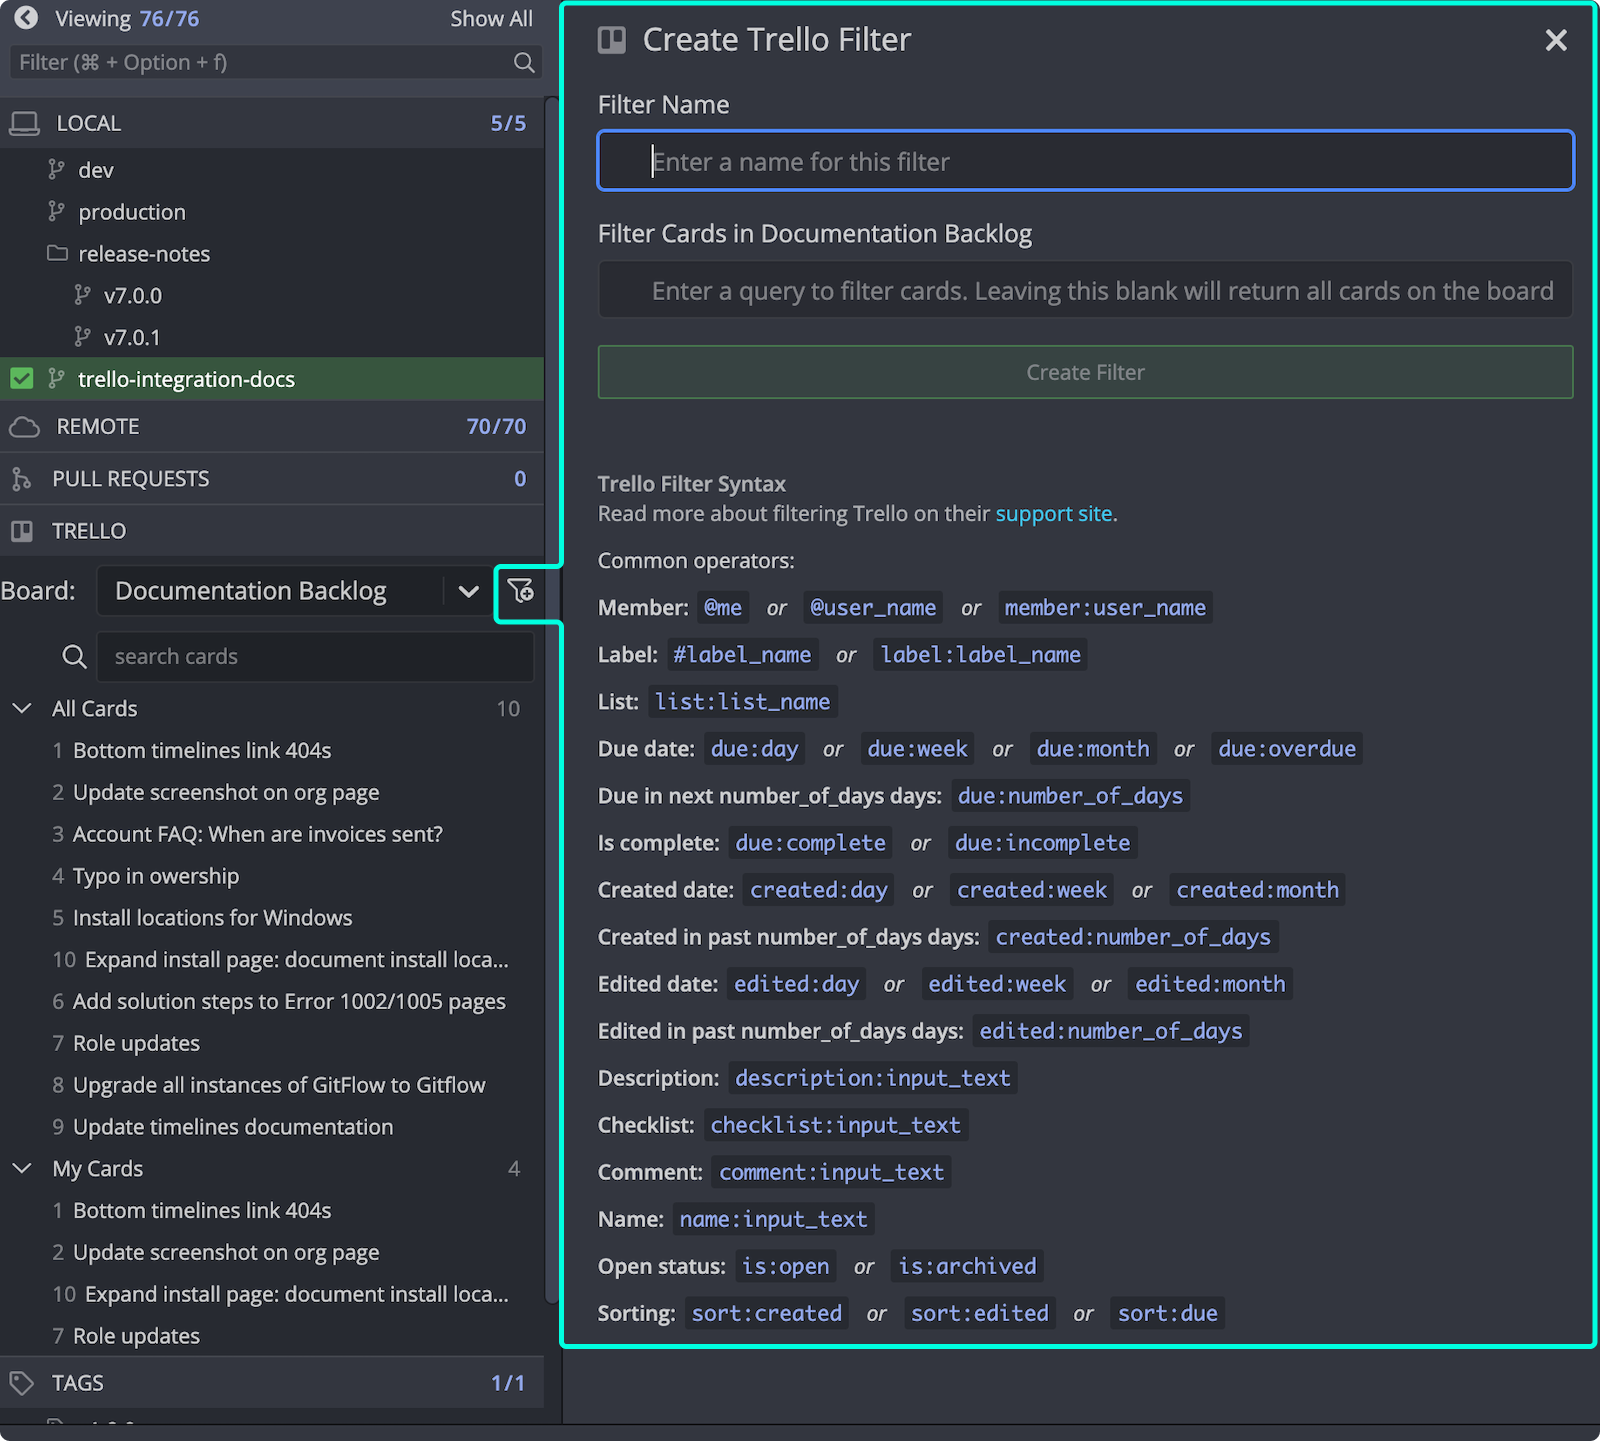 See Trello’s [filtering guide](https://help.trello.com/article/808-searching-for-cards-all-boards) for syntax examples.
---
## How to create branches from Trello cards
You can create branches tied to cards directly from the card detail view. Use the Create branch button or right-click a card.
See Trello’s [filtering guide](https://help.trello.com/article/808-searching-for-cards-all-boards) for syntax examples.
---
## How to create branches from Trello cards
You can create branches tied to cards directly from the card detail view. Use the Create branch button or right-click a card.
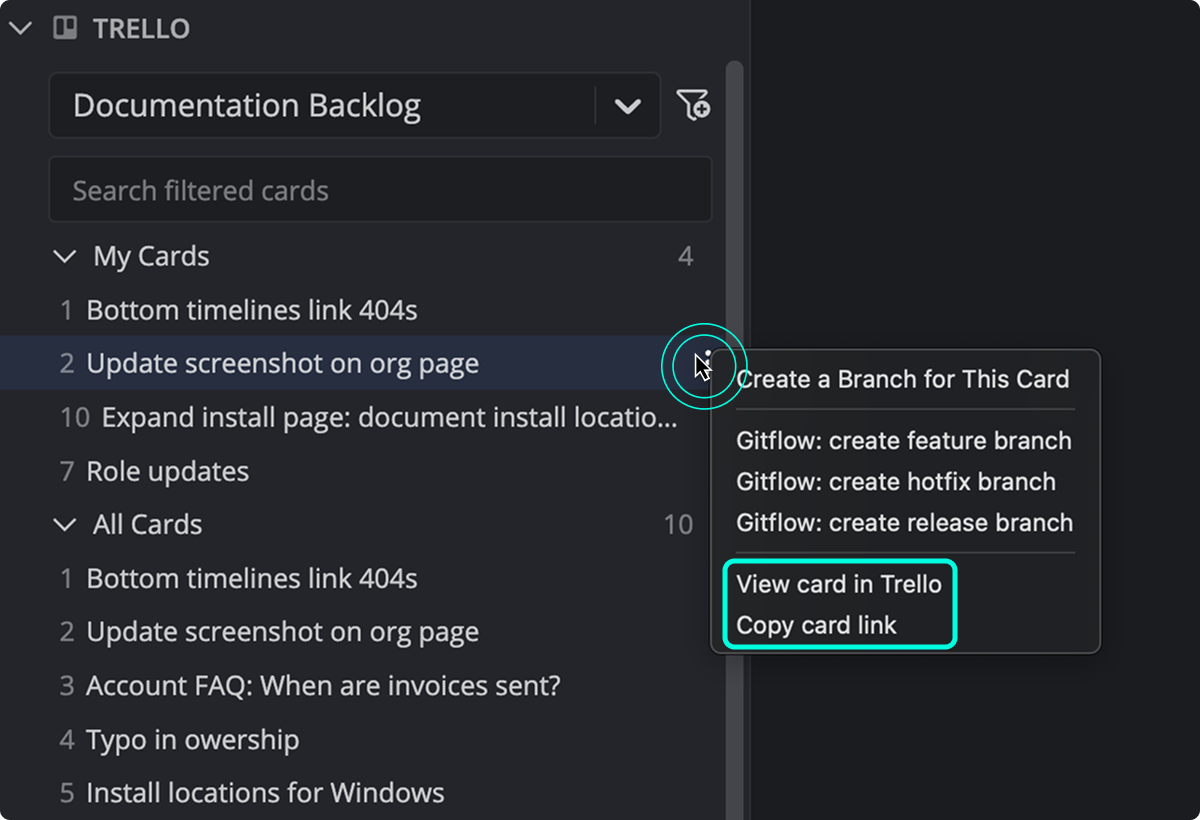 ---
# GitKraken Desktop Integrations | Connect Git & Issue Trackers
URL: https://help.gitkraken.com/gitkraken-desktop/integrations/
Description: Learn how to integrate GitKraken Desktop with GitHub, GitLab, Bitbucket, Jira, Trello, and other tools to streamline repo access and issue tracking.
Product: GitKraken Desktop
Feature: Integrations
Content type: overview
Audience: developer
Plan required: all
Status: GA
Last verified: 2026-03
Last updated: April 2026
Integrations connect GitKraken Desktop to Git hosting services and issue trackers so you can clone repositories, manage remotes, review pull requests, and work with issues from one interface. Use this page to find the right integration for GitHub, GitLab, Bitbucket, Azure DevOps, Jira, Trello, and self-hosted services.
This page covers Git hosting and issue tracker integrations. External coding agent CLIs such as Claude Code, Codex CLI, Copilot CLI, Gemini CLI, and OpenCode are documented separately in [Coding Agents in GitKraken Desktop](/gitkraken-desktop/agents/).
**Requirements and limits**
- Git hosting integrations: GitHub, GitHub Enterprise Server, GitLab, GitLab Self-Managed, Bitbucket, Bitbucket Data Center, and Azure DevOps
- Issue tracker integrations: Jira Cloud, Jira Data Center, Trello, GitLab Issues, GitLab Self-Managed Issues, GitHub Issues, and GitHub Enterprise Server Issues
- Community plan: Public GitHub and GitLab repositories only; some issue tracker integrations are view-only
- Self-hosted integrations: Require a paid plan; GitLab Self-Managed is available on Pro and up, while some other self-hosted integrations require higher tiers
- Multiple profiles with separate integrations: Pro plan or higher
- Coding agent CLIs: Managed separately from Git hosting and issue tracker integrations
---
# GitKraken Desktop Integrations | Connect Git & Issue Trackers
URL: https://help.gitkraken.com/gitkraken-desktop/integrations/
Description: Learn how to integrate GitKraken Desktop with GitHub, GitLab, Bitbucket, Jira, Trello, and other tools to streamline repo access and issue tracking.
Product: GitKraken Desktop
Feature: Integrations
Content type: overview
Audience: developer
Plan required: all
Status: GA
Last verified: 2026-03
Last updated: April 2026
Integrations connect GitKraken Desktop to Git hosting services and issue trackers so you can clone repositories, manage remotes, review pull requests, and work with issues from one interface. Use this page to find the right integration for GitHub, GitLab, Bitbucket, Azure DevOps, Jira, Trello, and self-hosted services.
This page covers Git hosting and issue tracker integrations. External coding agent CLIs such as Claude Code, Codex CLI, Copilot CLI, Gemini CLI, and OpenCode are documented separately in [Coding Agents in GitKraken Desktop](/gitkraken-desktop/agents/).
**Requirements and limits**
- Git hosting integrations: GitHub, GitHub Enterprise Server, GitLab, GitLab Self-Managed, Bitbucket, Bitbucket Data Center, and Azure DevOps
- Issue tracker integrations: Jira Cloud, Jira Data Center, Trello, GitLab Issues, GitLab Self-Managed Issues, GitHub Issues, and GitHub Enterprise Server Issues
- Community plan: Public GitHub and GitLab repositories only; some issue tracker integrations are view-only
- Self-hosted integrations: Require a paid plan; GitLab Self-Managed is available on Pro and up, while some other self-hosted integrations require higher tiers
- Multiple profiles with separate integrations: Pro plan or higher
- Coding agent CLIs: Managed separately from Git hosting and issue tracker integrations
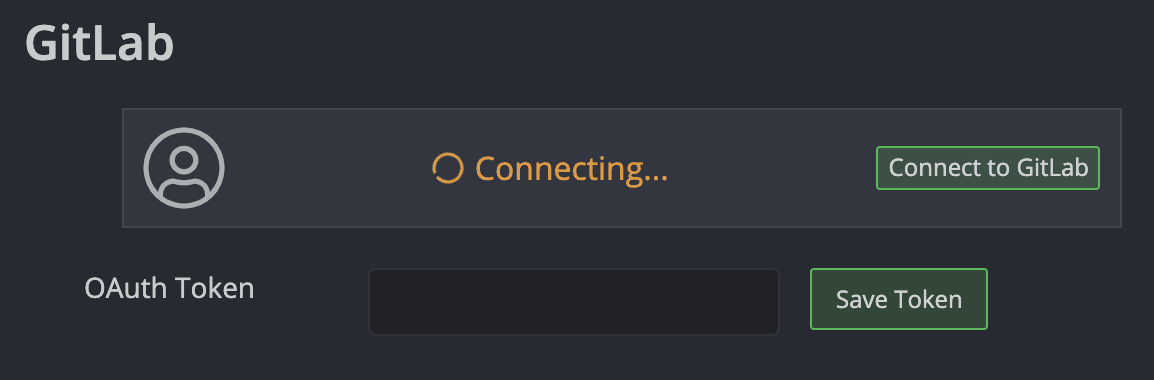
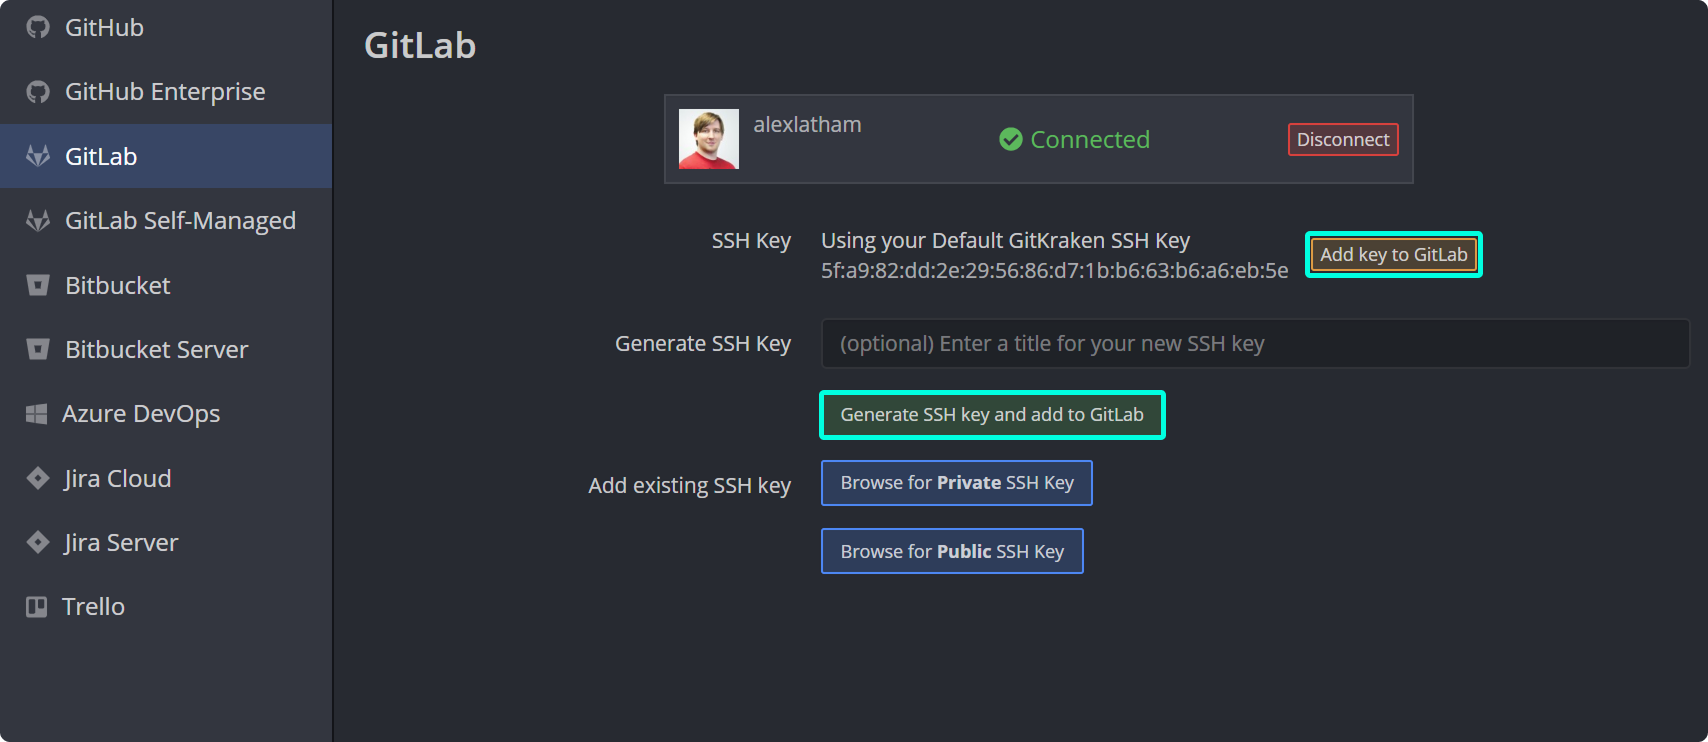
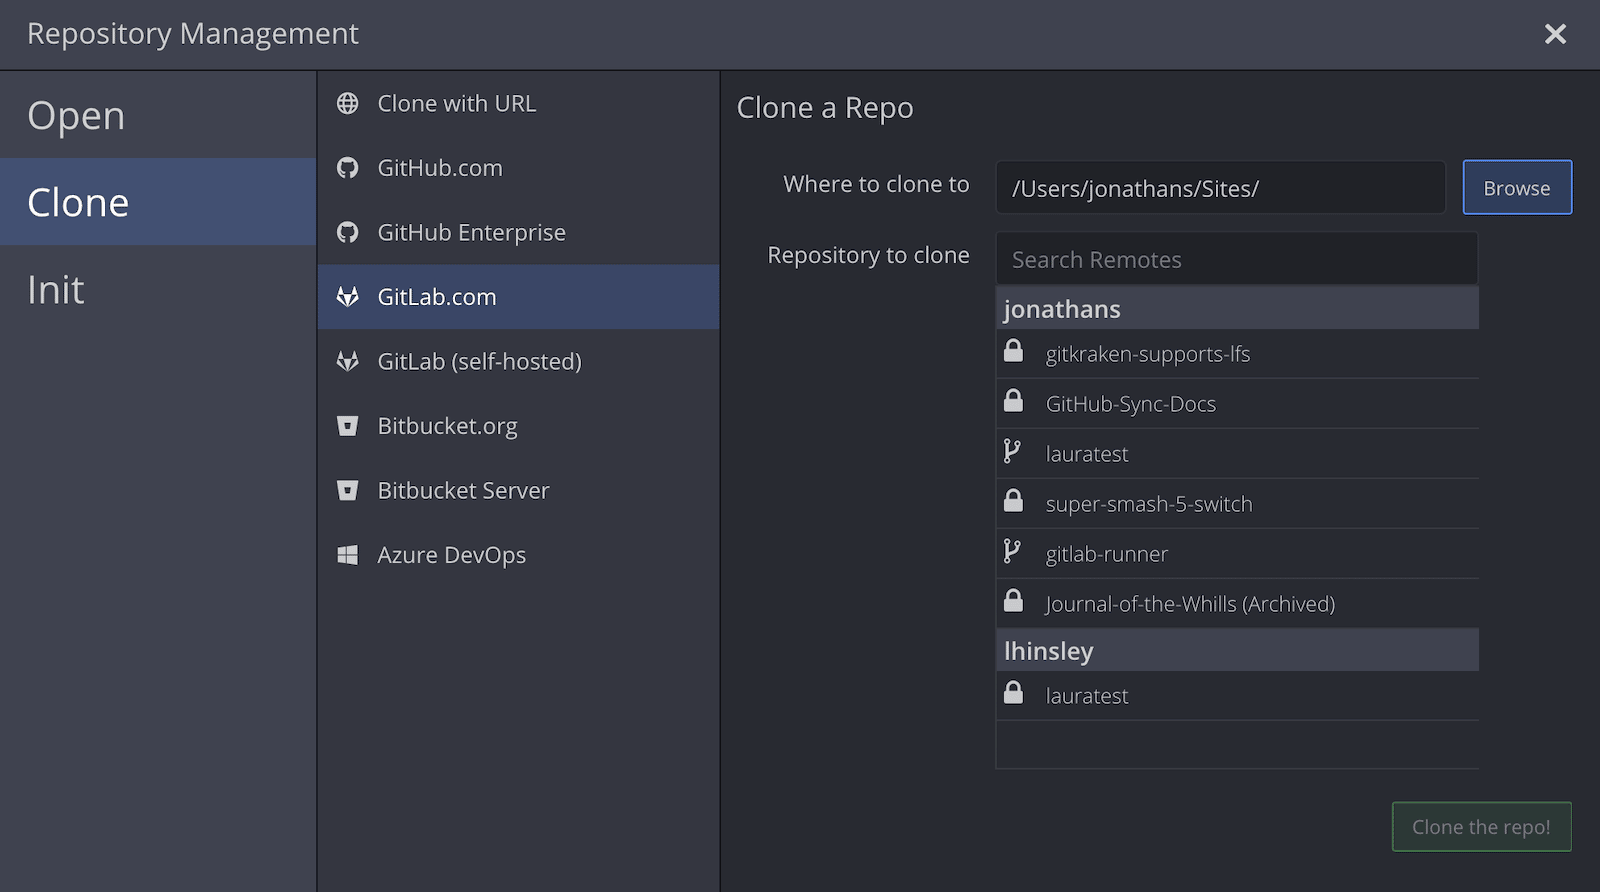
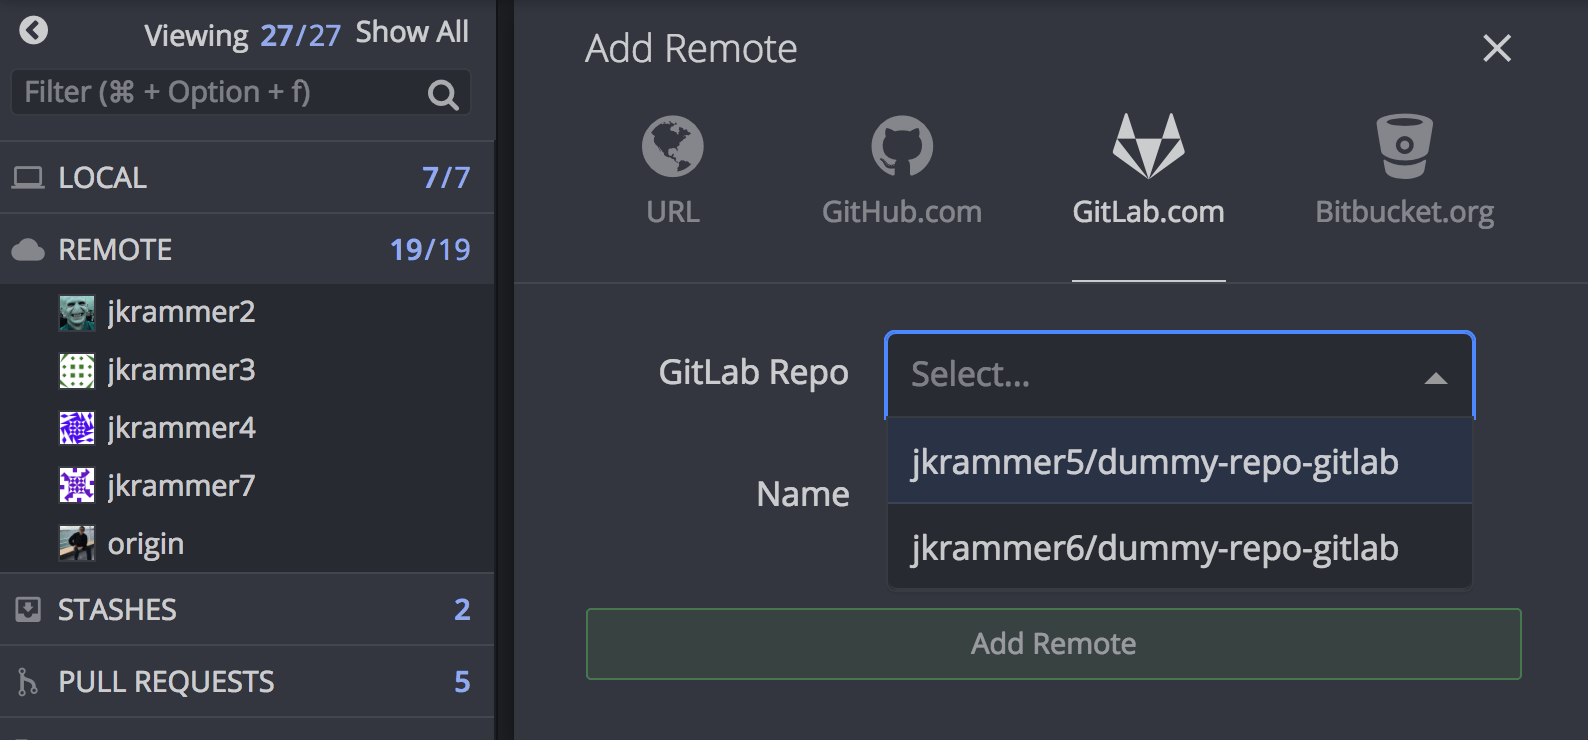
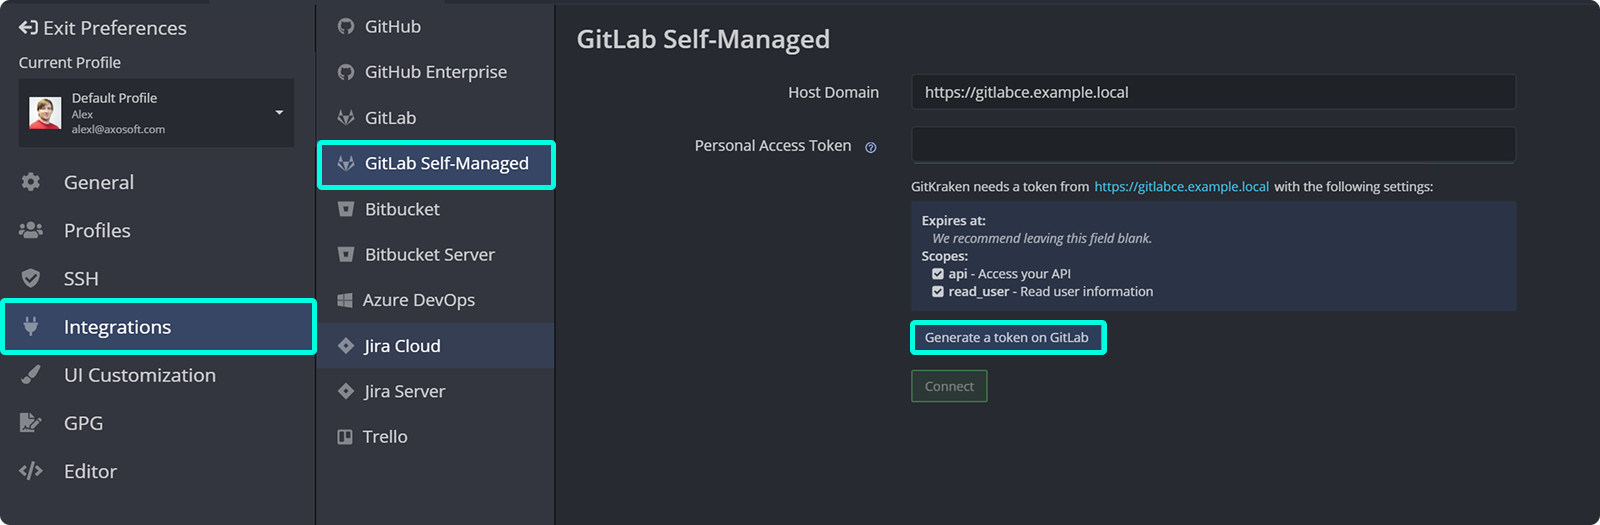
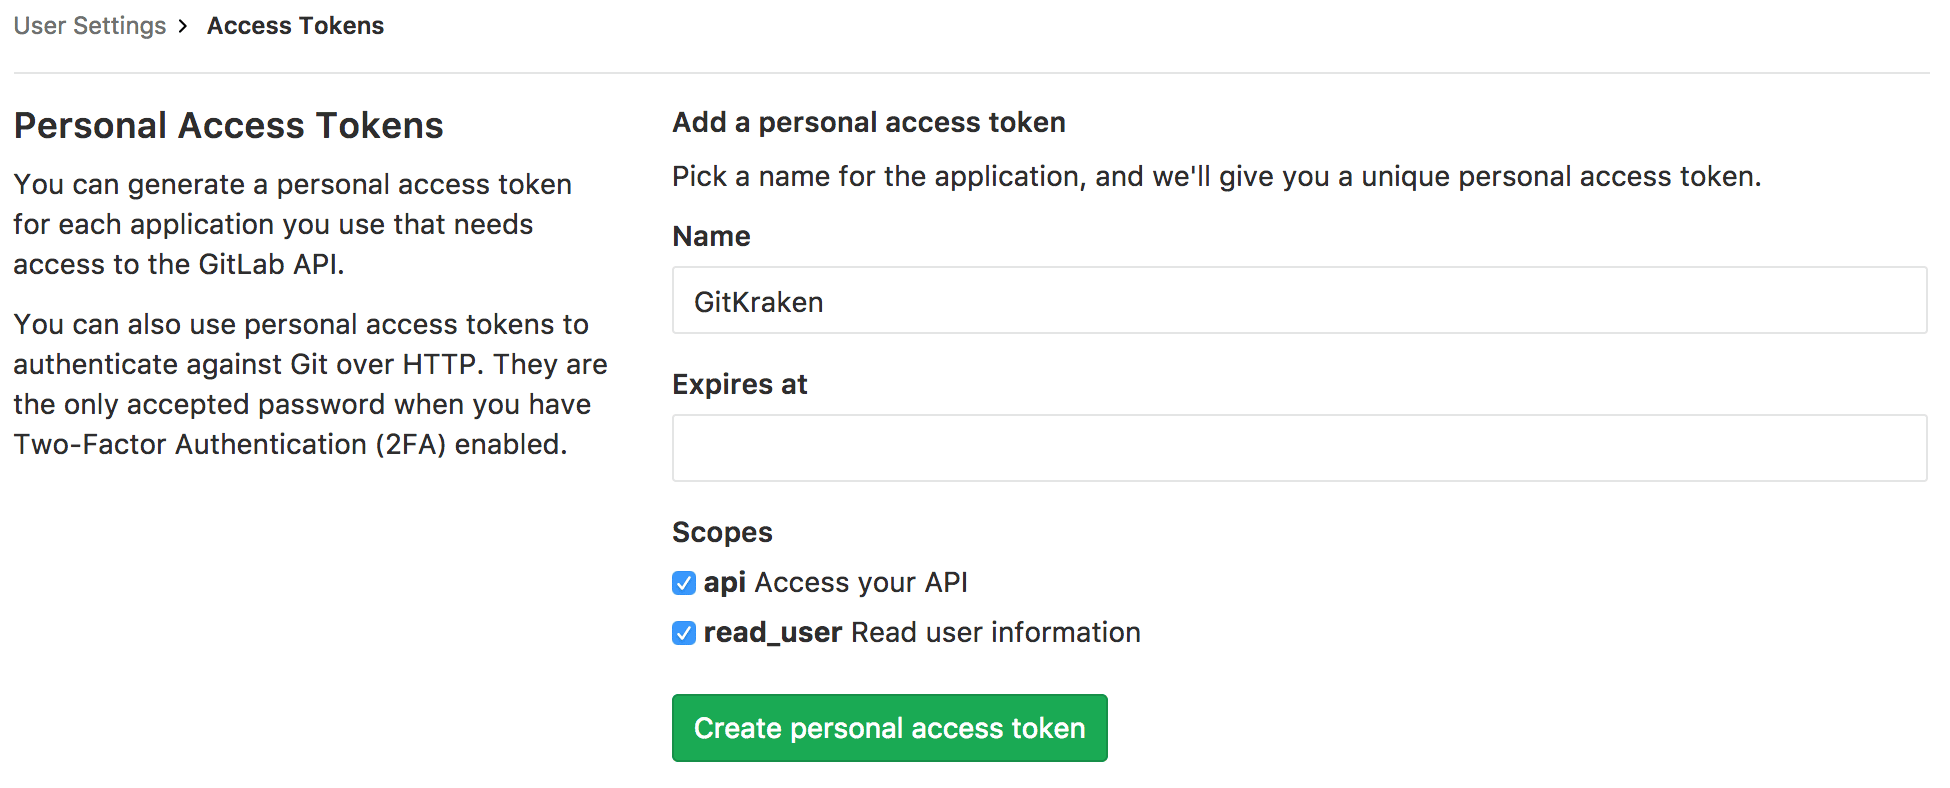
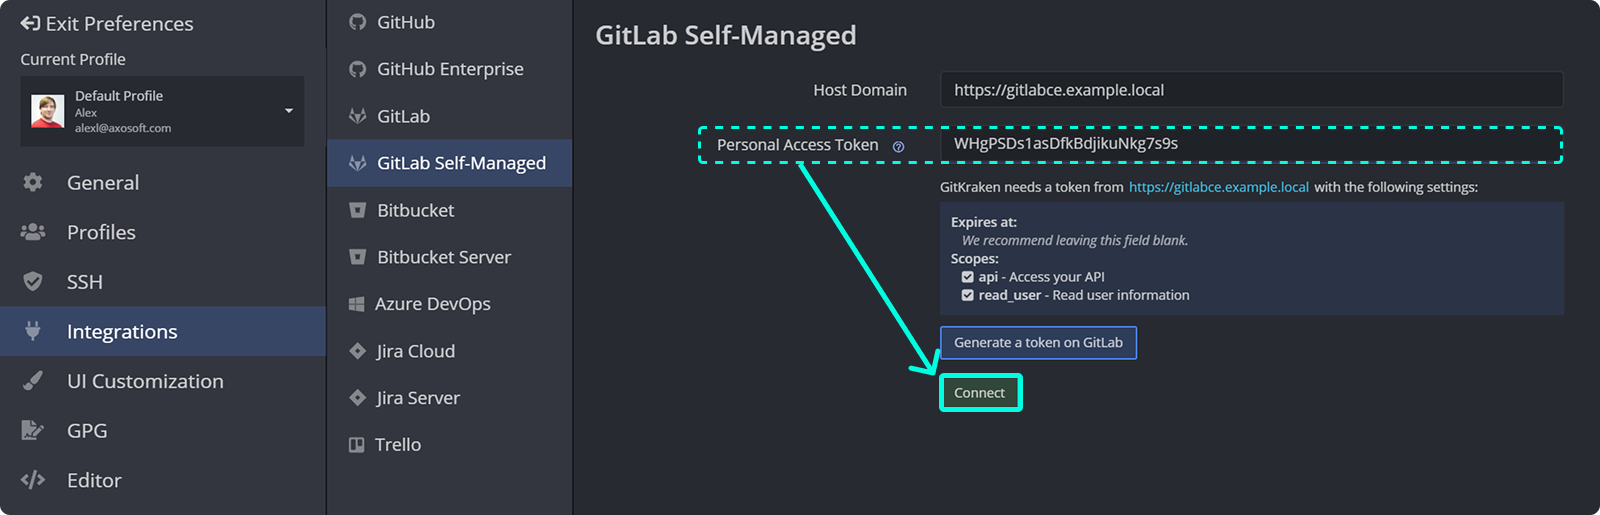
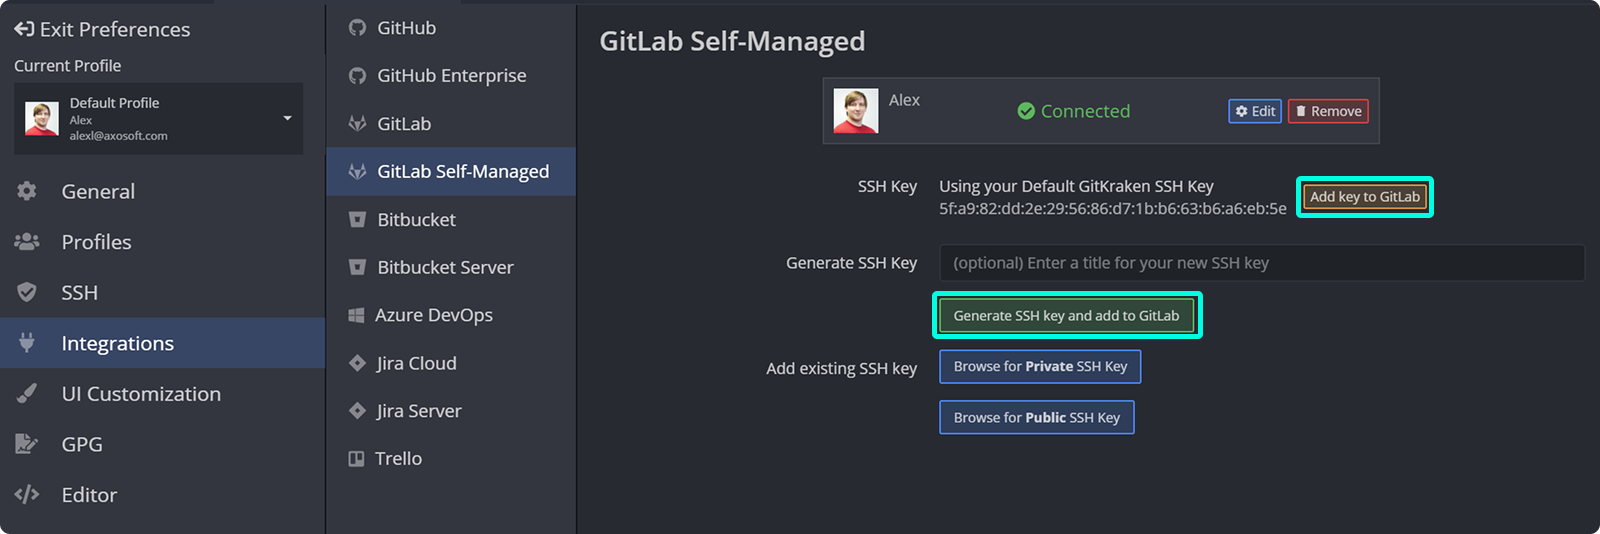
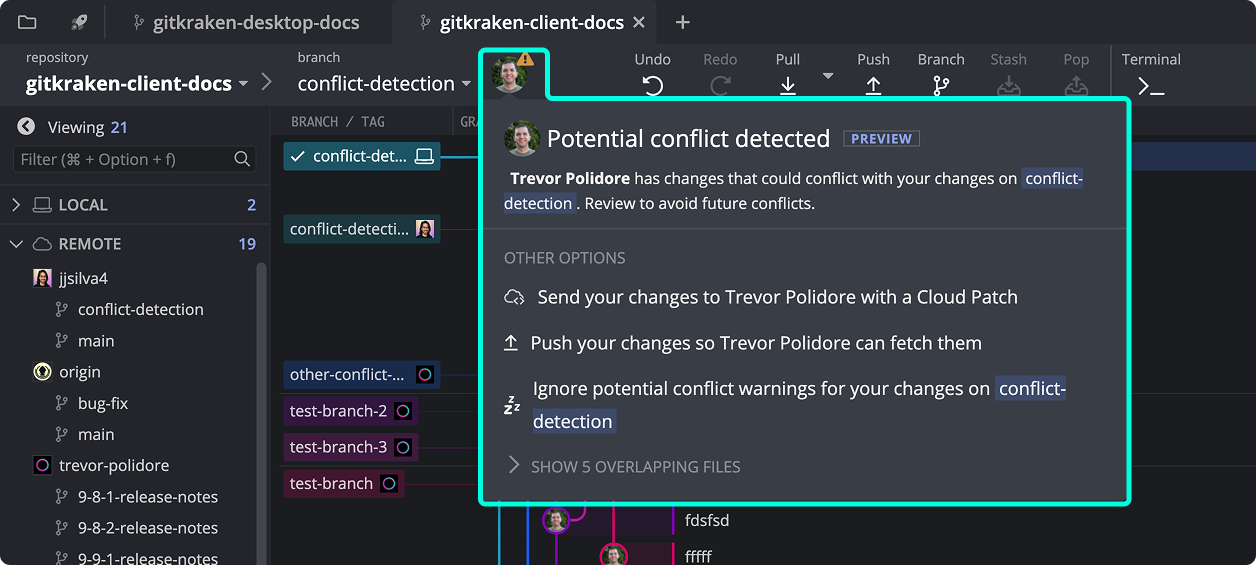
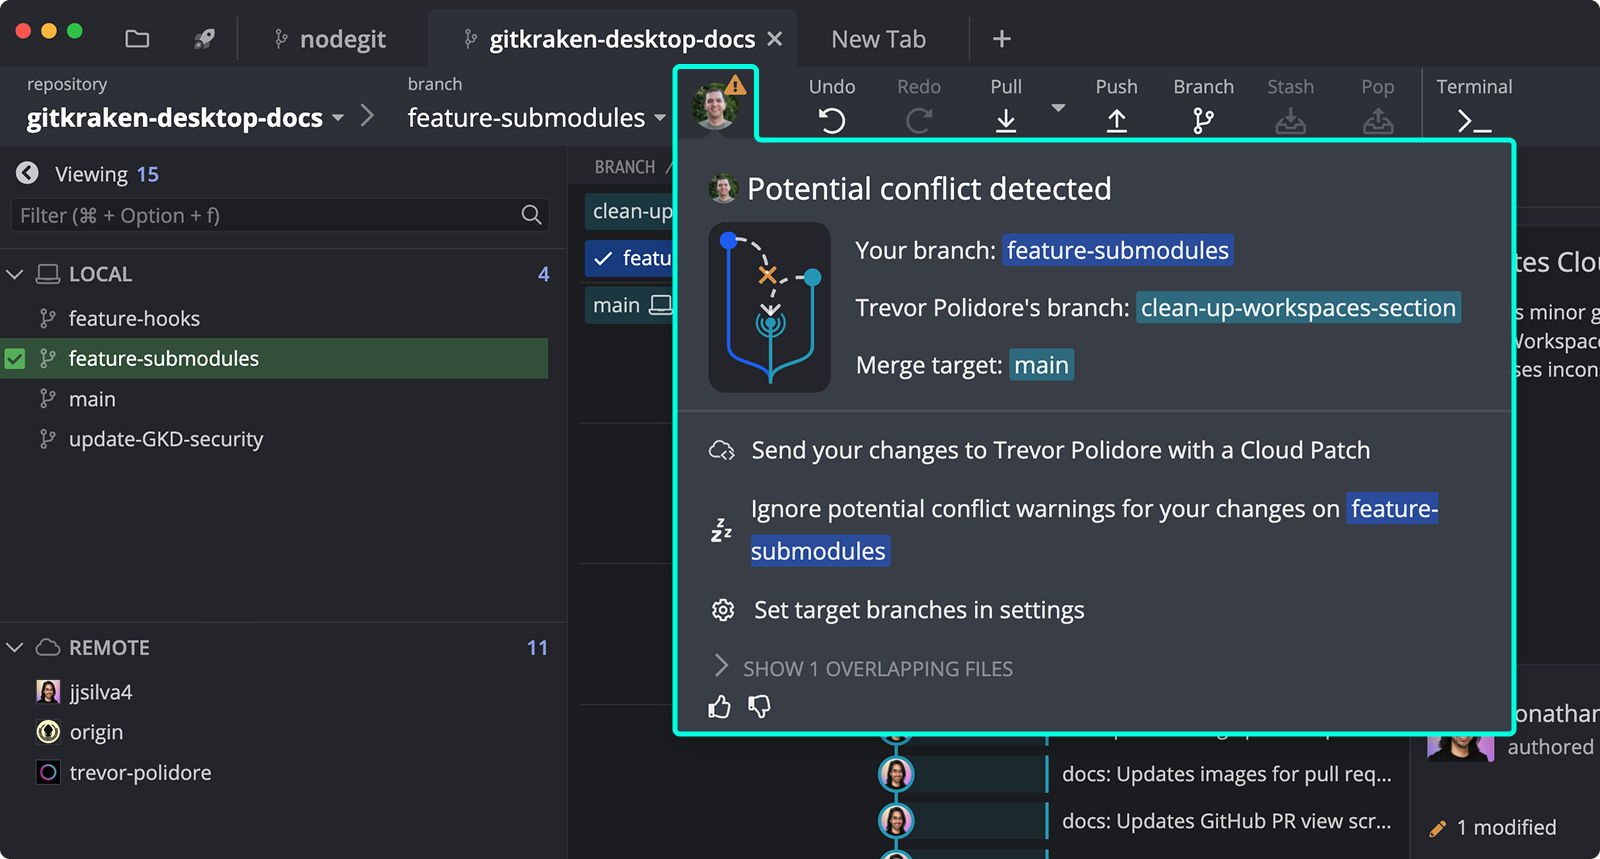
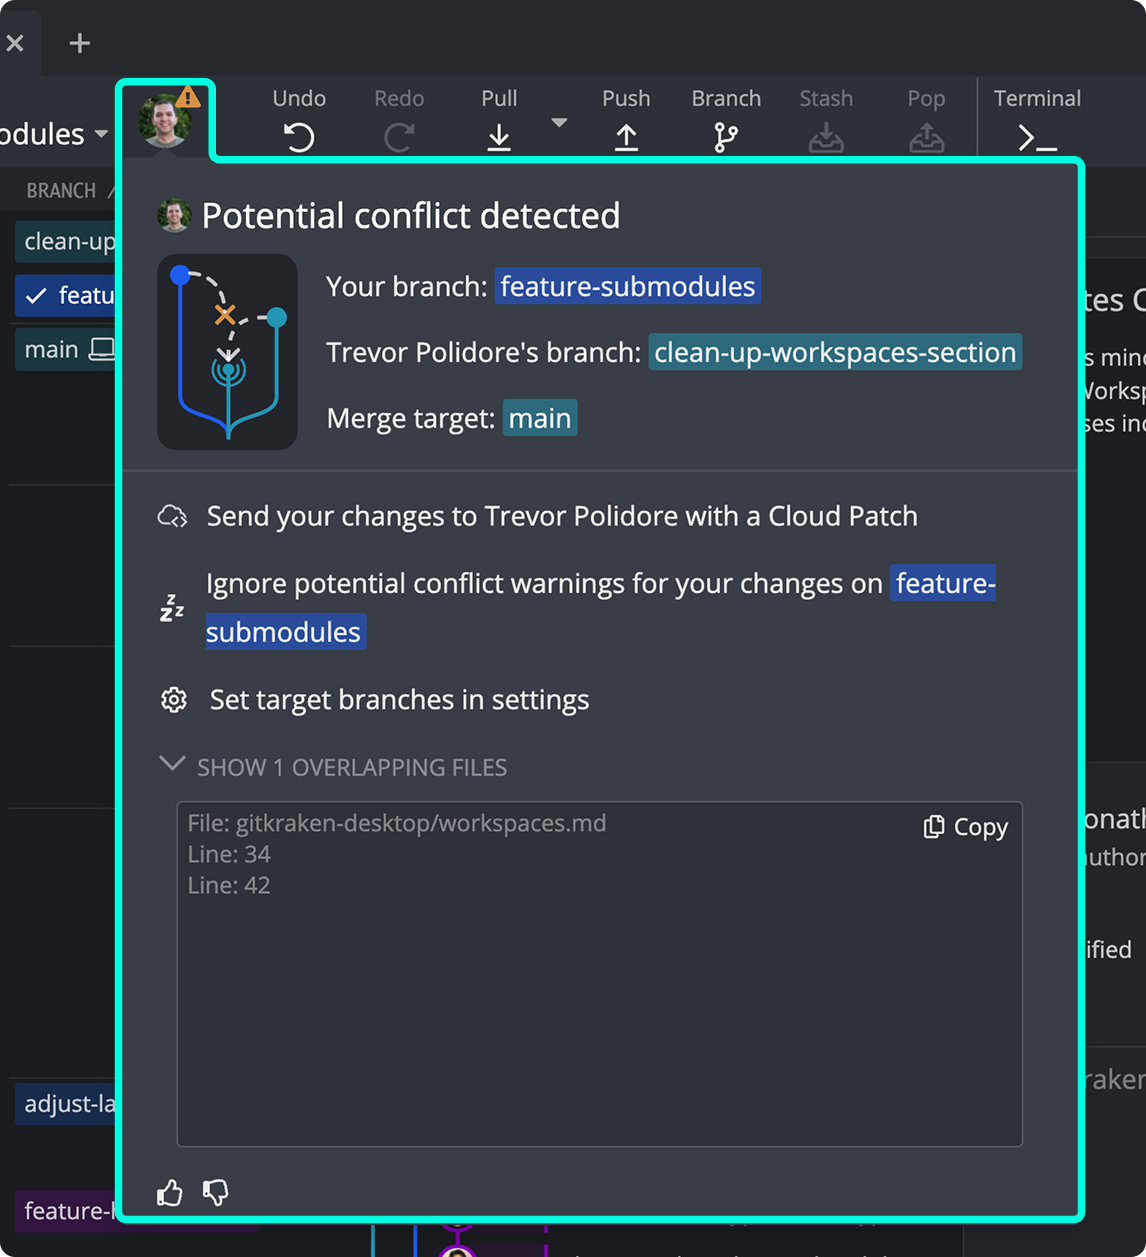
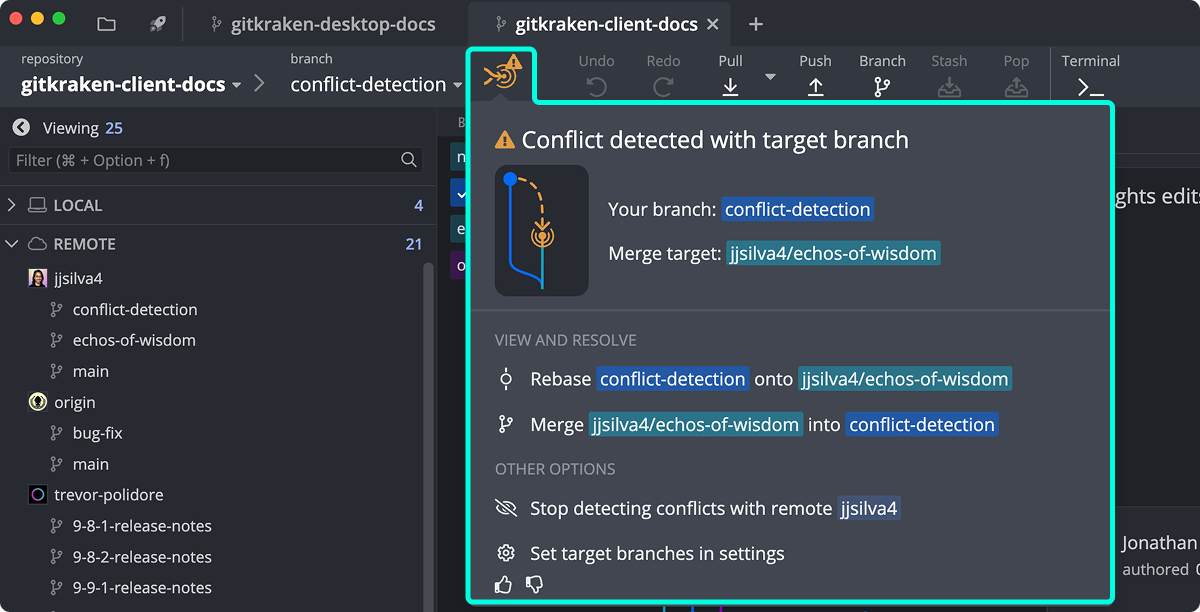
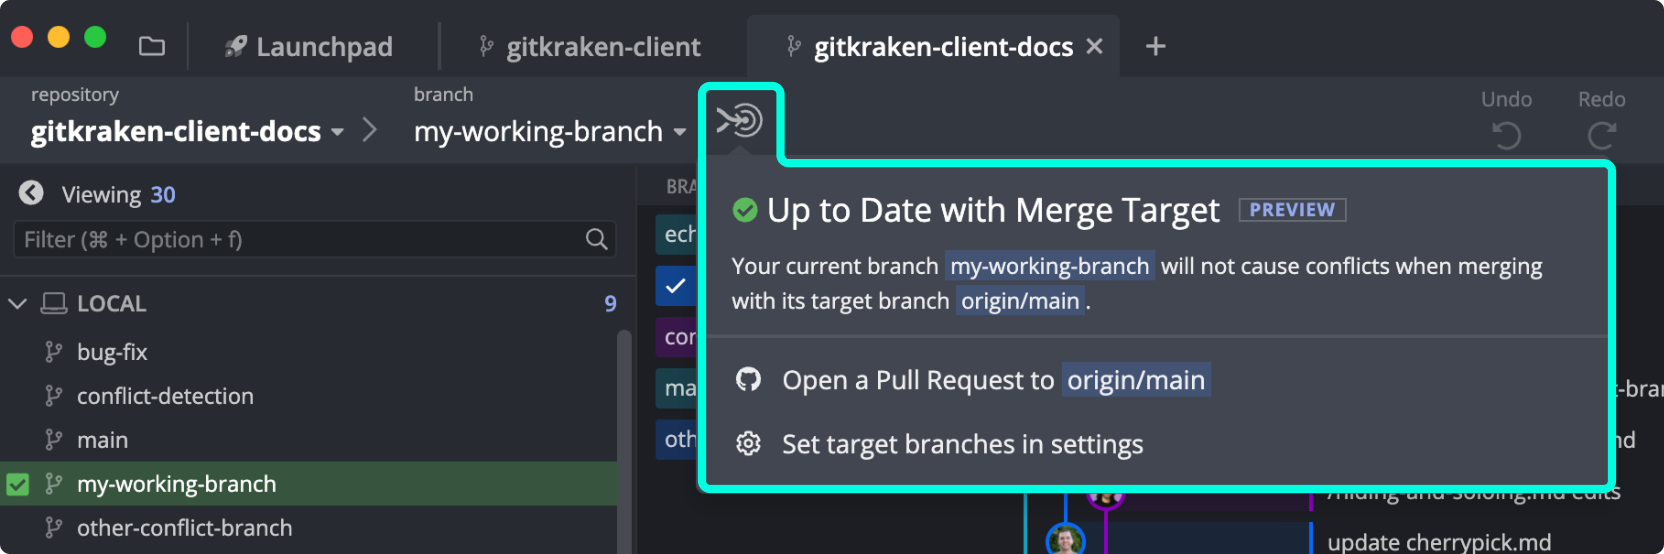
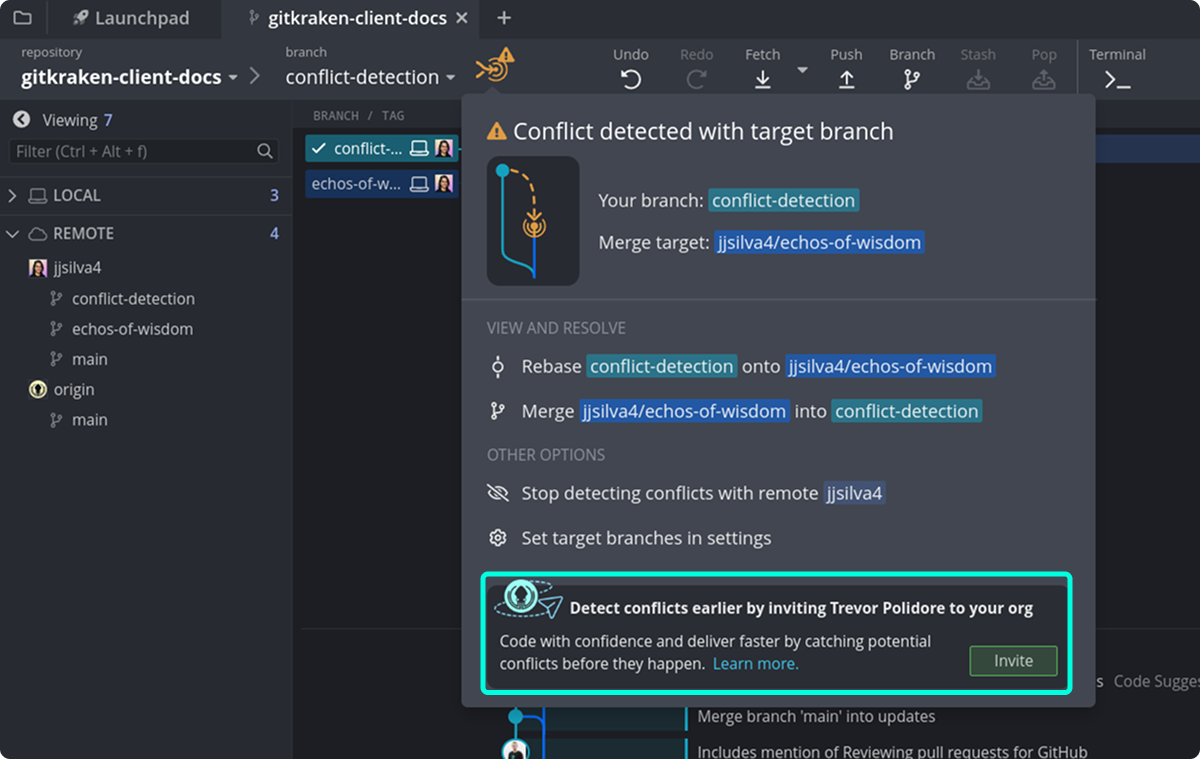
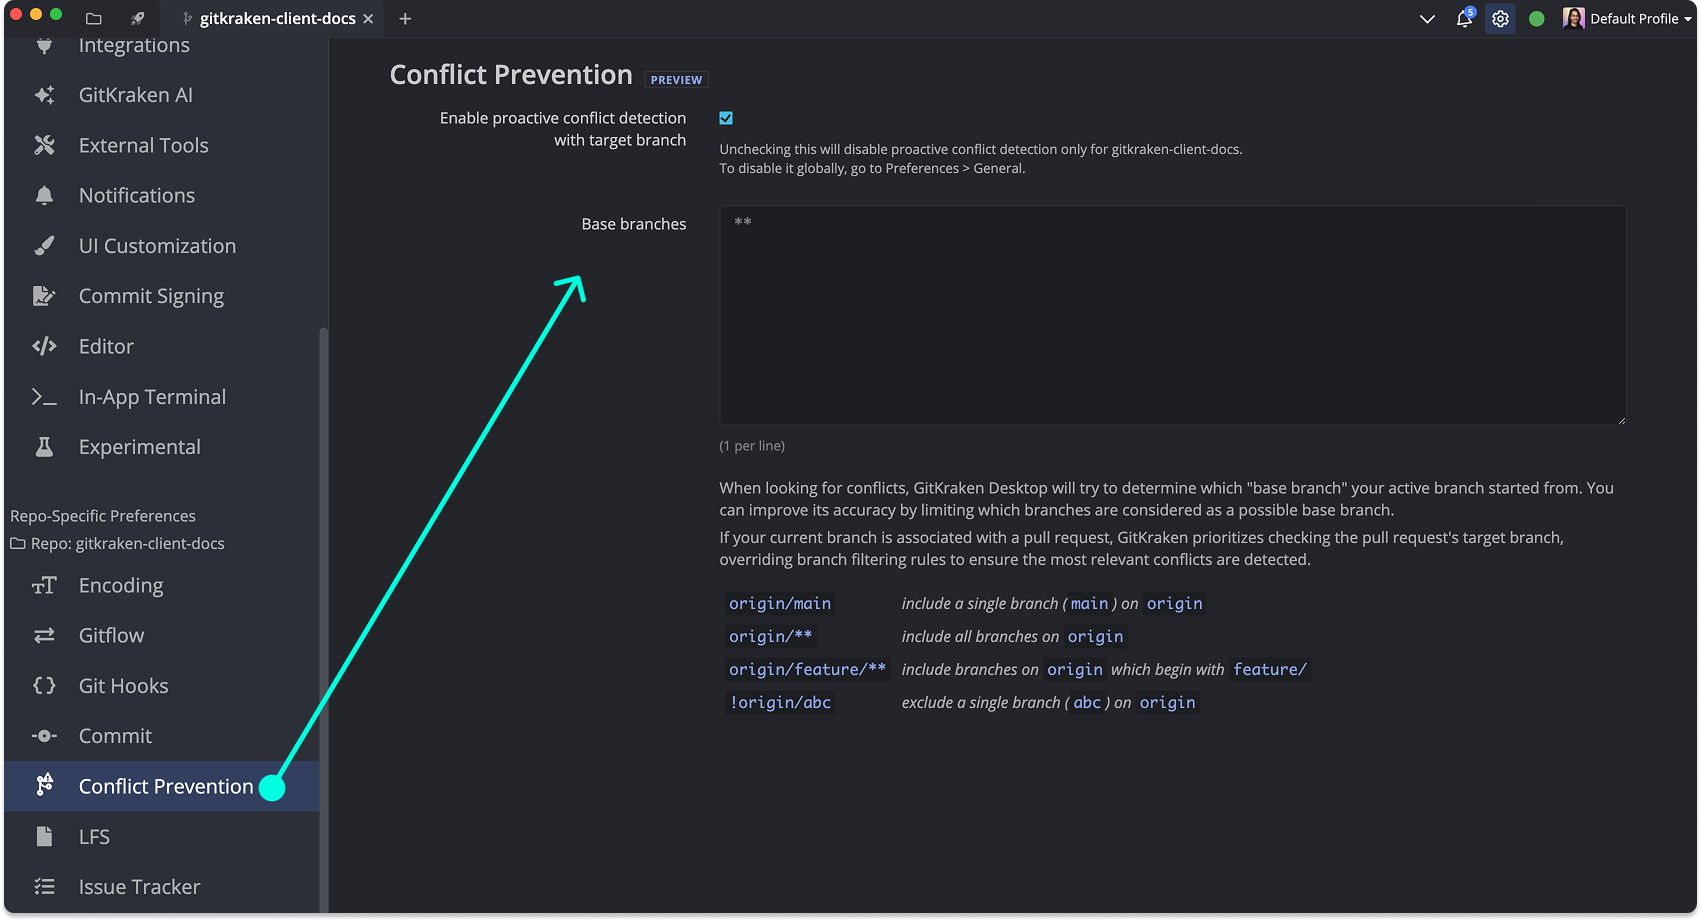

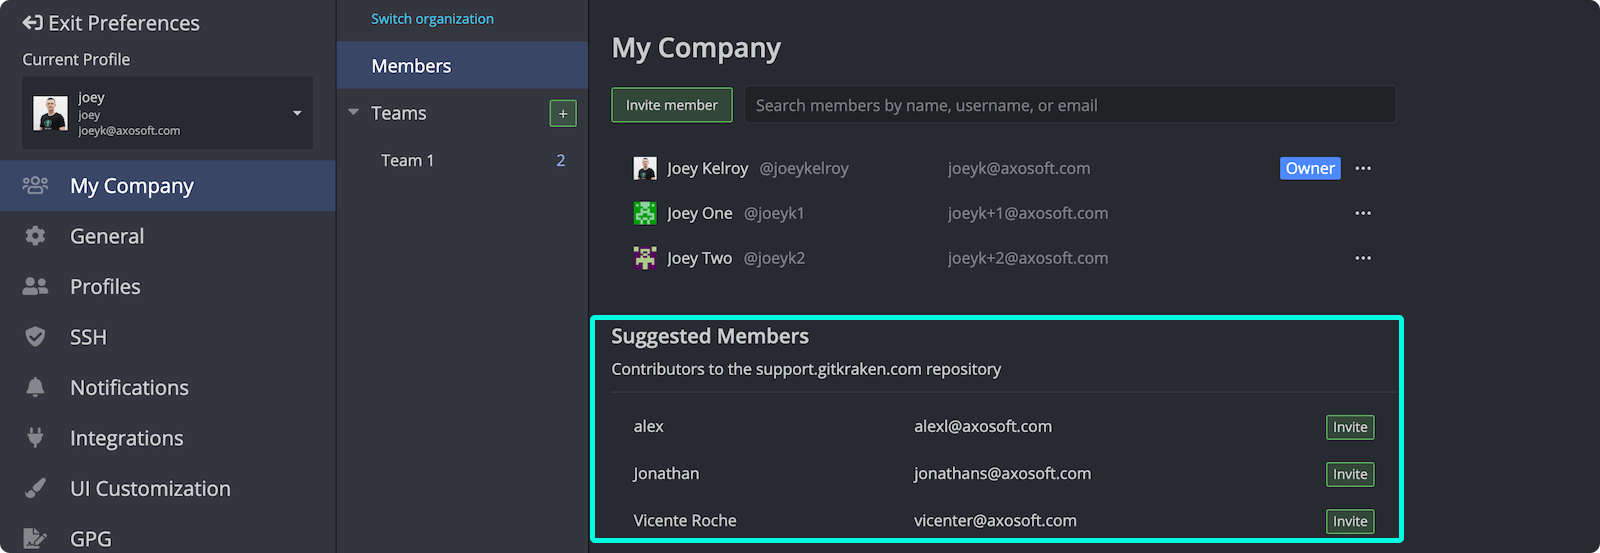
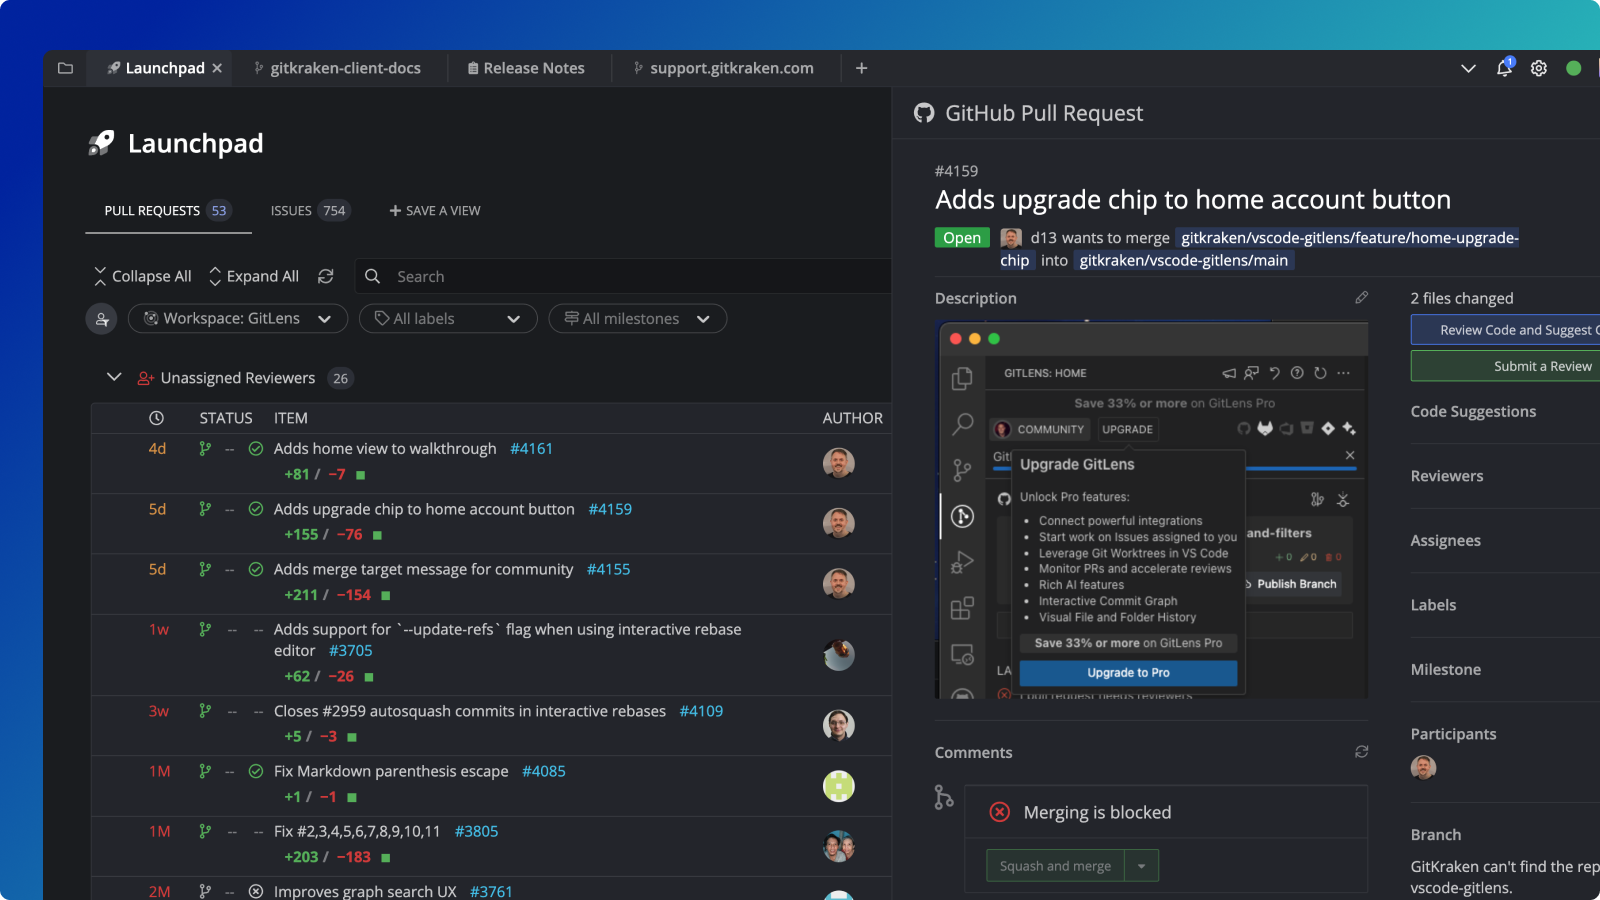
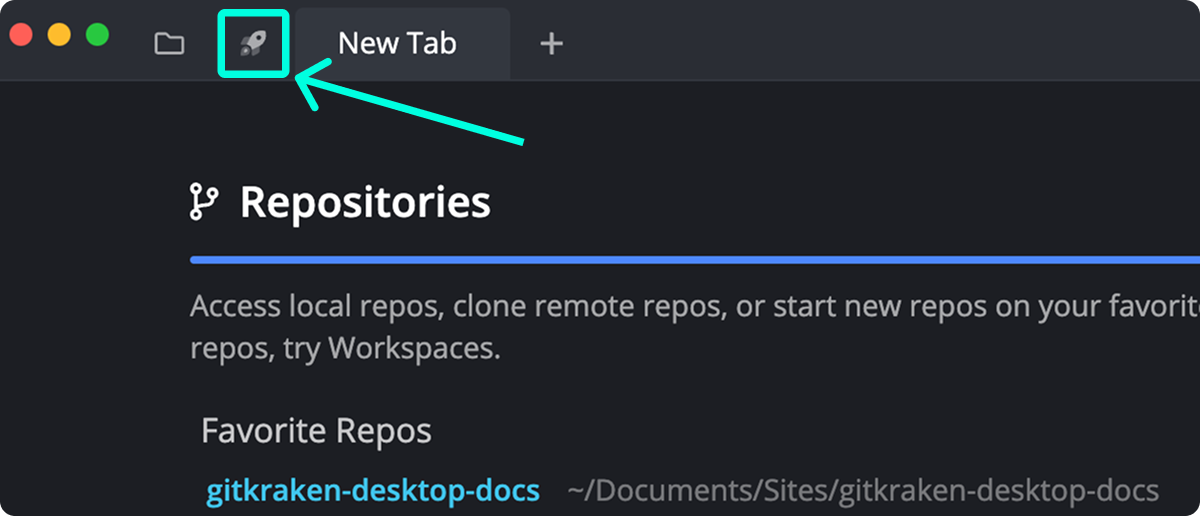
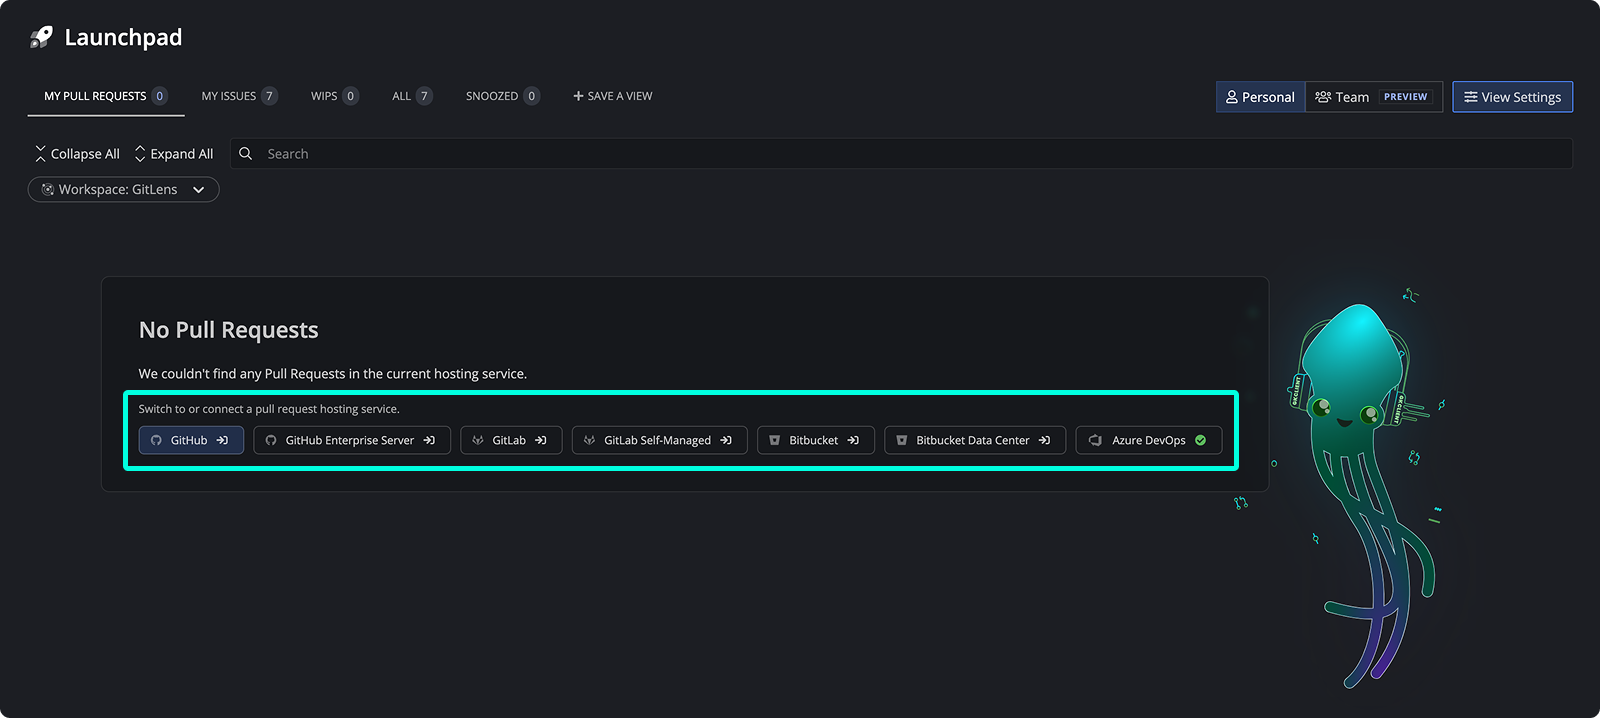
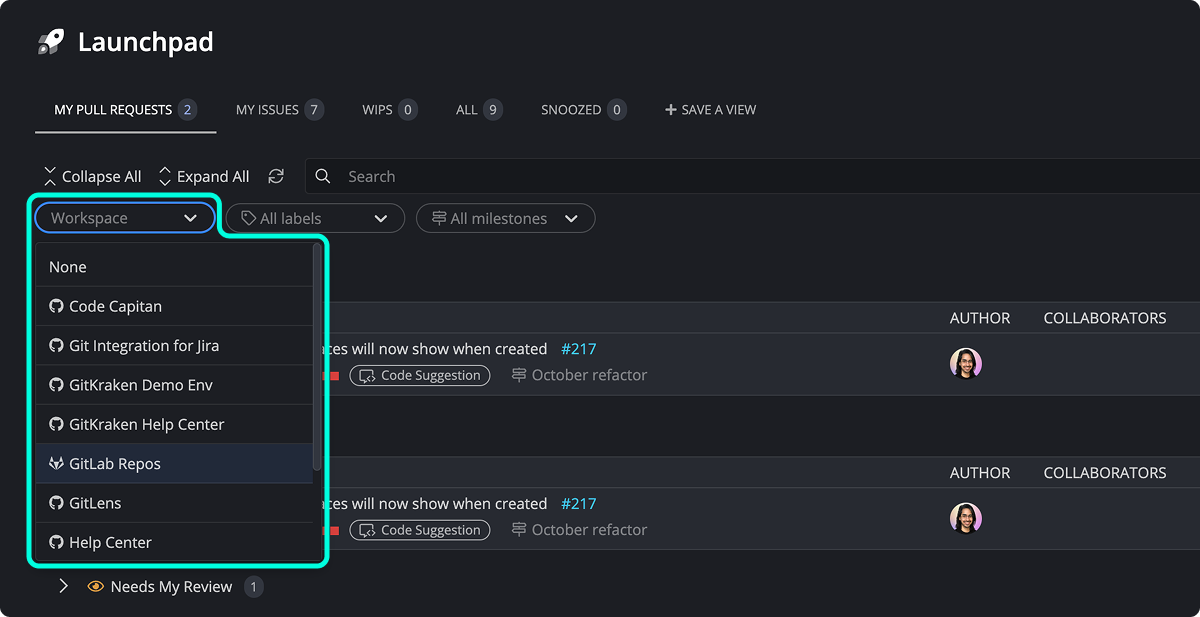
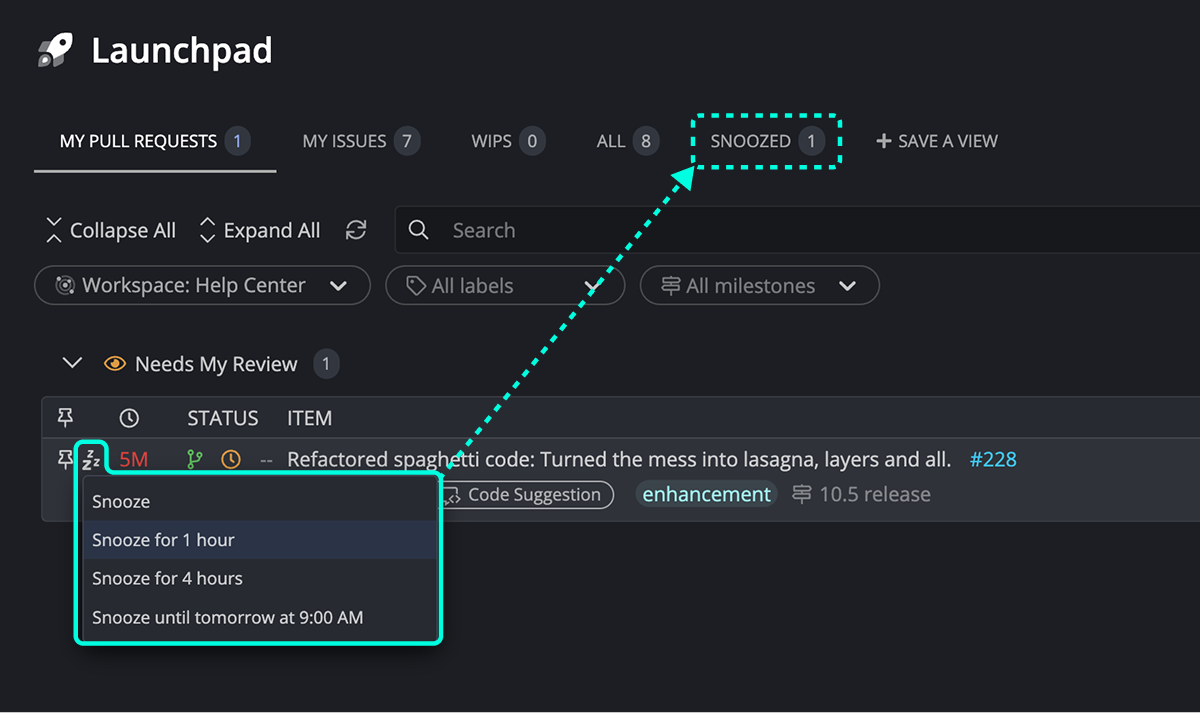
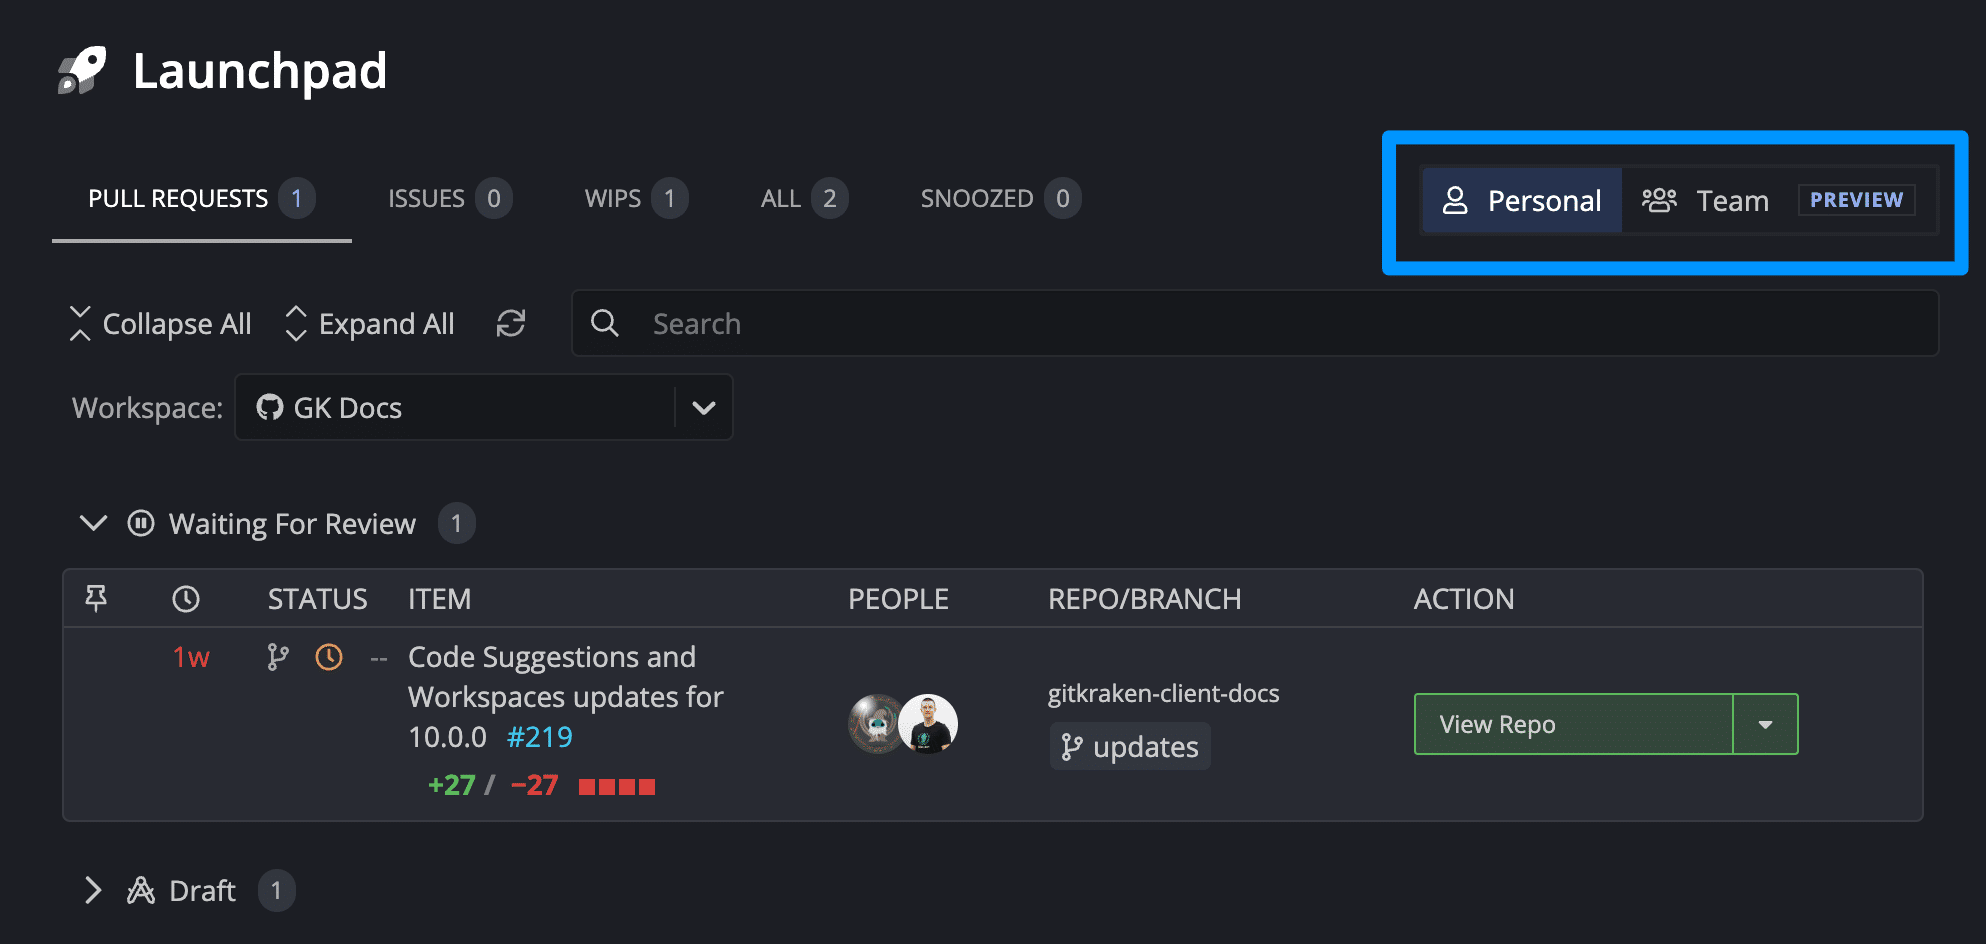
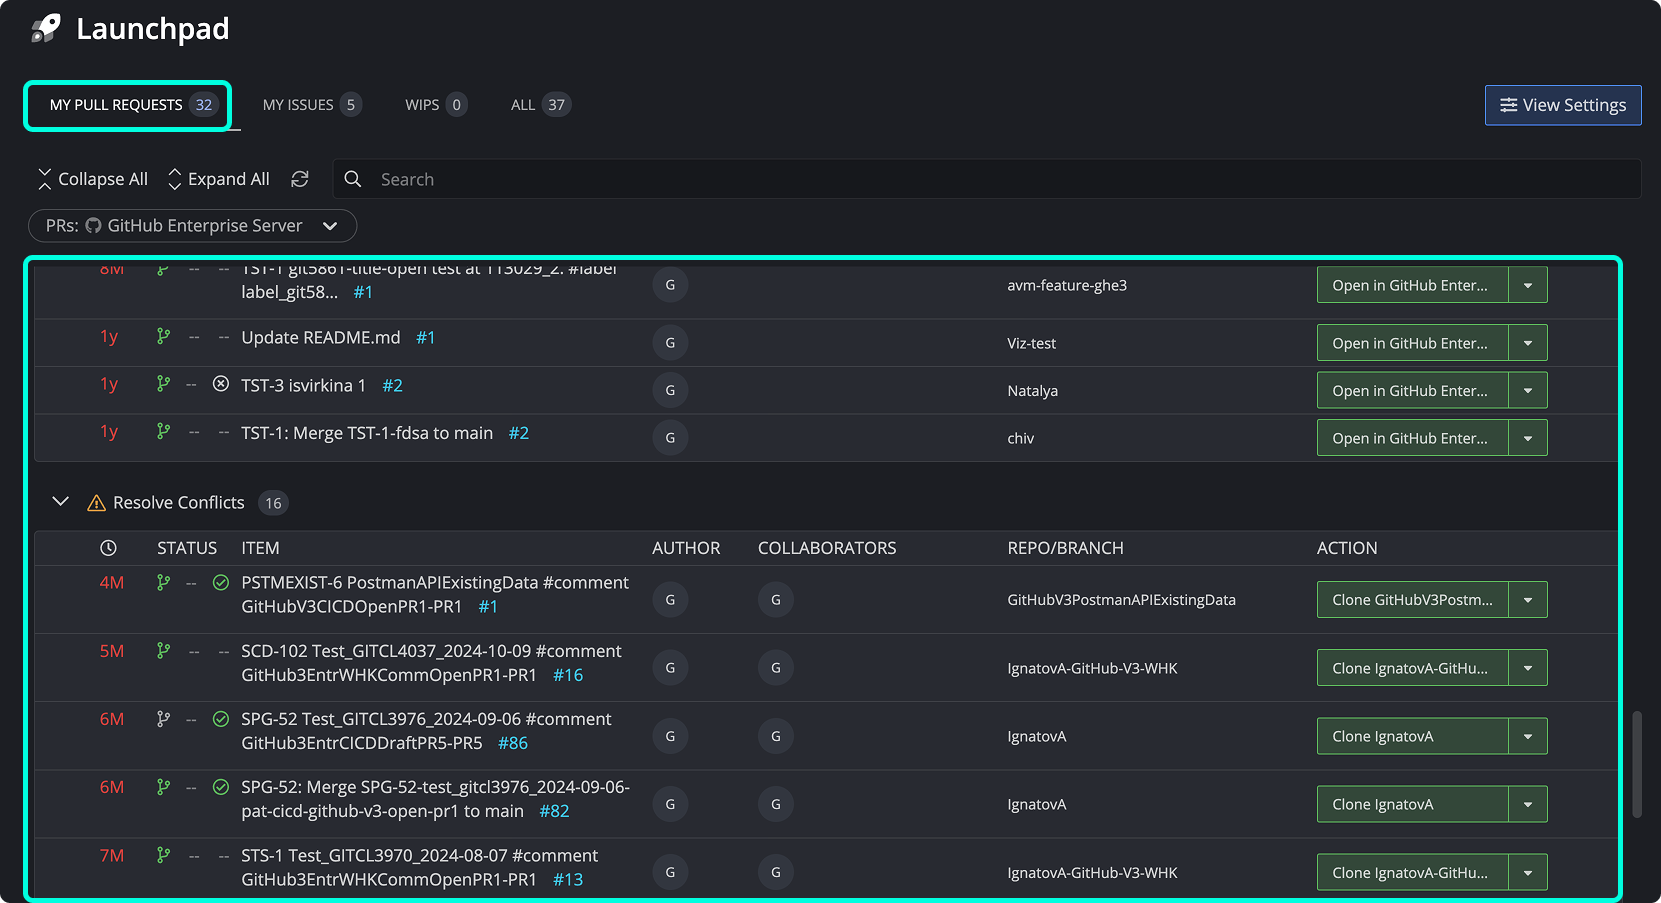
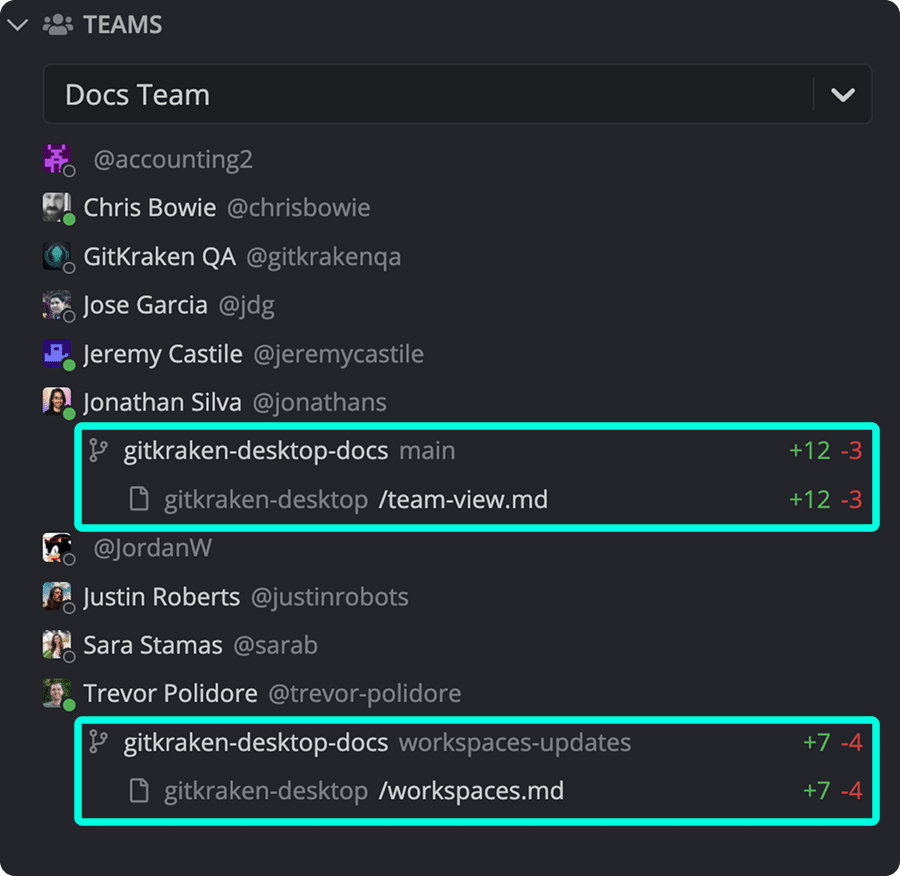
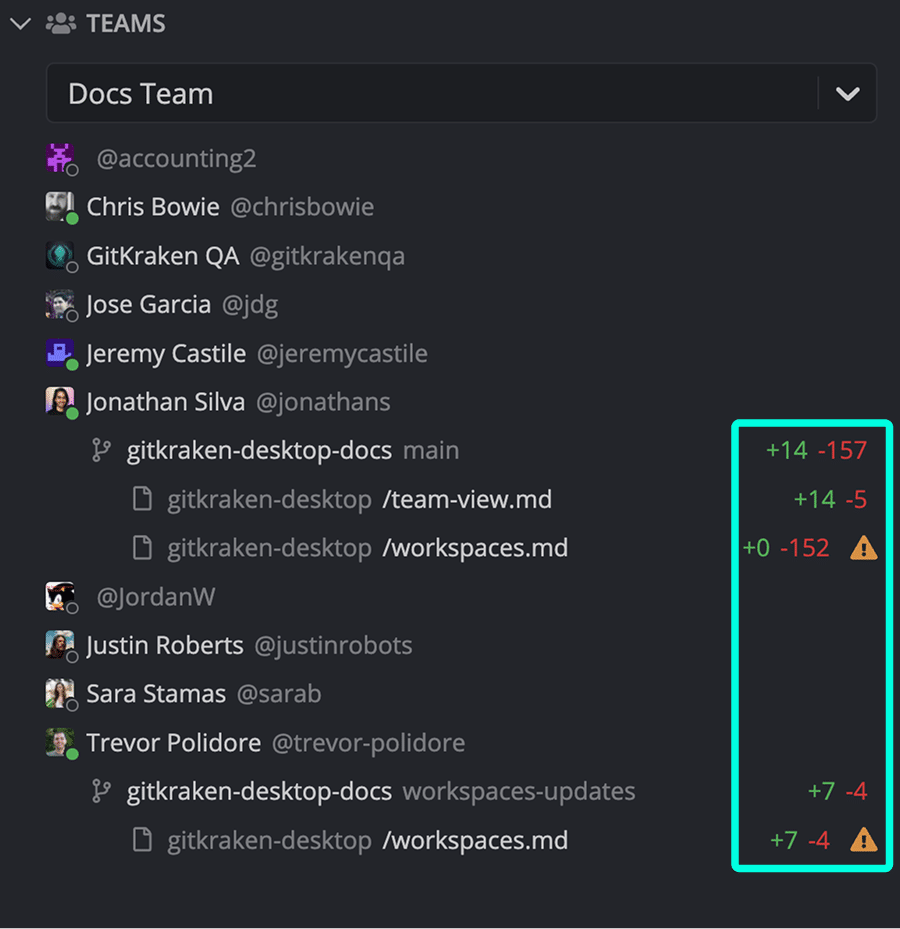
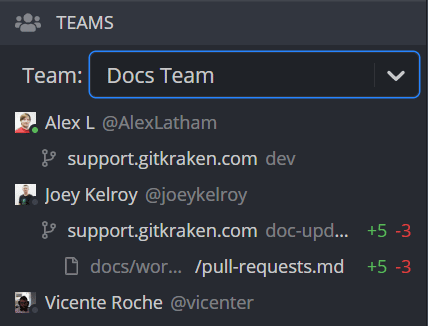

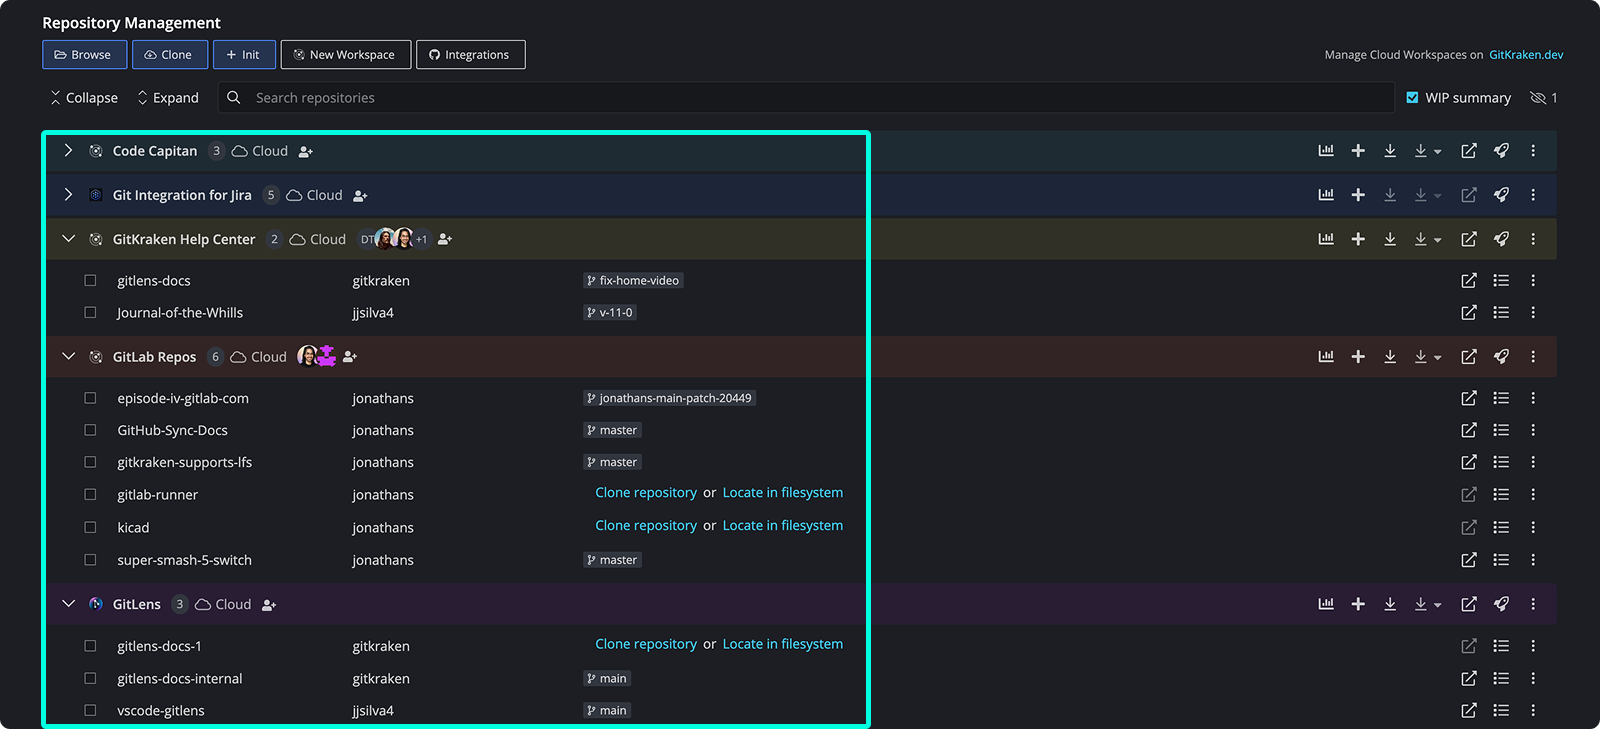
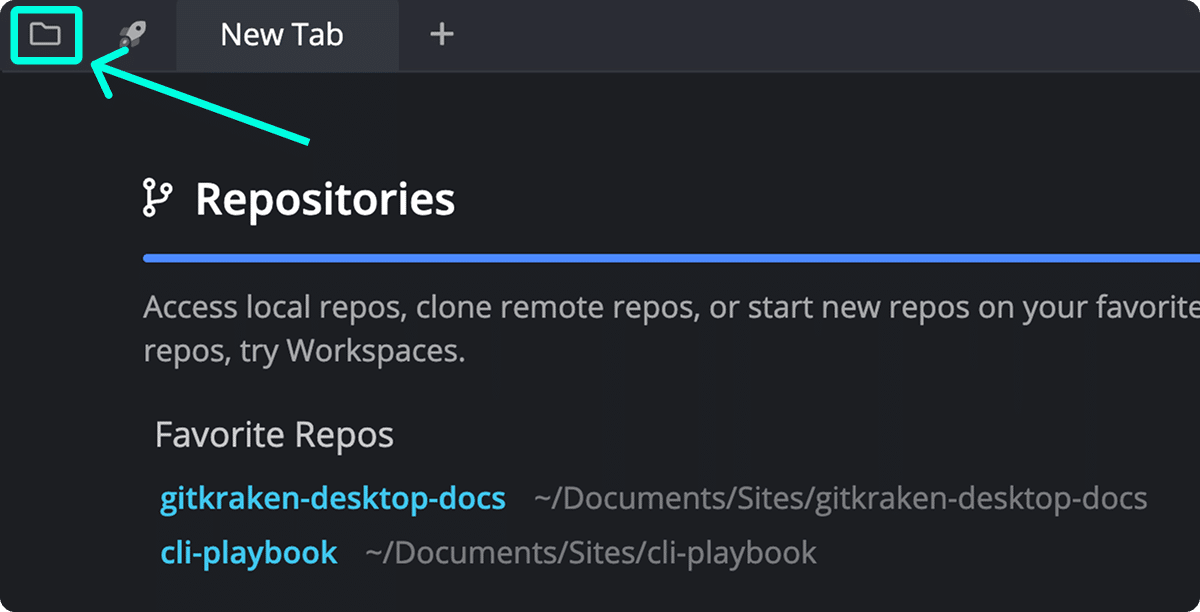
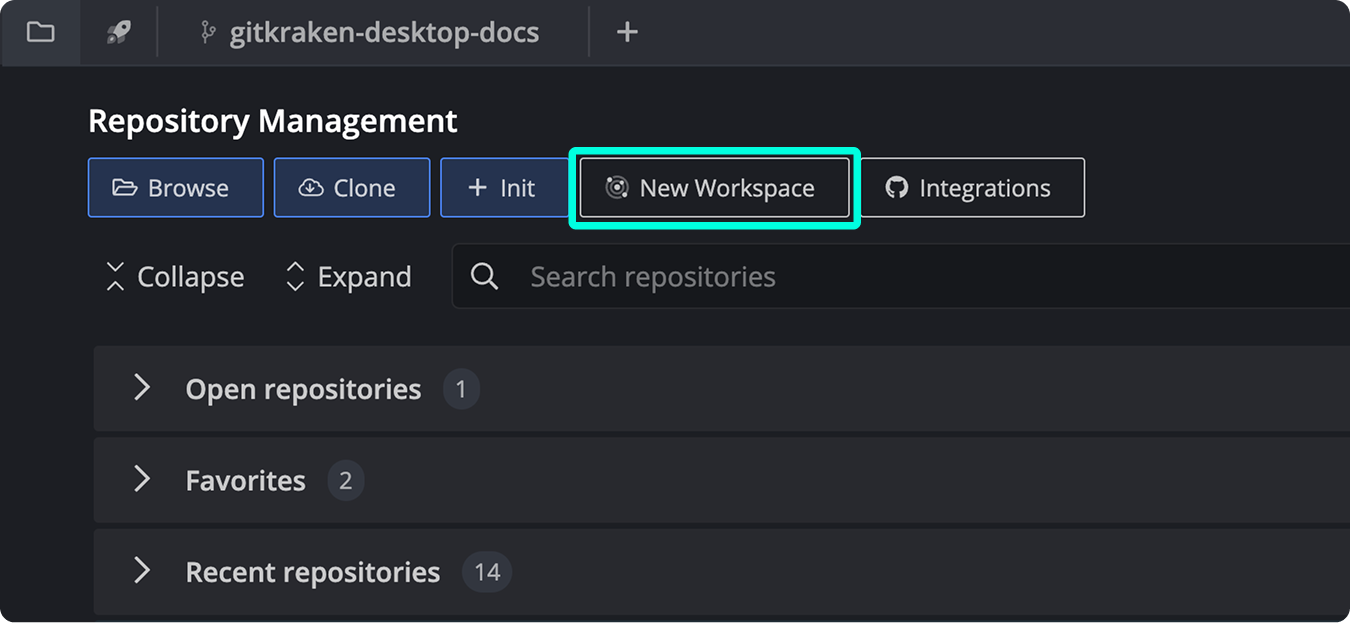
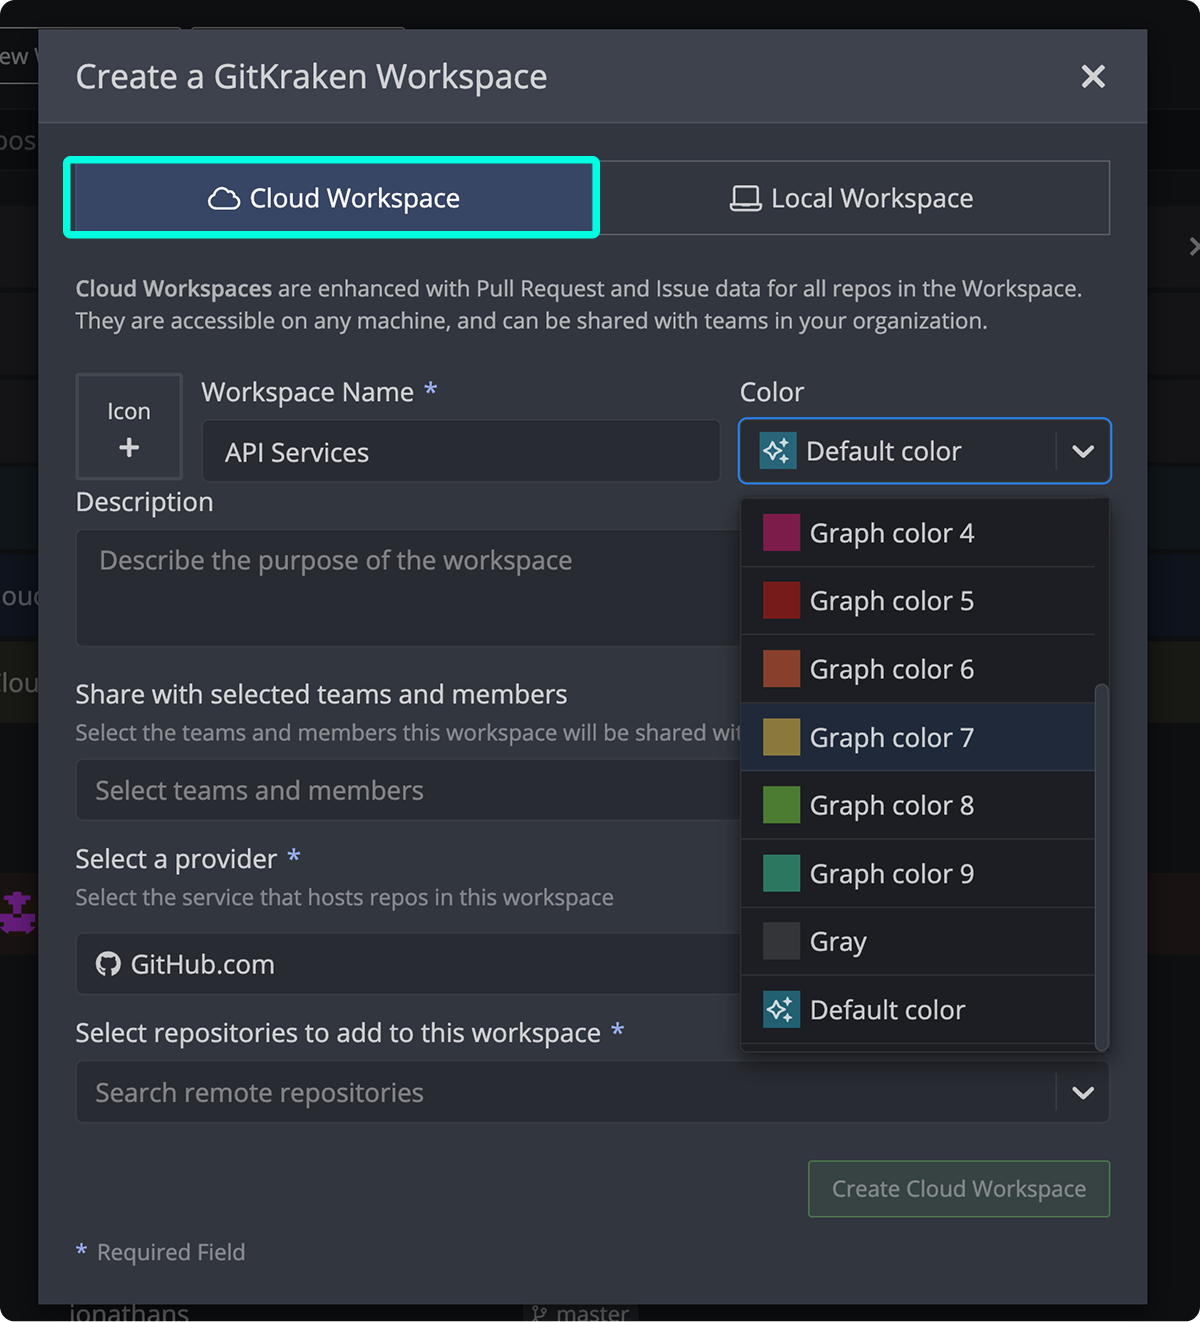
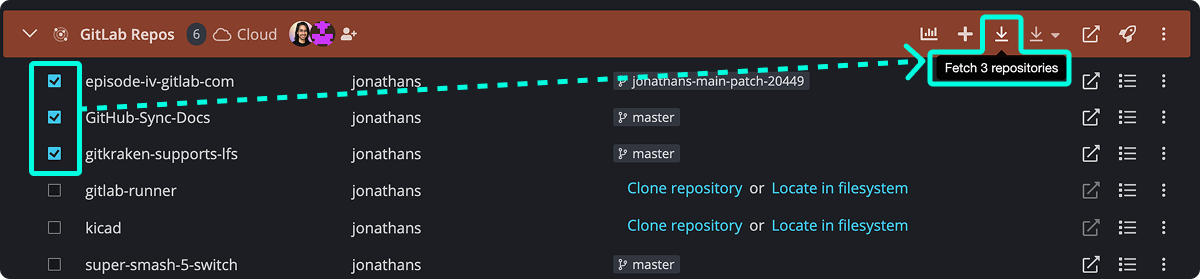
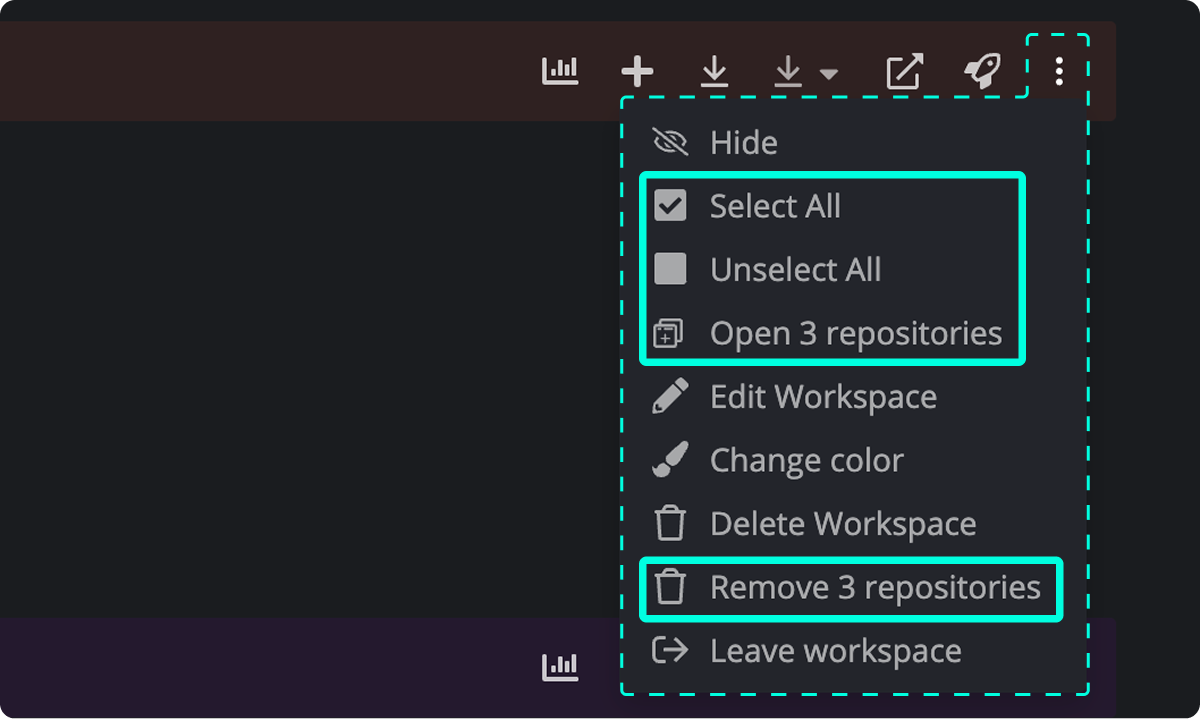
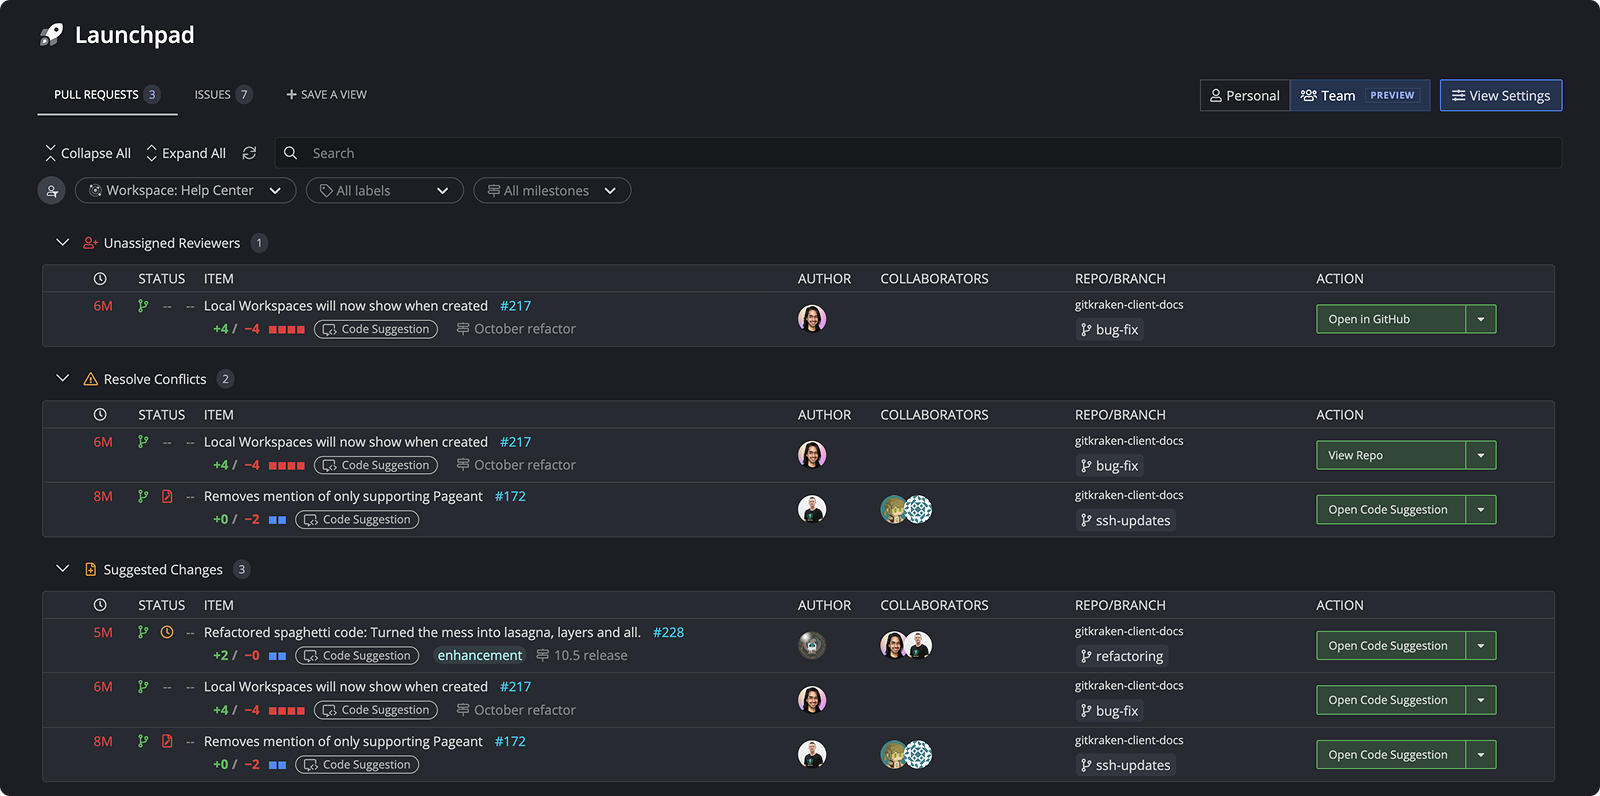
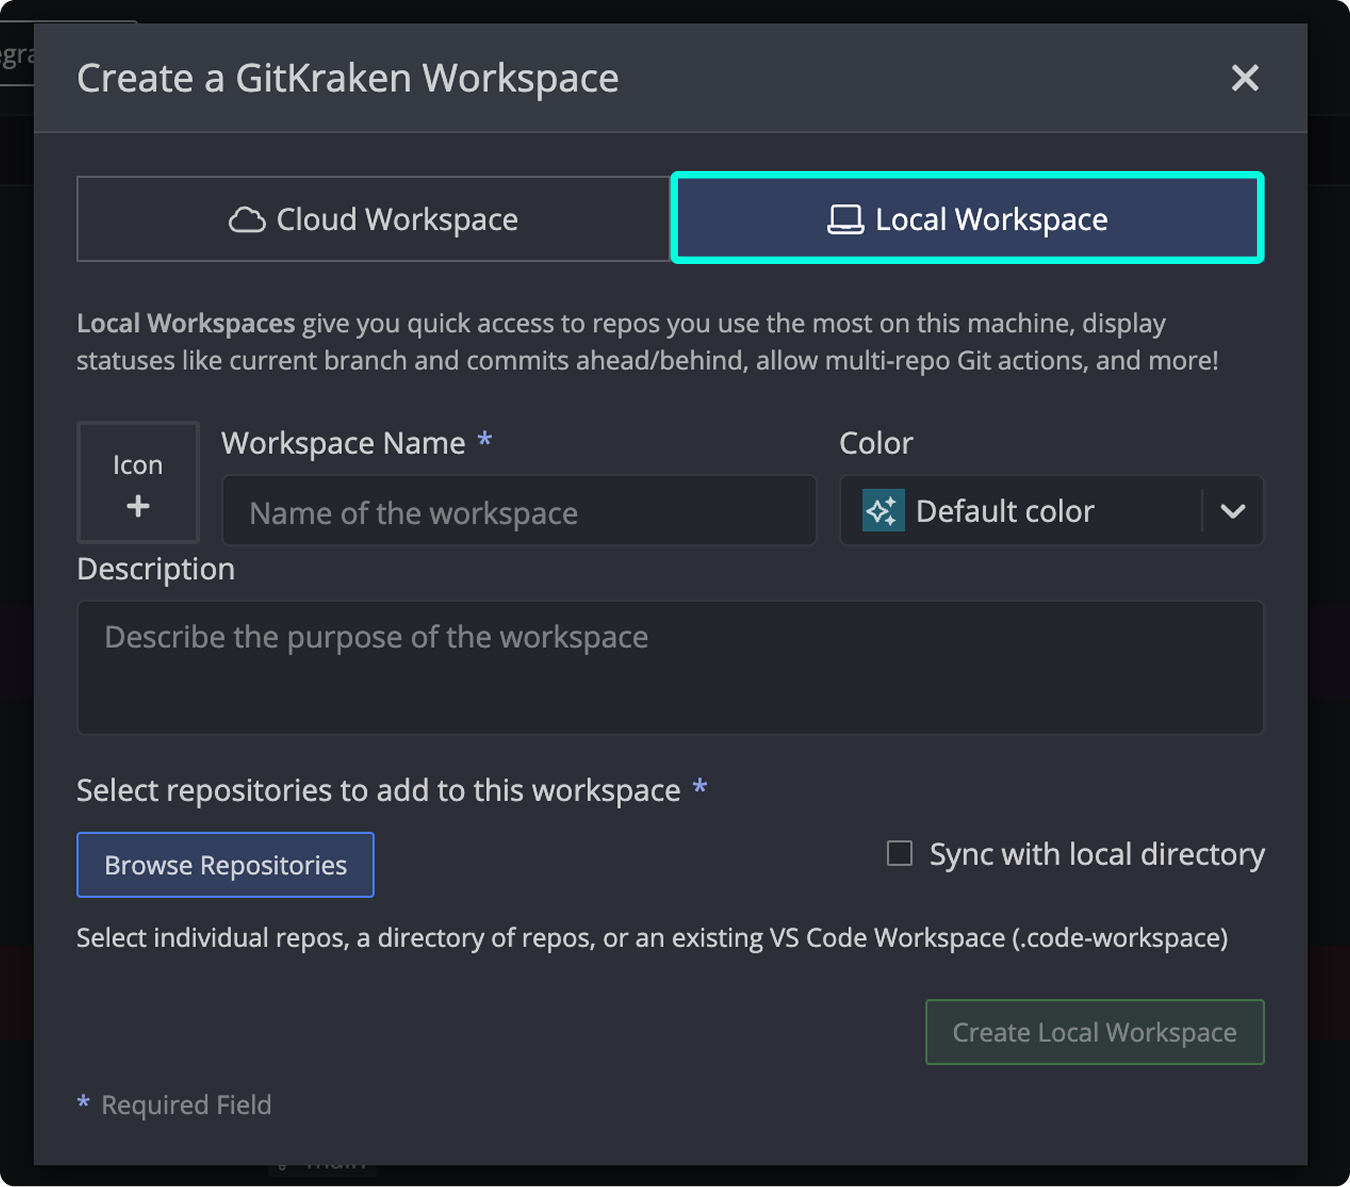
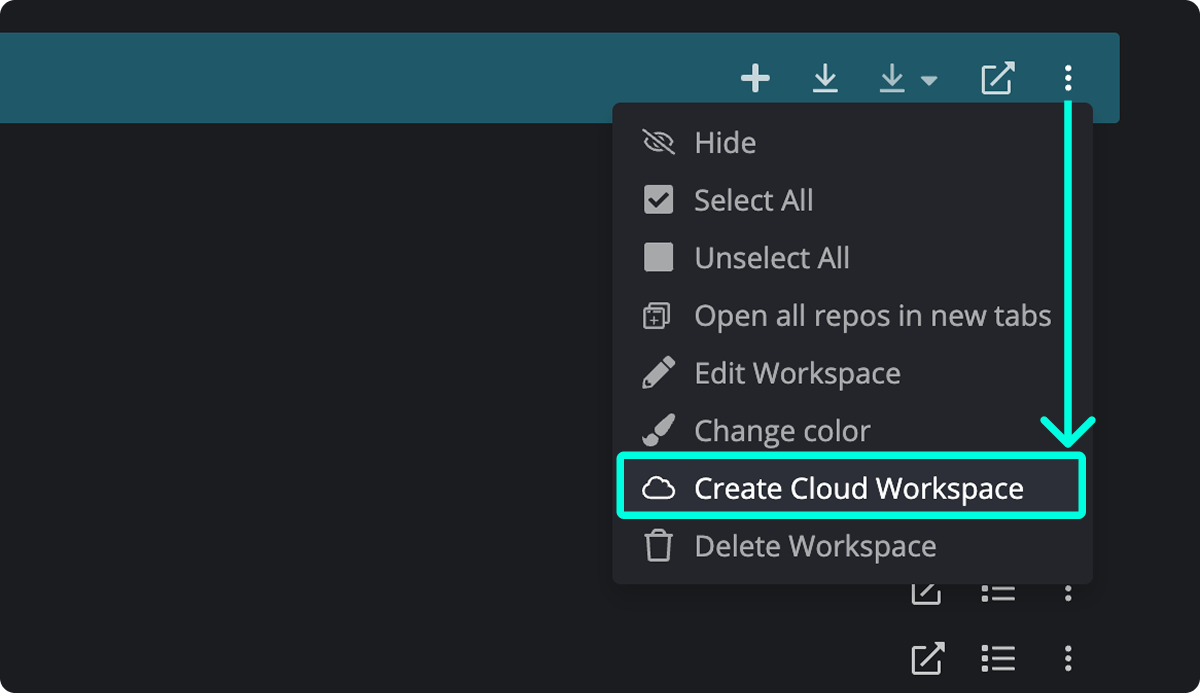
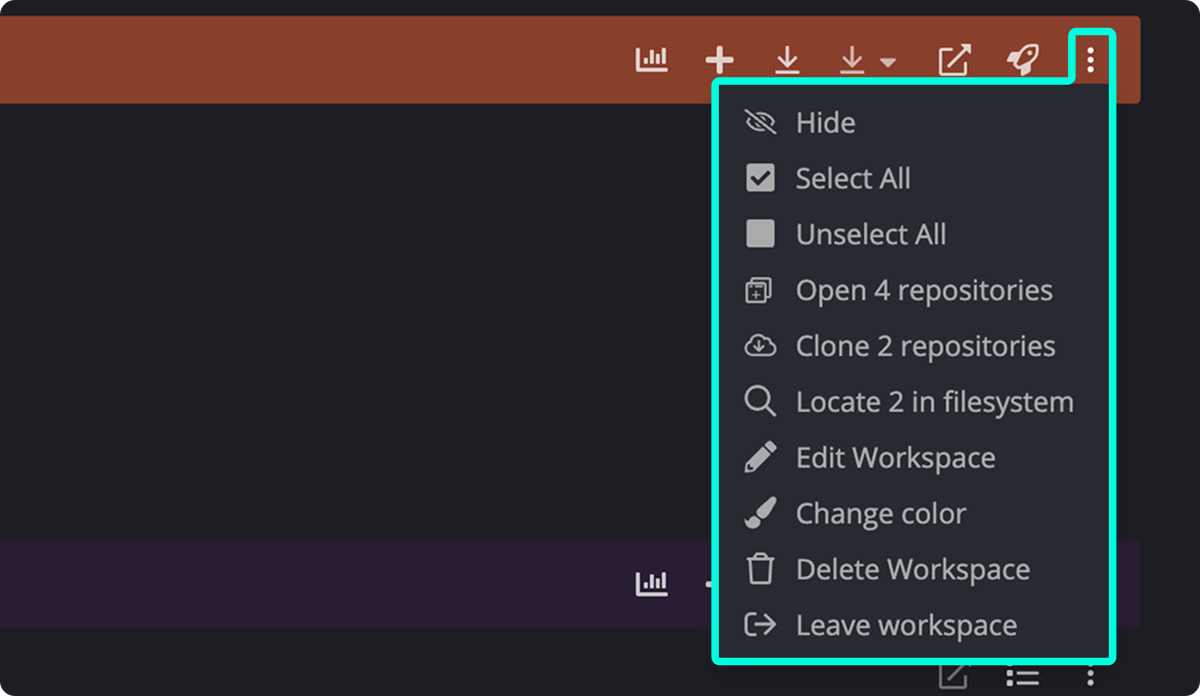
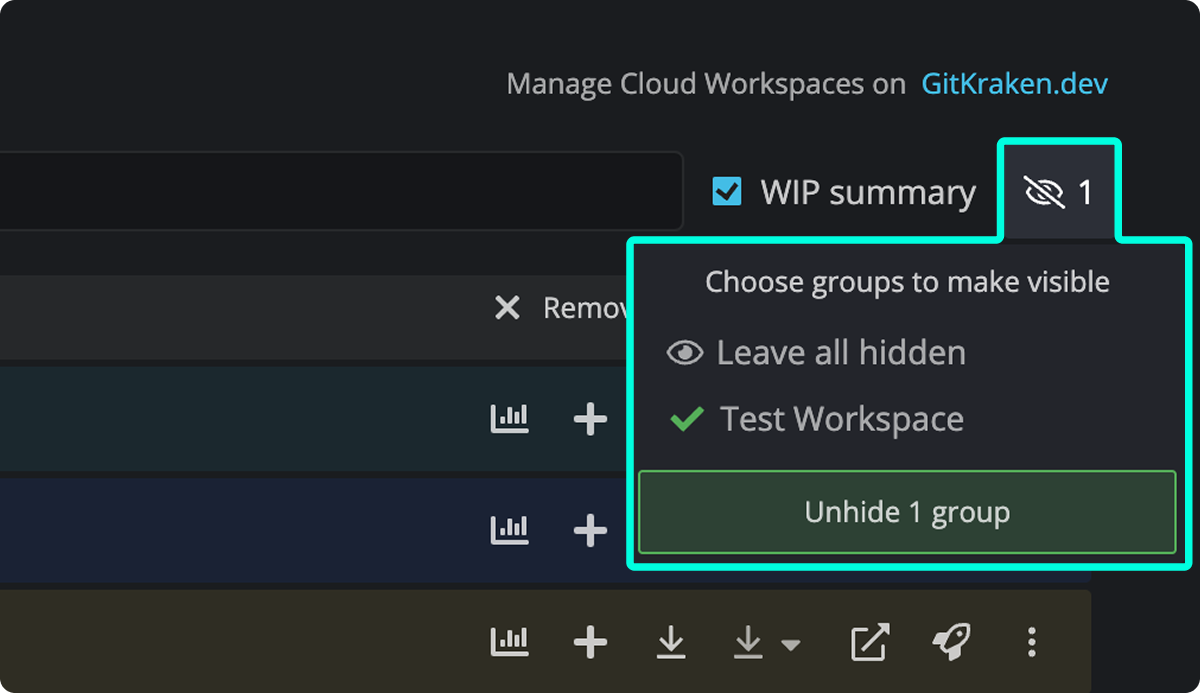
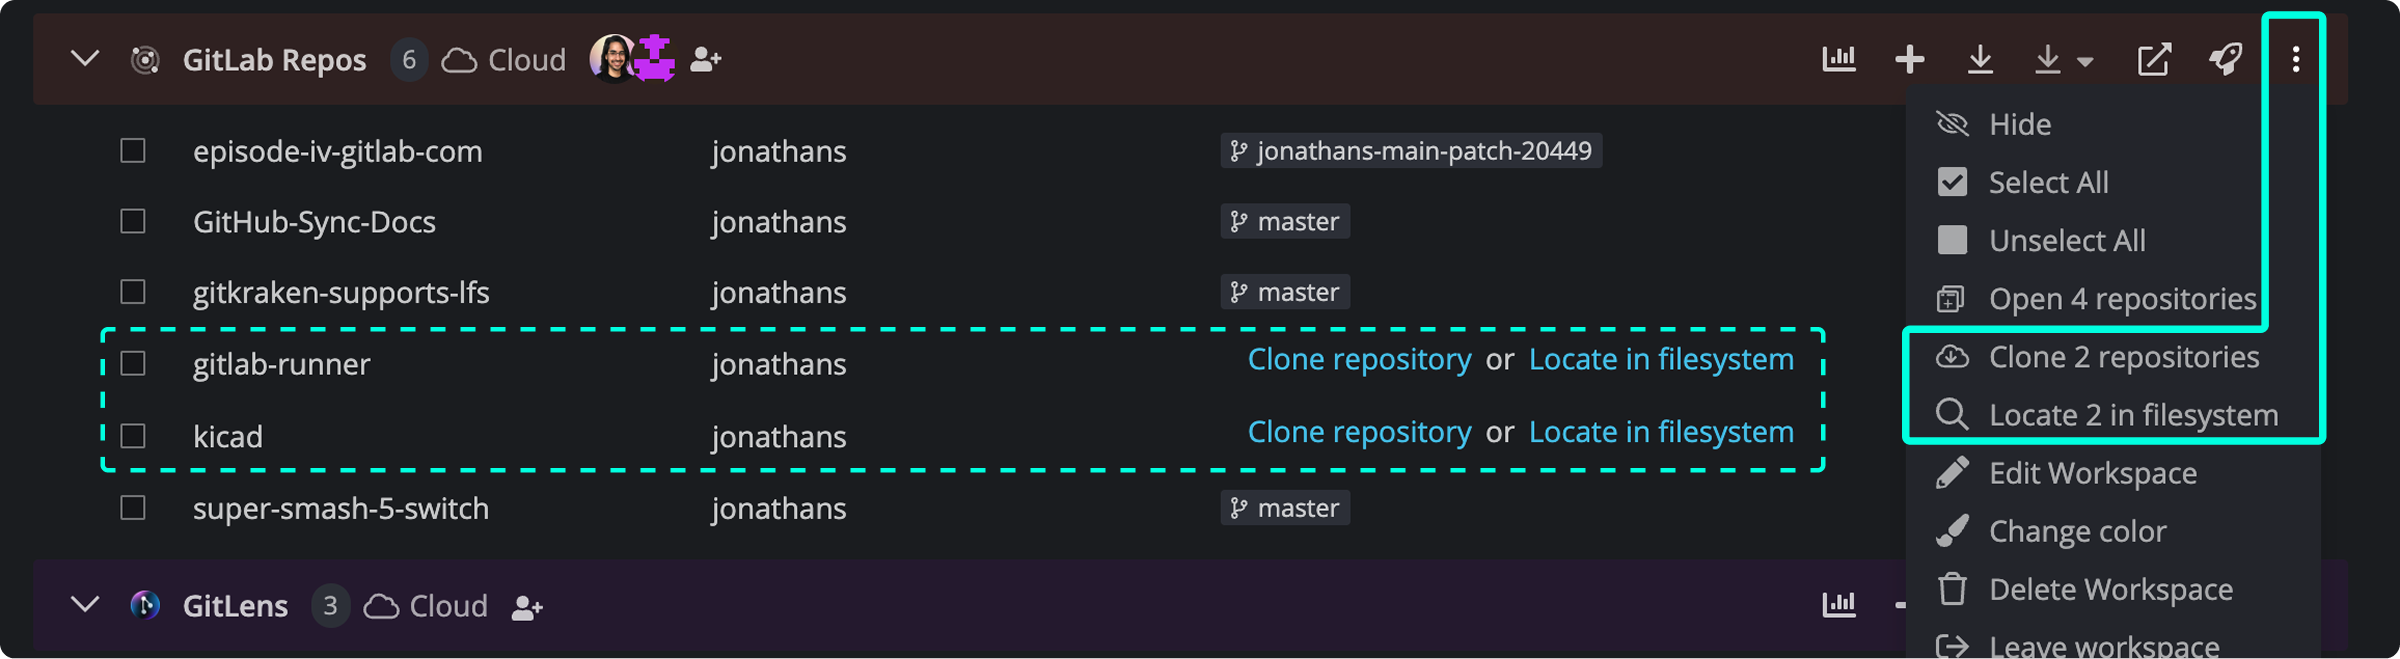
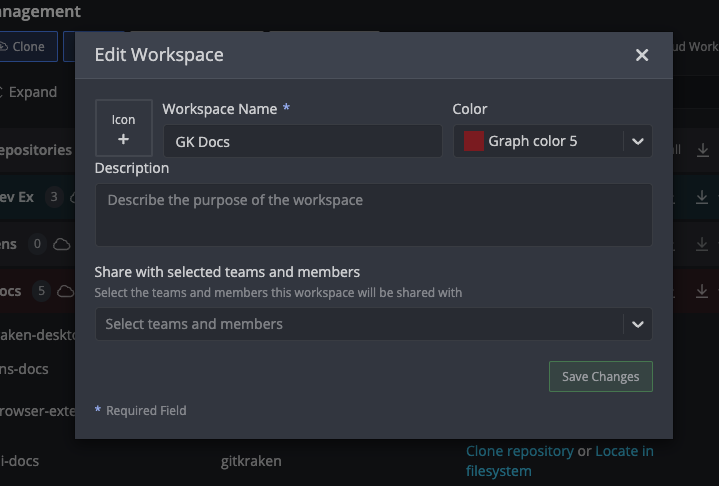
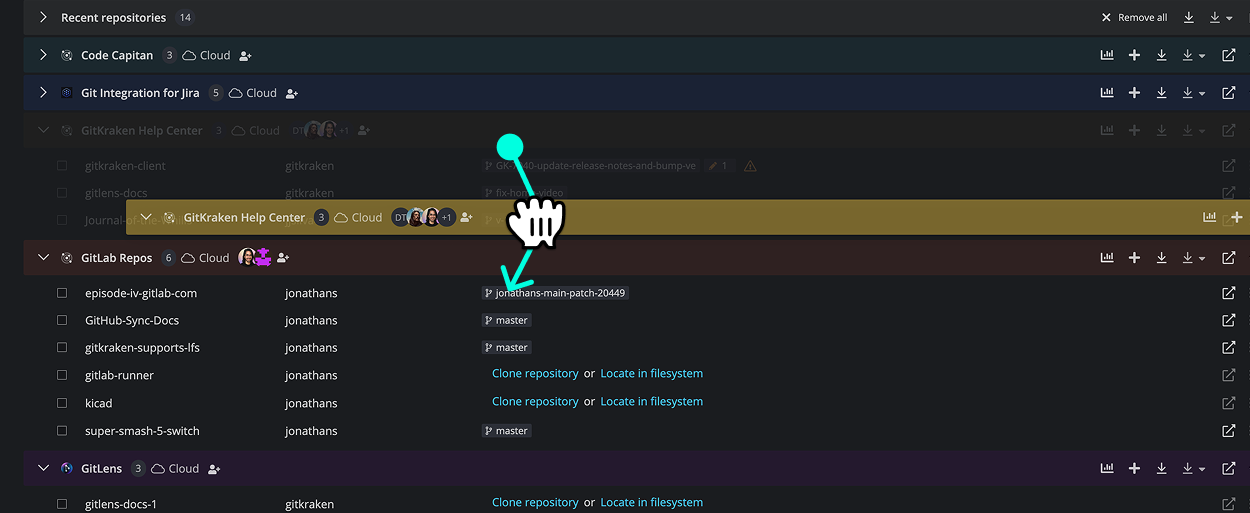
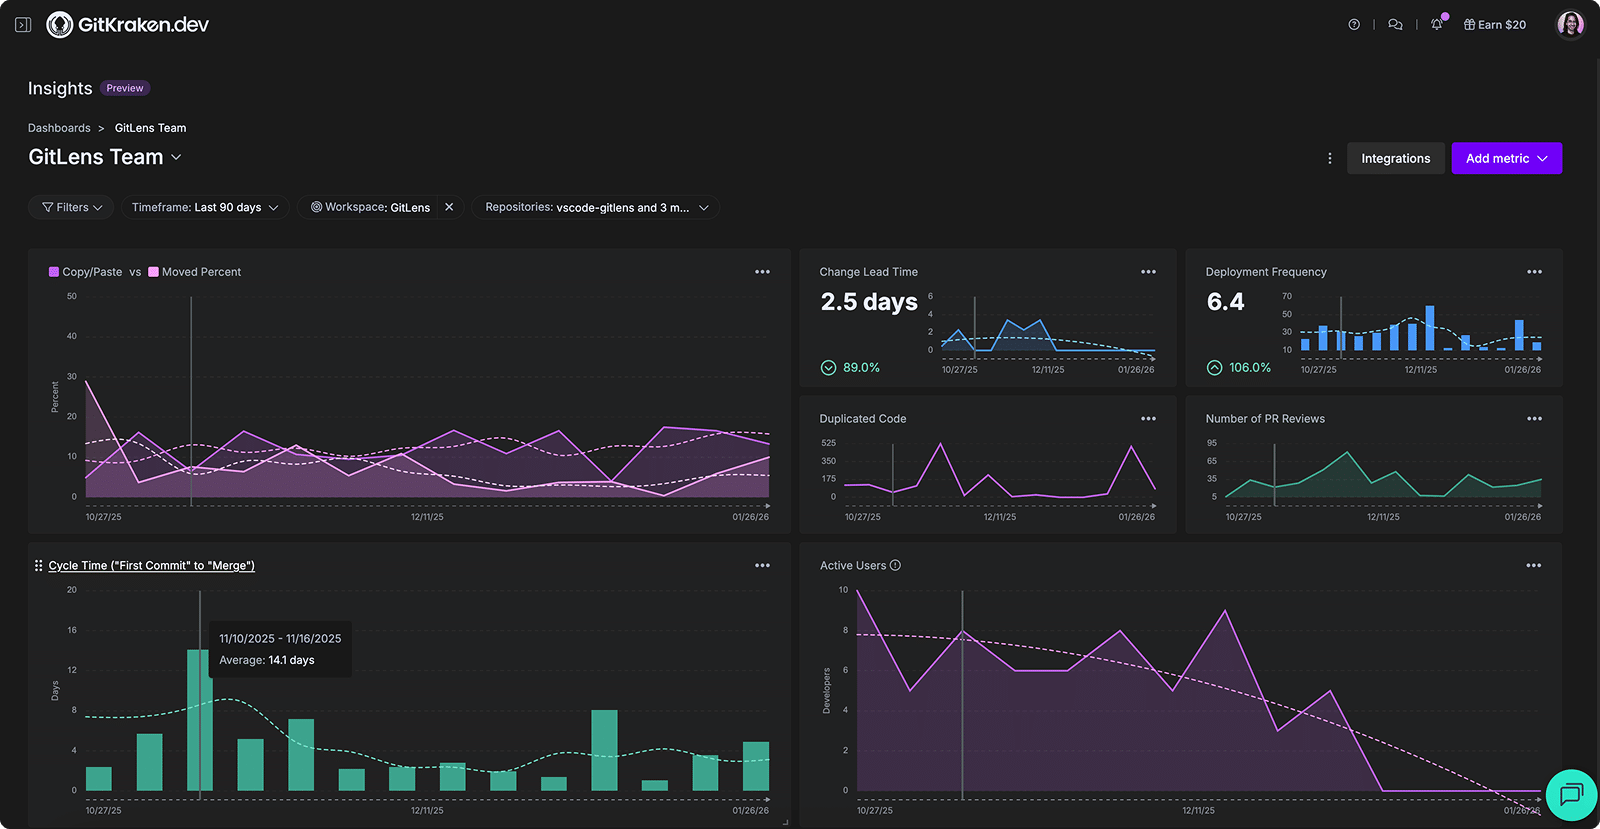
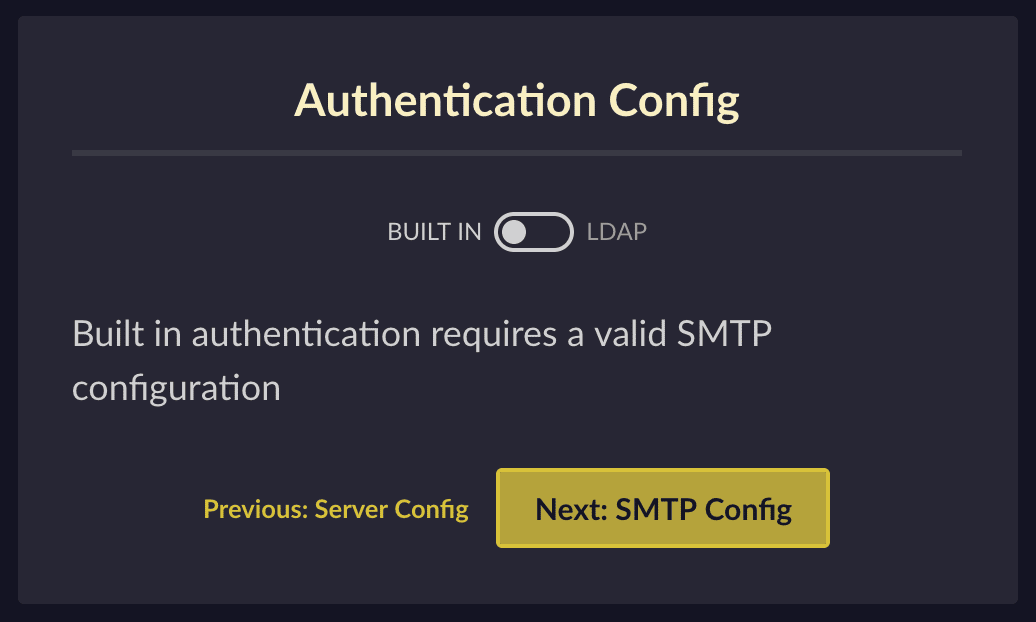
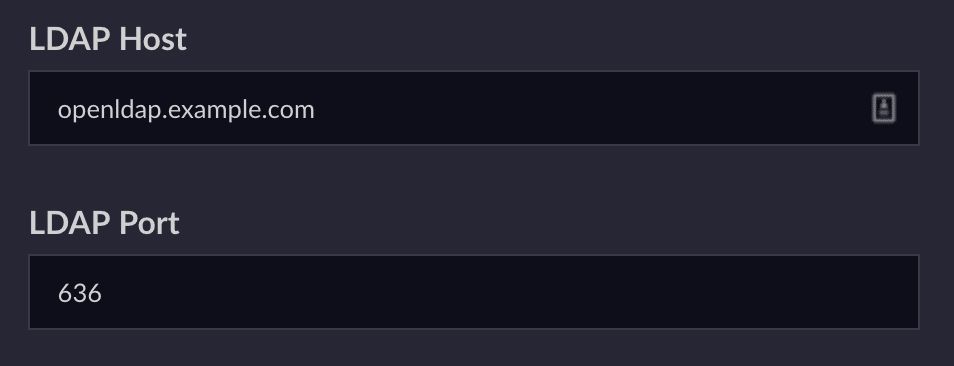
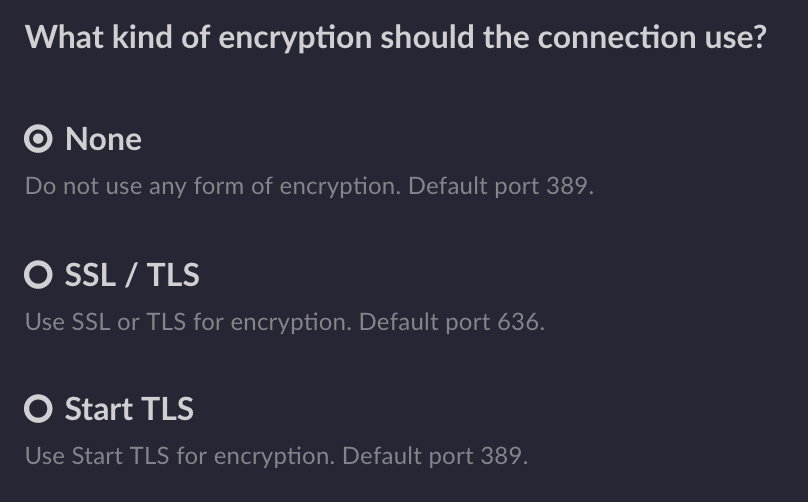
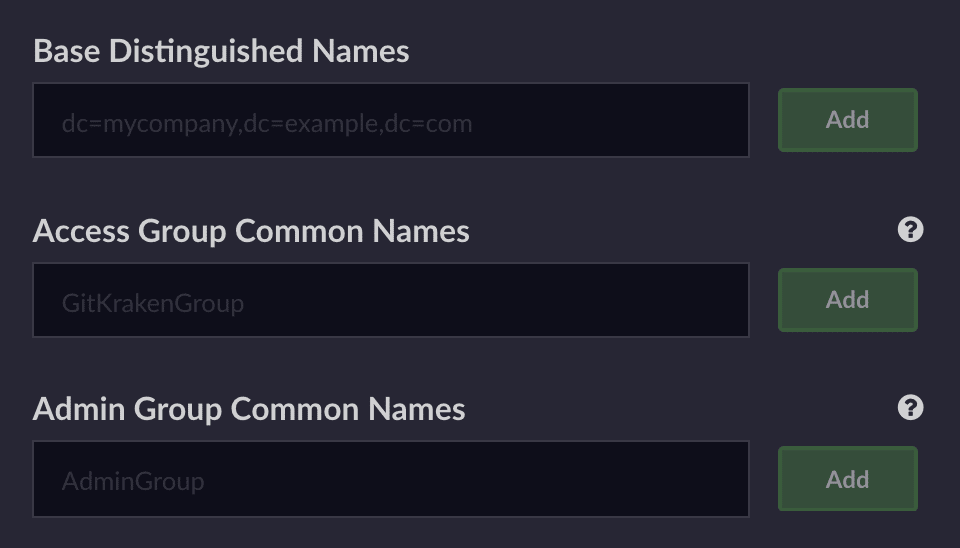
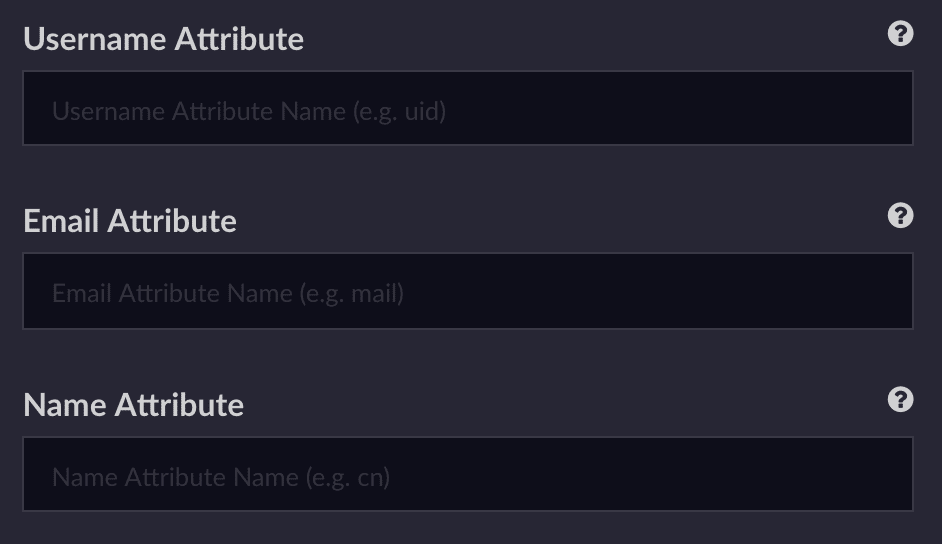
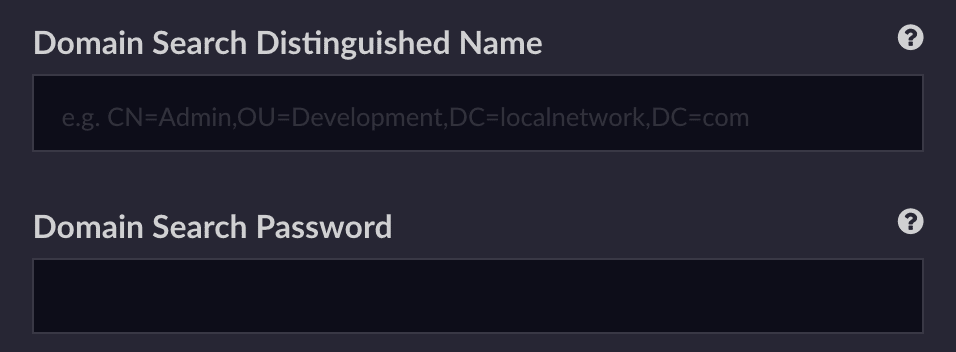
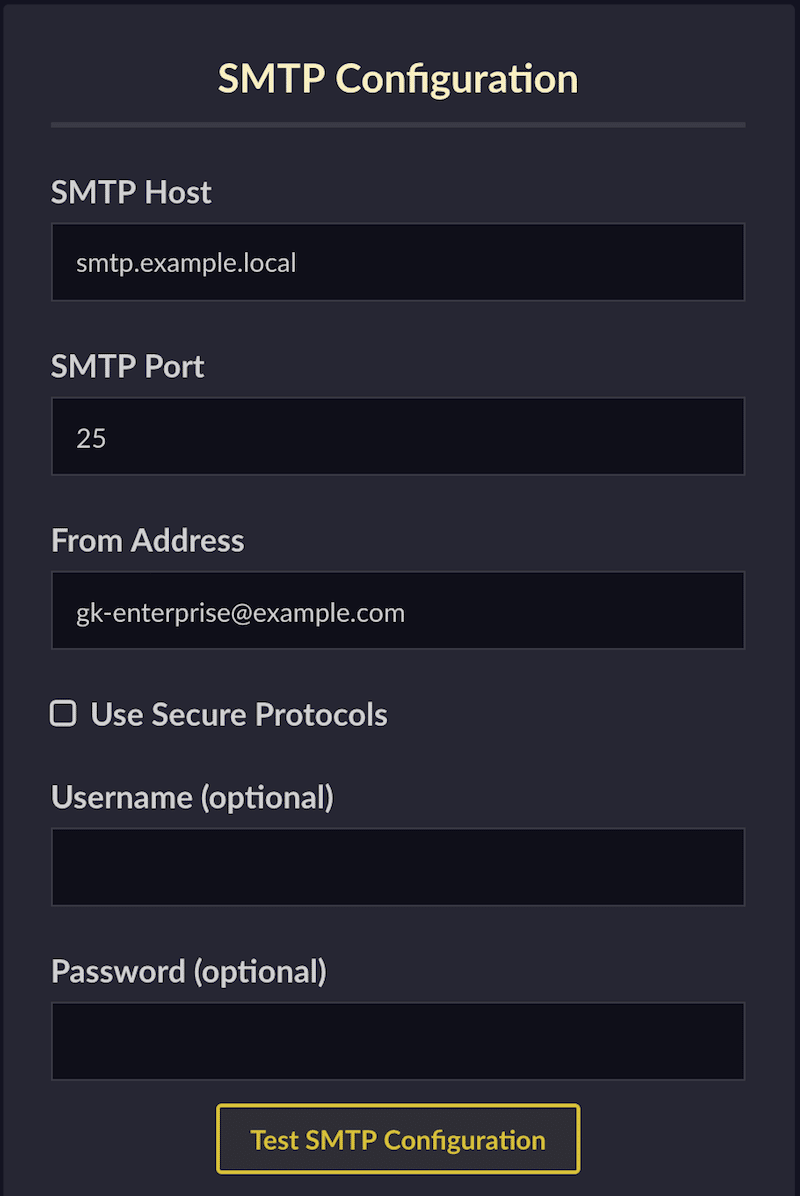
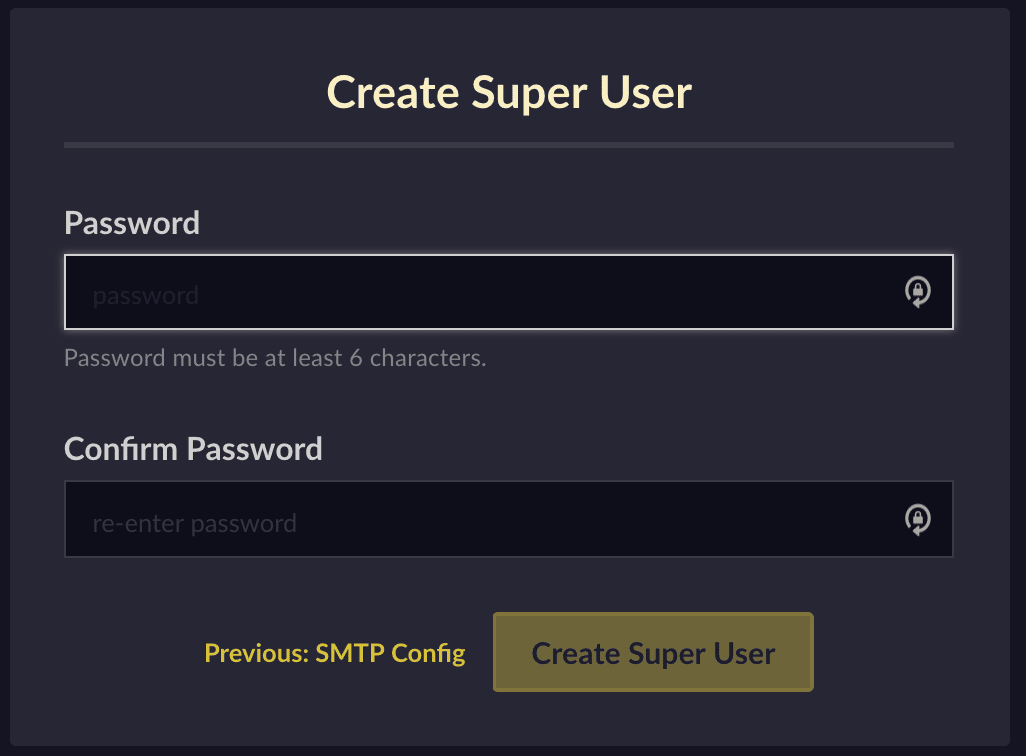


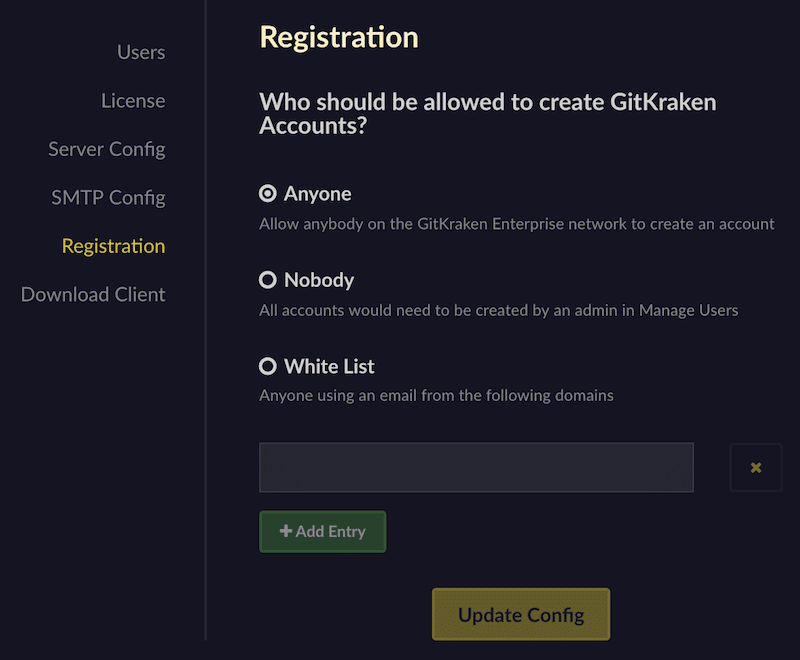
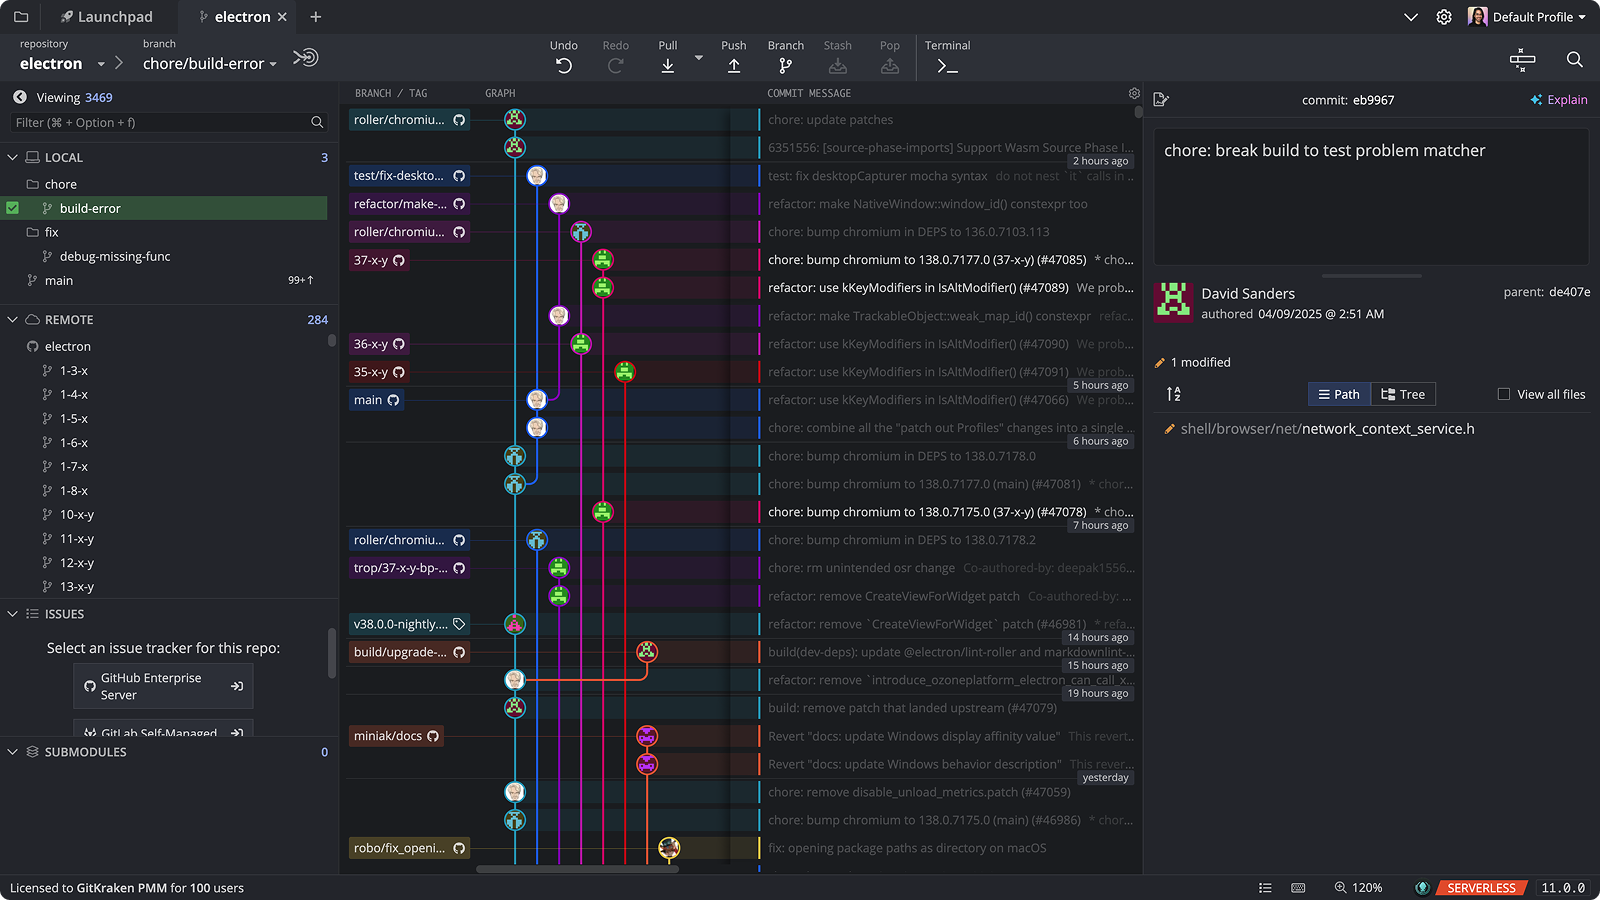
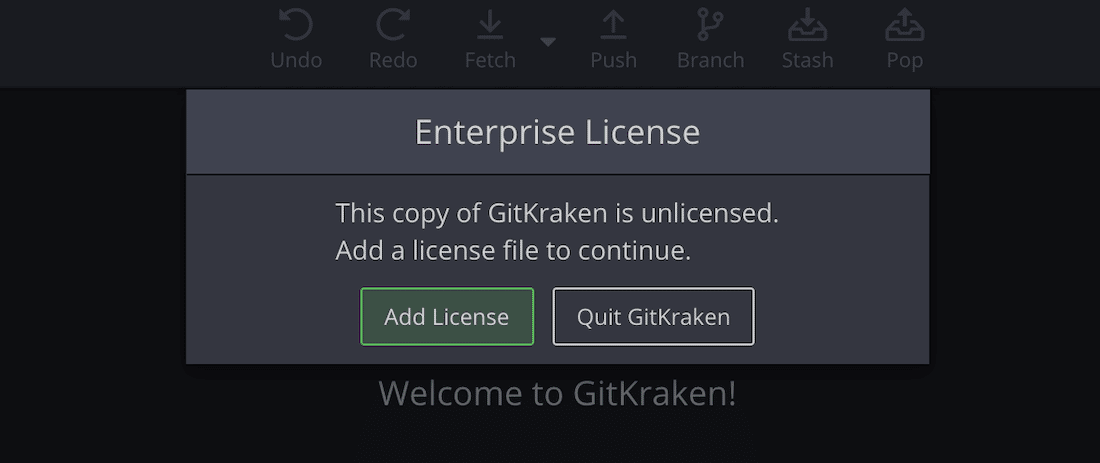
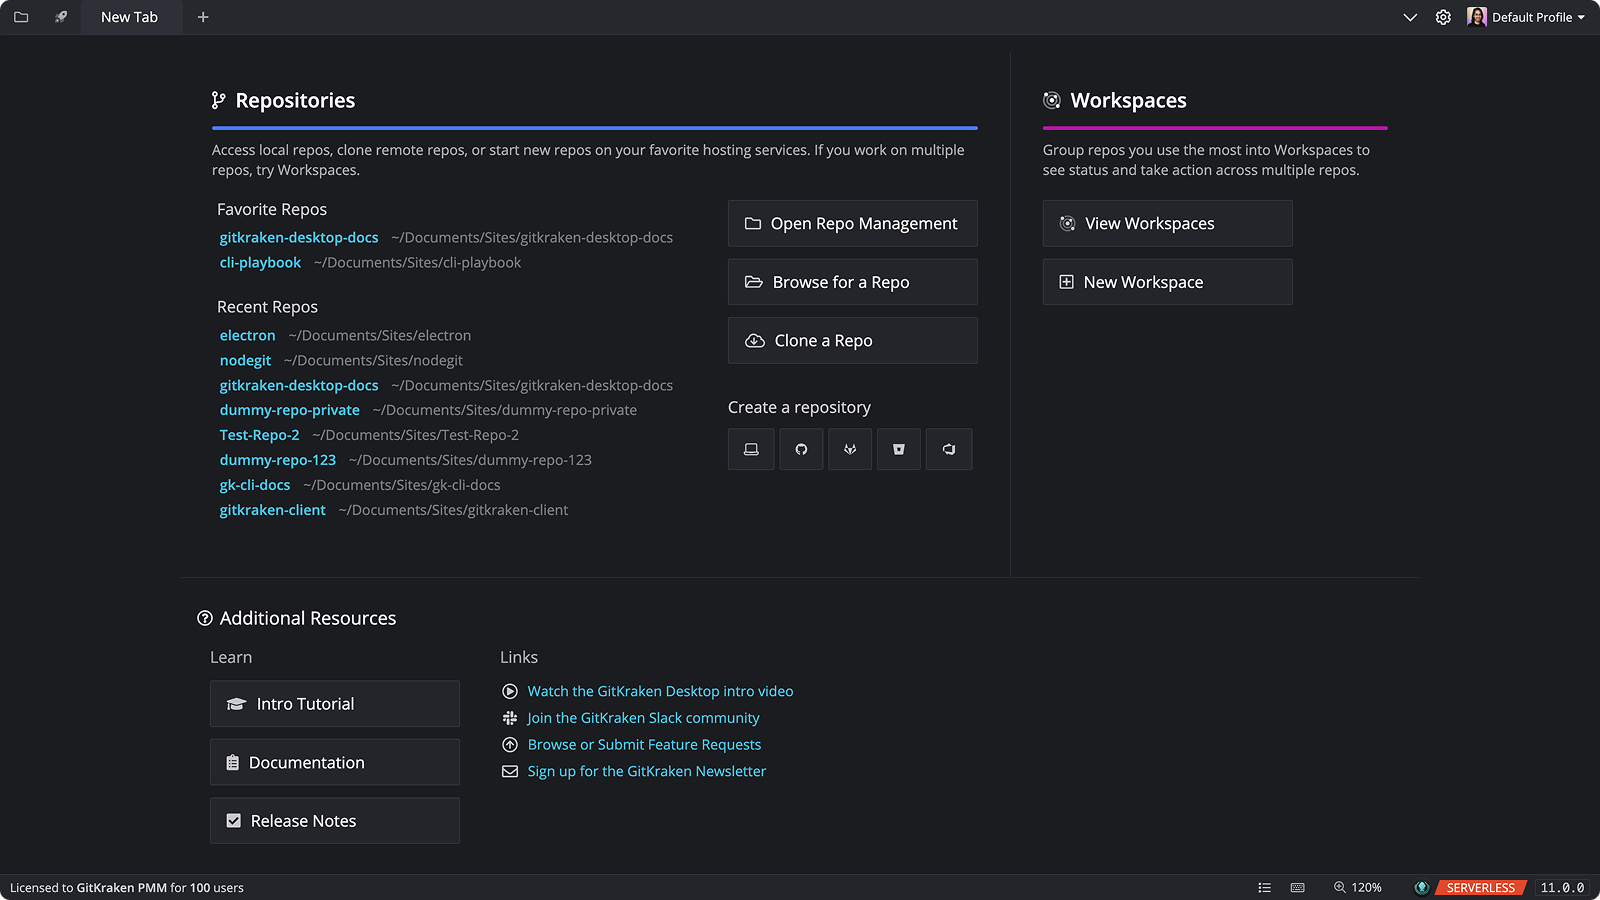
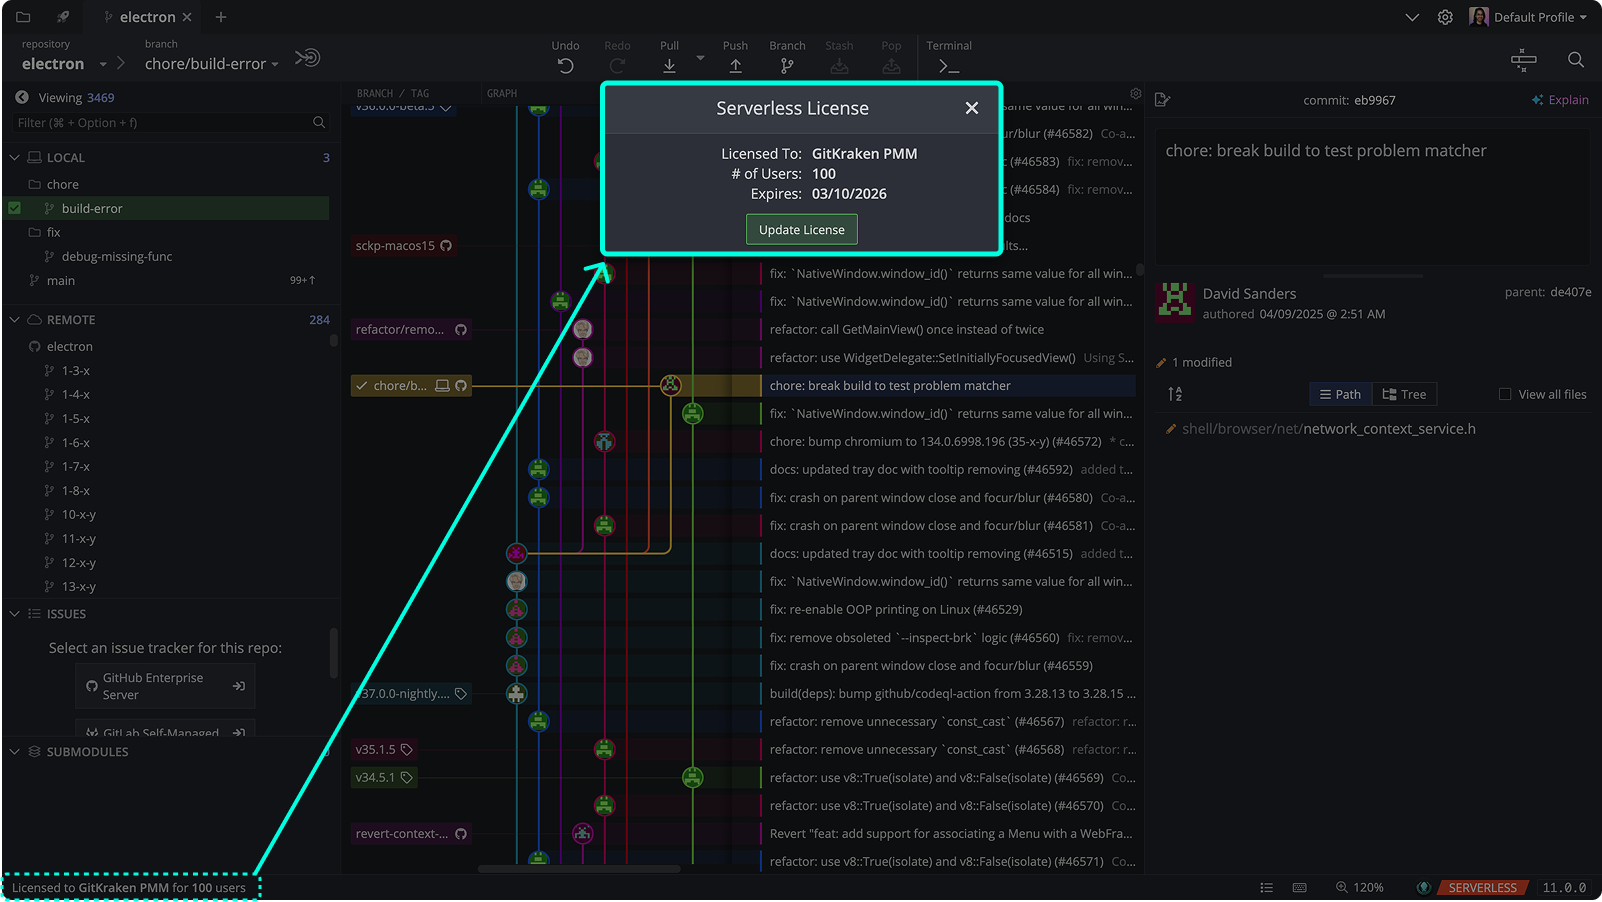

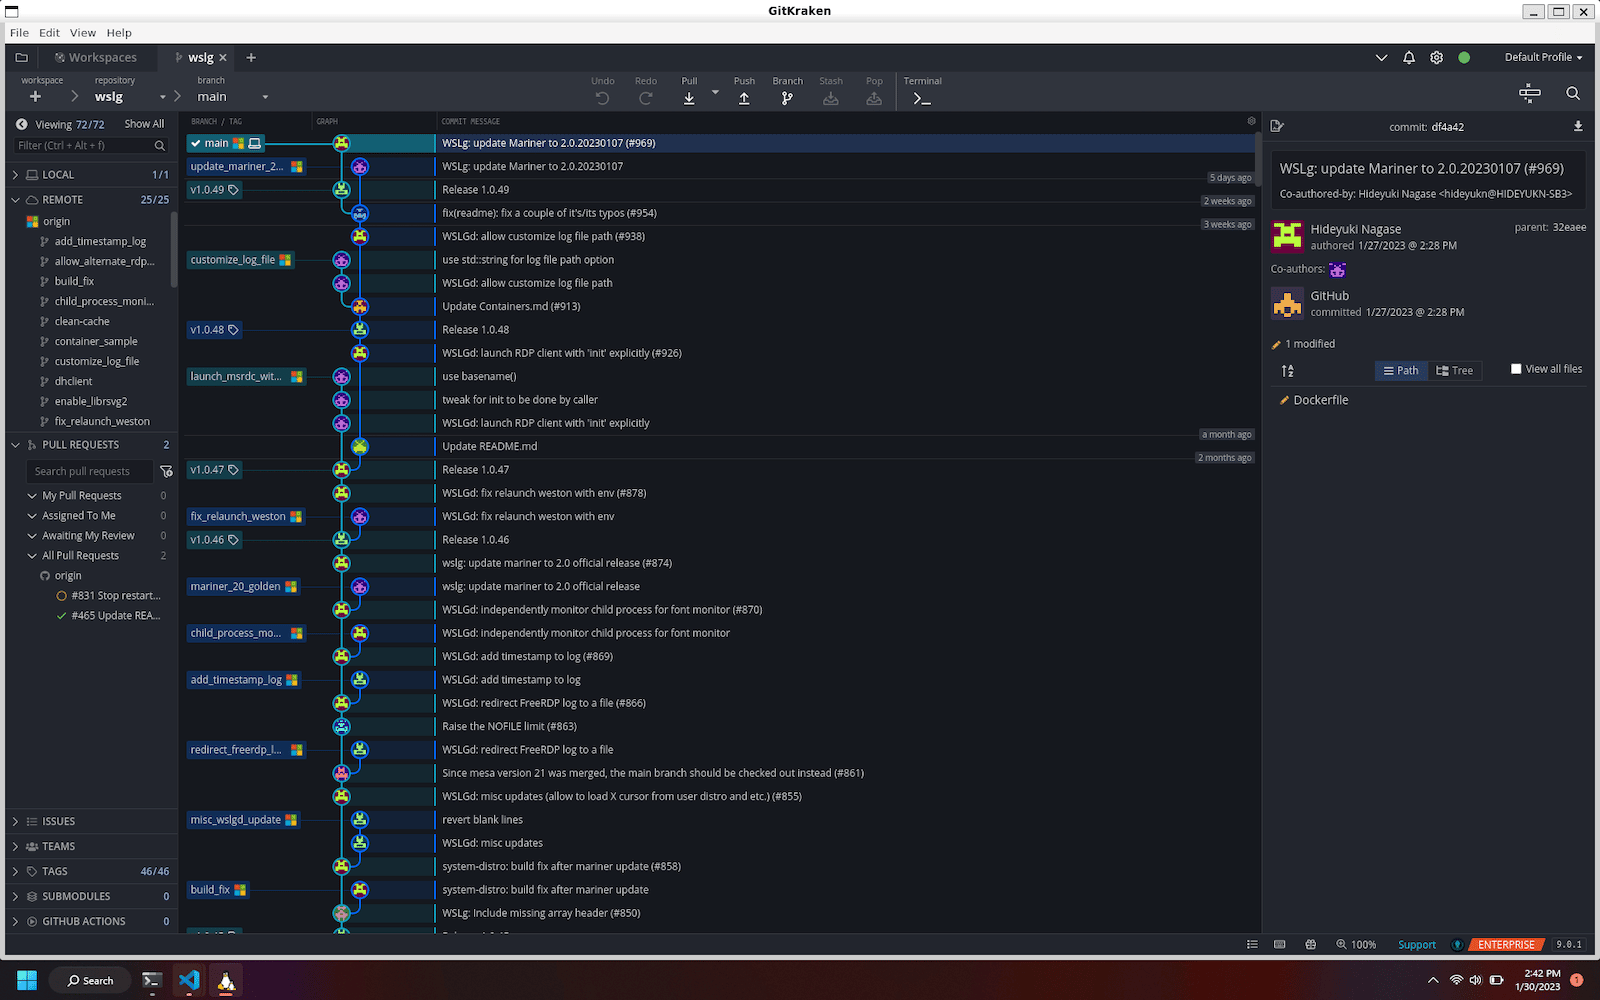

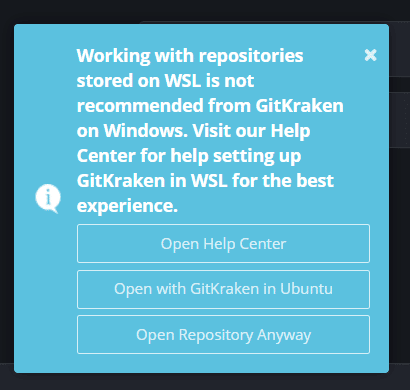
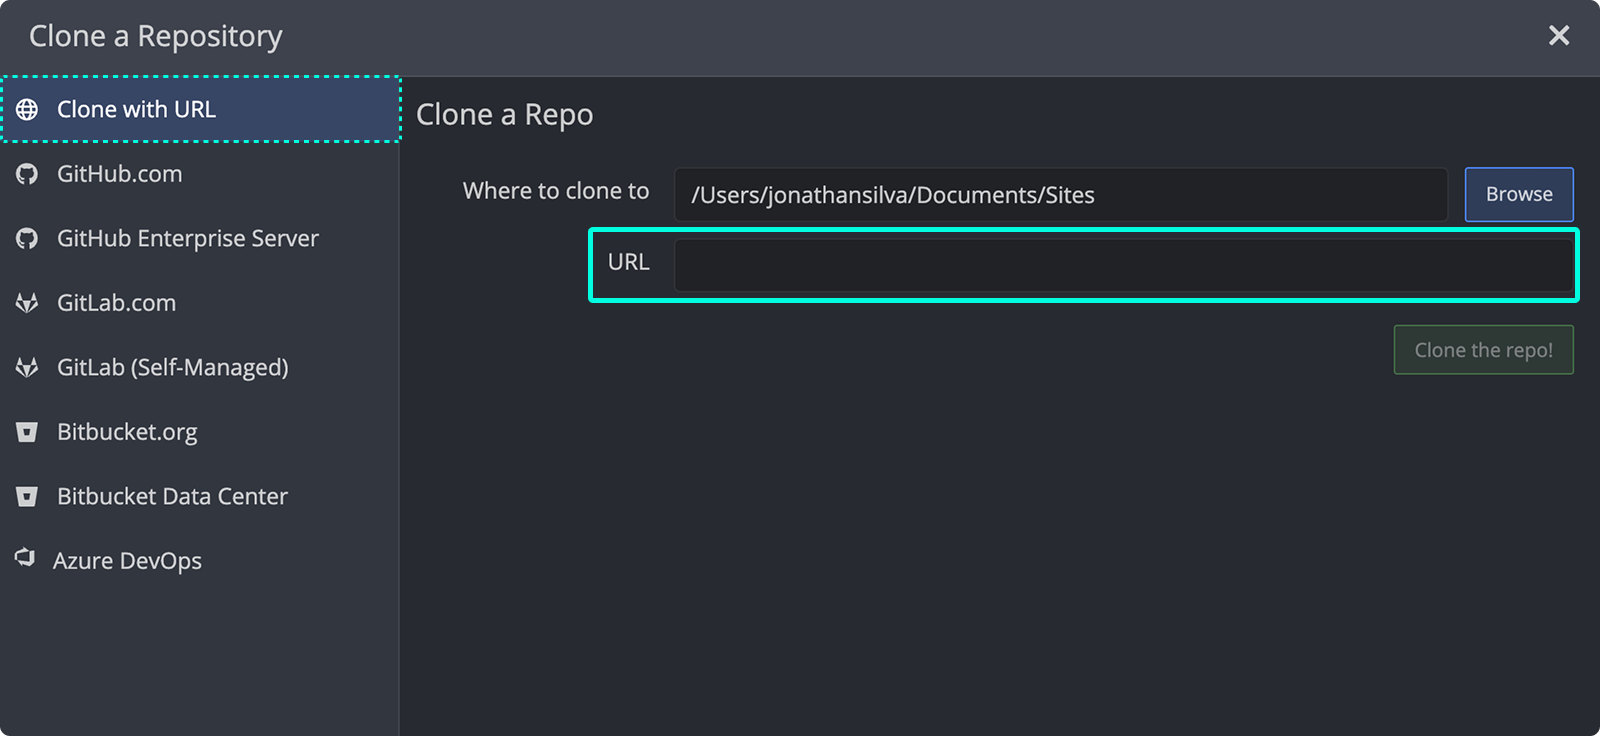
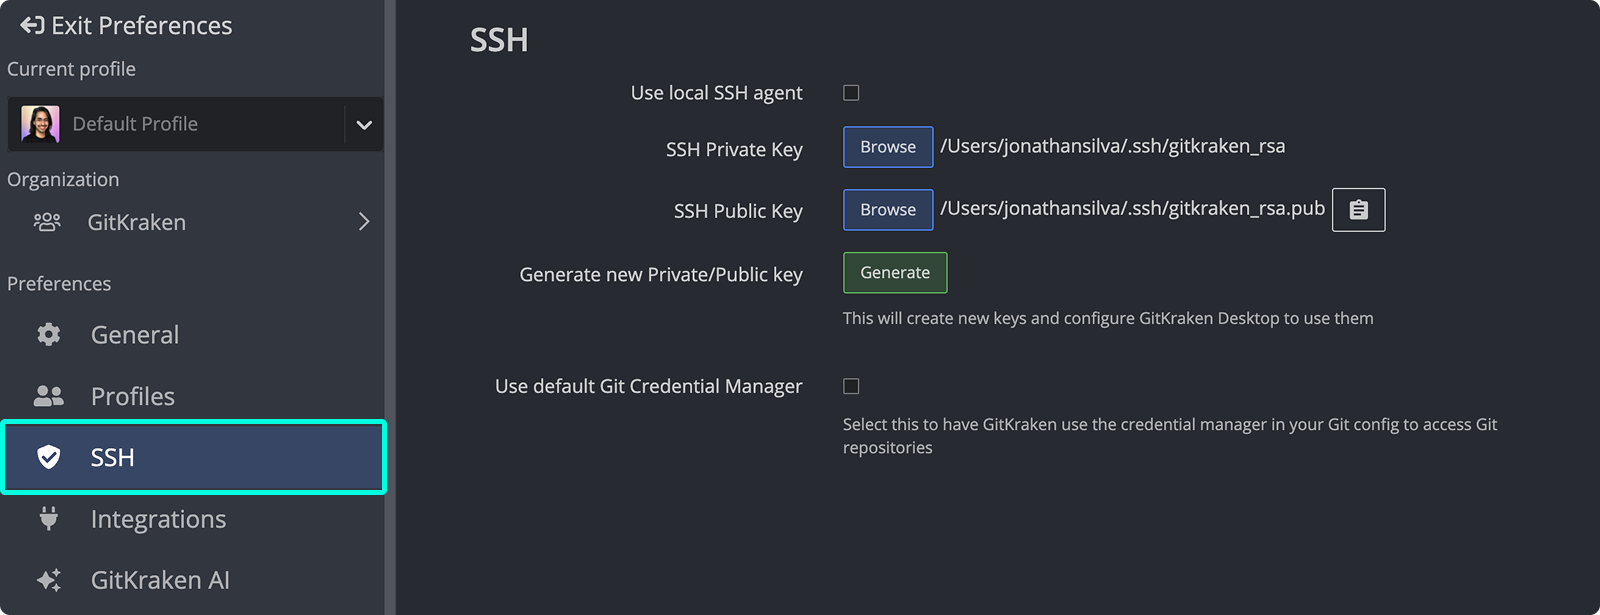
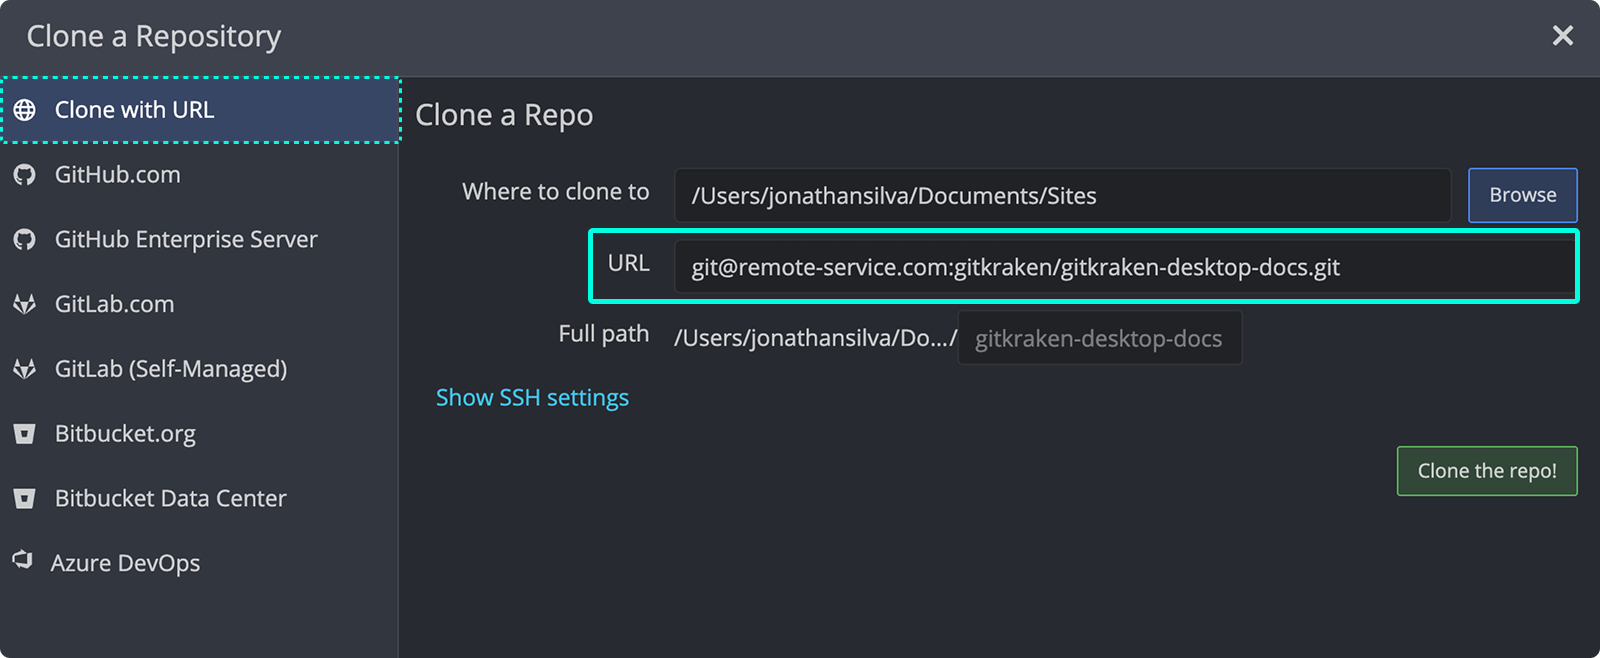
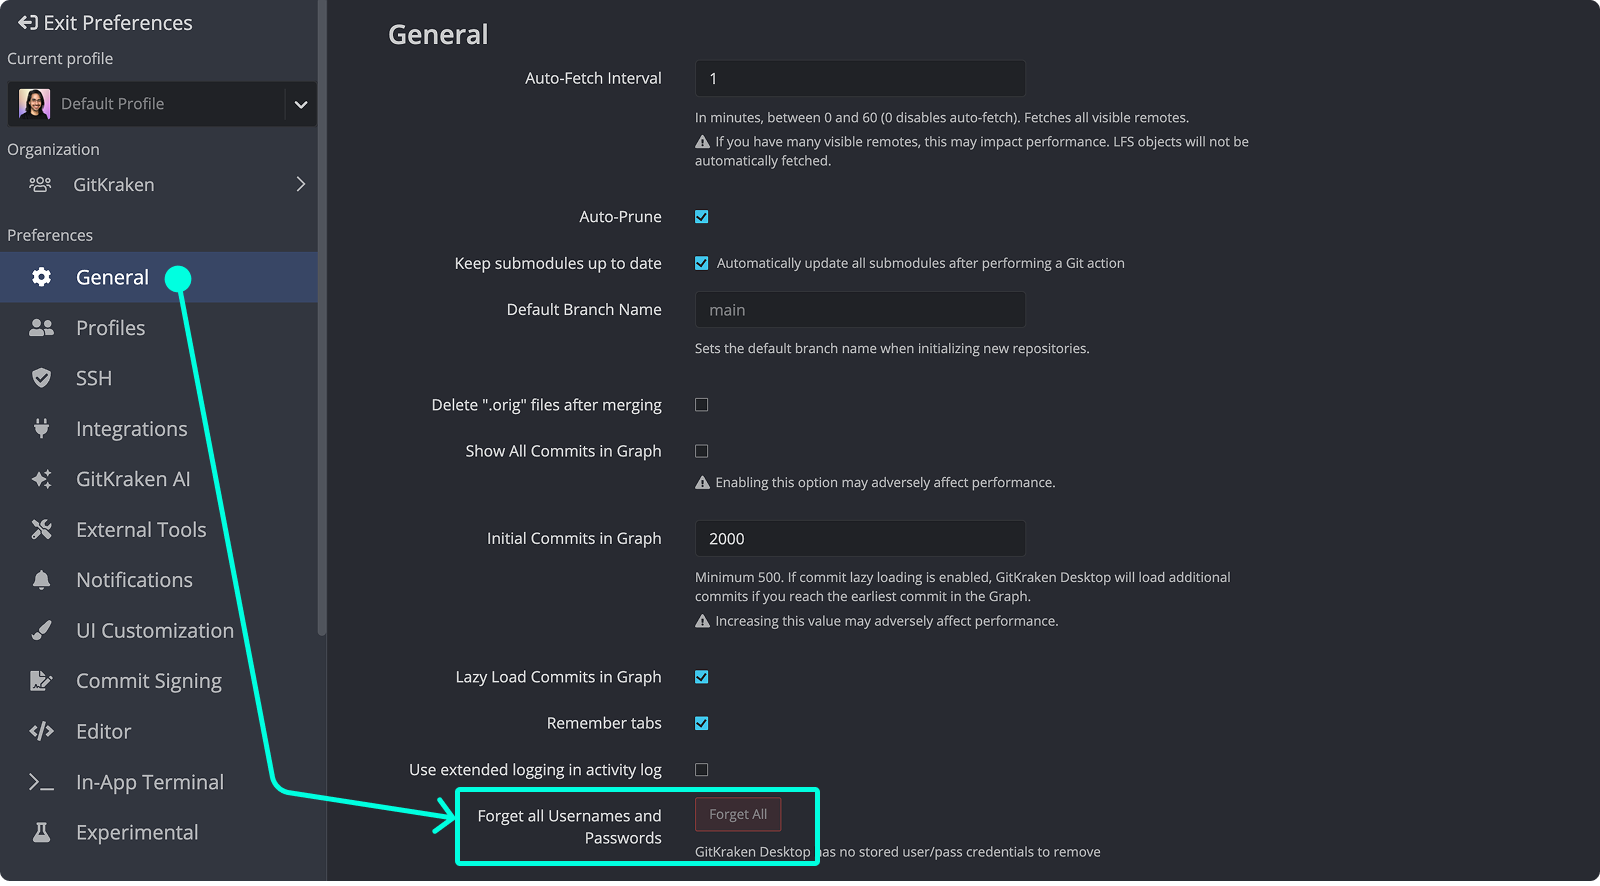
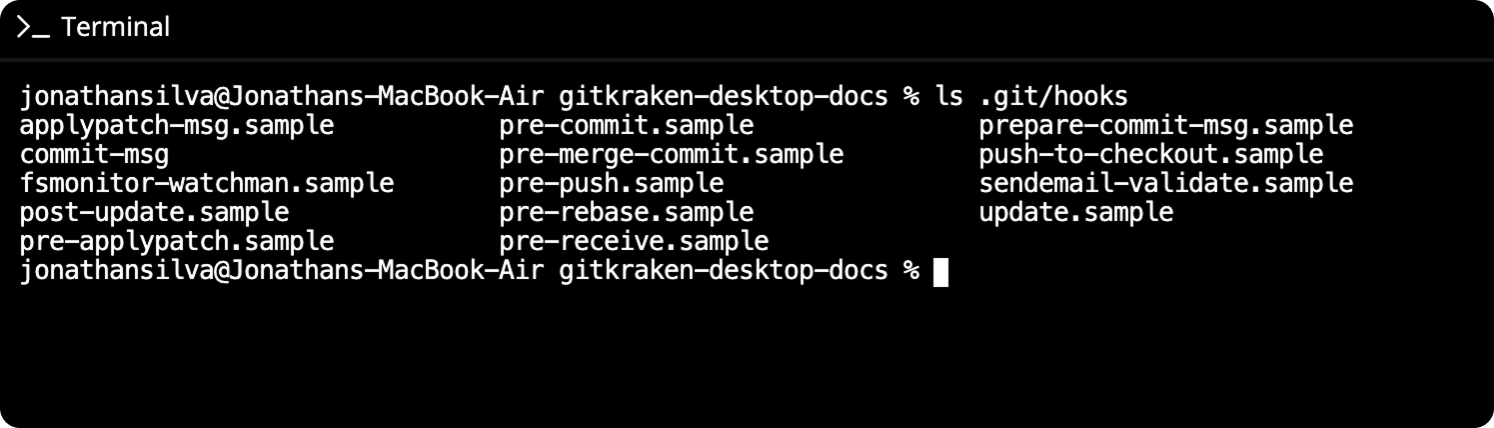
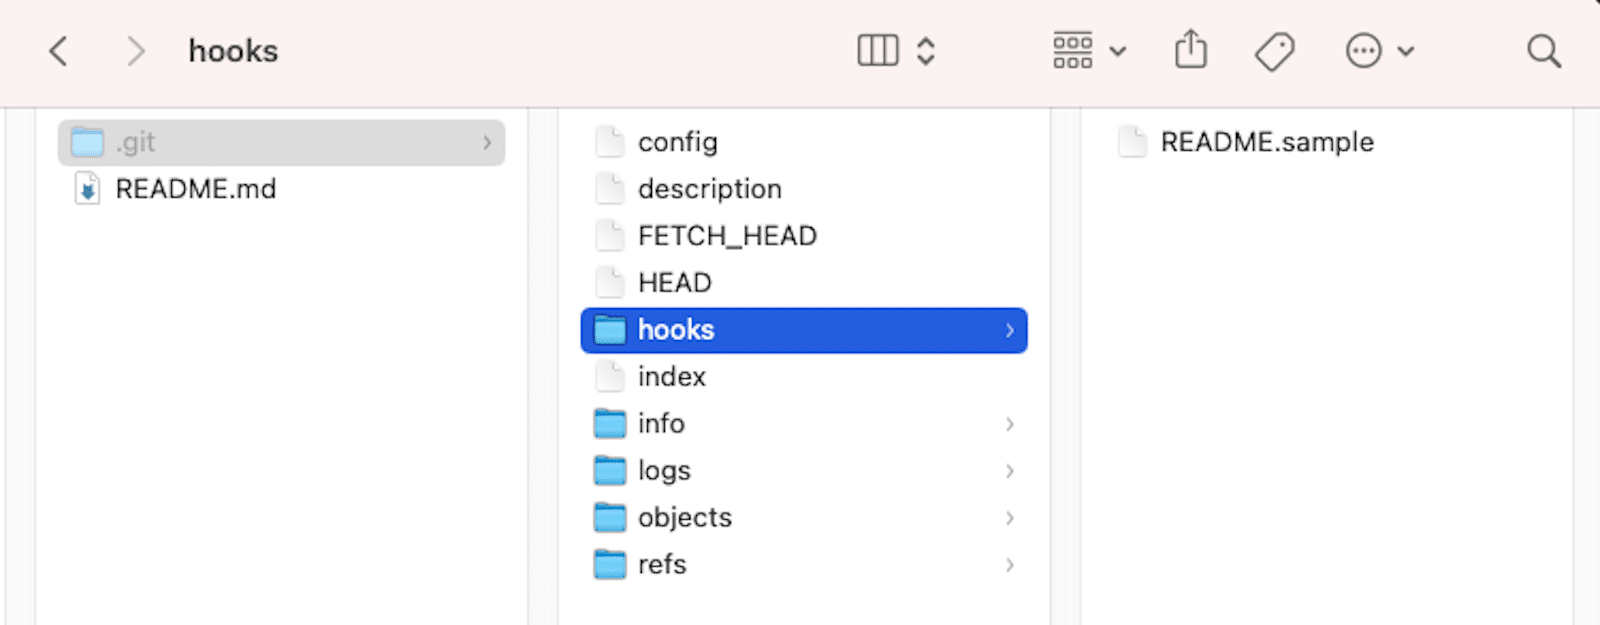

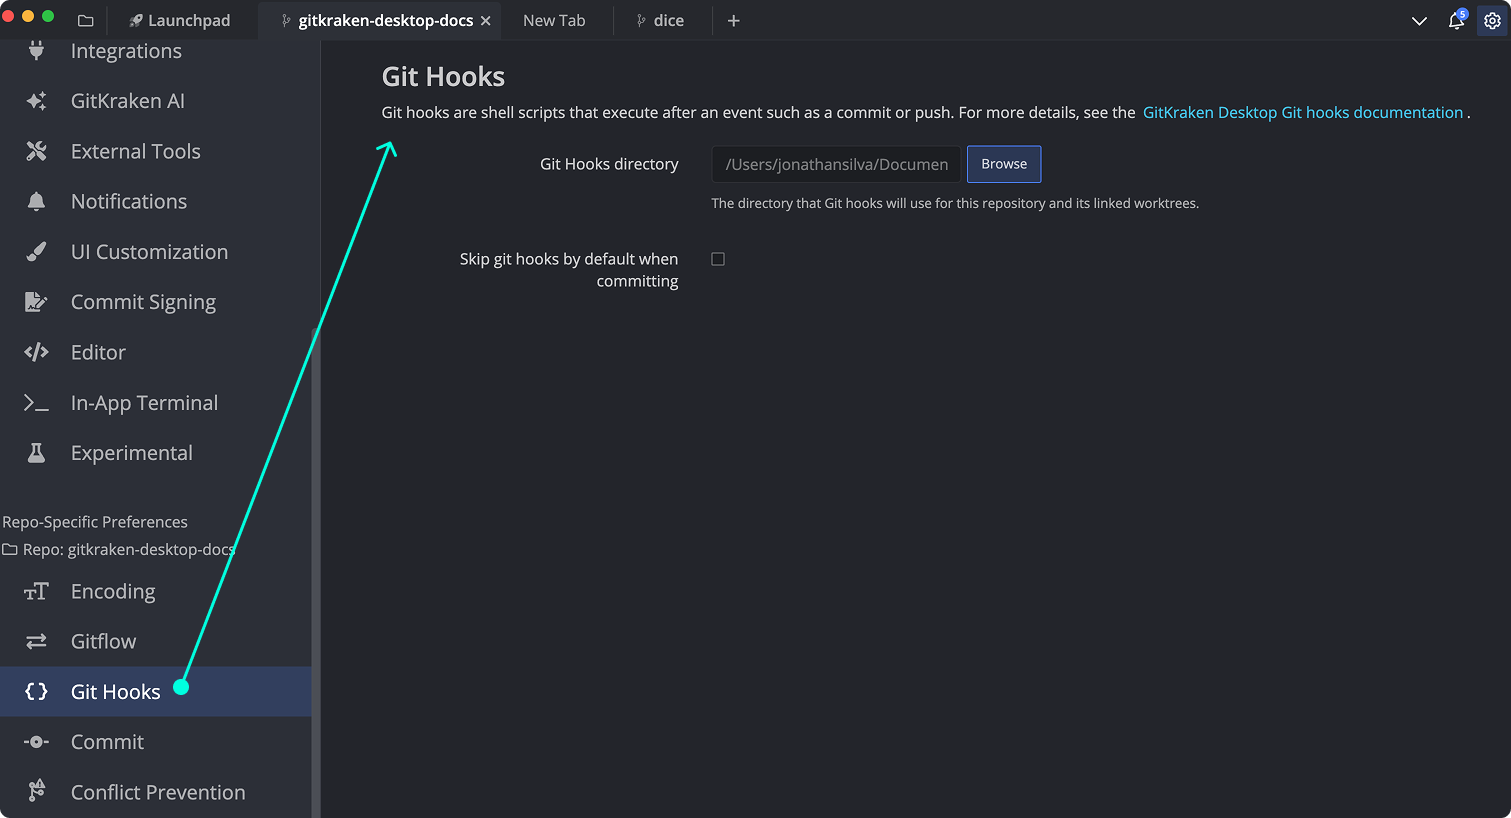
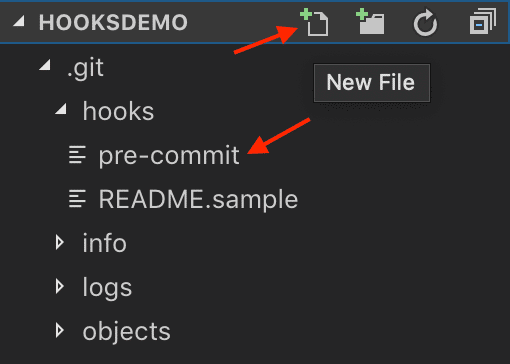
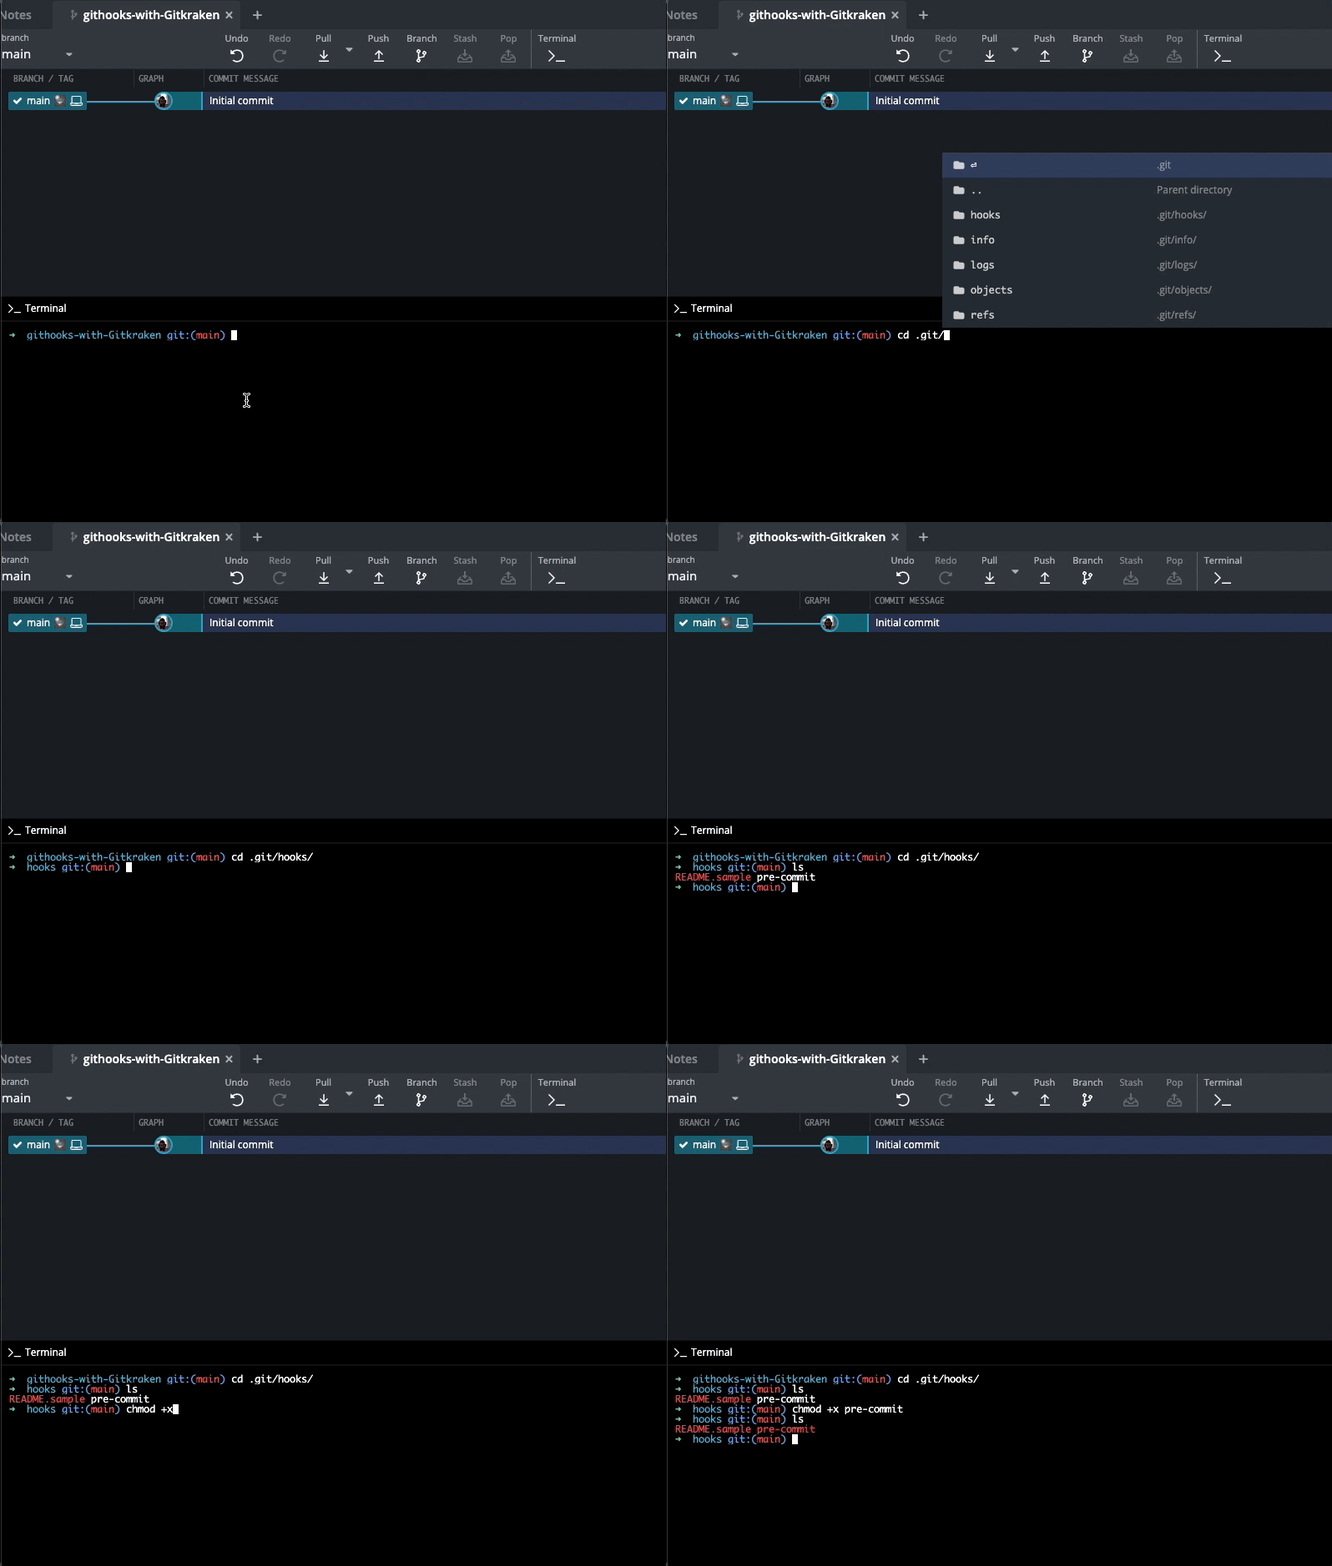
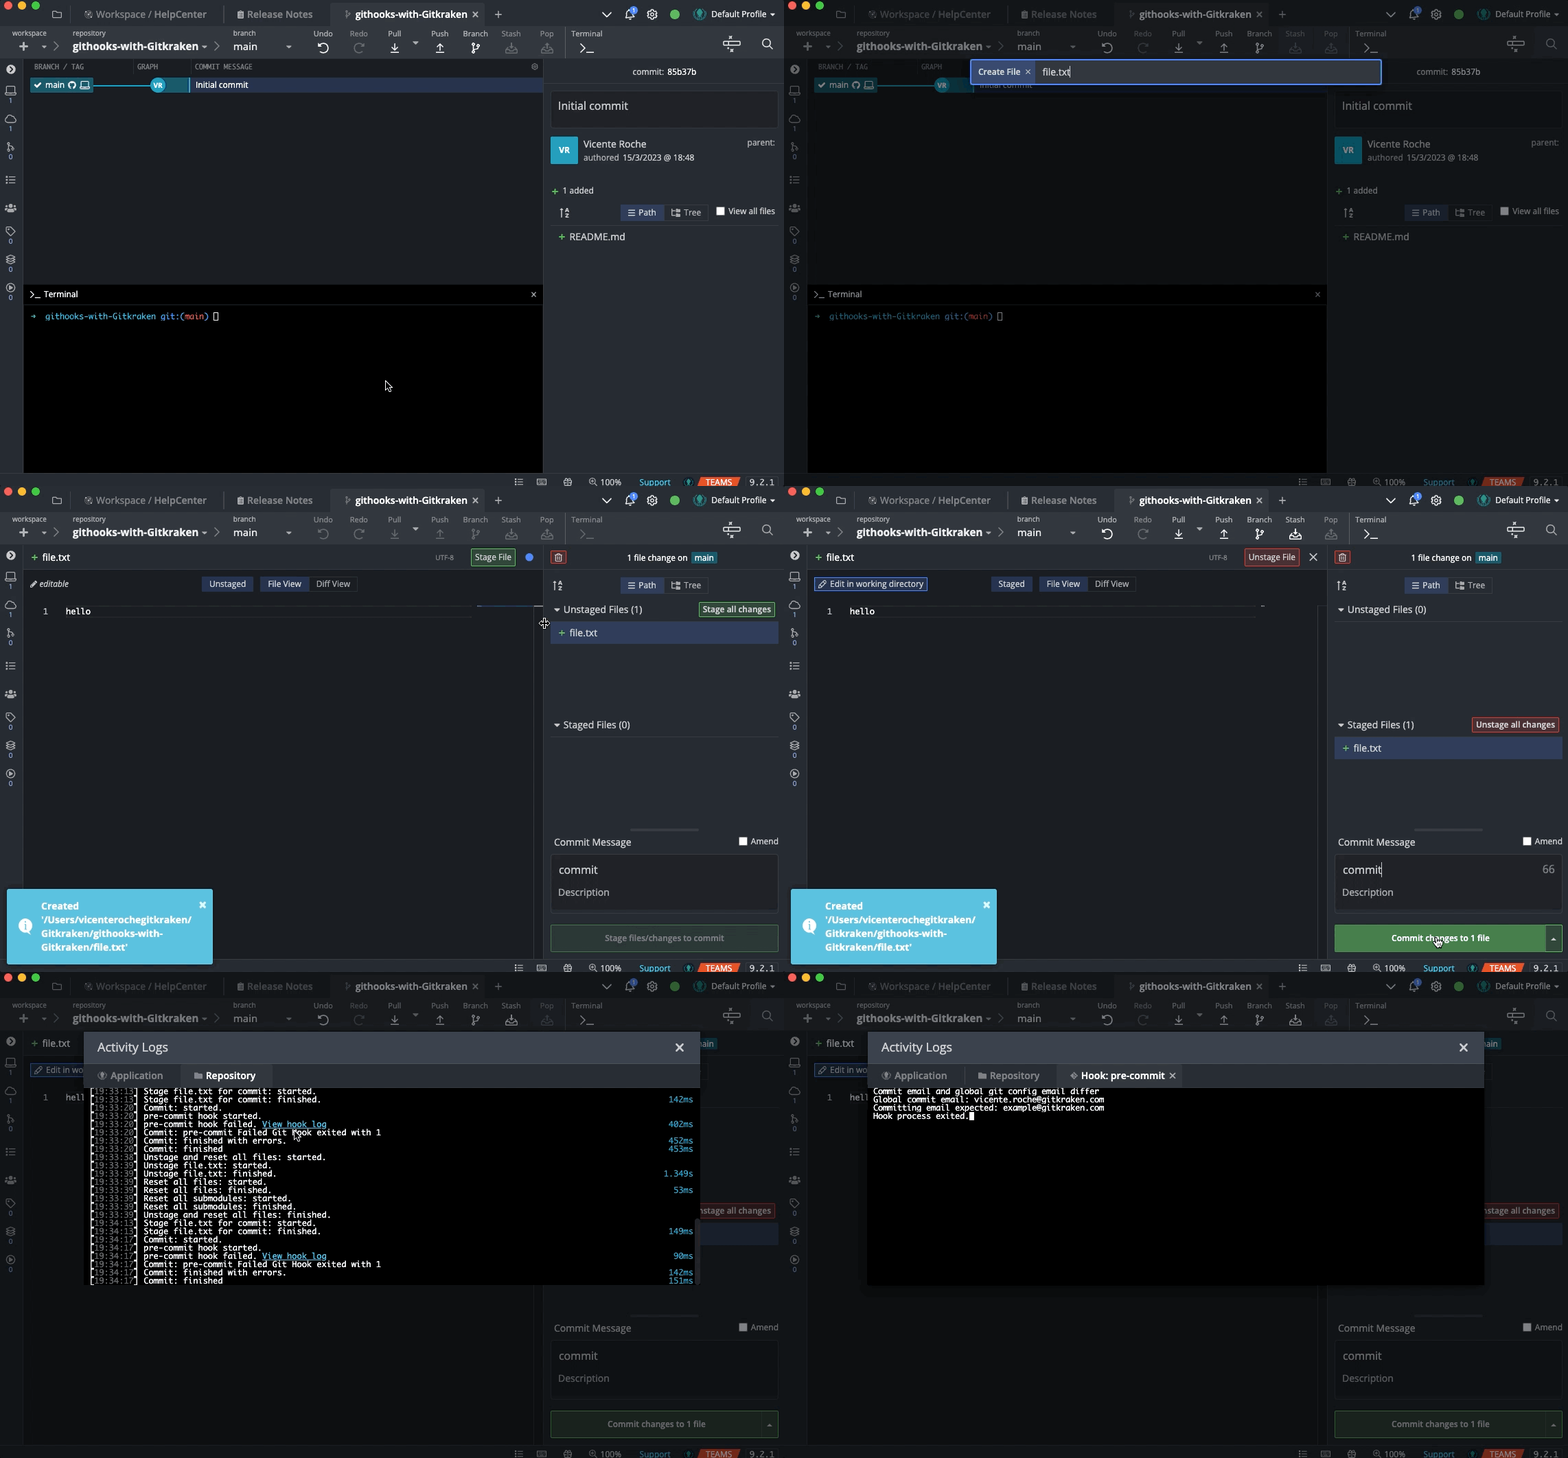
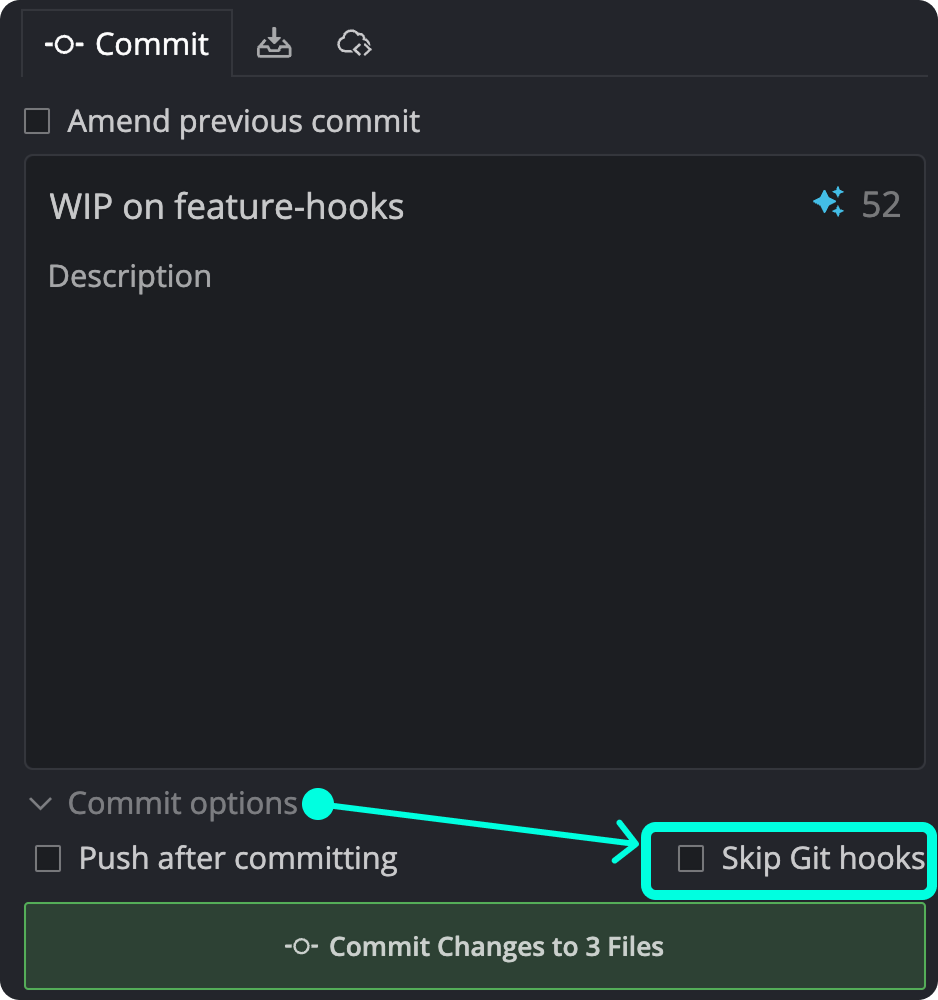
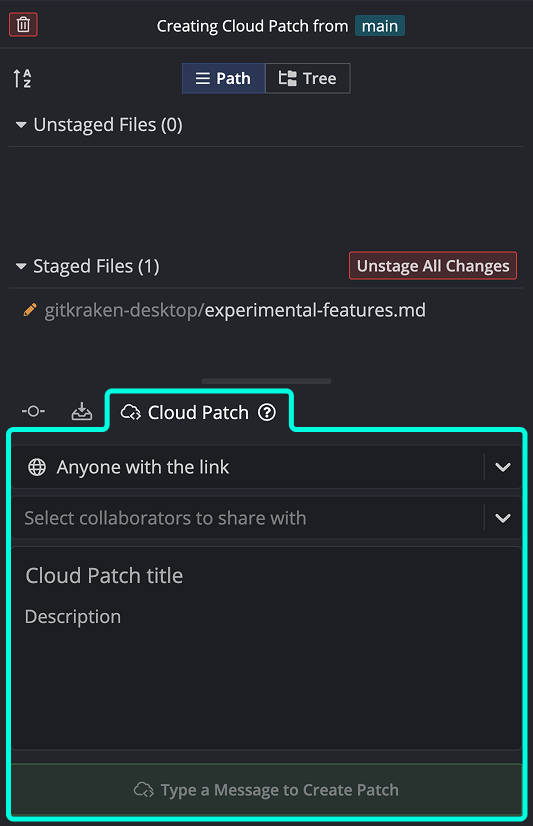
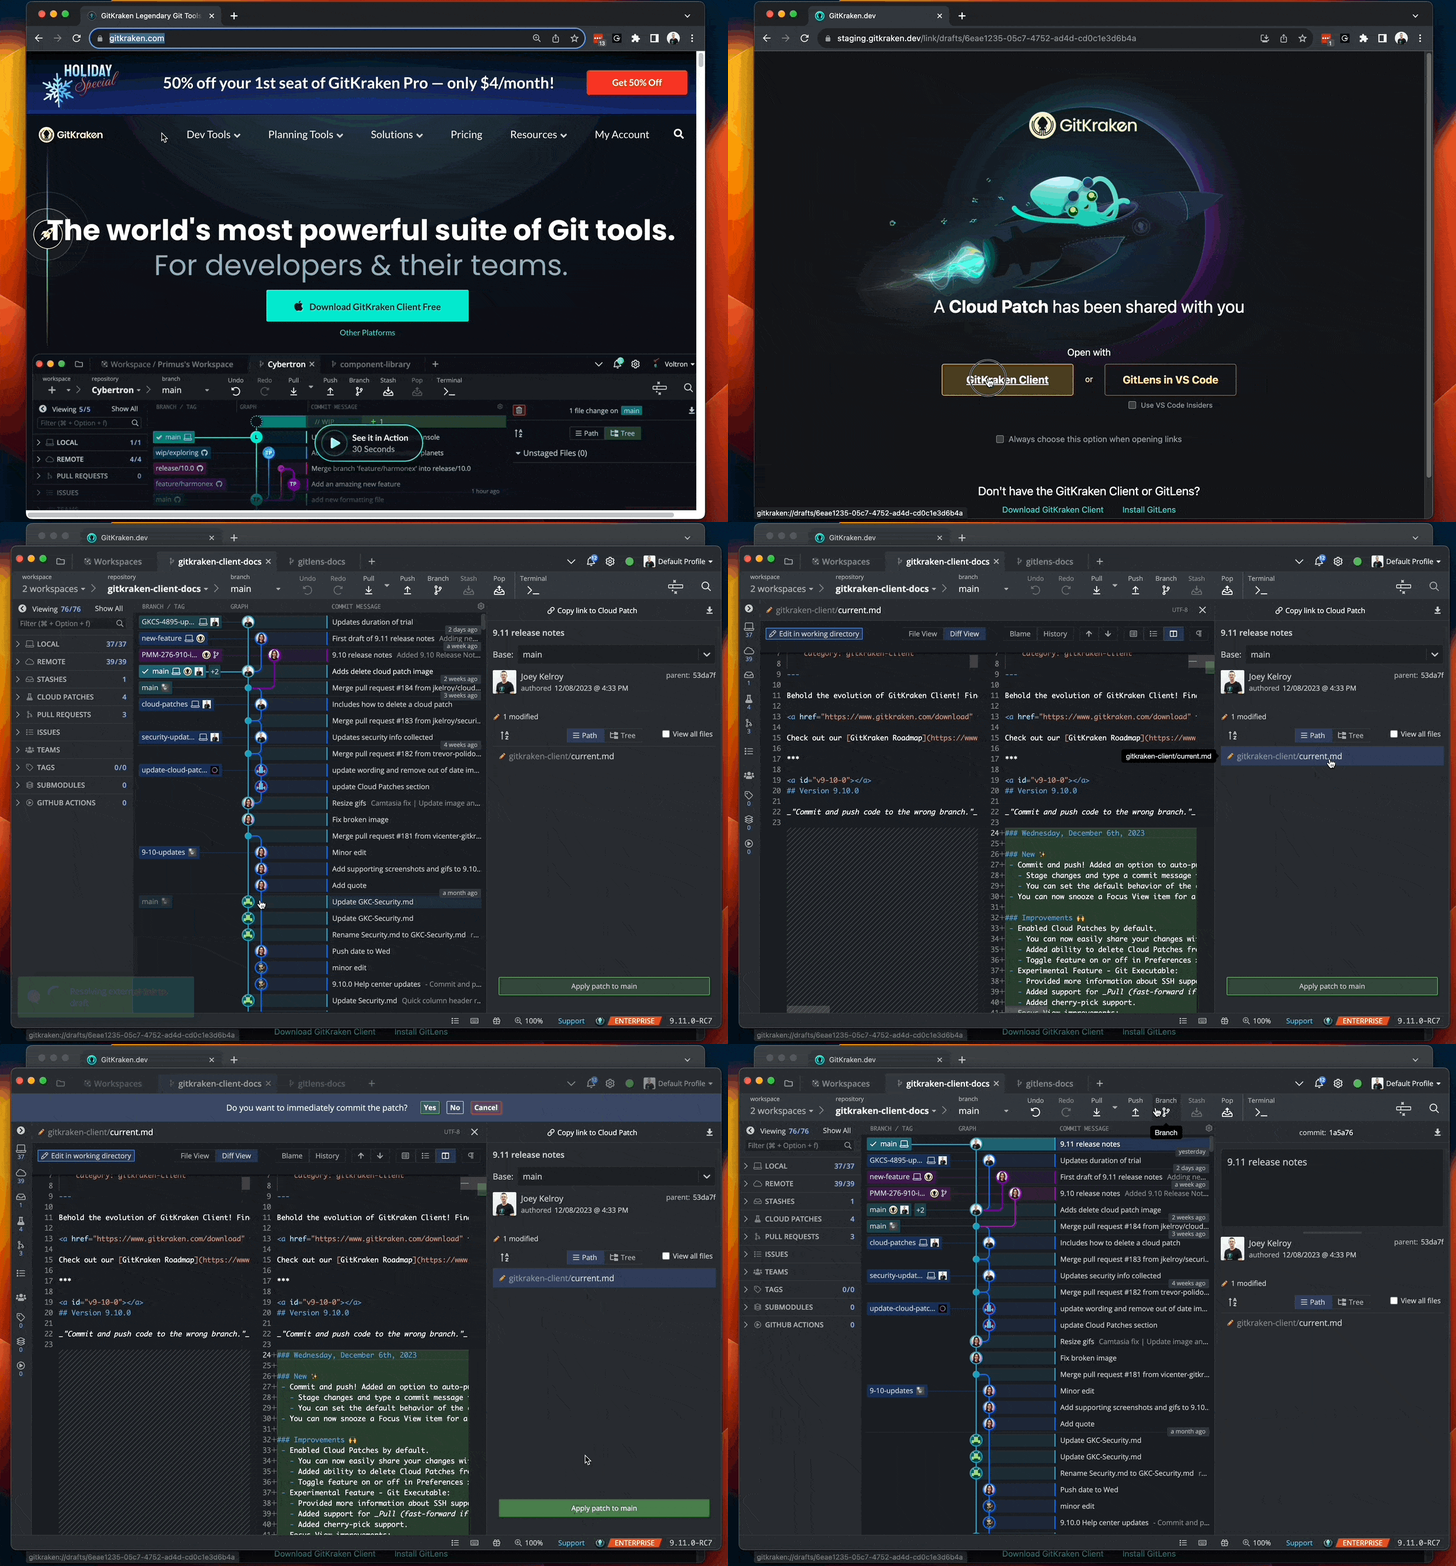
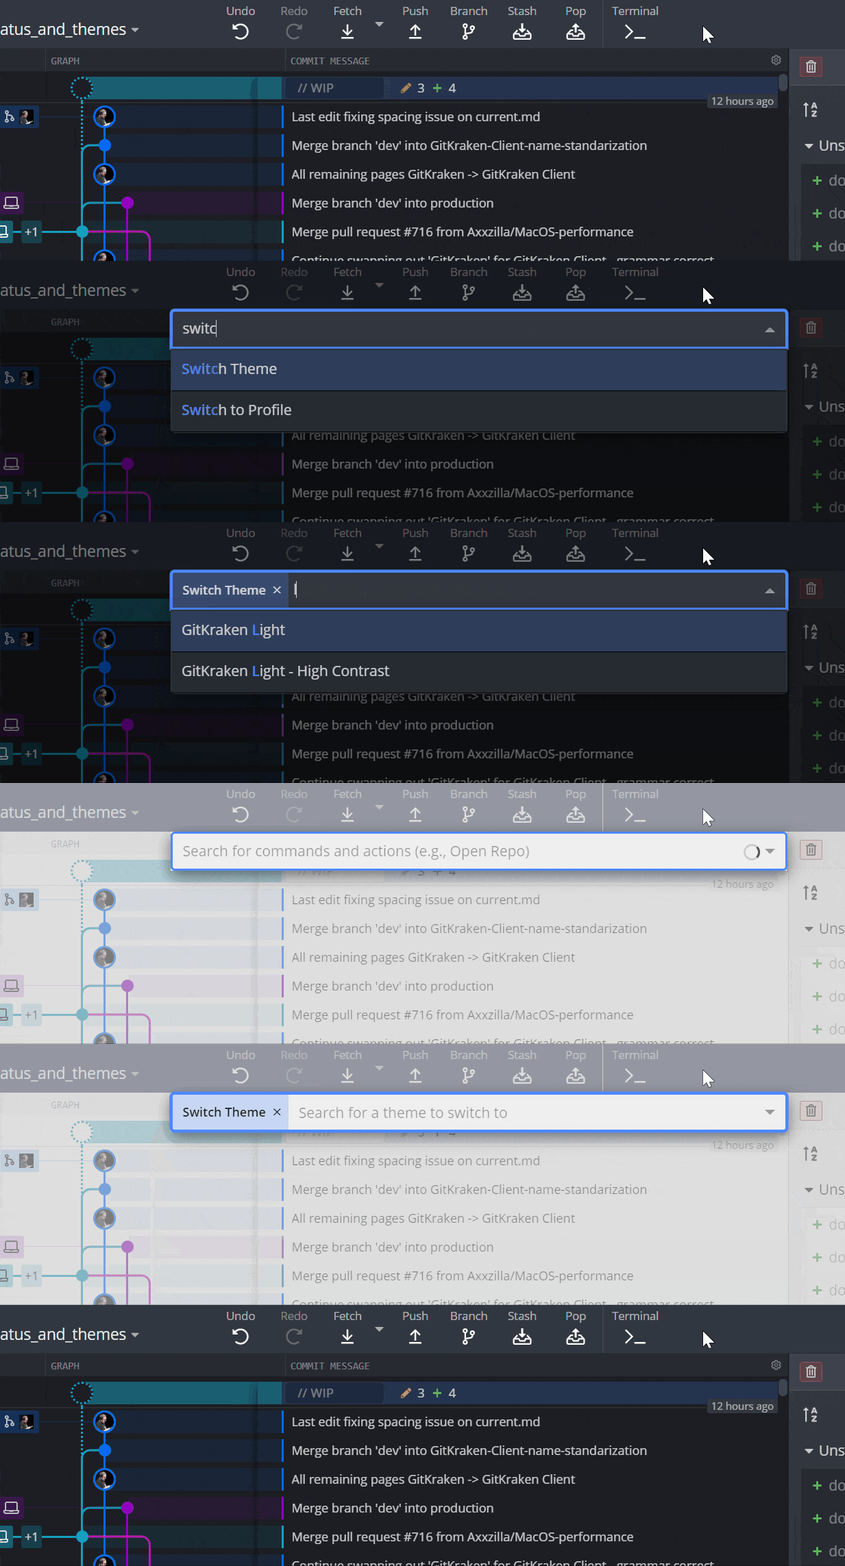
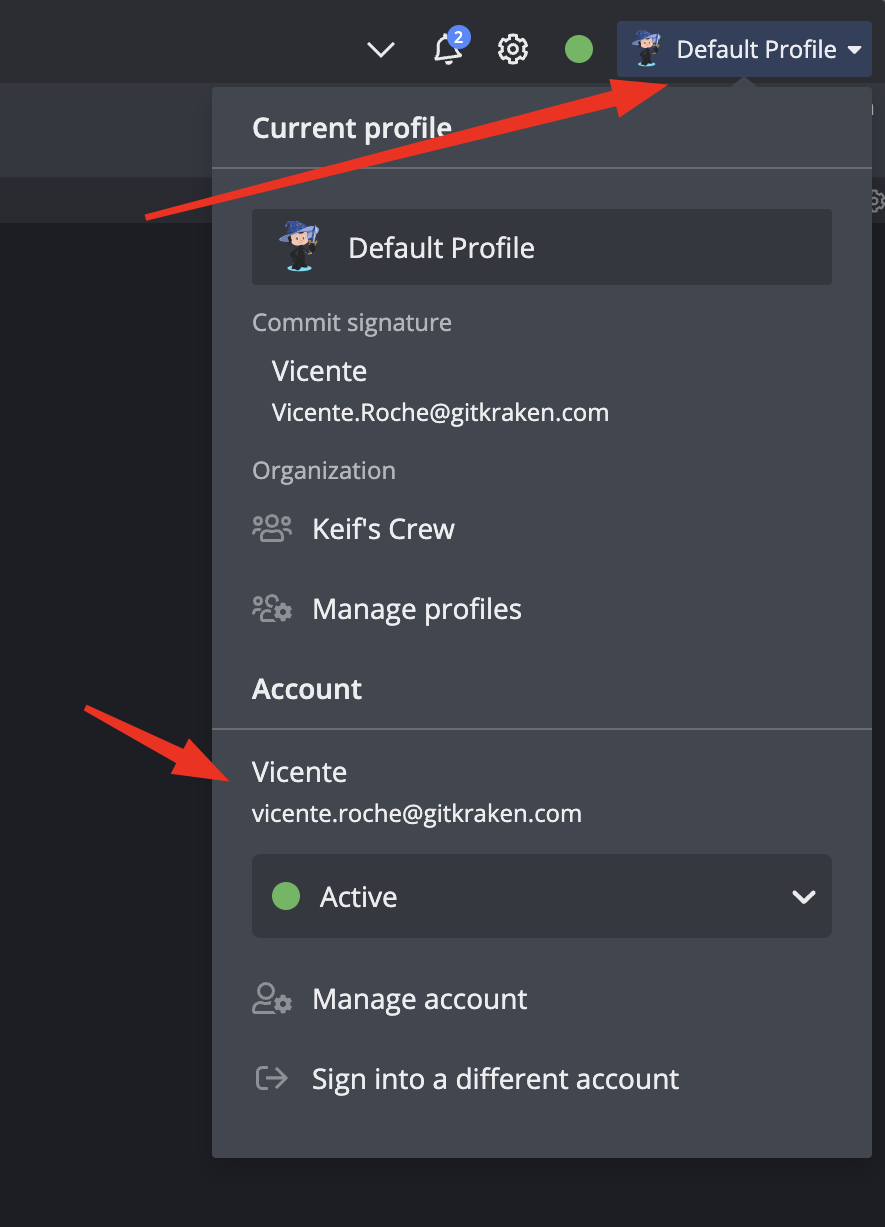
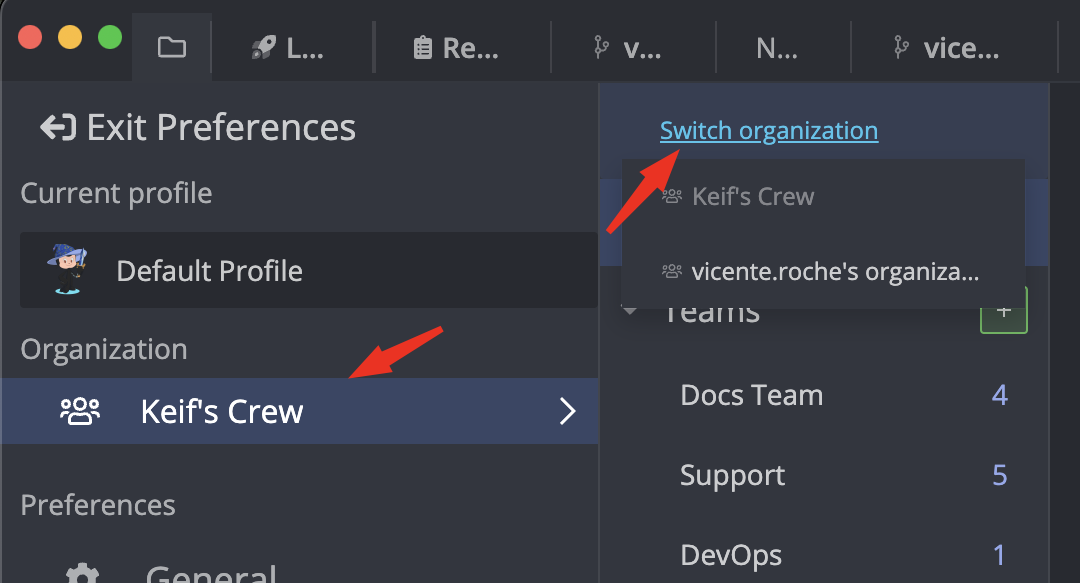
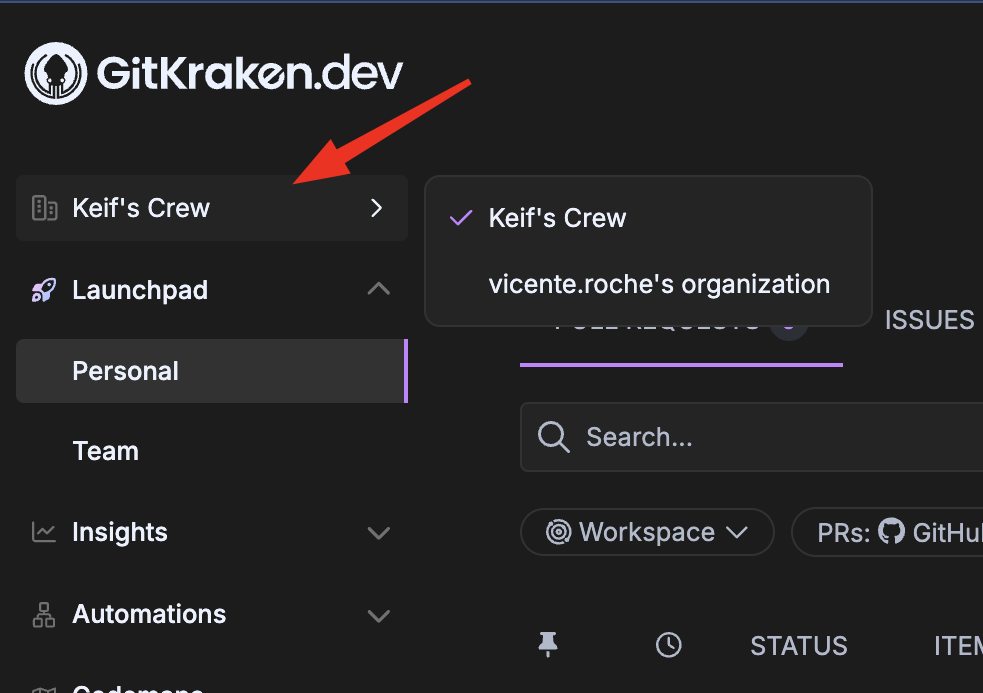
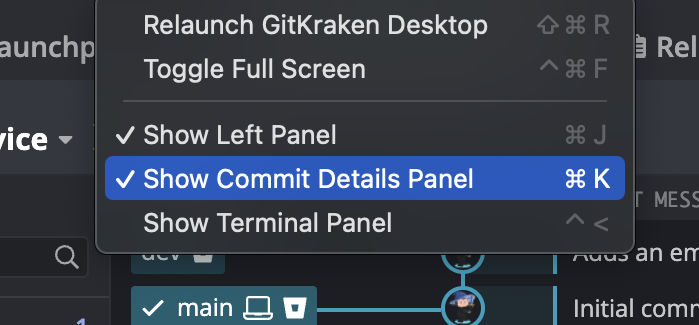
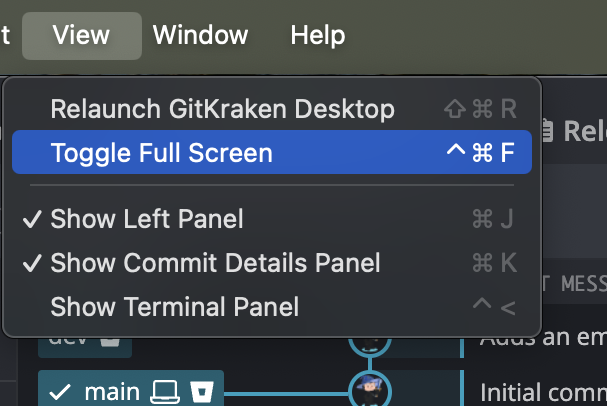
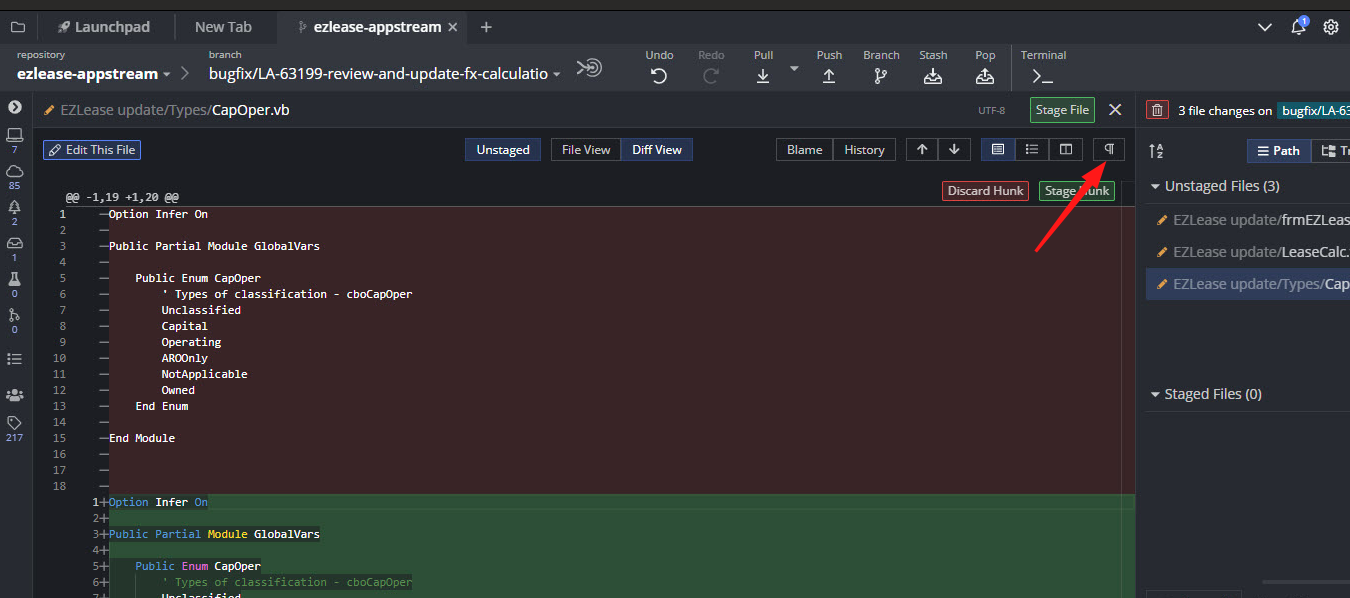
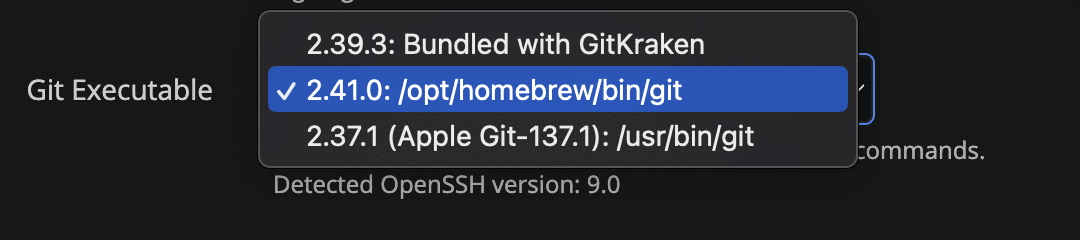

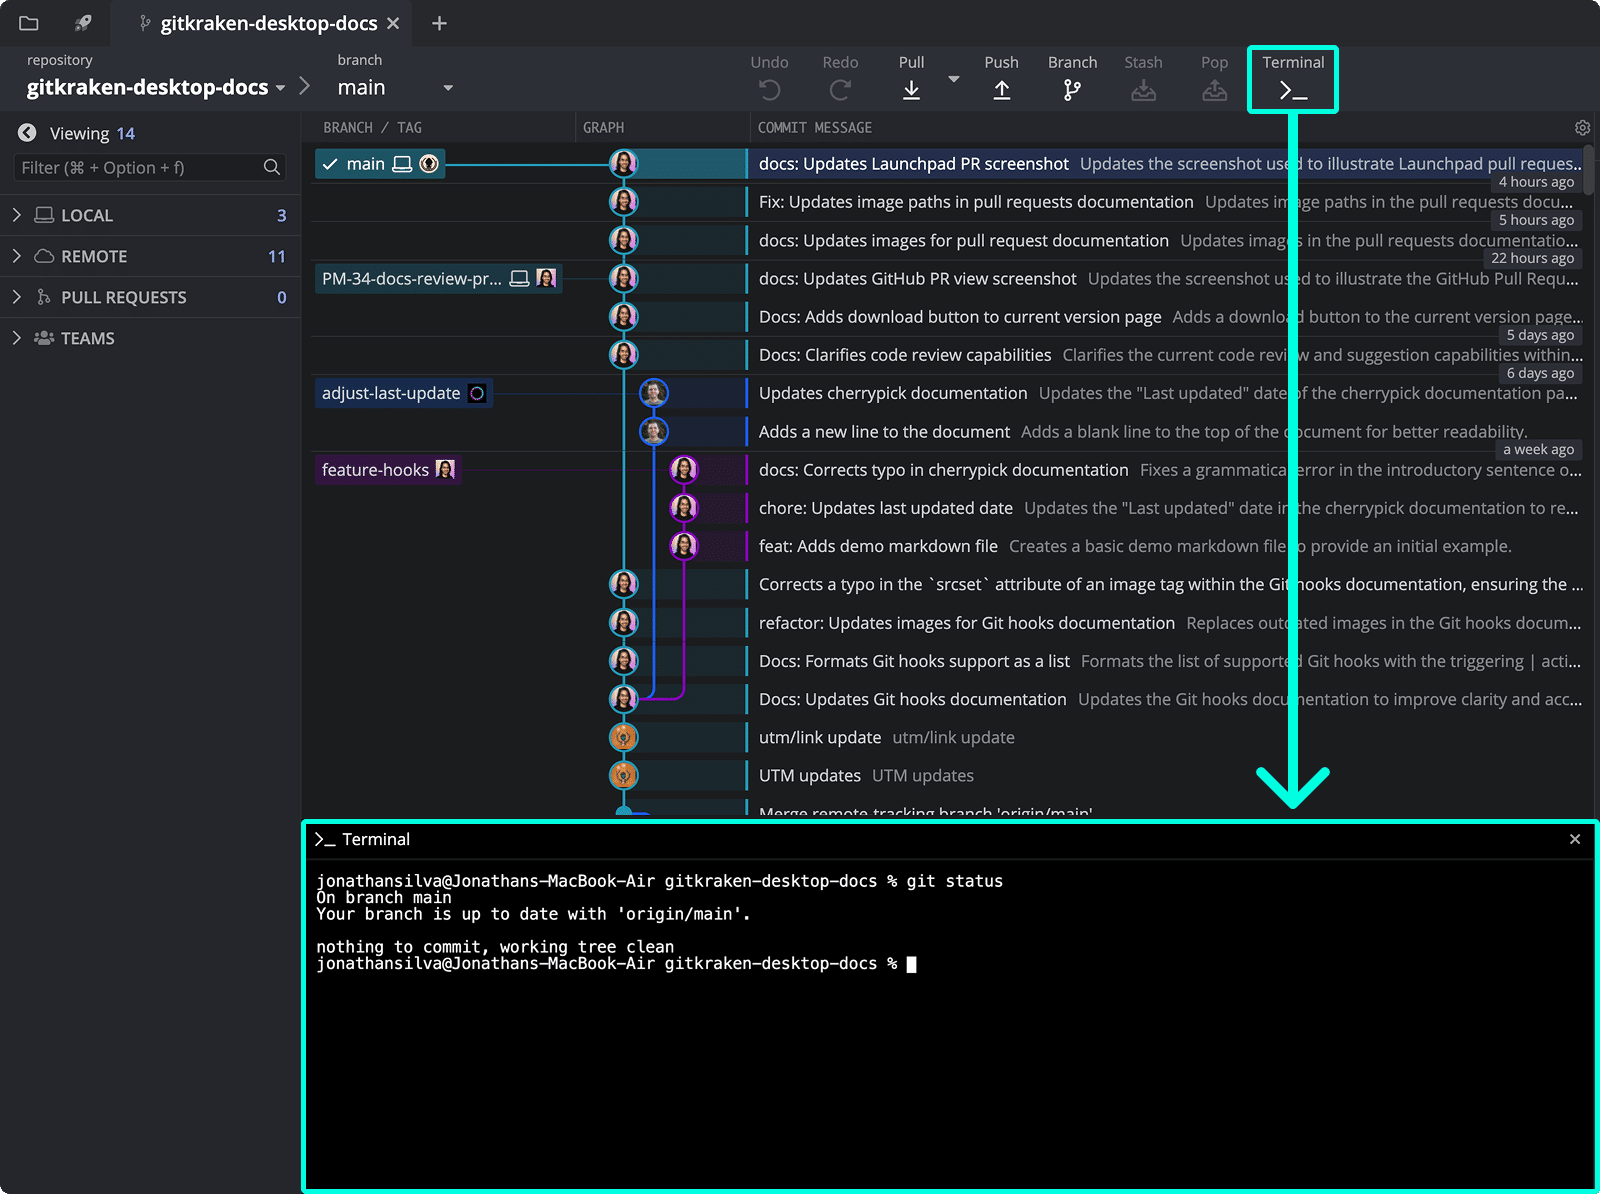
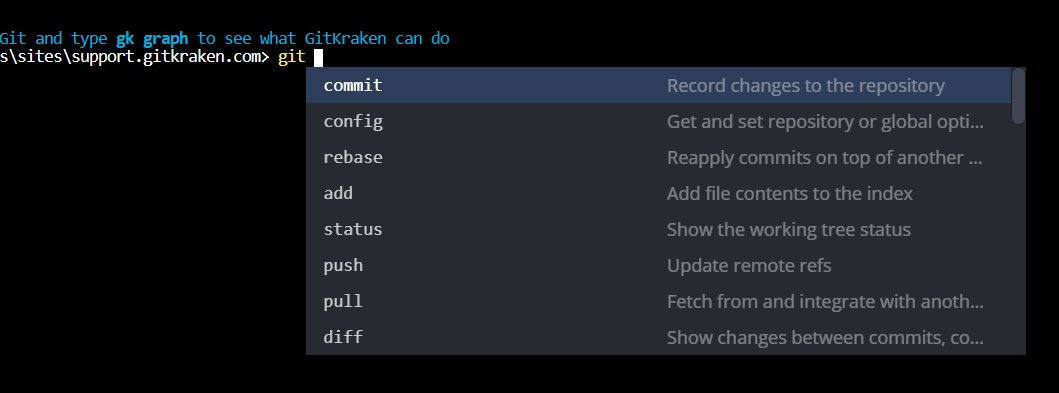
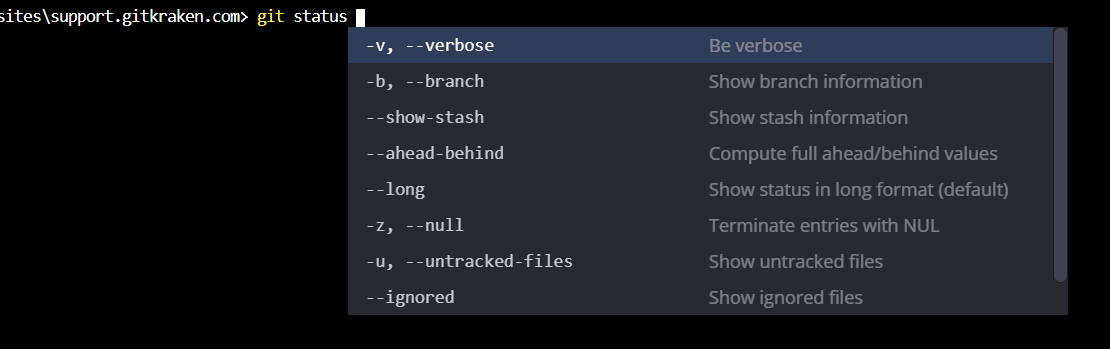
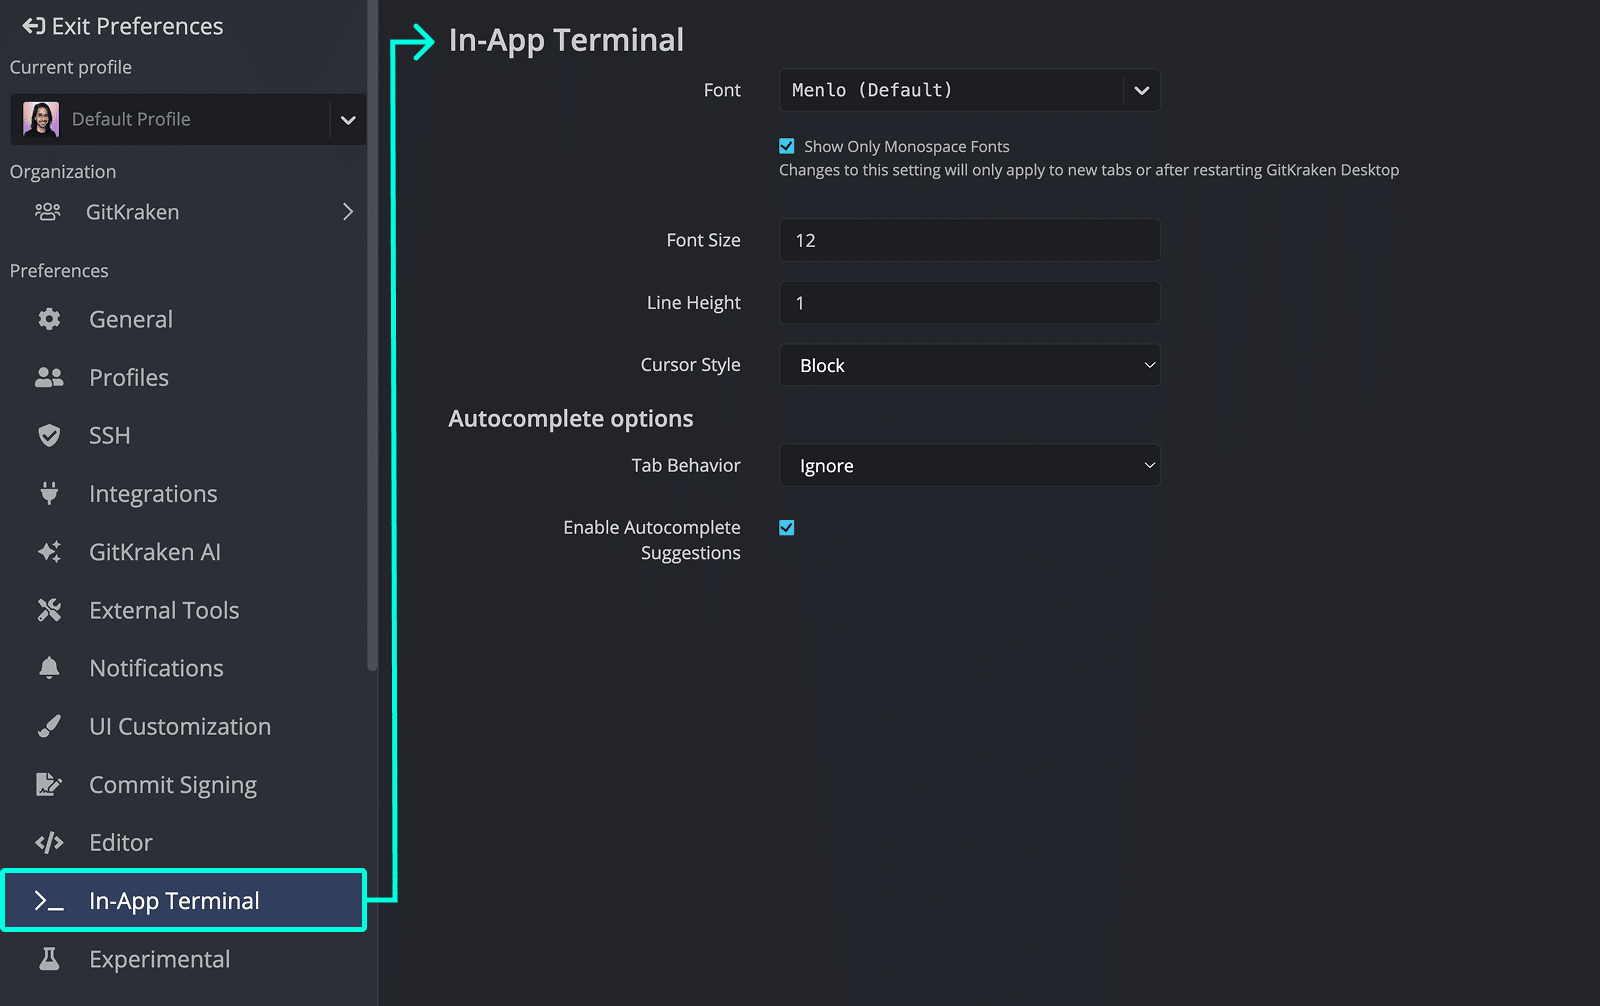

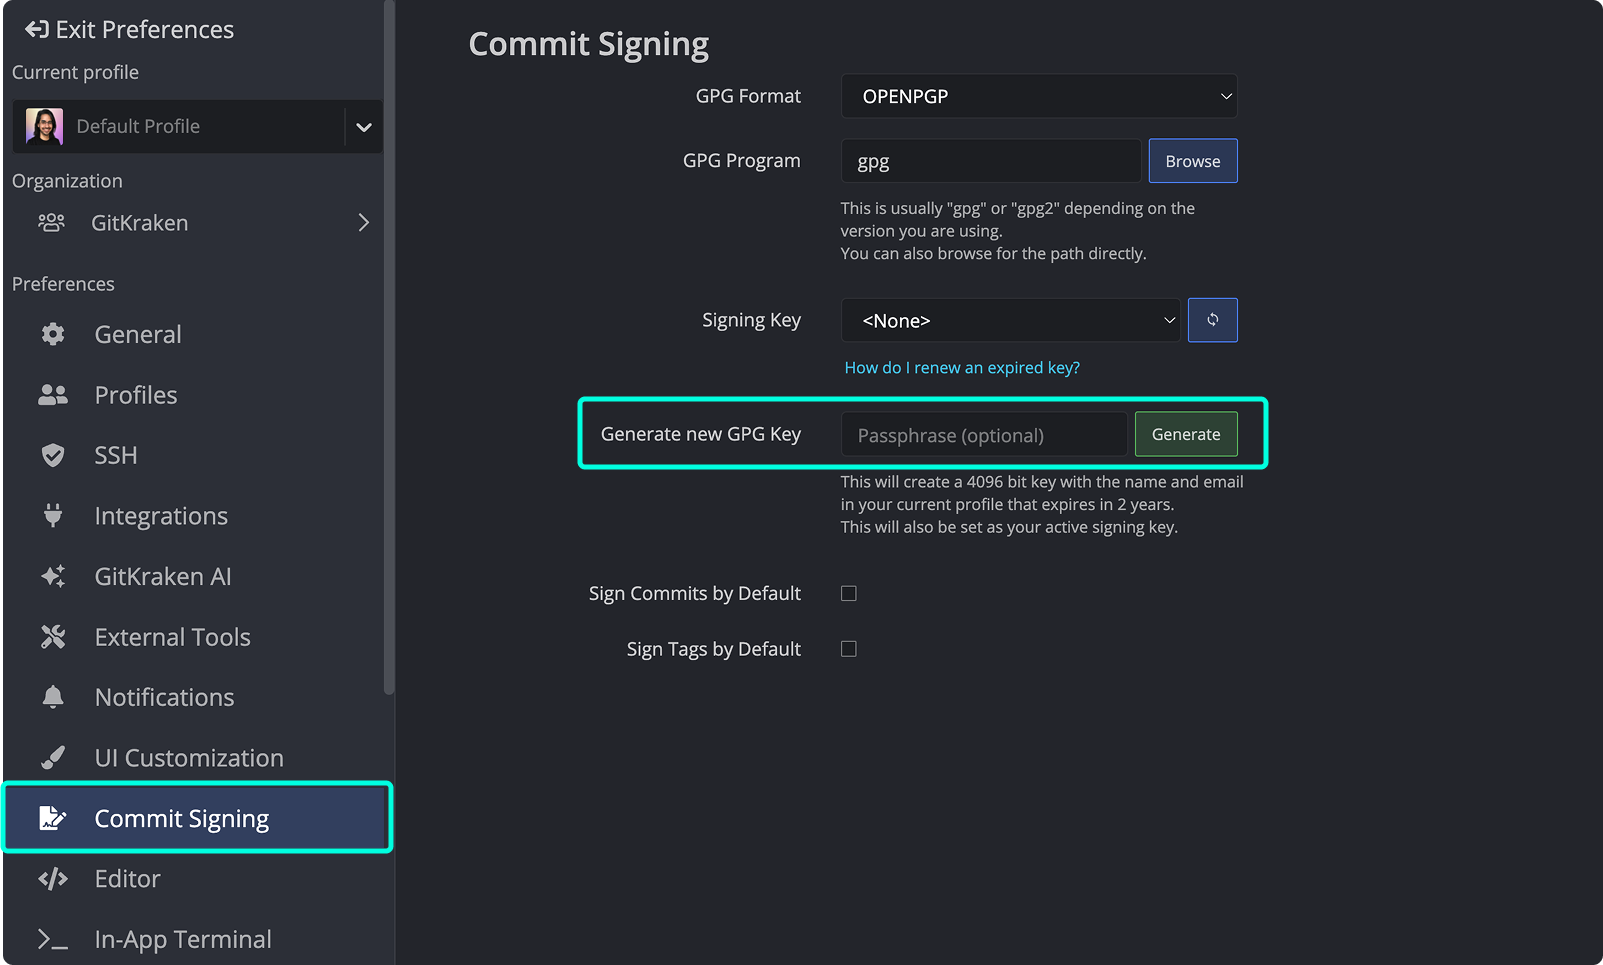
 4. Enable **Sign Commits by Default** and/or **Sign Tags by Default** as needed.
### How to verify signed commits
Signed commits show an icon next to the SHA in the Commit Panel.
4. Enable **Sign Commits by Default** and/or **Sign Tags by Default** as needed.
### How to verify signed commits
Signed commits show an icon next to the SHA in the Commit Panel.
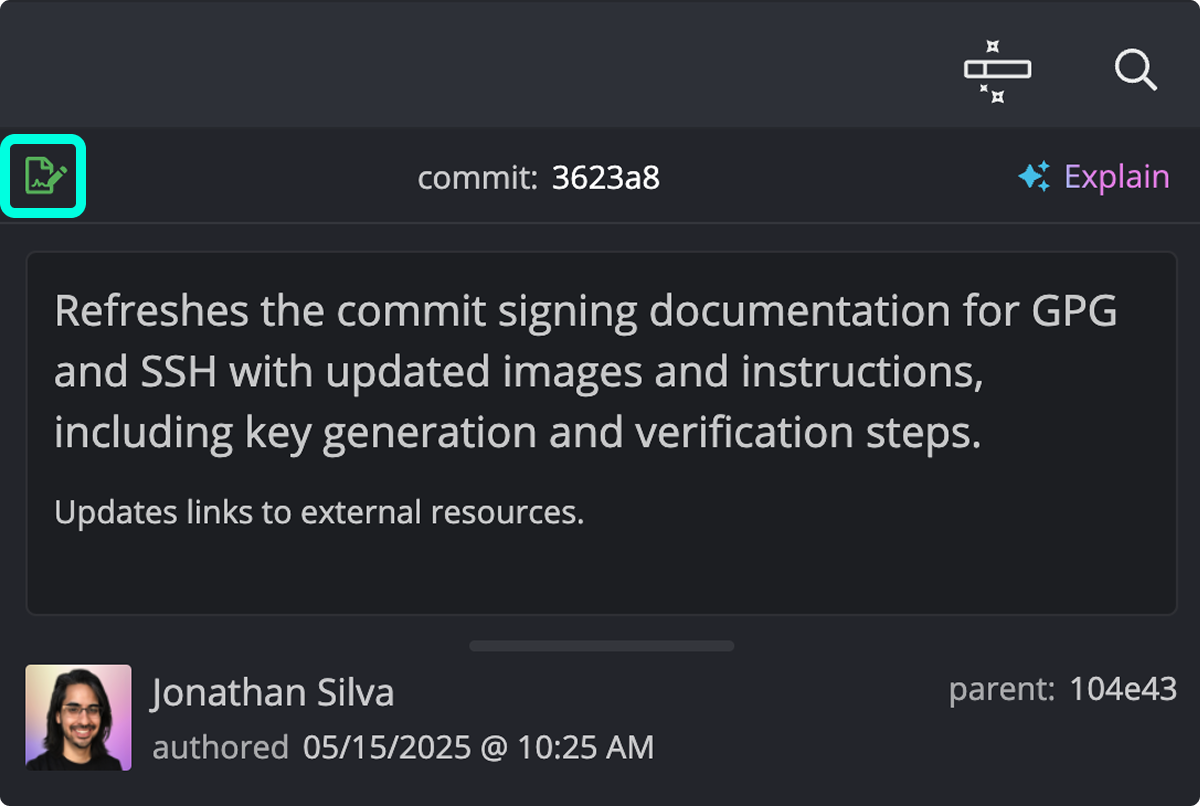 Hover to view signature details:
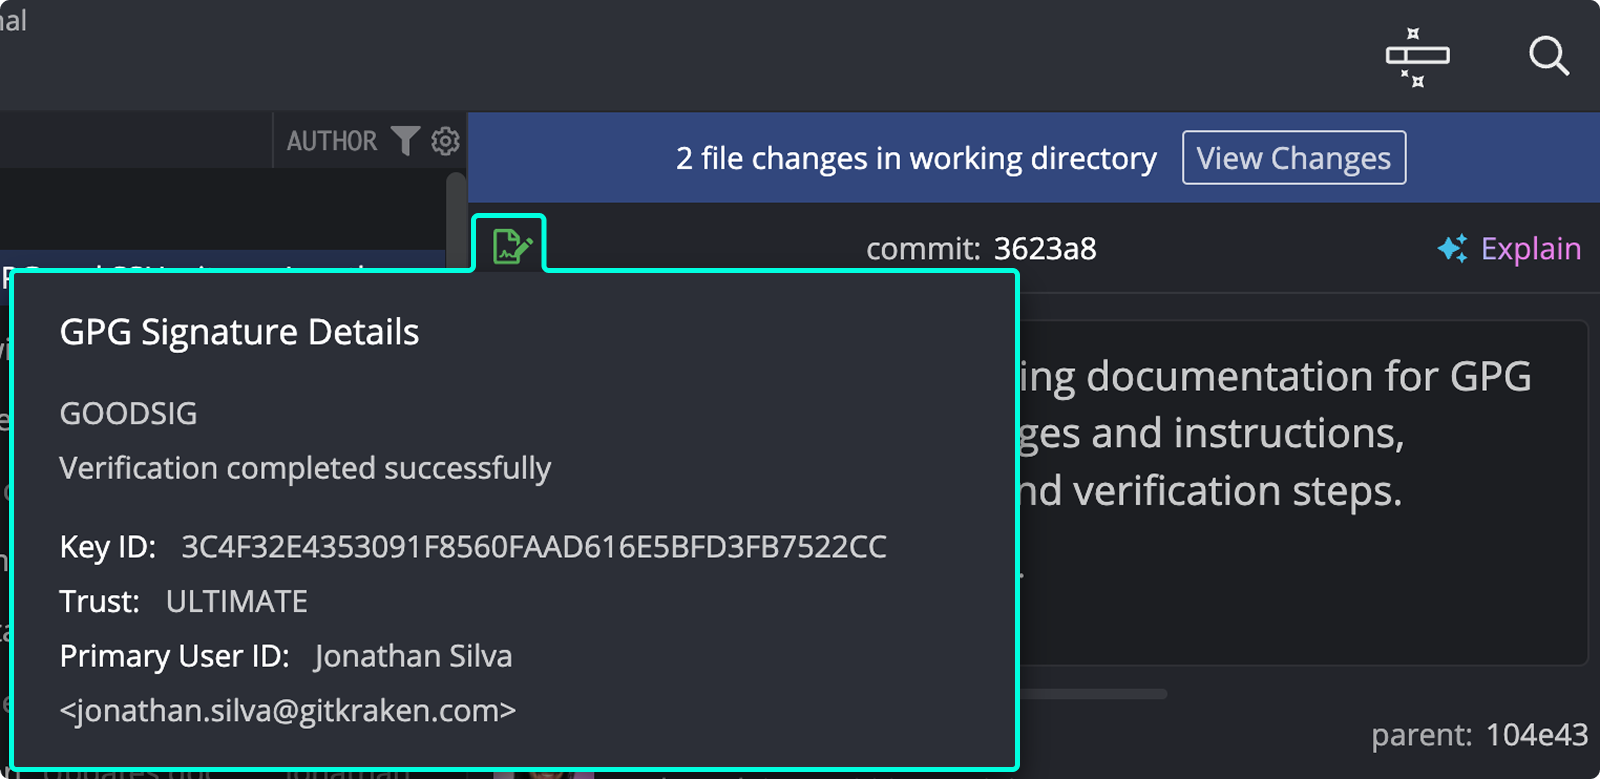 **Common GPG signature codes:**
- `GOODSIG`: Valid signature.
- `EXPSIG`: Signature is expired.
- `EXPKEYSIG`: Signed with expired key.
- `REVKEYSIG`: Signed with revoked key.
- `BADSIG`: Signature not verified.
- `ERRSIG`: Unable to check signature (missing key or unsupported algorithm).
### How to upload a GPG key to your hosting service
To display signed commits as verified:
- [GitHub GPG setup](https://docs.github.com/en/authentication/managing-commit-signature-verification/adding-a-gpg-key-to-your-github-account)
- [GitLab GPG setup](https://docs.gitlab.com/ee/user/project/repository/signed_commits/gpg.html#add-a-gpg-key-to-your-account)
- [Bitbucket GPG setup](https://support.atlassian.com/bitbucket-cloud/docs/use-gpg-keys-to-sign-commits/#Add-a-GPG-key)
In GitKraken: Preferences > GPG → Copy GPG Public Key.
### How to edit a GPG key
To add emails or renew a key:
1. List keys:
```bash
gpg --list-secret-keys --keyid-format LONG
```
**Common GPG signature codes:**
- `GOODSIG`: Valid signature.
- `EXPSIG`: Signature is expired.
- `EXPKEYSIG`: Signed with expired key.
- `REVKEYSIG`: Signed with revoked key.
- `BADSIG`: Signature not verified.
- `ERRSIG`: Unable to check signature (missing key or unsupported algorithm).
### How to upload a GPG key to your hosting service
To display signed commits as verified:
- [GitHub GPG setup](https://docs.github.com/en/authentication/managing-commit-signature-verification/adding-a-gpg-key-to-your-github-account)
- [GitLab GPG setup](https://docs.gitlab.com/ee/user/project/repository/signed_commits/gpg.html#add-a-gpg-key-to-your-account)
- [Bitbucket GPG setup](https://support.atlassian.com/bitbucket-cloud/docs/use-gpg-keys-to-sign-commits/#Add-a-GPG-key)
In GitKraken: Preferences > GPG → Copy GPG Public Key.
### How to edit a GPG key
To add emails or renew a key:
1. List keys:
```bash
gpg --list-secret-keys --keyid-format LONG
```
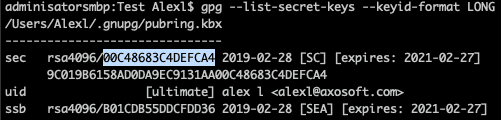 2. Edit:
```bash
gpg --edit-key YOUR_KEY_ID
```
3. Use commands:
- `adduid`: Add email
- `deluid`: Remove email
- `trust`: Update trust level
- `expire`: Change expiration
- `save`: Save and exit
[GNU’s full GPG key guide](https://www.gnupg.org/gph/en/manual/r899.html)
After editing, re-upload the key to your host. See Uploading Your GPG Key to a Remote Hosting Service.
### How to delete a GPG key
To delete:
```bash
gpg --delete-secret-keys
```
Append your key ID or name.
2. Edit:
```bash
gpg --edit-key YOUR_KEY_ID
```
3. Use commands:
- `adduid`: Add email
- `deluid`: Remove email
- `trust`: Update trust level
- `expire`: Change expiration
- `save`: Save and exit
[GNU’s full GPG key guide](https://www.gnupg.org/gph/en/manual/r899.html)
After editing, re-upload the key to your host. See Uploading Your GPG Key to a Remote Hosting Service.
### How to delete a GPG key
To delete:
```bash
gpg --delete-secret-keys
```
Append your key ID or name.
 ---
## How to sign commits with SSH
SSH signing is available through Git Executable.
### SSH signing requirements
- **macOS/Linux:** Git and OpenSSH are usually preinstalled.
```bash
git -v
ssh -V
```
- **Windows:** Install [Git Bash](https://git-scm.com/).
### How to enable SSH signing
1. **Create SSH key:**
```bash
ssh-keygen -t ed25519 -C "your_email@example.com"
```
---
## How to sign commits with SSH
SSH signing is available through Git Executable.
### SSH signing requirements
- **macOS/Linux:** Git and OpenSSH are usually preinstalled.
```bash
git -v
ssh -V
```
- **Windows:** Install [Git Bash](https://git-scm.com/).
### How to enable SSH signing
1. **Create SSH key:**
```bash
ssh-keygen -t ed25519 -C "your_email@example.com"
```
 2. **Enable Git Executable:**
Go to Preferences > Experimental > Git Executable.
2. **Enable Git Executable:**
Go to Preferences > Experimental > Git Executable.
 3. **Set GPG Format to SSH:**
Preferences > Commit Signing > GPG Format → select SSH.
4. **Select signing key:**
On Signing Key, browse to the `.pub` key.
5. **Create allowed_signers file:**
```bash
touch ~/.ssh/allowed_signers
echo "$(git config --get user.email) namespaces=\"git\" $(cat ~/.ssh/YOUR_KEY.pub)" >> ~/.ssh/allowed_signers
```
Select this file in GitKraken.
6. **Enable Signing by Default:**
Preferences > Commit Signing → enable **Sign Commits** and/or **Sign Tags**.
7. **Add SSH Key to Host:**
- [GitHub SSH setup](https://docs.github.com/en/authentication/connecting-to-github-with-ssh/adding-a-new-ssh-key-to-your-github-account)
- [GitLab SSH setup](https://docs.gitlab.com/ee/user/project/repository/signed_commits/gpg.html#add-a-gpg-key-to-your-account)
- ⚠️ Bitbucket does **not** support SSH-signed commit verification.
---
# View Activity Logs in GitKraken Desktop
URL: https://help.gitkraken.com/gitkraken-desktop/activity-logs/
Description: Learn how to view real-time Git actions, application events, and Git hook feedback using Activity Logs in GitKraken Desktop.
Product: GitKraken Desktop
Feature: Activity Logs
Content type: troubleshooting
Audience: developer
Plan required: all
Status: GA
Last verified: 2026-03
Last updated: March 2026
Use this page to inspect Activity Logs in GitKraken Desktop when you need to see recent Git operations, application events, performance timing, or Git hook output. It explains the difference between the Application and Repository tabs, how extended logging changes the output, and how hook failures surface in the log UI.
**Requirements and limits**
- Scope: Real-time GitKraken Desktop application and repository event logs
- Access point: Activity Logs icon in the footer toolbar
- Application tab: Shows GitKraken Desktop instance events and is not tied to the active repository
- Repository tab: Shows Git operations for the currently active repository only
- Extended logging: Enable in Preferences > General for more detailed repository log output
- Hook log behavior: Git hook failures surface in the Repository log and through snackbox links to the hook output
***
## Quick Start
1. Open GitKraken Desktop and open any repository.
2. Click the Activity Logs icon in the footer toolbar at the bottom of the window.
3. Select the **Application** tab to view actions taken by GitKraken Desktop itself, such as opening repositories or refreshing the Git config.
4. Select the **Repository** tab to see Git operations performed on the current repository, such as fetch, push, and merge.
5. To include more detail in the Repository tab, go to Preferences > General and enable **Use extended logging in activity log**.
6. If a Git hook fails, a snackbox notification will appear with a link to the hook log. Click it to view the hook output directly.
Each log entry includes a timestamp, a description of the action, and duration in milliseconds. Logs are displayed in plain text format and update in real time as you work.
***
## What Activity Logs are
The Activity Logs panel, located in the footer toolbar of GitKraken Desktop, provides real-time feedback on actions taken within the application and your repositories.
3. **Set GPG Format to SSH:**
Preferences > Commit Signing > GPG Format → select SSH.
4. **Select signing key:**
On Signing Key, browse to the `.pub` key.
5. **Create allowed_signers file:**
```bash
touch ~/.ssh/allowed_signers
echo "$(git config --get user.email) namespaces=\"git\" $(cat ~/.ssh/YOUR_KEY.pub)" >> ~/.ssh/allowed_signers
```
Select this file in GitKraken.
6. **Enable Signing by Default:**
Preferences > Commit Signing → enable **Sign Commits** and/or **Sign Tags**.
7. **Add SSH Key to Host:**
- [GitHub SSH setup](https://docs.github.com/en/authentication/connecting-to-github-with-ssh/adding-a-new-ssh-key-to-your-github-account)
- [GitLab SSH setup](https://docs.gitlab.com/ee/user/project/repository/signed_commits/gpg.html#add-a-gpg-key-to-your-account)
- ⚠️ Bitbucket does **not** support SSH-signed commit verification.
---
# View Activity Logs in GitKraken Desktop
URL: https://help.gitkraken.com/gitkraken-desktop/activity-logs/
Description: Learn how to view real-time Git actions, application events, and Git hook feedback using Activity Logs in GitKraken Desktop.
Product: GitKraken Desktop
Feature: Activity Logs
Content type: troubleshooting
Audience: developer
Plan required: all
Status: GA
Last verified: 2026-03
Last updated: March 2026
Use this page to inspect Activity Logs in GitKraken Desktop when you need to see recent Git operations, application events, performance timing, or Git hook output. It explains the difference between the Application and Repository tabs, how extended logging changes the output, and how hook failures surface in the log UI.
**Requirements and limits**
- Scope: Real-time GitKraken Desktop application and repository event logs
- Access point: Activity Logs icon in the footer toolbar
- Application tab: Shows GitKraken Desktop instance events and is not tied to the active repository
- Repository tab: Shows Git operations for the currently active repository only
- Extended logging: Enable in Preferences > General for more detailed repository log output
- Hook log behavior: Git hook failures surface in the Repository log and through snackbox links to the hook output
***
## Quick Start
1. Open GitKraken Desktop and open any repository.
2. Click the Activity Logs icon in the footer toolbar at the bottom of the window.
3. Select the **Application** tab to view actions taken by GitKraken Desktop itself, such as opening repositories or refreshing the Git config.
4. Select the **Repository** tab to see Git operations performed on the current repository, such as fetch, push, and merge.
5. To include more detail in the Repository tab, go to Preferences > General and enable **Use extended logging in activity log**.
6. If a Git hook fails, a snackbox notification will appear with a link to the hook log. Click it to view the hook output directly.
Each log entry includes a timestamp, a description of the action, and duration in milliseconds. Logs are displayed in plain text format and update in real time as you work.
***
## What Activity Logs are
The Activity Logs panel, located in the footer toolbar of GitKraken Desktop, provides real-time feedback on actions taken within the application and your repositories.