
Last updated: June 2026
Overview
Connecting an issue tracker lets you create a Kepler Task, the core unit of work in Kepler’s Agentic Development Environment (ADE), directly from an issue. Kepler passes the issue title, description, and metadata to the agent automatically as its starting context.
Supported trackers
| Tracker | Auth method | Self-hosted support |
|---|---|---|
| Jira | OAuth 2.0 | No (Cloud only) |
| Linear | OAuth 2.0 | No |
| Trello | OAuth 2.0 | No |
| GitHub Issues | OAuth 2.0 | No |
| GitHub Enterprise Issues | Personal Access Token | Yes |
| GitLab Issues | OAuth 2.0 | No |
| GitLab Self-Managed Issues | Personal Access Token | Yes |
| Azure DevOps | OAuth 2.0 | No |
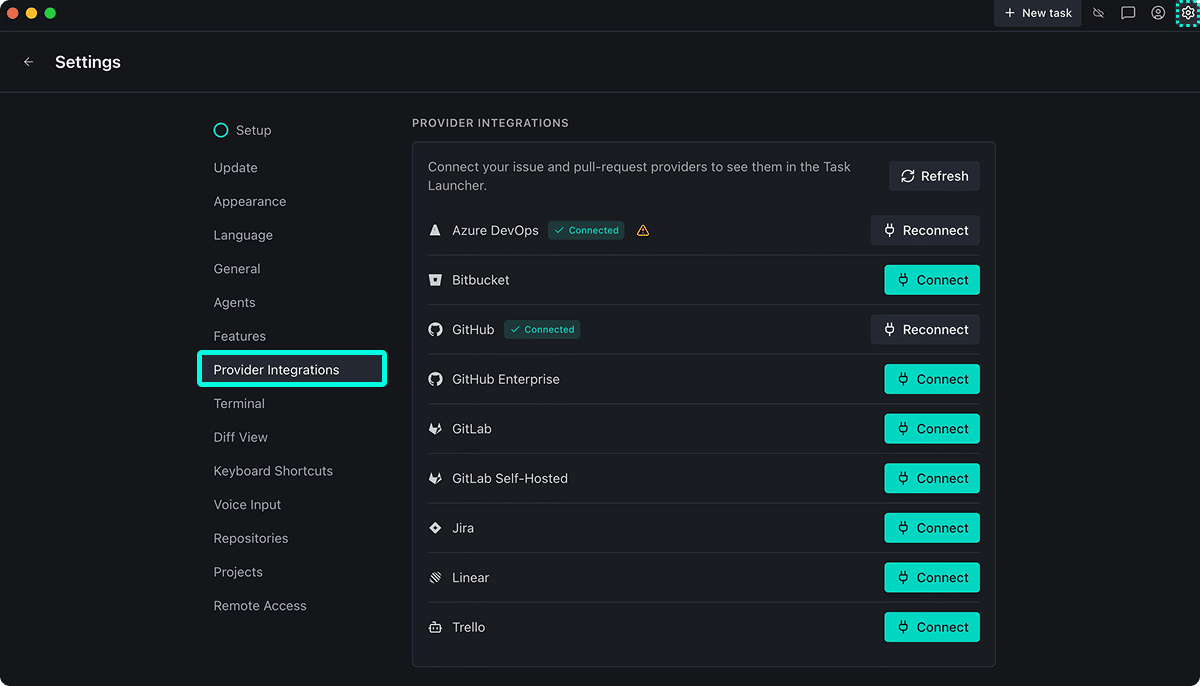
All providers are configured in Settings → Provider Integrations.
Jira
Connect Jira to create Kepler Tasks from Jira issues and pass issue context to your agents automatically.
Prerequisites
- A Jira Cloud account with permission to install OAuth apps.
- A Kepler account with at least one workspace configured.
Connect Jira
- Open Kepler and navigate to Settings → Provider Integrations.
- Under Issue Trackers, click Connect next to Jira.
- Click Authorize with Jira. Atlassian’s OAuth flow opens.
- Select the Jira site you want to connect and click Accept.
- Kepler shows Jira connected with your site name.
What Kepler pulls from Jira
When you create a Task from a Jira issue, Kepler passes the following fields to the agent:
- Issue key and summary (title)
- Description (including formatted text and code blocks)
- Labels
- Assignee
- Priority
- Status
- Linked issue keys
Limitations
- Kepler does not support Jira Data Center or Jira Server. Use the GitHub Enterprise or GitLab Self-Managed integration for self-managed workflows.
- Kepler does not pass attachments or embedded images from issue descriptions to the agent.
Linear
Connect Linear to create Kepler Tasks from Linear issues and pass issue context to your agents automatically.
Prerequisites
- A Linear workspace with member or admin access.
Connect Linear
- In Kepler, go to Settings → Provider Integrations.
- Under Issue Trackers, click Connect next to Linear.
- Click Authorize with Linear. Linear’s OAuth consent screen opens.
- Select the workspace to connect and click Allow access.
- Kepler shows Linear connected when the authorization completes.
What Kepler pulls from Linear
When you create a Task from a Linear issue, Kepler passes these fields to the agent:
- Issue identifier and title
- Description (Markdown)
- Labels
- Assignee
- Priority
- State (status)
- Project and cycle membership
Limitations
- Kepler fetches only the selected issue’s fields; sub-issues are not included.
Trello
Connect Trello to create Kepler Tasks from Trello cards and pass card details to your agents automatically.
Prerequisites
- A Trello account with access to the boards you want to use.
Connect Trello
- In Kepler, open Settings → Provider Integrations.
- Under Issue Trackers, click Connect next to Trello.
- Click Authorize with Trello. Trello’s OAuth consent screen opens.
- Click Allow.
- Kepler confirms the connection with Trello connected.
What Kepler pulls from Trello
When you create a Task from a Trello card, Kepler passes these fields to the agent:
- Card name (title)
- Card description
- Labels
- Members (assignees)
- Due date
- Checklist names and items
Limitations
- Kepler does not pass card attachments to the agent.
- Kepler does not currently support custom fields.
GitHub Issues
Connect GitHub Issues to create Kepler Tasks from GitHub issues and pass issue context to your agents automatically.
Prerequisites
- A GitHub account with access to the repositories whose issues you want to use.
Connect GitHub Issues
- In Kepler, navigate to Settings → Provider Integrations.
- Under Issue Trackers, click Connect next to GitHub Issues.
- Click Authorize with GitHub. GitHub’s OAuth app authorization page opens.
- Select the organizations and repositories to grant access to, then click Authorize.
- After authorization, Kepler shows GitHub connected.
What Kepler pulls from GitHub Issues
When you create a Task from a GitHub issue, Kepler passes these fields to the agent:
- Issue number and title
- Body (Markdown)
- Labels
- Assignees
- Milestone
- Linked pull request references
Limitations
- Kepler does not pass GitHub Projects (v2) fields beyond the standard issue fields.
- Private repositories require the repo OAuth scope; Kepler requests this during authorization.
GitHub Enterprise Issues
Connect GitHub Enterprise Issues using a personal access token to create Kepler Tasks from issues on your self-hosted instance.
Prerequisites
- A GitHub Enterprise Server instance (3.x or later recommended).
- A personal access token (PAT) with
reposcope, generated on your GitHub Enterprise instance. - Your GitHub Enterprise Server hostname (e.g.,
github.yourcompany.com).
Connect GitHub Enterprise Issues
- Go to Settings → Provider Integrations in Kepler.
- Under Issue Trackers, click Connect next to GitHub Enterprise Issues.
- Enter your Server URL (e.g.,
https://github.yourcompany.com). - Paste your Personal Access Token.
- Click Connect. Kepler verifies the token and shows GitHub Enterprise connected.
What Kepler pulls from GitHub Enterprise Issues
Kepler pulls the same fields as GitHub Issues (see above). Field availability depends on your GitHub Enterprise Server version.
Limitations
- GitHub Enterprise Cloud (GHEC) with an enterprise account uses the standard GitHub Issues integration above, not this one.
- Kepler stores tokens per user; each team member must connect their own PAT.
GitLab Issues
Connect GitLab Issues to create Kepler Tasks from GitLab issues and pass issue context to your agents automatically.
Prerequisites
- A GitLab.com account with access to the projects whose issues you want to use.
Connect GitLab Issues
- In Kepler, open Settings → Provider Integrations.
- Under Issue Trackers, click Connect next to GitLab Issues.
- Click Authorize with GitLab. GitLab’s OAuth consent screen opens.
- Click Authorize.
- The page returns to Kepler showing GitLab connected.
What Kepler pulls from GitLab Issues
When you create a Task from a GitLab issue, Kepler passes these fields to the agent:
- Issue IID and title
- Description (Markdown)
- Labels
- Assignees
- Milestone
- Weight (if set)
- Linked issue references
Limitations
- Kepler does not currently pass GitLab EE-only fields (for example, epic membership and health status).
GitLab Self-Managed Issues
Connect GitLab Self-Managed Issues using a personal access token to create Kepler Tasks from issues on your self-managed instance.
Prerequisites
- A self-managed GitLab instance (GitLab CE or EE, 15.x or later recommended).
- A personal access token with
apiscope, generated on your GitLab instance. - Your GitLab instance URL (e.g.,
https://gitlab.yourcompany.com).
Connect GitLab Self-Managed Issues
- Go to Settings → Provider Integrations in Kepler.
- Under Issue Trackers, click Connect next to GitLab Self-Managed Issues.
- Enter your Instance URL (e.g.,
https://gitlab.yourcompany.com). - Paste your Personal Access Token.
- Click Connect. Kepler verifies the token and shows GitLab Self-Managed connected.
What Kepler pulls from GitLab Self-Managed Issues
Kepler pulls the same fields as GitLab Issues (see above). Field availability depends on your GitLab version and edition.
Limitations
- Your machine must be able to reach the GitLab instance. Air-gapped instances are not supported unless Kepler is deployed in your network.
- Kepler stores tokens per user; each team member must connect their own PAT.
Azure DevOps
Connect Azure DevOps to create Kepler Tasks from Azure DevOps work items and pass work item details to your agents automatically.
Prerequisites
- An Azure DevOps organization with member or higher access.
- Work items enabled on the project(s) you want to use.
Connect Azure DevOps
- In Kepler, navigate to Settings → Provider Integrations.
- Under Issue Trackers, click Connect next to Azure DevOps.
- Click Authorize with Azure DevOps. Microsoft’s OAuth consent screen opens.
- Sign in with your Microsoft account and click Accept.
- Kepler shows Azure DevOps connected with your organization name.
What Kepler pulls from Azure DevOps
When you create a Task from an Azure DevOps work item, Kepler passes these fields to the agent:
- Work item ID and title
- Description
- Work item type (Bug, User Story, Task, etc.)
- Tags
- Assigned to
- State
- Area path and iteration path
Limitations
- Kepler does not currently support Azure DevOps Server (on-premises).
- Rich text formatting in work item descriptions may be partially stripped when Kepler passes the description to the agent.
