
Last updated: June 2026
This page walks you through installing Kepler, completing setup, and creating your first Task.
What is Kepler?
Kepler is GitKraken’s Agentic Development Environment (ADE), built for developers directing multiple AI coding agents across multiple repos in parallel.

Install Kepler
Kepler is available for Windows, Mac, and Linux.
| Platform | Installer | Minimum OS |
|---|---|---|
| Windows | 64-bit, ARM64 | Windows 10+ |
| macOS | Apple Silicon, Intel | macOS 12+ |
| Linux (x64) | .deb, .rpm, .AppImage | Ubuntu LTS 18.04+ / Debian 10+ / RHEL 8+ / Fedora 39+ |
| Linux (ARM) | .deb, .rpm, .AppImage | Ubuntu LTS 20.04+ / RHEL 8+ / Fedora 39+ |
- Go to gitkraken.com/kepler/download and download the installer for your platform and architecture.
- Run the installer and follow the on-screen prompts.
- Launch Kepler.
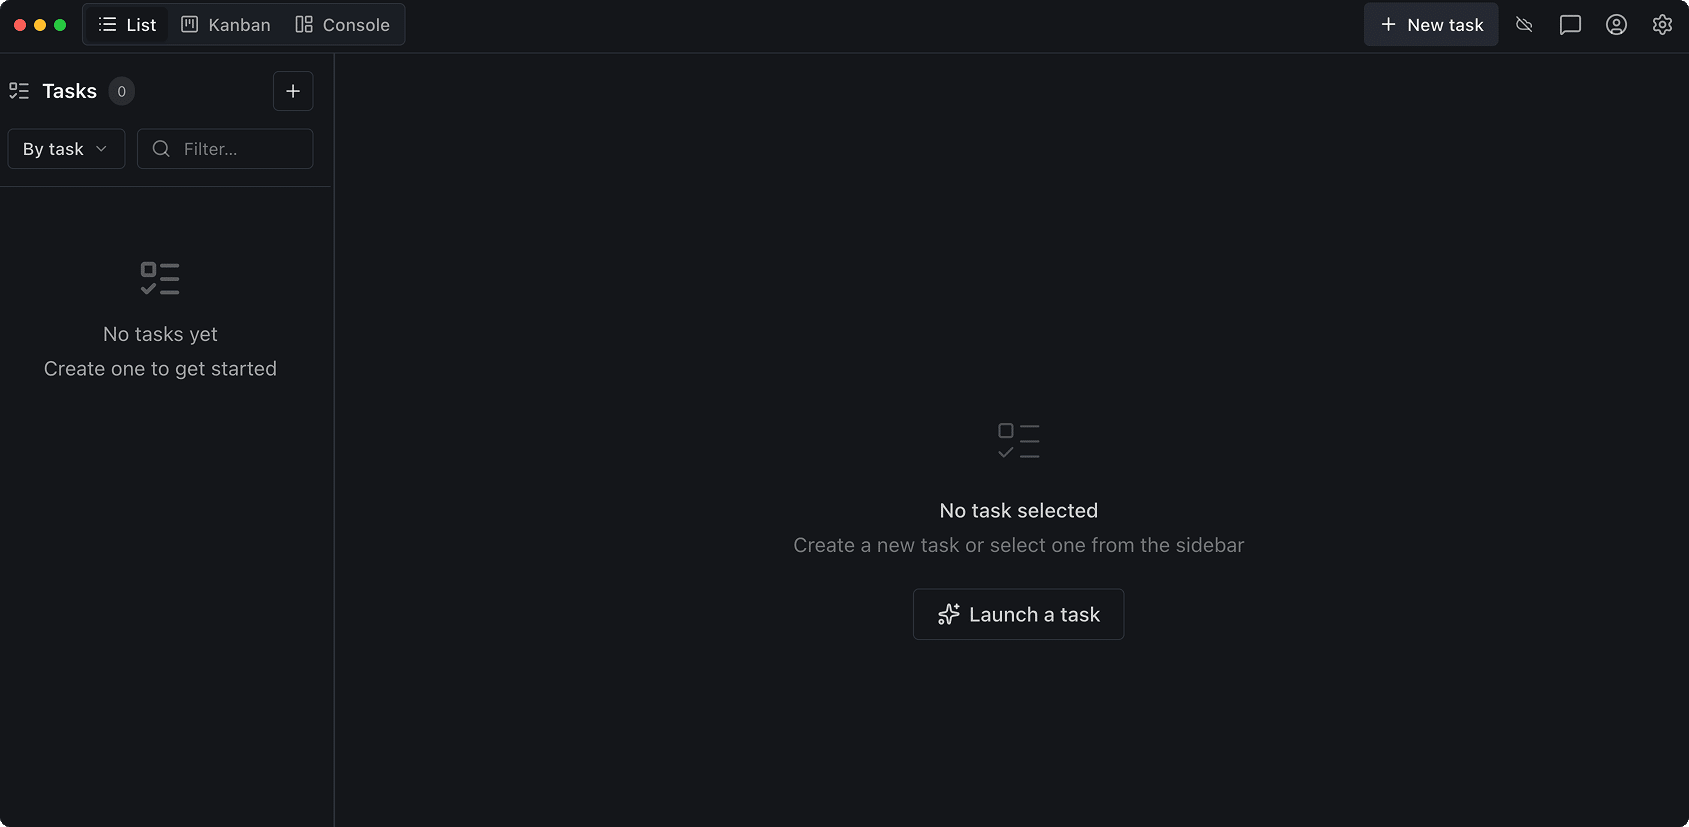
On first open, Kepler displays the Home view. No repos or agents are configured yet. The next two sections cover the minimum setup required before creating your first Task.
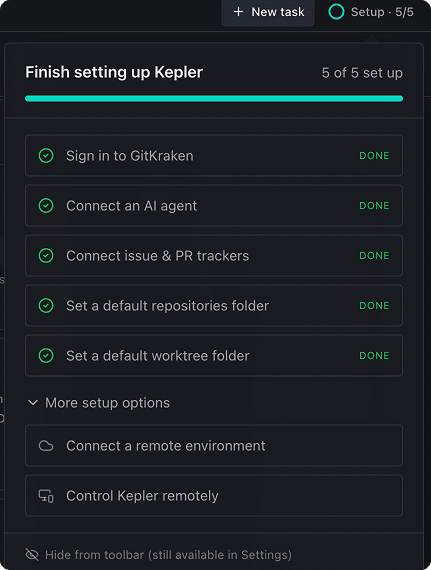
Complete the setup checklist
Complete all five items in the Setup checklist before creating your first Task. Access the checklist from the Setup button in the top navigation bar. The checklist shows Setup · N/5 and turns fully green when all five items are complete.
1. Sign in to GitKraken
Sign in with your GitKraken account when prompted on first launch.
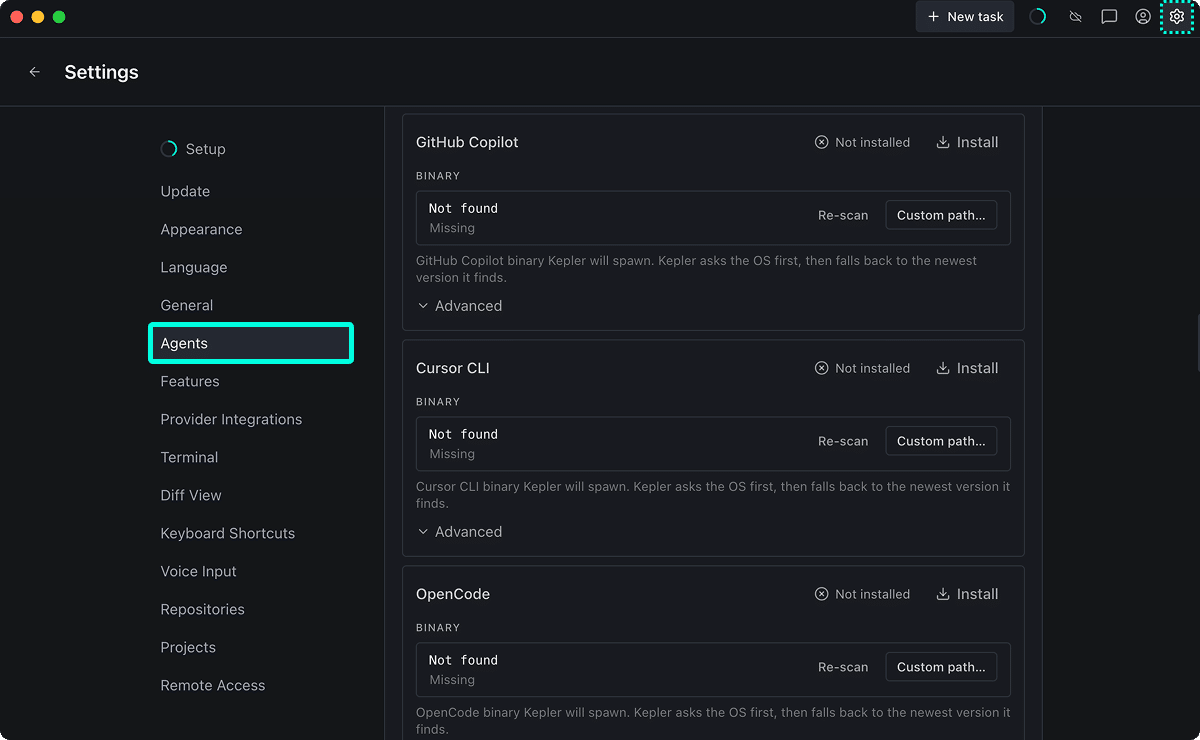
2. Connect an AI agent
Connect at least one coding agent in Settings → Agents. For supported agents and connection steps, see Agent Integrations.
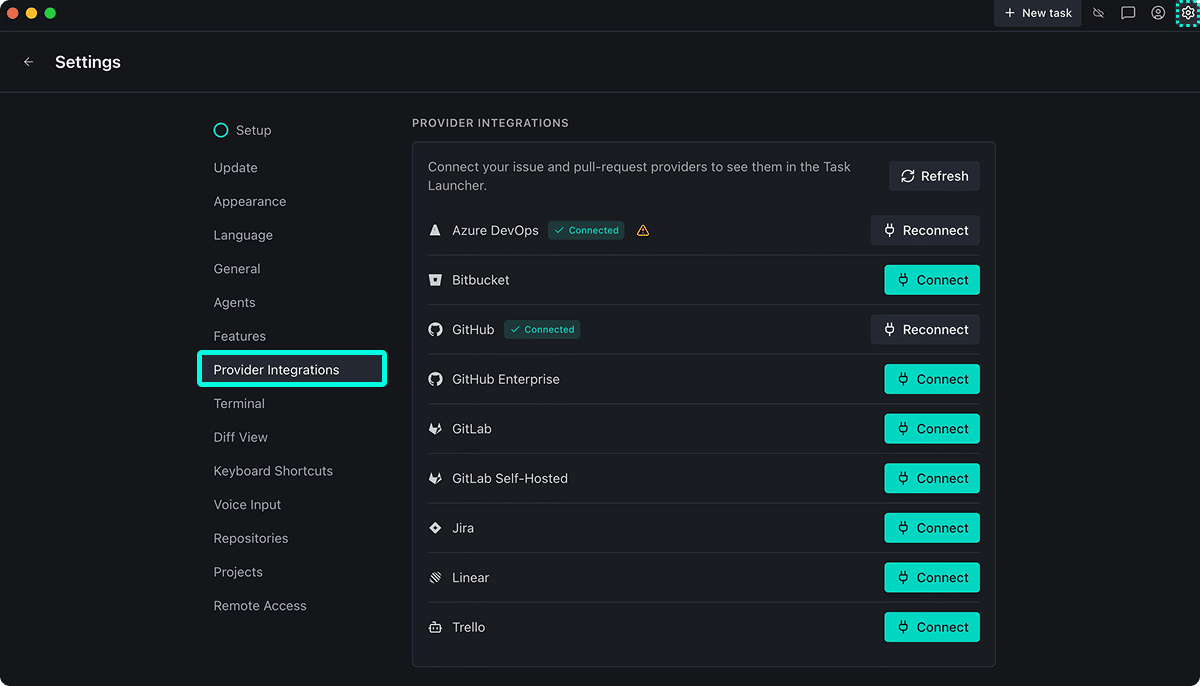
3. Connect issue & PR trackers
Connect your issue tracker and Git hosting provider in Settings → Provider Integrations. For setup steps, see Issue Tracker Integrations and Pull Request Integrations.
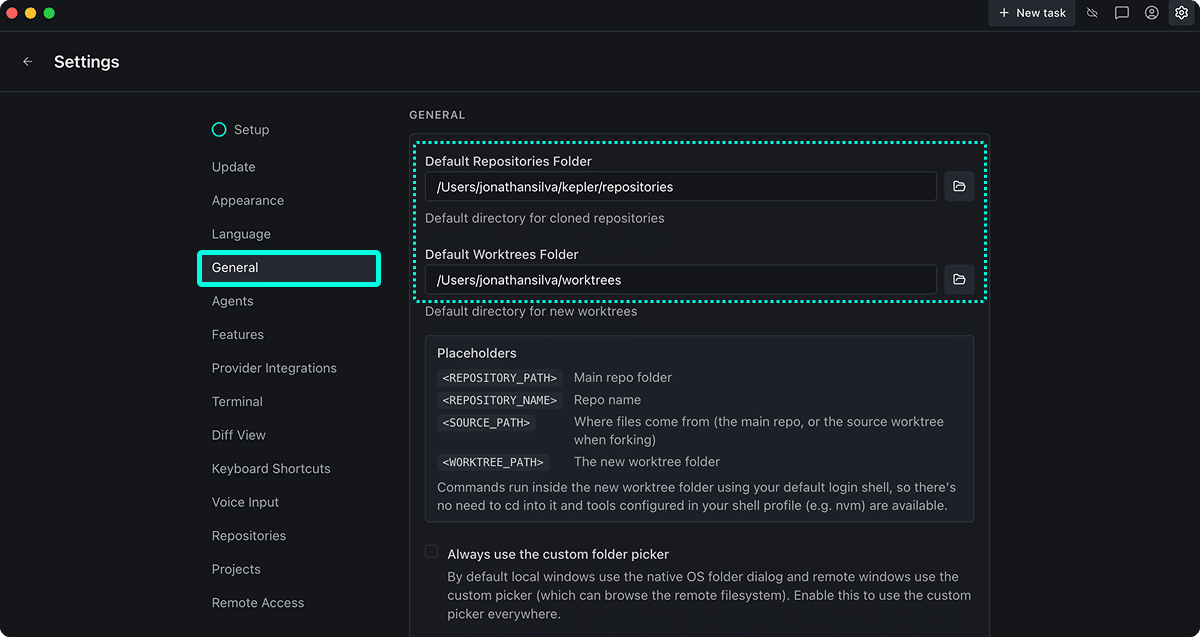
4. Set default folder locations
Open Settings → General and set both paths before creating your first Task.
- Default Repositories Folder — where Kepler clones repos. Every Task that references a repo not already on disk will clone it here.
- Default Worktrees Folder — where Kepler creates Git worktrees. Kepler creates one worktree per Task per repo.
Click the folder icon next to each field to browse, or type a path directly. The worktree path supports placeholders:
| Placeholder | Value |
|---|---|
<REPOSITORY_PATH> |
Main repo folder |
<REPOSITORY_NAME> |
Repo name |
<SOURCE_PATH> |
Files source (main repo, or the source worktree when forking) |
<WORKTREE_PATH> |
The new worktree folder |
Commands run inside the new worktree folder using your default login shell, so there’s no need to cd into it and tools configured in your shell profile (e.g. nvm) are available.
Expand More setup options in the checklist to see two optional items:
- Connect a remote environment — run Tasks on a remote machine or inside WSL. See Remote Environments.
- Control Kepler remotely — start Kepler’s local server to access the UI from another device. See Remote Environments.
Create your first Task
A Task is the core unit of work in Kepler. It holds work across one or more repos and contains the worktrees, agent sessions, and changes that belong to a single unit of work.
This section covers creating a Task from scratch. For all three Task creation methods and full option details, see Create a Task.

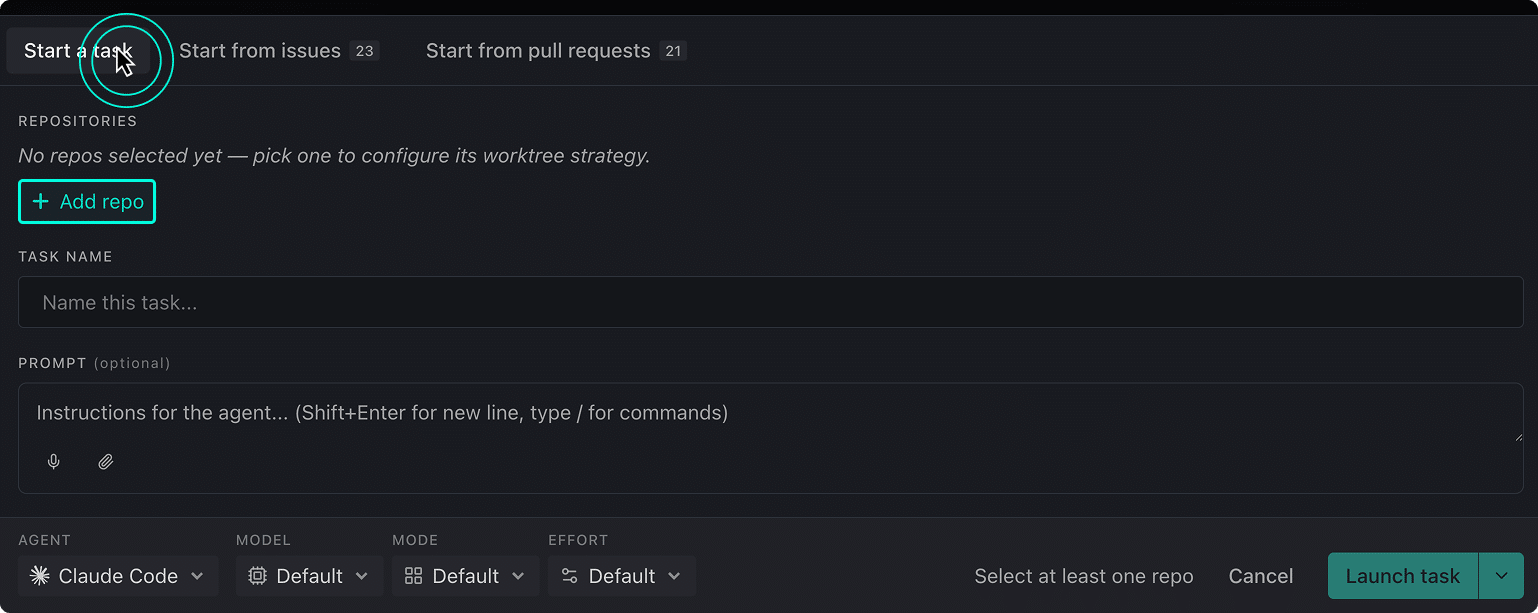
- Click + New task in the top-right corner to open the Task Launcher.
- Under Repositories, click + Add repo and select a repository. Kepler clones it into your default repos directory if it is not already present locally.
- Enter a Task Name.
- (Optional) Enter a Prompt with starting instructions for the agent.
- Select an Agent and configure Model, Mode, and Effort as needed.
- Click Launch task.
Kepler creates an isolated Git worktree for this Task, starts the agent session, and the Task appears in List or Kanban view.
