
Last updated: March 2026
Use this page to stash, apply, pop, rename, and partially restore uncommitted changes in GitKraken Desktop when you need to switch context without creating a commit. It covers both full stashes and partial file-based stashes, along with the graph and Left Panel workflows for managing them.
Requirements and limits
- Workflow scope: Uncommitted local changes only
- Apply vs. pop: Apply Stash keeps the stash; Pop Stash applies it and removes it
- Partial stash behavior: Applying a single file from a partial stash does not remove the stash
- Naming option: Name the stash before creating it by editing the
// WIPfield or stash summary field - GitKraken AI note: AI-generated stash messages require GitKraken AI to be enabled
- Stash visibility: Stashes can be hidden from the graph without being deleted
| Action | What it does | Keeps stash entry | Notes |
|---|---|---|---|
| Stash | Saves current uncommitted changes | Yes | Creates a new stash entry |
| Apply Stash | Restores stashed changes | Yes | Keeps the stash for reuse |
| Pop Stash | Restores stashed changes | No | Applies and removes the stash |
| Partial stash | Saves selected files only | Yes | Managed from staged files in the Commit Panel |
| Apply partial stash file | Restores one file from a partial stash | Yes | Does not remove the stash |
| Hide stash | Removes stash from graph view only | Yes | Does not delete the stash |
Quick Start
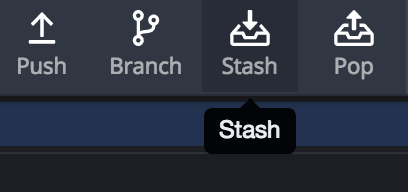
To stash all changes: Click the Stash icon in the top toolbar. Your stash appears in the Commit Graph.
To manage a stash: Right-click the stash node in the graph to apply, pop, delete, or hide it. Right-click a stash in the Left Panel for the same options.
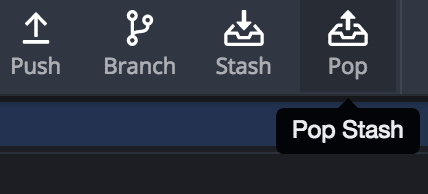
To pop the latest stash: Click the Pop Stash button in the toolbar to apply changes and delete the stash in one step.
To name a stash: Type a name into the // WIP field at the top of the graph before clicking Stash.
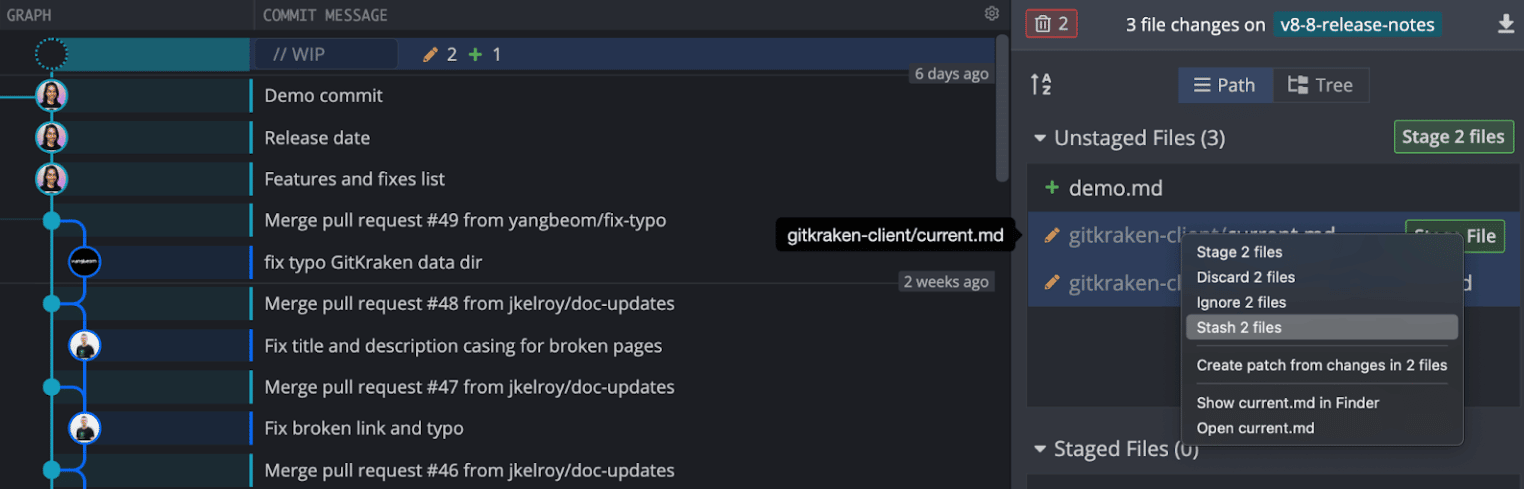
To stash specific files (partial stash): Stage your files in the Commit Panel, then right-click a file in the Staged Files section and select Stash file.
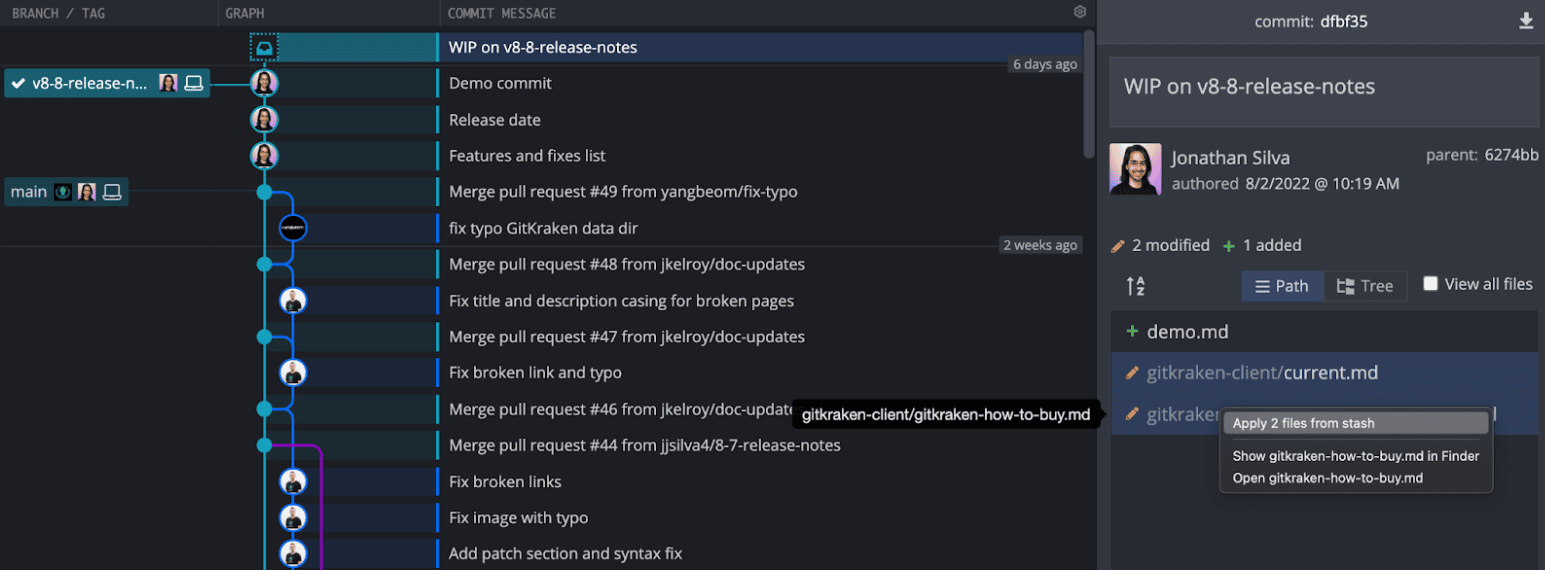
To apply a partial stash file by file: Select the stash in the graph, then right-click a file in the Commit Panel and choose to apply it. Applying a single file does not remove the stash.
How to stash changes from the top toolbar
Click the Stash icon in the top toolbar to create a new stash.
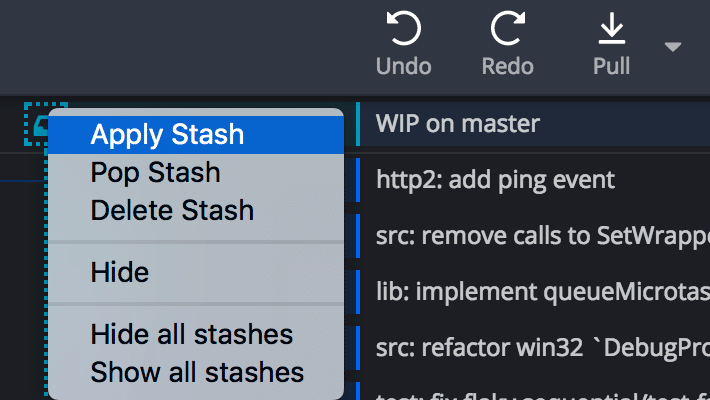
Your stash will appear in the Commit Graph. Right-click on the stash node to see available options:
- Apply Stash: Apply changes to your working directory and keep the stash.
- Pop Stash: Apply changes and remove the stash.
- Delete Stash: Permanently remove the stash.
- Hide: Hide the stash from the graph.
- Hide all stashes: Hide all stashes from the graph.
- Show all stashes: Display all hidden stashes.
To quickly pop the latest stash, use the Pop Stash button:
How to stash changes from the Commit Panel
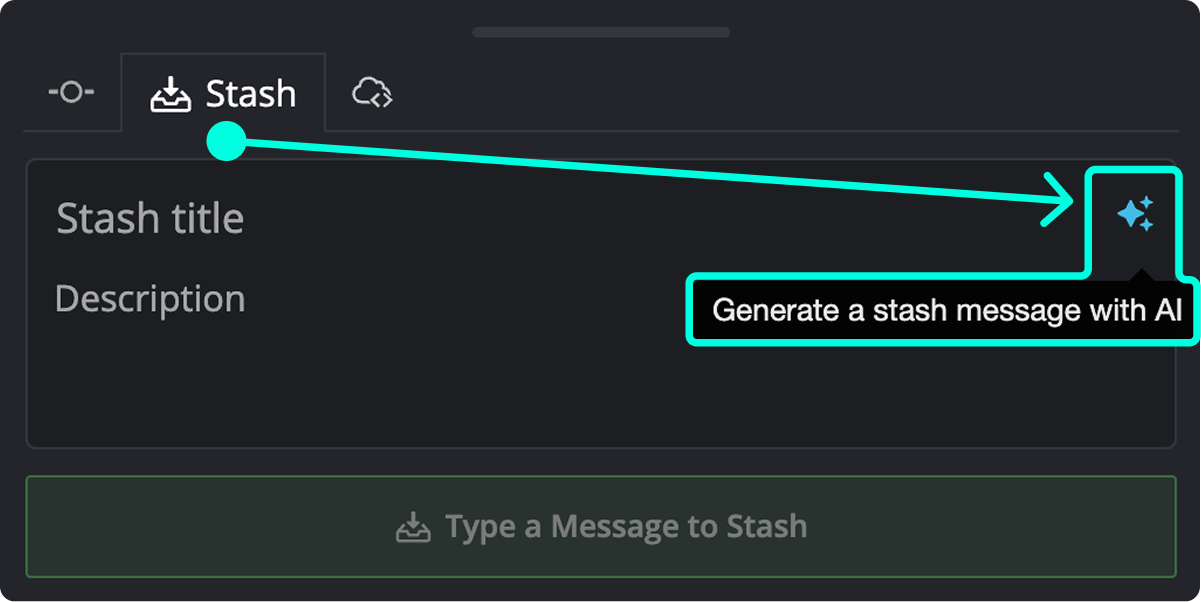
You can stash changes from the Commit Panel. Stage your files and click the Stash icon (instead of Commit).
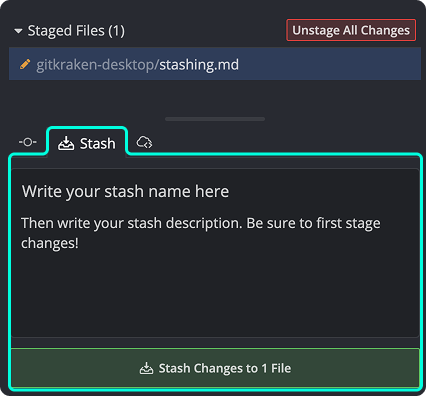
If you use GitKraken AI, click the sparkle icon to auto-generate a stash message based on your staged changes.
How to view and manage stashes from the Left Panel
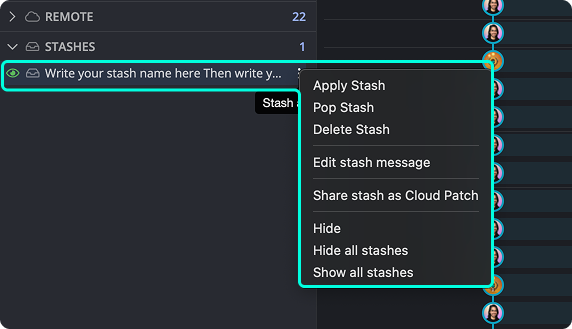
All your stashes are listed in the Left Panel. Right-click to Apply, Pop, Delete, Hide, or Show them.
How to name a stash
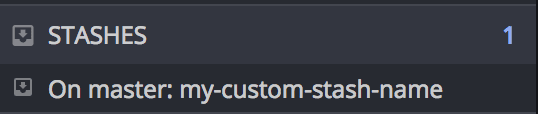
To give a stash a name, type into the // WIP field at the top of the graph before stashing.

Named stashes are easier to recognize in the Left Panel and commit graph.

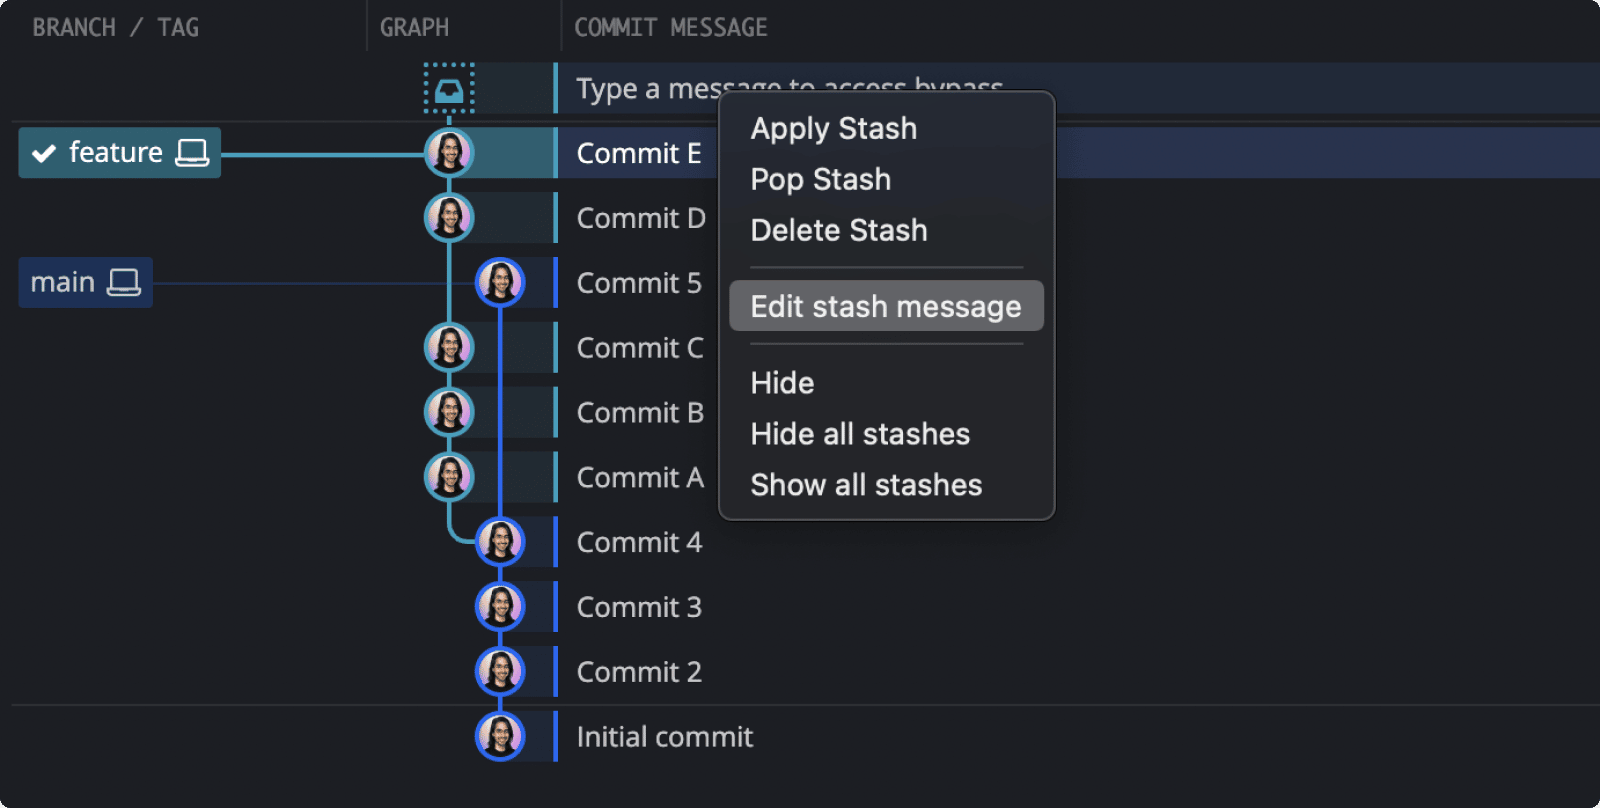
How to edit a stash message
To update a stash description, right-click the stash in the graph or the Left Panel, then select Edit stash message.
How to create and apply a partial stash
Stash specific files by right-clicking them in the Staged Files panel and selecting Stash file. This clears their changes and saves them to a partial stash.
You can also apply changes from a partial stash one file at a time. Right-click a file in the Commit Panel while a stash is selected.
Tips for partial stashes
- Name a partial stash via the
// WIPnode or summary field before stashing. - Hold Shift or Ctrl to select multiple files.
- Applying a file from a stash doesn’t remove it from the stash.
