Last updated: January 2026
Here’s the TL;DR of GitKraken Desktop’s most powerful productivity features.
1. Set Up Profiles
Separate work and personal repositories—or manage multiple accounts with Profiles.
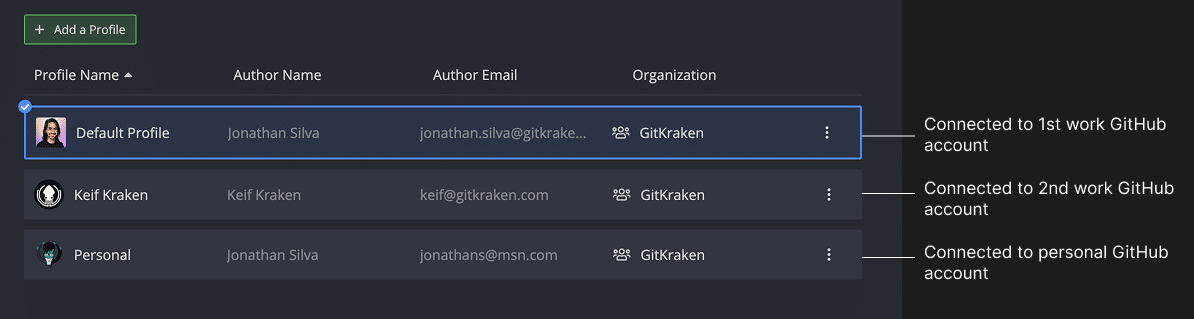
Each profile retains its own Git config, preferences, and open tabs.
Note: Access to multiple profiles requires a GitKraken subscription.
2. Use the Command Palette
The Command Palette helps you navigate GitKraken quickly with keyboard-driven actions.
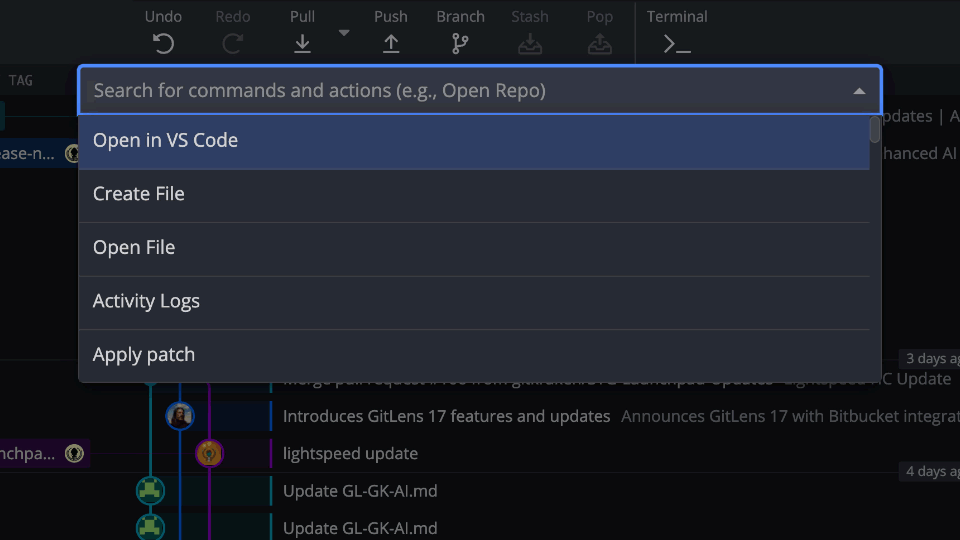
Common actions:
Core
Undo,Redo
File
Create File,Delete File,Open File,Edit File,View FileDiscard all changes,Stage all changes,Unstage all changes
3. Keyboard Shortcuts
Speed through tasks with keyboard shortcuts.
| Action | Mac | Windows/Linux |
|---|---|---|
| Open keyboard shortcuts | ⌘/ | Ctrl/ |
4. Cherry Pick Multiple Commits
Select multiple commits using Cmd/Ctrl or Shift, then right-click and select Cherry pick X commits.
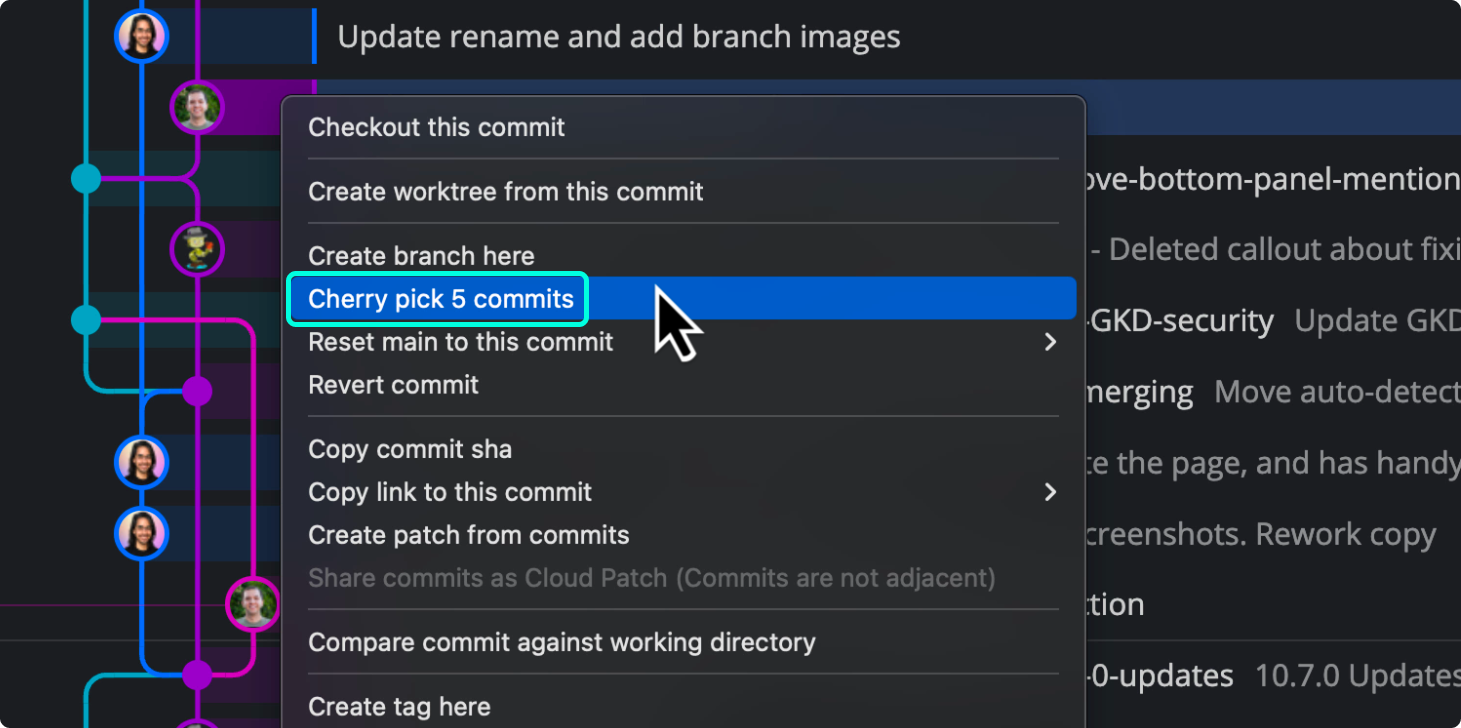
You can reorder, squash, drop, or rename commits before completing. Learn more in Interactive Cherry Pick.
5. Integrate with Git Services
Connect GitKraken Desktop with GitHub, GitLab, Bitbucket, and Azure DevOps to streamline cloning, remotes, and PR workflows.

Note:
- Community users are limited to public repositories on GitHub/GitLab/Bitbucket.
- Azure DevOps integration requires a GitKraken subscription.
- Self-Hosted services require an Advanced plan or higher.
Benefits:
- Create repos and configure
.gitignoreor license files - Clone via remote repo list
- Manage remotes and pull requests
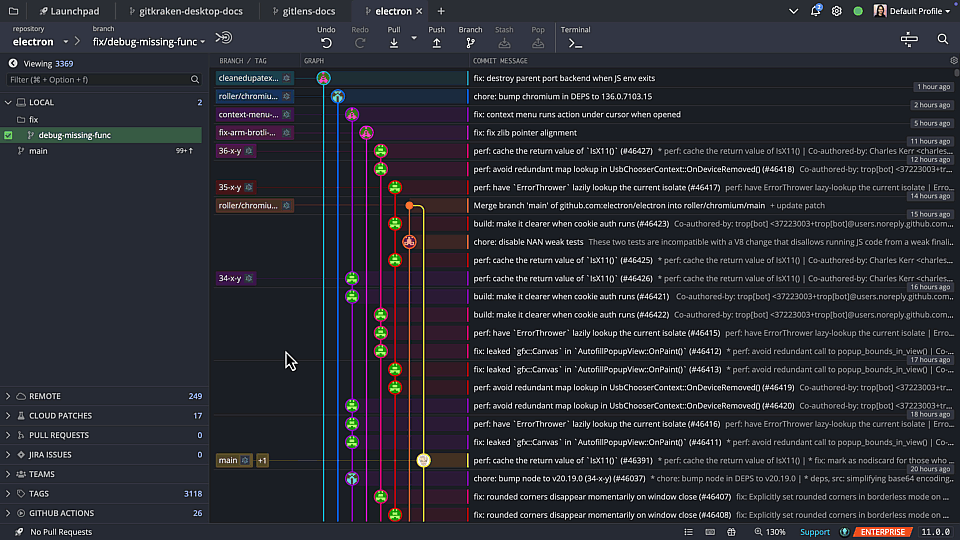
6. Hide and Solo Branches
Control the Commit Graph display with Hide and Solo options.
Hide
Click the eye next to a branch or right-click to hide it. Hidden branches show a gray icon.
Solo
Right-click a branch and select `Solo` to show only that branch. Repeat to solo/unsolo other branches using the orange icon.
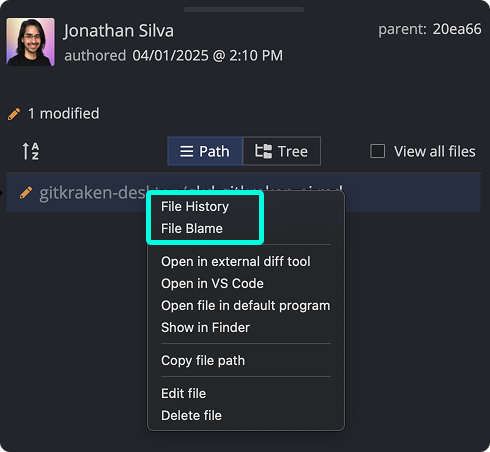
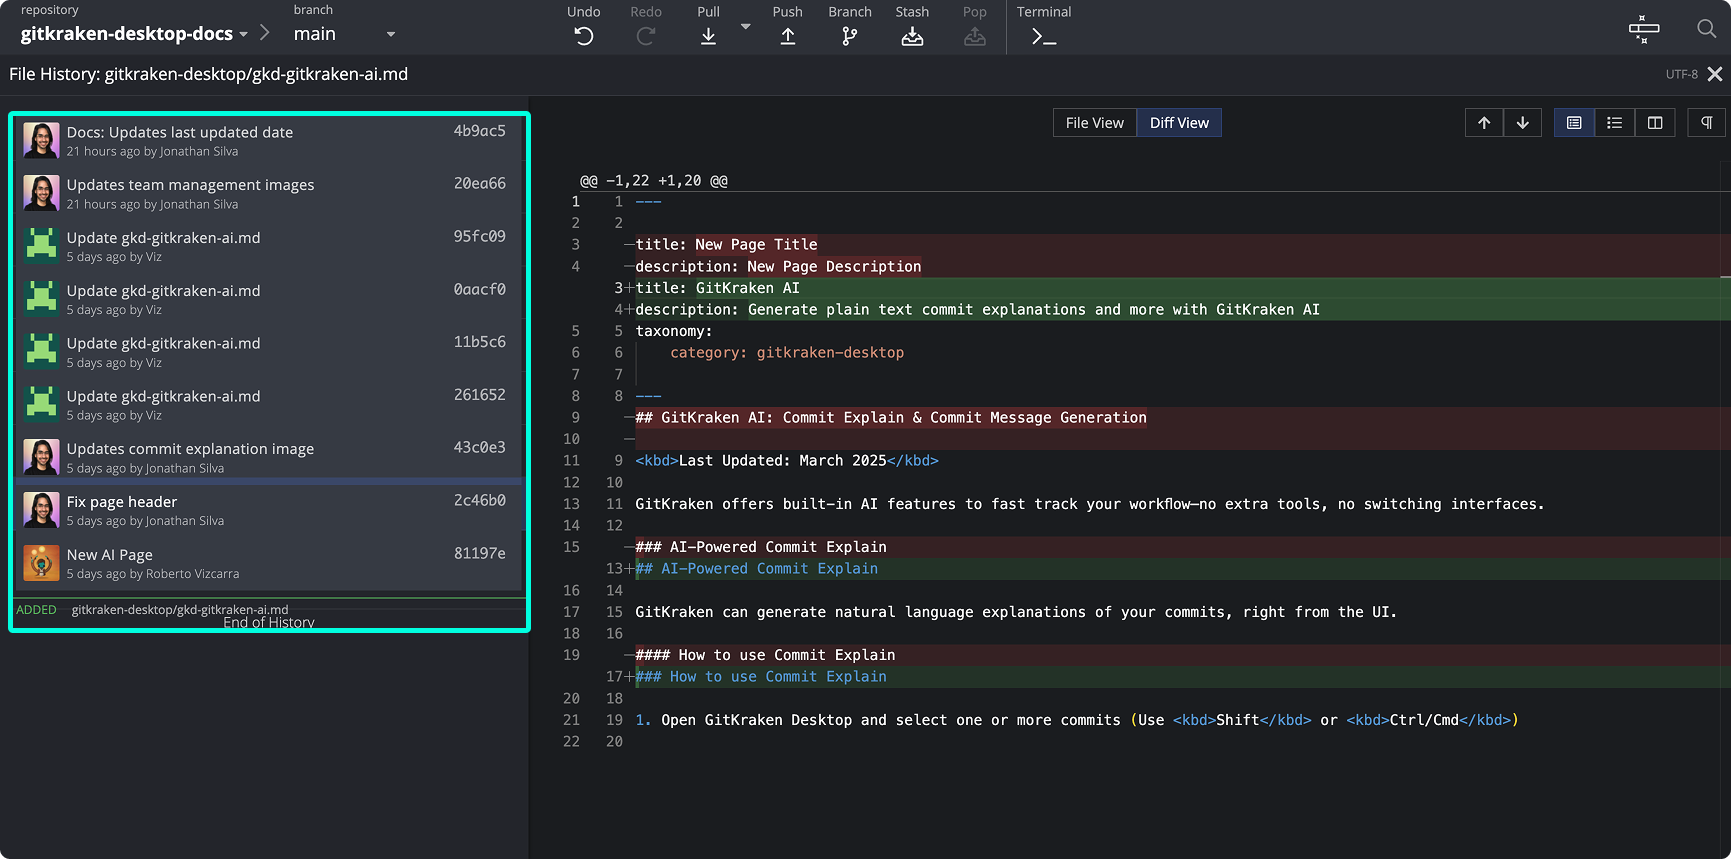
7. File History and Blame
View file history and blame by clicking a commit and right-clicking a file.
8. GitKraken Desktop Terminal
Run Git commands with the GitKraken Terminal. Click in the toolbar or use Alt/Opt + T.
Set a default terminal from Preferences > External Tools.
9. Resize the Commit Graph
Hover over the graph’s colored lines and drag to resize.