Last updated: November 2026
Use these tips to speed up everyday Git work in GitKraken Desktop. You can set up Profiles, navigate with the Command Palette and keyboard shortcuts, run coding agents in parallel worktrees, connect integrations, and control what the Commit Graph shows.
Requirements and limits
- Each tip is a summary. For full steps and edge cases, open the linked feature page.
- Some tips use paid features, including multiple Profiles and some integrations.
- Integration capabilities vary by Git provider and plan, especially for Azure DevOps and self-hosted services.
- Shortcuts, Command Palette actions, and other UI behavior can differ by operating system and by repository.
How to set up profiles
Use Profiles to keep work and personal repositories separate, or to manage multiple accounts.
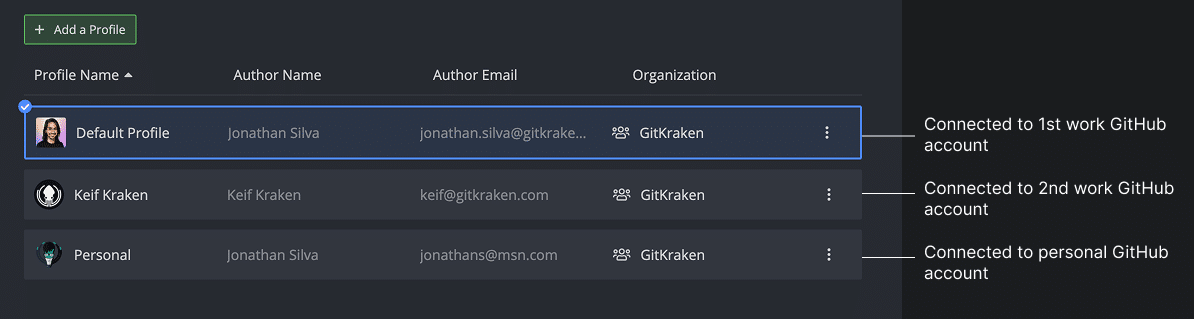
Each profile keeps its own Git config, preferences, and open tabs.
Note: Access to multiple profiles requires a GitKraken subscription.
How to use the Command Palette
Use the Command Palette to find and run GitKraken Desktop actions from the keyboard.
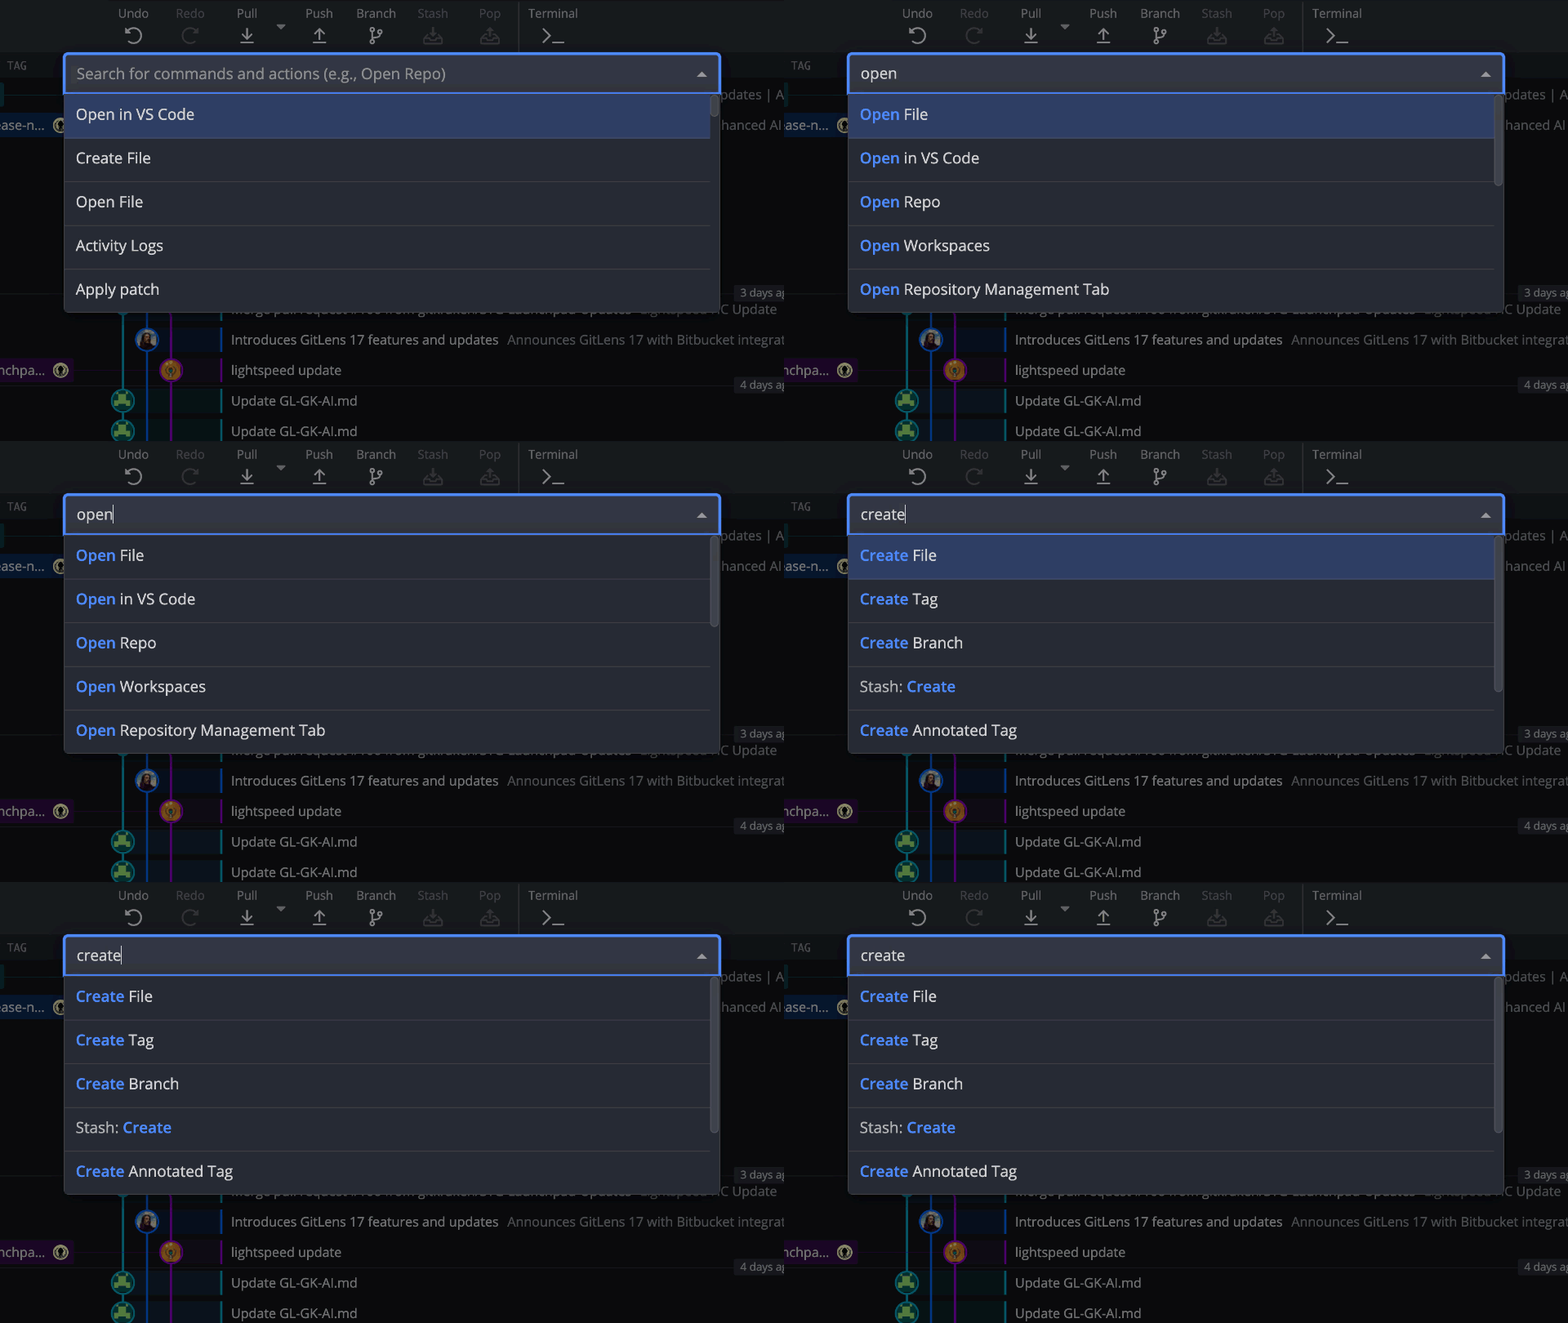
Common Command Palette actions include:
- Undo and Redo
- File actions: Create File, Delete File, Open File, Edit File, and View File
- Change actions: Discard all changes, Stage all changes, and Unstage all changes
How to use keyboard shortcuts
Use keyboard shortcuts to run common actions without the mouse. To see the full list in GitKraken Desktop, use this shortcut:
| Action | Mac | Windows/Linux |
|---|---|---|
| Open keyboard shortcuts | ⌘/ | Ctrl/ |
How to use the Agents view for parallel work
Use the Agents view to start and monitor coding agent sessions in parallel. In the Left Panel, use the List | Agents toggle to switch between List view and the Agents view. For setup and session steps, see Coding Agents in GitKraken Desktop.
The Agents view uses the same underlying worktrees as List view, but organizes them around coding agent sessions, status, and quick actions. For general worktree management, see Manage Git Worktrees in GitKraken Desktop.
How to cherry pick multiple commits
Select multiple commits using Cmd/Ctrl or Shift, then right-click and select Cherry pick X commits.
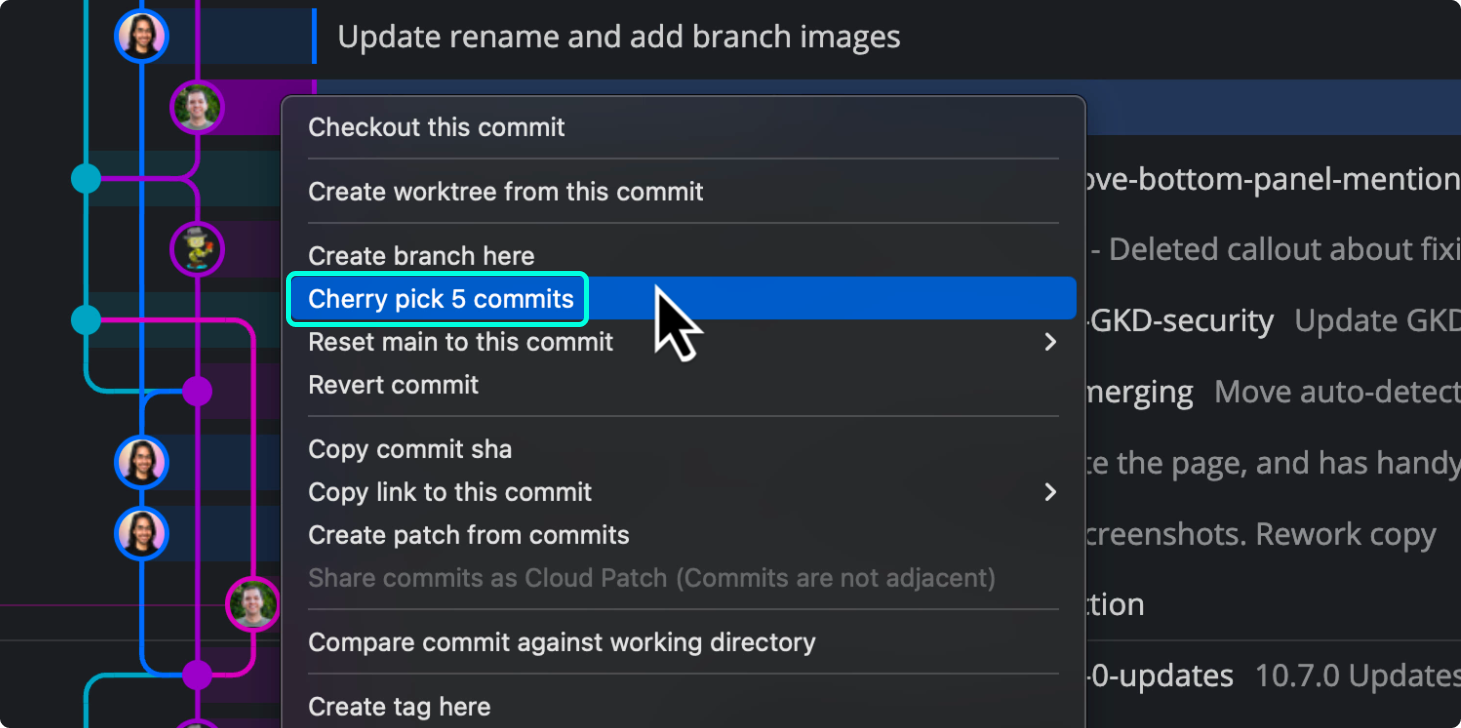
Before GitKraken Desktop applies the commits, you can reorder, squash, reword, or drop them. Learn more in Interactive Cherry Pick.
How to integrate with Git services
Connect GitKraken Desktop to GitHub, GitLab, Bitbucket, and Azure DevOps to work with your hosted repositories and pull requests.
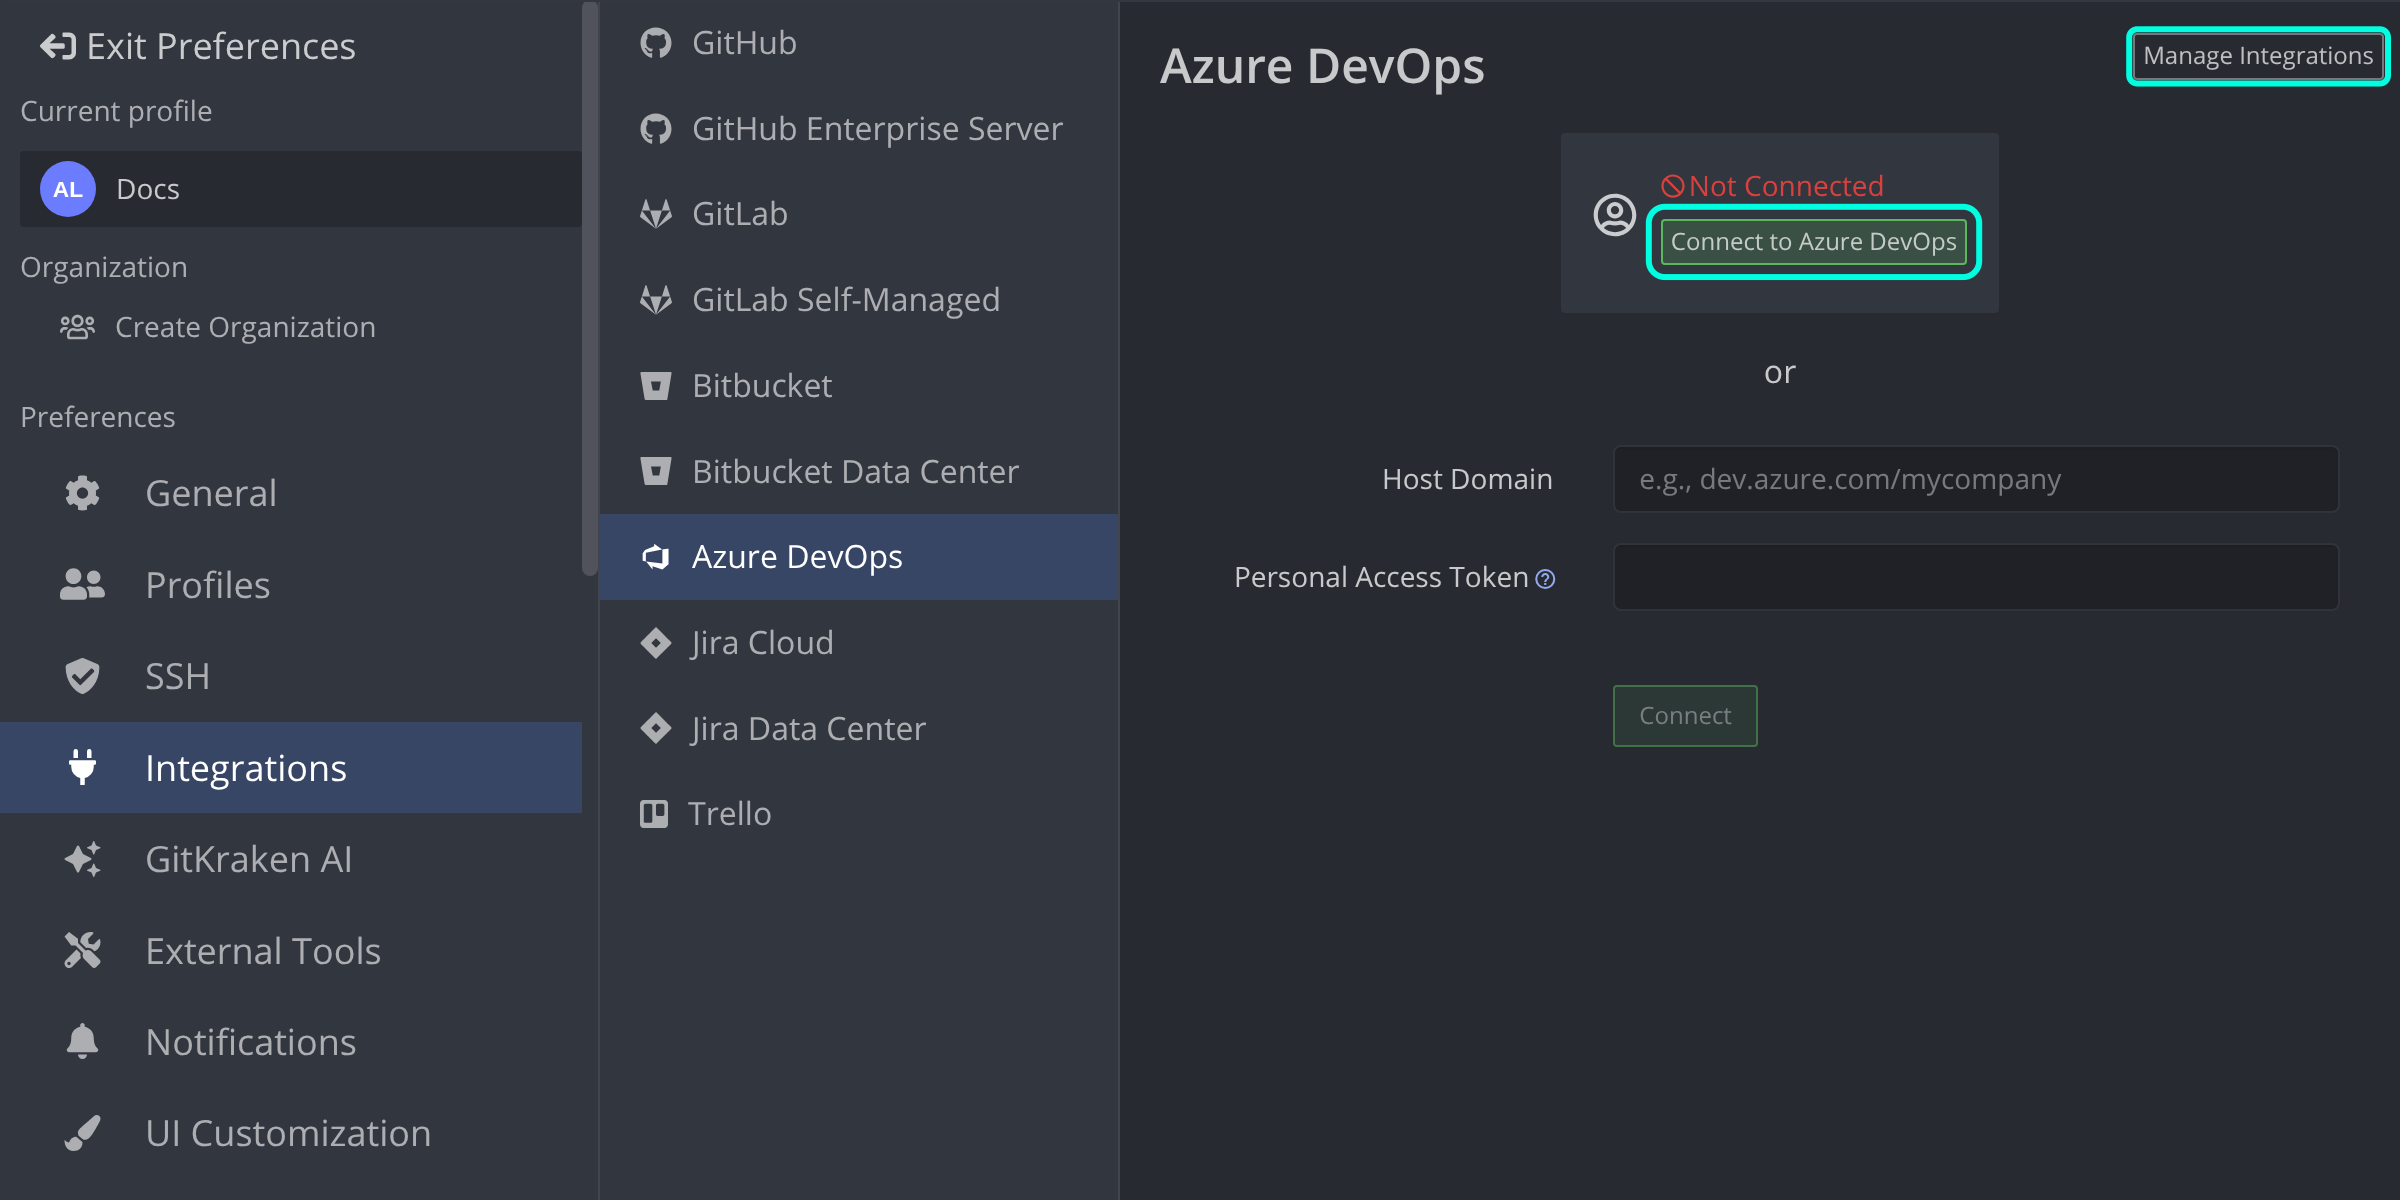
With an integration connected, you can:
- Create repositories and add a
.gitignoreor license file - Clone from a list of your remote repositories
- Manage remotes and pull requests
Integration access depends on your plan:
- Community users can use public repositories on GitHub, GitLab, and Bitbucket only.
- Azure DevOps integration requires a GitKraken subscription.
- Self-hosted services require a paid plan that supports self-hosted integrations.
How to hide and solo branches
Control the Commit Graph display with Hide and Solo options.

Hide
To hide a branch, click the eye icon next to it in the Left Panel, or right-click it and select Hide. Hidden branches show a gray icon.

Solo
Right-click a branch and select Solo to show only that branch. Soloed branches show an orange icon. To solo or unsolo other branches, click the solo icon next to each branch name in the Left Panel.
How to view file history and blame
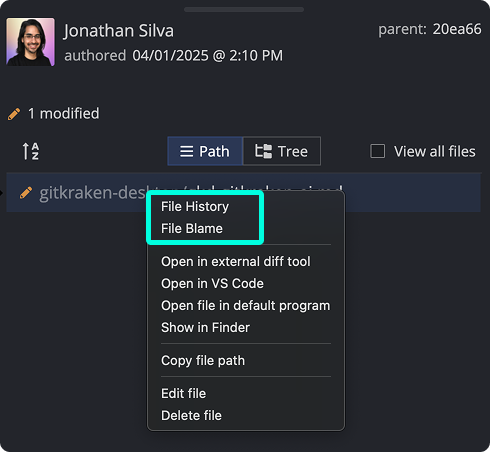
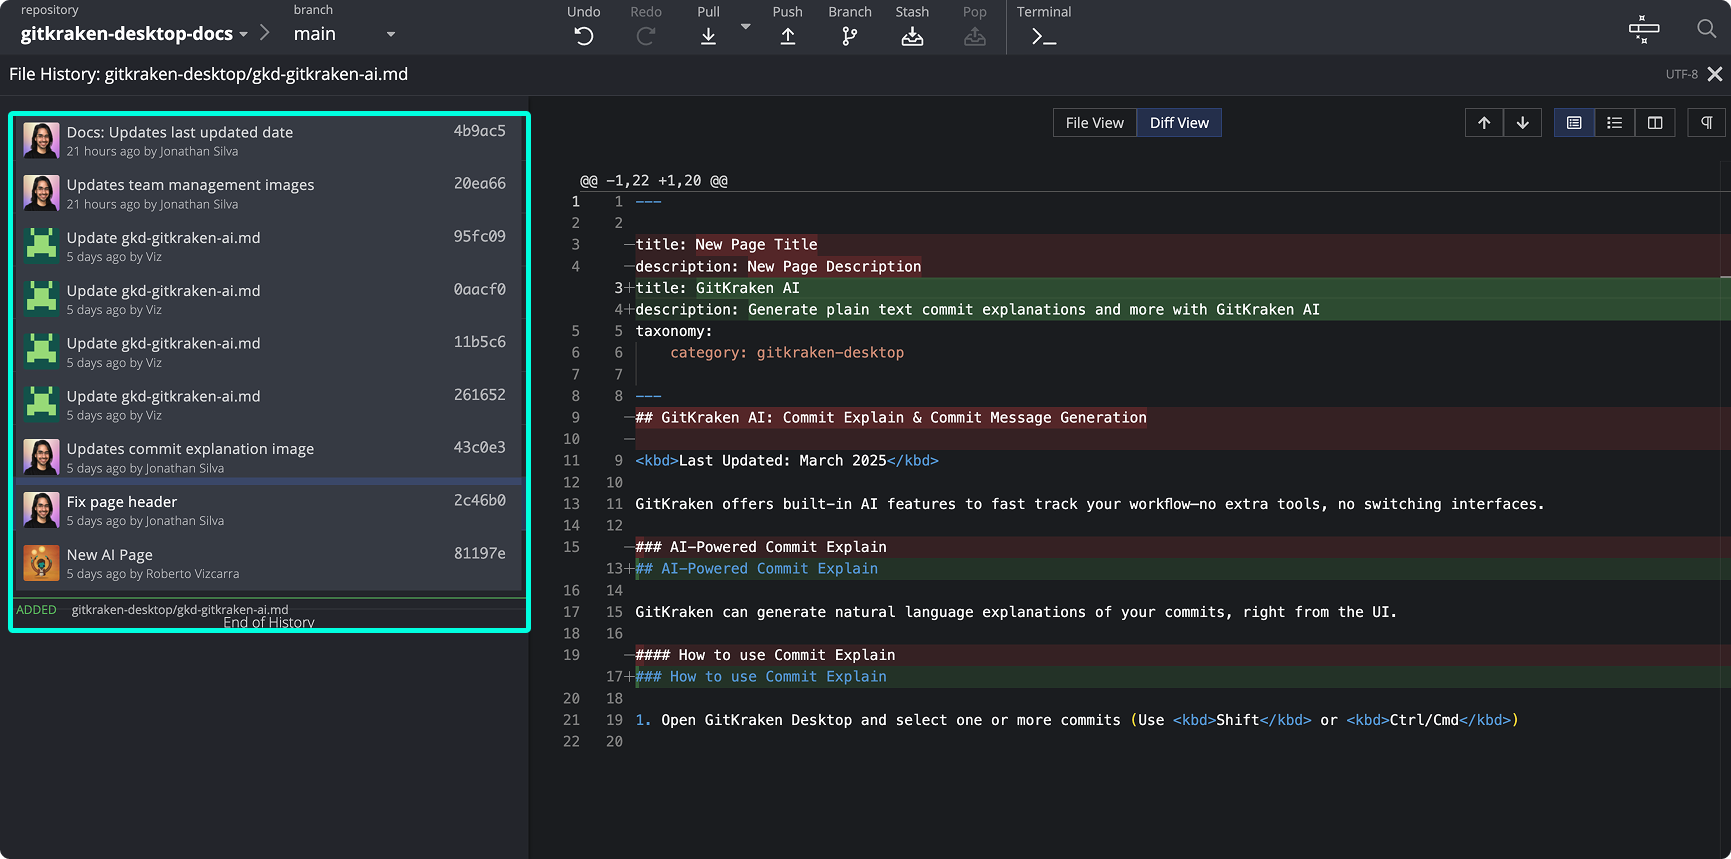
To view file history and blame, click a commit and right-click a file.
How to open the GitKraken Desktop terminal
Run Git commands in the GitKraken Terminal. To open it, click the Terminal button in the toolbar.
You can also use the embedded terminal to run coding agents by hand in a repository or worktree, including agents that GitKraken Desktop does not integrate with.
To choose the terminal that Alt/Opt + T opens, set a default terminal in Preferences > External Tools. For terminal sessions that follow your active worktree, see GitKraken Terminal Guide.
How to resize the Commit Graph
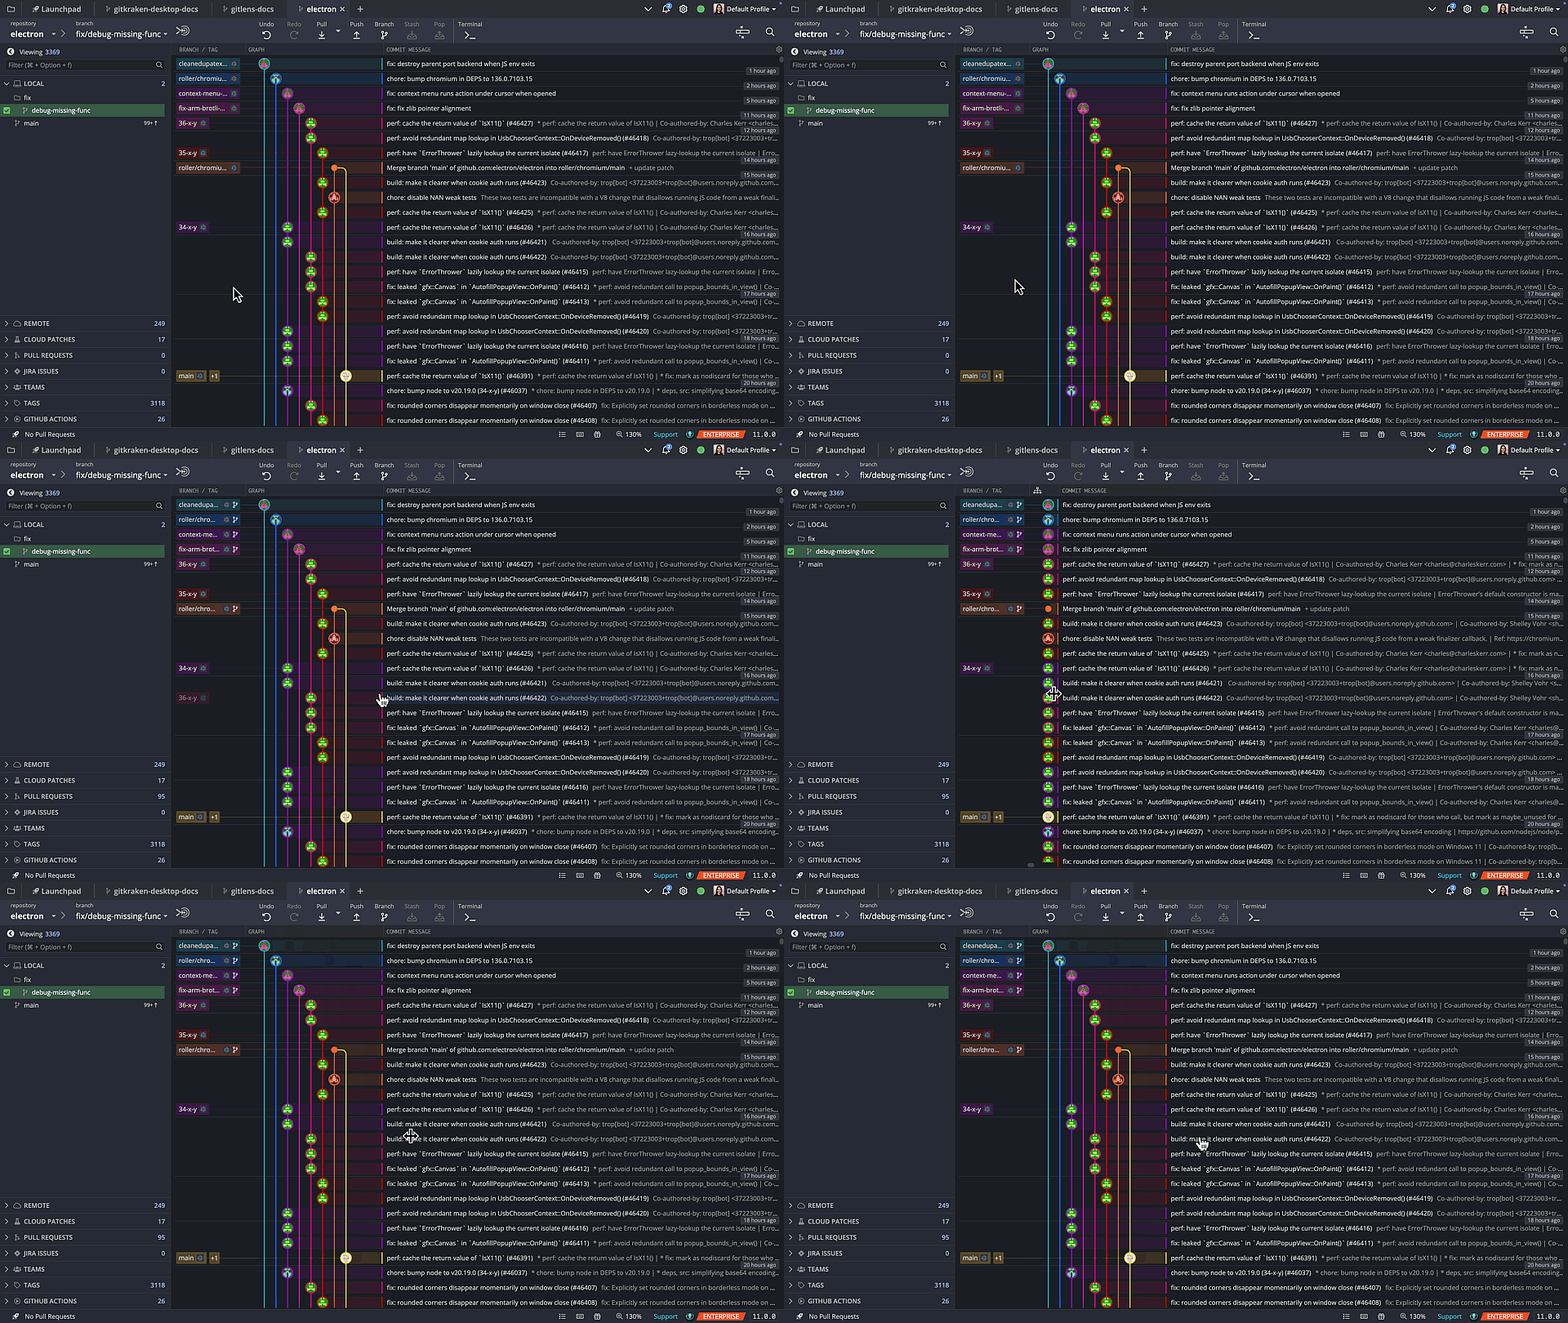
To resize the Commit Graph, hover over the graph’s colored lines and drag.