

Last updated: November 2026
Use this page to find your way around the main areas of the GitKraken Desktop interface: the toolbar, Left Panel, Commit Graph, Commit Panel, Status Bar, and tabs. Each area links to a task guide when you need the full steps.
Requirements and limits
- Scope: Interface overview, not full task-specific workflows
- Main areas: Toolbar, Left Panel, Commit Graph, Commit Panel, Status Bar, and tabs
- Repository context: Most of these controls appear only when a repository is open
- Left Panel modes: The Left Panel shows either List view or the Agents view
- Left Panel behavior: You can show, hide, resize, collapse, or expand its sections
- Toolbar behavior: Some buttons, such as LFS, appear only when the relevant feature or repository state is available
- Zoom: The status bar zoom selector offers 80%, 90%, 100%, 110%, 120%, 130%, 140%, 150%, 175%, 200%, 250%, and 300%. The View menu has Increase Zoom, Decrease Zoom, and Reset Zoom
- Detailed workflows: Follow the linked feature pages for the steps and limits of each task
Quick Start
- Left Panel: Shows repository references, worktrees, and integrations. In
List | Agents, click List for the traditional reference-based view or Agents for the Agents view, which organizes worktrees around coding agent sessions. - Commit Graph: Displays the visual commit history of the current repository. Click any commit to view its details in the Commit Panel. Click the WIP node at the top to view and stage pending changes.
- Commit Panel: Shows file changes for the selected commit or WIP. Displays diffs, staged/unstaged files, and co-author information. Use it to stage files and write commit messages.
- Toolbar: At the top of the window. Has buttons for Undo, Redo, Pull, Push, Branch, Stash, and Pop. Use the adjacent dropdowns to customize pull behavior or branch options.
- Status Bar: At the bottom of the window. Shows the Launchpad summary, your current plan, and a zoom selector with levels from 80% to 300%. You can also zoom from View > Increase Zoom, View > Decrease Zoom, and View > Reset Zoom, or with Cmd/Ctrl + =, Cmd/Ctrl + -, and Cmd/Ctrl + 0.
To open the Command Palette at any time, press Cmd/Ctrl + P. To toggle the Left Panel, use Cmd/Ctrl + J or the toggle in the toolbar. To open Preferences and integrations, click the gear icon in the upper-right corner.
From left to right, GitKraken Desktop displays the Left Panel, Commit Graph, and Commit Panel when working with a repository. The Left Panel can show either List view or the Agents view.
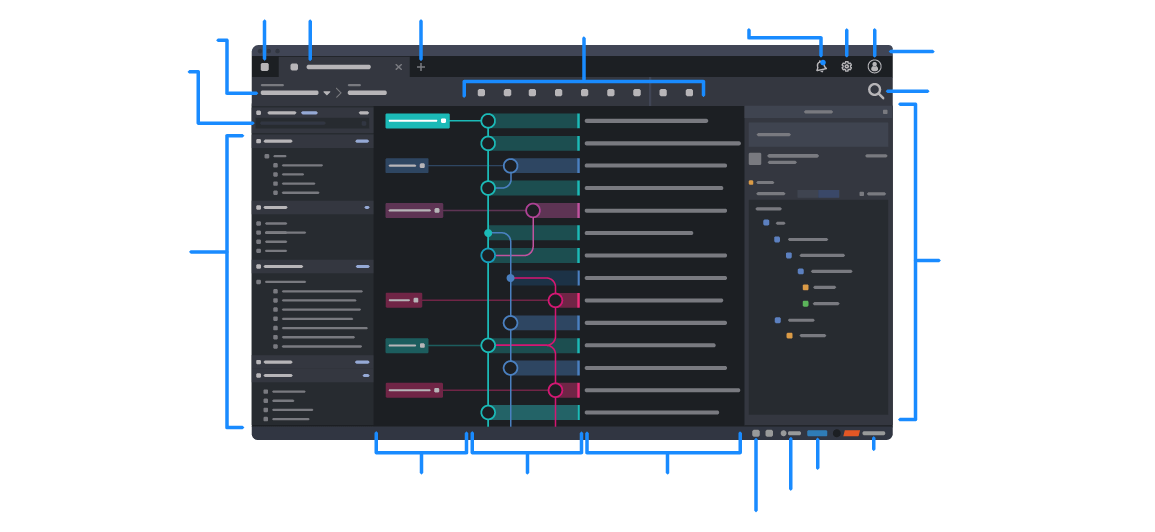
How the toolbar works
The main toolbar has buttons for common repository actions, including Undo, Redo, Pull, Push, and Branch.
History actions
| Icon | Button | What it does |
|---|---|---|
 |
Undo | The Undo button is active when you can undo an action. Click it to reverse the last undoable action. |
 |
Redo | Click Redo to reverse the last undo command. |
Sync actions
| Icon | Button | What it does |
|---|---|---|
 |
Pull | Click to pull changes from the remote repository. Use the adjacent dropdown to choose pull behavior: |
 |
Push | Push changes to the upstream remote repository. |
- Fetch All
- Pull (fast-forward if possible)
- Pull (fast-forward only): same as
git fetch && git merge --ff-only - Pull (rebase): same as
git fetch && git rebase
Tip: Click the next to a pull type to make it the default. The selected default displays a .
Branch actions
| Icon | Button | What it does |
|---|---|---|
 |
Branch | Create a new branch from your current HEAD. |
Work-in-progress actions
| Icon | Button | What it does |
|---|---|---|
 |
Stash | Save your changes in a stash without committing them. |
 |
Pop Stash | Restore changes from the most recent stash. |
Conditional actions
| Icon | Button | What it does |
|---|---|---|
 |
LFS | This button appears if LFS is enabled for your repository. |
Note: To show labels under the toolbar icons, go to Preferences > UI Customization and enable Show toolbar icon labels.
How the Left Panel works
The Left Panel shows repository references, such as local branches, remotes, and tags. You can:
- Collapse or expand sections
- Resize the panel and sections
- Show or hide sections from the context menu
- Maximize a section by double-clicking its header
To switch the Left Panel mode, use the List | Agents segmented control at the top of the panel:
- Click List for the traditional reference-based view described below.
- Click Agents to open the Agents view, which organizes the same worktrees around coding agent sessions, status, and quick actions. See Coding Agents in GitKraken Desktop for agent session setup and workflows.
To hide the segmented control, go to Preferences > UI Customization. For general worktree management, see Manage Git Worktrees in GitKraken Desktop.
List view and the Agents view use the same underlying worktrees. Use List view for general branch and worktree management. Use the Agents view for coding agent sessions, agent status, and related quick actions.
For in-app terminal behavior, worktree-specific terminal sessions, and manual coding agent workflows, see GitKraken Terminal Guide.
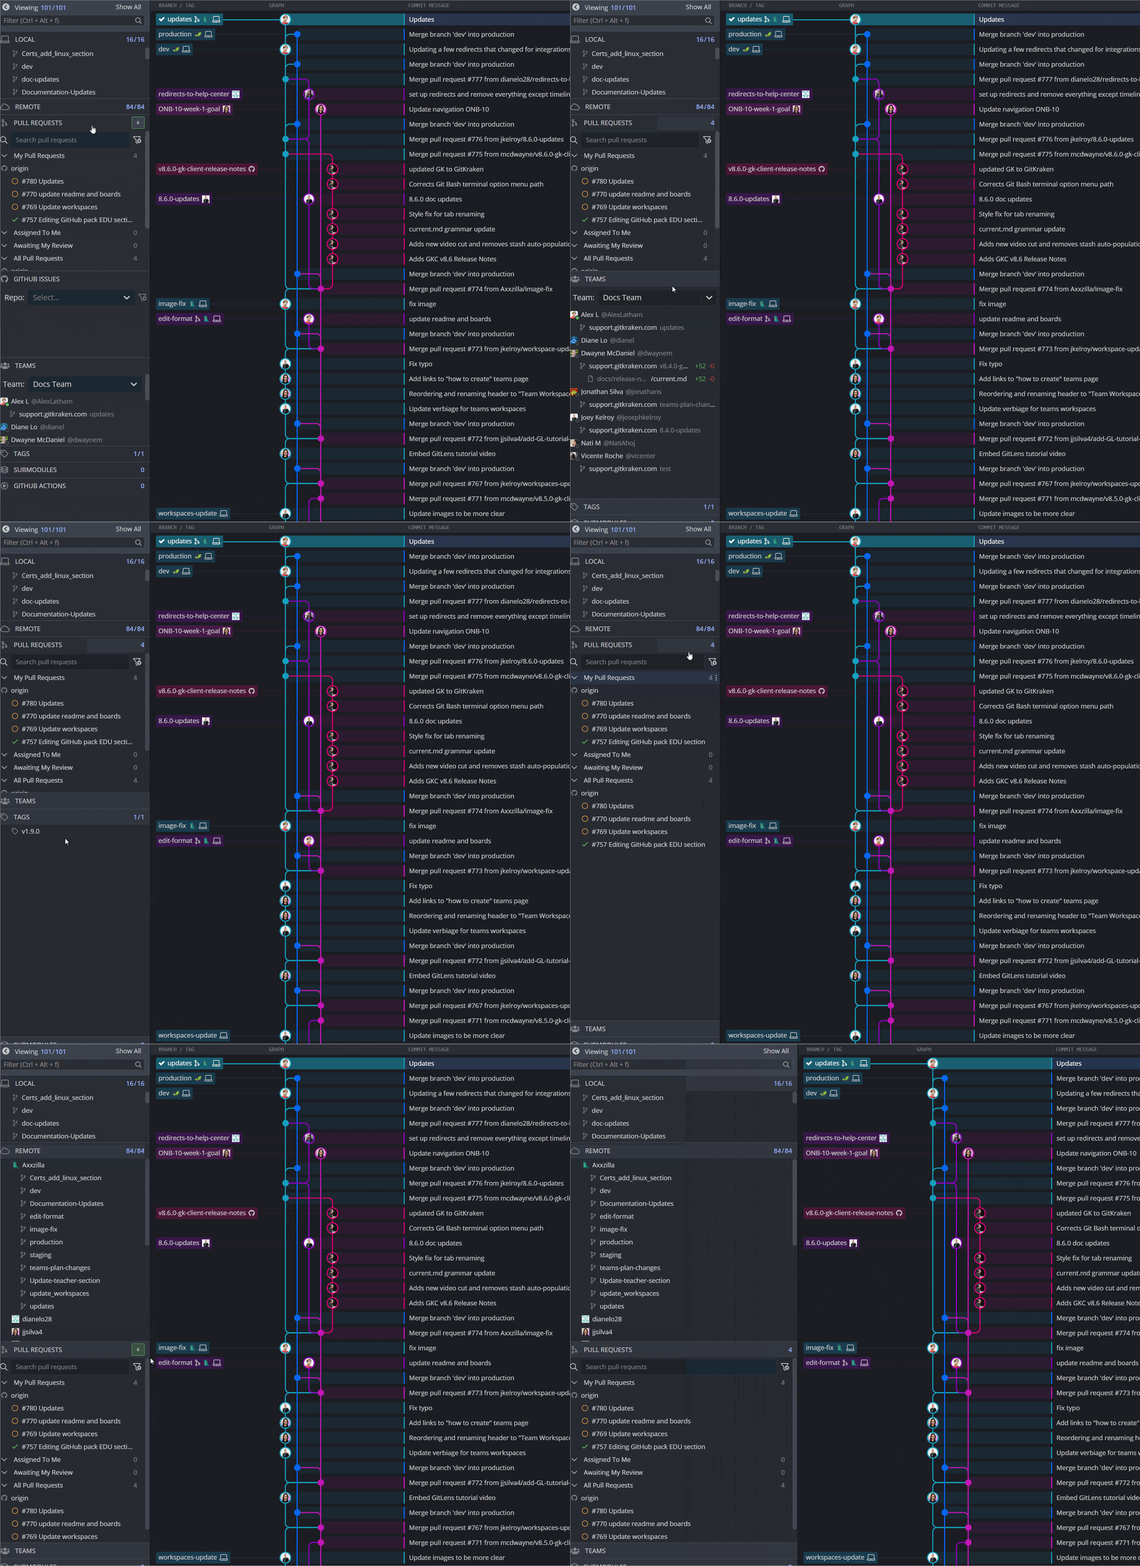
| Icon | Section | What it does |
|---|---|---|
 |
Local |
References to local branches that point to specific commits. For help with branches, see Branching and Merging. |
 |
Remote |
References to remote branches. For more information, see Pushing and Pulling. |
 |
Pull Requests |
Shows active pull requests for merging one branch into another. With a supported integration, you can create pull requests directly from GitKraken Desktop. For more information, see Pull Requests. |
| Issues |
Shows issues connected to your repository integrations. For more information, see Jira, GitHub Issues, GitLab Issues, or Trello. |
|
| Teams |
See what your Team members are working on. |
|
 |
Tags |
References that point to specific commits and do not move. For more information, see Tags. |
|
Stashes |
Stored file changes from the working copy. For more information, see Stashing. |
 |
Submodules |
A Git repository in a subdirectory of the current repository. For more information, see Submodules. |
How to filter the Left Panel
Type in the Left Panel Filter box, or press Cmd/Ctrl + Option/Alt + F to focus it. The Left Panel shows only the items whose names match what you type. The match does not need to be exact, so you can type part of a name.
To find a branch on a specific remote, start the filter with the remote name, followed by / or :, such as origin/main or origin:main. GitKraken Desktop adds that remote’s matching branches to the results.
How the Commit Panel works
Use the Commit Panel to stage and commit files and changes from your working directory.
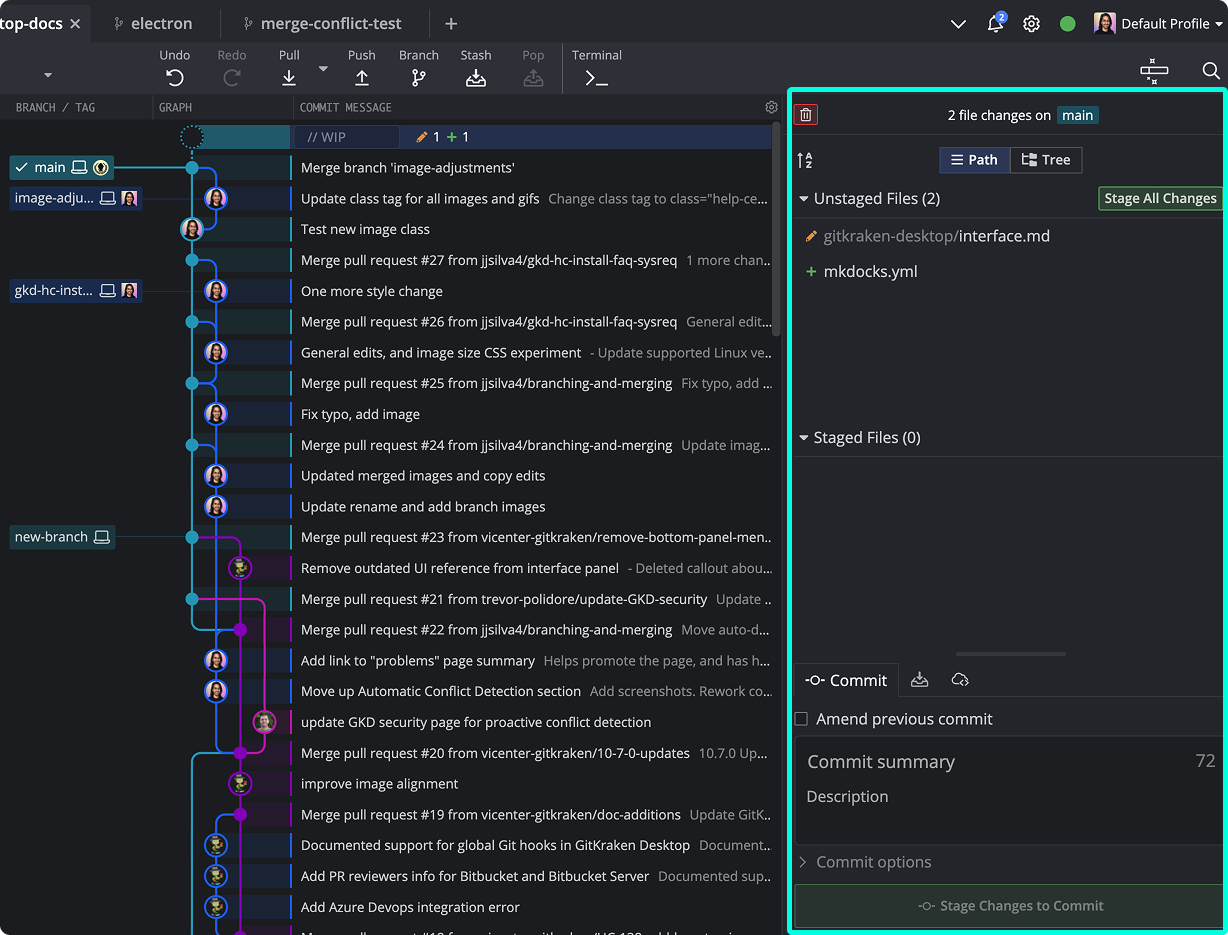
The Commit Panel has 3 sections, in the order you use them:
- Unstaged Files – Modified files not yet added to the index.
- Staged Files – Files staged for the next commit.
- Commit Message – A message in 2 parts:
- Summary: A brief, informative message shown in the graph.
- Description: Additional details to support the summary.
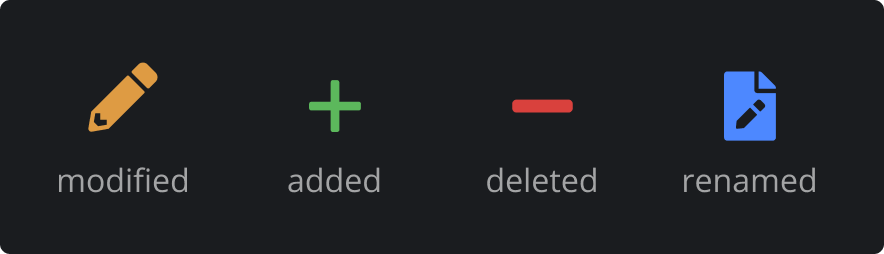
For more about staging and committing, see committing work.
How the Commit Graph works
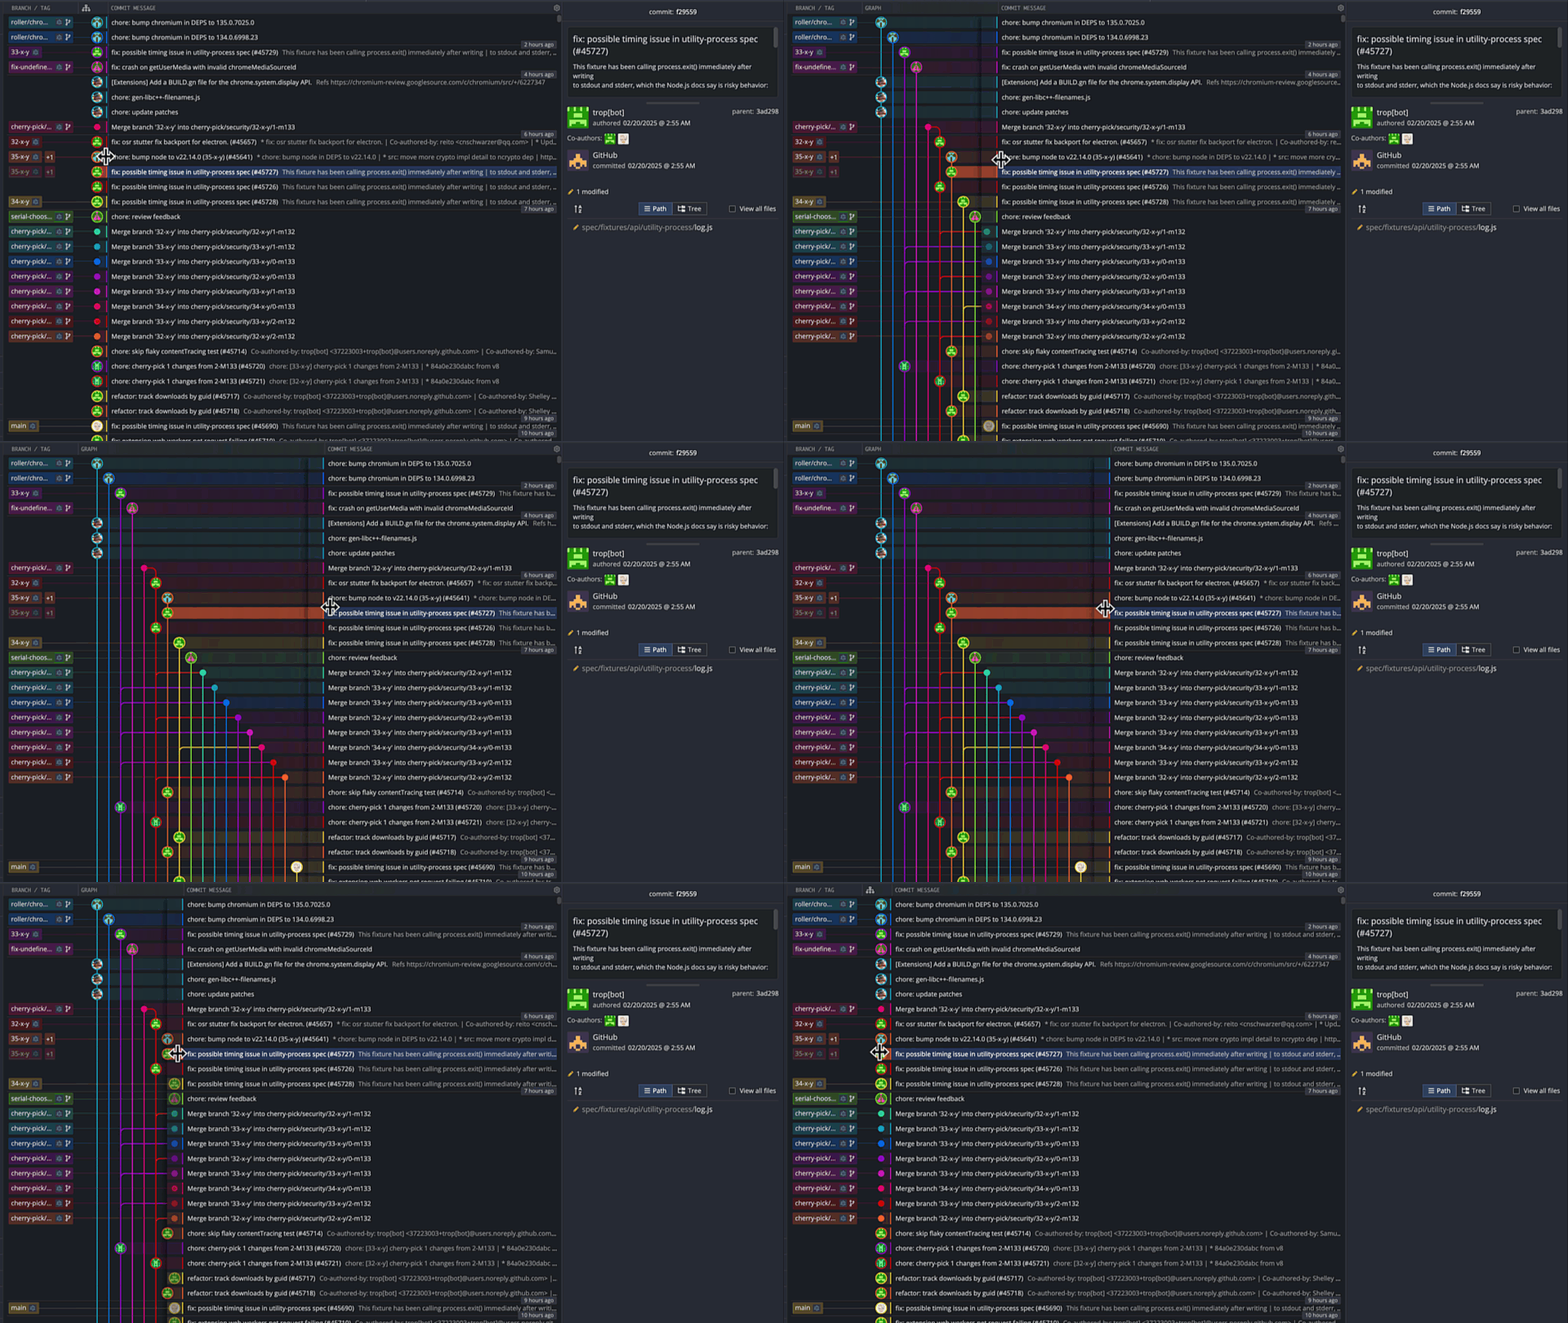
The Commit Graph shows your repository’s history as a graph of each commit and its relationships to other commits.
Each row is a commit, with the most recent at the top. Columns represent branches, and lines show merges and relationships.
Work from coding agents appears in the Commit Graph the same way. Each agent session runs on its own branch in its own worktree, with its own WIP node for pending changes. See Coding Agents in GitKraken Desktop.
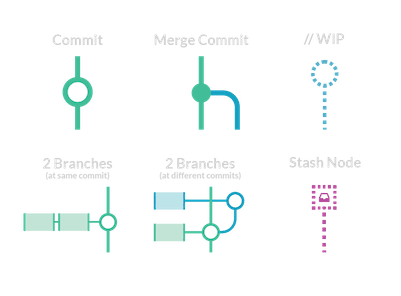
You can trace branch history from bottom to top and right to left.
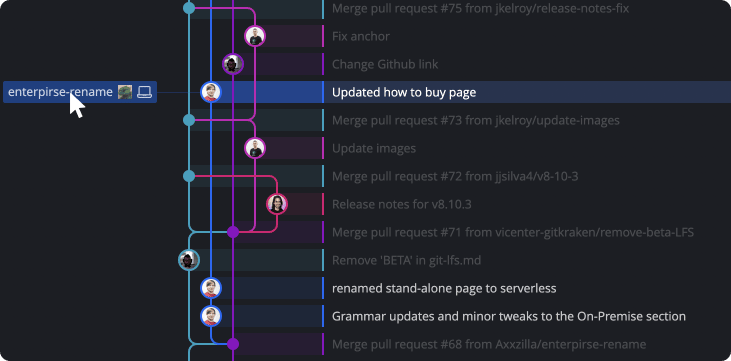
How ghost branches work
Hover over or select a commit to see its nearest containing branch (“ghost” branch). Double-click to check out its head.
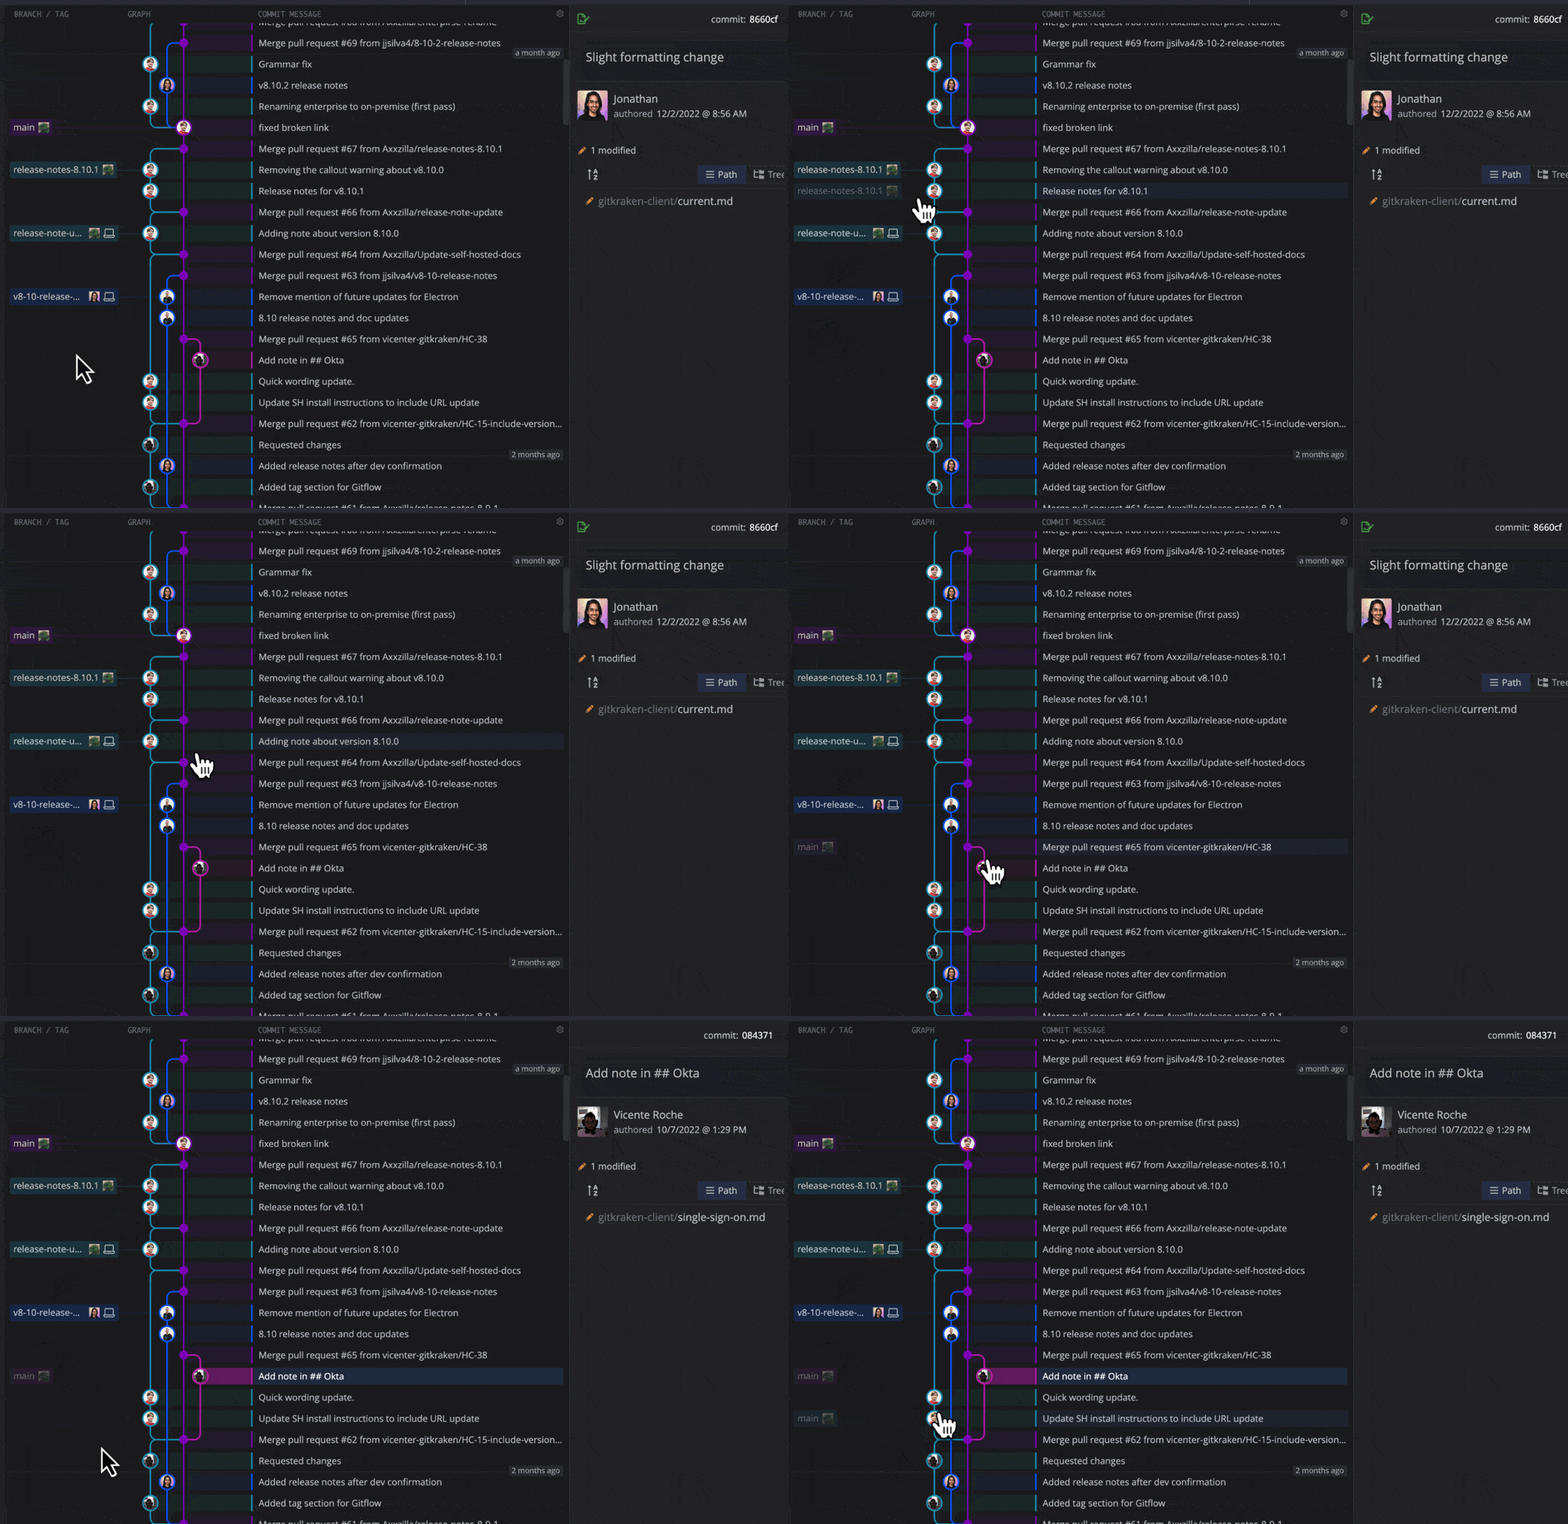
How commit highlighting works
Hovering over a branch highlights all related commits.
To turn this behavior on or off, go to Preferences > UI Customization and select or clear Highlight associated rows when hovering over a branch.
How tabs work
Switch between multiple repositories using tabs.
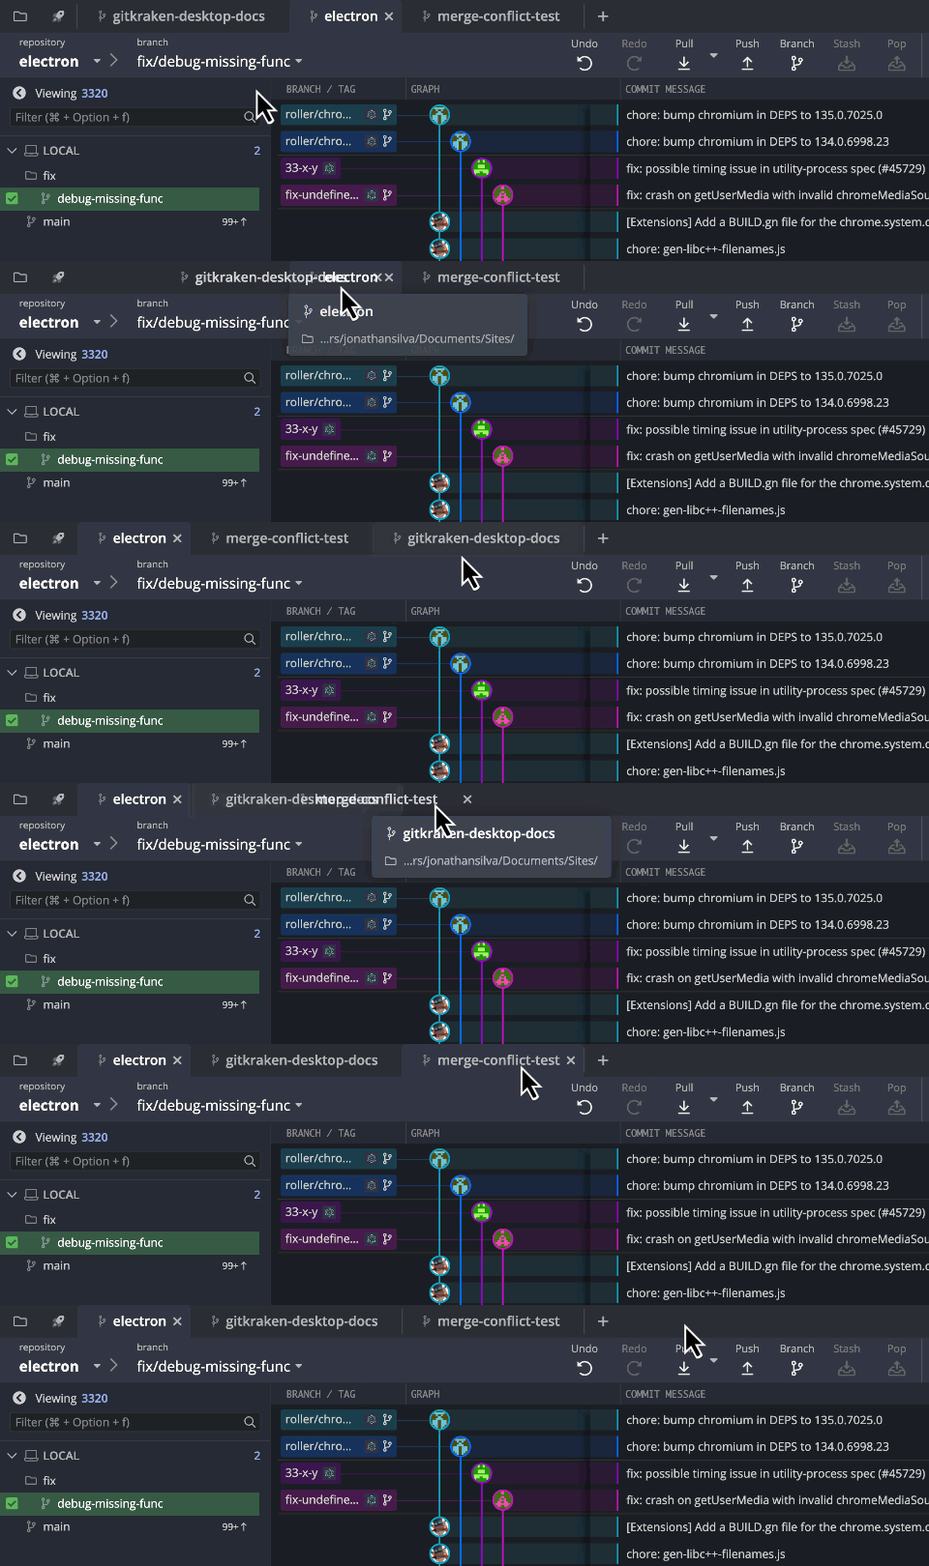
To switch tabs, press Cmd/Ctrl + 1 to 9. To open a new tab, click + or press Cmd/Ctrl + T. To close a tab, middle-click it or press Cmd/Ctrl + W.
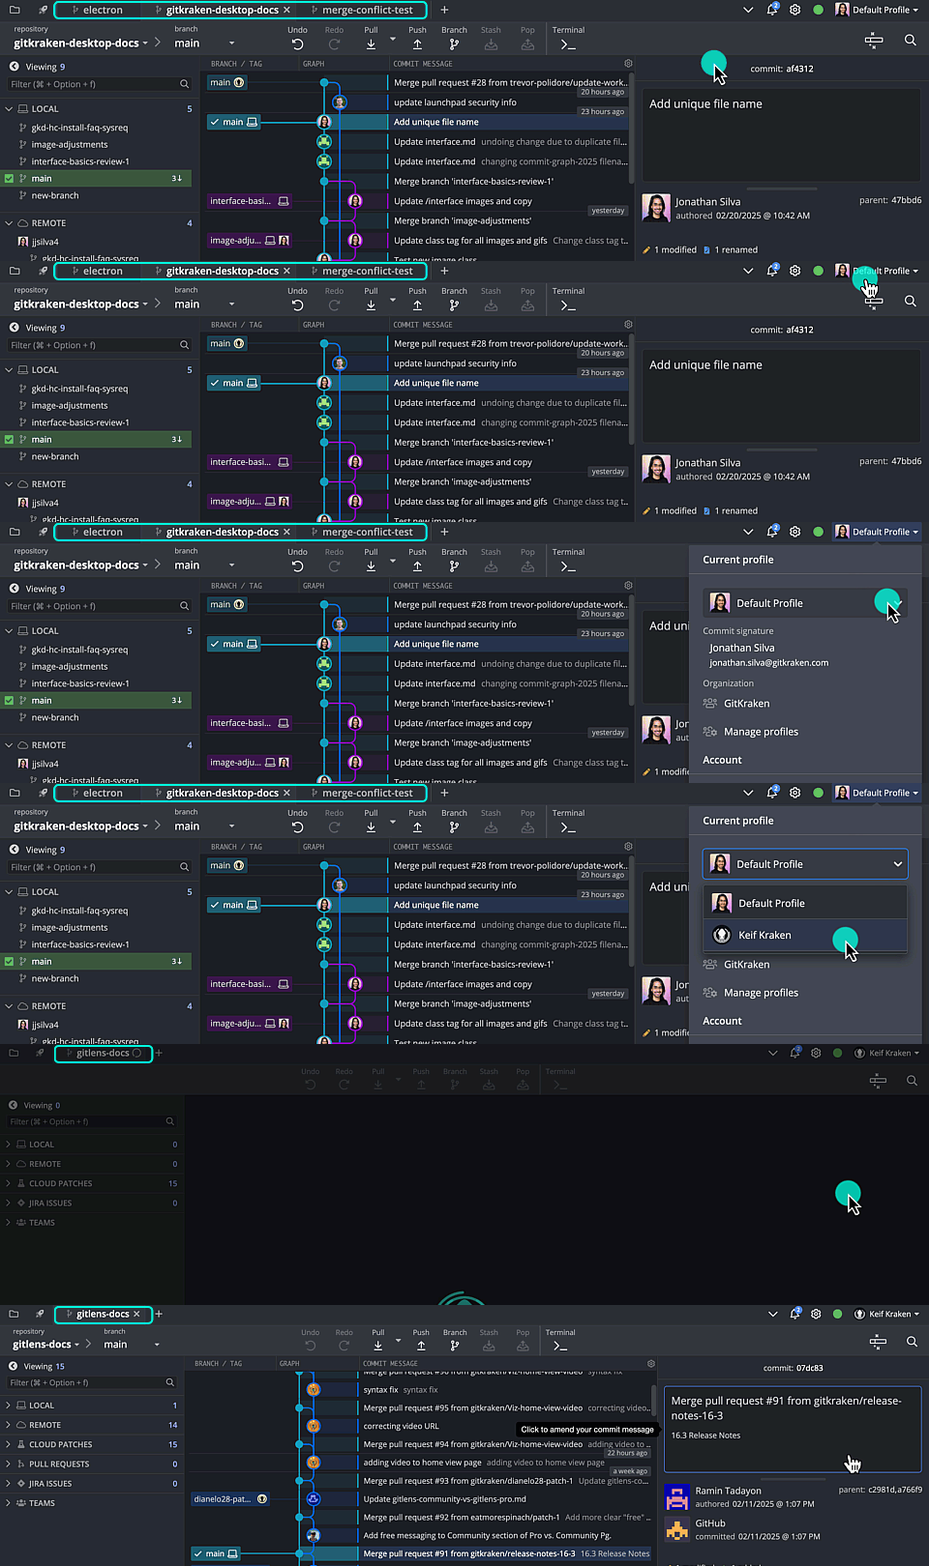
Each profile keeps its own set of tabs.
Worktree tab groups
When you open 2 or more tabs from the same repository, such as the main repository and its worktrees, GitKraken Desktop groups them together in the tab bar. A group has a border around its tabs and a dotted handle on its left edge.
- Drag the handle to move the whole group.
- Right-click the handle and select Close group to close every tab in the group.
- Right-click a tab in the group and select Close group or Close others in group.
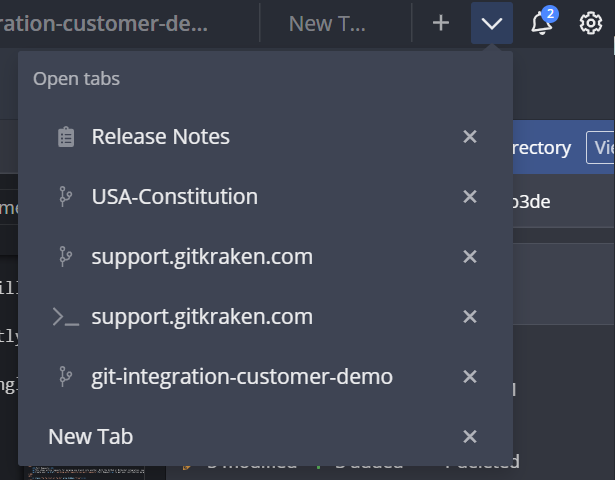
- In the tabs dropdown, grouped tabs appear indented under the repository name.
A group ends when fewer than 2 of its tabs are open. To stop grouping worktree tabs, go to Preferences > UI Customization and clear Automatically group worktree tabs together.

Tab alias and name
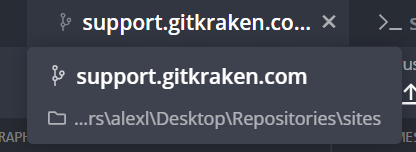
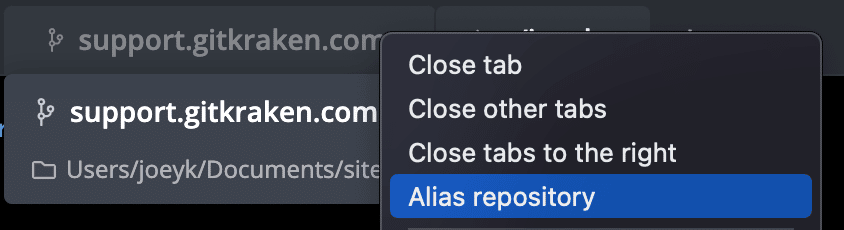
Right-click a tab and select Alias repository to assign a custom name.
Columns
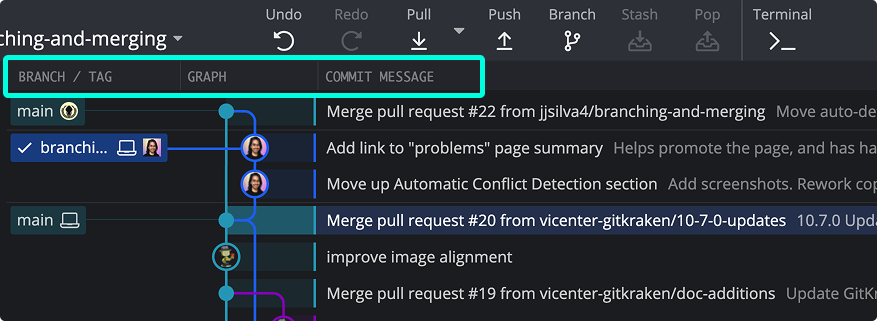
GitKraken Desktop displays these default columns: Branch/Tag, Graph, and Commit Message. You can rearrange the columns.
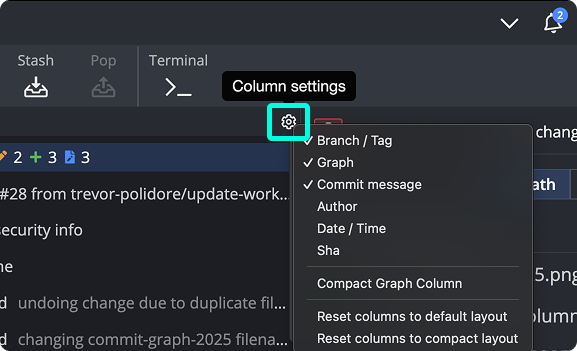
Right-click headers to toggle columns like Author, Date/Time, or Sha. You can also use the gear icon.

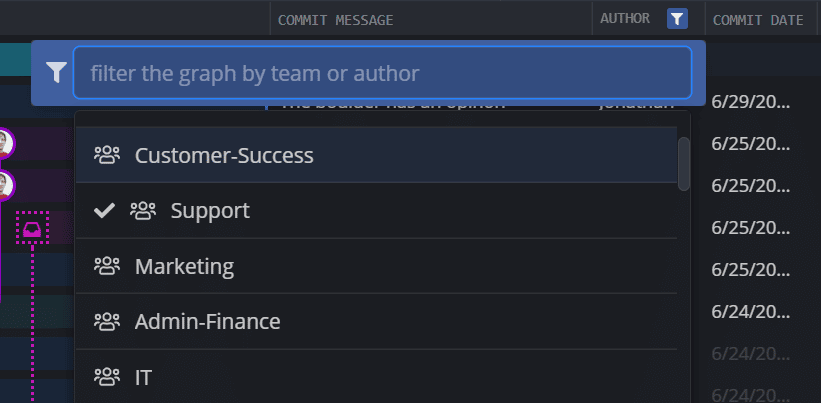
Filter commits by author via the in the AUTHOR column.
GitKraken Desktop saves column selections, widths, and order for each repository. You can also configure columns from Preferences > UI Customization.
For more advanced views, see Hiding and Soloing.
