
Last updated: March 2026
Integrations and repositories can be associated with one or more Jira projects to restrict which users can view development information. All newly-connected repositories or integrations are associated with all Jira projects by default.
This feature is displayed in the following locations:
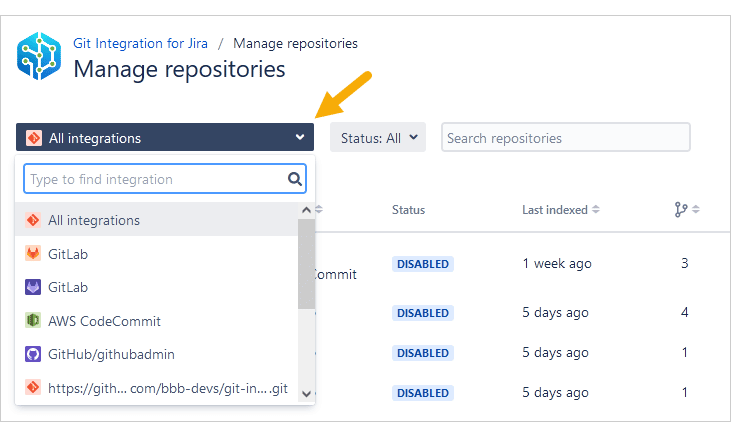
- REPOSITORY Manage repositories page ➜
 Actions ➜ Edit repository ➜ Feature settings.
 - INTEGRATION Manage integration page ➜ Actions ➜ Edit integration ➜ Feature settings.

Restrict to projects – One or more projects can be mapped to this repository or integration to make Git Commits tabs available in the Issue pages of the associated projects. Disable the Associate with all projects option to access this field.
Associate with all projects – Enable this option to associate this repository or integration with all projects. Disable this option to use the existing mapped projects from the Restrict to projects field. The default setting is enabled (checked).
Project Permissions Level
There are several types of project permission levels:
Repository level
To configure project permissions for single connection repositories:
-
On the Manage repositories page, click
Actions ➜ Edit repository. -
On the page that appears, scroll down to Project Permissions.
-
Clear the Associate with all projects checkbox.
-
Click the Restrict to projects field, then select one or more projects from the list.
-
Click Update to save the settings.
The same process applies to other single repository connections in Jira Cloud.
Integration level
To configure project permissions for an integration (multiple repository connection):
-
On the Manage integrations page, click
Actions ➜ Edit integration. -
On the page that appears, click Feature settings on the sidebar, then scroll down to the Project Permissions section.
-
Clear the Associate with all projects checkbox.
-
Click the Restrict to projects field, then select one or more projects from the list.
-
Click Update to save the settings.
Repository level within integration
To configure project permissions for repositories within an integration:
-
On the Manage repositories page, click
Actions ➜ Edit integration for a repository that is part of the integration (identified by the Integration column).For easy access, use the integration dropdown selector.
-
Click a repository name (under the Repository column) to directly open its repository settings.
-
On the page that appears, scroll down to Project Permissions.
-
Clear the Associate with all projects checkbox.
-
Click the Restrict to projects field, then select one or more projects from the list.
-
Click Update to save the settings.
Setting Project Permissions in Jira Cloud
Project permissions are available in Git Integration for Jira Cloud. The default setting for new repository/integration connections is Associated with all Jira projects.
Watch the video below to learn about different settings for each project permissions level.
Prev: Disconnect a nested repository configuration
Next: General settings for Administrators
More Related Topics About Managing Repository/Integration Configuration
Managing integration or repository configuration (Git Integration for Jira Cloud)
Managing integrations via Actions (Jira Cloud) (Git Integration for Jira Cloud)
Edit integration settings (Git Integration for Jira Cloud)
Edit repository settings (Git Integration for Jira Cloud)
Edit nested repository settings (Git Integration for Jira Cloud)
SSL verify (Git Integration for Jira Cloud)
View repository indexing logs (Git Integration for Jira Cloud)
Disconnect an integration or repository configuration (Git Integration for Jira Cloud)
Disconnect a nested repository configuration (Git Integration for Jira Cloud)
Associating project permissions (this page)
