
Last updated: March 2026
GitHub offers several integration options: API, OAuth, and GitHub Apps. GitHub Apps provide these advantages over OAuth:
-
GitHub Apps install at the organization level without requiring a separate GitHub account or service user.
-
GitHub Apps require administrator authorization, ensuring consistent admin-level permissions.
-
You can control repository access at the organization or repository level.
-
GitHub Apps have higher rate limits than OAuth.
For more details, see the GitHub Apps article.
New integration options
The Add integration screen includes a GitHub App option for GitHub.com and GitHub Enterprise Cloud.
Key terms:
-
GitHub Application (GHA) – A set of authorization information created in a GitHub organization during the first step of connecting a GHA integration with Git Integration for Jira.
-
GHA Installation – To access repositories in an organization, an admin installs the GHA and selects the available scope. This is the second step of connecting a GHA integration.
Permissions
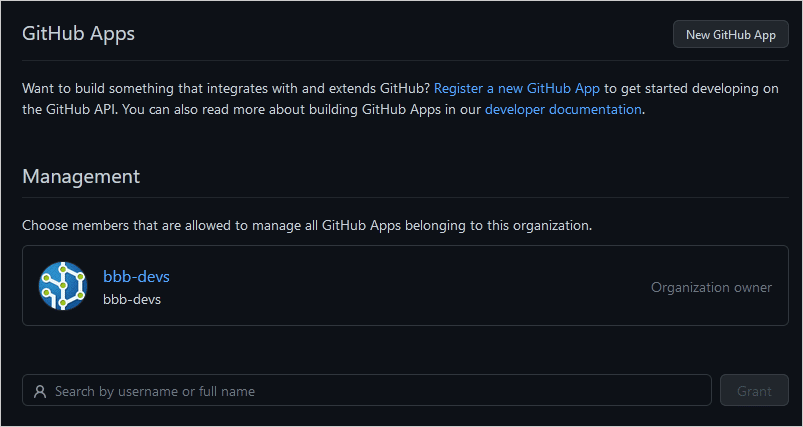
To check GitHub Apps permissions for your organization:
-
In your GitHub web portal, go to your organization ➜ Settings tab.
-
In the sidebar, click Developer settings ➜ GitHub Apps.
Pre-requisites
IMPORTANT!
- Admins must install the GHA in an organization before the Jira instance can read repositories with Git Integration for Jira.
Limitations
- If you remove the GitHub App integration from the Manage Integrations screen, remember that this does not remove the GitHub App from the GitHub Organization. Make sure you uninstall the corresponding GitHub App from the GitHub Organization after disconnecting the integration.
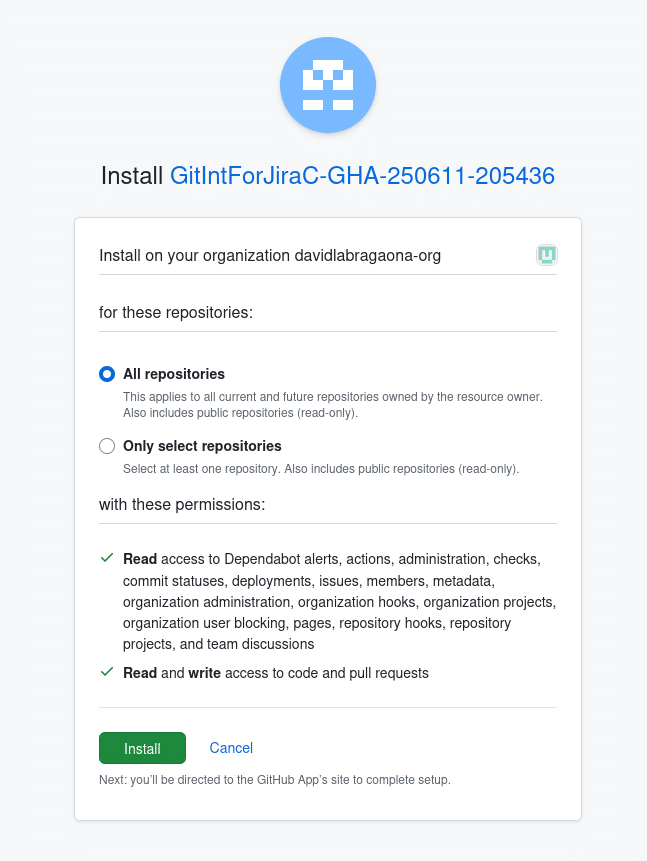
Integrate to a GitHub App
-
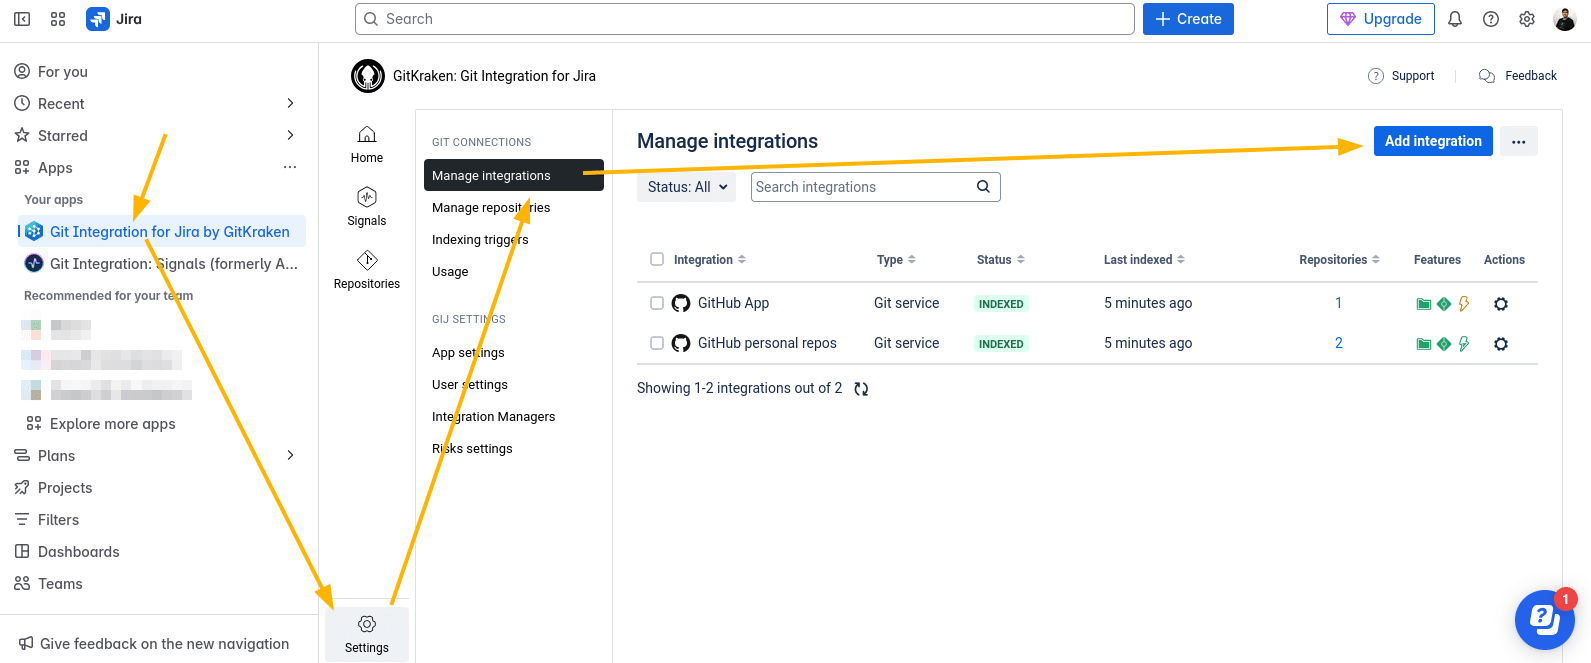
In your Jira dashboard menu, go to Apps ➜ Git Integration for Jira by GitKraken.
-
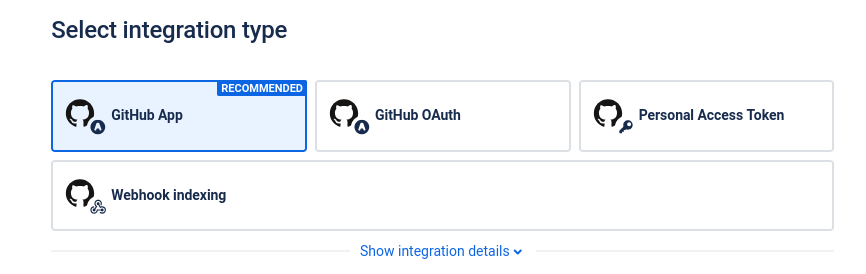
Click Add integration in the top right corner, then select GitHub.
-
Click GitHub App.
-
Enter your Organization name.
-
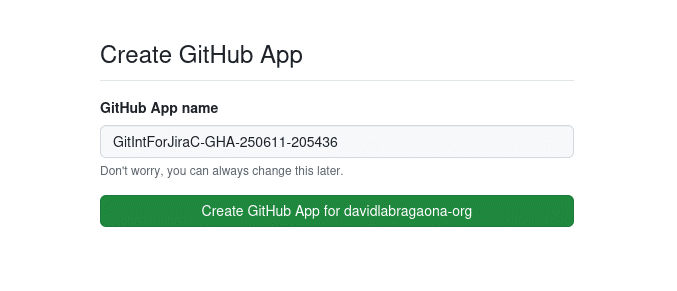
Click Connect GitHub.com.
-
Click Create GitHub App….
-
Choose a repository scope:
-
All repositories – Connects all repositories from this organization.
-
Only select repositories – Lets you select specific repositories.
-
-
Click Install.
-
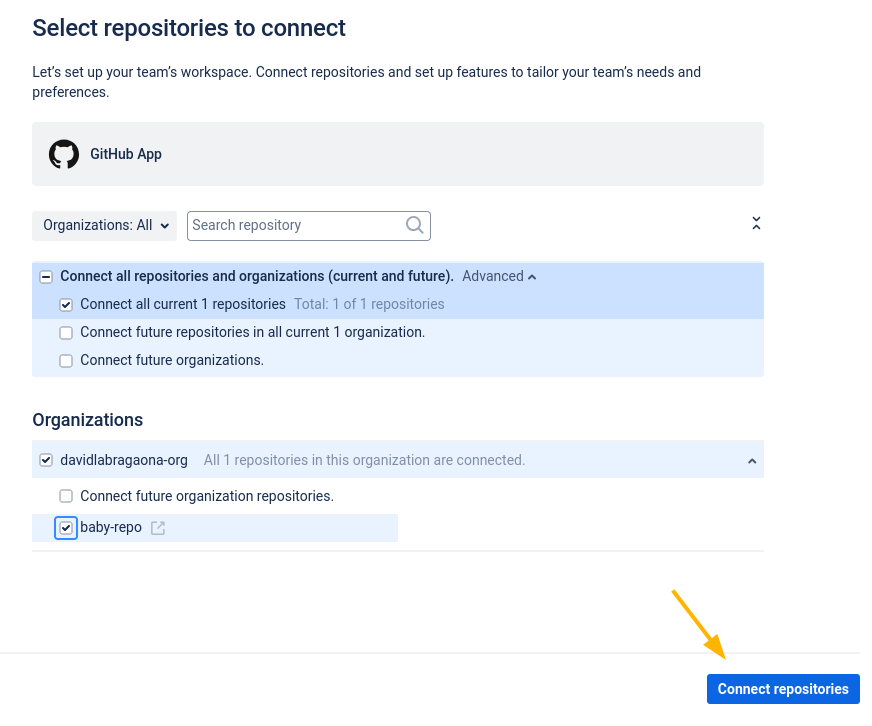
Select the repositories and click Connect repositories.
-
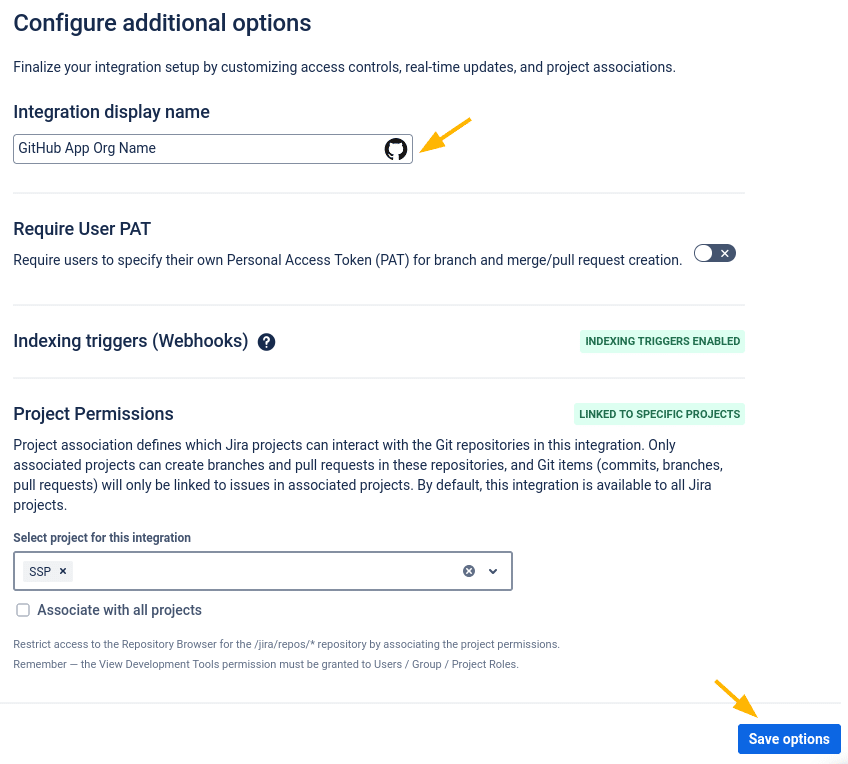
On the Configure Additional options screen, configure these settings:
-
Integration display name
-
Require User PAT (if users will create branches and pull requests)
-
Indexing Triggers
-
Project permissions
-
-
Click Save options.
The GitHub App integration now appears in the Git repositories configuration list.
Post-install notes
Git Integration for Jira creates the GitHub App automatically. For questions, contact [email protected].
-
Reconfigure connected repositories in the Edit integration settings page for this GitHub App integration.

-
Do not change these GitHub App properties:
- GitHub App name
- Post installation
- Webhook attributes
- Private keys
- Settings on the Permissions and Events page
- Settings on the installation page
-
Use the JMESpath filter to restrict repositories and prevent users from connecting thousands of repositories, which can decrease Jira performance.
-
Suspend a GitHub installation using one of these methods:
- From the owner side – Click Disconnect Integration in the Integration Connection settings for the selected integration via Git Integration for Jira actions. RECOMMENDED
- From the user side – Click Suspend on the GitHub portal for the GHA installation. NOT RECOMMENDED
-
Only the owner can delete a GitHub App. If multiple users have Repository Management access, only one can remove the app from the Git server after the GitHub App integration is removed.
Back to: Integration basics (Git Integration for Jira Cloud)
More Git Integration for Jira app features
See the Features section to learn more about Git Integration for Jira app features.
