
Last updated: March 2026
On this page:
- Video guide
- Connect Microsoft git services to Jira Cloud
- Configure project-level service hooks
- Configure repository-level service hooks
- Post-setup tips
- Supported features
Video Guide
Connect Microsoft Git Services to Jira Cloud
Prerequisites: Install the Git Integration for Jira app on your Jira Cloud instance.
-
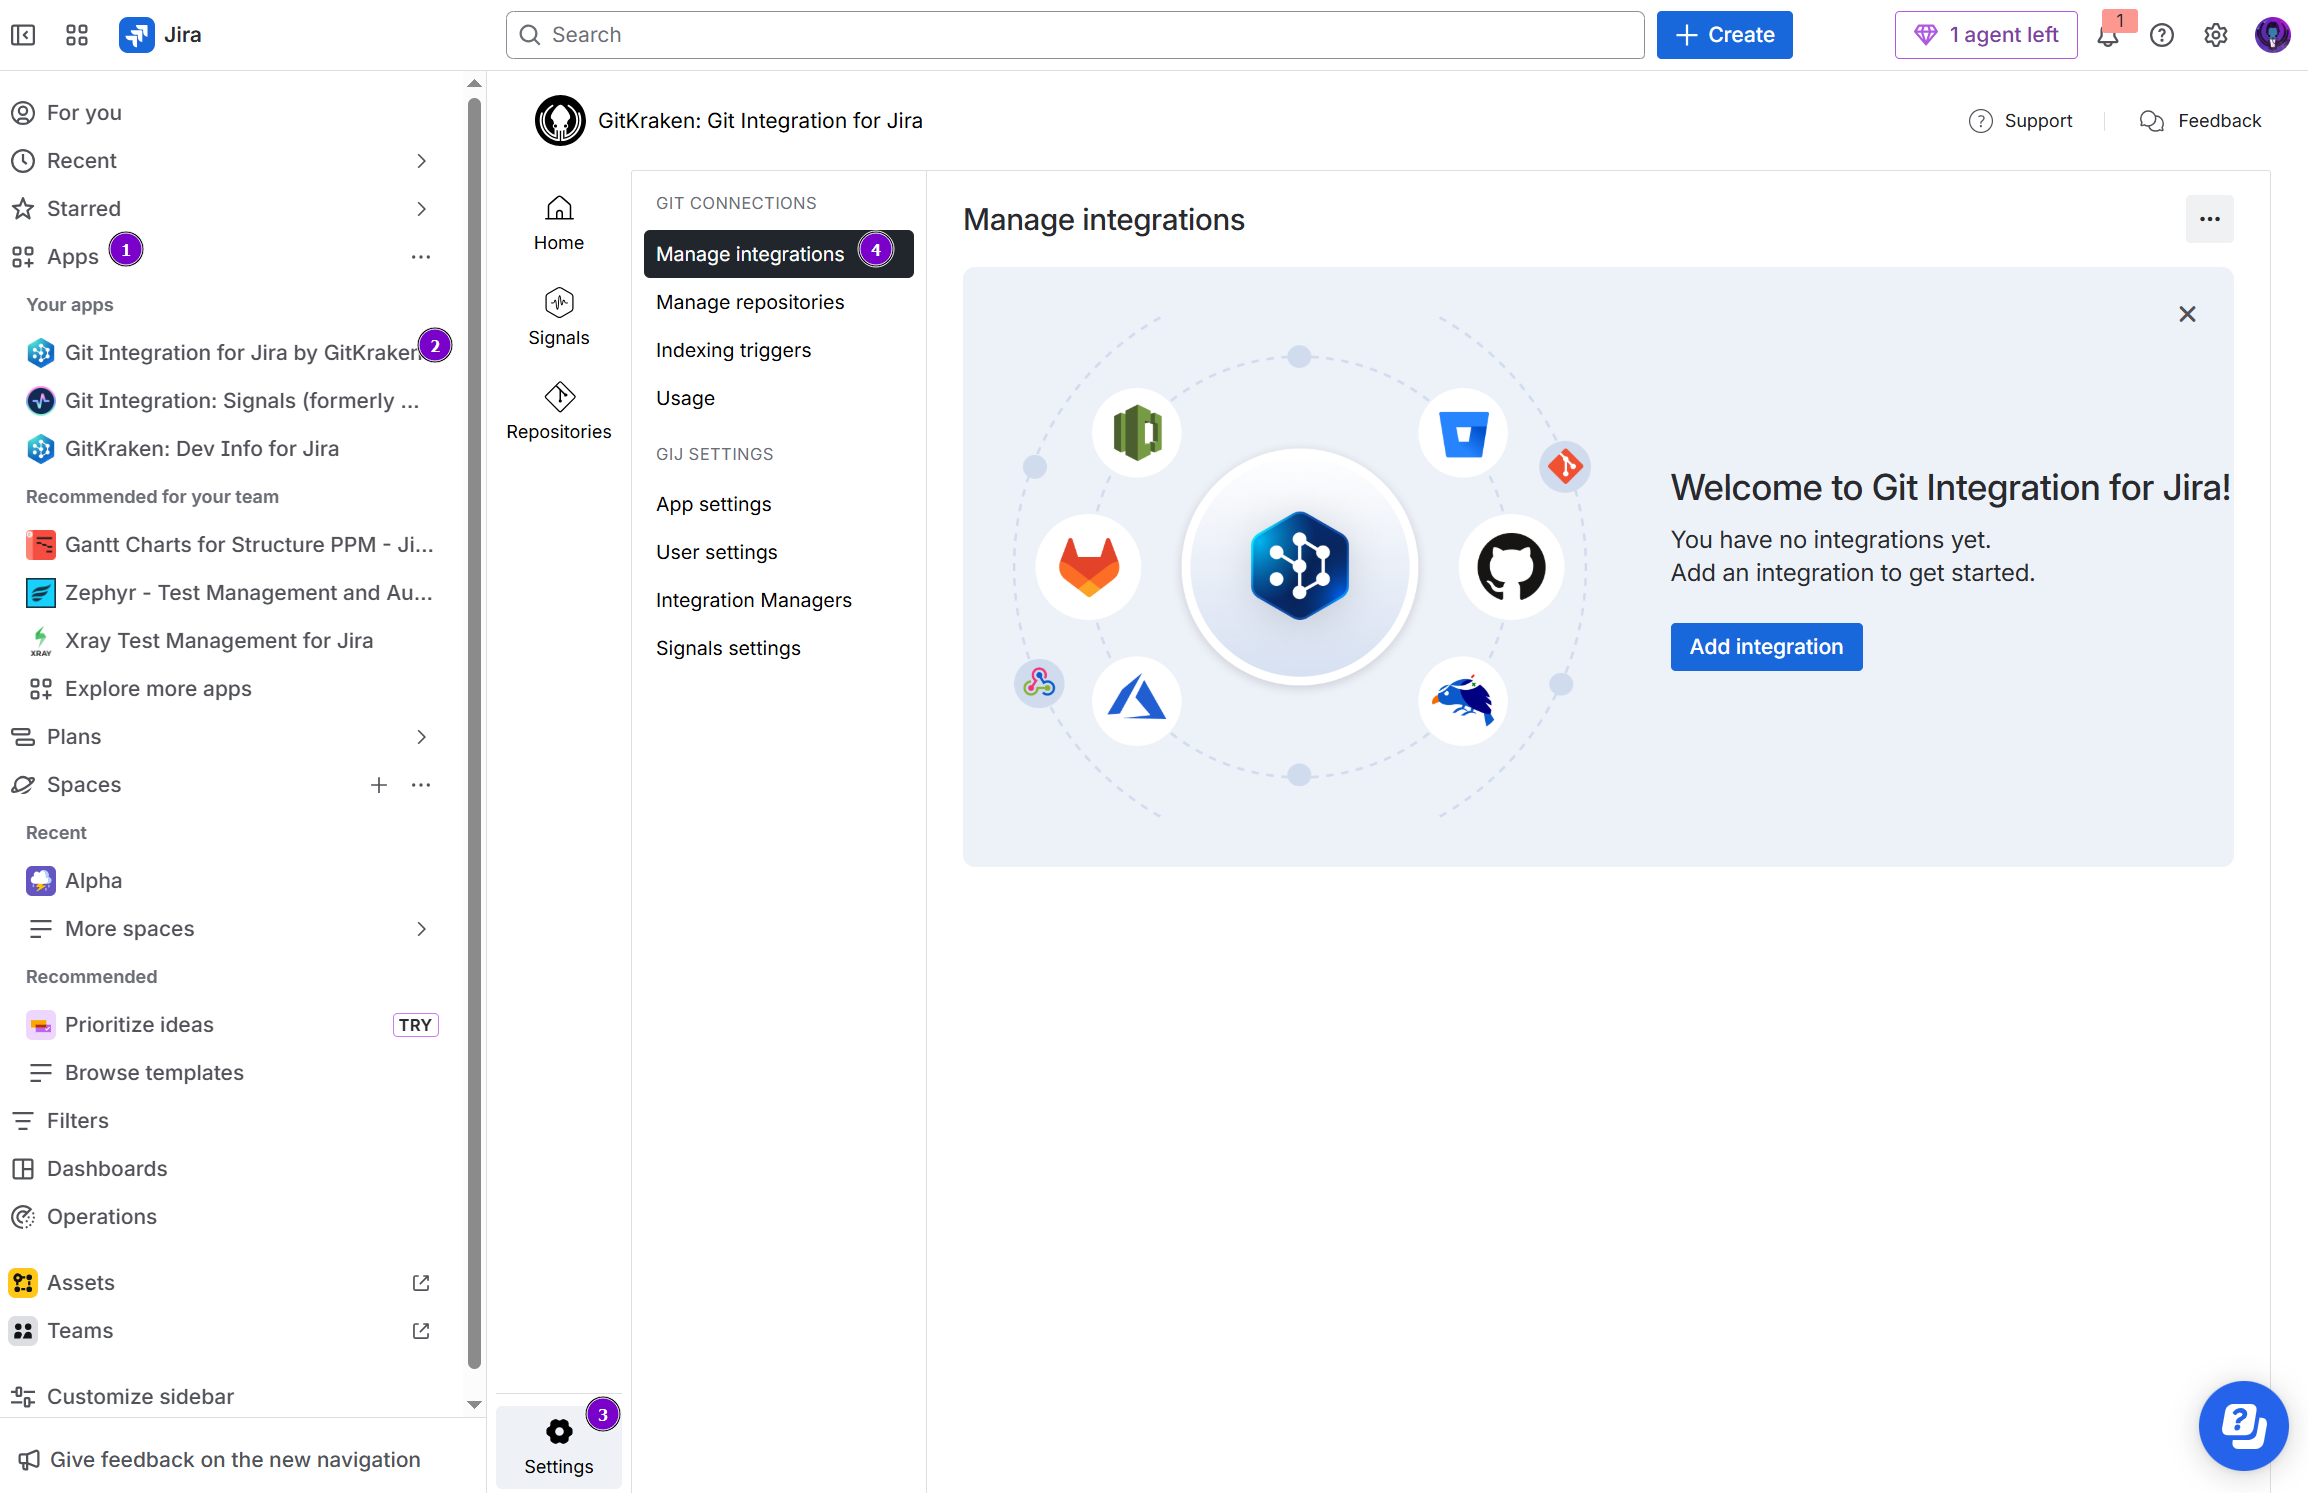
Go to Apps ➜ Git Integration for Jira ➜ Settings ➜ Manage Integrations.
-
Click Add integration.

-
Select Visual Studio Team Services (VSTS) or Azure DevOps Repos.

-
Select the Webhook indexing panel.
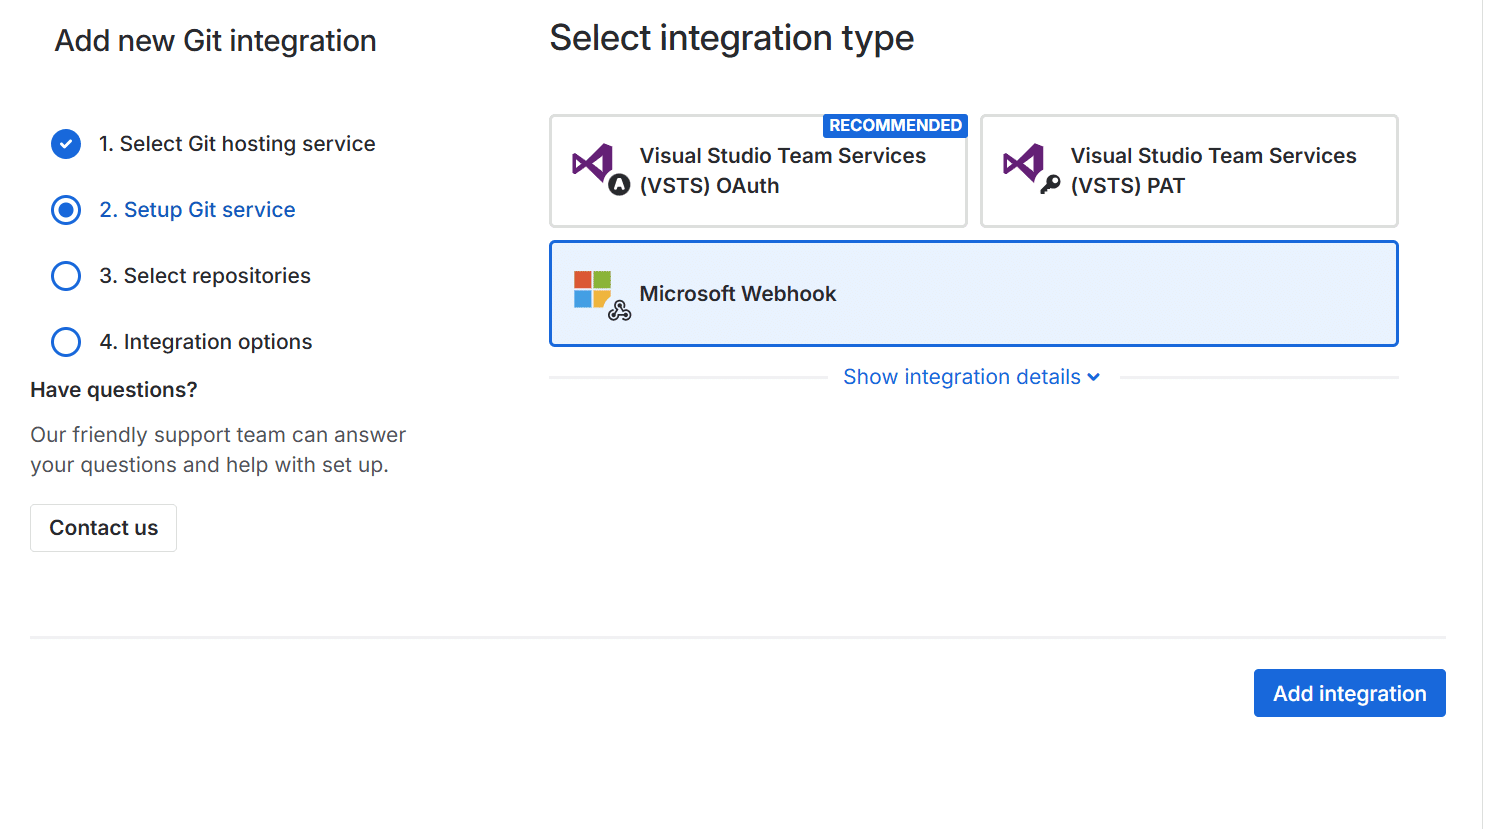
Webhook indexing has limited features but does not require firewall configuration.
-
Click Add integration. The webhook settings screen appears.

-
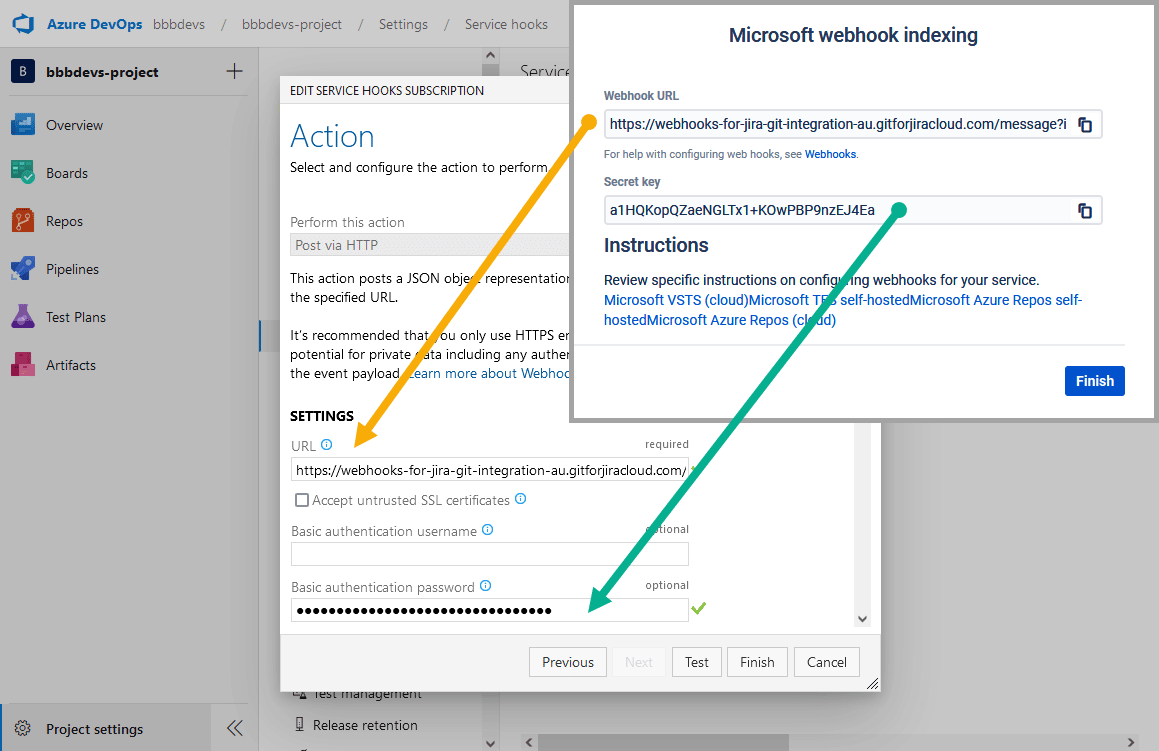
Do not click Finish yet. Copy the Webhook URL and Secret key, then configure service hooks in Microsoft using the steps below.
Configure Project-Level Service Hooks
-
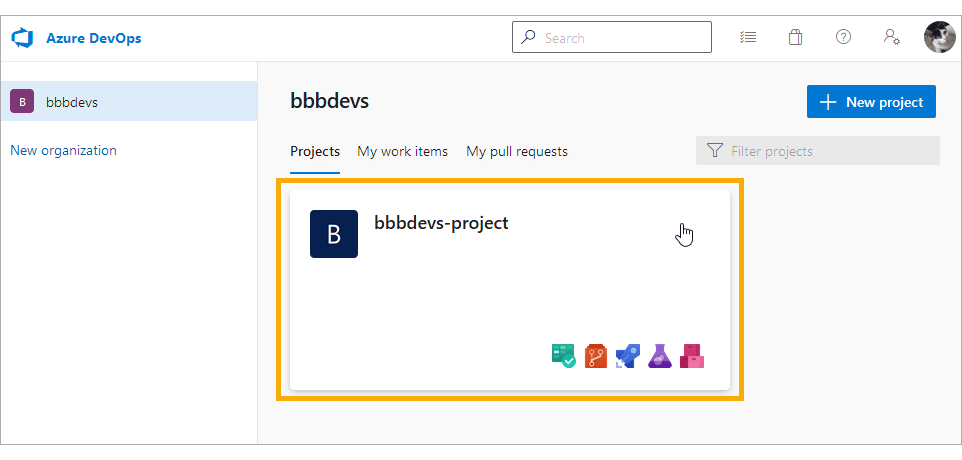
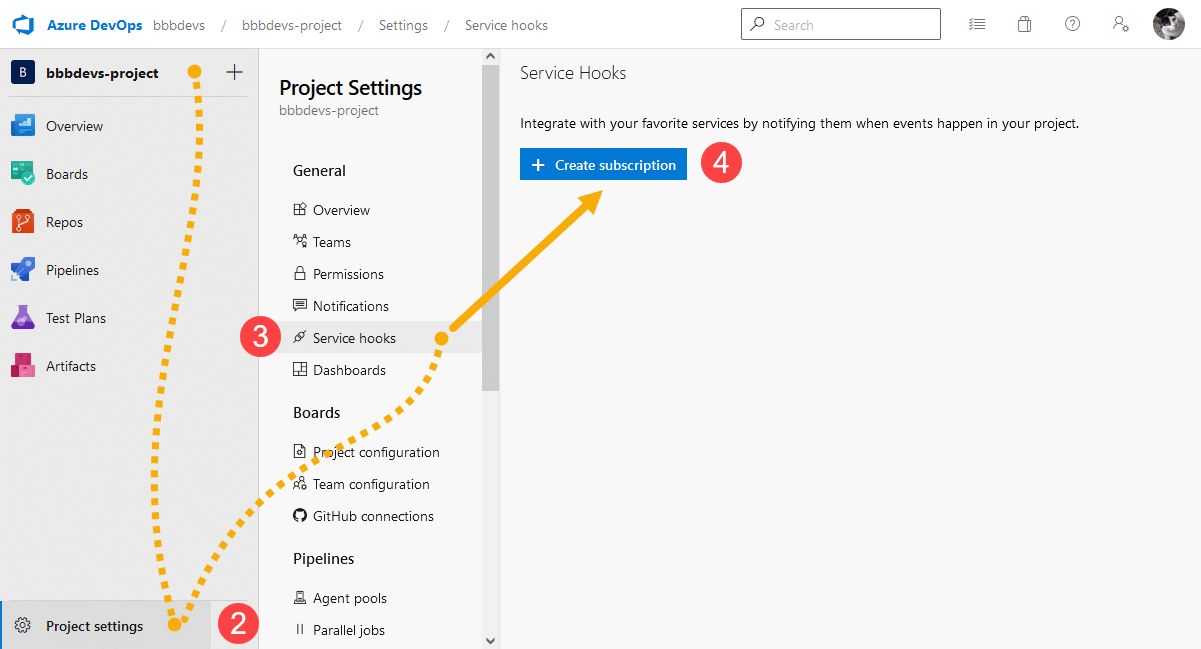
Open your Microsoft project.
-
Go to Project Settings ➜ Service hooks.
-
Click Create subscription (or
 if subscriptions already exist).
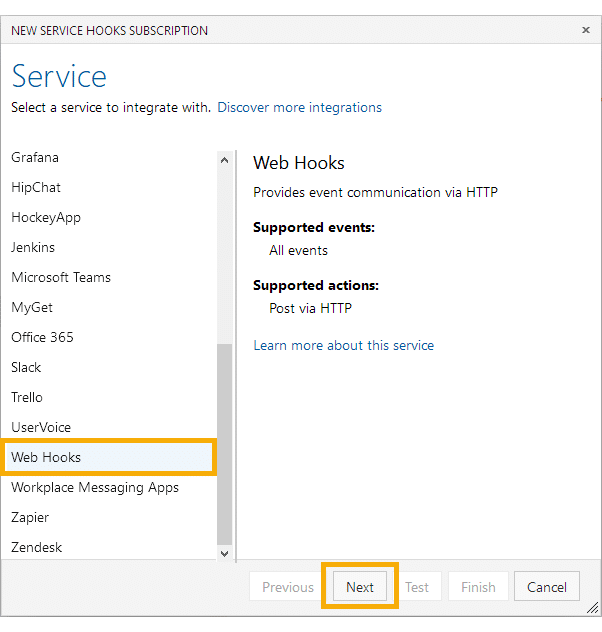
-
Select Web Hooks and click Next.

-
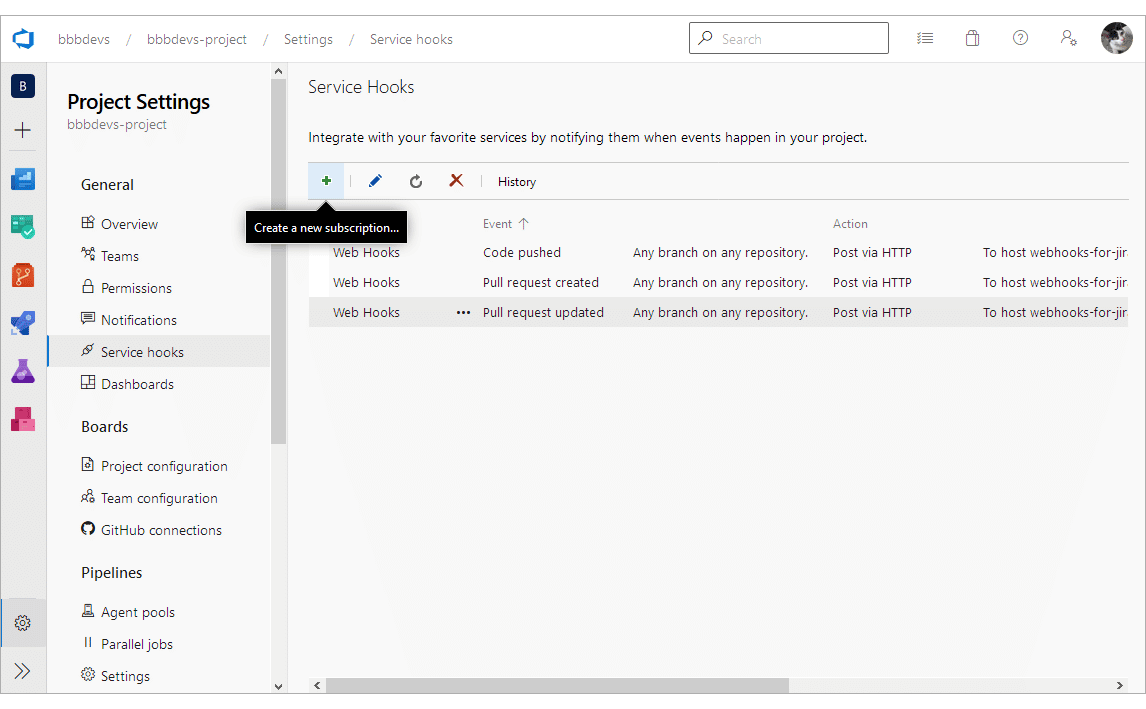
Create three separate subscriptions for these events:
Event Purpose Code pushed Indexes commits and branches Pull request created Indexes new pull requests Pull request updated Indexes pull request changes -
Set all FILTERS to Any and click Next.
-
Configure the action:
a. Paste the Webhook URL in the URL box.
b. Paste the Secret key in the Basic authentication password box. IMPORTANT
-
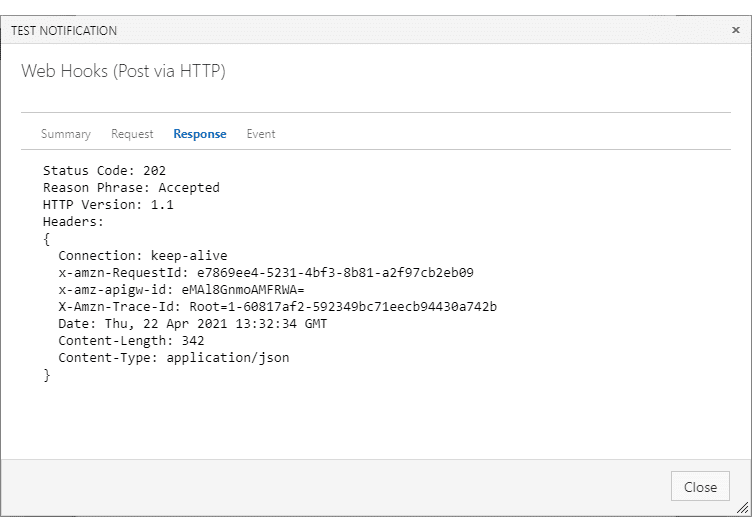
Test the configuration.
-
Click Finish to save.
-
Repeat steps 3-9 for each event type.
-
Return to Jira and click Finish.
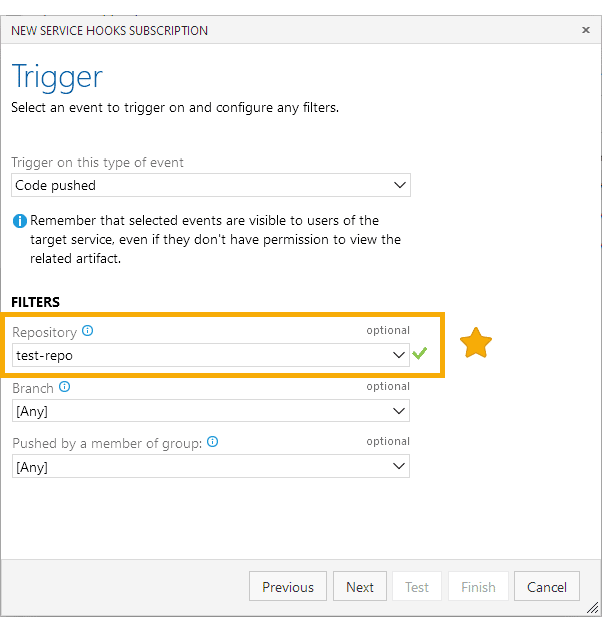
Configure Repository-Level Service Hooks
Follow the same steps as project-level setup, but select a specific repository in step 6 instead of Any.
Post-Setup Tips
- If service hooks fail, verify the URL and Basic authentication password settings.
- Find Webhook URL and Secret key in Actions ➜ Edit integration.
- IMPORTANT Repositories appear only after triggering push or pull request events.
Link Commits to Jira Issues
To display commits in Jira, include the Jira issue key in your commit messages. See Linking git commits to Jira issues.
Supported Features
The Git Roll Up tab is supported for Microsoft webhook indexing integration.
| Feature | Status |
|---|---|
| Works behind firewall |  Supported Supported |
| View commits, branches, pull requests | Supported |
| View tags | Coming soon |
| Automation for Jira triggers | Supported |
| Smart Commits | Supported |
| Repository Browser | Supported |
| Create branches/PRs in Jira |  Not supported Not supported |
| View source code | Not supported |
| Full repository history | Not supported |
Automation triggers supported:
- Commit created
- Branch created
- Pull request created
- Pull request declined
- Pull request merged
For complete feature details, see Feature matrix.
