Last updated: March 2026
Supported webhook events:
- Repository – Push
- Pull request – Created
- Pull request – Updated
Prerequisite: Enable webhooks in the Git Integration for Jira app before proceeding. See Indexing triggers – Getting Started.
Configure Bitbucket Cloud Webhooks
-
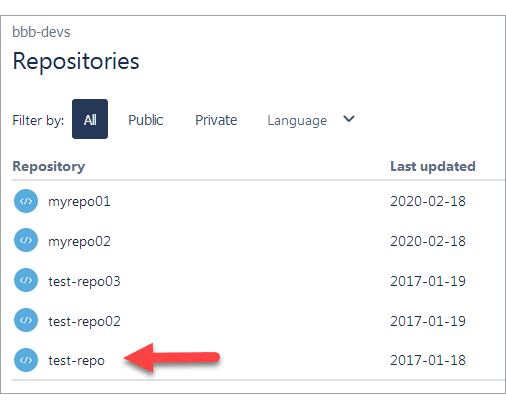
Log in to Bitbucket and open your project.
-
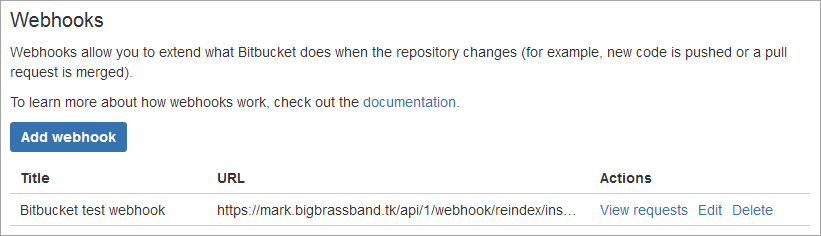
Go to Repository Settings ➜ Webhooks (under WORKFLOW).
-
Click Add webhook.
-
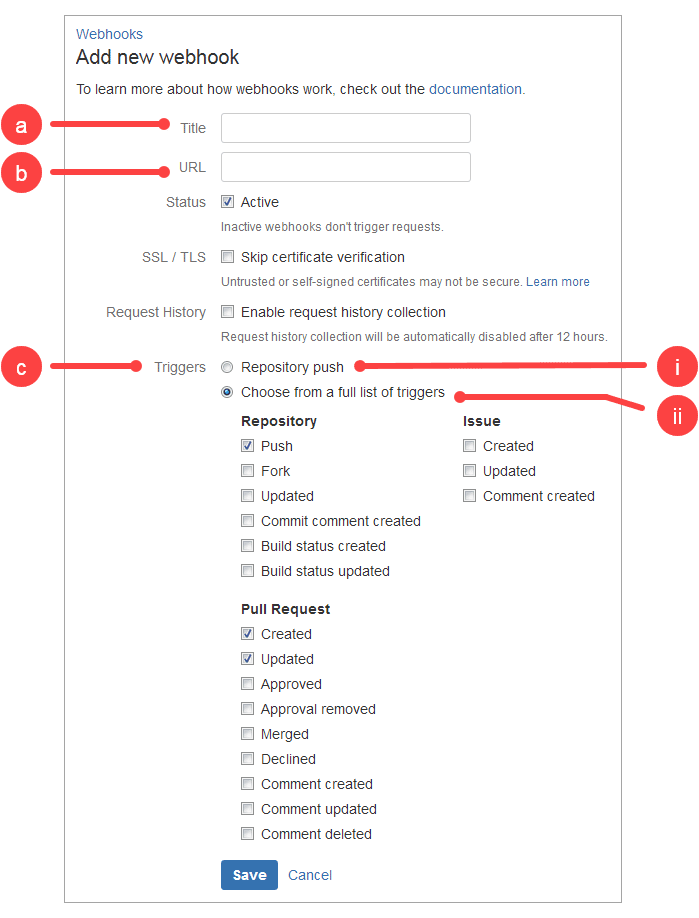
Configure the webhook:
- Title: Enter a descriptive name for the webhook
-
URL: Paste the Secret URL from Git Integration for Jira ➜ Indexing triggers page

-
Under Triggers, select one of these options:
For commits only:
- Select Repository push
For commits and pull requests (recommended):
- Click Choose from a full list of triggers
- Select Repository ➜ Push
- Select Pull Request ➜ Created and Updated
-
Click Save.
Enable Pull Request Webhooks
For pull request events, configure three separate triggers:
- Repository – Push (required)
- Pull Request – Created
- Pull Request – Updated